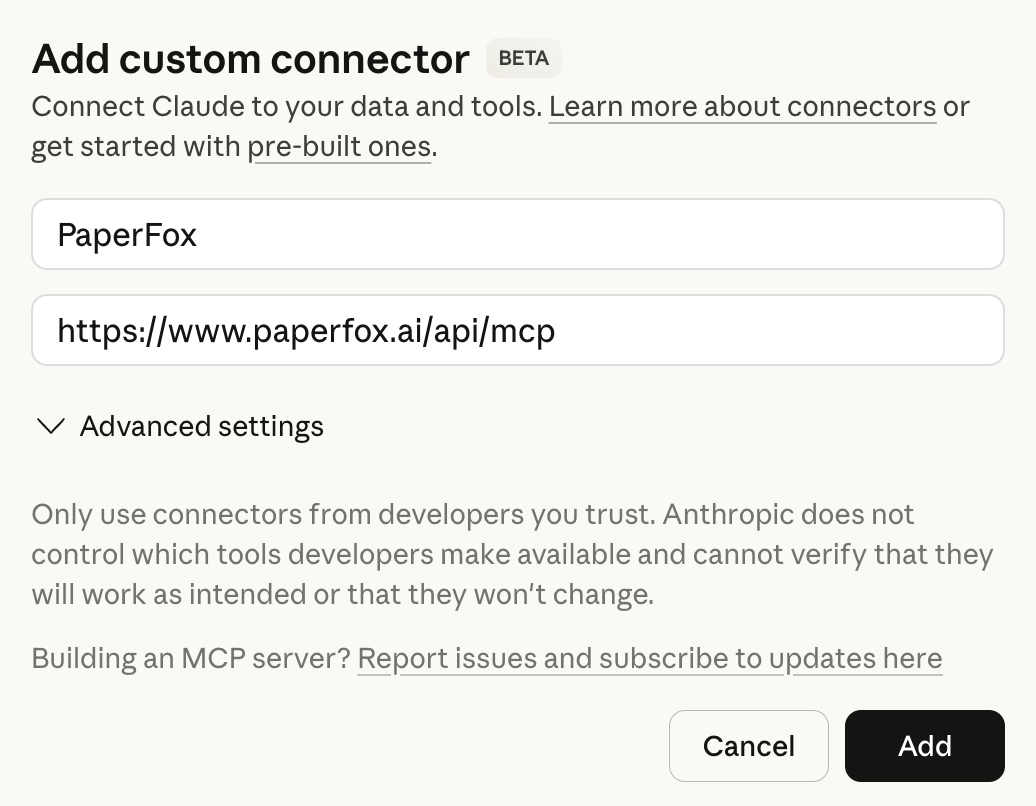
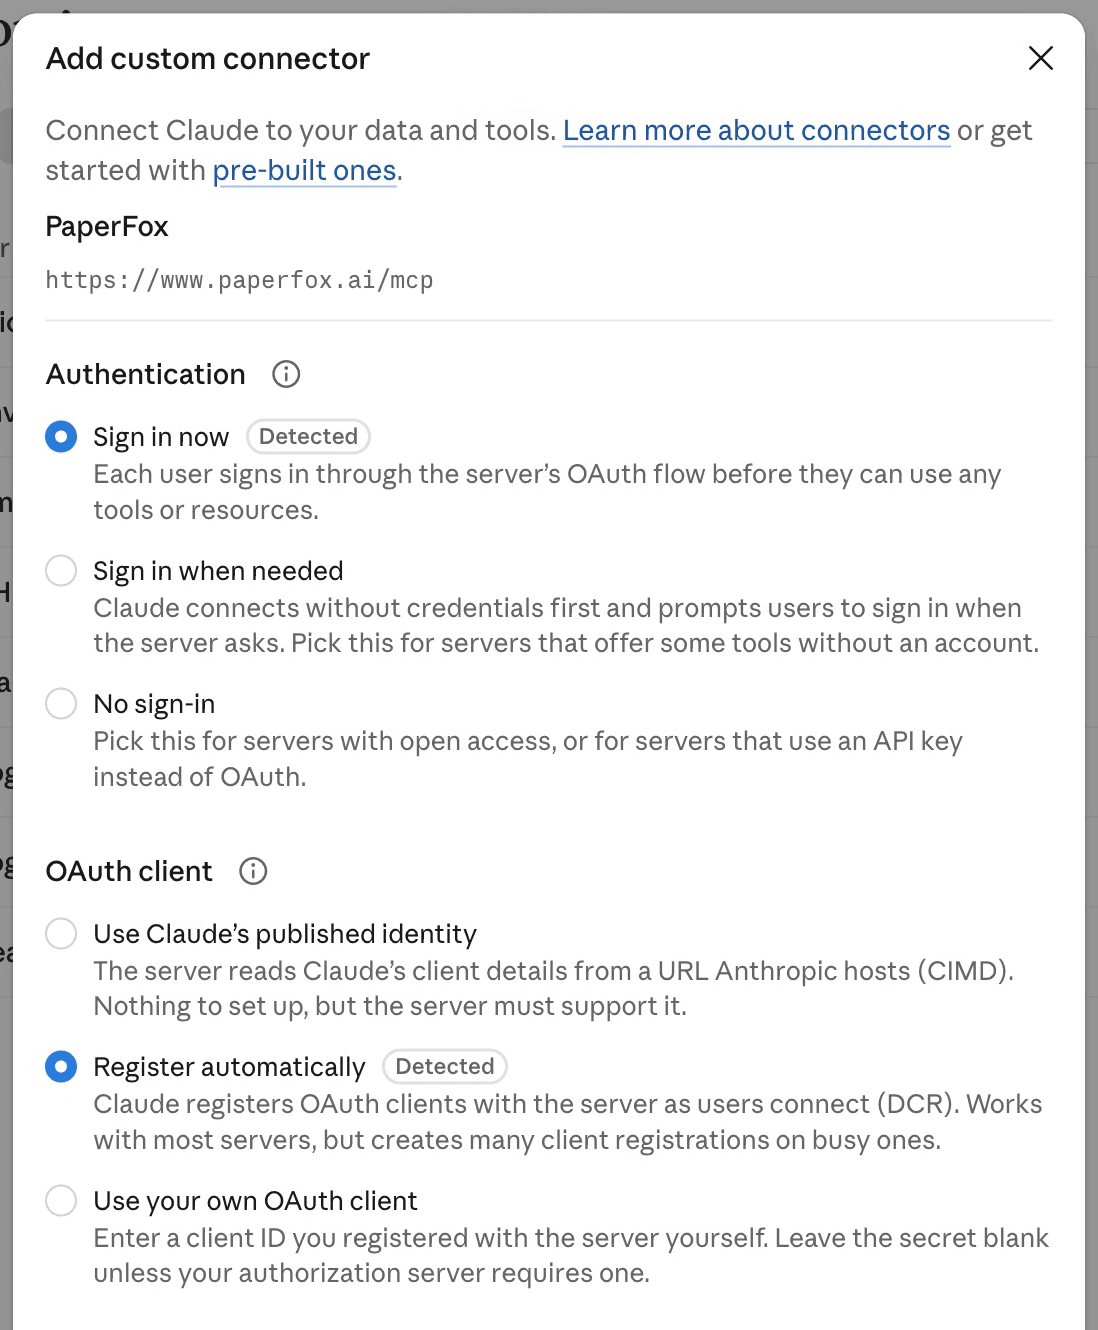
 4. On the authentication screen, select **Sign in now** and **Register automatically** under **OAuth client**. Claude should detect these settings automatically; you do not need to enter a client ID or secret. Click **Add**.
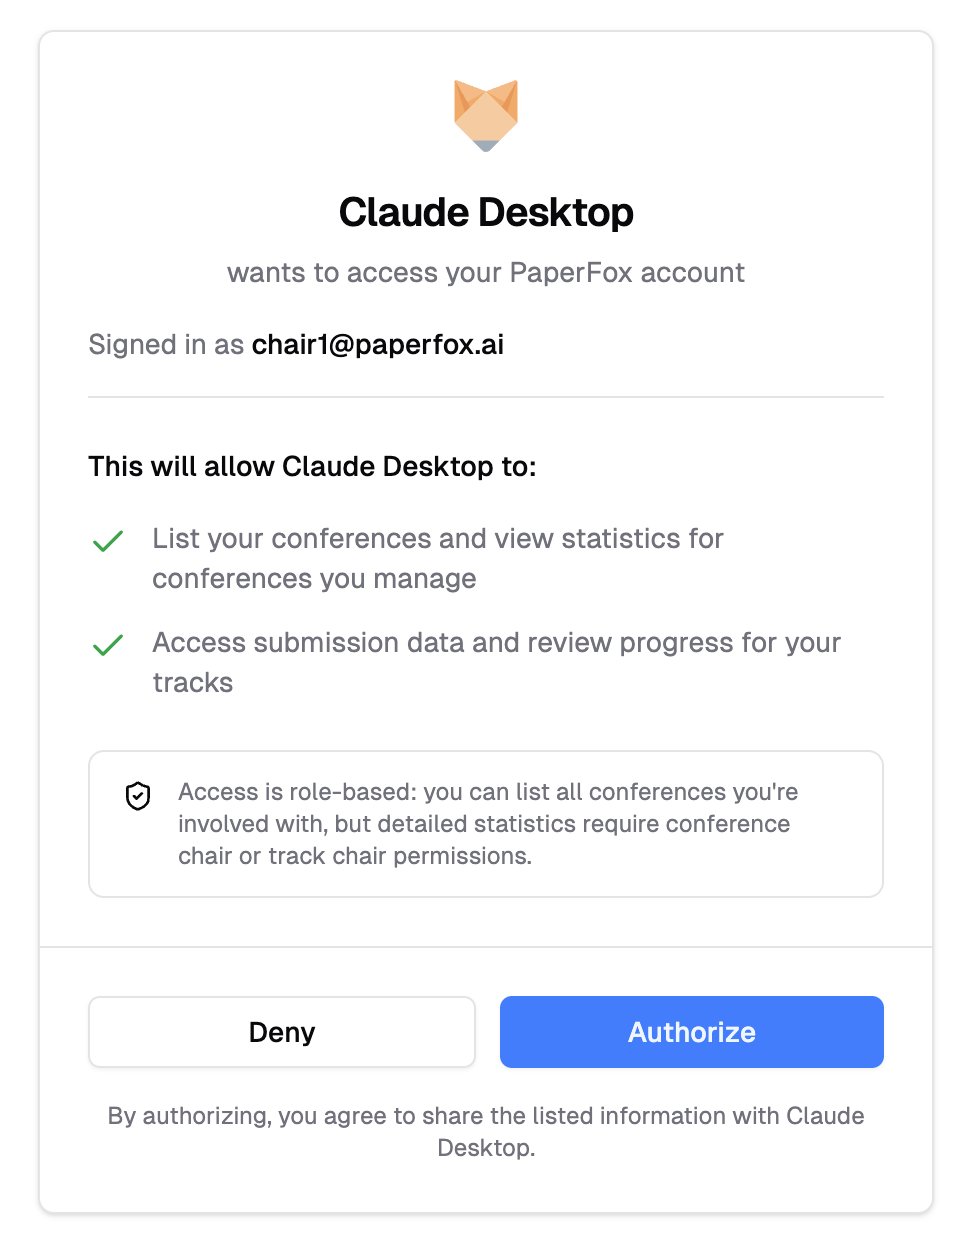
 5. When prompted, sign in to PaperFox, review the requested permissions, and authorize access.
 6. Start a conversation with PaperFox enabled and ask: *"What conferences do I have access to?"*
For more details, see [Claude's custom connector guide](https://support.claude.com/en/articles/11175166-get-started-with-custom-connectors-using-remote-mcp).
### ChatGPT
PaperFox is not yet listed as a public plugin in OpenAI's directory. Connect it by URL using **Add custom MCP server**. ChatGPT saves this custom connection as a plugin for your account or workspace.
6. Start a conversation with PaperFox enabled and ask: *"What conferences do I have access to?"*
For more details, see [Claude's custom connector guide](https://support.claude.com/en/articles/11175166-get-started-with-custom-connectors-using-remote-mcp).
### ChatGPT
PaperFox is not yet listed as a public plugin in OpenAI's directory. Connect it by URL using **Add custom MCP server**. ChatGPT saves this custom connection as a plugin for your account or workspace.
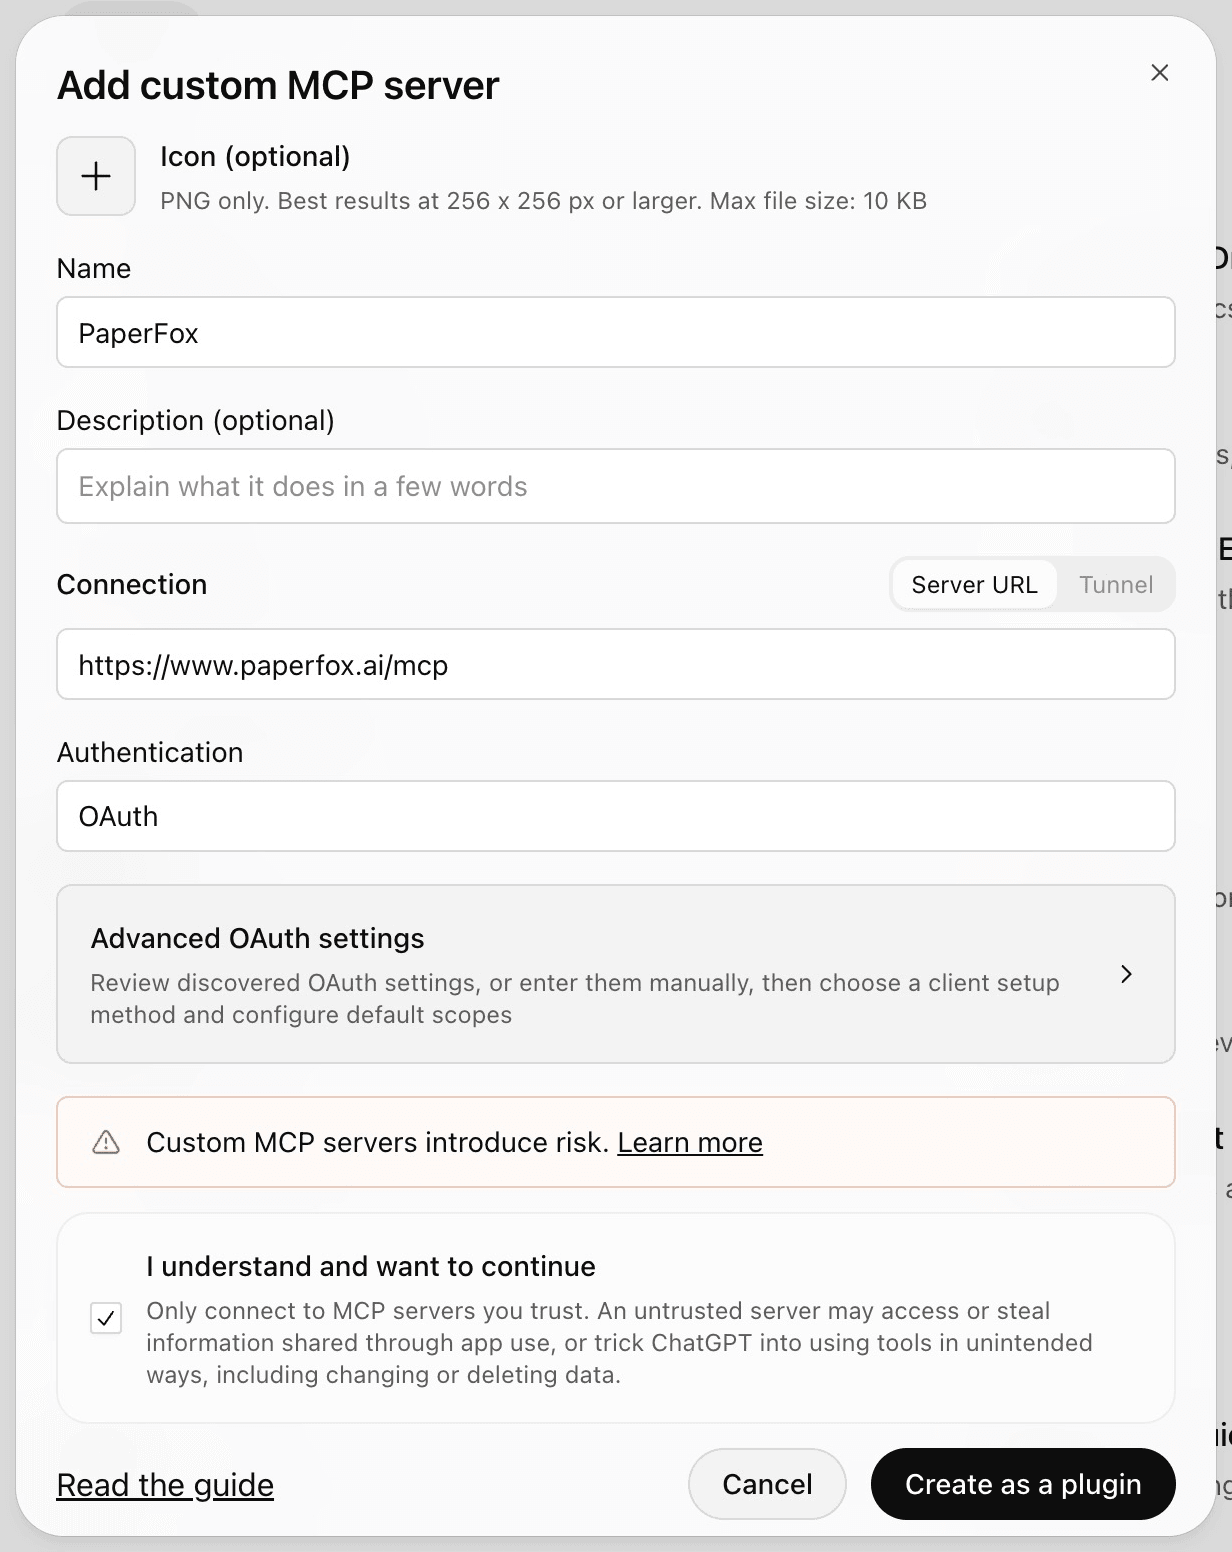 4. Review the risk warning, check **I understand and want to continue**, and click **Create as a plugin** (the button is enabled once the box is checked). ChatGPT then prompts you to connect PaperFox. Click **Connect PaperFox**, sign in to PaperFox if needed, and authorize access.
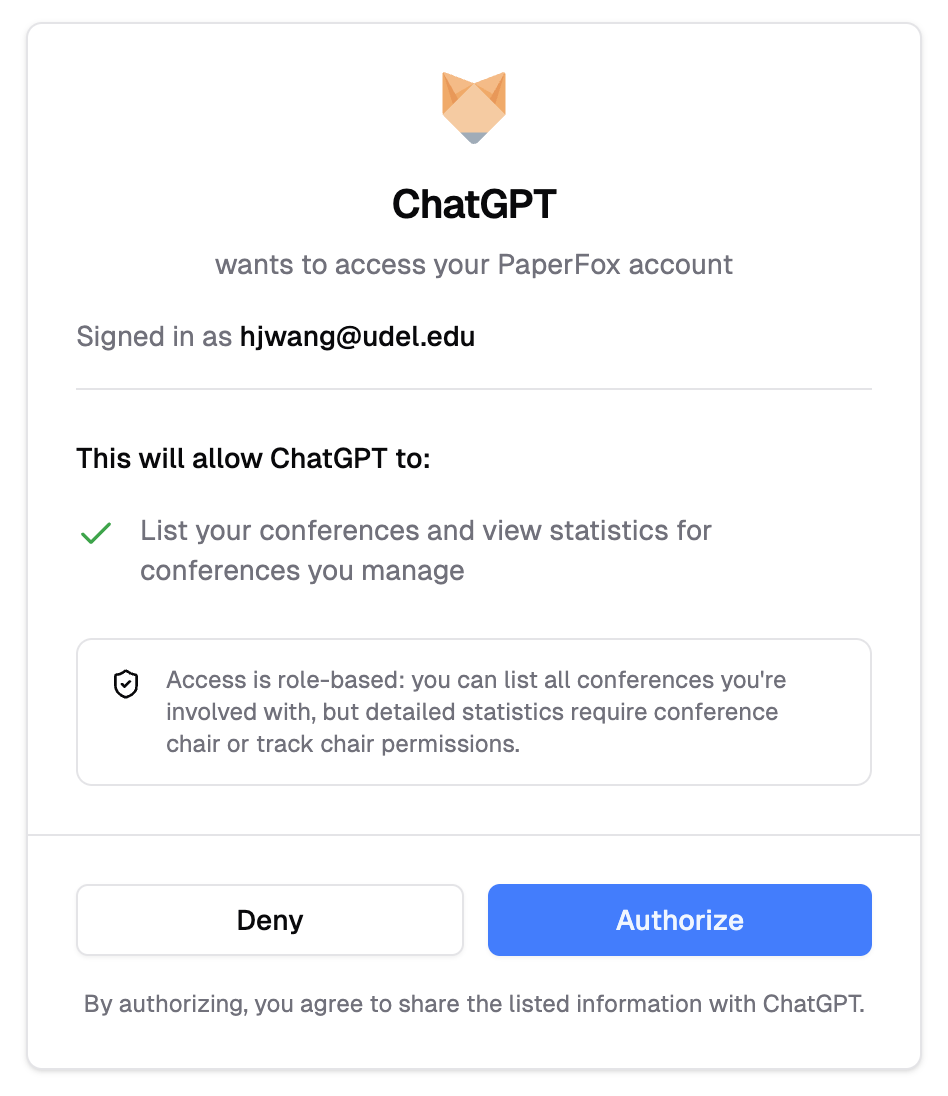 5. Find PaperFox under your **Personal** plugins (or in the workspace where you created it). If it is not already installed, click **Install**.
6. Start a conversation, type `@`, select **PaperFox**, and ask: *"What conferences do I have access to?"*
For more details, see OpenAI's [Add custom MCP server guide](https://developers.openai.com/api/docs/guides/custom-mcp-server).
### Other MCP-Compatible Clients
Any MCP-compatible client can connect using:
- **MCP Endpoint**: `https://www.paperfox.ai/mcp`
- **Transport**: Streamable HTTP
- **Protocol revision**: `2026-07-28`. Clients on the 2025 revisions are still served from the same endpoint, so no client needs to upgrade to keep working.
- **Authentication**: OAuth 2.1 with PKCE
- **Scope**: `mcp:tools`
The client will automatically discover OAuth endpoints via:
- `https://www.paperfox.ai/.well-known/oauth-protected-resource`
- `https://www.paperfox.ai/.well-known/oauth-authorization-server`
5. Find PaperFox under your **Personal** plugins (or in the workspace where you created it). If it is not already installed, click **Install**.
6. Start a conversation, type `@`, select **PaperFox**, and ask: *"What conferences do I have access to?"*
For more details, see OpenAI's [Add custom MCP server guide](https://developers.openai.com/api/docs/guides/custom-mcp-server).
### Other MCP-Compatible Clients
Any MCP-compatible client can connect using:
- **MCP Endpoint**: `https://www.paperfox.ai/mcp`
- **Transport**: Streamable HTTP
- **Protocol revision**: `2026-07-28`. Clients on the 2025 revisions are still served from the same endpoint, so no client needs to upgrade to keep working.
- **Authentication**: OAuth 2.1 with PKCE
- **Scope**: `mcp:tools`
The client will automatically discover OAuth endpoints via:
- `https://www.paperfox.ai/.well-known/oauth-protected-resource`
- `https://www.paperfox.ai/.well-known/oauth-authorization-server`
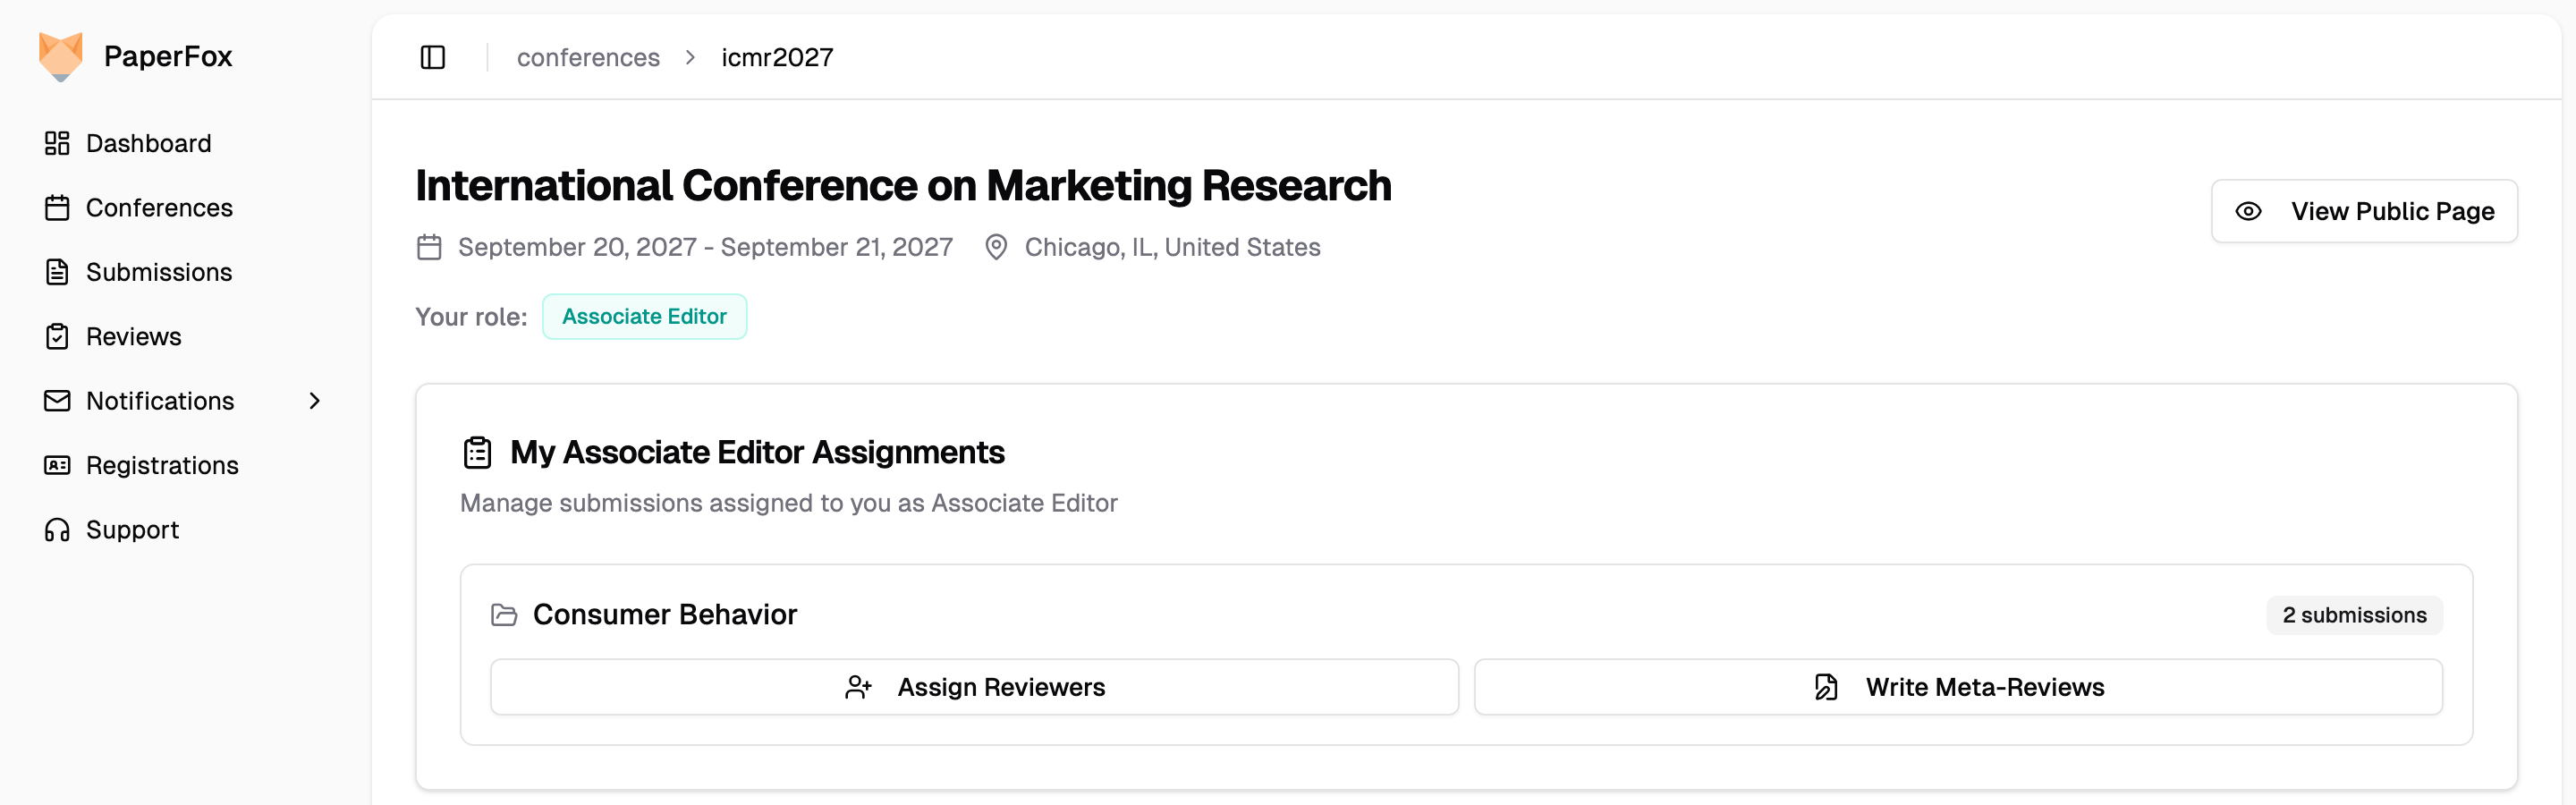 ### 3. Assign Reviewers
Click **"Assign Reviewers"** on the track you want to work in, then select reviewers for each submission.
- View available reviewers and their workload
- The system checks for conflicts of interest automatically
- Assignments appear as pending invitations on each reviewer's **Reviews** page, where they accept or decline
- For a later review phase, click **"Reuse Reviewers"** to re-assign each submission's previous-phase reviewers in one action — previous-phase reviewers are marked with a **"Reviewed in [phase]"** badge. See [Manually Assign Reviewers](/docs/track-chairs/assign-reviewers) for details.
### 4. Monitor Review Progress
Track review completion using the Progress Matrix.
- view all submissions and their review status
- See which reviewers have completed, accepted, or declined
### 5. Write Meta Reviews
Provide summary evaluations for submissions after reviews are complete.
- Synthesize reviewer feedback into a consolidated assessment
- Make recommendations based on all reviews
---
# Author Workflow
URL: https://paperfox.ai/docs/authors/author-workflow
Description: The complete author journey in PaperFox — from preparing your submission to camera-ready and registration
This guide walks you through the author experience end to end, with links to detailed how-tos for each step.
## Workflow at a Glance
1. [Prepare your submission](#1-prepare-your-submission)
2. [Submit it to a track](#2-make-a-submission)
3. [Track its status](#3-track-your-submission)
4. [Read your decision and reviews](#4-receive-your-decision-and-reviews)
5. [Revise or upload the camera-ready version](#5-revise-or-submit-the-camera-ready-version)
6. [Register for the conference](#6-register-for-the-conference)
### 1. Prepare Your Submission
Read the track's call for papers on the conference's public page — each track sets its own scope, deadline, page limits, and template. The upload field on the submission form shows which file formats are accepted (PDF is the default).
### 3. Assign Reviewers
Click **"Assign Reviewers"** on the track you want to work in, then select reviewers for each submission.
- View available reviewers and their workload
- The system checks for conflicts of interest automatically
- Assignments appear as pending invitations on each reviewer's **Reviews** page, where they accept or decline
- For a later review phase, click **"Reuse Reviewers"** to re-assign each submission's previous-phase reviewers in one action — previous-phase reviewers are marked with a **"Reviewed in [phase]"** badge. See [Manually Assign Reviewers](/docs/track-chairs/assign-reviewers) for details.
### 4. Monitor Review Progress
Track review completion using the Progress Matrix.
- view all submissions and their review status
- See which reviewers have completed, accepted, or declined
### 5. Write Meta Reviews
Provide summary evaluations for submissions after reviews are complete.
- Synthesize reviewer feedback into a consolidated assessment
- Make recommendations based on all reviews
---
# Author Workflow
URL: https://paperfox.ai/docs/authors/author-workflow
Description: The complete author journey in PaperFox — from preparing your submission to camera-ready and registration
This guide walks you through the author experience end to end, with links to detailed how-tos for each step.
## Workflow at a Glance
1. [Prepare your submission](#1-prepare-your-submission)
2. [Submit it to a track](#2-make-a-submission)
3. [Track its status](#3-track-your-submission)
4. [Read your decision and reviews](#4-receive-your-decision-and-reviews)
5. [Revise or upload the camera-ready version](#5-revise-or-submit-the-camera-ready-version)
6. [Register for the conference](#6-register-for-the-conference)
### 1. Prepare Your Submission
Read the track's call for papers on the conference's public page — each track sets its own scope, deadline, page limits, and template. The upload field on the submission form shows which file formats are accepted (PDF is the default).
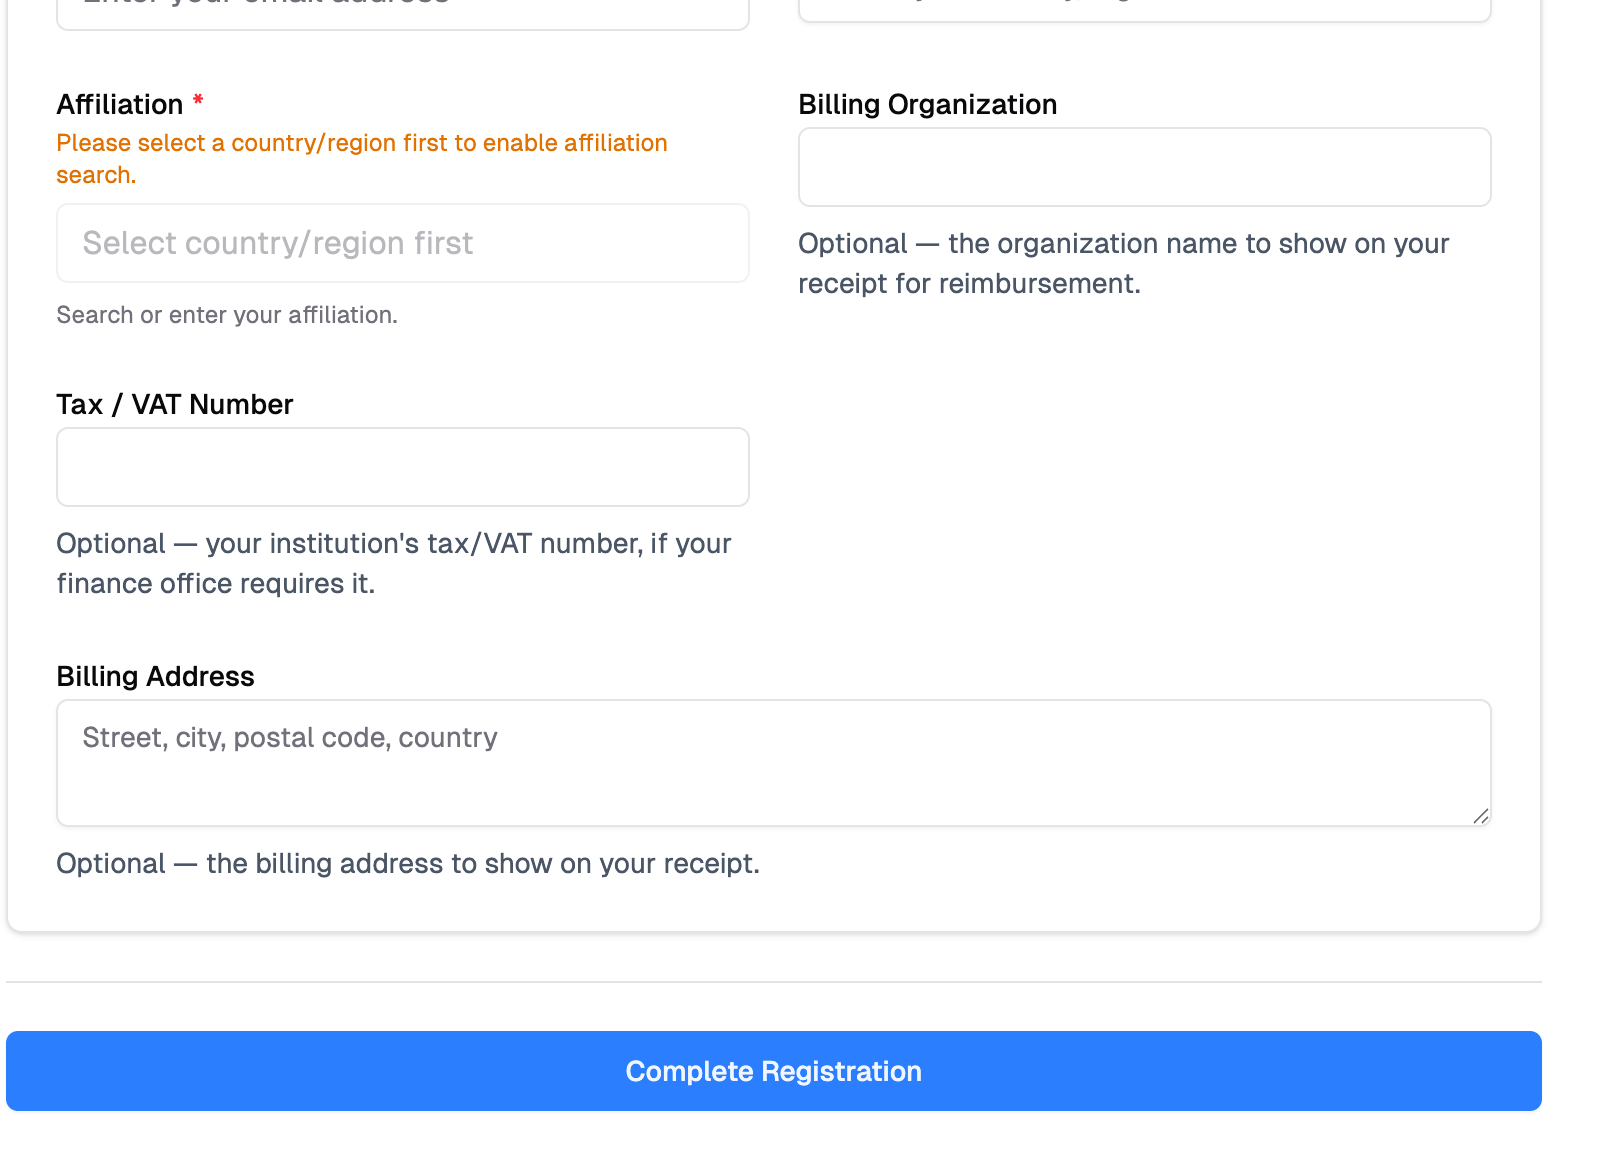 Leave them blank if you don't need them — they don't affect your registration. You can also add or change them later (see [Add Billing Details to Your Receipt](#add-billing-details-to-your-receipt)).
### Registration Types
Conferences may offer different registration types with varying prices (e.g., Student, Regular, Professional). Some types may have:
- **Limited capacity** — Shows "Only X left" when spots are running low
- **Availability windows** — Some types are only available during specific dates (e.g., Early Bird pricing ends March 31)
- **Expired types** — Shown as "Registration closed" so you know the option existed
- **Sold-out types** — Shown as "Sold out" when all spots are taken
### After Registration
- You'll receive a confirmation email with your registration details
- View your registrations under **Registrations** in the sidebar
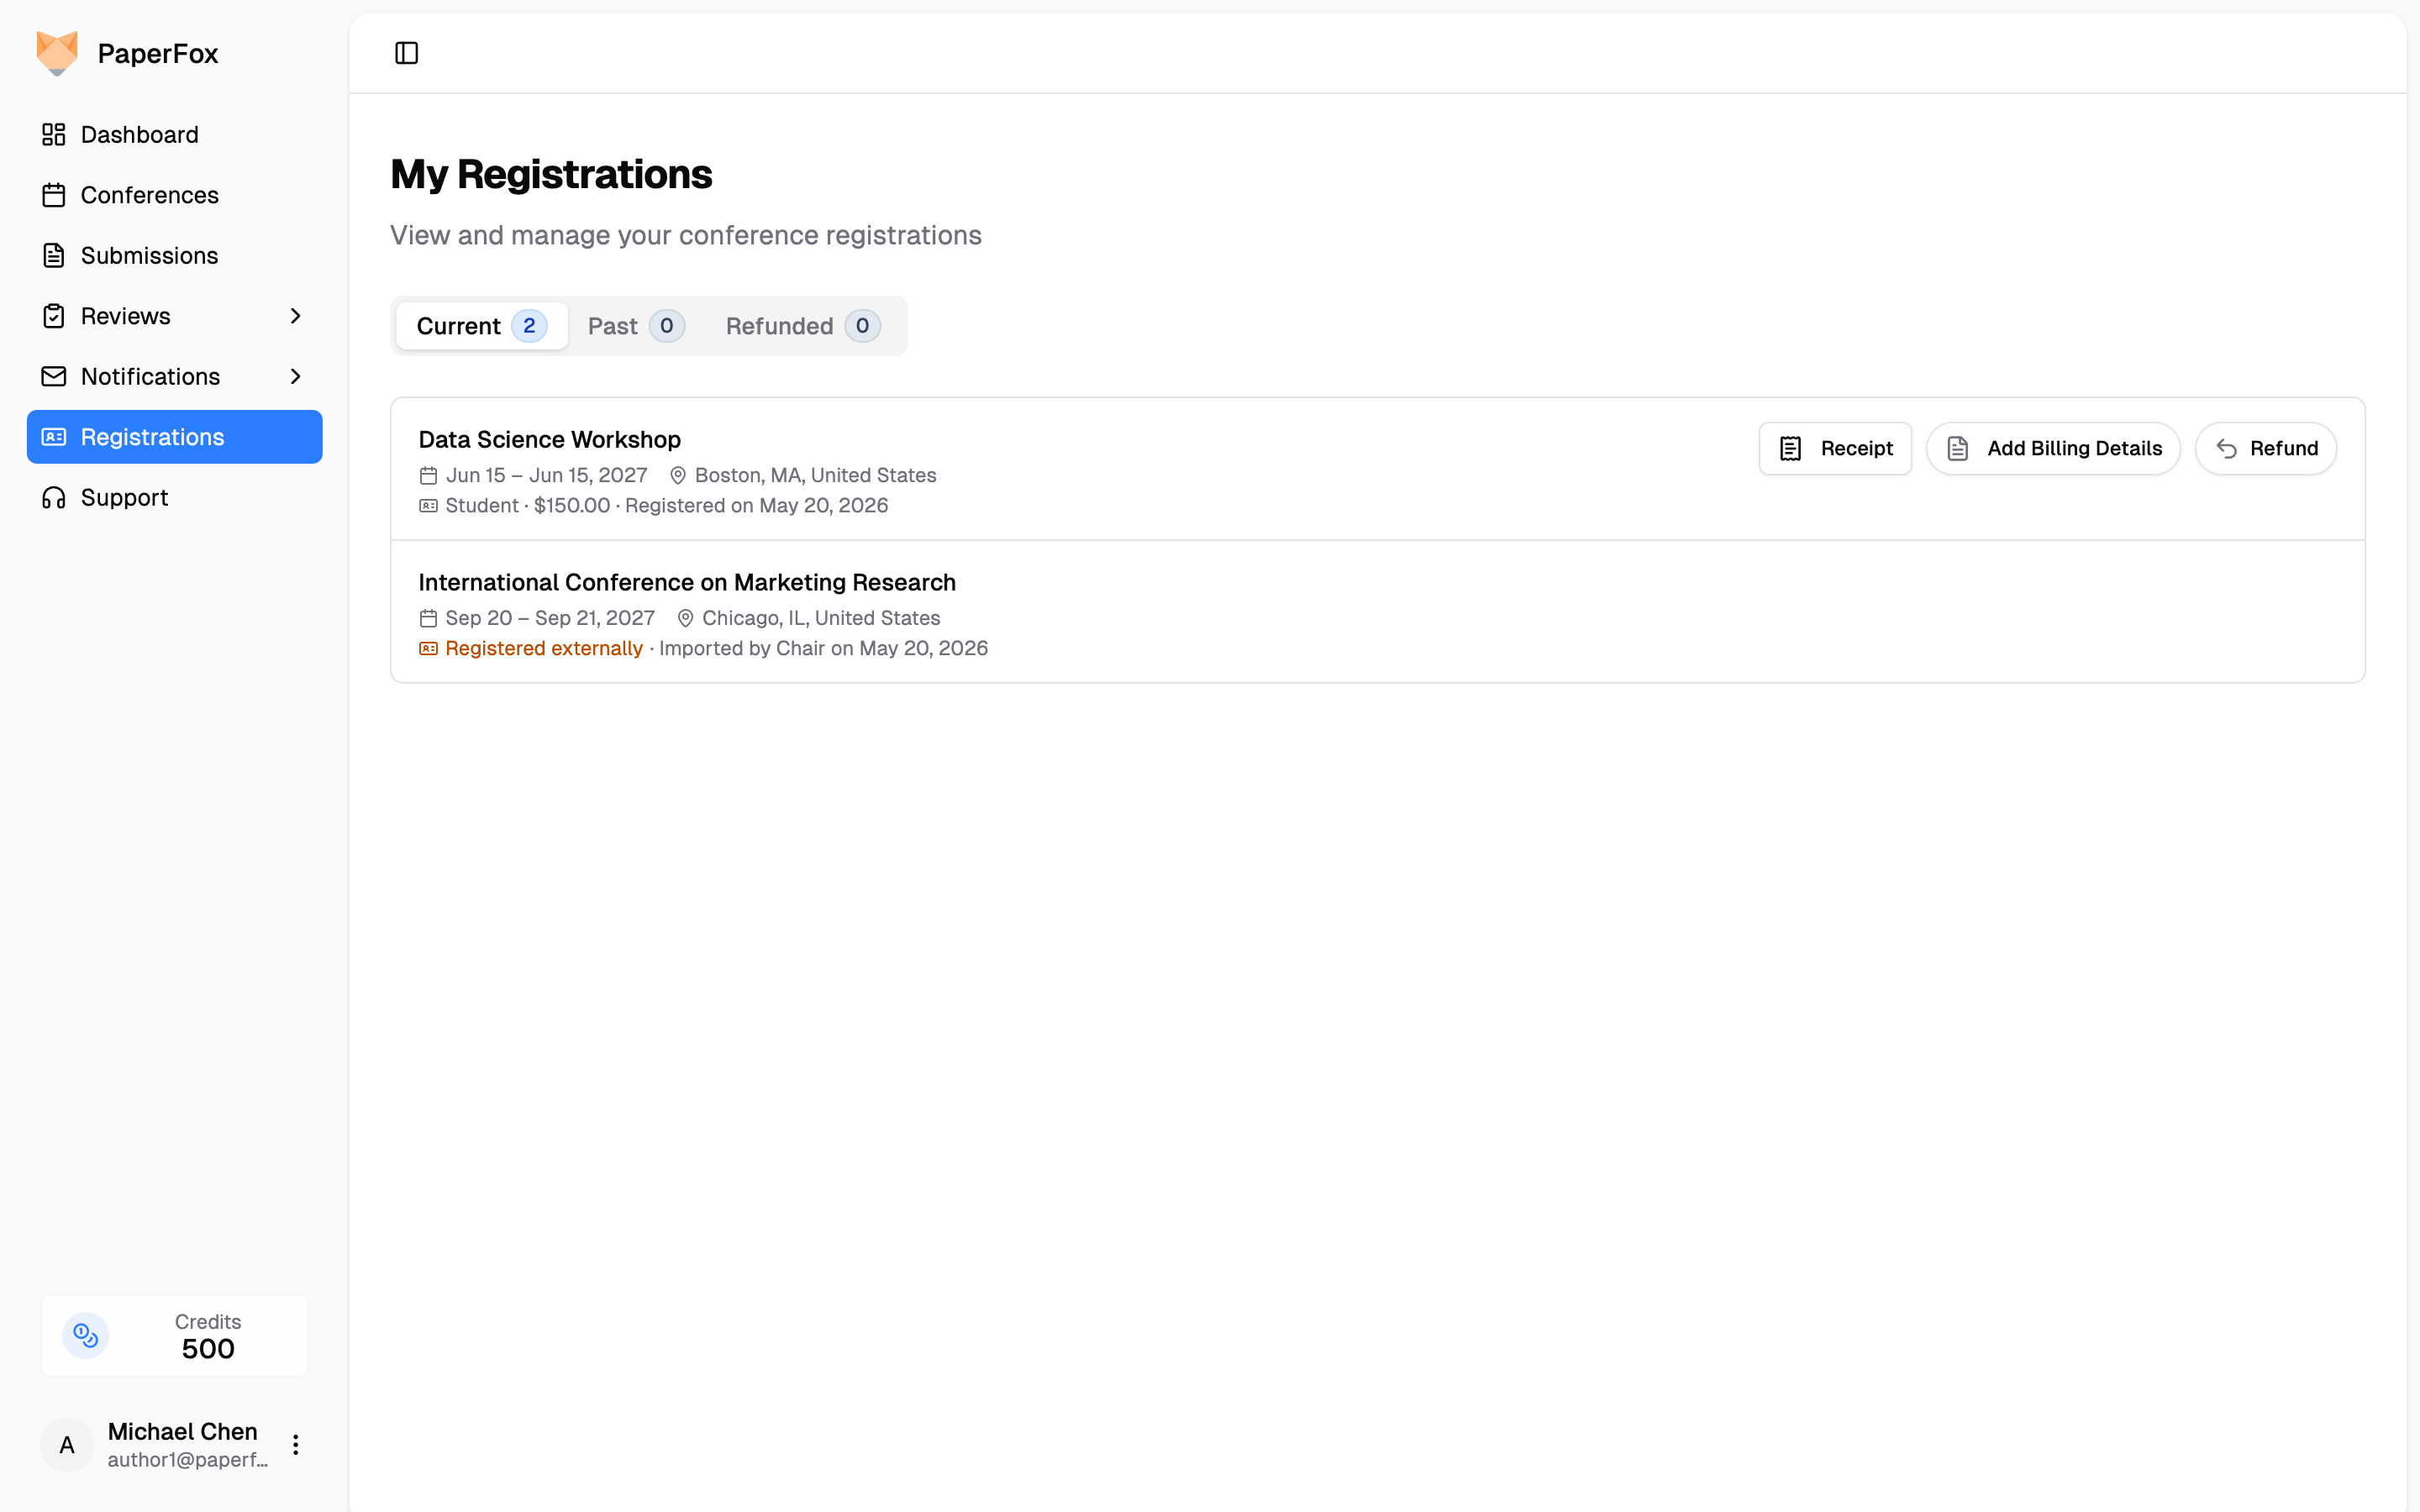
- If you need a refund, click **"Refund"** on your registration row. The dialog shows the conference's administrative fee and exactly what you'll receive before you submit.
While a refund is being reviewed, your registration stays on the **Current** tab with a "Refund pending" pill. Once the chair approves it, the registration moves to the **Refunded** tab.
### Download Your Receipt
Need a receipt for your records or an expense claim? Every paid registration has one.
1. Go to **Registrations** in the sidebar
2. On the paid registration's row, click **"Receipt"**
3. The receipt opens in a new tab — click **"Download PDF"** to save it, or use your browser's print option for a submission copy
Leave them blank if you don't need them — they don't affect your registration. You can also add or change them later (see [Add Billing Details to Your Receipt](#add-billing-details-to-your-receipt)).
### Registration Types
Conferences may offer different registration types with varying prices (e.g., Student, Regular, Professional). Some types may have:
- **Limited capacity** — Shows "Only X left" when spots are running low
- **Availability windows** — Some types are only available during specific dates (e.g., Early Bird pricing ends March 31)
- **Expired types** — Shown as "Registration closed" so you know the option existed
- **Sold-out types** — Shown as "Sold out" when all spots are taken
### After Registration
- You'll receive a confirmation email with your registration details
- View your registrations under **Registrations** in the sidebar
- If you need a refund, click **"Refund"** on your registration row. The dialog shows the conference's administrative fee and exactly what you'll receive before you submit.
While a refund is being reviewed, your registration stays on the **Current** tab with a "Refund pending" pill. Once the chair approves it, the registration moves to the **Refunded** tab.
### Download Your Receipt
Need a receipt for your records or an expense claim? Every paid registration has one.
1. Go to **Registrations** in the sidebar
2. On the paid registration's row, click **"Receipt"**
3. The receipt opens in a new tab — click **"Download PDF"** to save it, or use your browser's print option for a submission copy
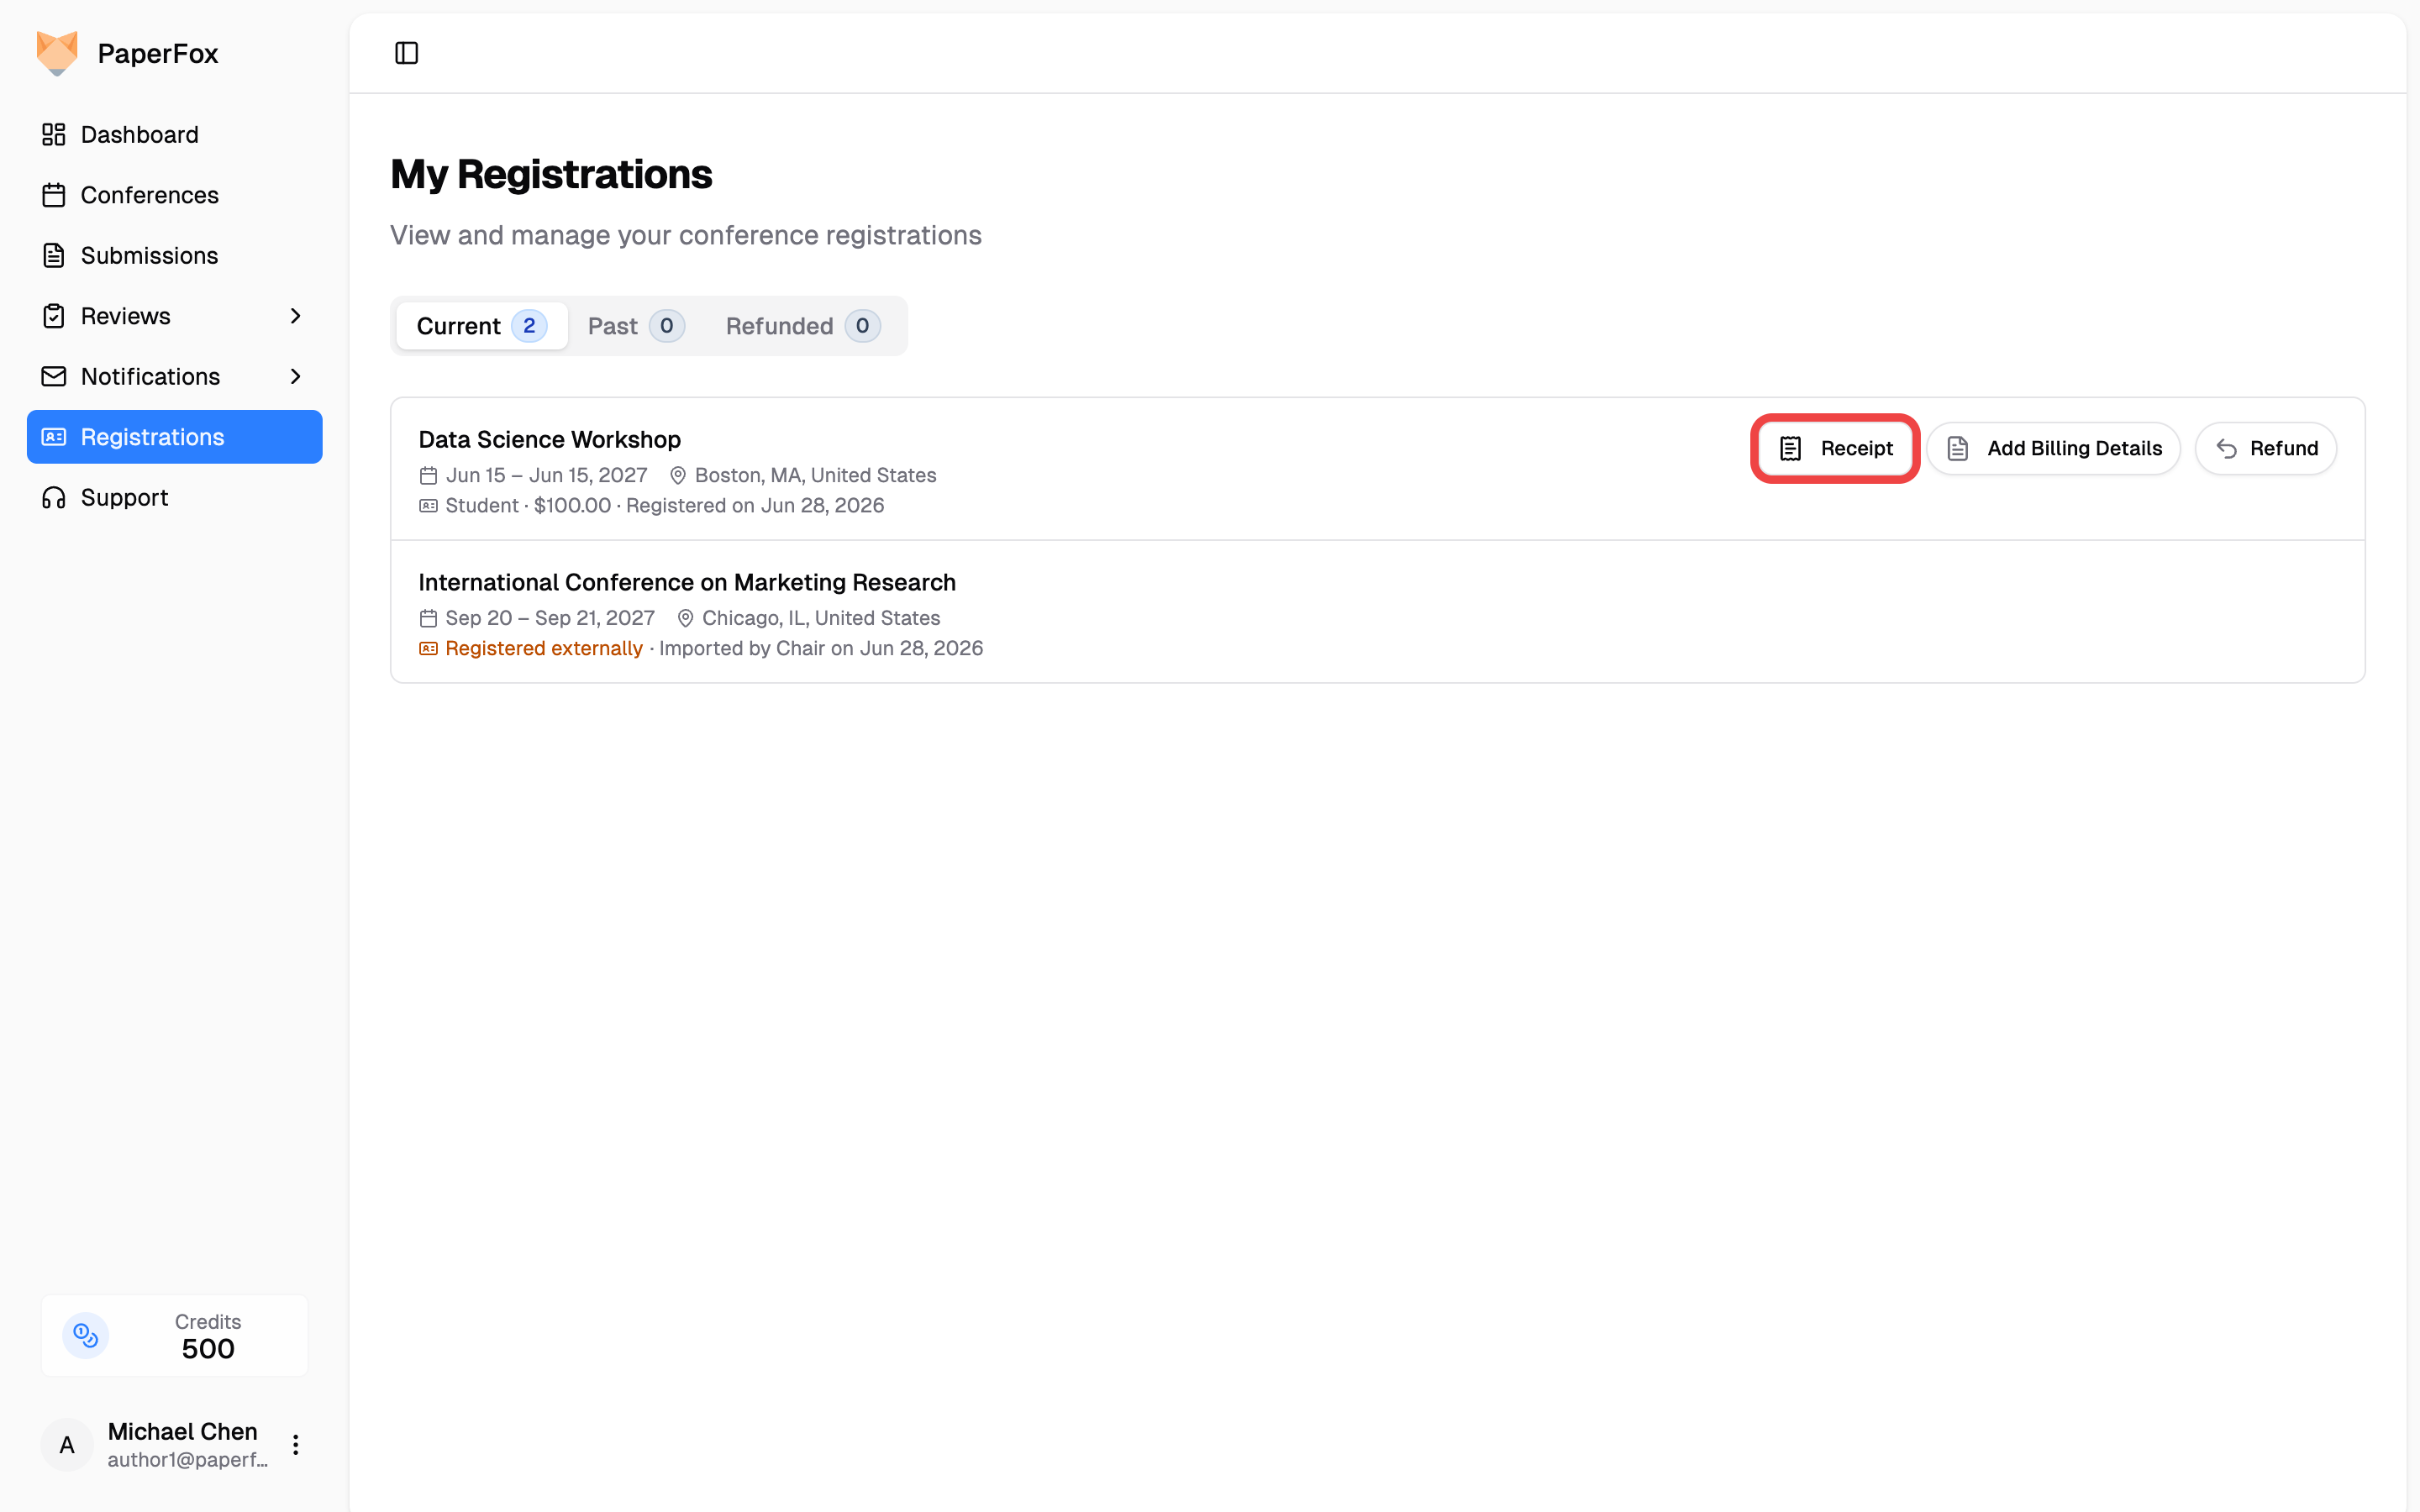
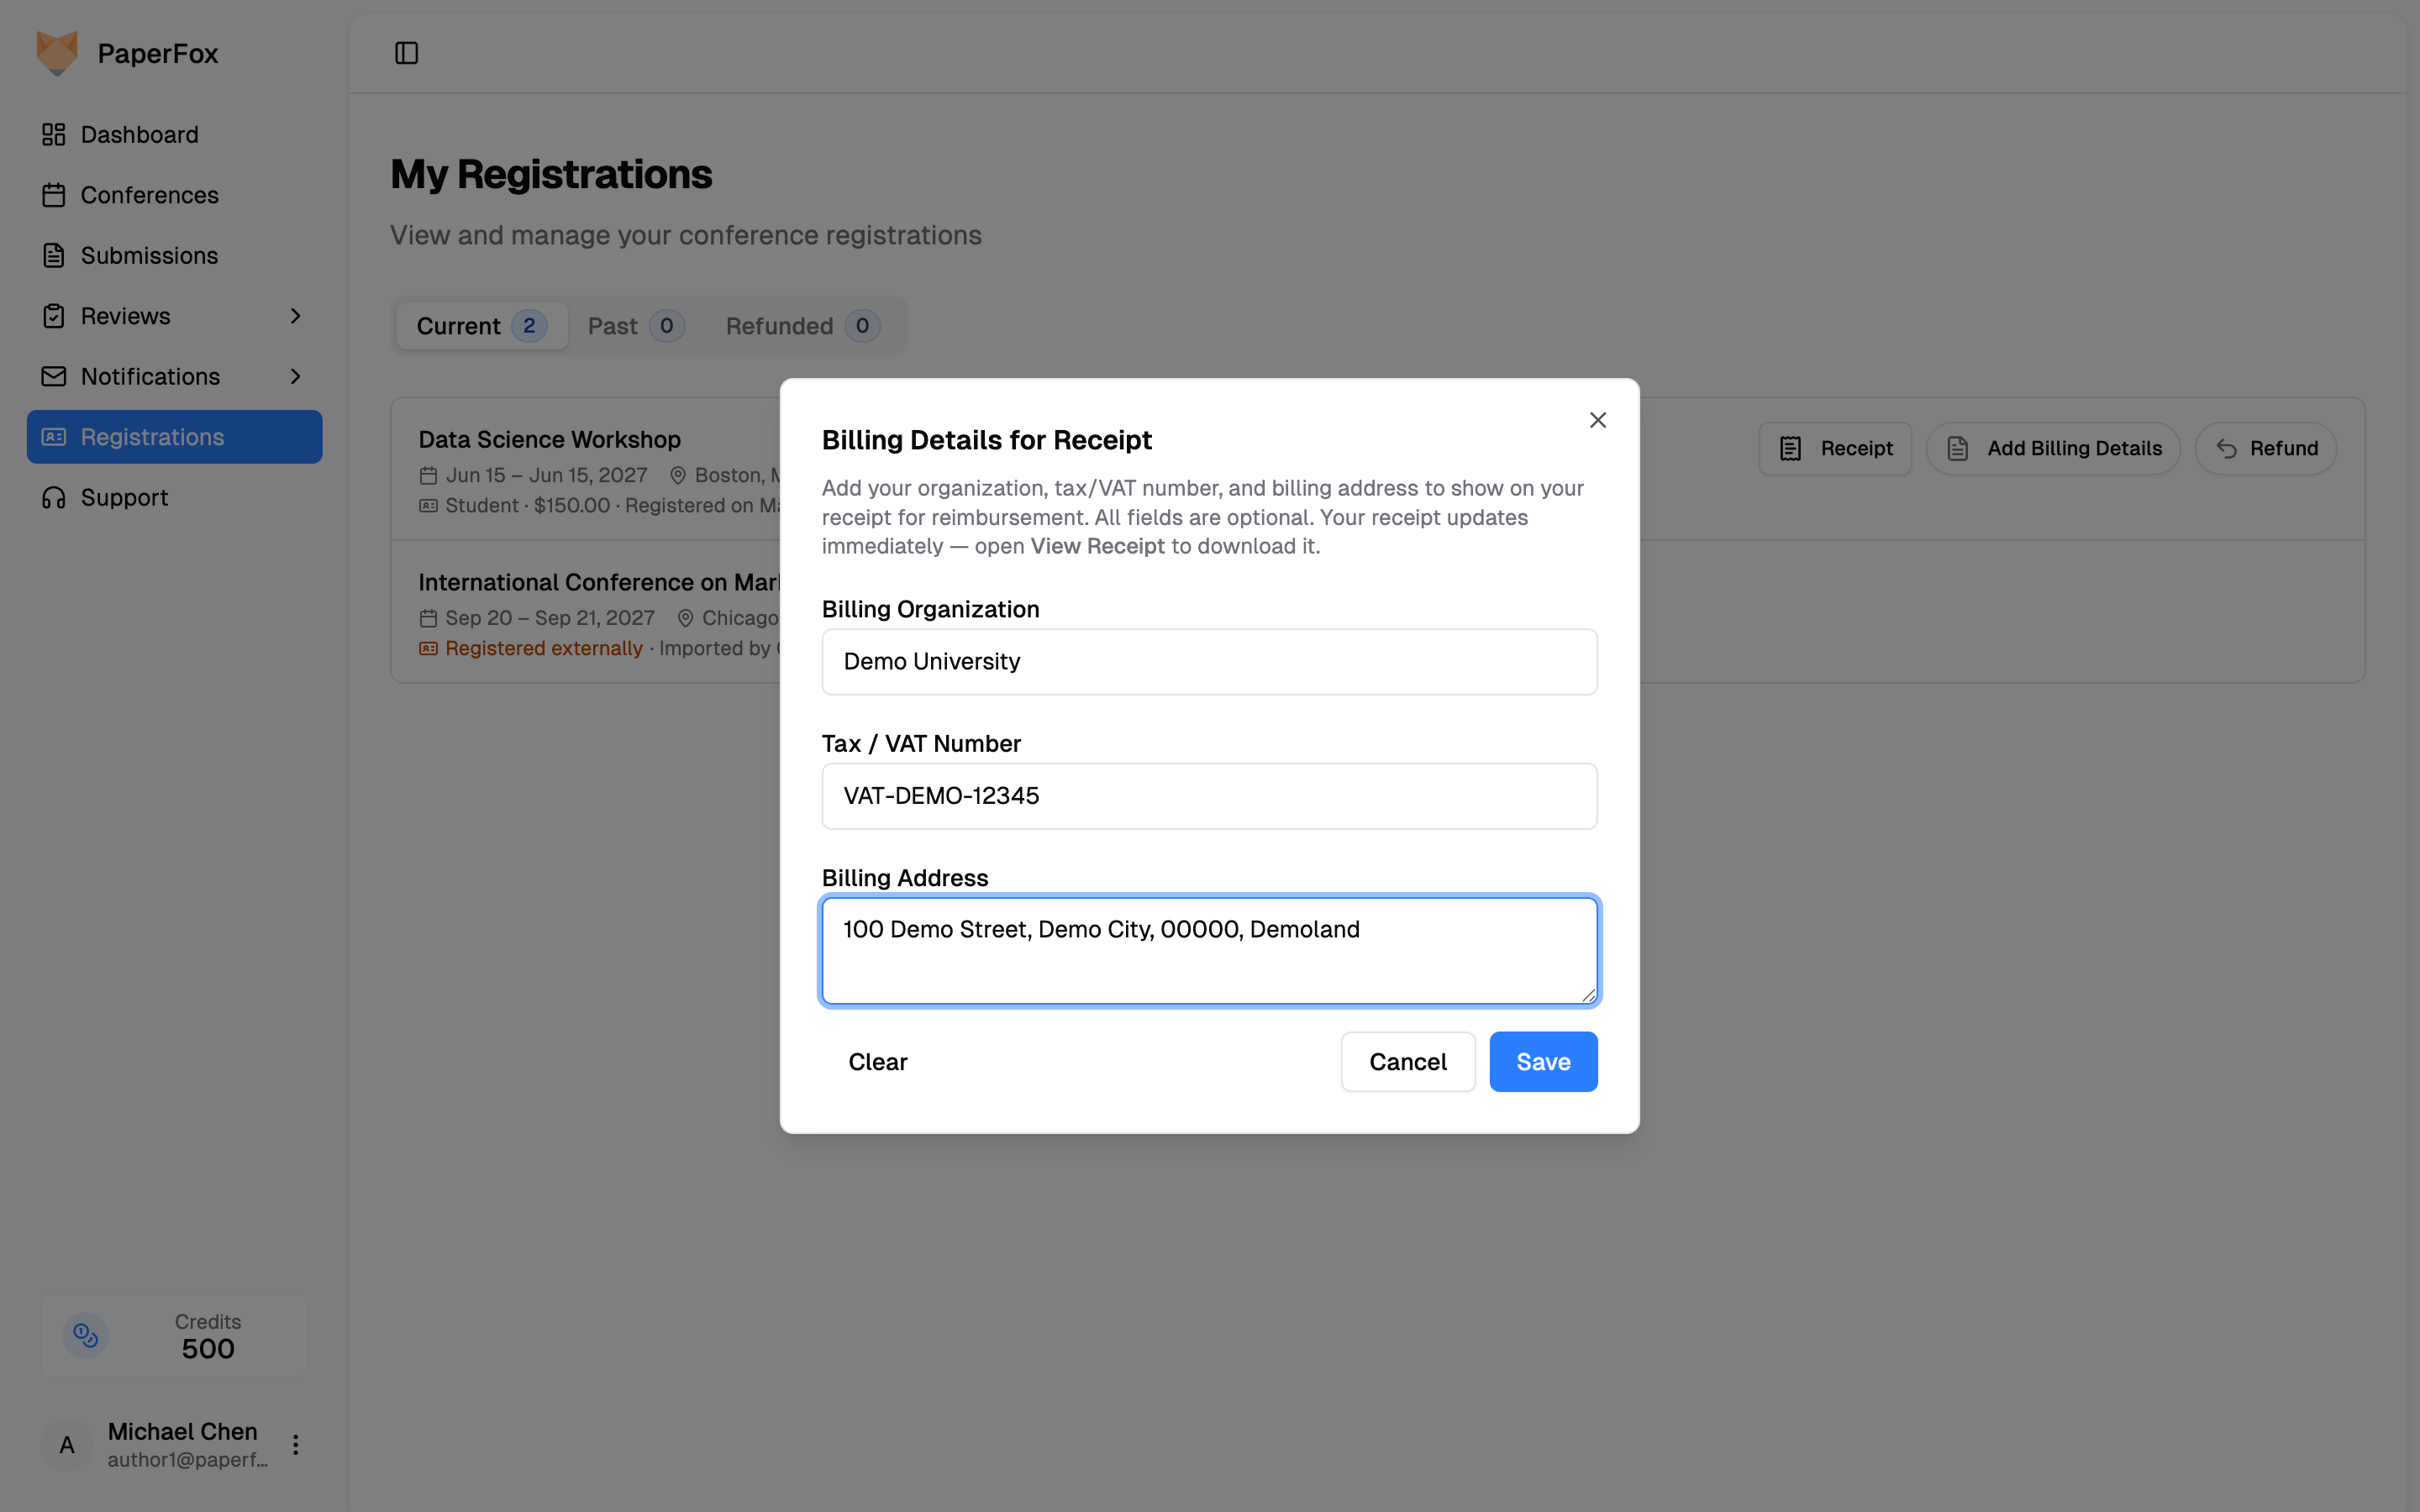 Your receipt updates immediately — open **"Receipt"** on the same row to view or download the updated version.
 ### How matching works
PaperFox matches by **email address** — the email the chair imported must equal your **current PaperFox account email**. The match is case-insensitive.
- **Same email used for both?** It just works. The conference shows up automatically.
- **You changed your PaperFox email after the chair imported you?** The match breaks. Your conference may stop showing on this page until the chair re-imports your new email.
- **You used a different email for the external registration?** Either change your PaperFox email to match, or ask the chair to import the email you used here.
If a conference you registered for externally isn't showing up, contact the conference chairs and ask them to import the email you have on this account.
---
# Edit a Submission
URL: https://paperfox.ai/docs/authors/edit-submission
Description: How to update author information, submission details, or files after submitting
You can edit a submission in two situations:
- **During the submission phase** — fix author information, update your abstract, replace files, or revise the submission before the deadline.
- **During camera ready (or another revision phase)** — upload the camera-ready PDF and update any new fields the chairs added for that phase.
The same edit form is used in both cases. What you see depends on the phase your submission is in.
## Find Your Submission
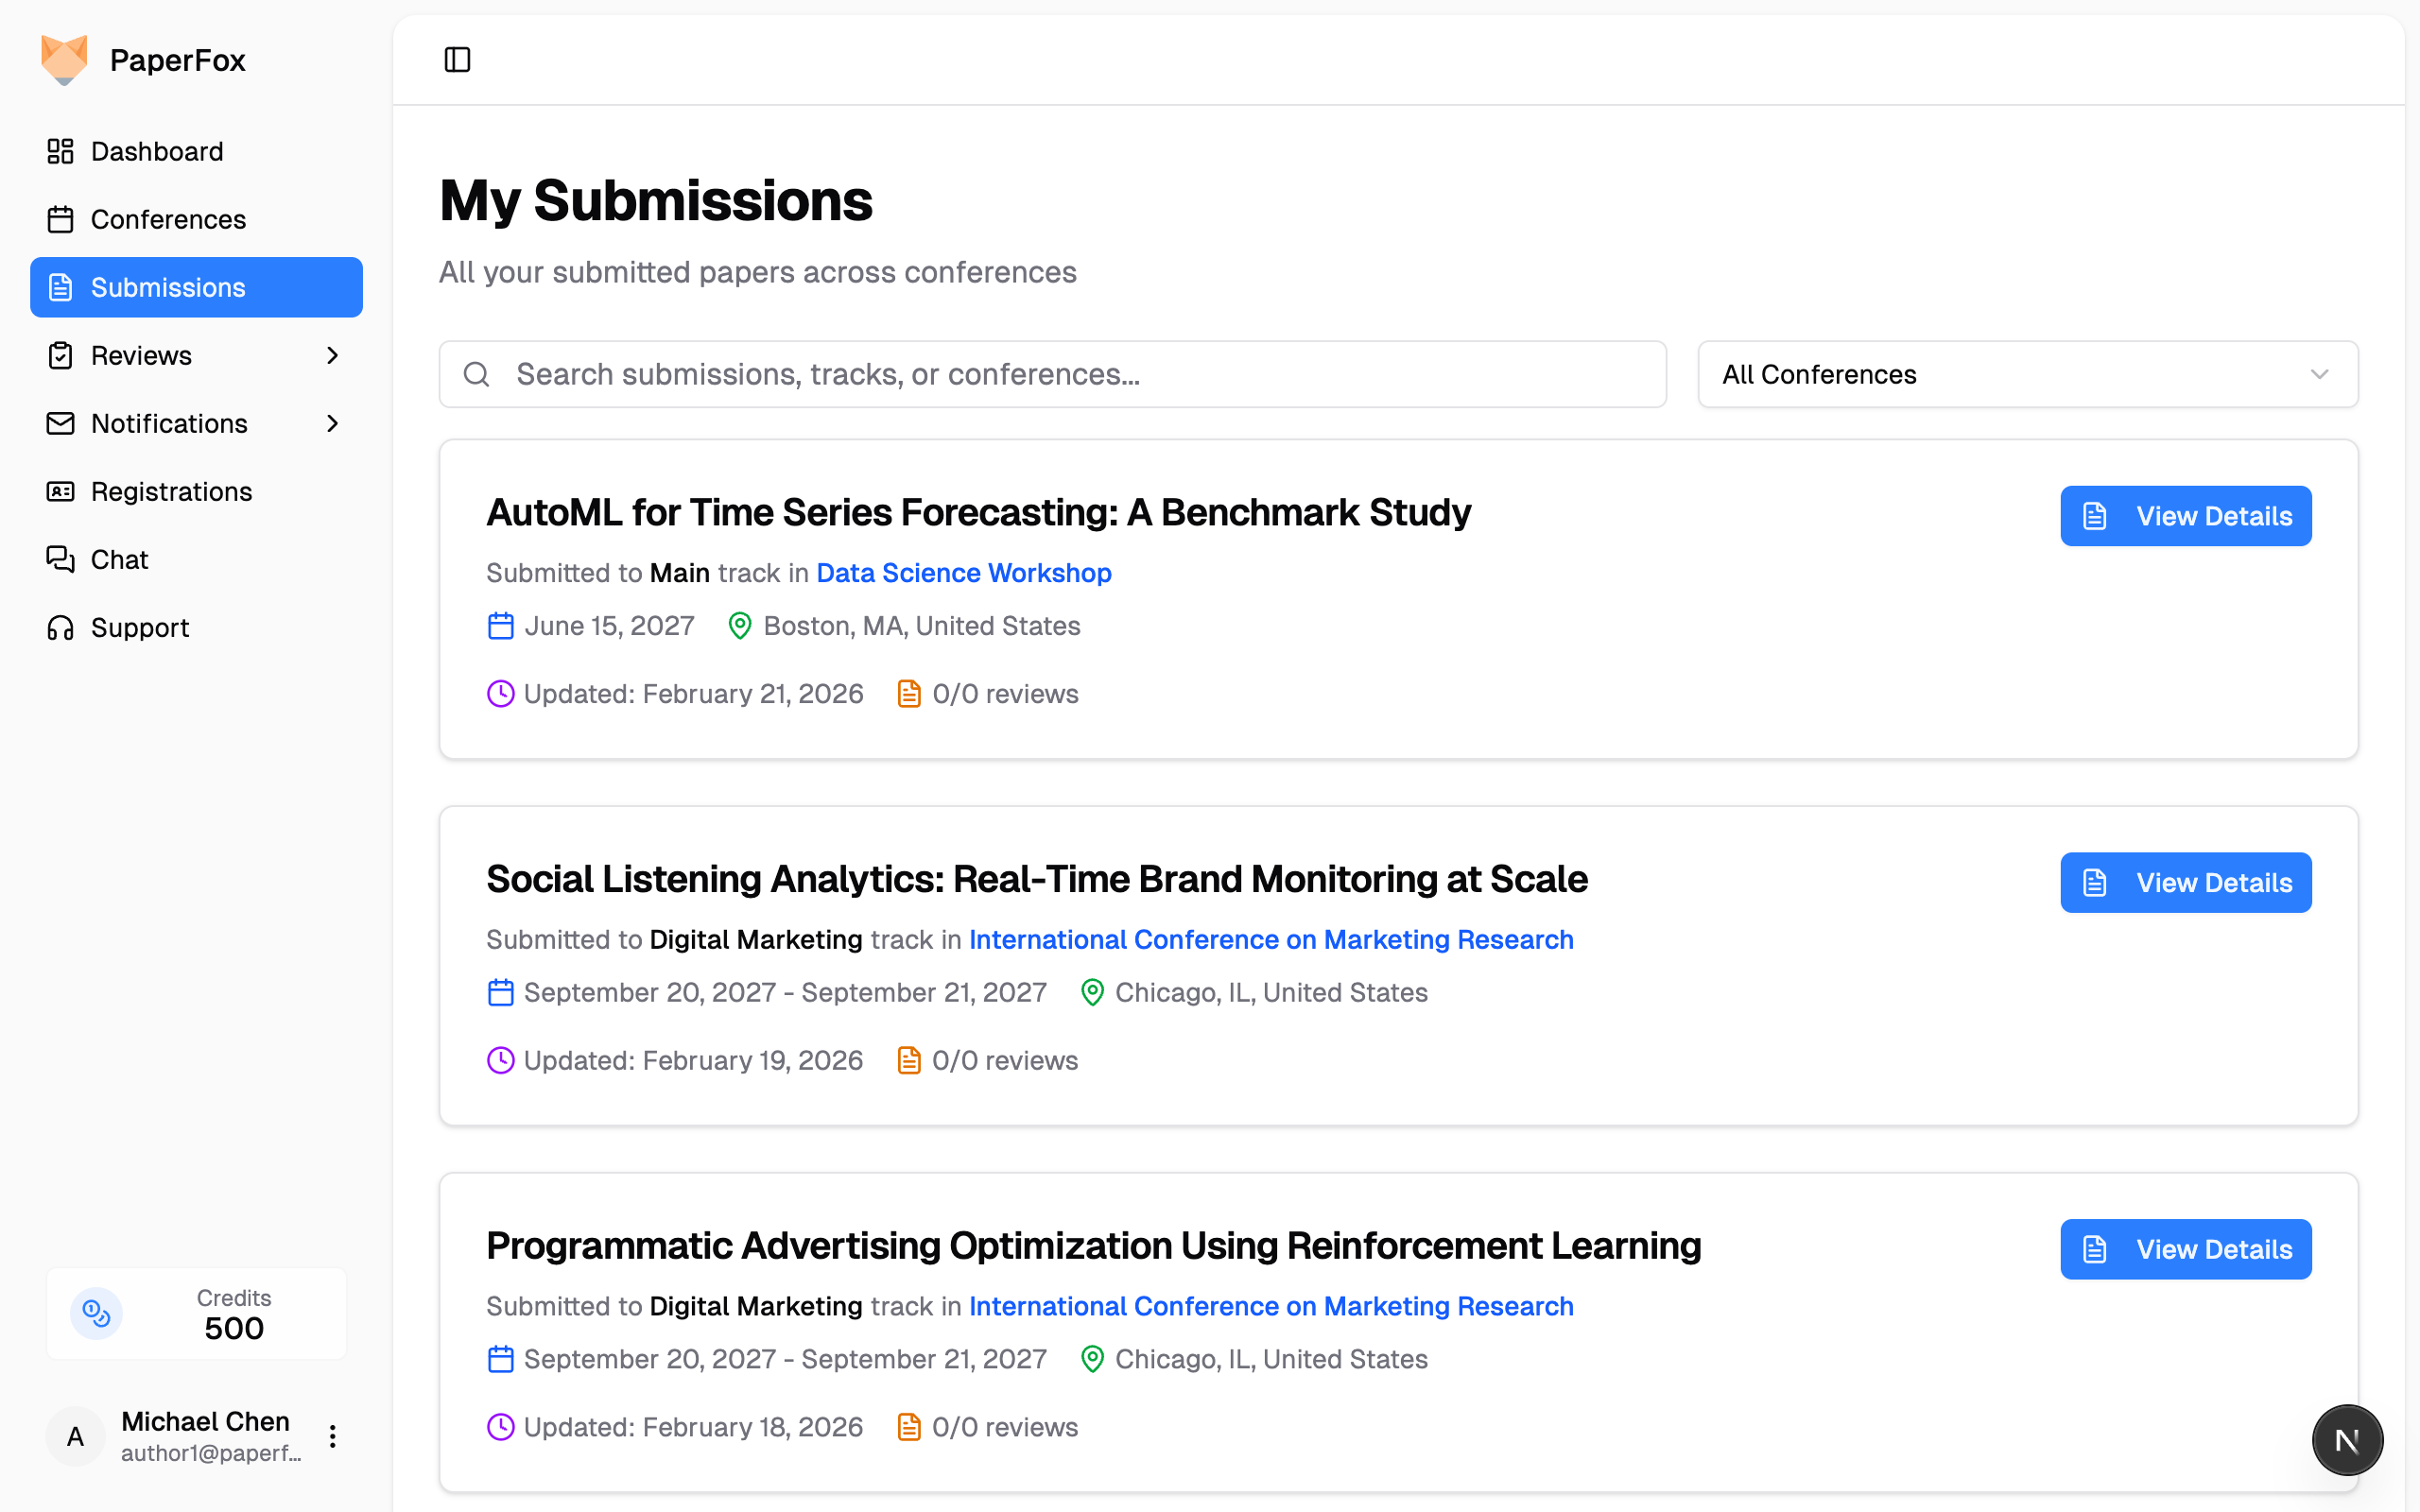
1. Click **"Submissions"** in the sidebar
2. Find the submission you want to edit and click **"View Details"**
### How matching works
PaperFox matches by **email address** — the email the chair imported must equal your **current PaperFox account email**. The match is case-insensitive.
- **Same email used for both?** It just works. The conference shows up automatically.
- **You changed your PaperFox email after the chair imported you?** The match breaks. Your conference may stop showing on this page until the chair re-imports your new email.
- **You used a different email for the external registration?** Either change your PaperFox email to match, or ask the chair to import the email you used here.
If a conference you registered for externally isn't showing up, contact the conference chairs and ask them to import the email you have on this account.
---
# Edit a Submission
URL: https://paperfox.ai/docs/authors/edit-submission
Description: How to update author information, submission details, or files after submitting
You can edit a submission in two situations:
- **During the submission phase** — fix author information, update your abstract, replace files, or revise the submission before the deadline.
- **During camera ready (or another revision phase)** — upload the camera-ready PDF and update any new fields the chairs added for that phase.
The same edit form is used in both cases. What you see depends on the phase your submission is in.
## Find Your Submission
1. Click **"Submissions"** in the sidebar
2. Find the submission you want to edit and click **"View Details"**
 ## Open the Edit Form
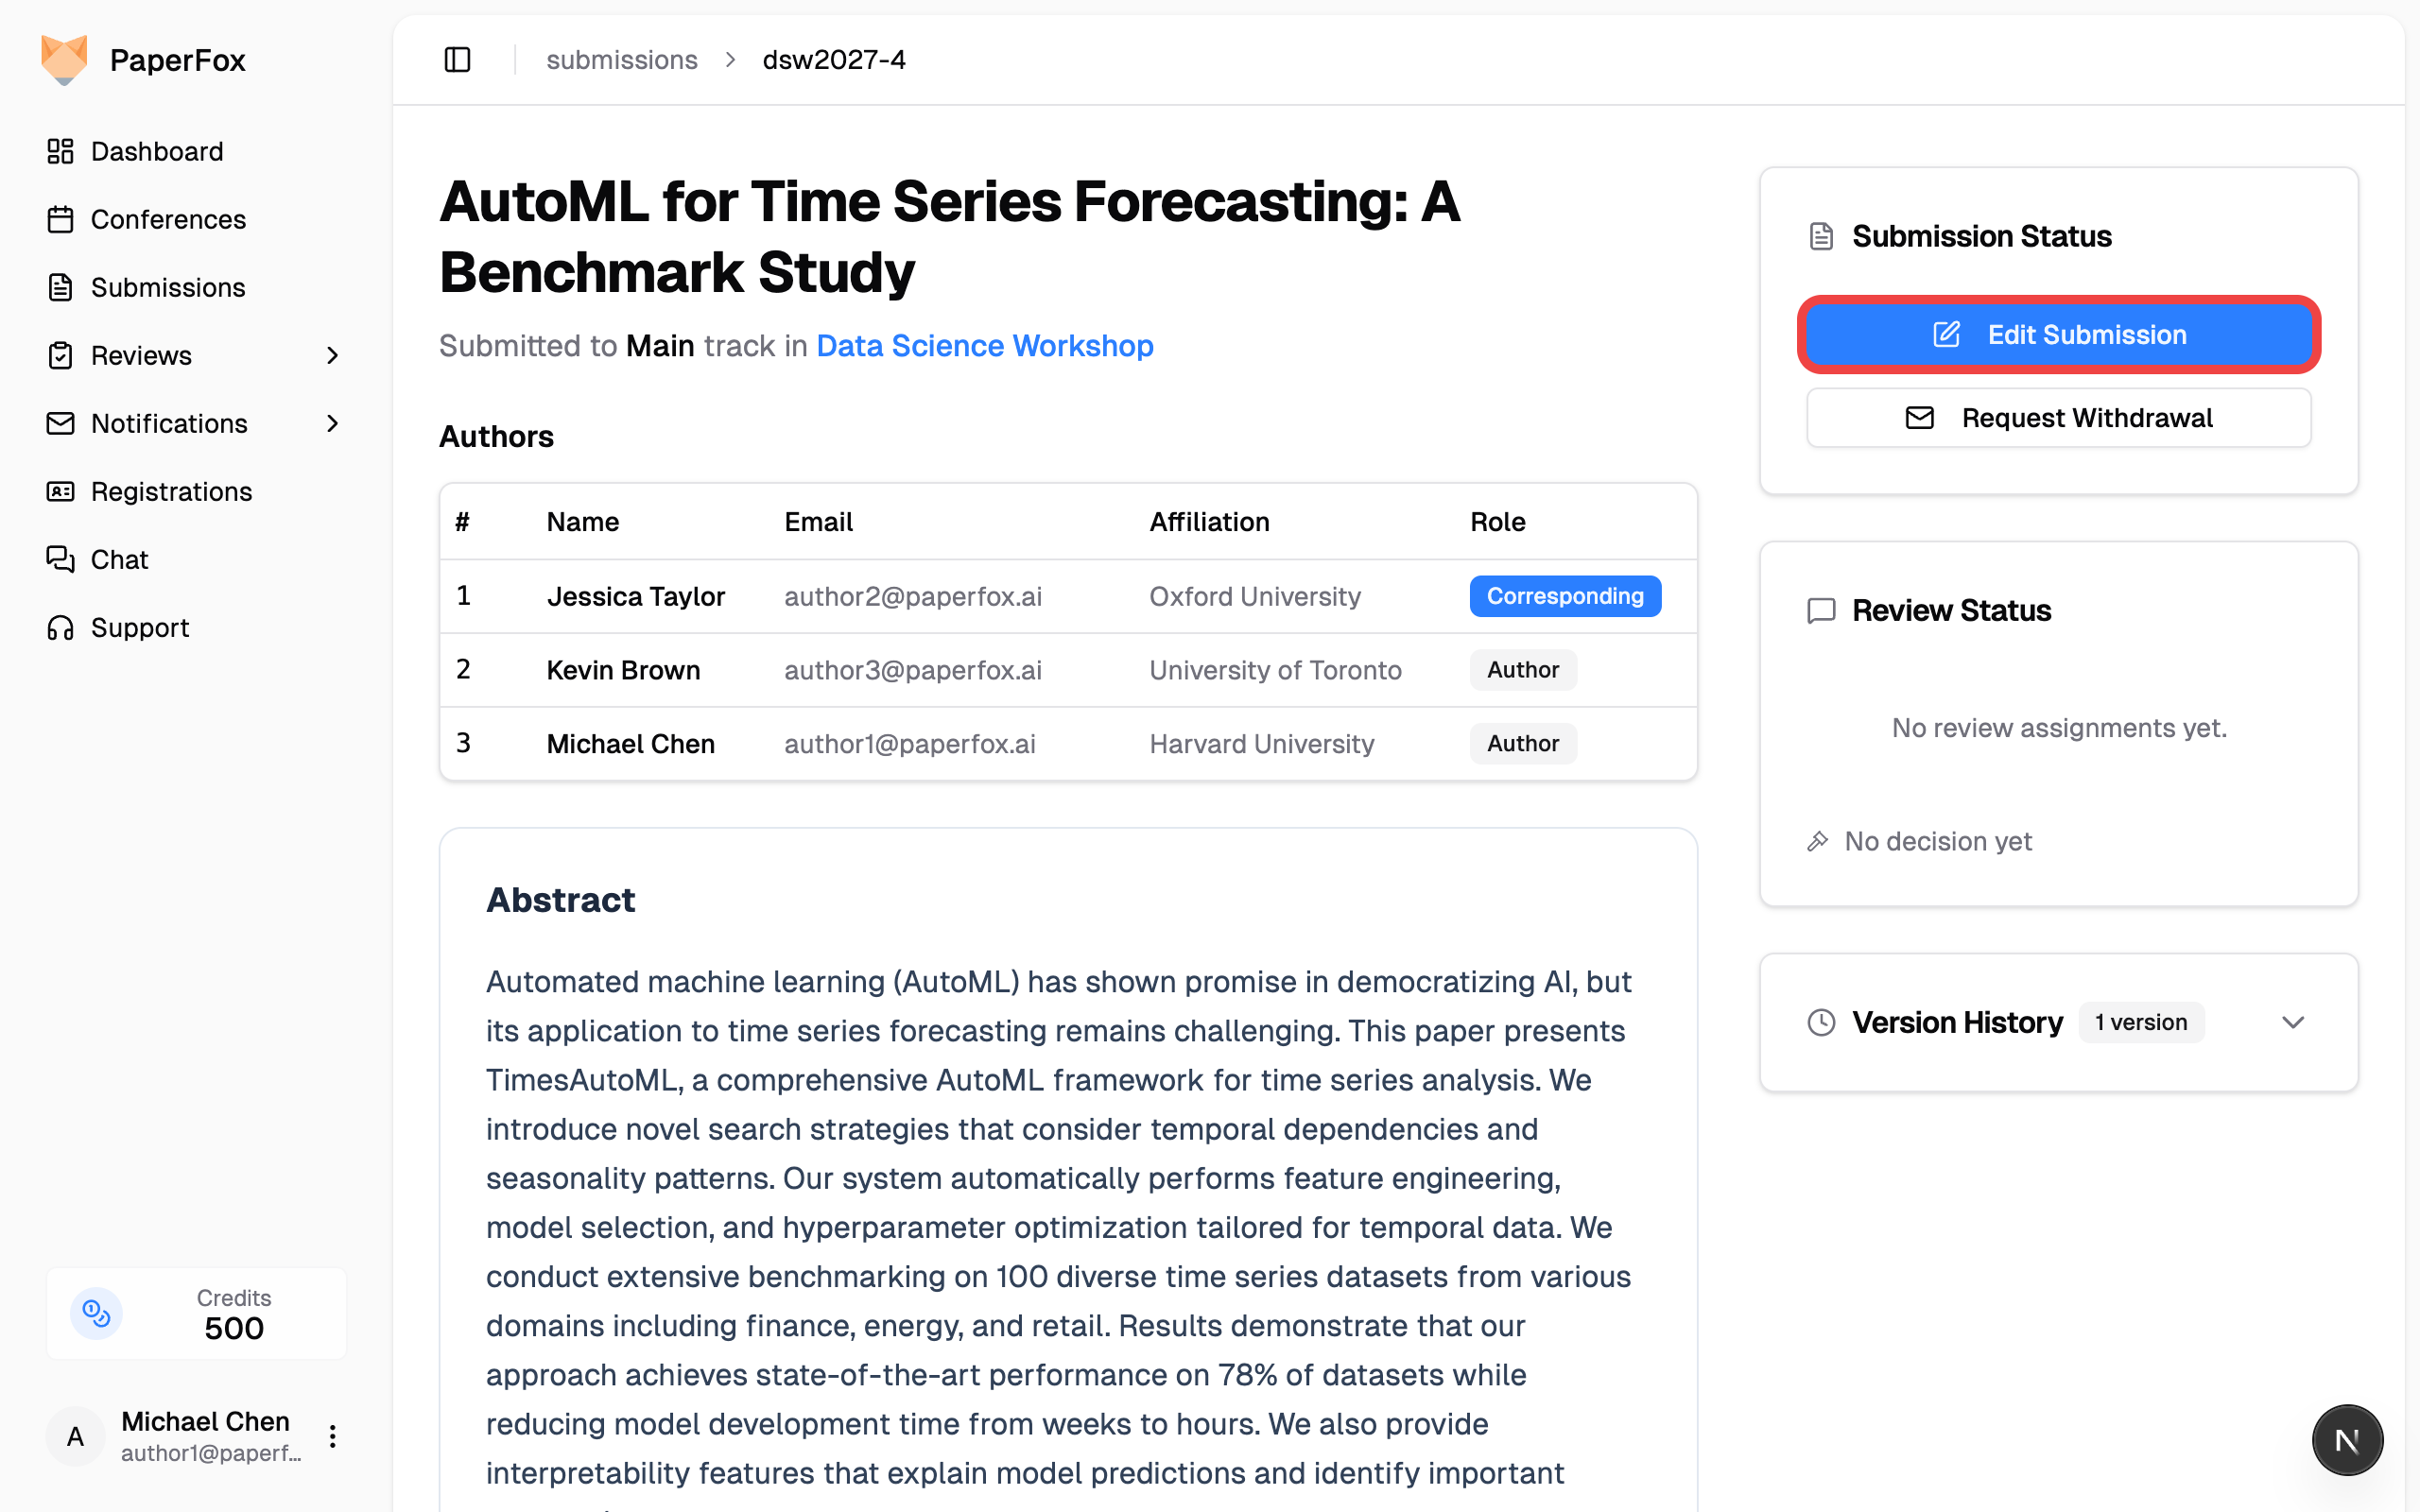
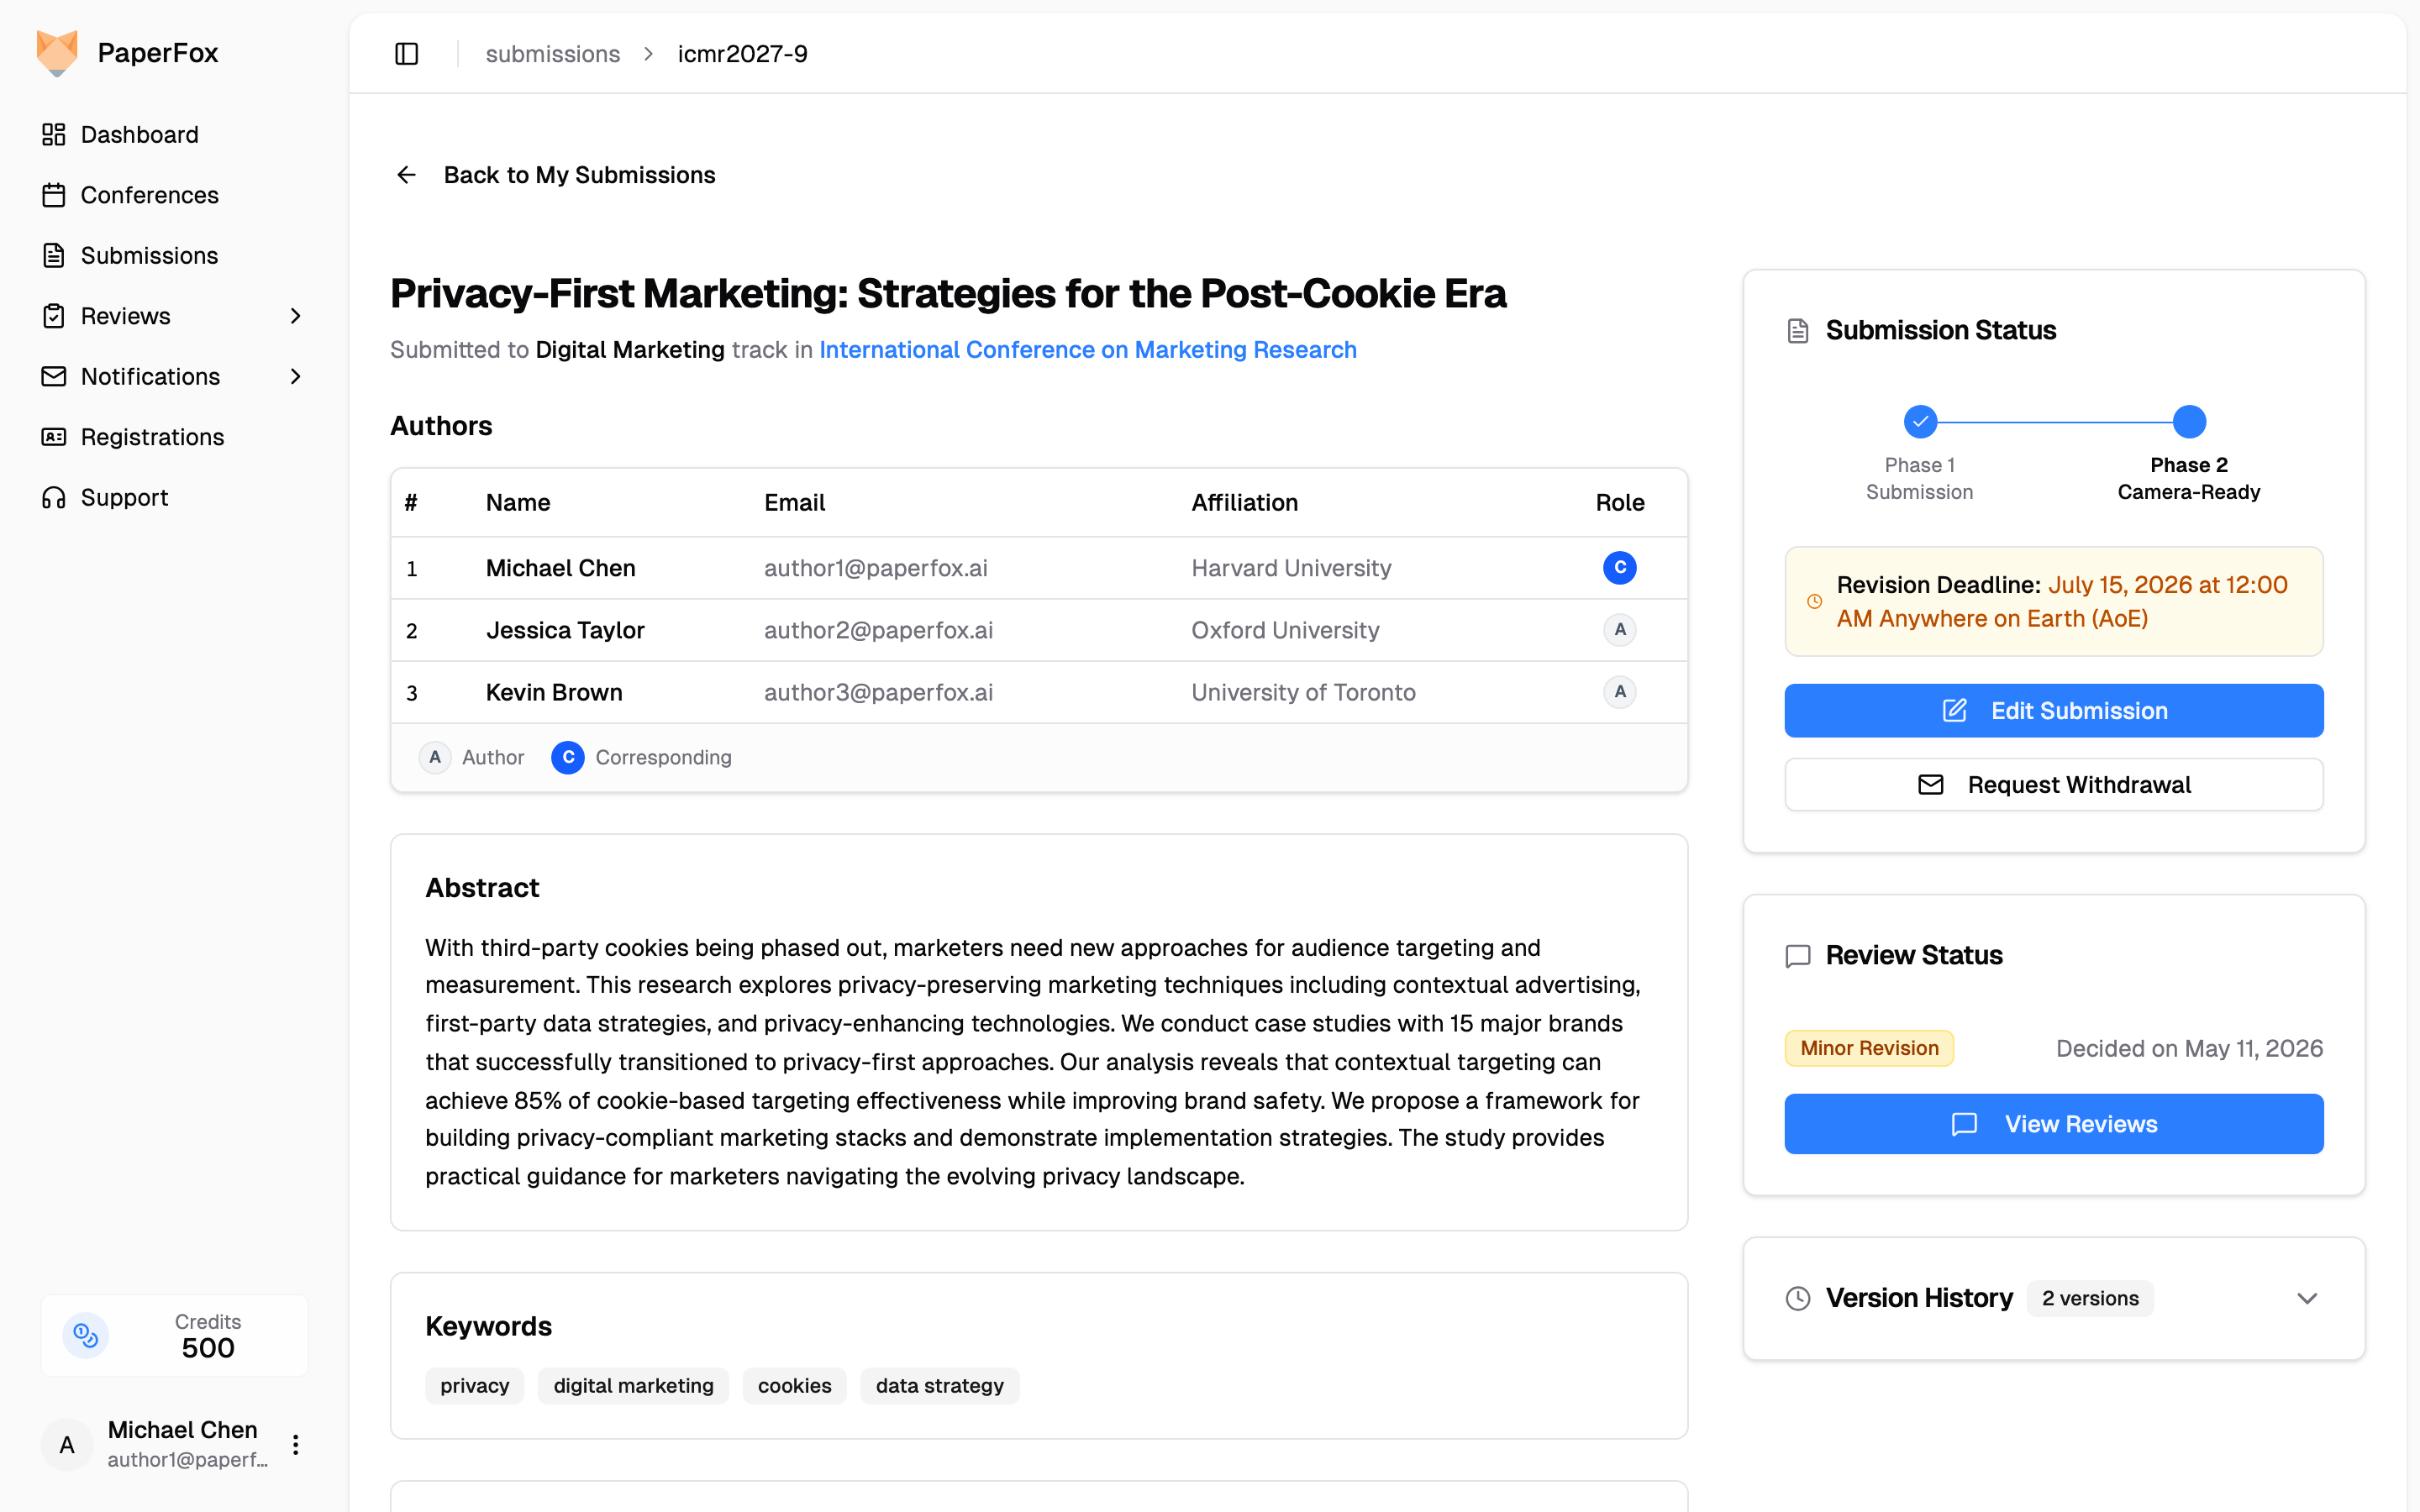
On the submission detail page, click the **"Edit Submission"** button in the right sidebar under **Submission Status**.
## Open the Edit Form
On the submission detail page, click the **"Edit Submission"** button in the right sidebar under **Submission Status**.
 ## Update Your Submission
The form is pre-filled with your current data and shows every field configured for the phase your submission is in — so the fields you see may differ between the initial submission window and a later revision round.
You can typically update:
- **Title** and **Abstract**
- **Author information** — names, emails, affiliations, country, and corresponding author designation
- **Keywords**
- **Uploaded files** — replace your submission PDF
- **Phase-specific fields** — anything chairs added for the current phase (for example, a "Camera Ready PDF" upload field that only appears once the camera-ready phase begins)
## Update Your Submission
The form is pre-filled with your current data and shows every field configured for the phase your submission is in — so the fields you see may differ between the initial submission window and a later revision round.
You can typically update:
- **Title** and **Abstract**
- **Author information** — names, emails, affiliations, country, and corresponding author designation
- **Keywords**
- **Uploaded files** — replace your submission PDF
- **Phase-specific fields** — anything chairs added for the current phase (for example, a "Camera Ready PDF" upload field that only appears once the camera-ready phase begins)
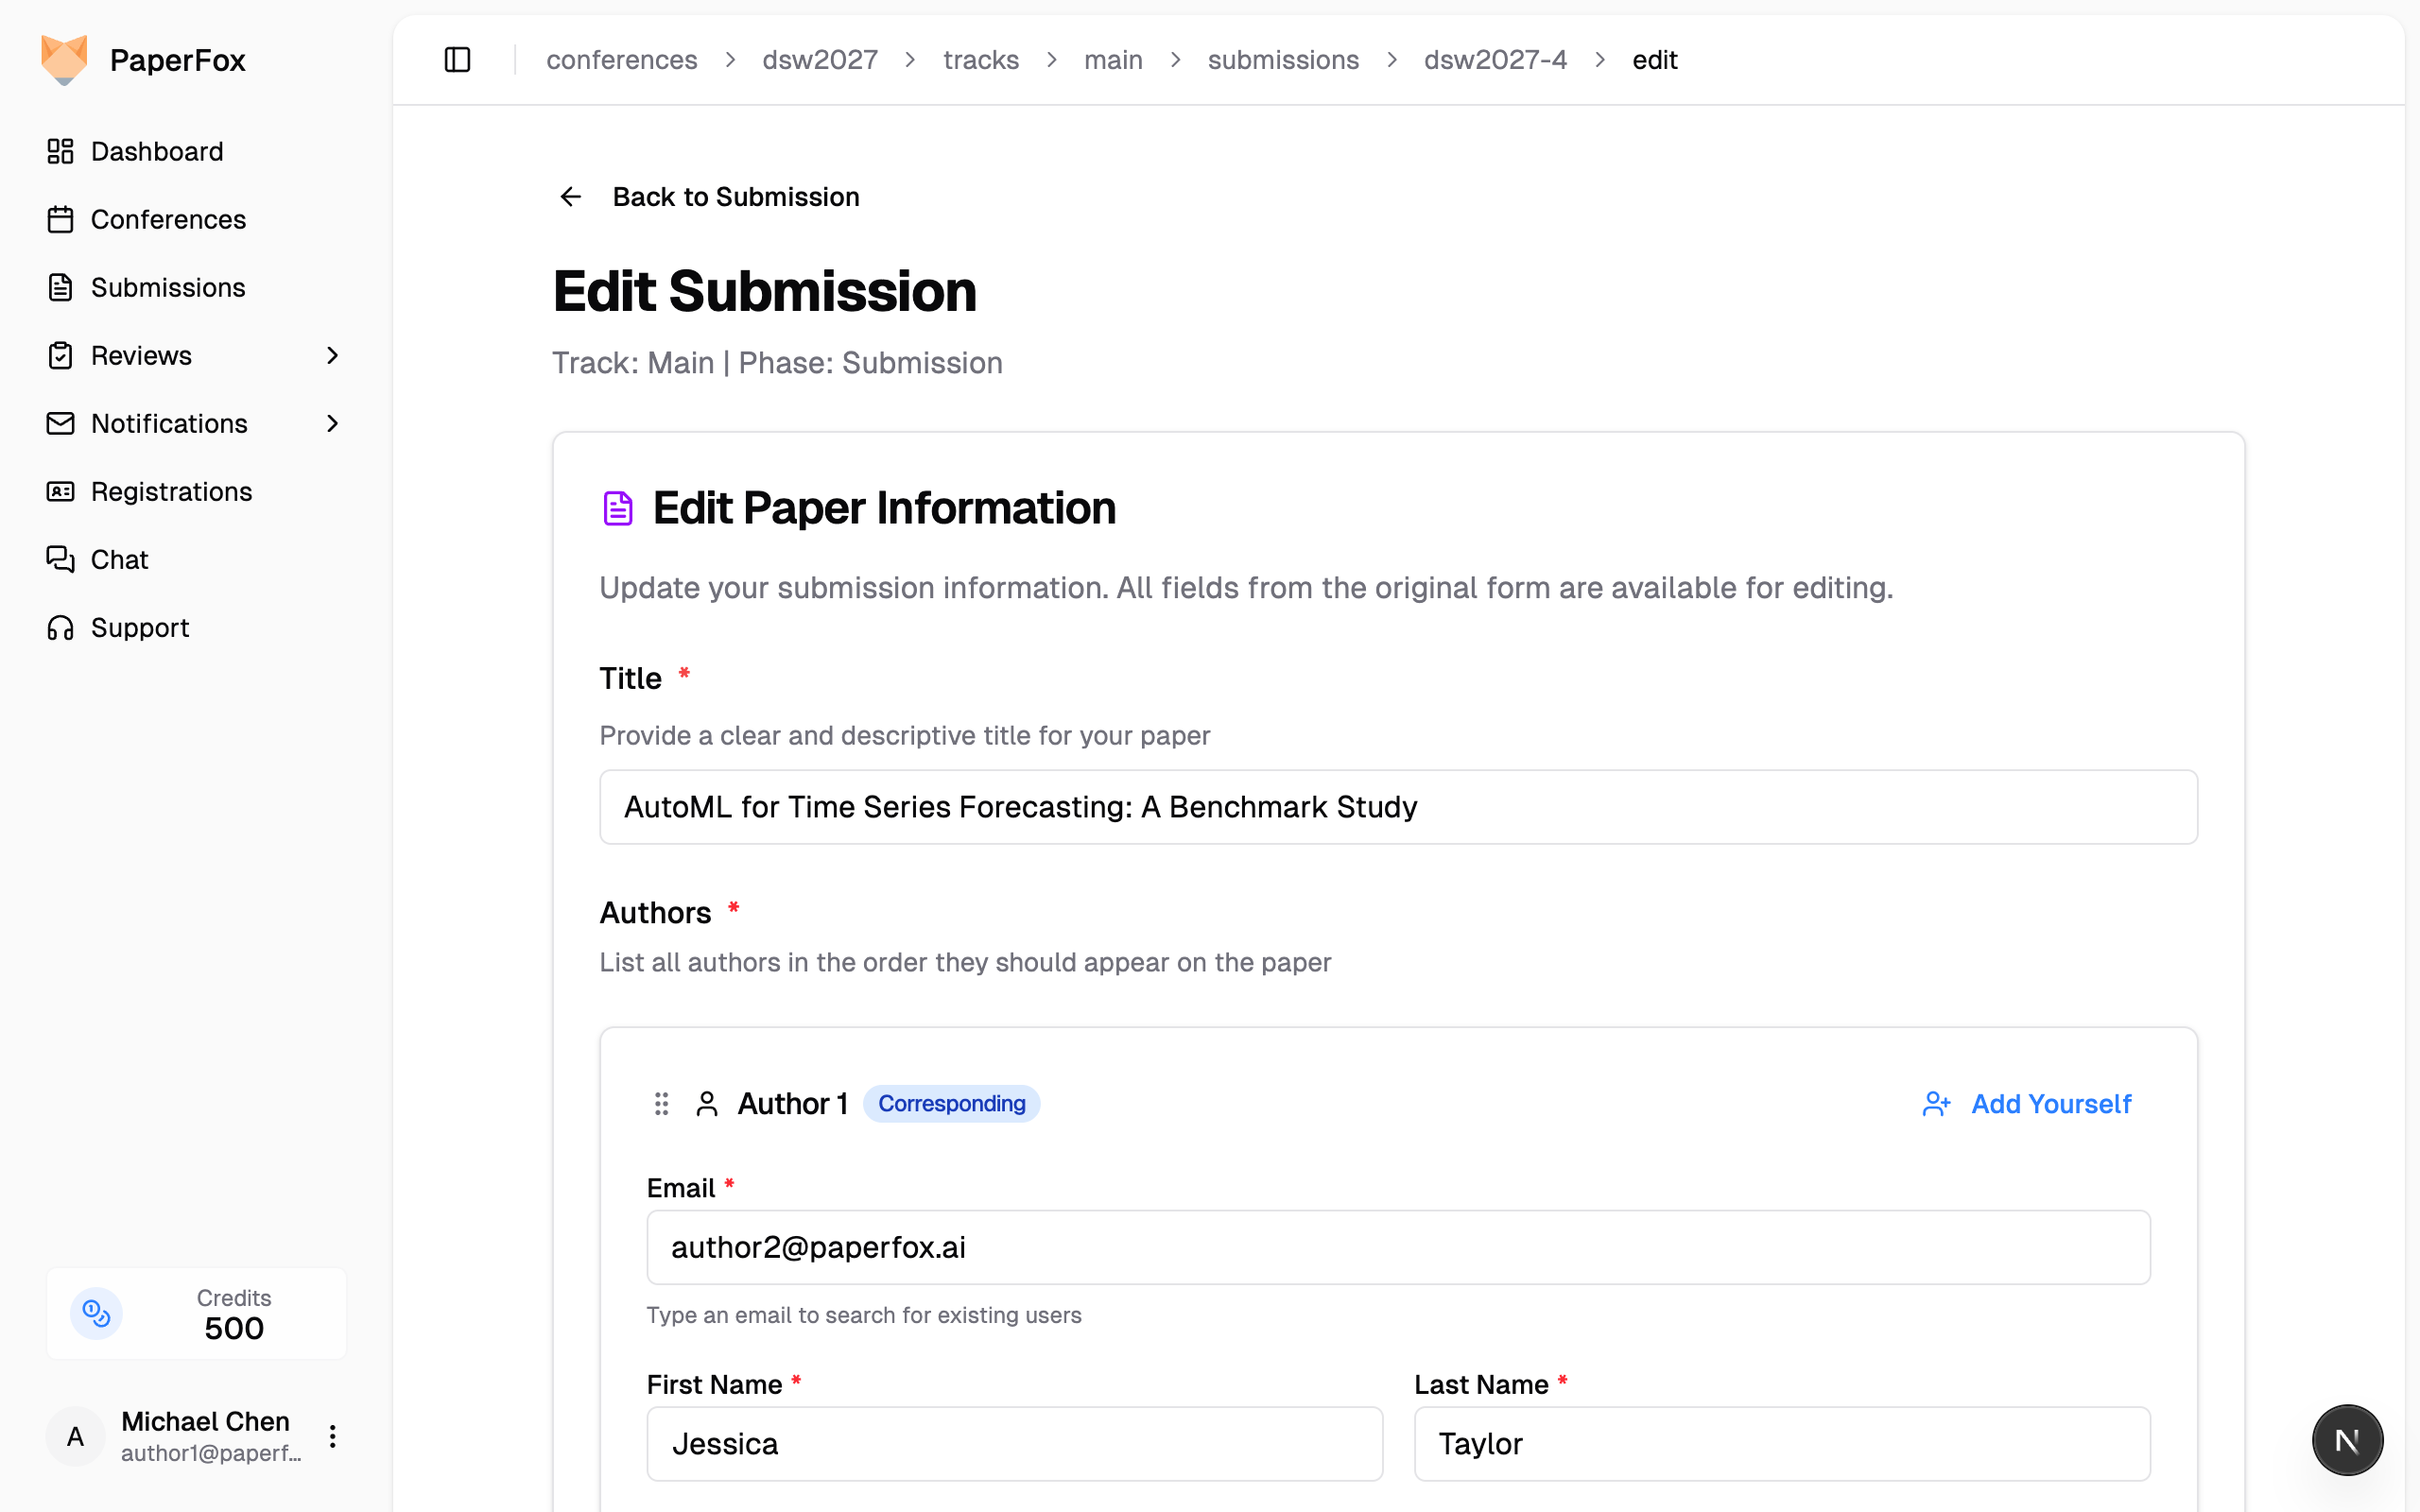 To update a co-author's affiliation, find their author card in the form and edit the **Affiliation** field directly.
## Replace the Submission File
When a file is already attached, the file card shows three controls: **View**, **Replace**, and the trash icon.
To update a co-author's affiliation, find their author card in the form and edit the **Affiliation** field directly.
## Replace the Submission File
When a file is already attached, the file card shows three controls: **View**, **Replace**, and the trash icon.
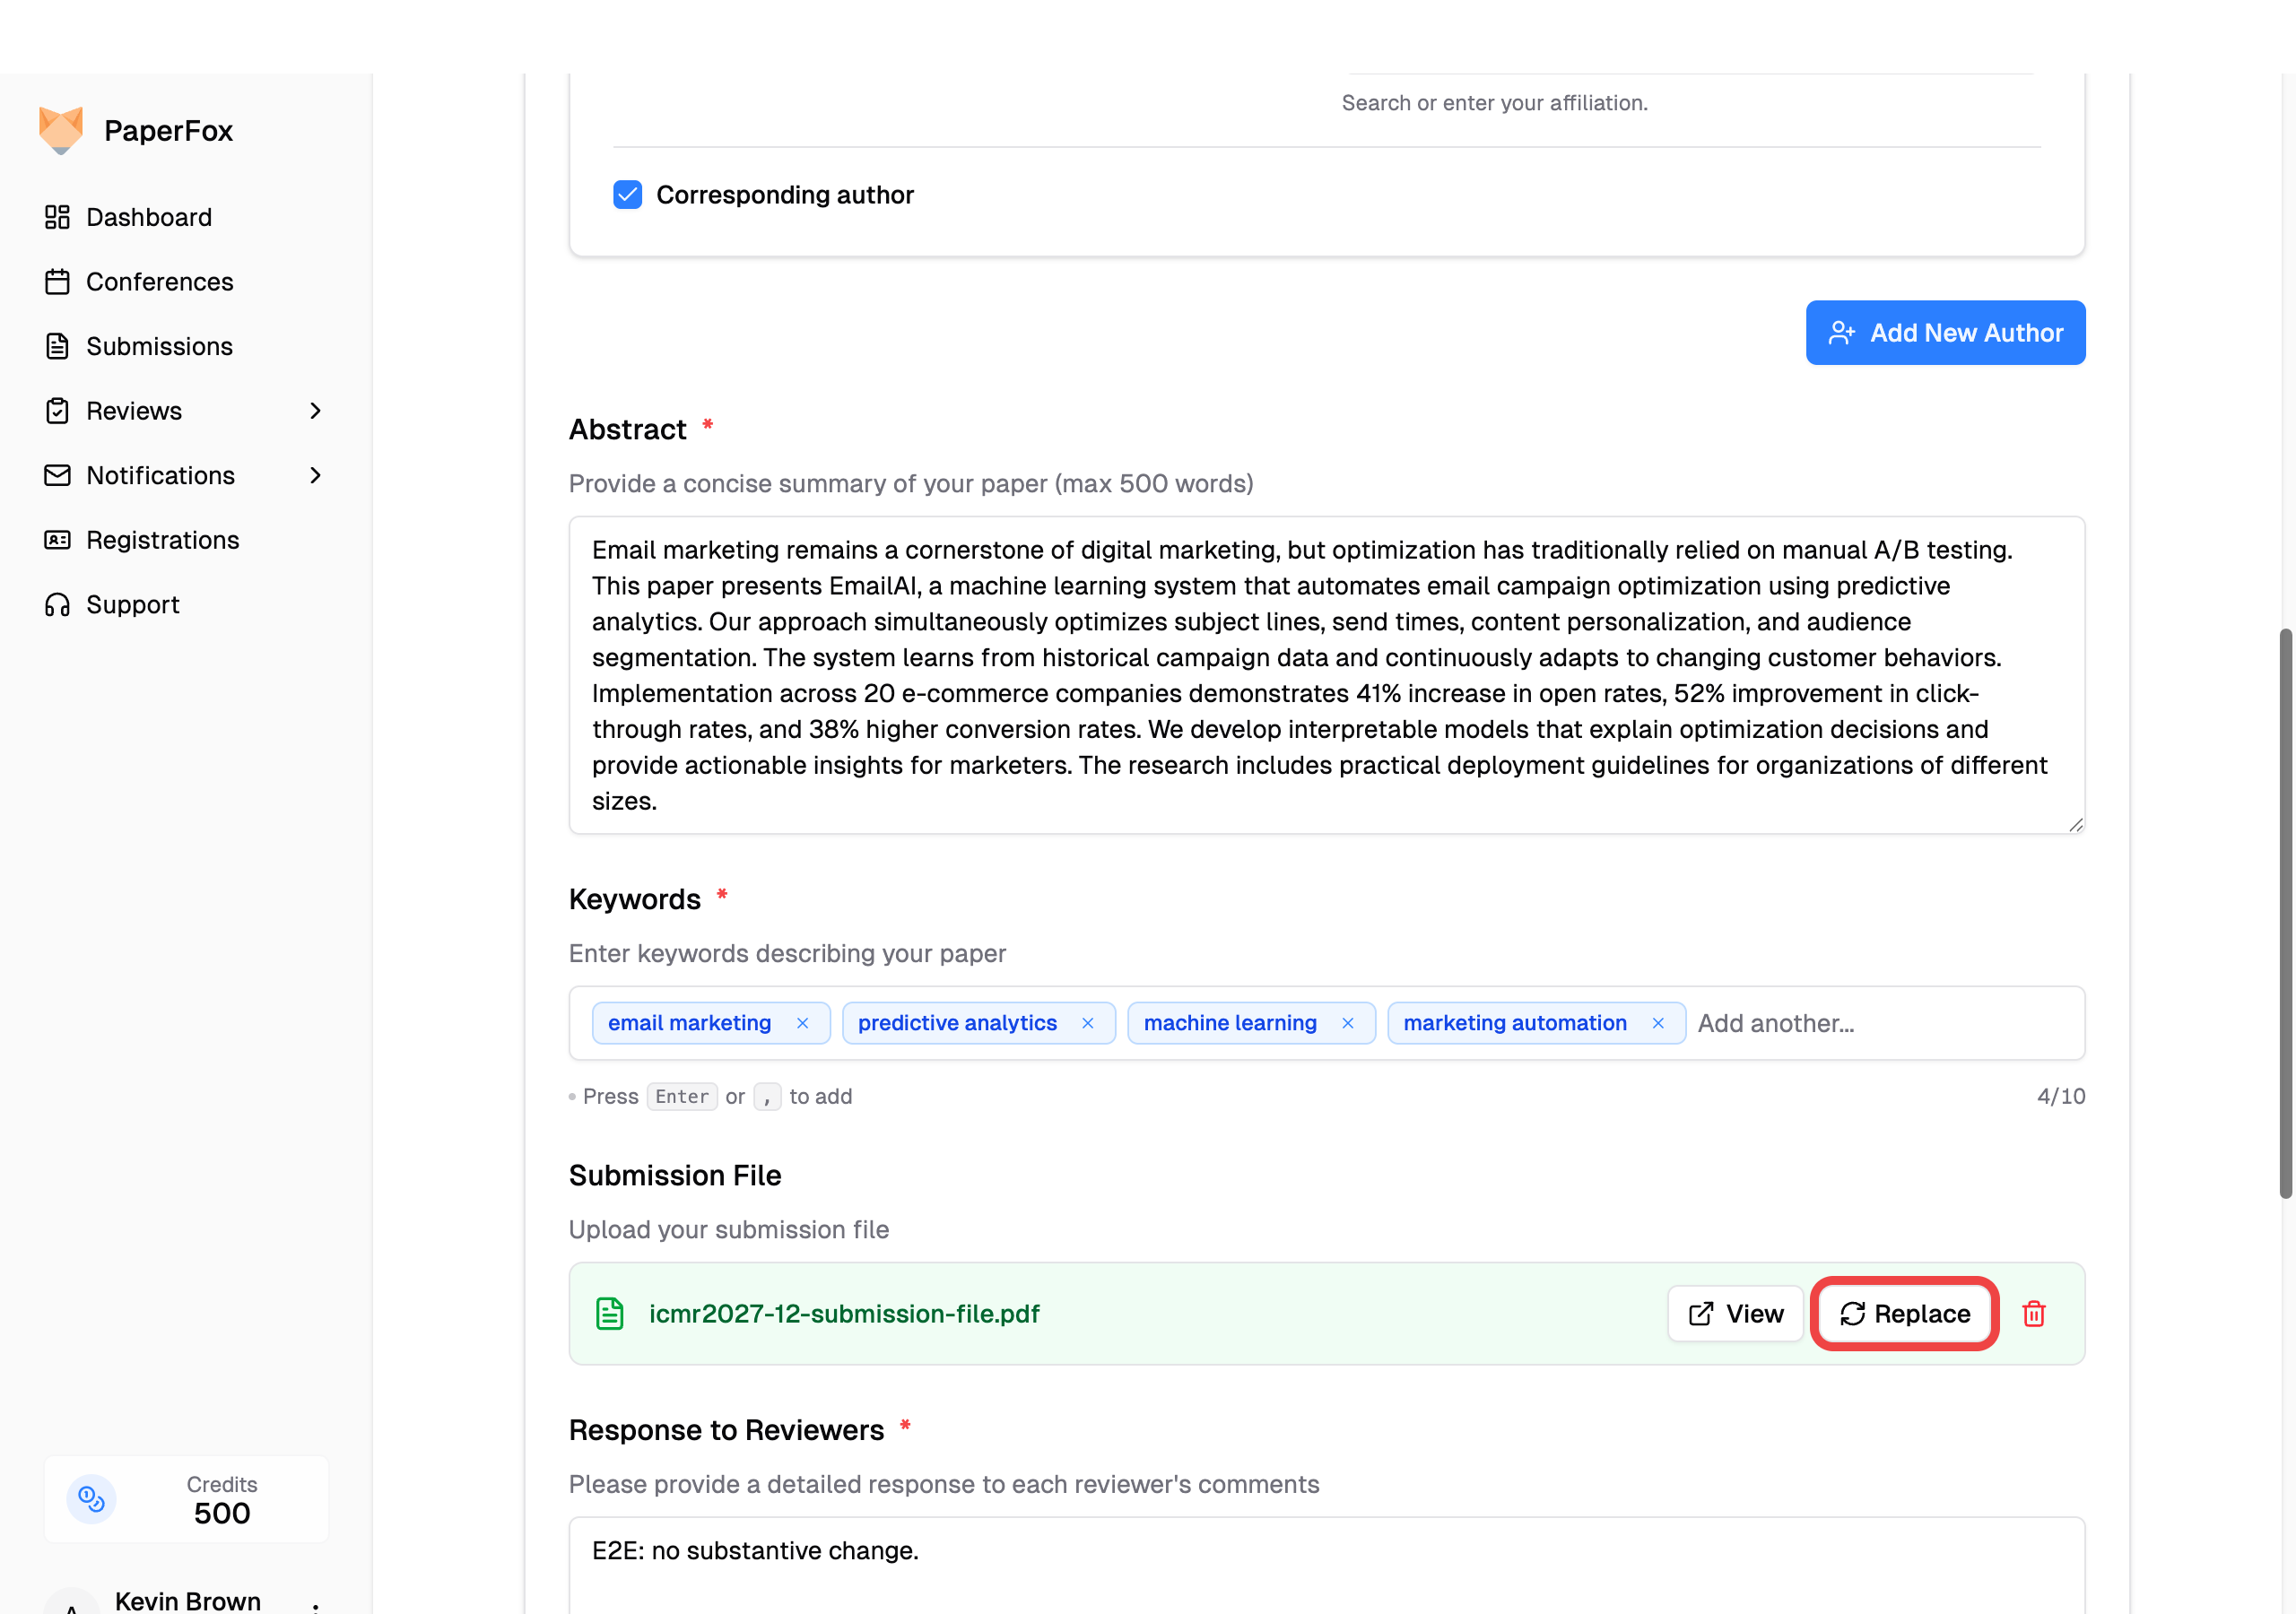 - Click **"Replace"** to pick a new PDF. The new file takes over the slot — you don't need to click the trash icon first.
- Click the trash icon only if you want to clear the slot entirely (for example, to re-upload a moment later via the empty-state dropzone).
- **"View"** opens the currently attached file in a new tab so you can confirm which version is on file before overwriting it.
Your previously uploaded file isn't deleted — it stays preserved in the **Version History** and remains downloadable from the submission detail page.
## Open an Earlier Version of the File
Every save keeps the file it replaced. To get one back, go to the submission detail page, expand **Version History** in the right sidebar, then click the change summary under the version you want — for example **"2 modified"**.
A file change shows both PDFs as links: the one that was replaced on the red line, the one that took its place on the green line. Click a filename to open it in a new tab, or the download icon beside it to save it.
- Click **"Replace"** to pick a new PDF. The new file takes over the slot — you don't need to click the trash icon first.
- Click the trash icon only if you want to clear the slot entirely (for example, to re-upload a moment later via the empty-state dropzone).
- **"View"** opens the currently attached file in a new tab so you can confirm which version is on file before overwriting it.
Your previously uploaded file isn't deleted — it stays preserved in the **Version History** and remains downloadable from the submission detail page.
## Open an Earlier Version of the File
Every save keeps the file it replaced. To get one back, go to the submission detail page, expand **Version History** in the right sidebar, then click the change summary under the version you want — for example **"2 modified"**.
A file change shows both PDFs as links: the one that was replaced on the red line, the one that took its place on the green line. Click a filename to open it in a new tab, or the download icon beside it to save it.
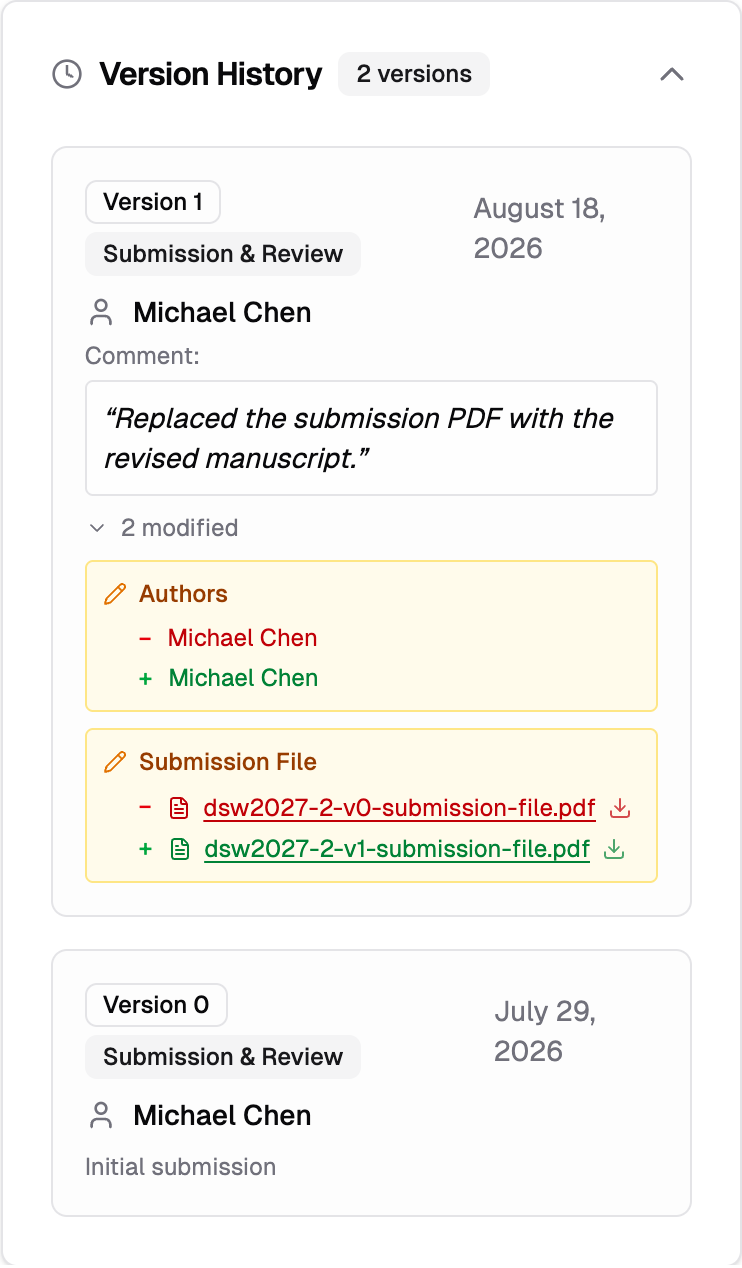 Each download is named after the version it came from, so two copies of the same submission never collide in your downloads folder. **Version 0** is your initial submission, **Version 1** your first revision, and so on.
## Add a Revision Comment and Save
At the bottom of the form:
1. Optionally describe what you changed in the **revision comment** field
2. Optionally check **"Notify all authors about this revision"** to email all co-authors
3. Click **"Save Revision"**
Each download is named after the version it came from, so two copies of the same submission never collide in your downloads folder. **Version 0** is your initial submission, **Version 1** your first revision, and so on.
## Add a Revision Comment and Save
At the bottom of the form:
1. Optionally describe what you changed in the **revision comment** field
2. Optionally check **"Notify all authors about this revision"** to email all co-authors
3. Click **"Save Revision"**
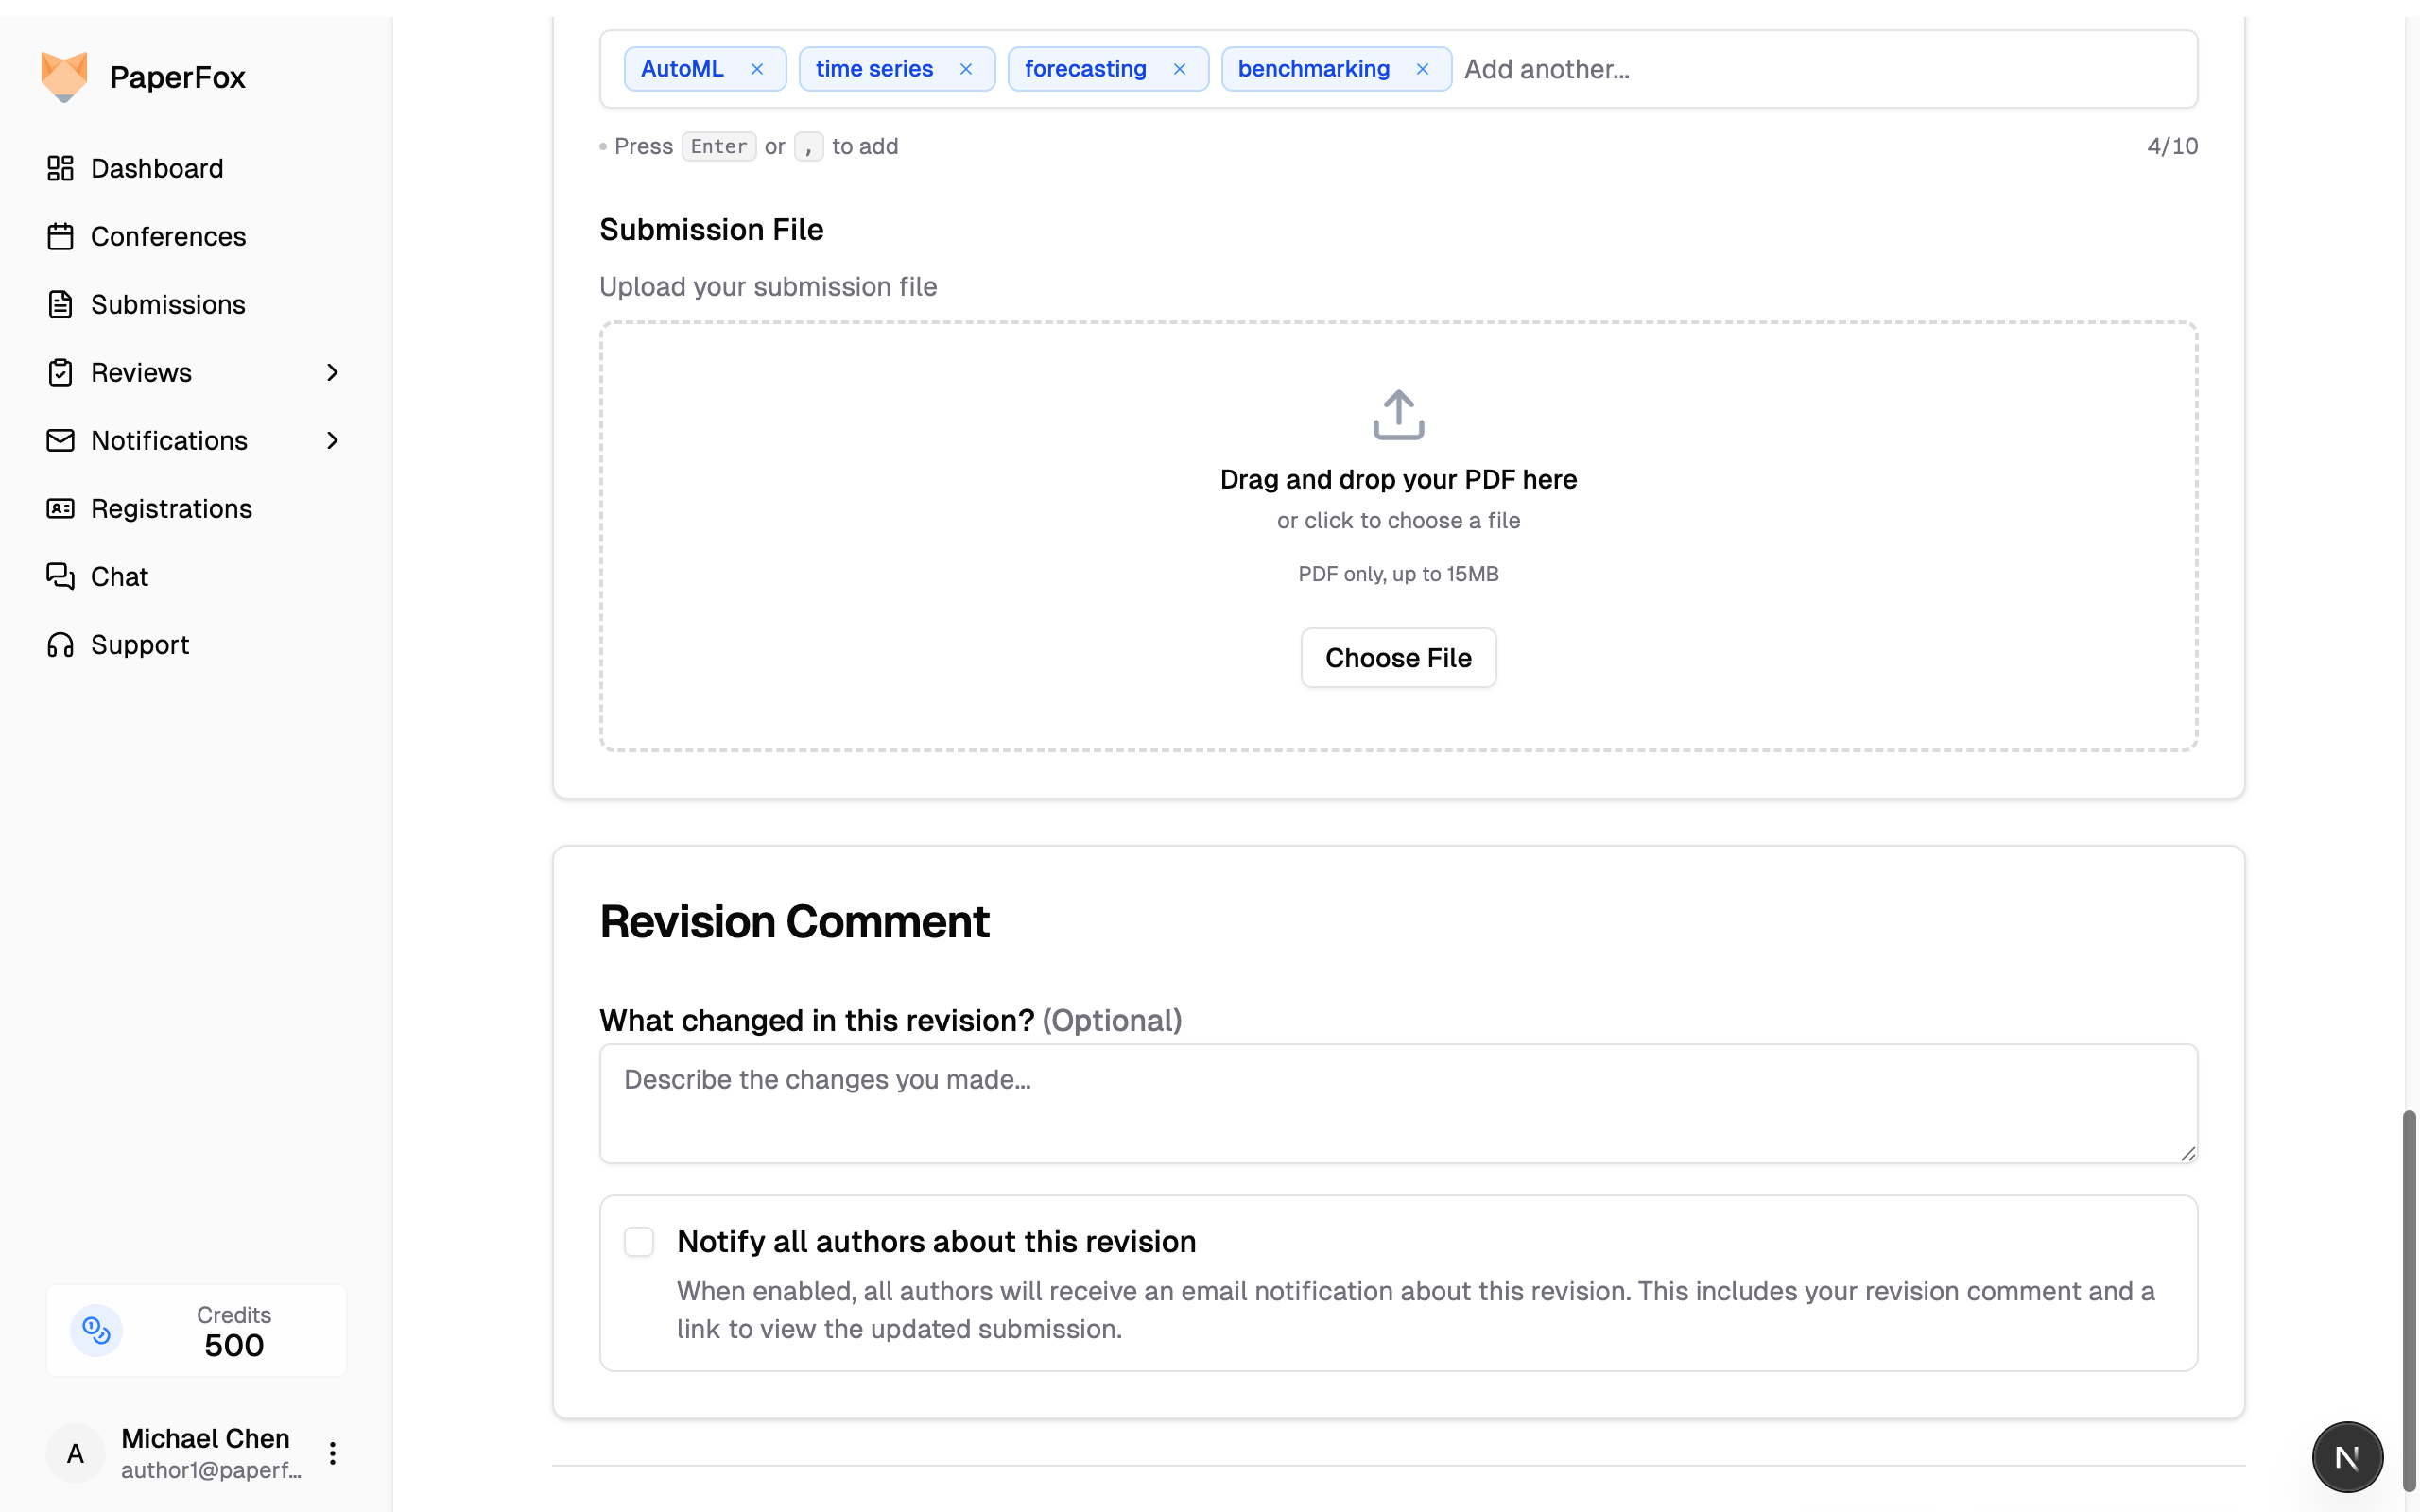 Each edit creates a new version. Previous versions are preserved in the **Version History** on the submission detail page.
## Camera Ready (and Other Revision Phases)
Once the chairs move your submission into a revision phase such as **Camera Ready** or **Final Version**, the edit form behaves the same way — but two things change:
1. **The chairs may add new fields for that phase.** The most common one is a new file upload field for the camera-ready PDF. If you don't see a separate "Camera Ready PDF" field, your chairs are reusing the original submission file slot — use the **Replace** button on the existing file card to upload your new version.
2. **PaperFox checks that you actually uploaded a new file.** If your submission file is still the one from the previous version when you click **"Save Revision"**, you'll see this confirmation dialog:
Each edit creates a new version. Previous versions are preserved in the **Version History** on the submission detail page.
## Camera Ready (and Other Revision Phases)
Once the chairs move your submission into a revision phase such as **Camera Ready** or **Final Version**, the edit form behaves the same way — but two things change:
1. **The chairs may add new fields for that phase.** The most common one is a new file upload field for the camera-ready PDF. If you don't see a separate "Camera Ready PDF" field, your chairs are reusing the original submission file slot — use the **Replace** button on the existing file card to upload your new version.
2. **PaperFox checks that you actually uploaded a new file.** If your submission file is still the one from the previous version when you click **"Save Revision"**, you'll see this confirmation dialog:
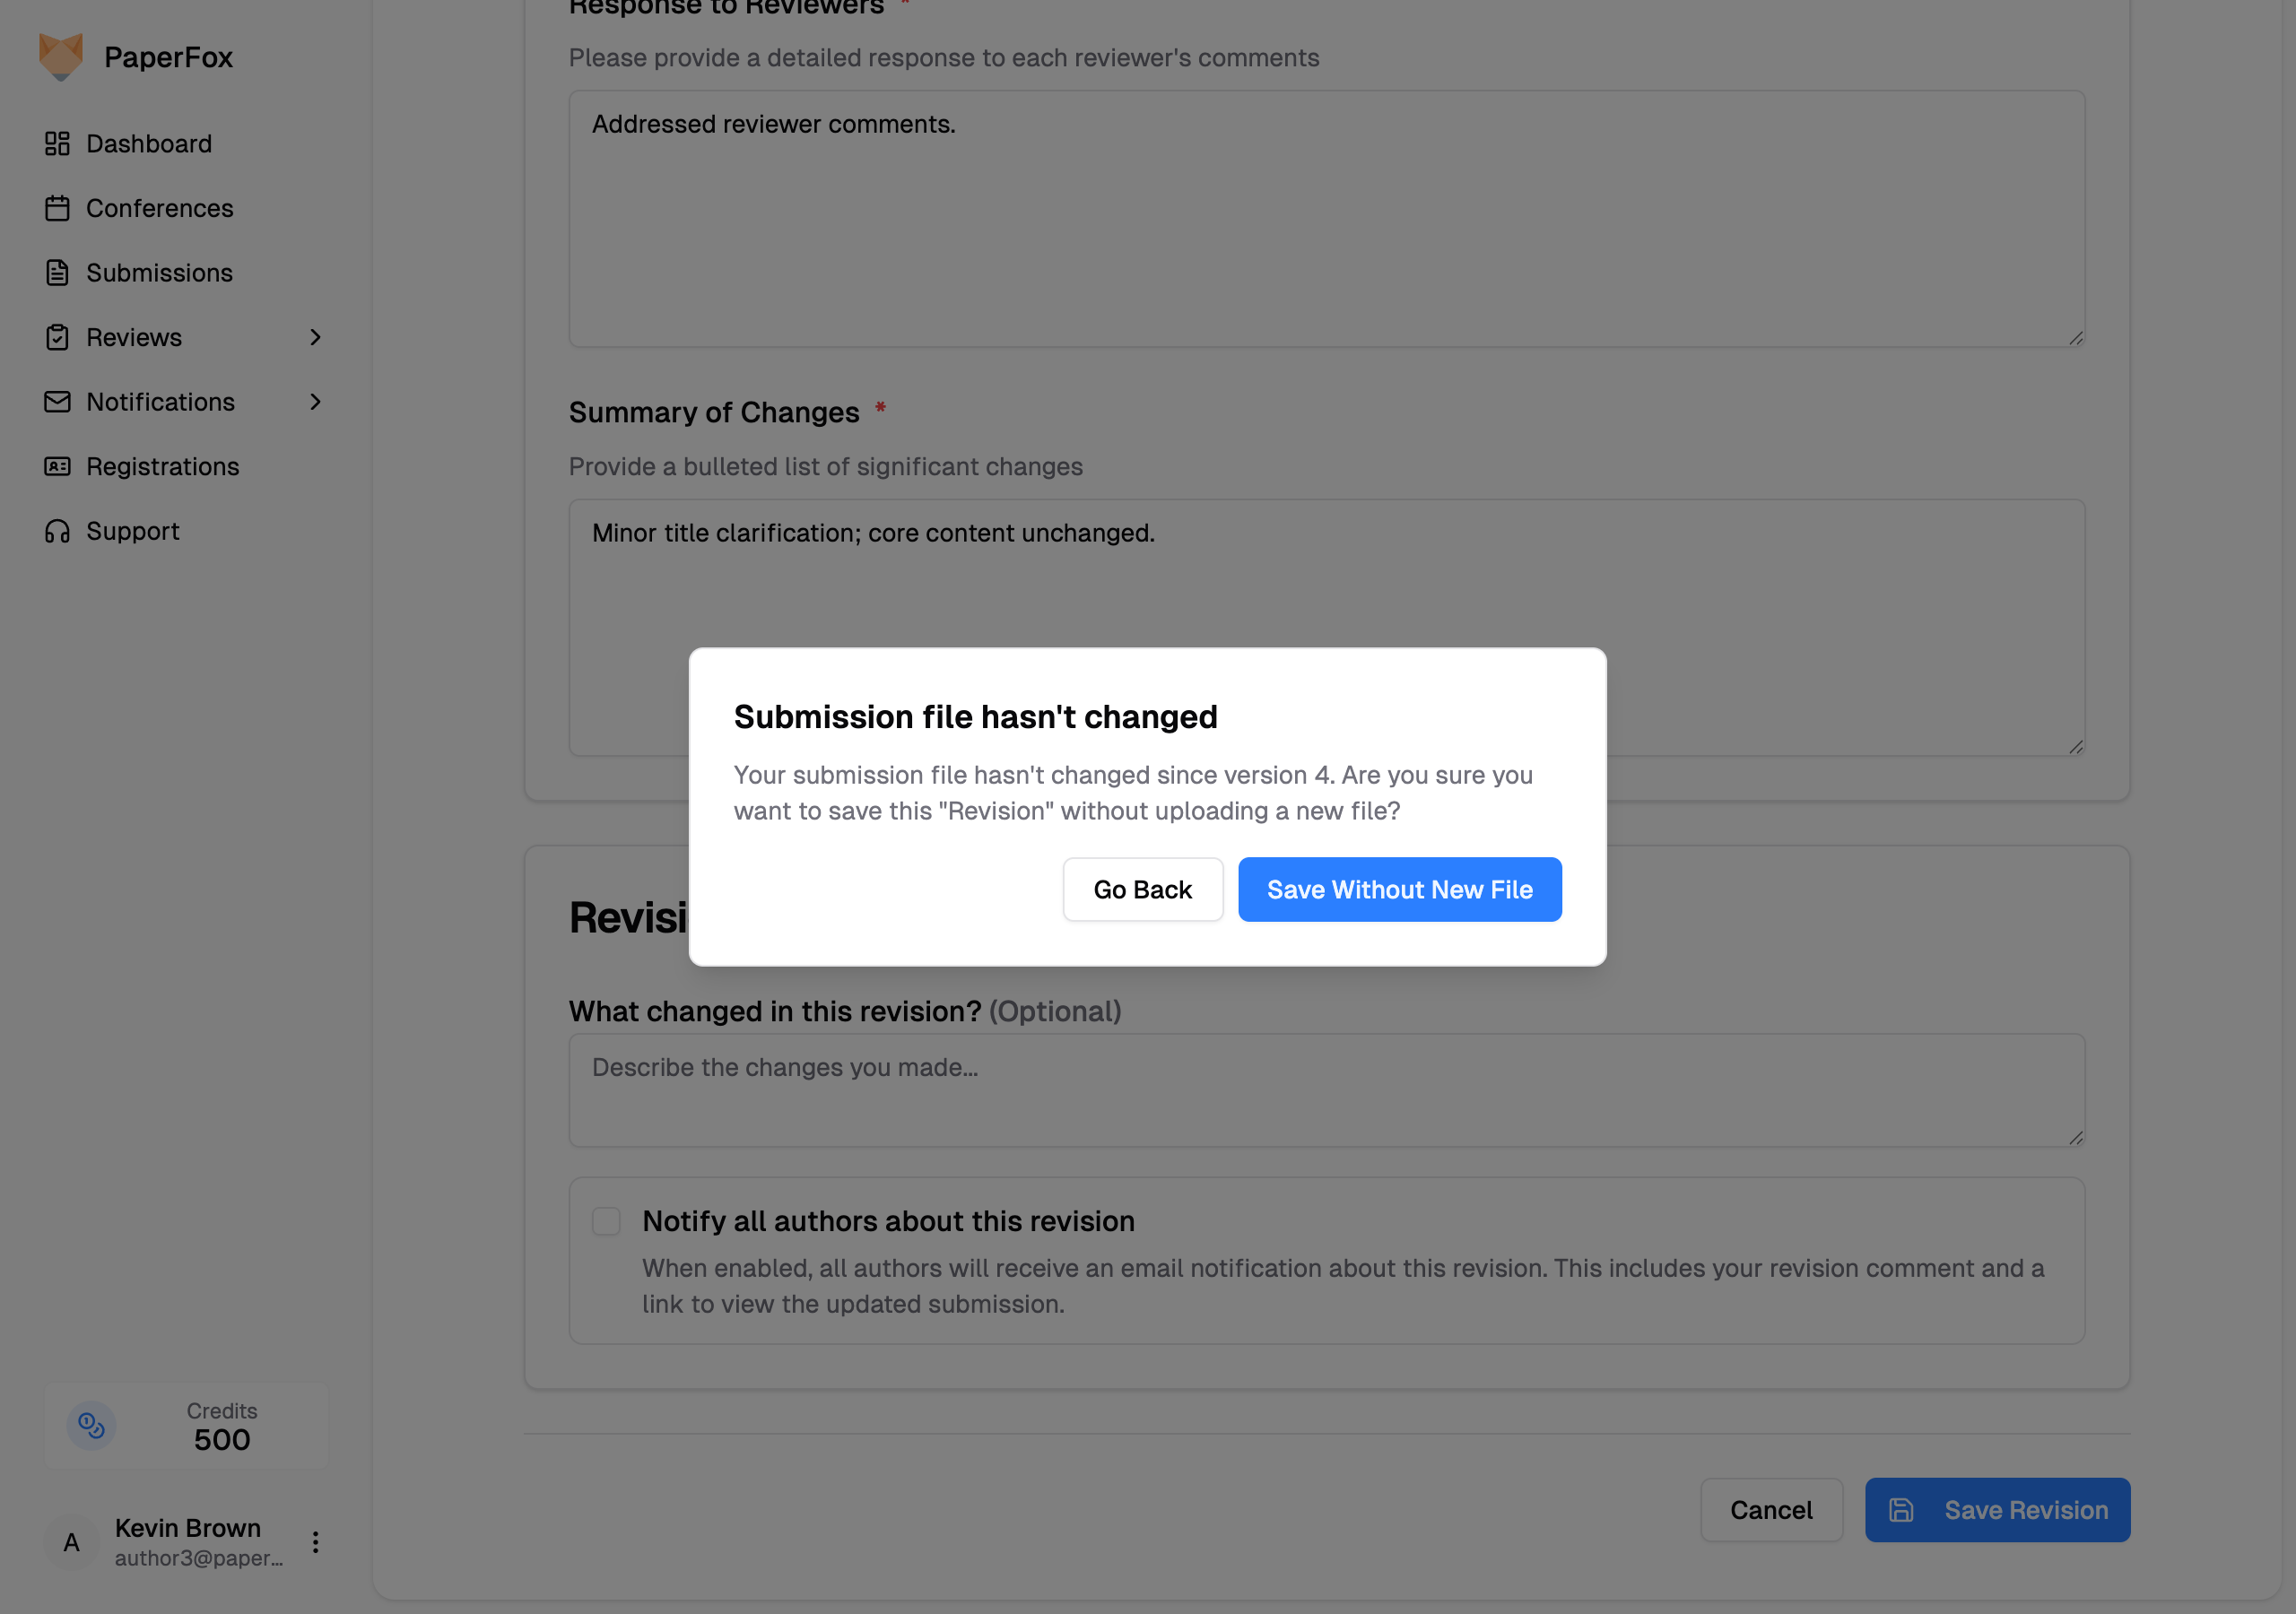 - Click **"Go Back"** to return to the form and use the **Replace** button to upload your new PDF.
- Click **"Save Without New File"** if you intended to revise only metadata (authors, abstract, keywords) and keep the existing PDF.
This check only runs in revision phases — initial submissions save straight through without the prompt.
## When Editing Is Not Available
The **"Edit Submission"** button may be disabled in certain situations:
- **The revision deadline has passed** — a phase's revision deadline normally locks editing once it passes. Some venues keep the date as guidance only and leave editing open past it, so check the message shown above the button
- **Submission is withdrawn** — withdrawn submissions cannot be edited
- **Submission was rejected** — rejected or desk-rejected submissions cannot be edited
- **Reviews are in progress** — if reviewers have already accepted their assignments for the current phase
If you need to make changes but the edit button is disabled, contact your track chairs and provide the submission ID and the corrections needed. They can edit any submission at any time — including after the revision deadline has passed — so a missed deadline doesn't have to mean a missed correction. The chair's edit is recorded under their name, and you'll receive an email describing what changed.
- Click **"Go Back"** to return to the form and use the **Replace** button to upload your new PDF.
- Click **"Save Without New File"** if you intended to revise only metadata (authors, abstract, keywords) and keep the existing PDF.
This check only runs in revision phases — initial submissions save straight through without the prompt.
## When Editing Is Not Available
The **"Edit Submission"** button may be disabled in certain situations:
- **The revision deadline has passed** — a phase's revision deadline normally locks editing once it passes. Some venues keep the date as guidance only and leave editing open past it, so check the message shown above the button
- **Submission is withdrawn** — withdrawn submissions cannot be edited
- **Submission was rejected** — rejected or desk-rejected submissions cannot be edited
- **Reviews are in progress** — if reviewers have already accepted their assignments for the current phase
If you need to make changes but the edit button is disabled, contact your track chairs and provide the submission ID and the corrections needed. They can edit any submission at any time — including after the revision deadline has passed — so a missed deadline doesn't have to mean a missed correction. The chair's edit is recorded under their name, and you'll receive an email describing what changed.
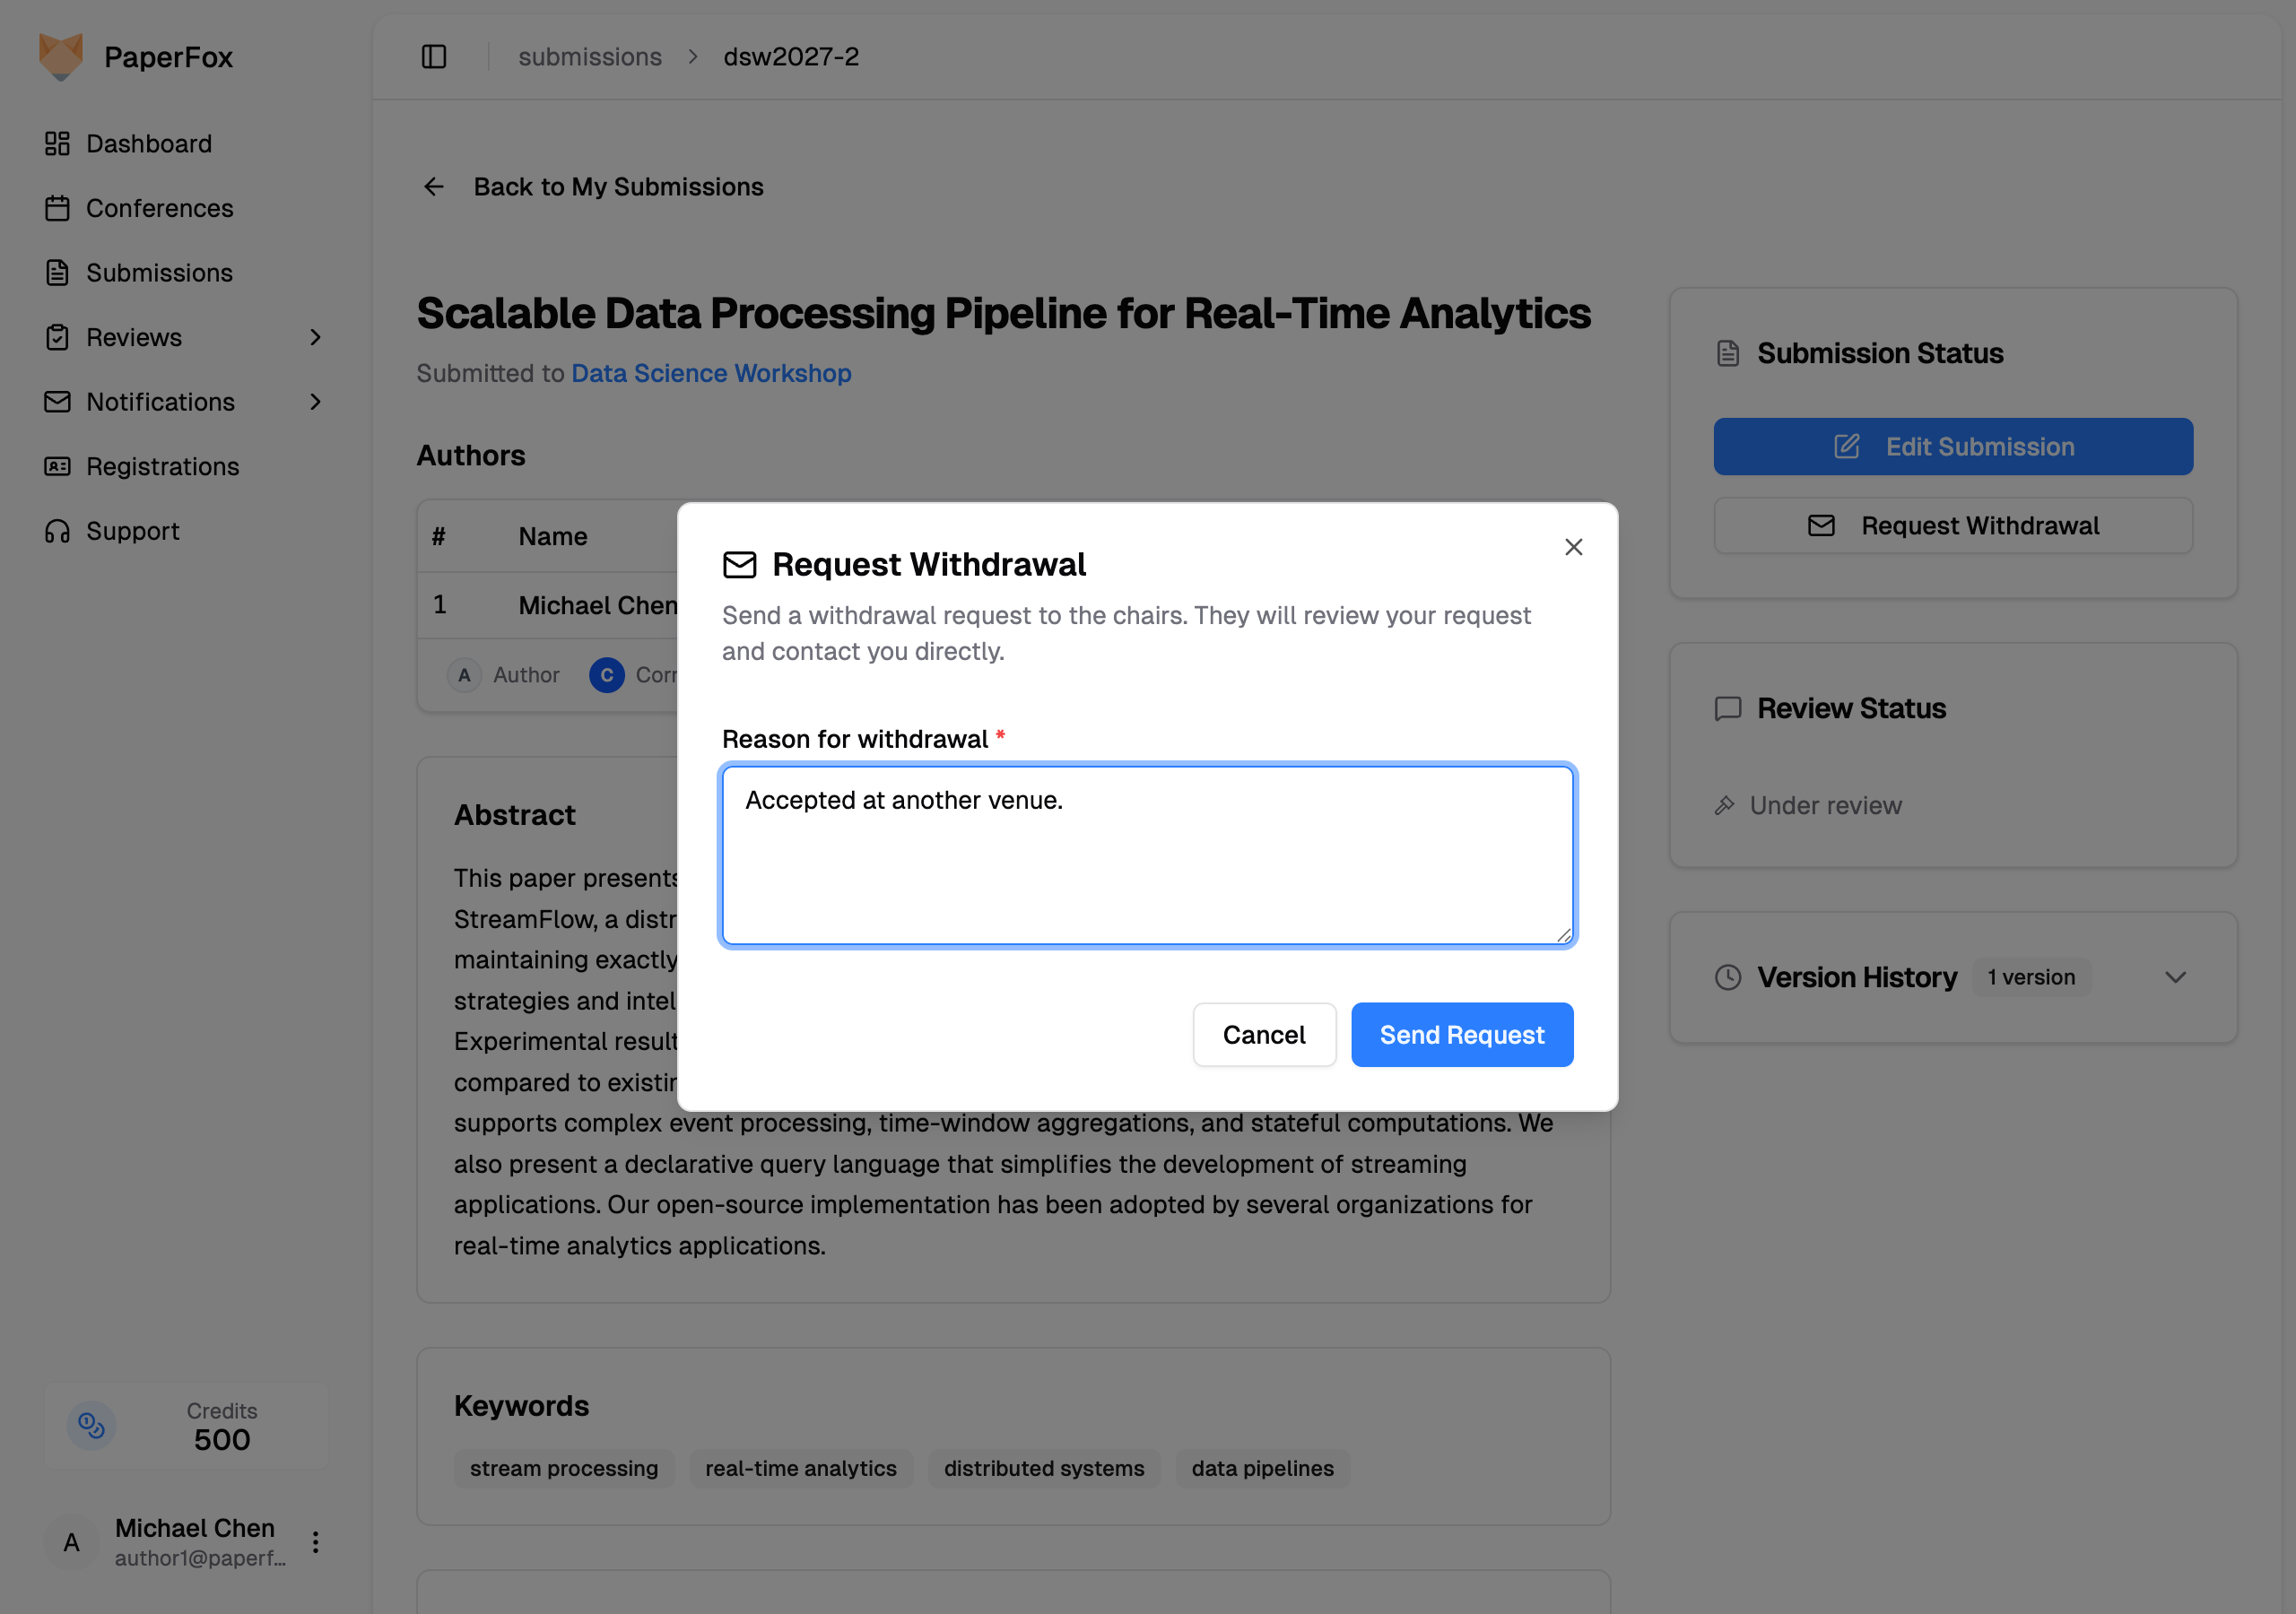 The chairs are notified by email immediately and the submission page switches to a **Withdrawal request pending review** state.
## While the Request Is Pending
The Submission Status card shows the request along with the reason you typed and when you submitted it. Editing the submission is disabled while the request is pending.
The chairs are notified by email immediately and the submission page switches to a **Withdrawal request pending review** state.
## While the Request Is Pending
The Submission Status card shows the request along with the reason you typed and when you submitted it. Editing the submission is disabled while the request is pending.
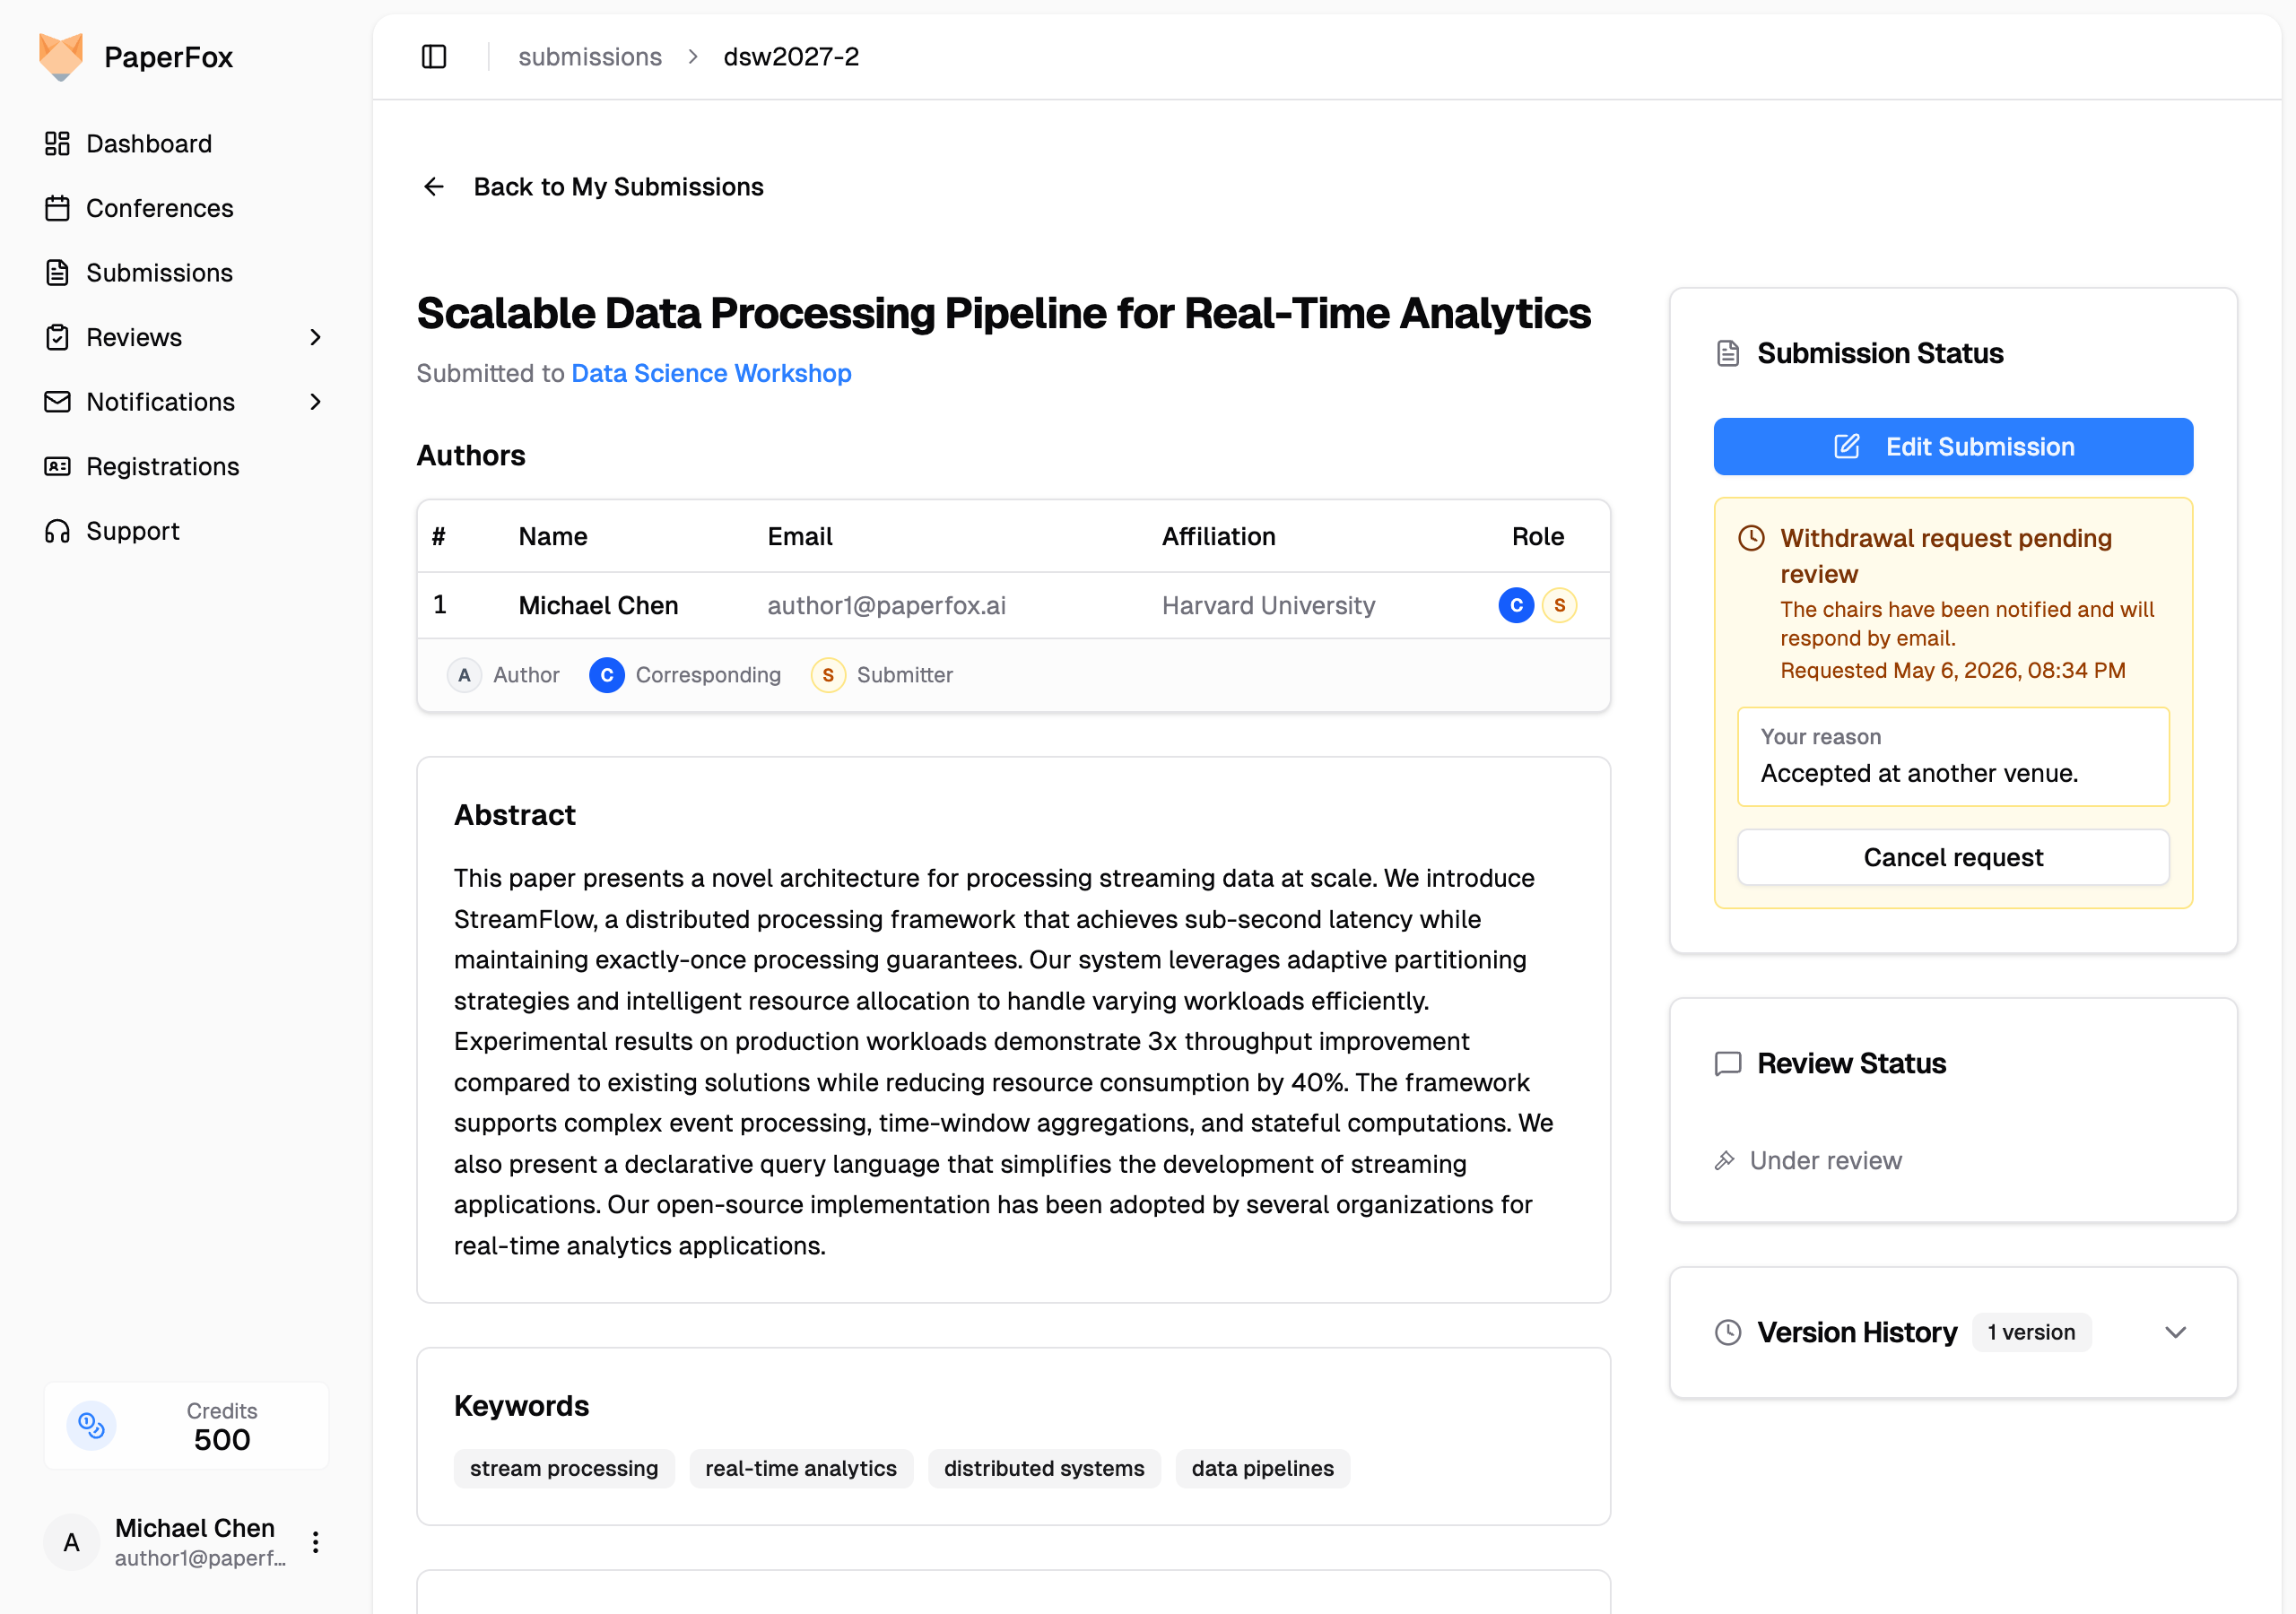 If you change your mind before the chairs have decided, click **"Cancel request"**. The pending request is removed and the original **"Request Withdrawal"** button comes back — you can submit a new request later if needed.
## After the Chair Decides
| Decision | What happens |
|----------|--------------|
| **Approved** | The submission status changes to **WITHDRAWN**. You'll see the withdrawal date and the chair's reason on the submission page. |
| **Declined** | The submission stays under review. The chair's note appears on the submission page so you can see why. |
You'll get an email either way.
If you change your mind before the chairs have decided, click **"Cancel request"**. The pending request is removed and the original **"Request Withdrawal"** button comes back — you can submit a new request later if needed.
## After the Chair Decides
| Decision | What happens |
|----------|--------------|
| **Approved** | The submission status changes to **WITHDRAWN**. You'll see the withdrawal date and the chair's reason on the submission page. |
| **Declined** | The submission stays under review. The chair's note appears on the submission page so you can see why. |
You'll get an email either way.
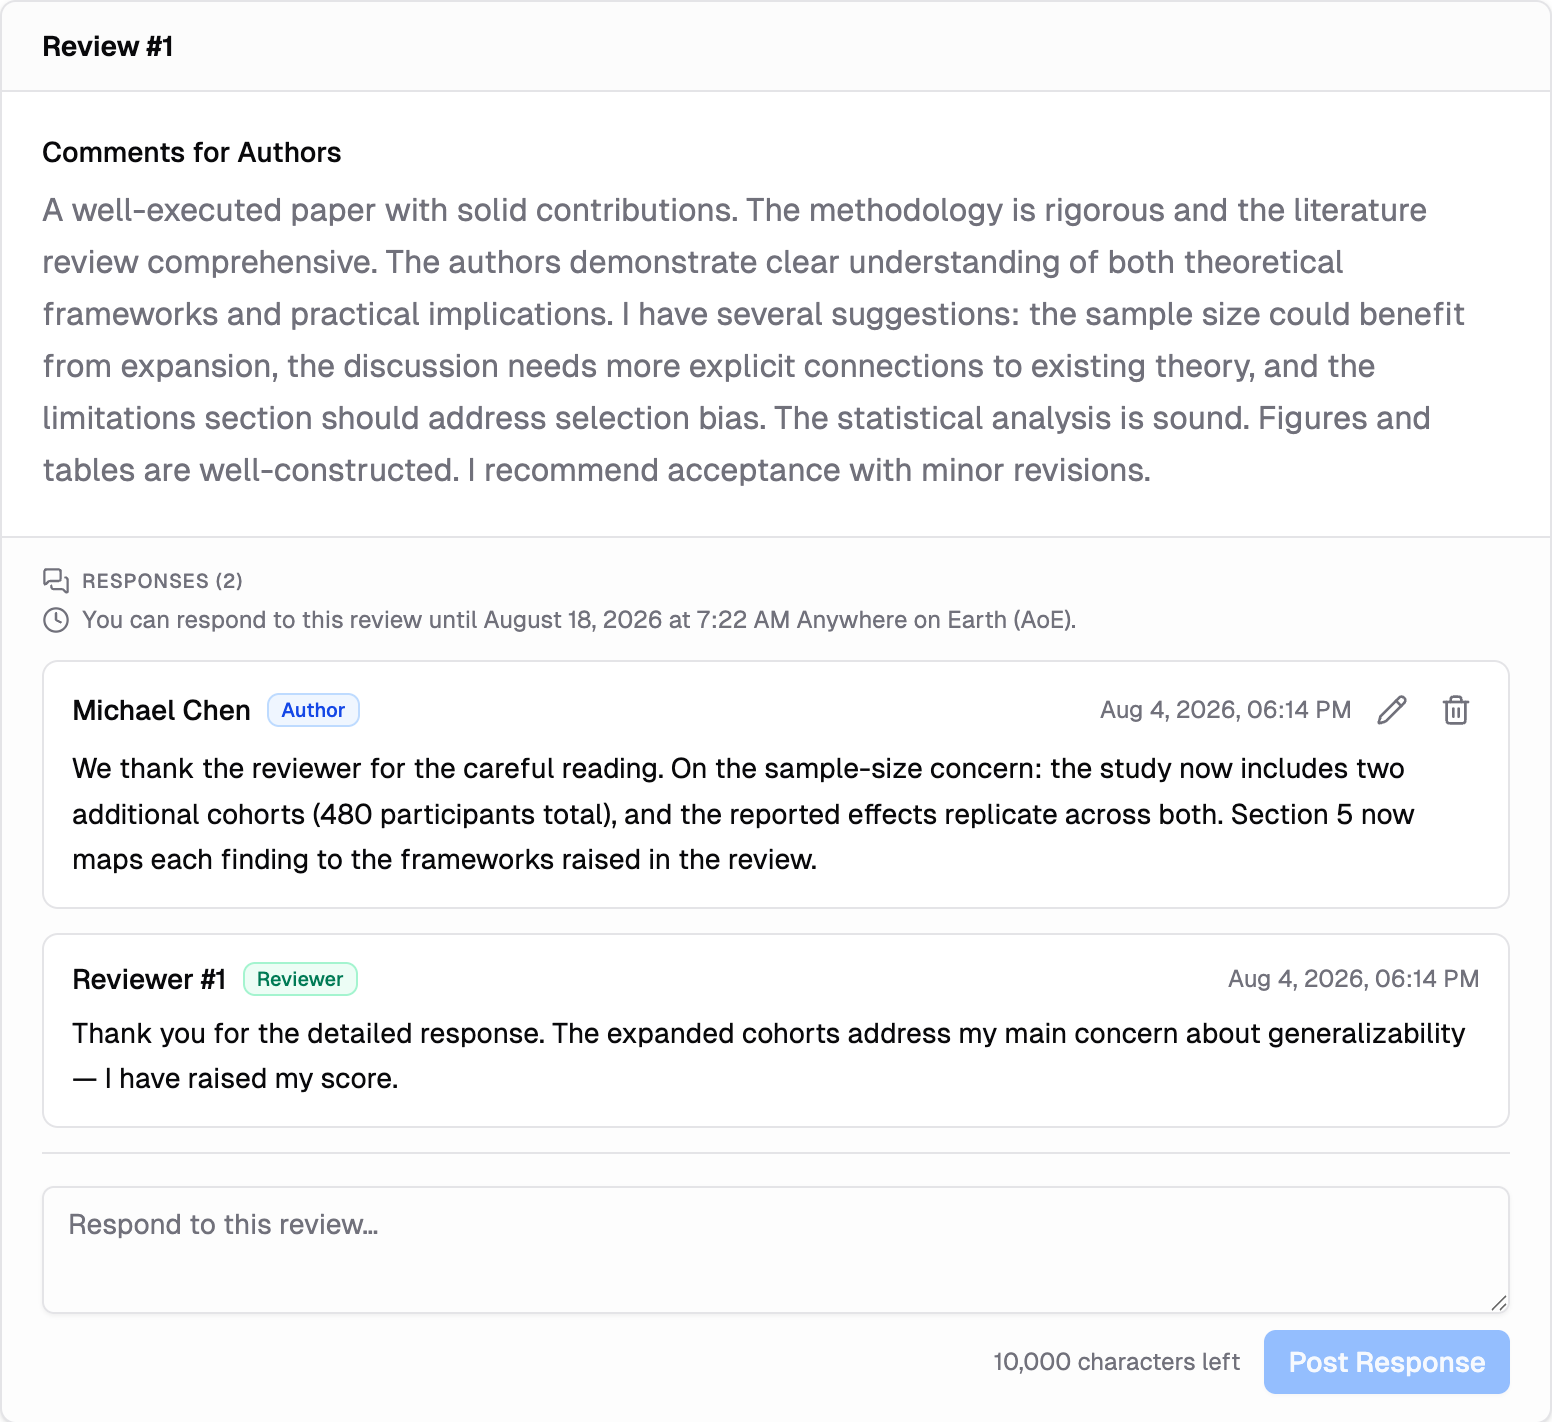 Each review has its own thread, so respond to Review #1 and Review #2 separately — the right reviewer sees the right response. You can post more than once while the window is open, for example a follow-up when a reviewer asks a question.
## Respond to the AI Review
If the chairs shared an AI review of your submission — and turned on responses for it — it appears as its own card with its own **Responses** thread. Unlike the review threads above, this one is not tied to the rebuttal window: it opens as soon as the review is shared and has no deadline.
Each review has its own thread, so respond to Review #1 and Review #2 separately — the right reviewer sees the right response. You can post more than once while the window is open, for example a follow-up when a reviewer asks a question.
## Respond to the AI Review
If the chairs shared an AI review of your submission — and turned on responses for it — it appears as its own card with its own **Responses** thread. Unlike the review threads above, this one is not tied to the rebuttal window: it opens as soon as the review is shared and has no deadline.
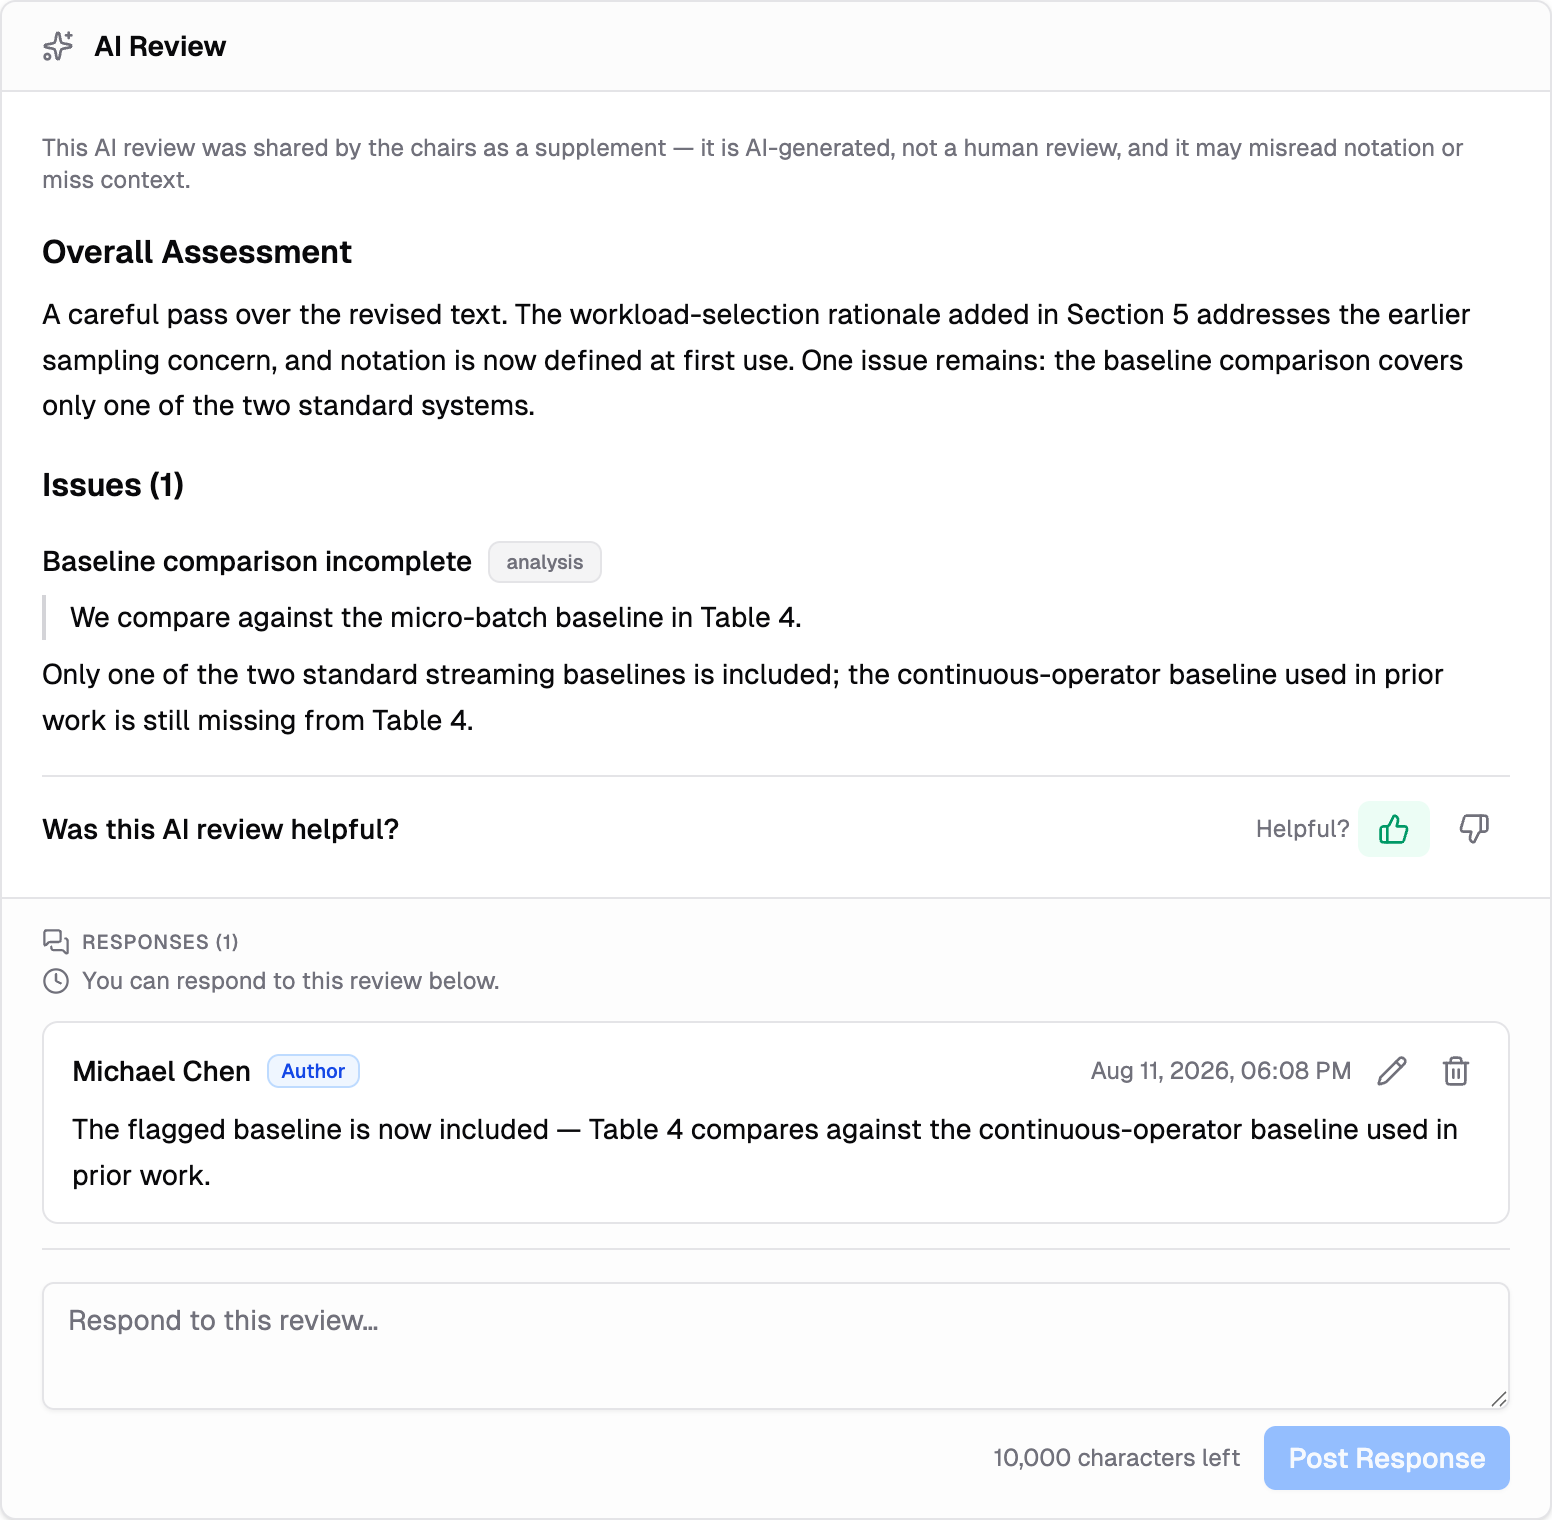 A **Discussion** section at the bottom of the page remains for conversation that isn't about one specific review.
## Edit or Delete a Response
While the response window is open, use the **pencil** icon on your own response to edit it, or the **trash** icon to delete it:
- An edited response shows an **"Edited"** marker next to its timestamp — click it to see your earlier versions. The committee can also see the edit history, so edit to clarify, not to rewrite the record.
- A deleted response isn't silently removed: the thread keeps a short note showing a comment was deleted, so replies to it still make sense.
## Who Sees Your Response
A response to a review is visible to everyone who can see that review — the chairs, the editors, and (for their own review) the reviewer it answers. On blind-review tracks, reviewers appear as **"Reviewer #1"**, **"Reviewer #2"**, and so on — matching the numbering of the review cards — and your responses may appear to reviewers as **"Authors"** rather than your name.
## Tips for a Good Response
- **Respond under the right review** — each thread goes to that review's reviewer, so keep point-by-point answers where they belong
- **Be specific**: point to the exact concern in the review and state what you changed or why you disagree
- **Stay professional** — chairs read the whole exchange when making decisions
- **Watch the deadline**: after it passes, the threads become read-only for you
A **Discussion** section at the bottom of the page remains for conversation that isn't about one specific review.
## Edit or Delete a Response
While the response window is open, use the **pencil** icon on your own response to edit it, or the **trash** icon to delete it:
- An edited response shows an **"Edited"** marker next to its timestamp — click it to see your earlier versions. The committee can also see the edit history, so edit to clarify, not to rewrite the record.
- A deleted response isn't silently removed: the thread keeps a short note showing a comment was deleted, so replies to it still make sense.
## Who Sees Your Response
A response to a review is visible to everyone who can see that review — the chairs, the editors, and (for their own review) the reviewer it answers. On blind-review tracks, reviewers appear as **"Reviewer #1"**, **"Reviewer #2"**, and so on — matching the numbering of the review cards — and your responses may appear to reviewers as **"Authors"** rather than your name.
## Tips for a Good Response
- **Respond under the right review** — each thread goes to that review's reviewer, so keep point-by-point answers where they belong
- **Be specific**: point to the exact concern in the review and state what you changed or why you disagree
- **Stay professional** — chairs read the whole exchange when making decisions
- **Watch the deadline**: after it passes, the threads become read-only for you
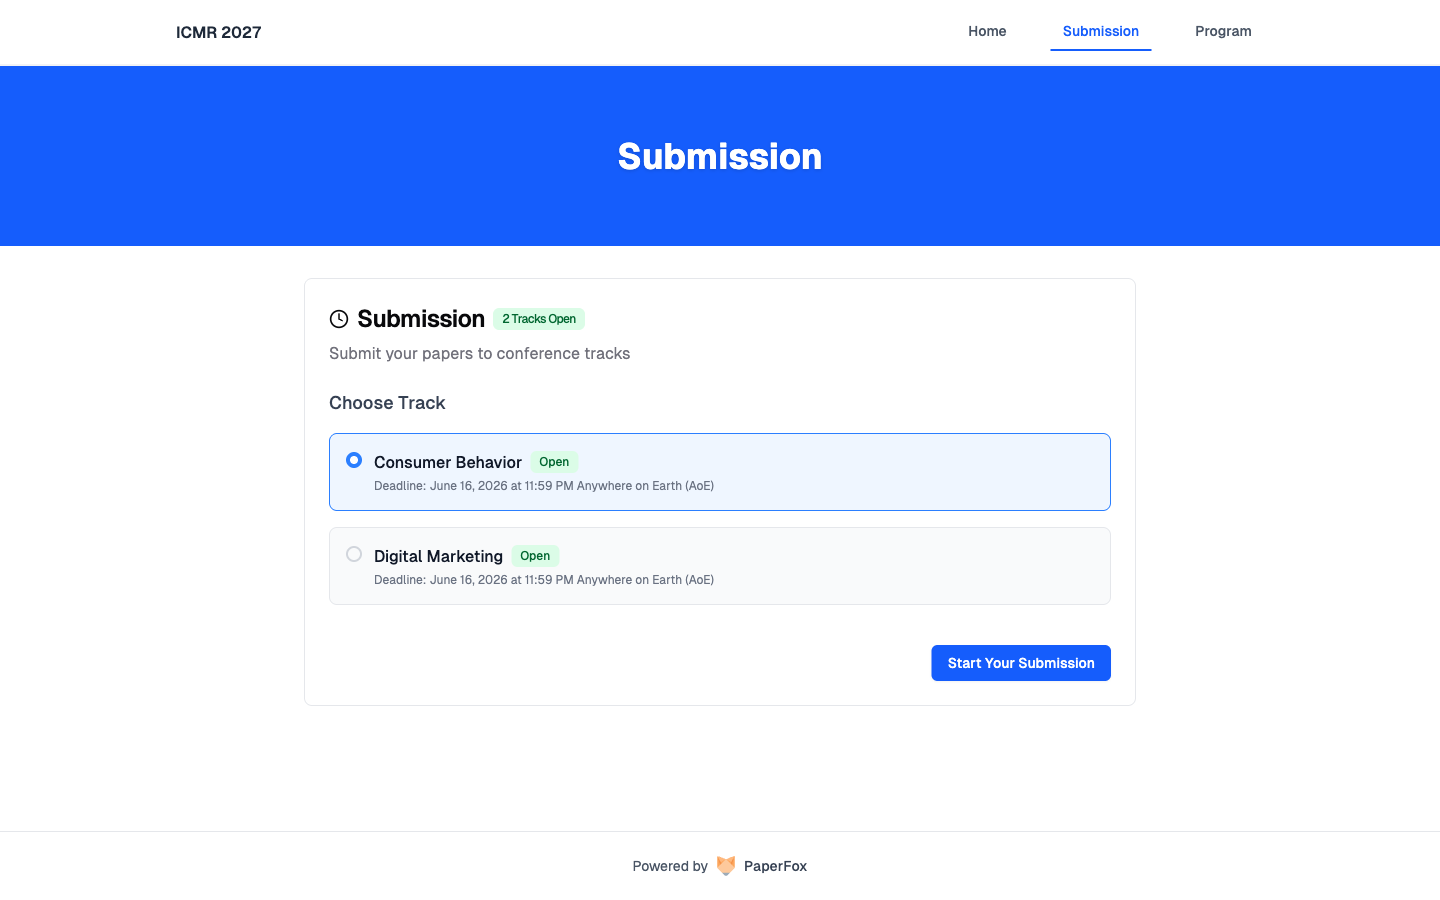 1. Select the track that fits your submission
2. Click **"Start Your Submission"**
3. If you aren't signed in, you'll be sent to sign in (or create an account) and returned to the submission form
Single-track conferences skip the picker — you go straight from **"Start Your Submission"** to the form.
## Completing the Submission Form
Each conference defines its own form, but most include:
- **Submission details** — title, abstract, keywords
- **Authors** — corresponding author plus co-authors with their affiliations
- **Submission file** — usually a PDF; check the call for length and template requirements
- **Declarations** — originality, conflicts of interest, ethics approval if applicable
1. Select the track that fits your submission
2. Click **"Start Your Submission"**
3. If you aren't signed in, you'll be sent to sign in (or create an account) and returned to the submission form
Single-track conferences skip the picker — you go straight from **"Start Your Submission"** to the form.
## Completing the Submission Form
Each conference defines its own form, but most include:
- **Submission details** — title, abstract, keywords
- **Authors** — corresponding author plus co-authors with their affiliations
- **Submission file** — usually a PDF; check the call for length and template requirements
- **Declarations** — originality, conflicts of interest, ethics approval if applicable
 ---
## Step 2 — Read the Reviewer Feedback
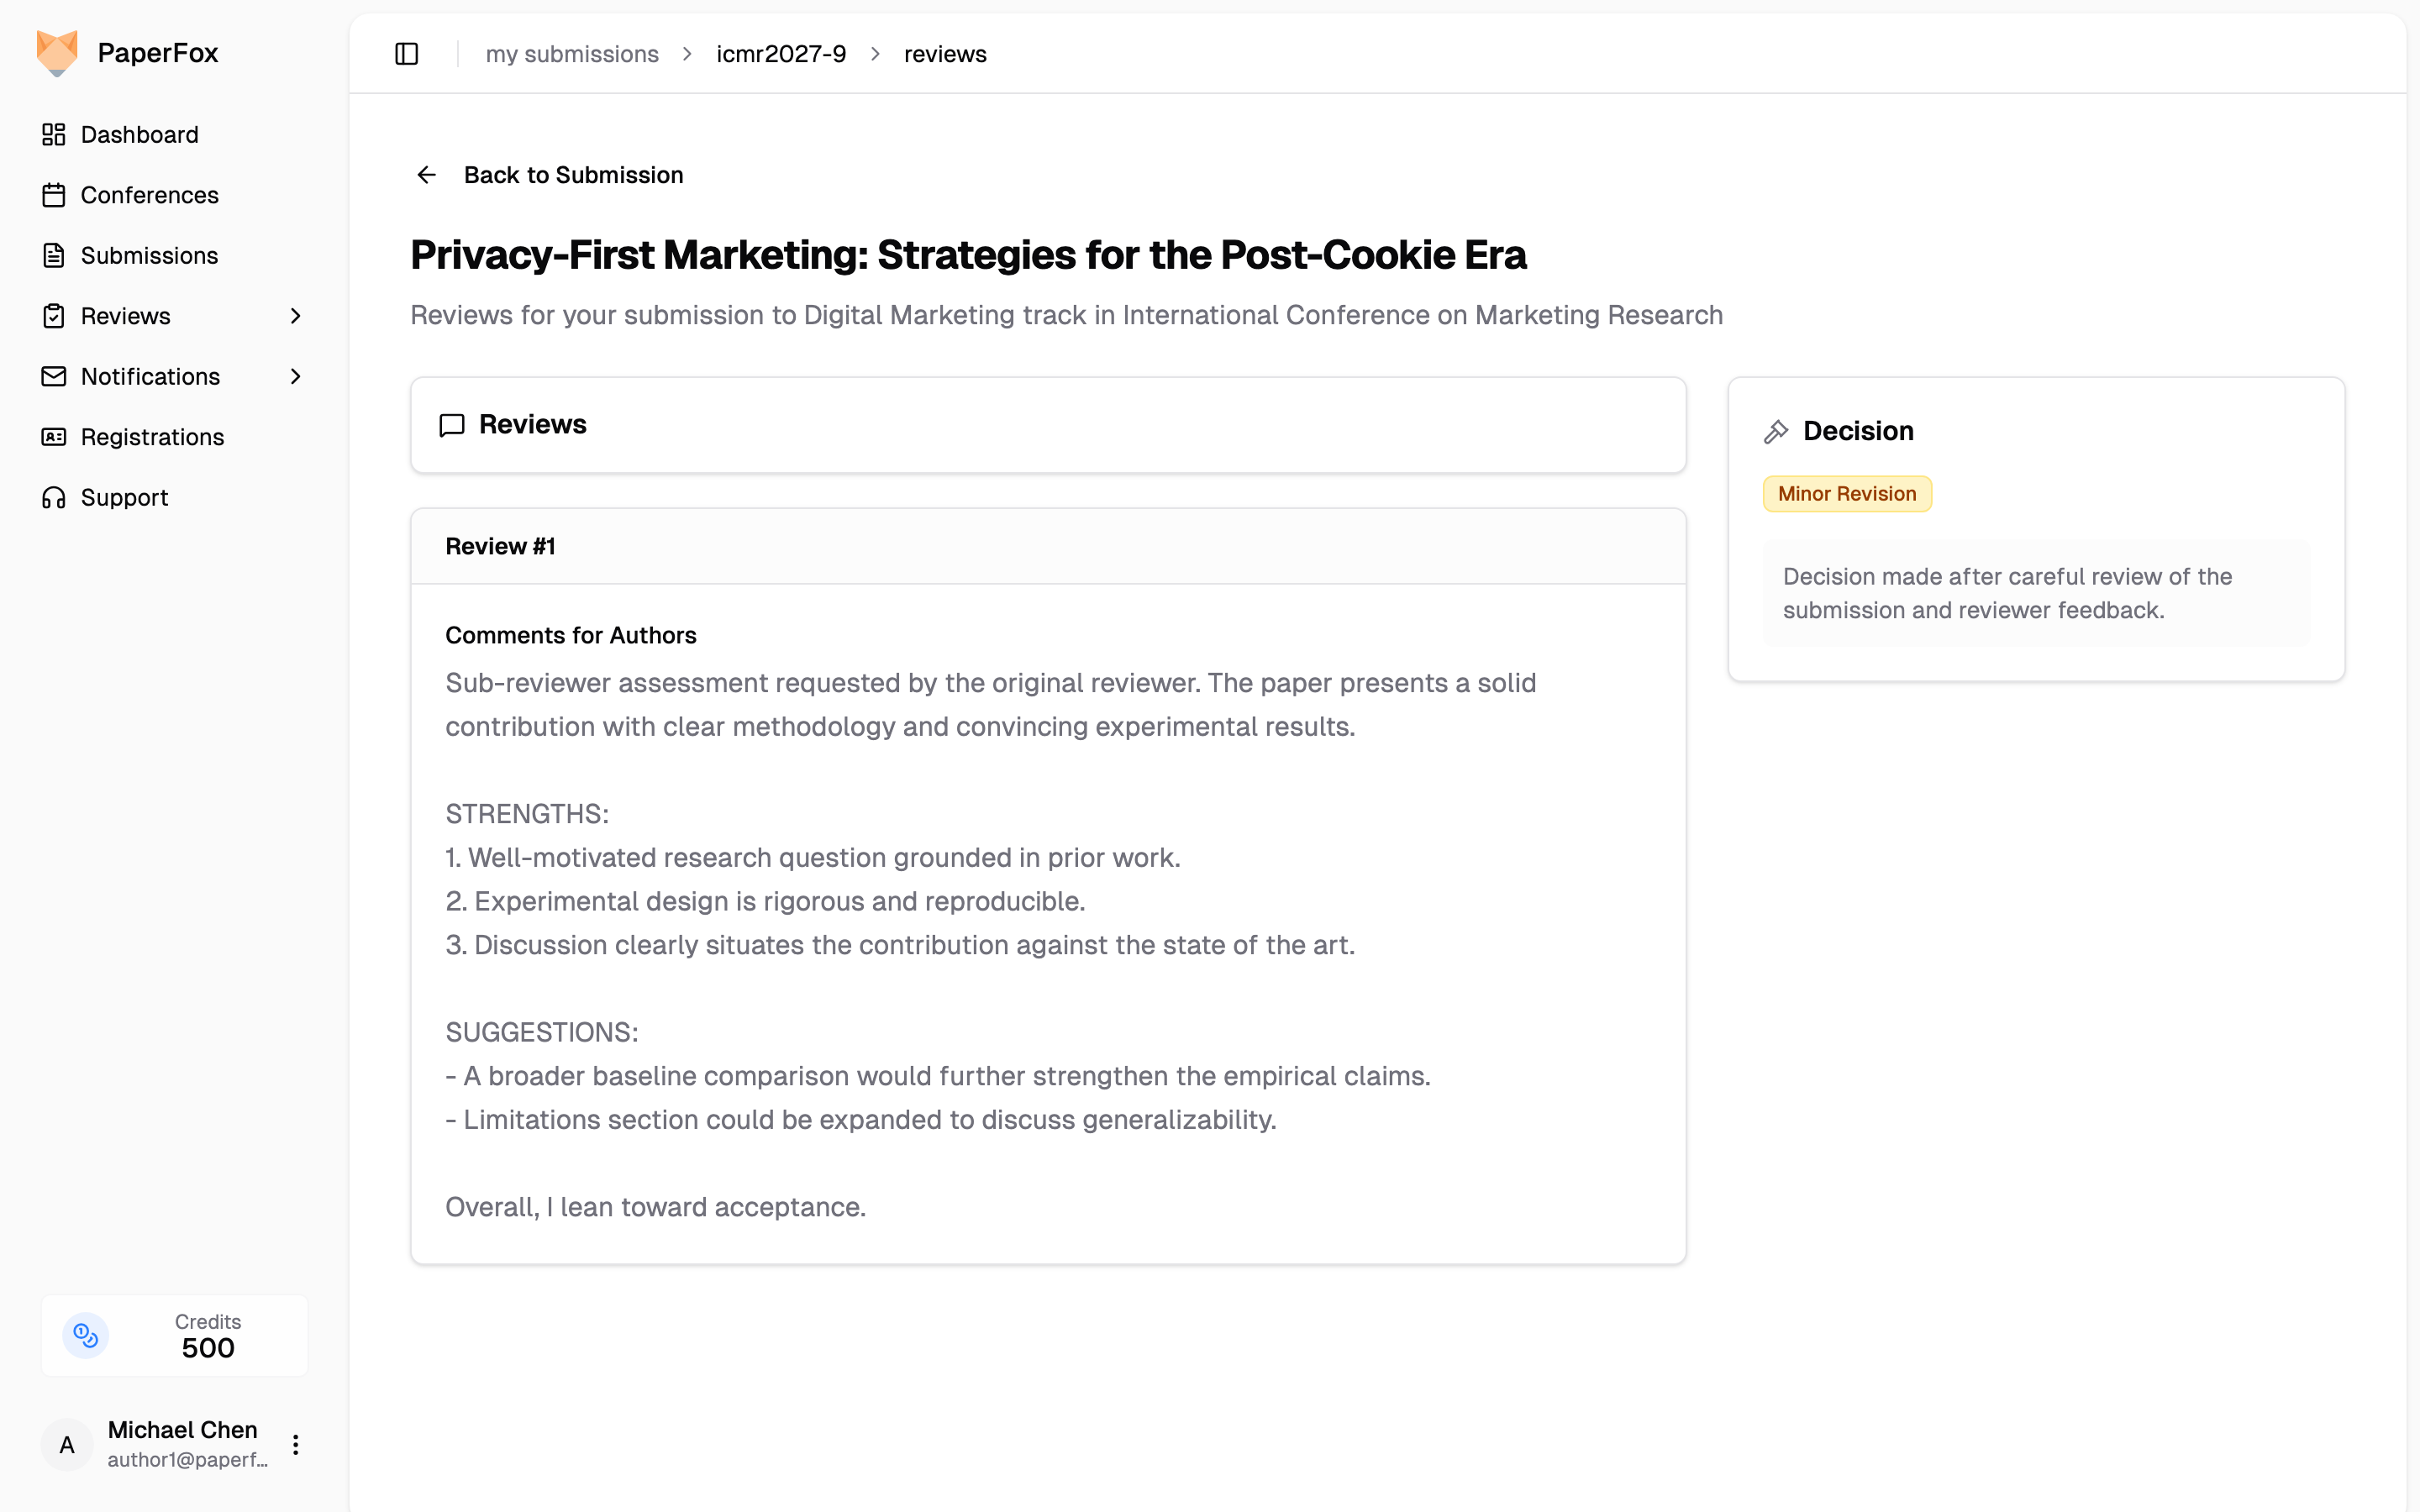
Click **"View Reviews"** to open the reviews page. Each reviewer's comments are listed, along with the chair's decision summary in the right panel. If your submission has been through more than one phase, the reviews are grouped under the phase they were written in, so the round that produced your revision decision stays distinct from any later round.
Read all reviews carefully before starting your revision — most chairs expect a point-by-point response to reviewer comments.
If a review has a **Responses** section, you can reply to that reviewer directly from this page — see [Respond to Reviews](/docs/authors/respond-to-reviews).
---
## Step 2 — Read the Reviewer Feedback
Click **"View Reviews"** to open the reviews page. Each reviewer's comments are listed, along with the chair's decision summary in the right panel. If your submission has been through more than one phase, the reviews are grouped under the phase they were written in, so the round that produced your revision decision stays distinct from any later round.
Read all reviews carefully before starting your revision — most chairs expect a point-by-point response to reviewer comments.
If a review has a **Responses** section, you can reply to that reviewer directly from this page — see [Respond to Reviews](/docs/authors/respond-to-reviews).
 ---
## Step 3 — Edit and Resubmit
Back on the submission detail page, click **"Edit Submission"**. The form opens pre-filled with your current submission, with every field configured for the phase you are in.
---
## Step 3 — Edit and Resubmit
Back on the submission detail page, click **"Edit Submission"**. The form opens pre-filled with your current submission, with every field configured for the phase you are in.
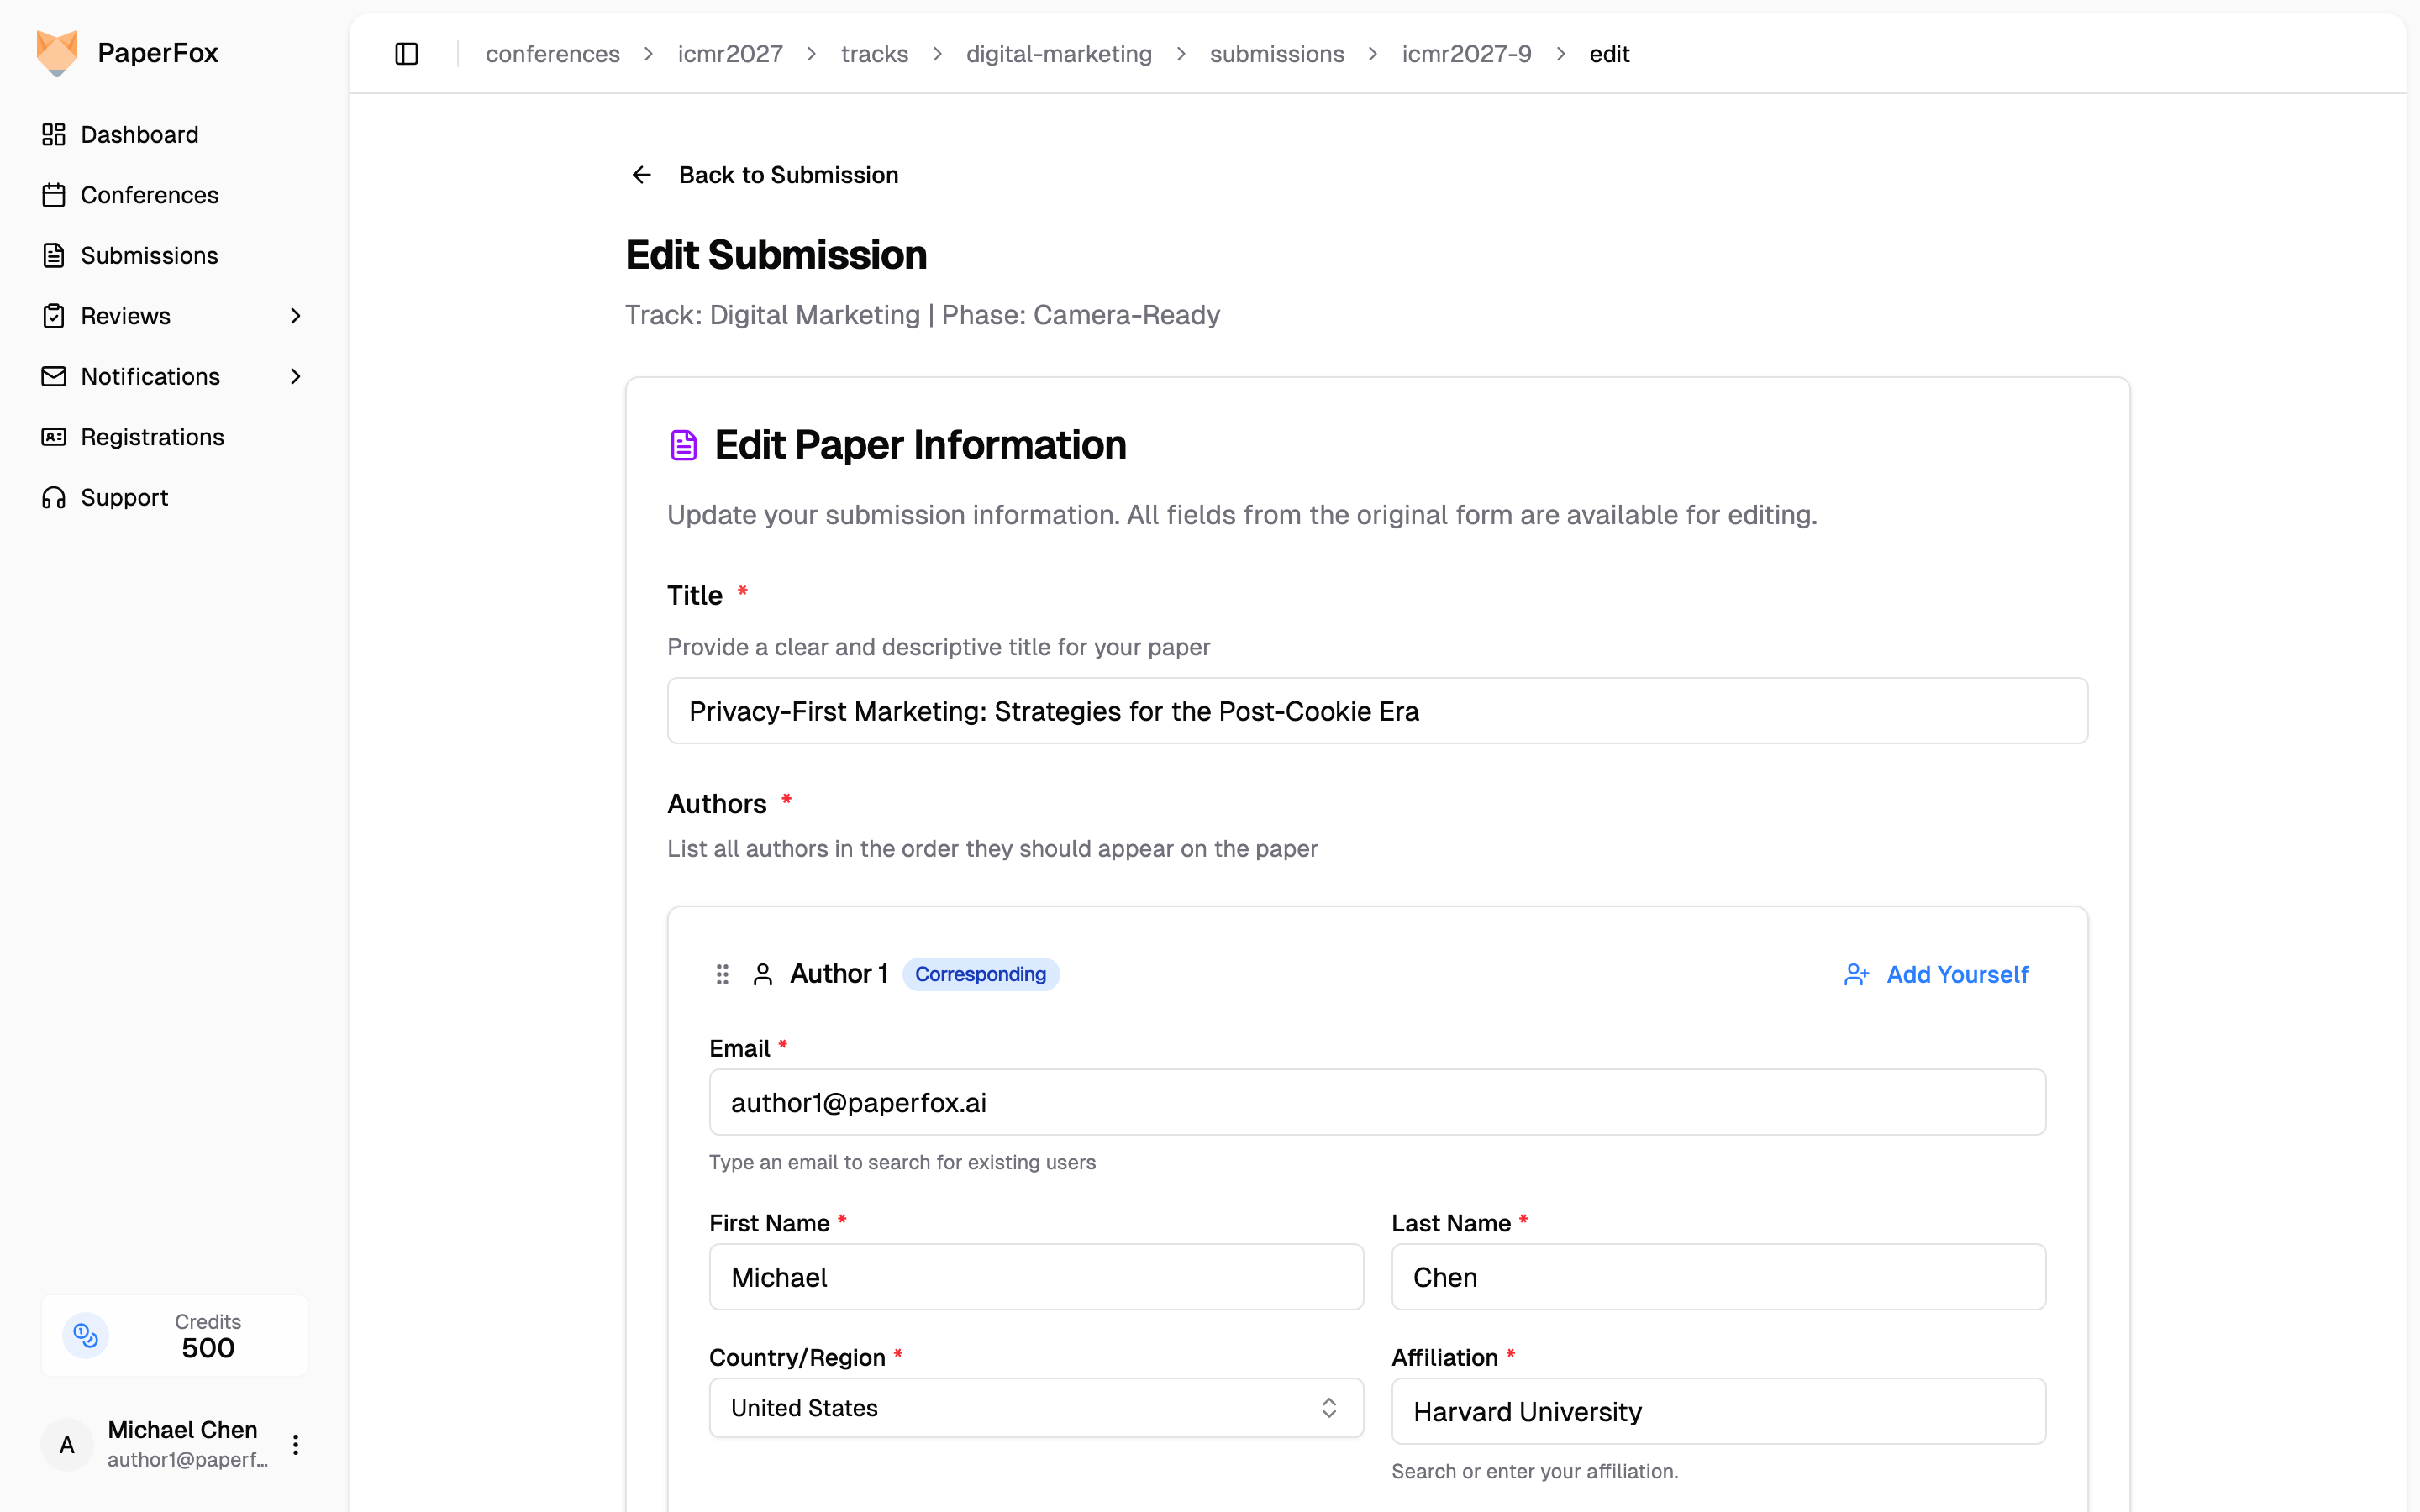 All original fields are editable. The clearest sign of which round you are in is the fields themselves: chairs often add phase-specific fields for a revision round, and a **Camera-Ready PDF** field that was not there when you first submitted only appears once the camera-ready phase begins.
Update what changed in your submission:
- **Title, Abstract, Keywords** — if your revisions affect them
- **Submission File** — click **"Replace"** to upload your revised PDF
- **Camera-Ready PDF** (if shown) — upload the final publication-ready version with author names and affiliations included
All original fields are editable. The clearest sign of which round you are in is the fields themselves: chairs often add phase-specific fields for a revision round, and a **Camera-Ready PDF** field that was not there when you first submitted only appears once the camera-ready phase begins.
Update what changed in your submission:
- **Title, Abstract, Keywords** — if your revisions affect them
- **Submission File** — click **"Replace"** to upload your revised PDF
- **Camera-Ready PDF** (if shown) — upload the final publication-ready version with author names and affiliations included
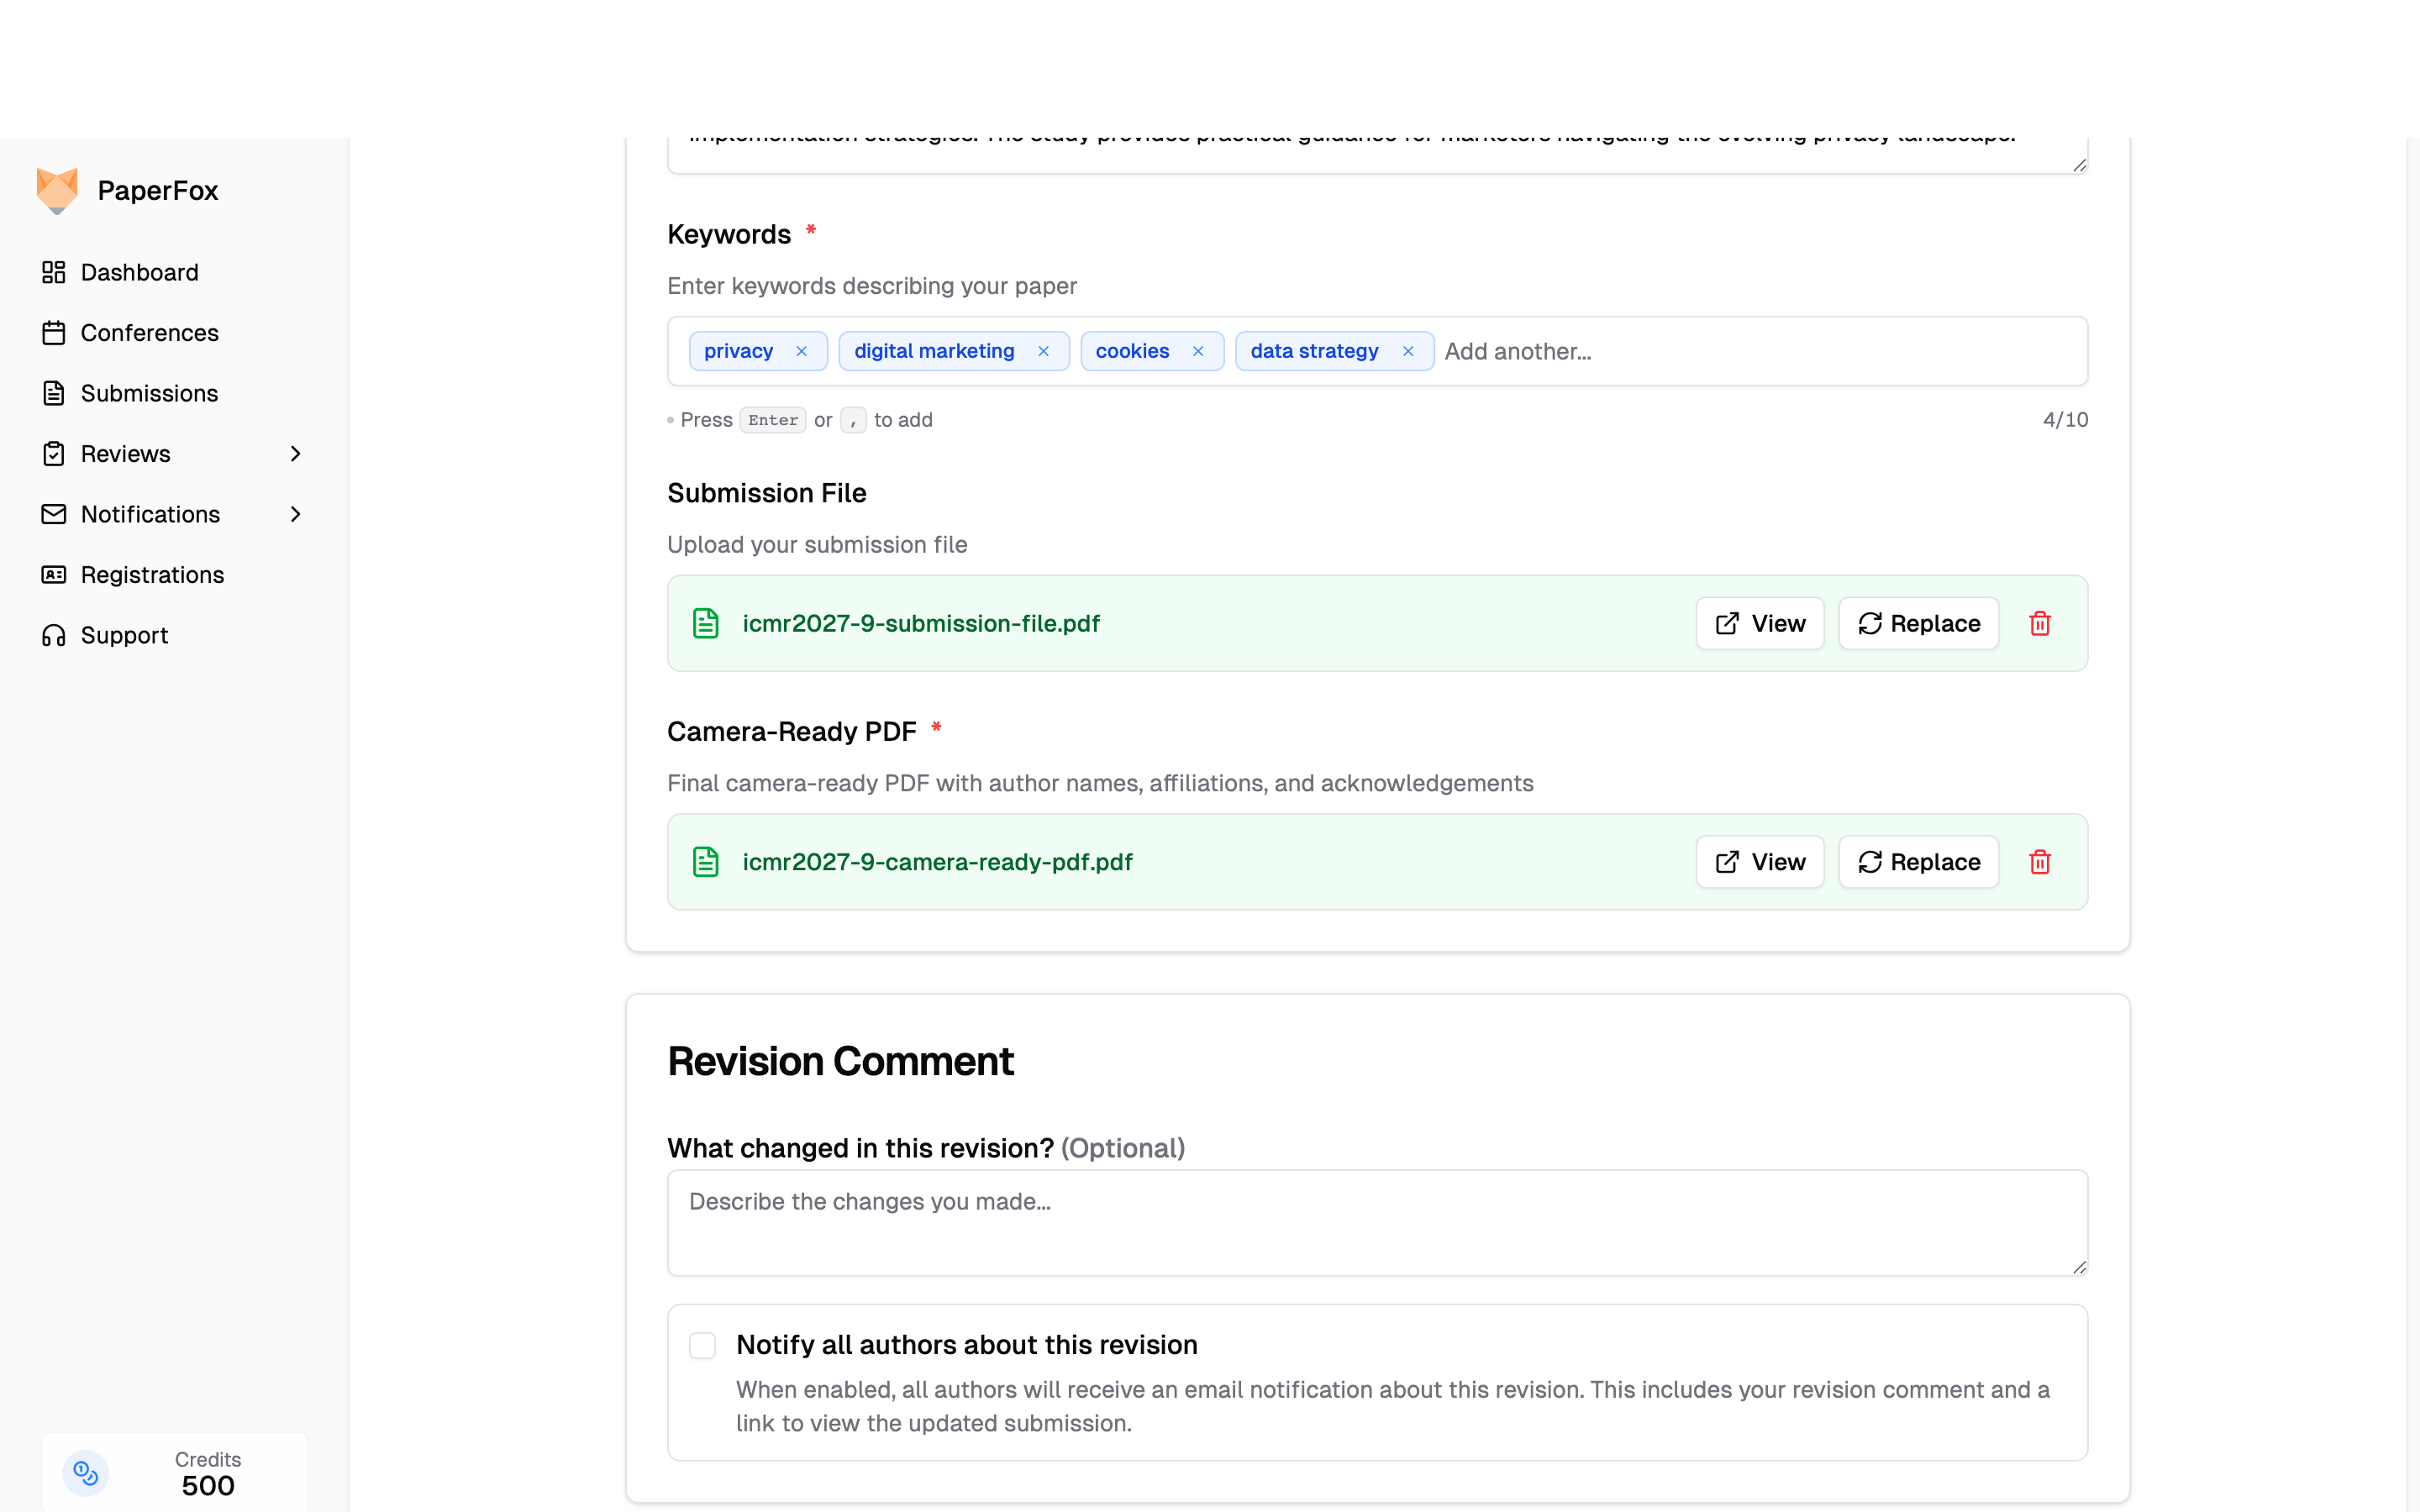 At the bottom:
1. Optionally describe your changes in the **Revision Comment** field — track chairs can see this
2. Optionally check **"Notify all authors about this revision"** to email all co-authors
3. Click **"Save Revision"**
Each save creates a new version. Your previous version is preserved in the **Version History** on the submission detail page and remains downloadable at any time — see [Open an Earlier Version of the File](/docs/authors/edit-submission#open-an-earlier-version-of-the-file).
---
## When the Edit Button Is Disabled
The **Edit Submission** button may be temporarily disabled if reviewers have active assignments in the current phase. This usually means the chairs are still processing the round — the button becomes available once assignments are resolved. If you are past the revision deadline, contact your track chairs directly.
At the bottom:
1. Optionally describe your changes in the **Revision Comment** field — track chairs can see this
2. Optionally check **"Notify all authors about this revision"** to email all co-authors
3. Click **"Save Revision"**
Each save creates a new version. Your previous version is preserved in the **Version History** on the submission detail page and remains downloadable at any time — see [Open an Earlier Version of the File](/docs/authors/edit-submission#open-an-earlier-version-of-the-file).
---
## When the Edit Button Is Disabled
The **Edit Submission** button may be temporarily disabled if reviewers have active assignments in the current phase. This usually means the chairs are still processing the round — the button becomes available once assignments are resolved. If you are past the revision deadline, contact your track chairs directly.
 ## Dashboard Overview
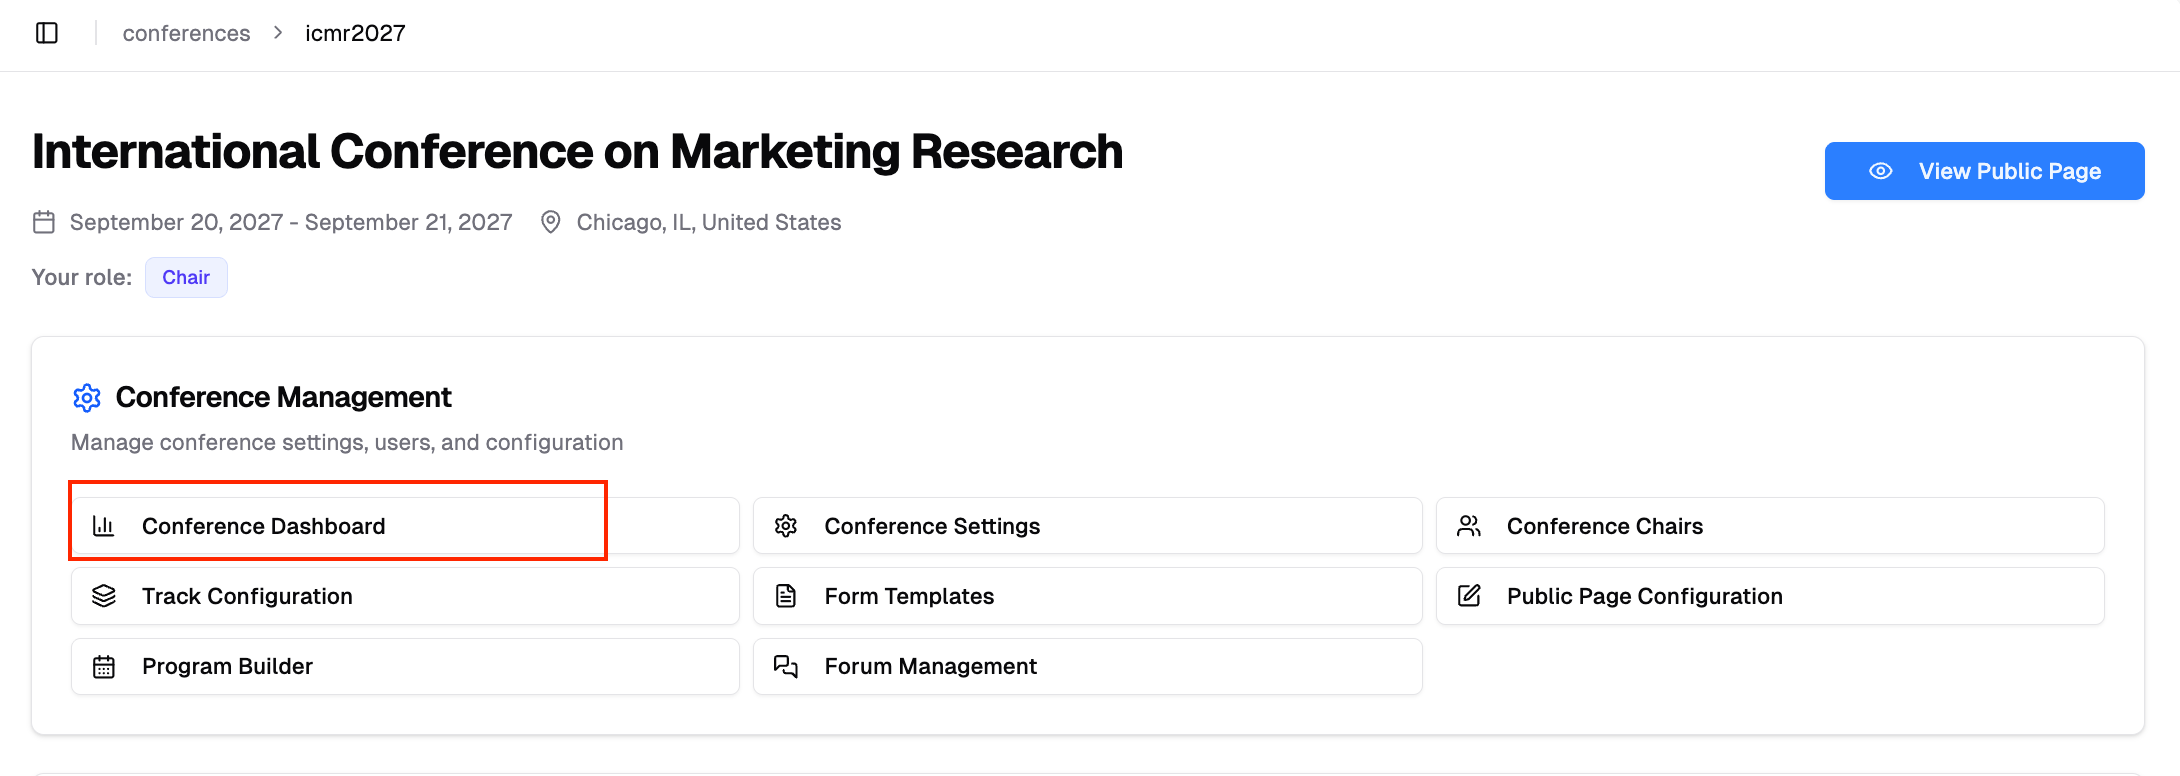
The dashboard is organized into several sections. The **"People"** and **"Submissions"** buttons in the header open the conference-wide finders — see [Find People and Submissions](/docs/chairs/find-people-and-submissions).
## Dashboard Overview
The dashboard is organized into several sections. The **"People"** and **"Submissions"** buttons in the header open the conference-wide finders — see [Find People and Submissions](/docs/chairs/find-people-and-submissions).
 ### Key Metrics
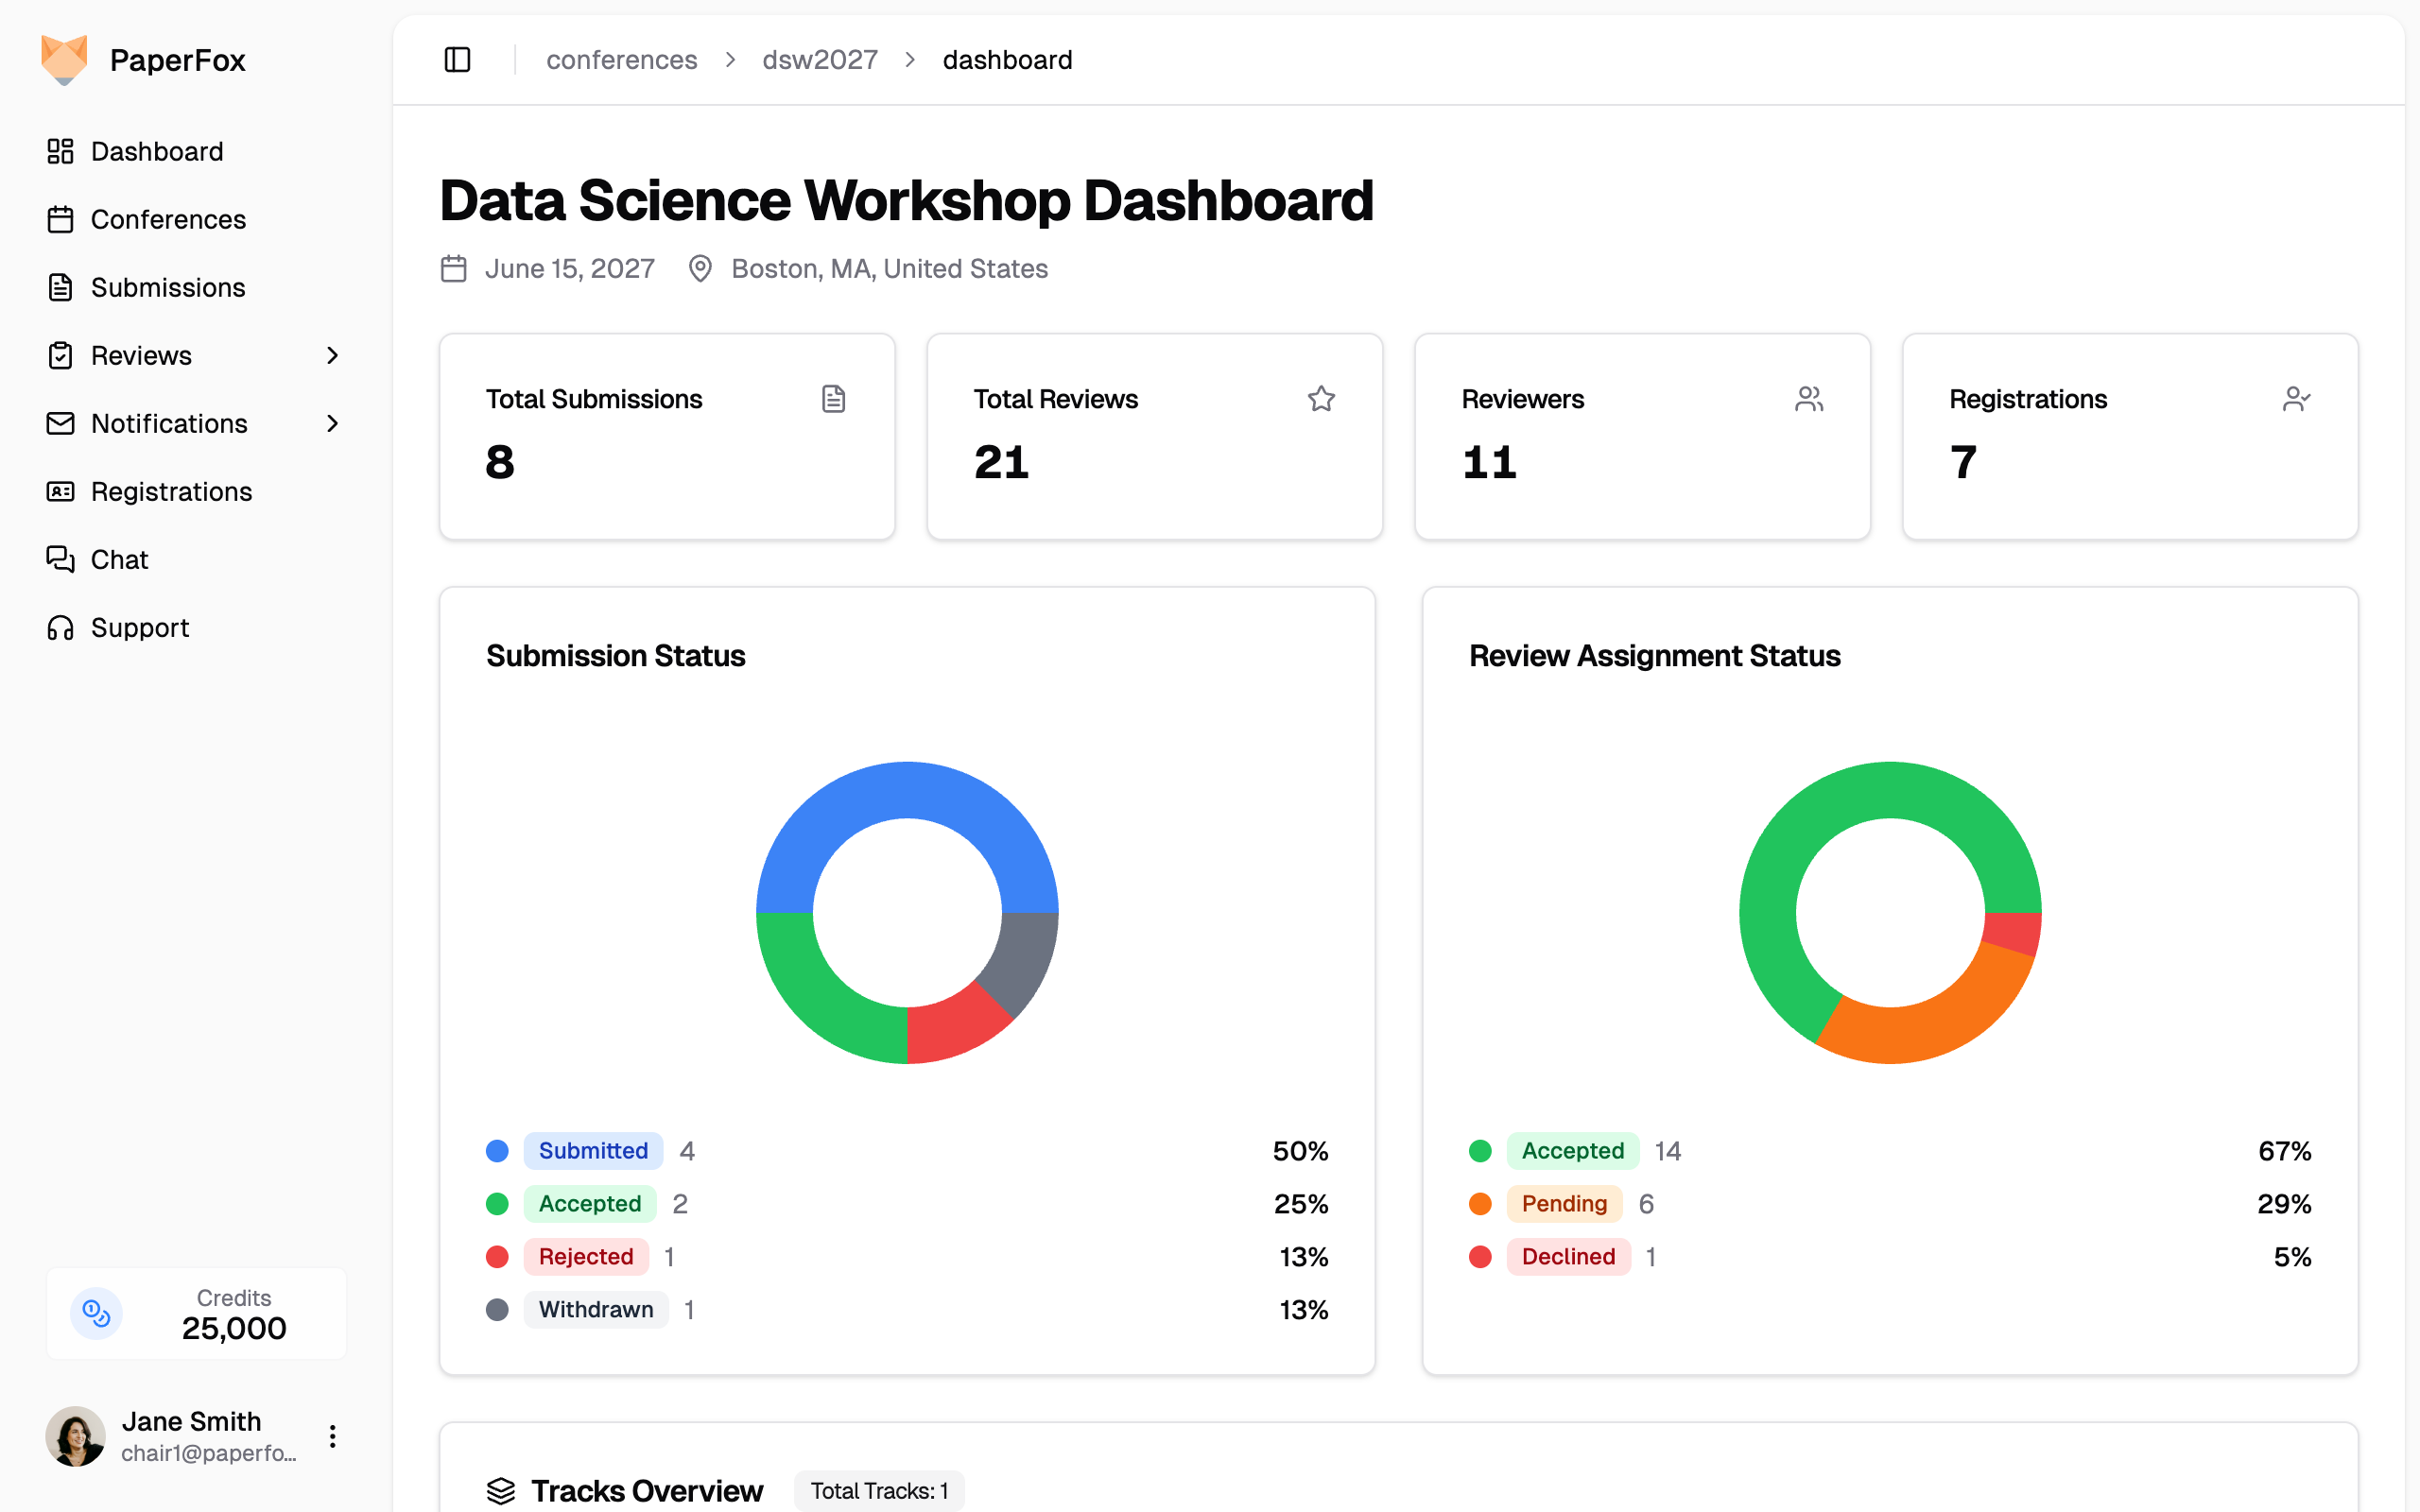
Summary cards at the top show:
- **Total Submissions** — Number of submissions submitted across all tracks
- **Review Assignments** — Number of reviewer assignments across all tracks and phases
- **Reviewers** — Number of registered reviewers
- **Registrations** — Number of conference registrations. Shown only if your conference uses PaperFox for registration — either registration is turned on, or you have already imported registrants. Conferences that handle registration elsewhere see three cards instead of four.
### Tracks Overview
A per-track row showing submission count, review progress, decisions made, the next upcoming review deadline, and assigned track chairs — the **Chairs** column appears once at least one track has a track chair. Click any column heading to sort by it — the first click puts the track that is furthest behind at the top. The **Review Progress** and **Decisions** headings carry a small info icon — click it to see exactly what each number counts.
**Review Progress** is completed reviews as a share of reviews expected — assignments a review can still arrive from. Declined or cancelled assignments and reviews owed on withdrawn submissions don't count, so the bar can actually reach 100%.
**Decisions** shows how many of a track's submissions have a decision recorded, out of the submissions still live in that track (withdrawn ones are excluded). It's the question review progress can't answer: a track can be fully reviewed and not yet decided at all. In a multi-track conference this is where you see the tracks diverge — one at 30/30 while another sits at 0/18.
### Key Metrics
Summary cards at the top show:
- **Total Submissions** — Number of submissions submitted across all tracks
- **Review Assignments** — Number of reviewer assignments across all tracks and phases
- **Reviewers** — Number of registered reviewers
- **Registrations** — Number of conference registrations. Shown only if your conference uses PaperFox for registration — either registration is turned on, or you have already imported registrants. Conferences that handle registration elsewhere see three cards instead of four.
### Tracks Overview
A per-track row showing submission count, review progress, decisions made, the next upcoming review deadline, and assigned track chairs — the **Chairs** column appears once at least one track has a track chair. Click any column heading to sort by it — the first click puts the track that is furthest behind at the top. The **Review Progress** and **Decisions** headings carry a small info icon — click it to see exactly what each number counts.
**Review Progress** is completed reviews as a share of reviews expected — assignments a review can still arrive from. Declined or cancelled assignments and reviews owed on withdrawn submissions don't count, so the bar can actually reach 100%.
**Decisions** shows how many of a track's submissions have a decision recorded, out of the submissions still live in that track (withdrawn ones are excluded). It's the question review progress can't answer: a track can be fully reviewed and not yet decided at all. In a multi-track conference this is where you see the tracks diverge — one at 30/30 while another sits at 0/18.
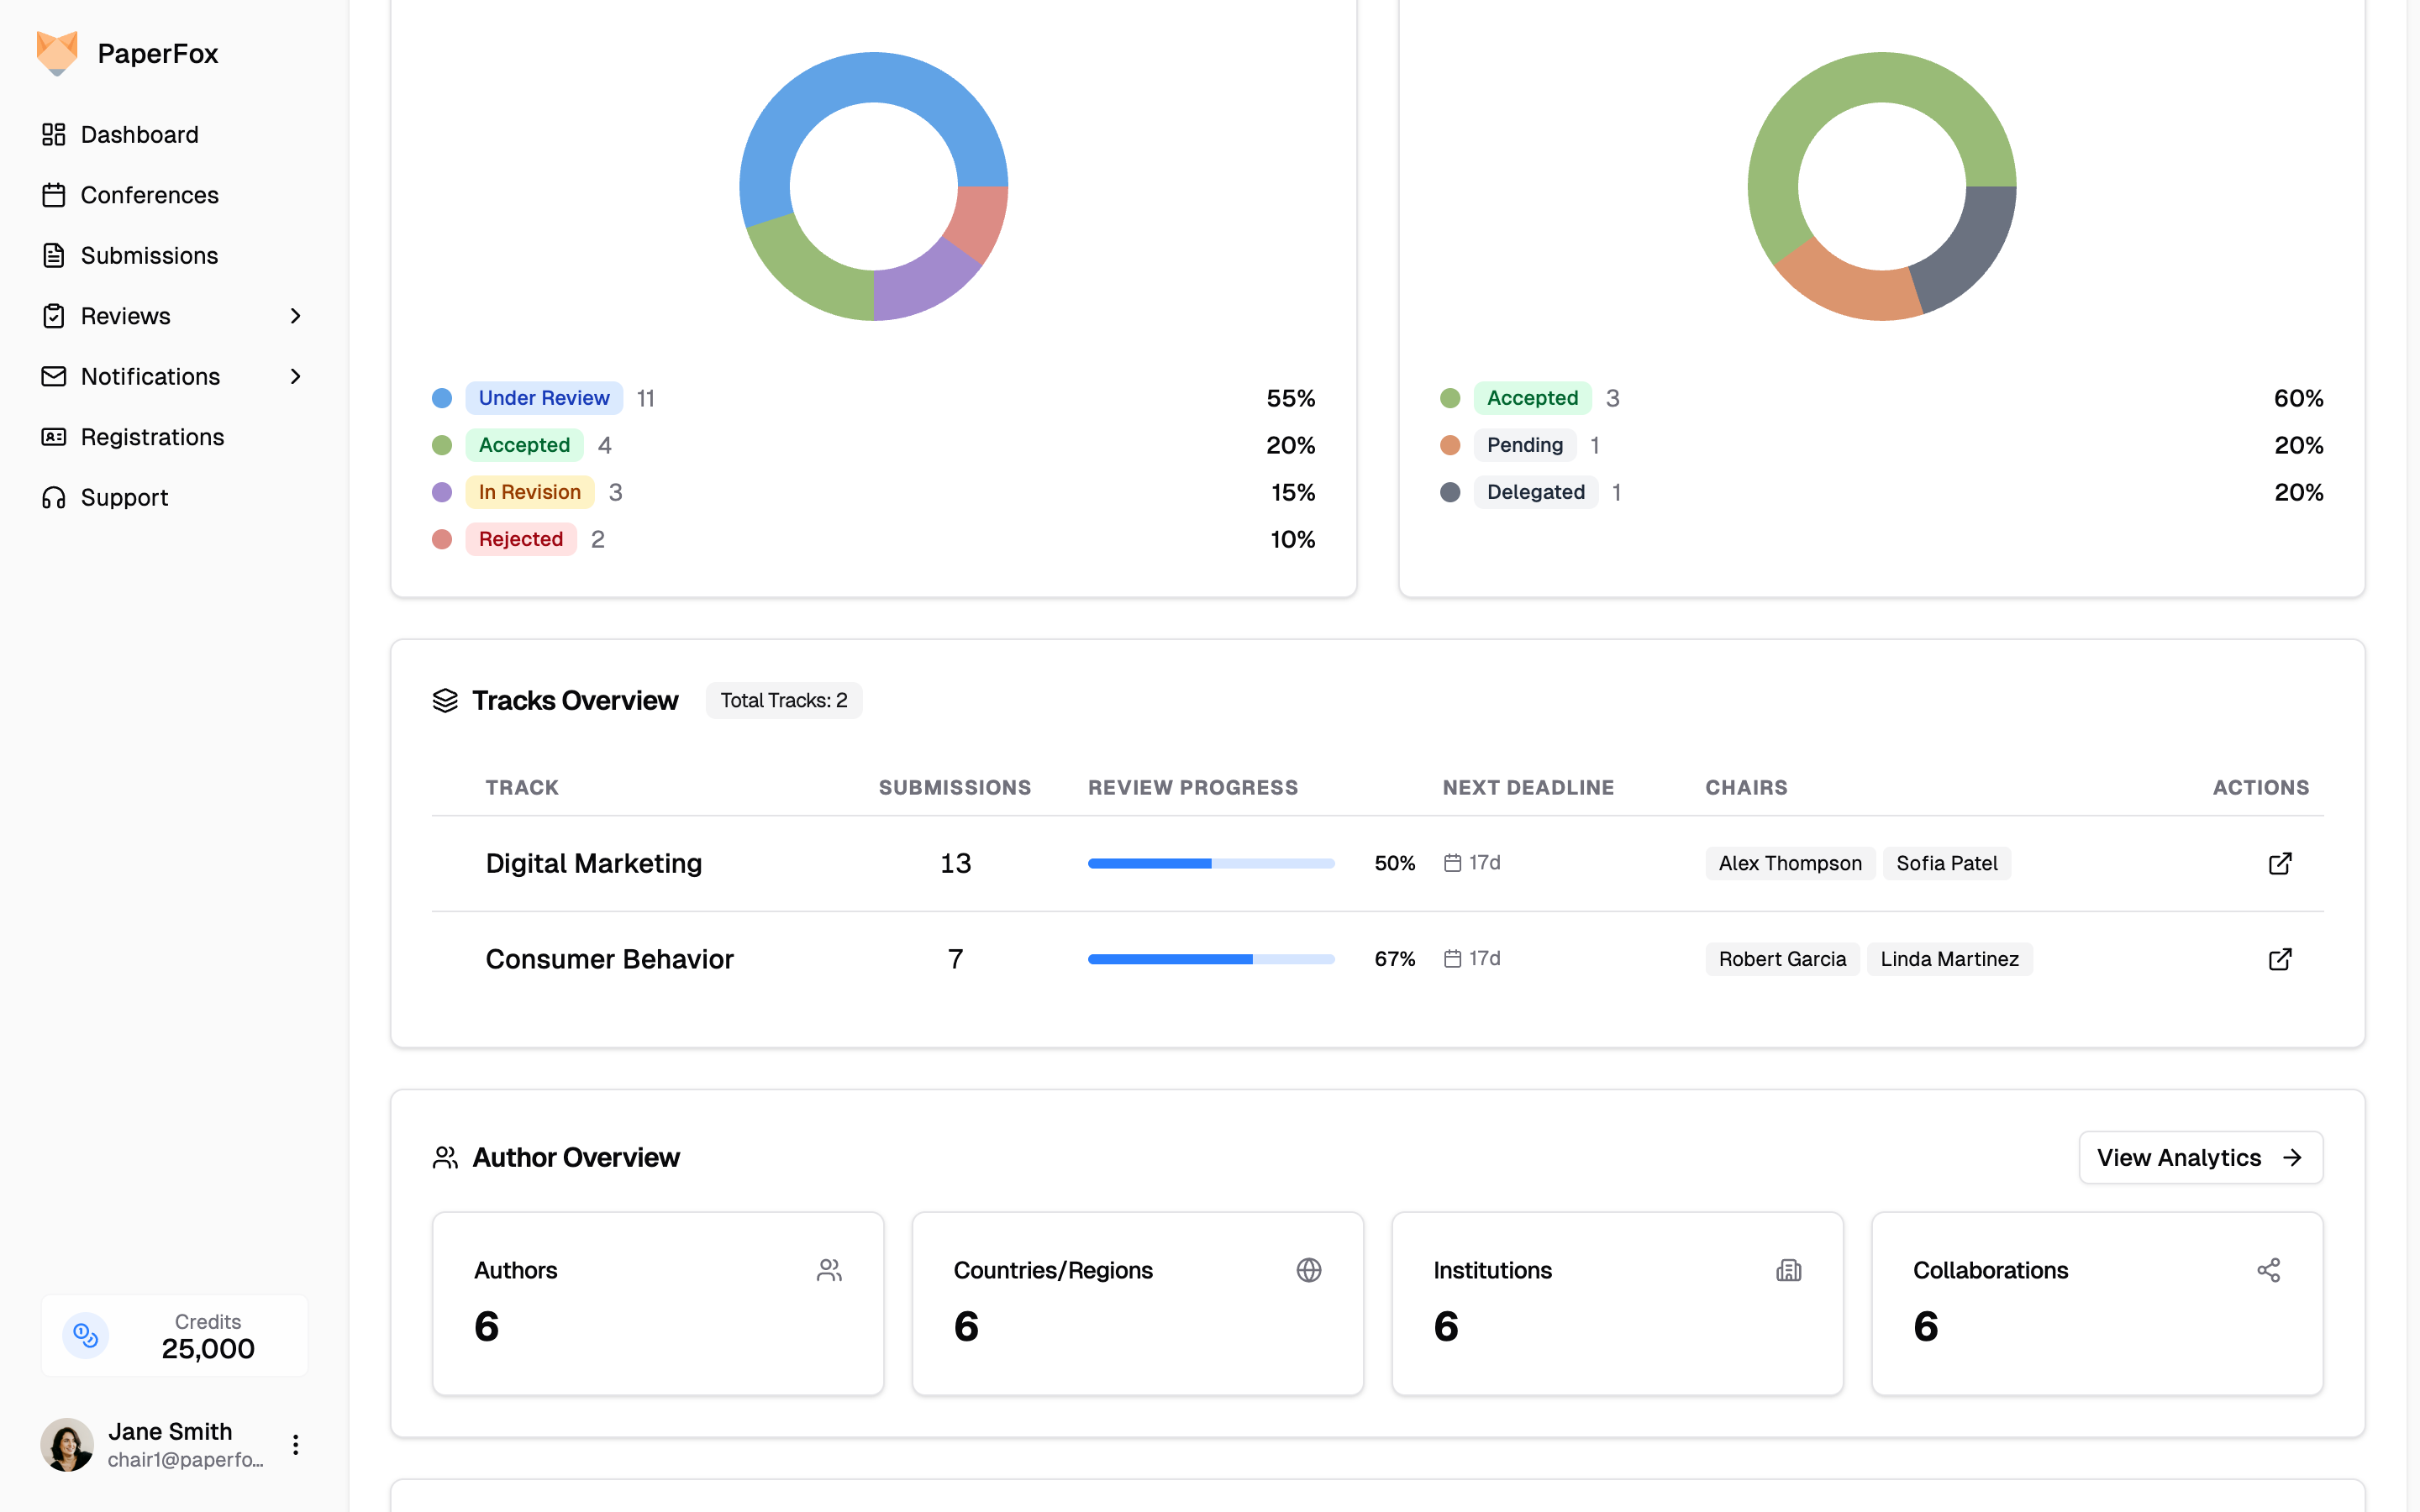 For conferences with more than 10 tracks, the strip shows the first 5 rows of the current sort — click **"Show all (N)"** to expand. Sort by **Review Progress** or **Decisions** first if you want the tracks that need attention at the top.
Click the open icon at the end of any row to jump to that track's dashboard — that's where the review workflow lives: assignment and decision status, recent submissions, and upcoming deadlines.
On a single-track conference this section appears as **Review Pipeline** instead — the same row without the track column, with a **"Track Dashboard"** button to open your track's dashboard.
For conferences with more than 10 tracks, the strip shows the first 5 rows of the current sort — click **"Show all (N)"** to expand. Sort by **Review Progress** or **Decisions** first if you want the tracks that need attention at the top.
Click the open icon at the end of any row to jump to that track's dashboard — that's where the review workflow lives: assignment and decision status, recent submissions, and upcoming deadlines.
On a single-track conference this section appears as **Review Pipeline** instead — the same row without the track column, with a **"Track Dashboard"** button to open your track's dashboard.
 ### Decision Status
The outcome mix across every track you can see: how many submissions carry each decision, and how many are still awaiting one. On a multi-track conference the title carries an **"N tracks combined"** badge, because each track's dashboard has a card with this same name showing only that track's current phase — the badge tells you which of the two you're reading, and that these figures are summed rather than filtered. It disappears on a single-track conference, and for a track chair who manages only one track. Withdrawn submissions are counted separately below the chart rather than folded into the percentages, so this card and each track's Decisions page report the same totals.
### Decision Status
The outcome mix across every track you can see: how many submissions carry each decision, and how many are still awaiting one. On a multi-track conference the title carries an **"N tracks combined"** badge, because each track's dashboard has a card with this same name showing only that track's current phase — the badge tells you which of the two you're reading, and that these figures are summed rather than filtered. It disappears on a single-track conference, and for a track chair who manages only one track. Withdrawn submissions are counted separately below the chart rather than folded into the percentages, so this card and each track's Decisions page report the same totals.
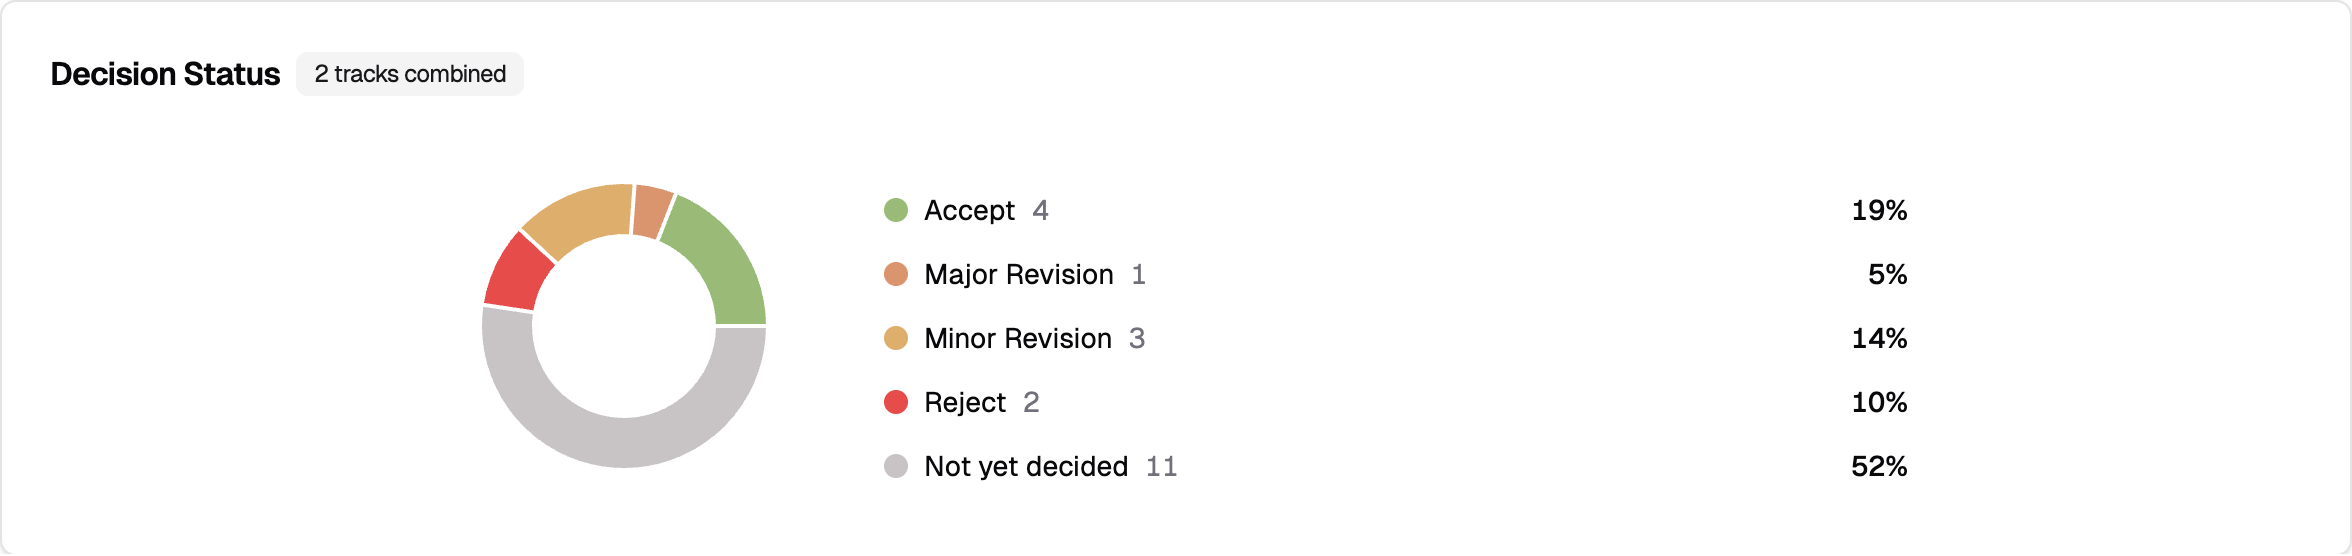 Custom decision types your conference has defined appear here alongside the built-in ones. If you have more than a handful, the legend collapses — **"Not yet decided"** stays pinned, since it's the progress signal rather than an outcome.
Decisions are recorded per track, so on a multi-track conference the legend rows aren't links — use the **Decisions** column in Tracks Overview above to see which track needs attention, then open that track. On a single-track conference there's only one place to go, so the card carries a **"Decisions"** button straight to it.
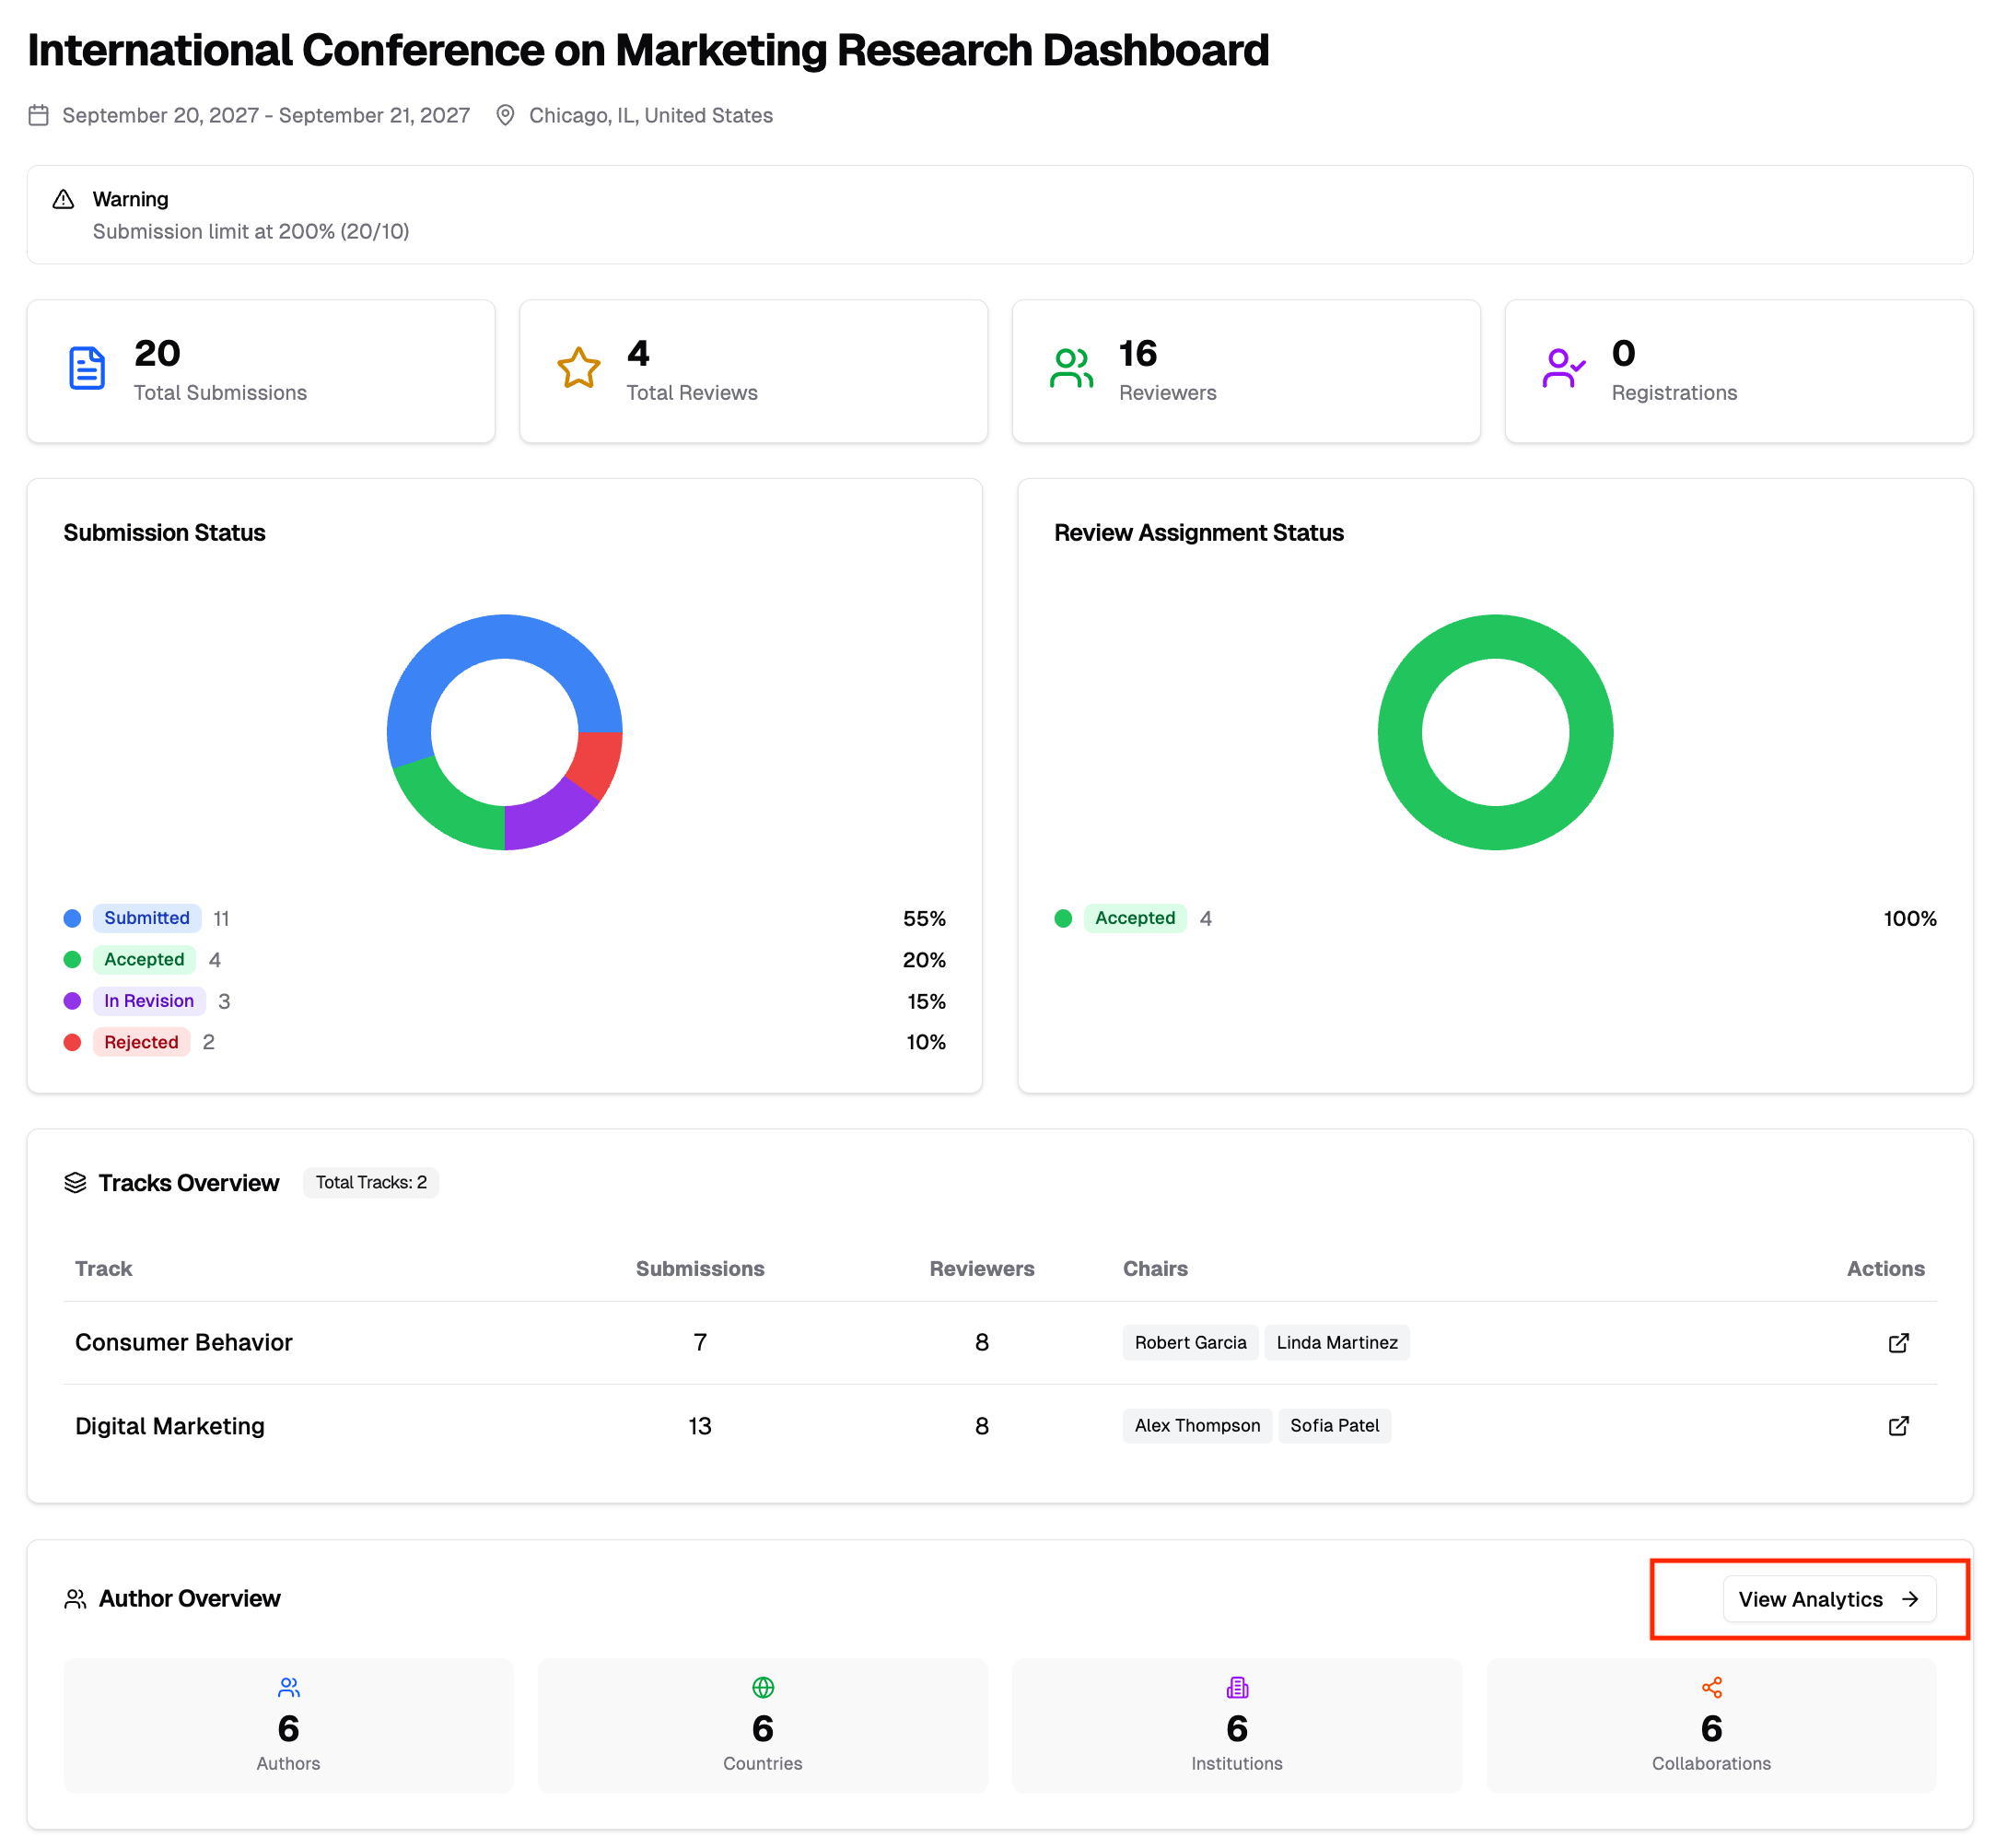
### Author Overview
A summary card showing total authors, countries/regions, institutions, and collaborations. Click **"View Analytics"** to open the detailed Author Analytics page.
Custom decision types your conference has defined appear here alongside the built-in ones. If you have more than a handful, the legend collapses — **"Not yet decided"** stays pinned, since it's the progress signal rather than an outcome.
Decisions are recorded per track, so on a multi-track conference the legend rows aren't links — use the **Decisions** column in Tracks Overview above to see which track needs attention, then open that track. On a single-track conference there's only one place to go, so the card carries a **"Decisions"** button straight to it.
### Author Overview
A summary card showing total authors, countries/regions, institutions, and collaborations. Click **"View Analytics"** to open the detailed Author Analytics page.
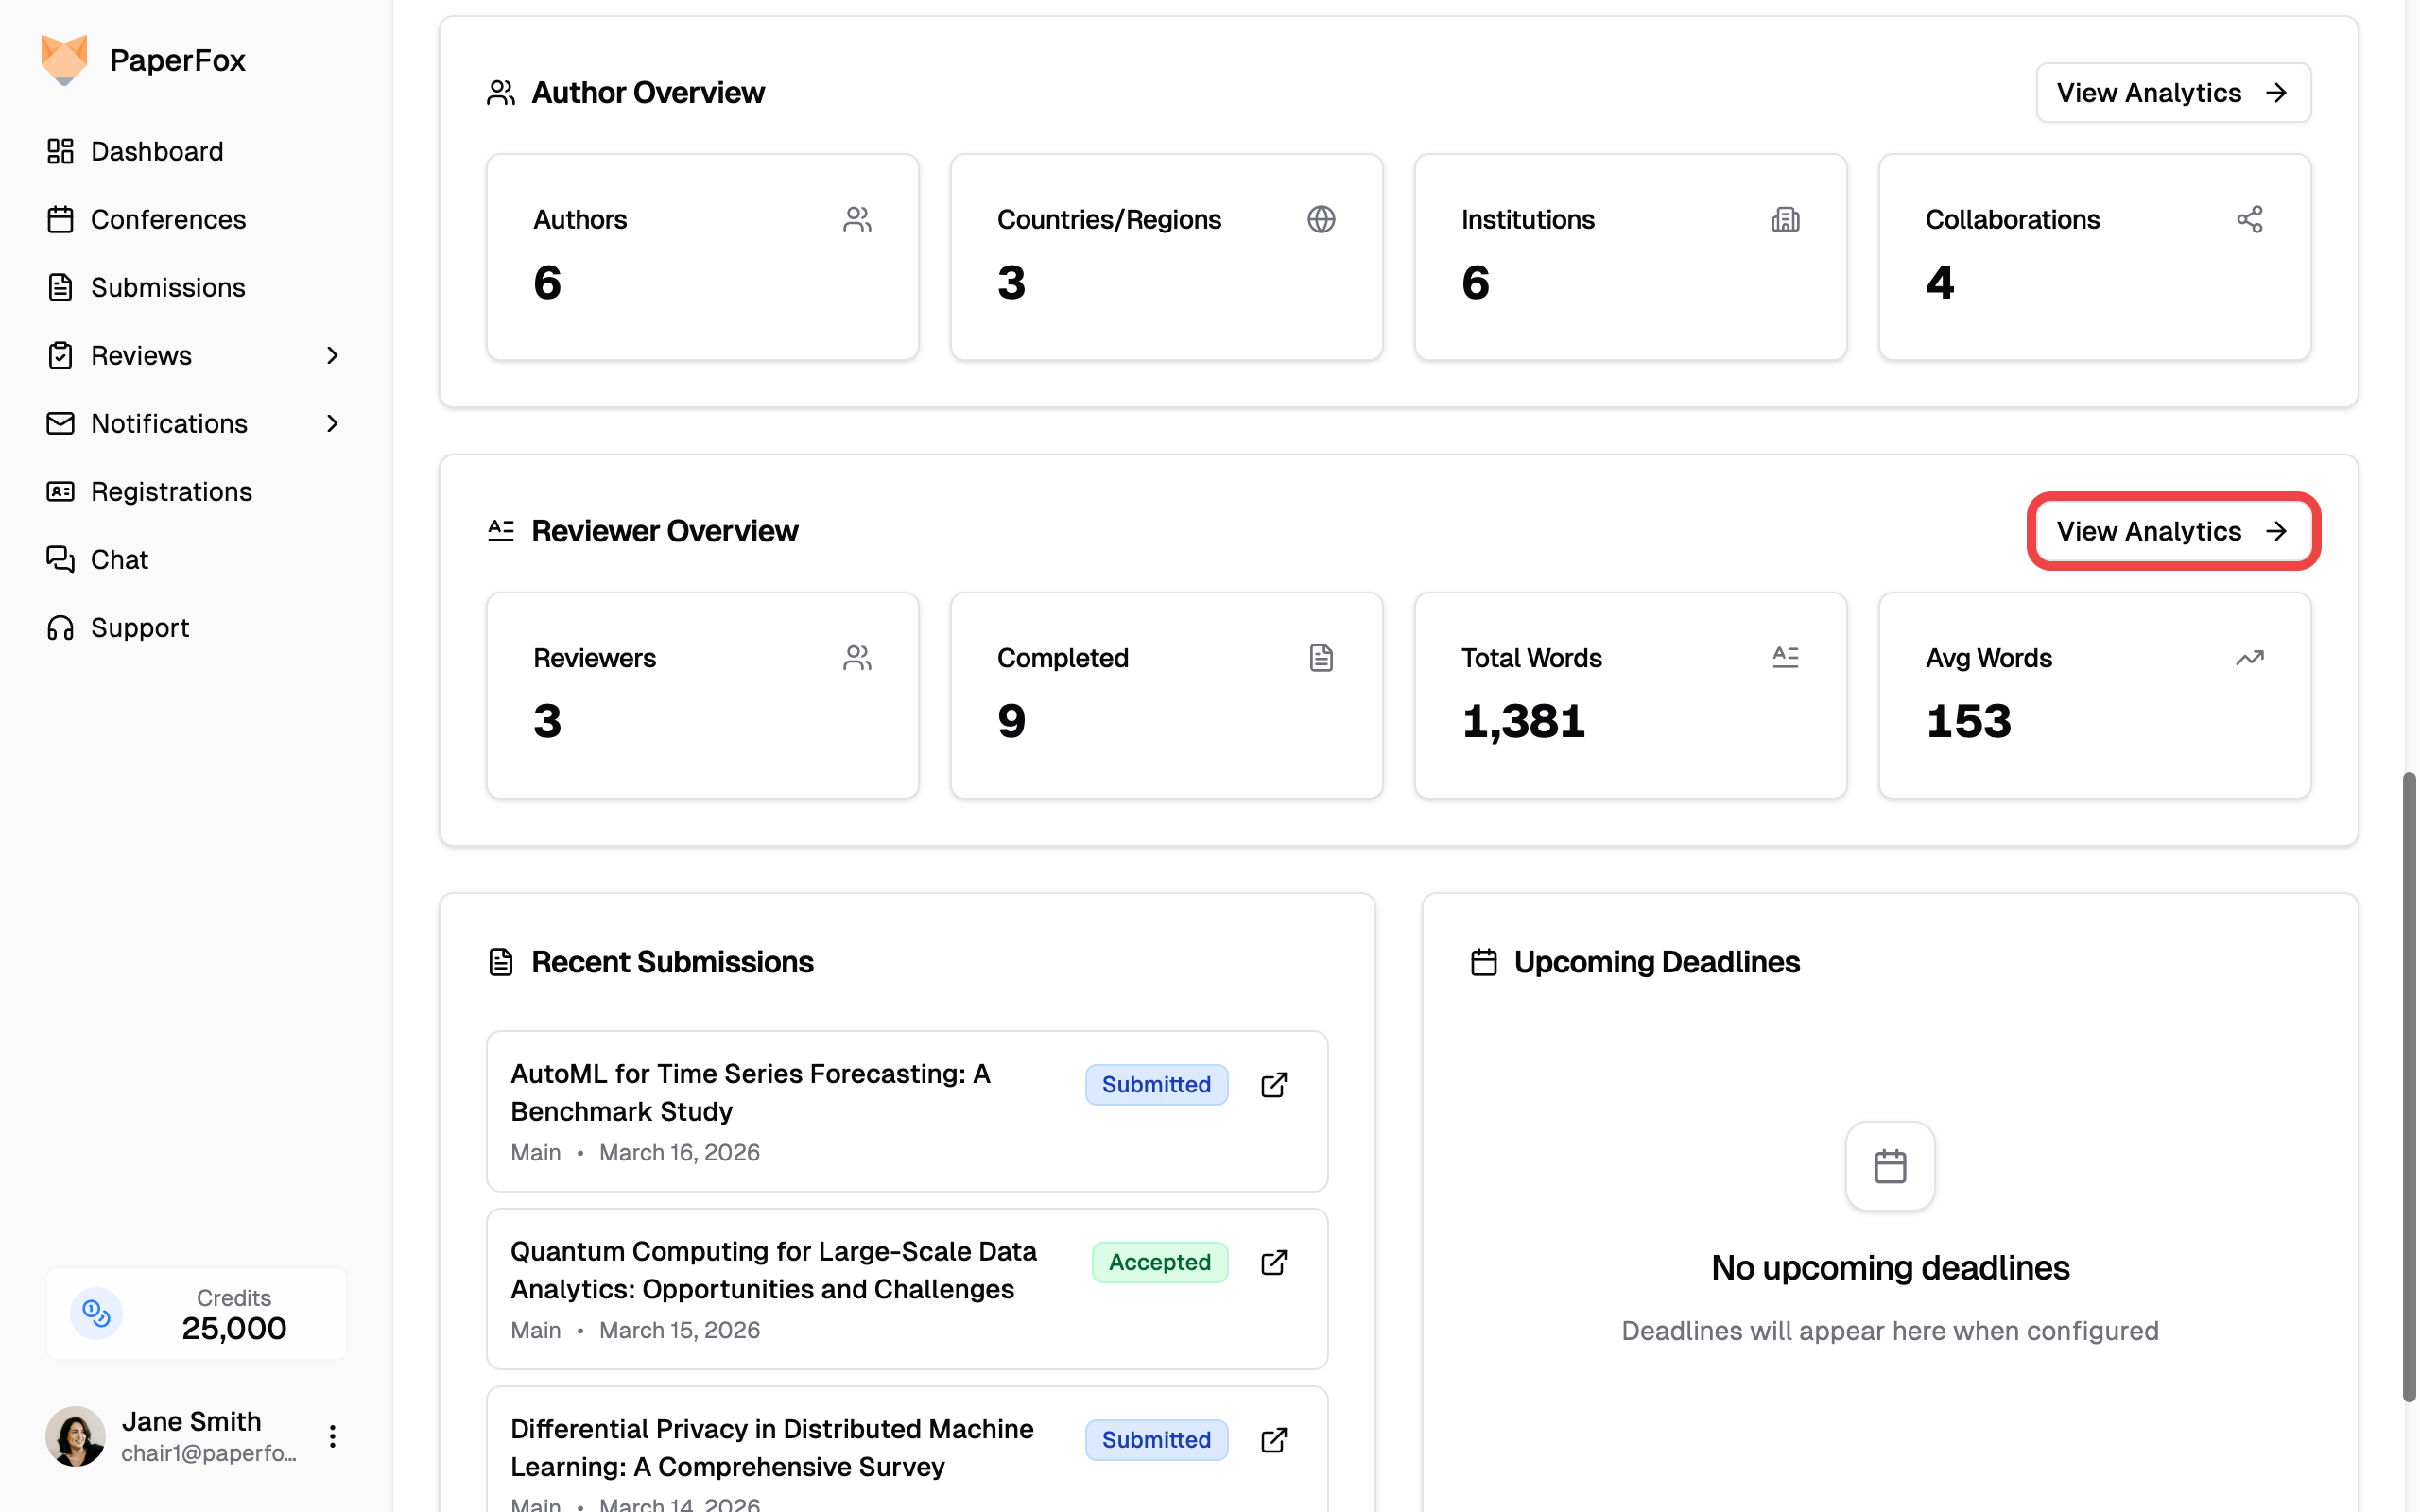
 ### Reviewer Overview
A summary card showing reviewers with completed reviews, completed review count, total and average word count, and average response/turnaround days. Click **"View Analytics"** to open the detailed Reviewer Analytics page.
### Reviewer Overview
A summary card showing reviewers with completed reviews, completed review count, total and average word count, and average response/turnaround days. Click **"View Analytics"** to open the detailed Reviewer Analytics page.
 ### Registration Overview
Visible to conference chairs only, and only when your conference uses PaperFox for registration — the same condition as the Registrations card above. A summary of your registration revenue — **Total Sales**, **Refunds**, **Net Sales**, and **Total Fees** — matching the numbers on the Registration Overview page. Click **"View Overview"** for the full breakdown, sales by registration type, and recent orders.
### Registration Overview
Visible to conference chairs only, and only when your conference uses PaperFox for registration — the same condition as the Registrations card above. A summary of your registration revenue — **Total Sales**, **Refunds**, **Net Sales**, and **Total Fees** — matching the numbers on the Registration Overview page. Click **"View Overview"** for the full breakdown, sales by registration type, and recent orders.
 ---
## Author Analytics
The Author Analytics page provides detailed insights into who is submitting to your conference.
1. From the dashboard, scroll to the **Author Overview** card
2. Click **"View Analytics"**
---
## Author Analytics
The Author Analytics page provides detailed insights into who is submitting to your conference.
1. From the dashboard, scroll to the **Author Overview** card
2. Click **"View Analytics"**
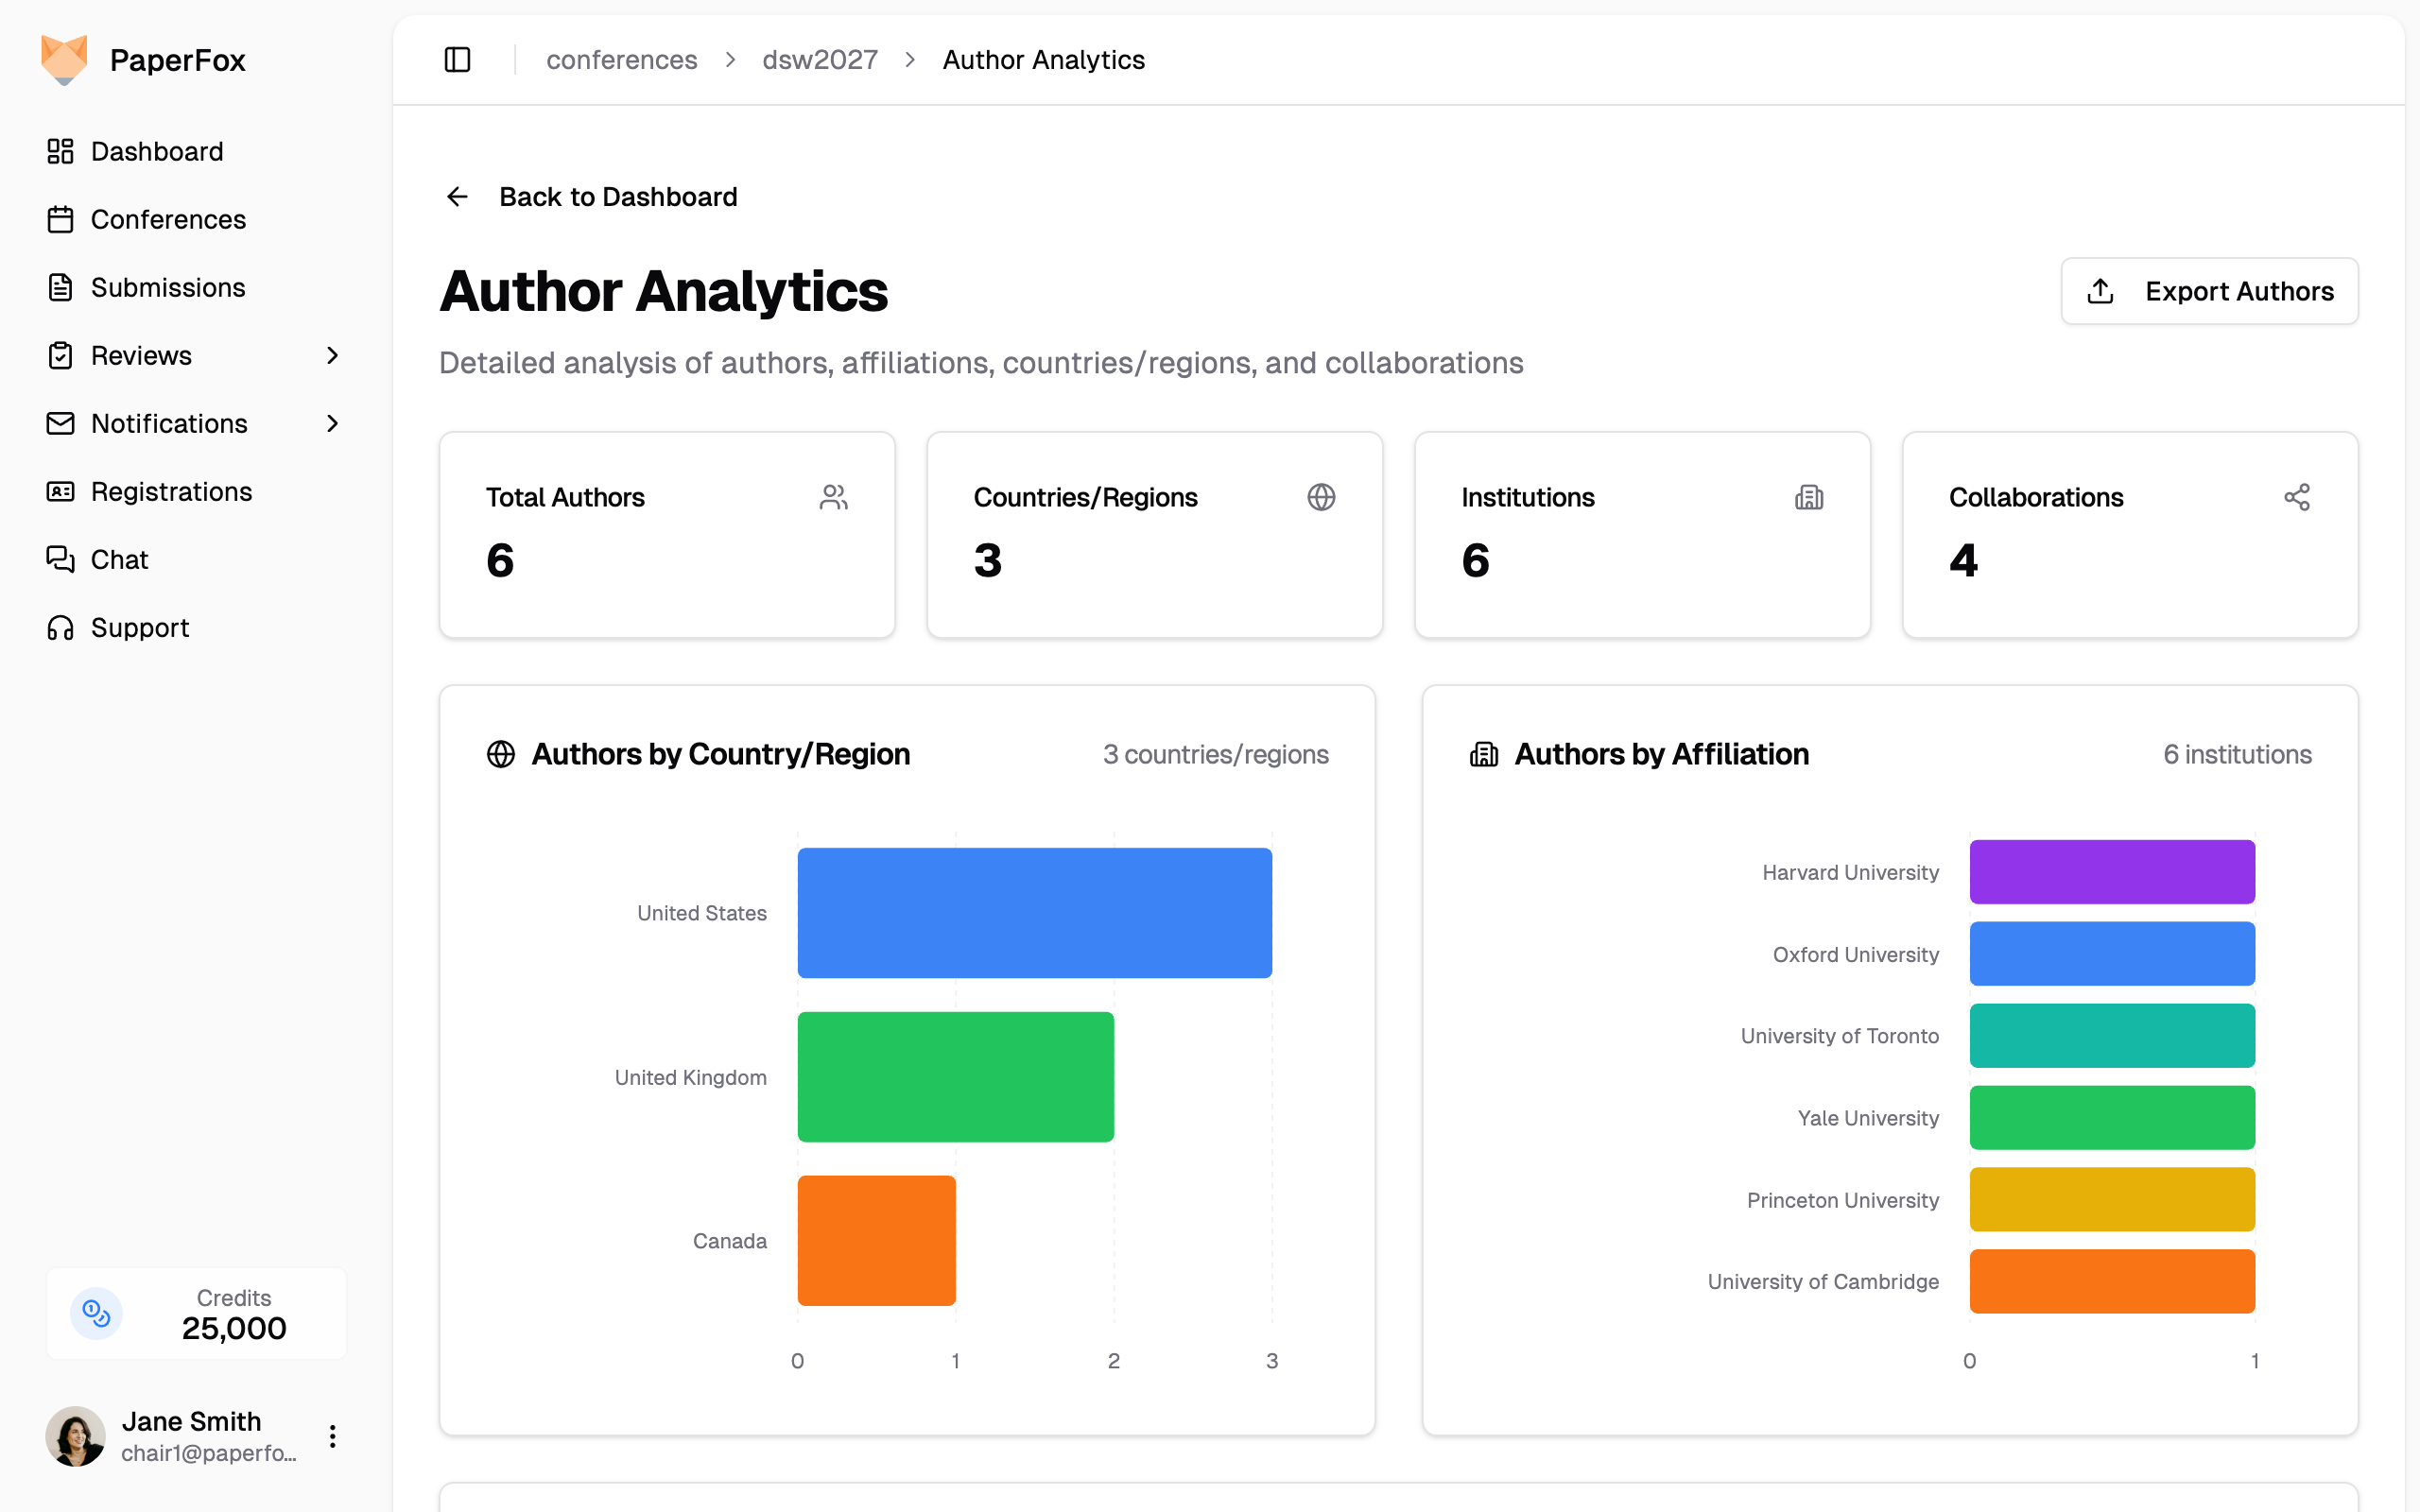 ### Summary Stats
Four cards at the top show:
- **Total Authors** — Unique authors across all submissions
- **Countries/Regions** — Geographic diversity of your author pool
- **Institutions** — Number of distinct affiliations
- **Collaborations** — Co-authorship connections between authors
### Authors by Country/Region
A horizontal bar chart showing author distribution by country. Helps you understand the geographic reach of your conference.
### Authors by Affiliation
A horizontal bar chart showing the top 50 institutions represented, ranked by author count. Affiliation strings are matched verbatim (after whitespace trimming) — variations like "MIT" vs "Massachusetts Institute of Technology" are kept separate.
### Co-authorship Network
### Summary Stats
Four cards at the top show:
- **Total Authors** — Unique authors across all submissions
- **Countries/Regions** — Geographic diversity of your author pool
- **Institutions** — Number of distinct affiliations
- **Collaborations** — Co-authorship connections between authors
### Authors by Country/Region
A horizontal bar chart showing author distribution by country. Helps you understand the geographic reach of your conference.
### Authors by Affiliation
A horizontal bar chart showing the top 50 institutions represented, ranked by author count. Affiliation strings are matched verbatim (after whitespace trimming) — variations like "MIT" vs "Massachusetts Institute of Technology" are kept separate.
### Co-authorship Network
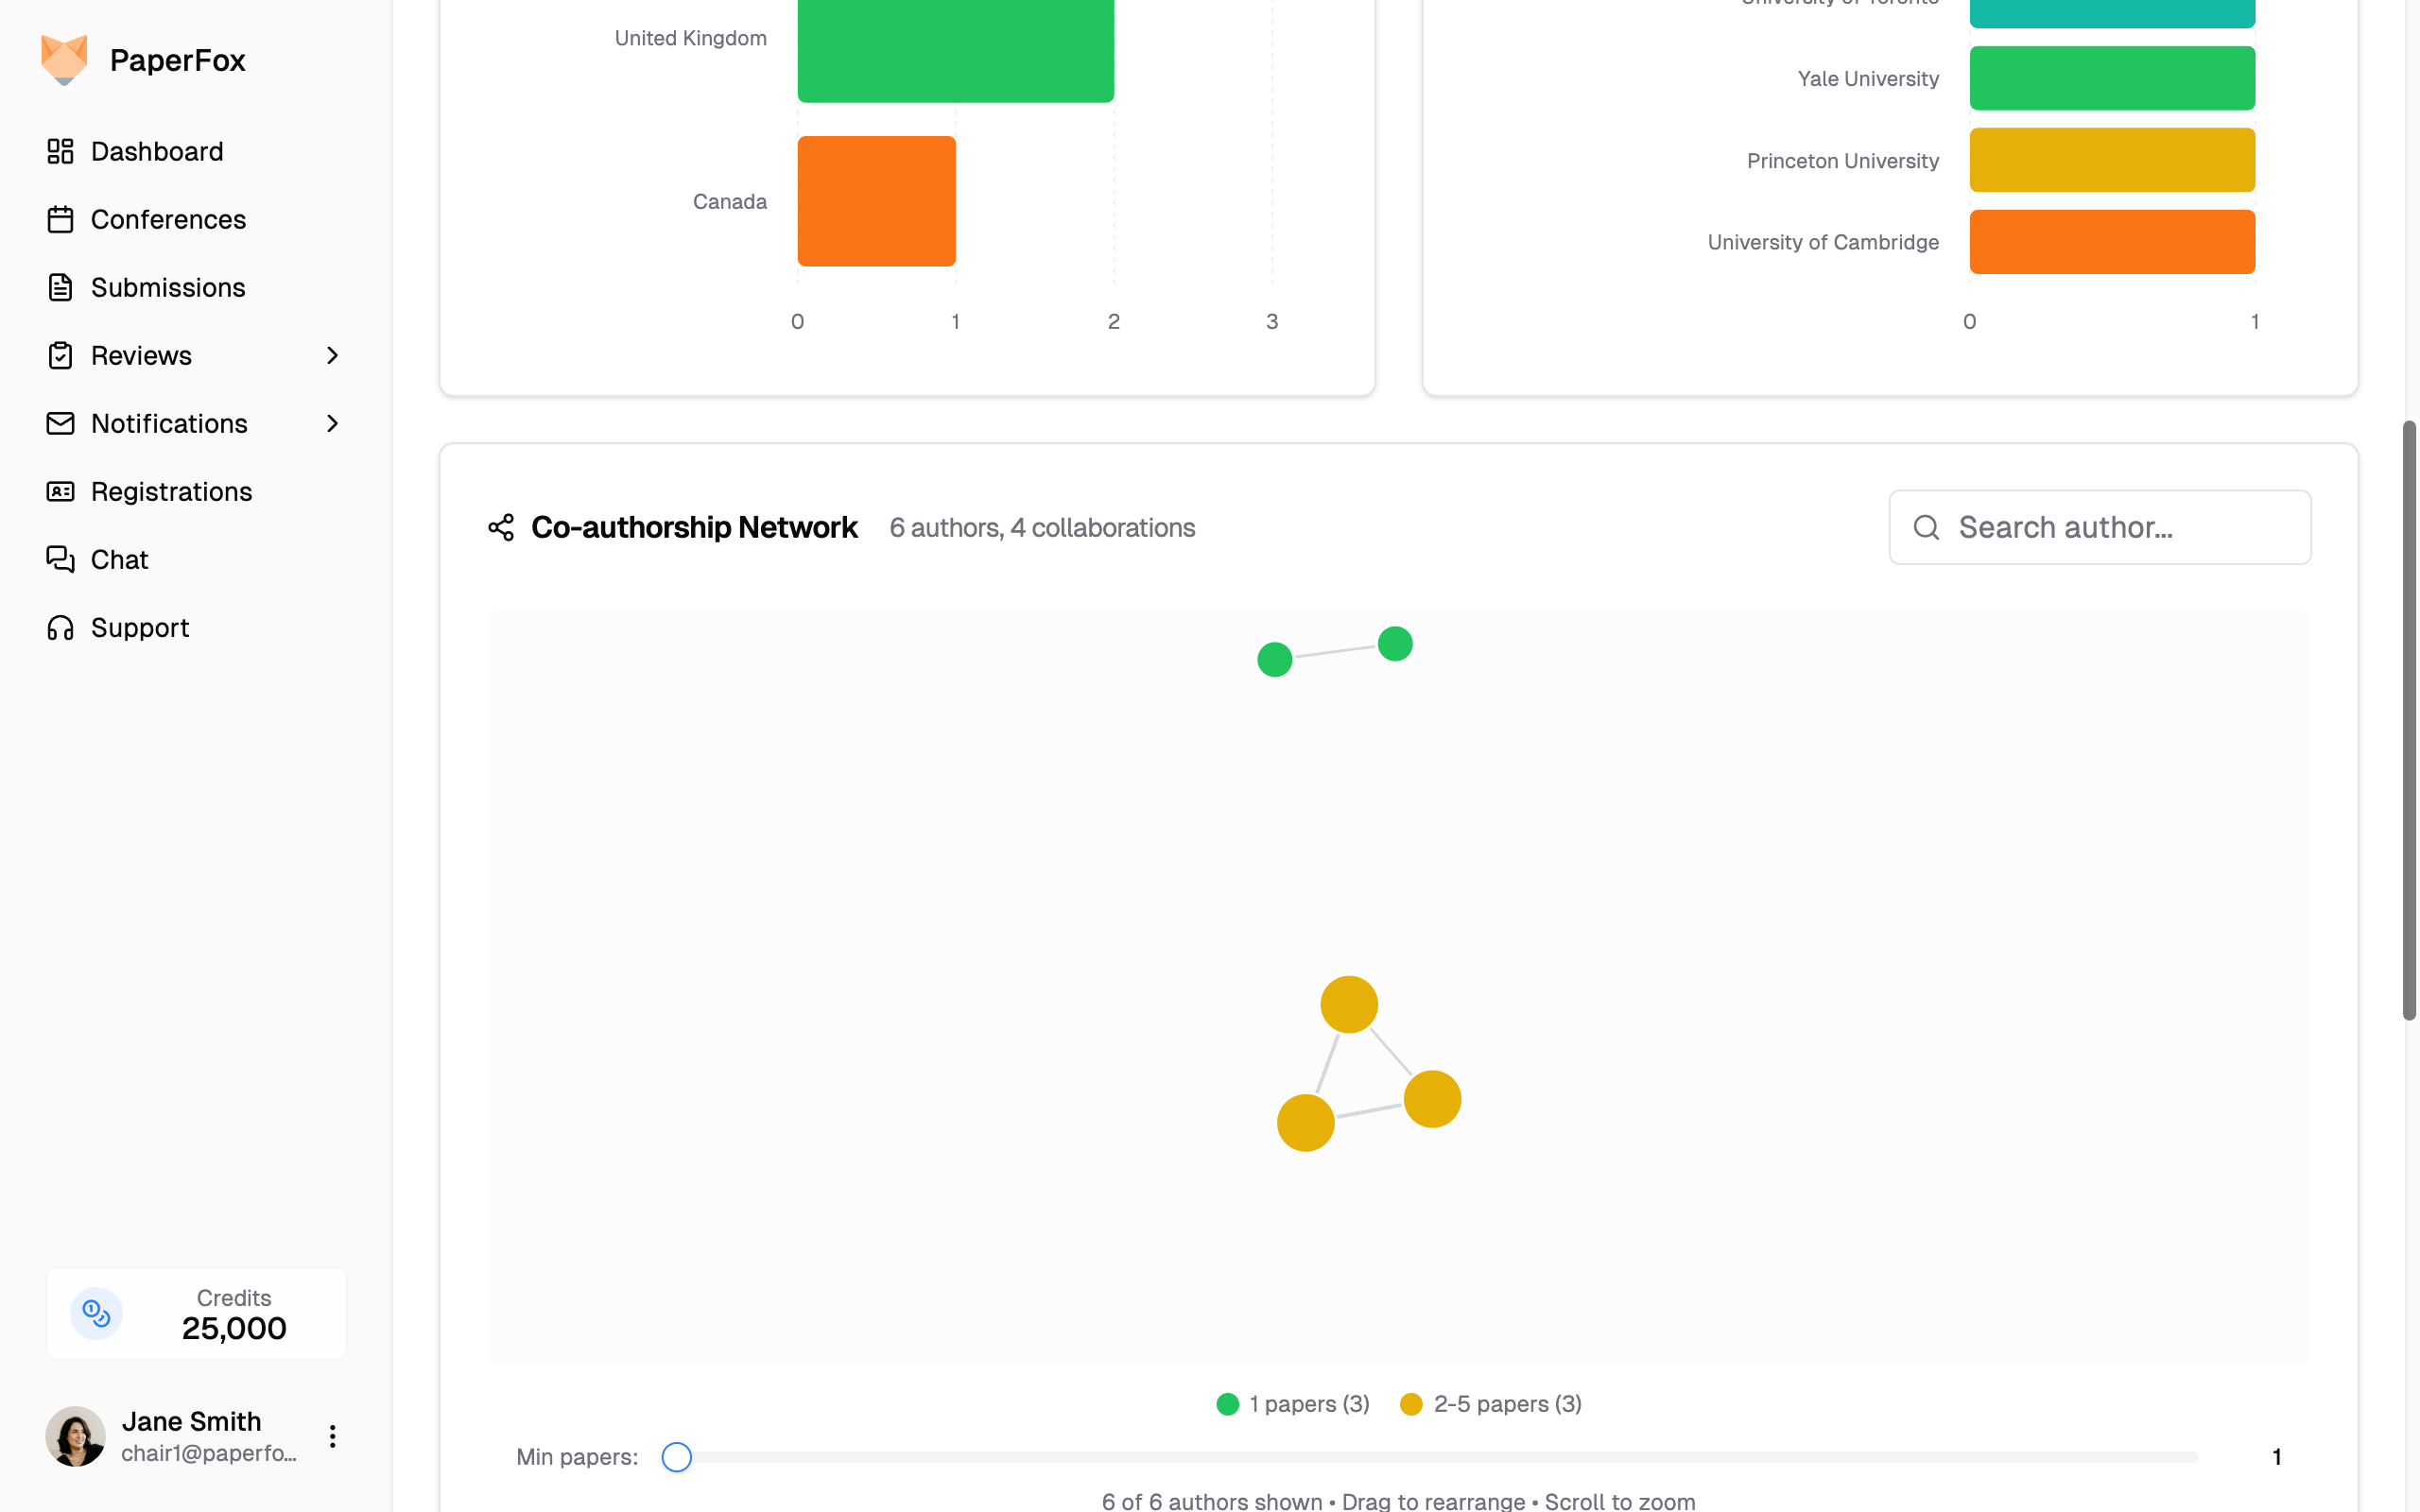 An interactive force-directed graph that visualizes collaboration patterns:
- **Node color and size** group authors by how many submissions they appear on — **1**, **2-5**, **6-9**, and **10+**. Only groups that actually have authors appear in the legend, so a smaller conference may show just one or two of them.
- **Edges** connect co-authors who have collaborated on submissions
- **Search** for specific authors using the search box
- **Filter** by minimum submission count using the slider
- **Drag** nodes to rearrange and **scroll** to zoom
Click on any author node to see their details.
### Submissions by Author
An interactive force-directed graph that visualizes collaboration patterns:
- **Node color and size** group authors by how many submissions they appear on — **1**, **2-5**, **6-9**, and **10+**. Only groups that actually have authors appear in the legend, so a smaller conference may show just one or two of them.
- **Edges** connect co-authors who have collaborated on submissions
- **Search** for specific authors using the search box
- **Filter** by minimum submission count using the slider
- **Drag** nodes to rearrange and **scroll** to zoom
Click on any author node to see their details.
### Submissions by Author
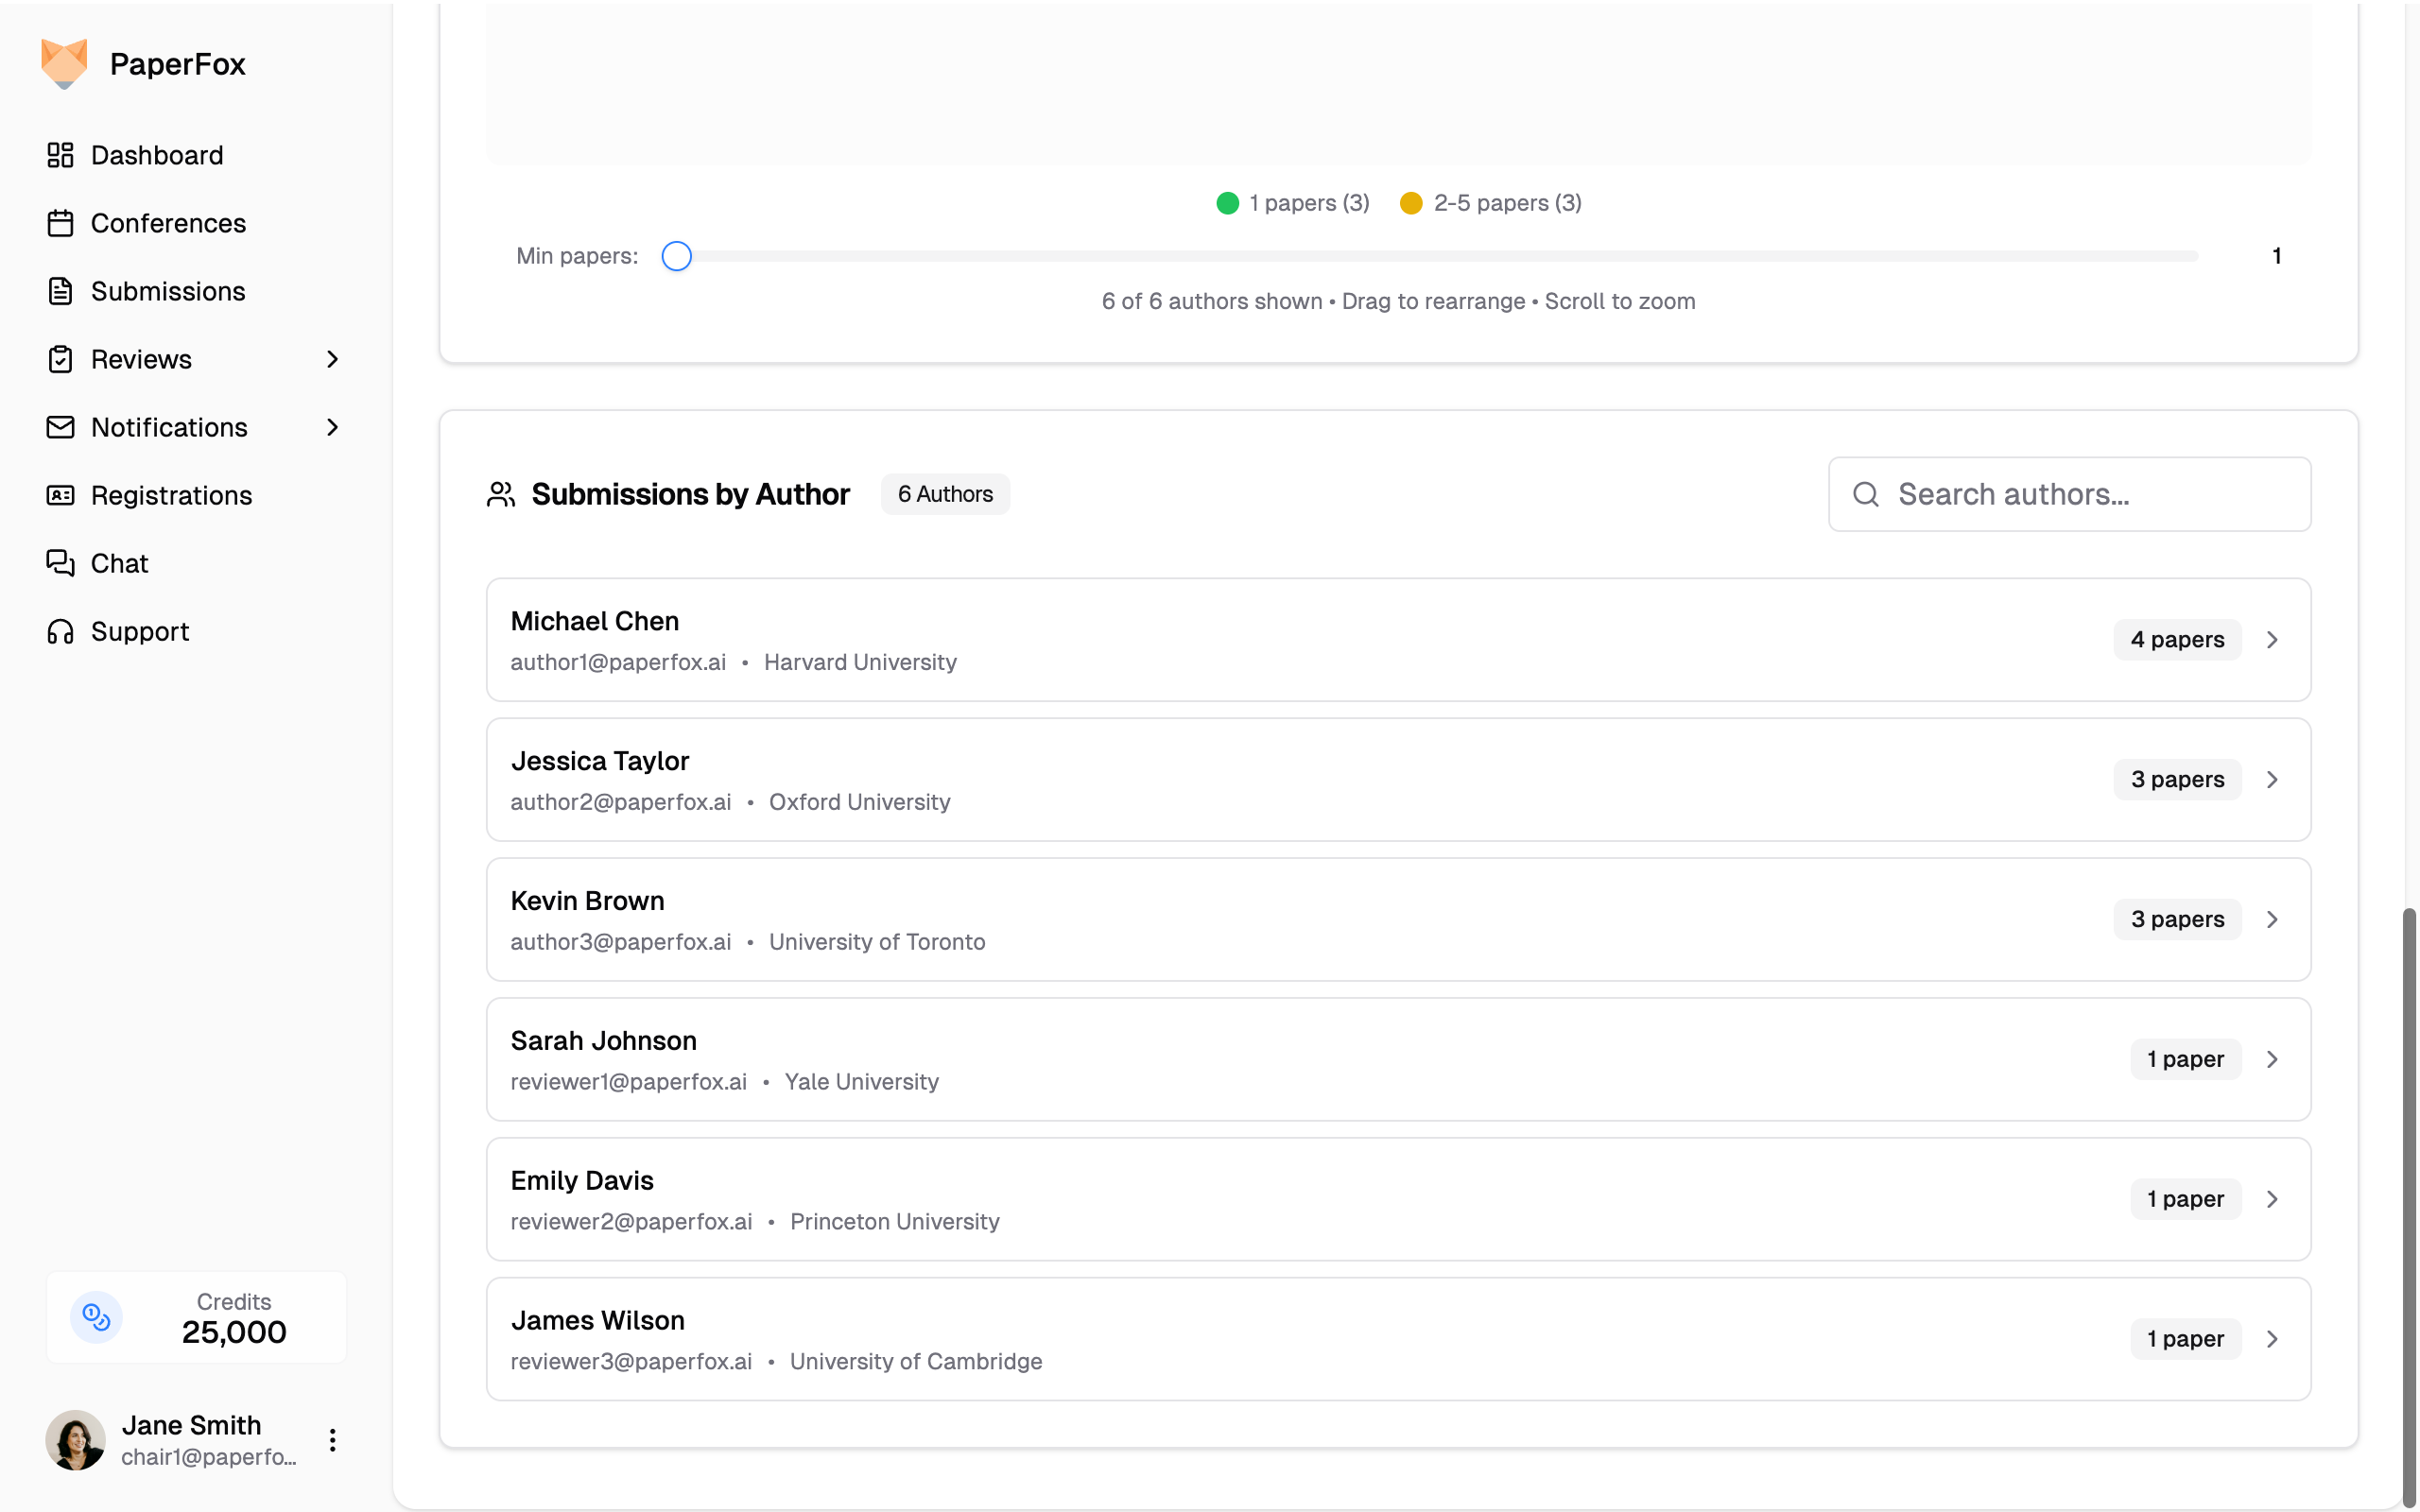 A searchable list of all authors with their submission counts and affiliations. Click the arrow on any author to expand and see their individual submissions with status and track information.
### Export
Click the **"Export Authors"** button at the top of the page to download author data for offline analysis.
---
## Reviewer Analytics
The Reviewer Analytics page helps you evaluate review quality and reviewer responsiveness by analyzing review length and turnaround times.
1. From the dashboard, scroll to the **Reviewer Overview** card
2. Click **"View Analytics"**
A searchable list of all authors with their submission counts and affiliations. Click the arrow on any author to expand and see their individual submissions with status and track information.
### Export
Click the **"Export Authors"** button at the top of the page to download author data for offline analysis.
---
## Reviewer Analytics
The Reviewer Analytics page helps you evaluate review quality and reviewer responsiveness by analyzing review length and turnaround times.
1. From the dashboard, scroll to the **Reviewer Overview** card
2. Click **"View Analytics"**
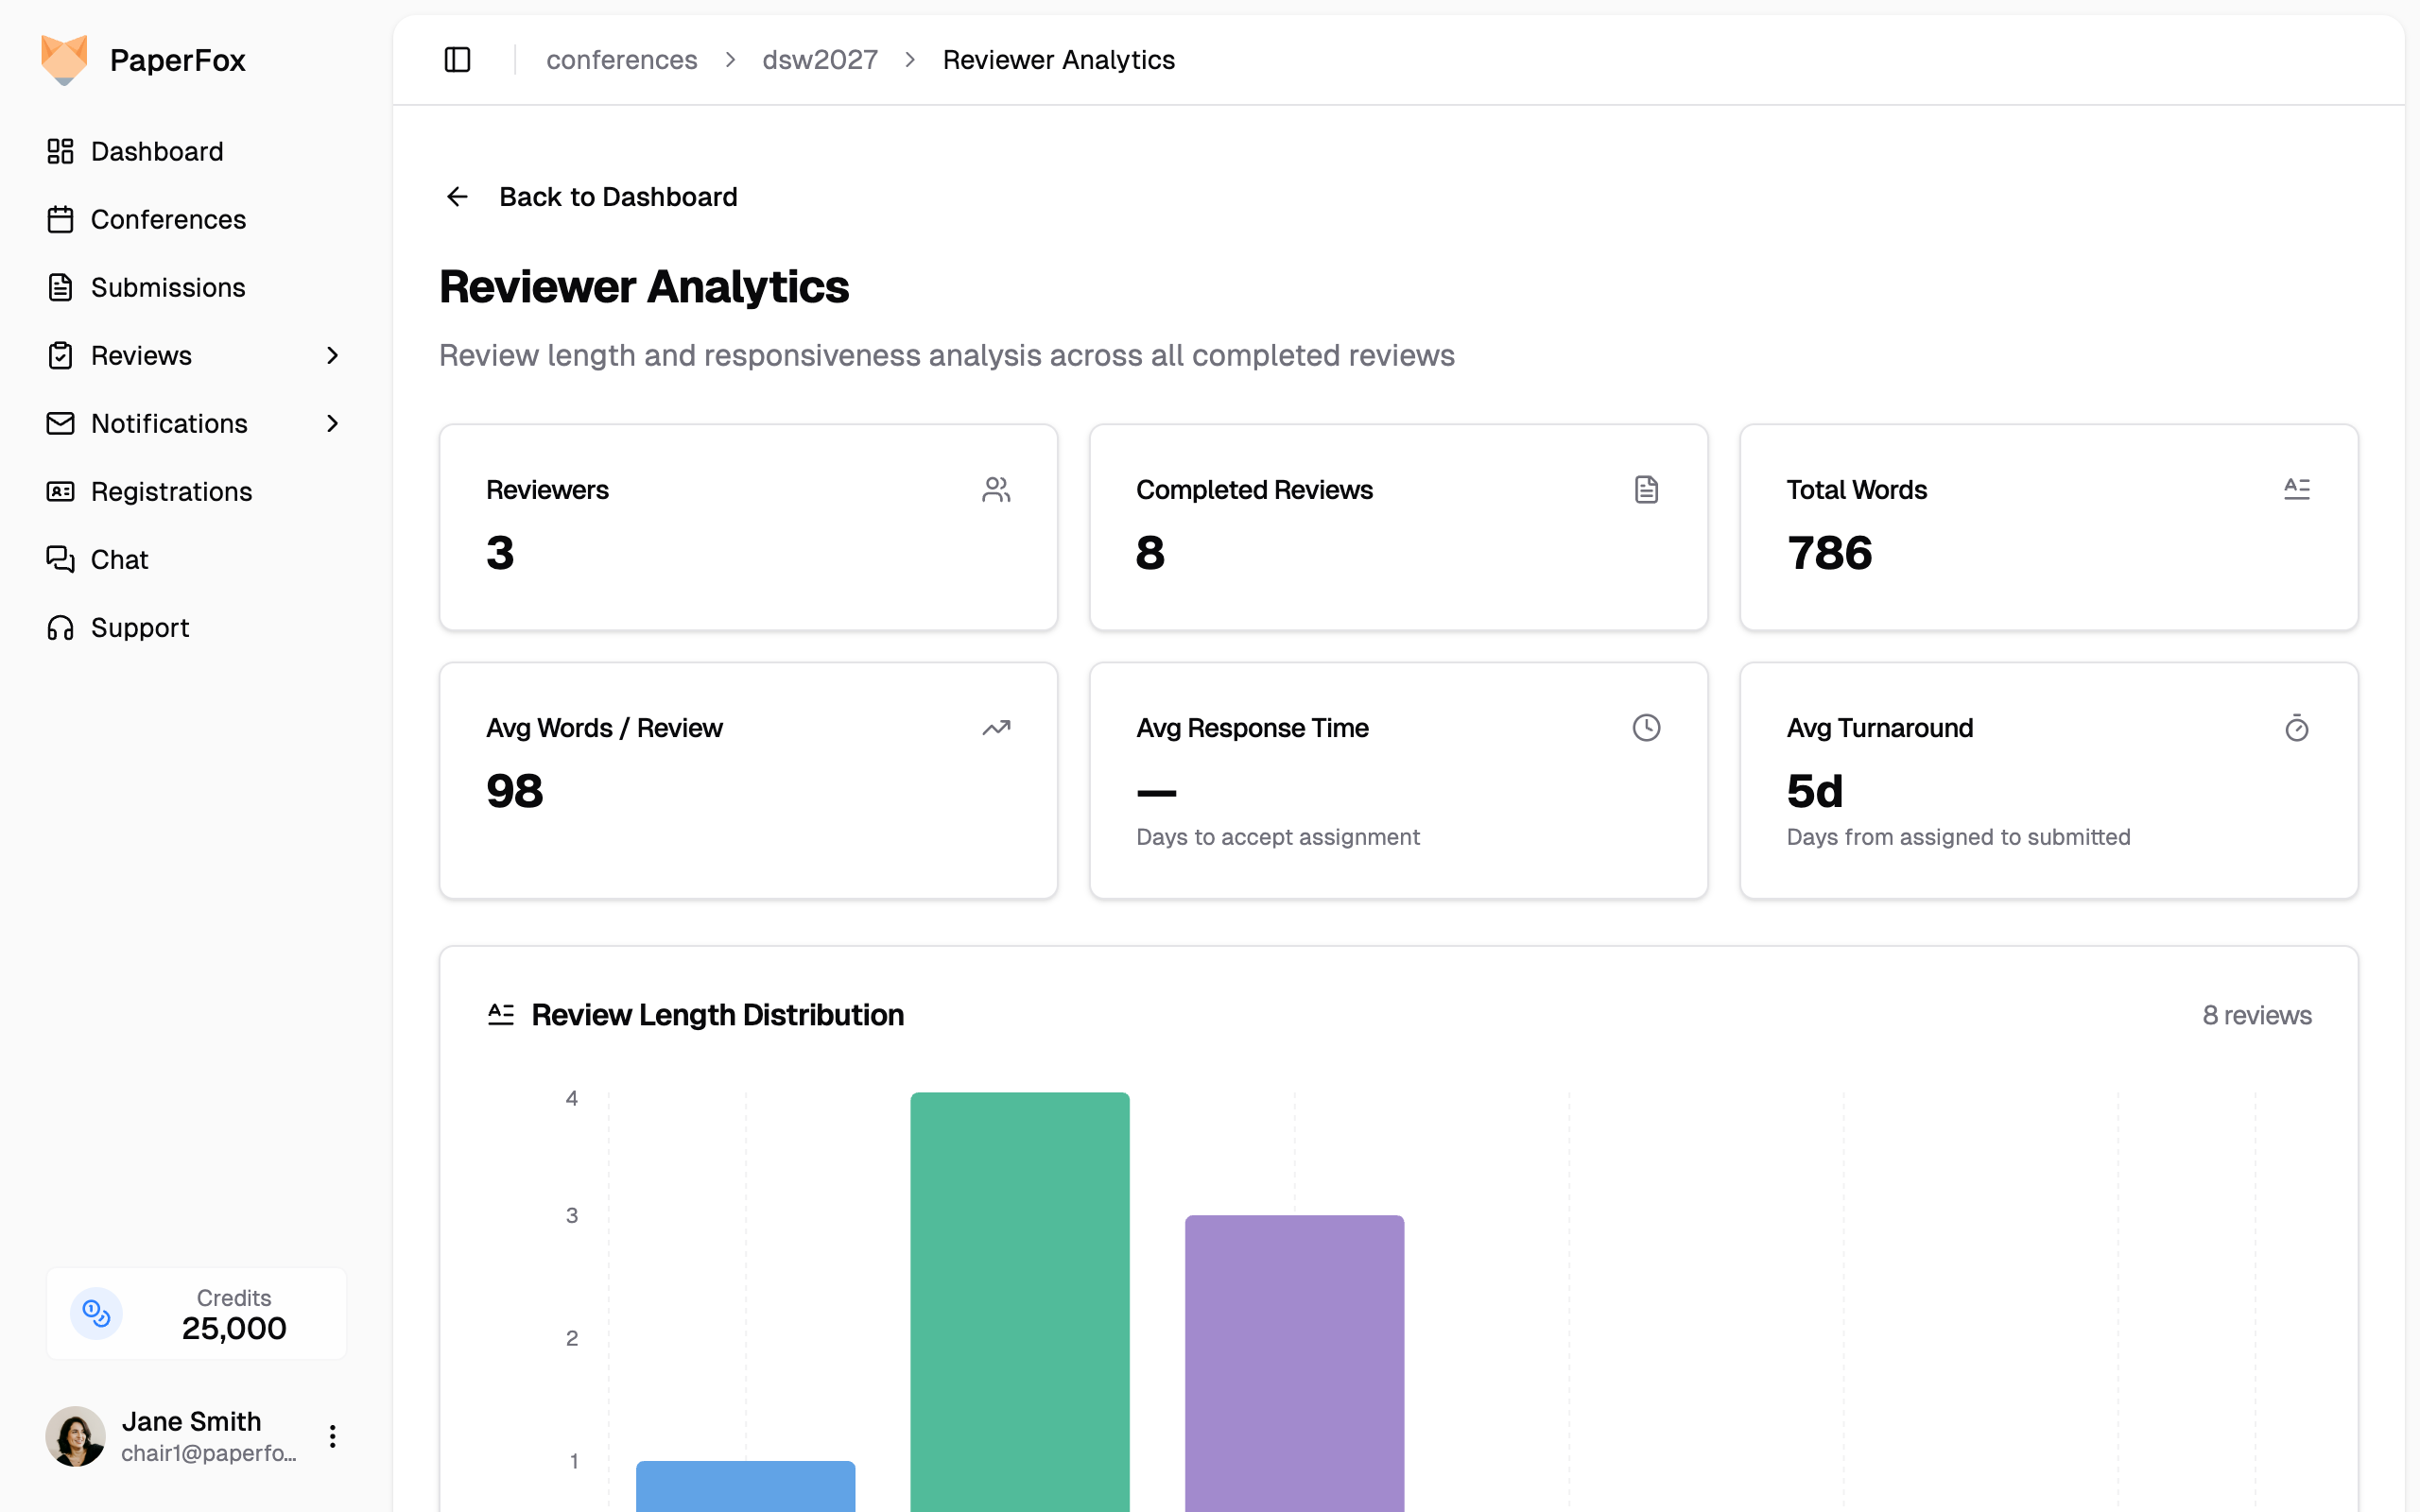 ### Summary Stats
Six cards at the top show:
- **Reviewers** — Number of reviewers with completed reviews
- **Completed Reviews** — Total number of submitted reviews
- **Total Words** — Combined word count across all reviews
- **Avg Words / Review** — Average review length
- **Avg Response Time** — Average days reviewers take to accept their assignment
- **Avg Turnaround** — Average days from assignment to review submission
### Review Length Distribution
A bar chart showing how many reviews fall into each word count range (0–50, 51–100, 101–200, 201–500, 501–1000, 1000+). Helps you spot reviewers who may be writing overly brief reviews.
### Reviewer Rankings
### Summary Stats
Six cards at the top show:
- **Reviewers** — Number of reviewers with completed reviews
- **Completed Reviews** — Total number of submitted reviews
- **Total Words** — Combined word count across all reviews
- **Avg Words / Review** — Average review length
- **Avg Response Time** — Average days reviewers take to accept their assignment
- **Avg Turnaround** — Average days from assignment to review submission
### Review Length Distribution
A bar chart showing how many reviews fall into each word count range (0–50, 51–100, 101–200, 201–500, 501–1000, 1000+). Helps you spot reviewers who may be writing overly brief reviews.
### Reviewer Rankings
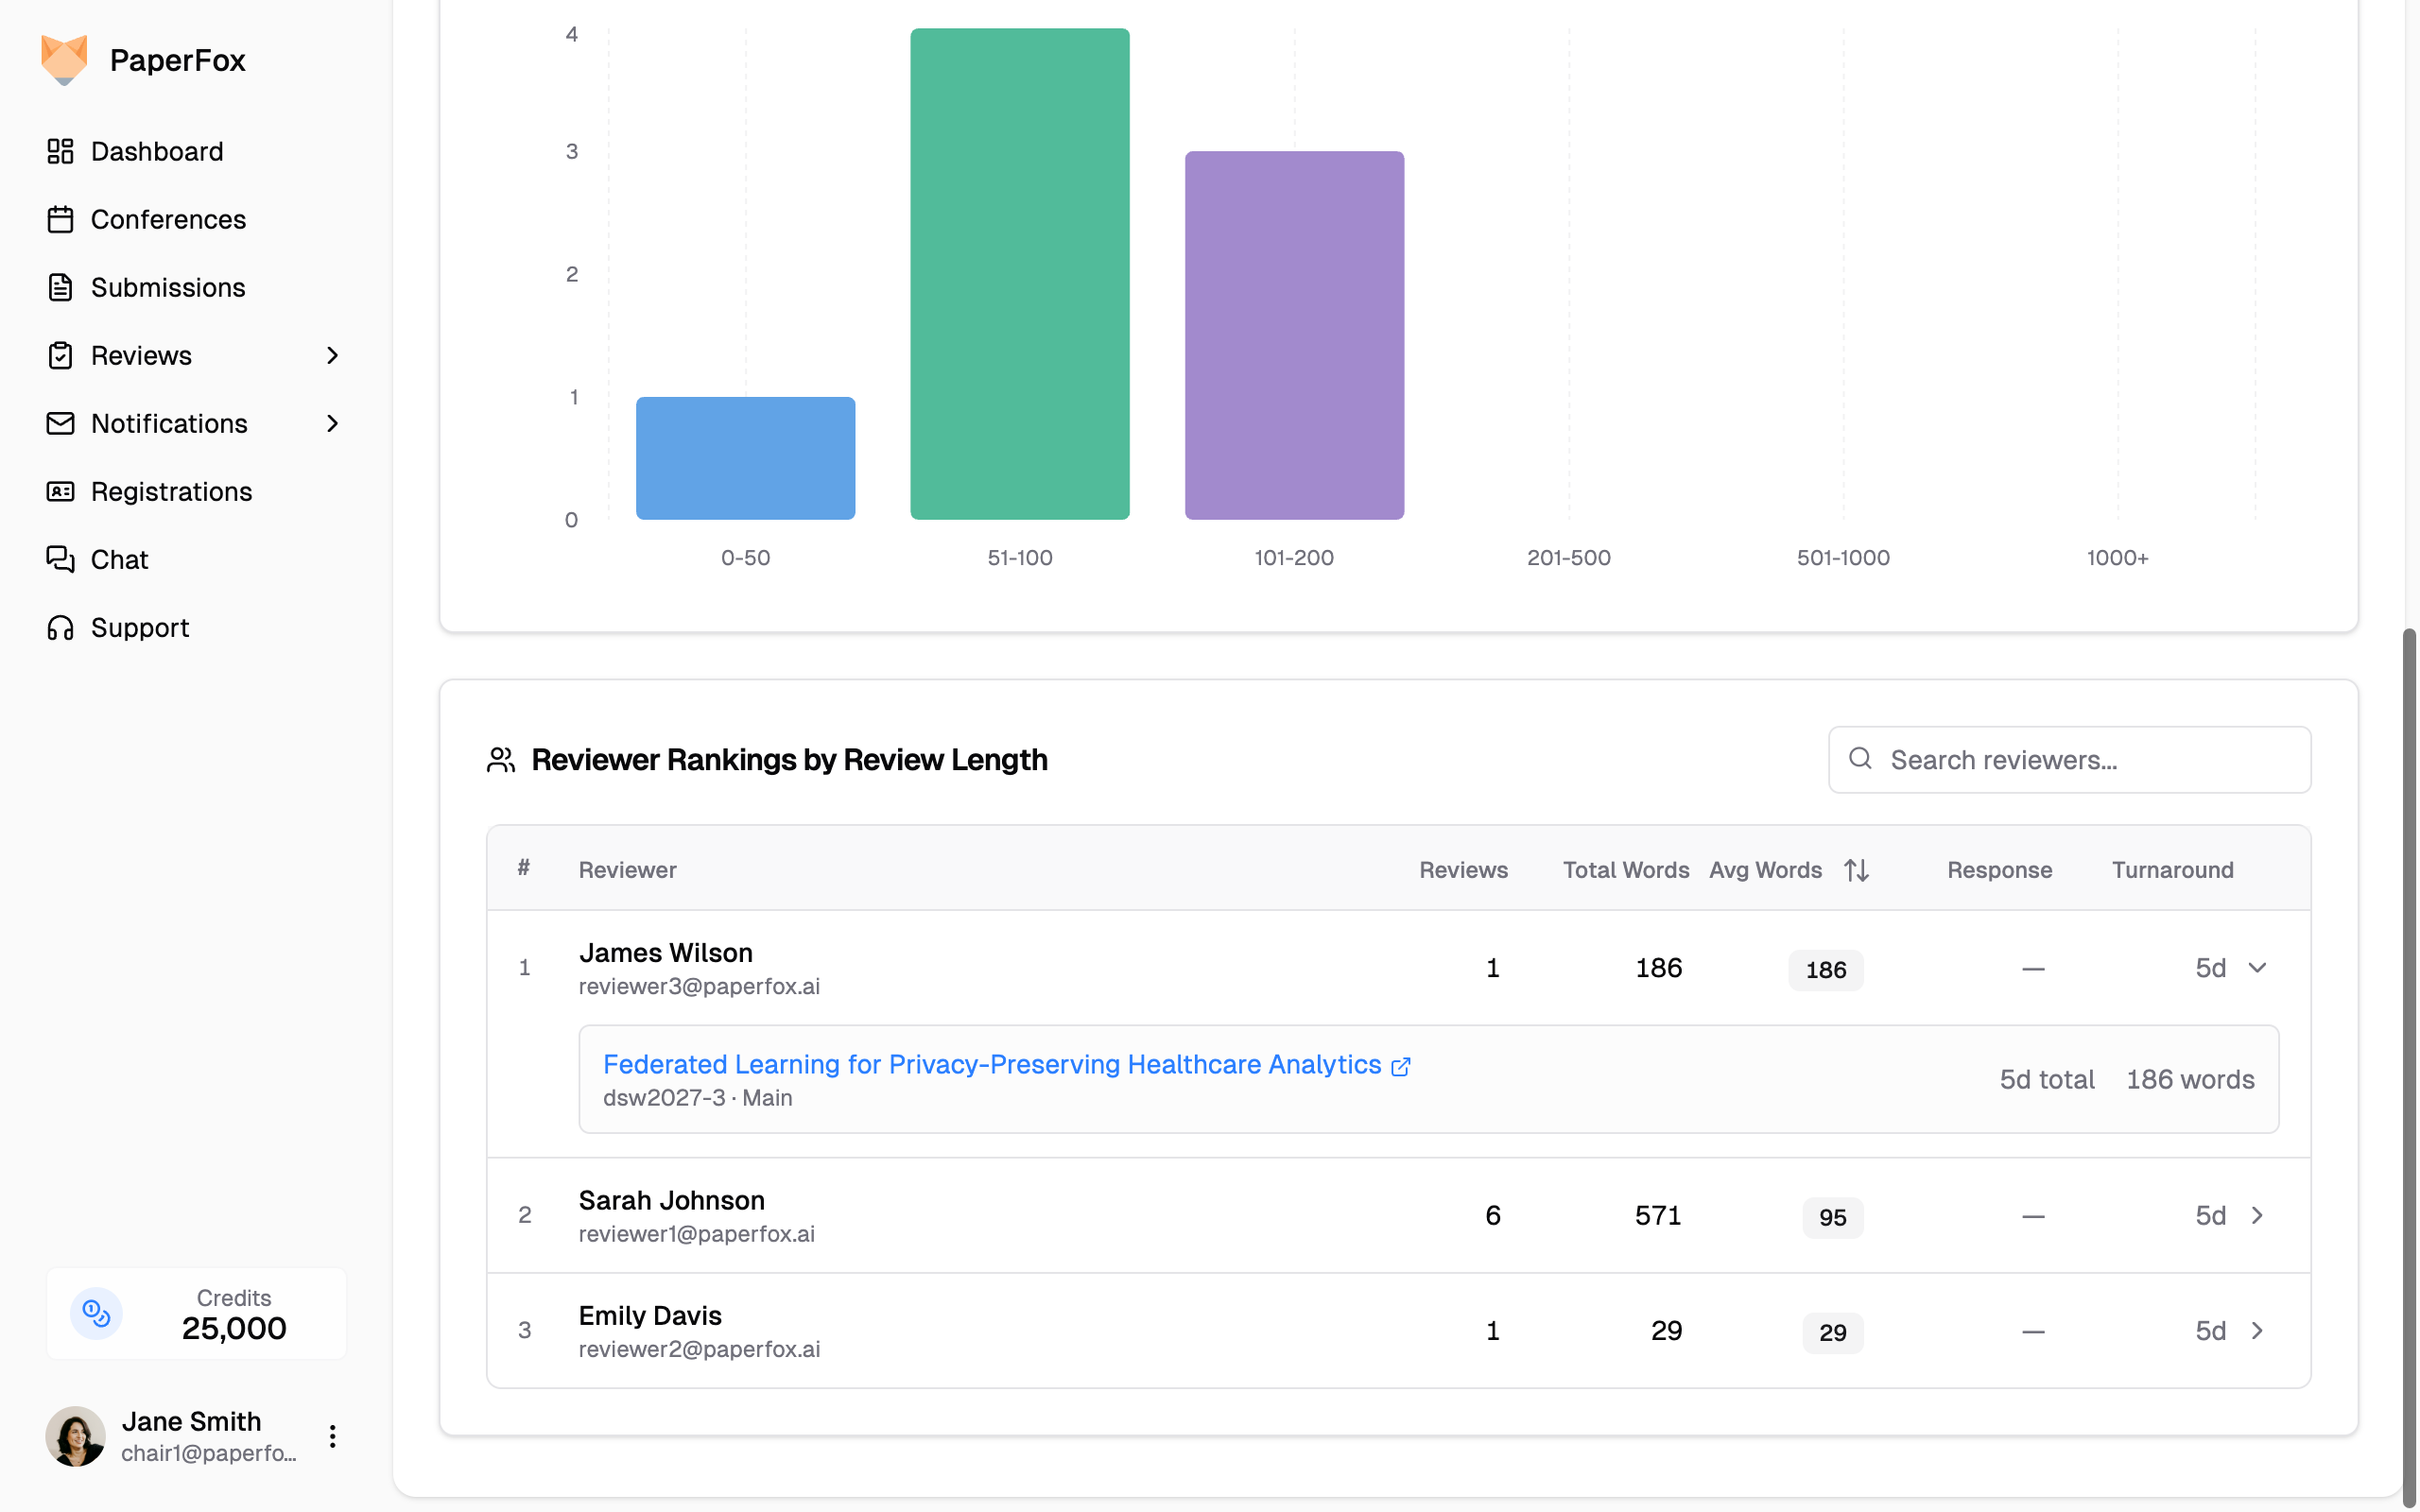 A sortable table ranking reviewers by review length and responsiveness. For each reviewer you can see:
- **Reviews** — Number of completed reviews
- **Total Words** — Total word count across all reviews
- **Avg Words** — Average words per review (highlighted in a badge)
- **Response** — Average days to accept the assignment
- **Turnaround** — Average days from assignment to review submission
Click any column header to sort. Use the search box to filter by reviewer name or email.
Click on a reviewer row to expand and see their individual reviews with per-review word counts, time to accept, and total turnaround days.
---
# Configure Conference Forms
URL: https://paperfox.ai/docs/chairs/configure-conference-forms
Description: Set up default submission and review form fields that all tracks inherit
As a conference chair, you can configure default submission and review forms at the conference level. These forms define the base fields that **all tracks inherit automatically**. Track chairs can then add additional fields to customize their track's forms.
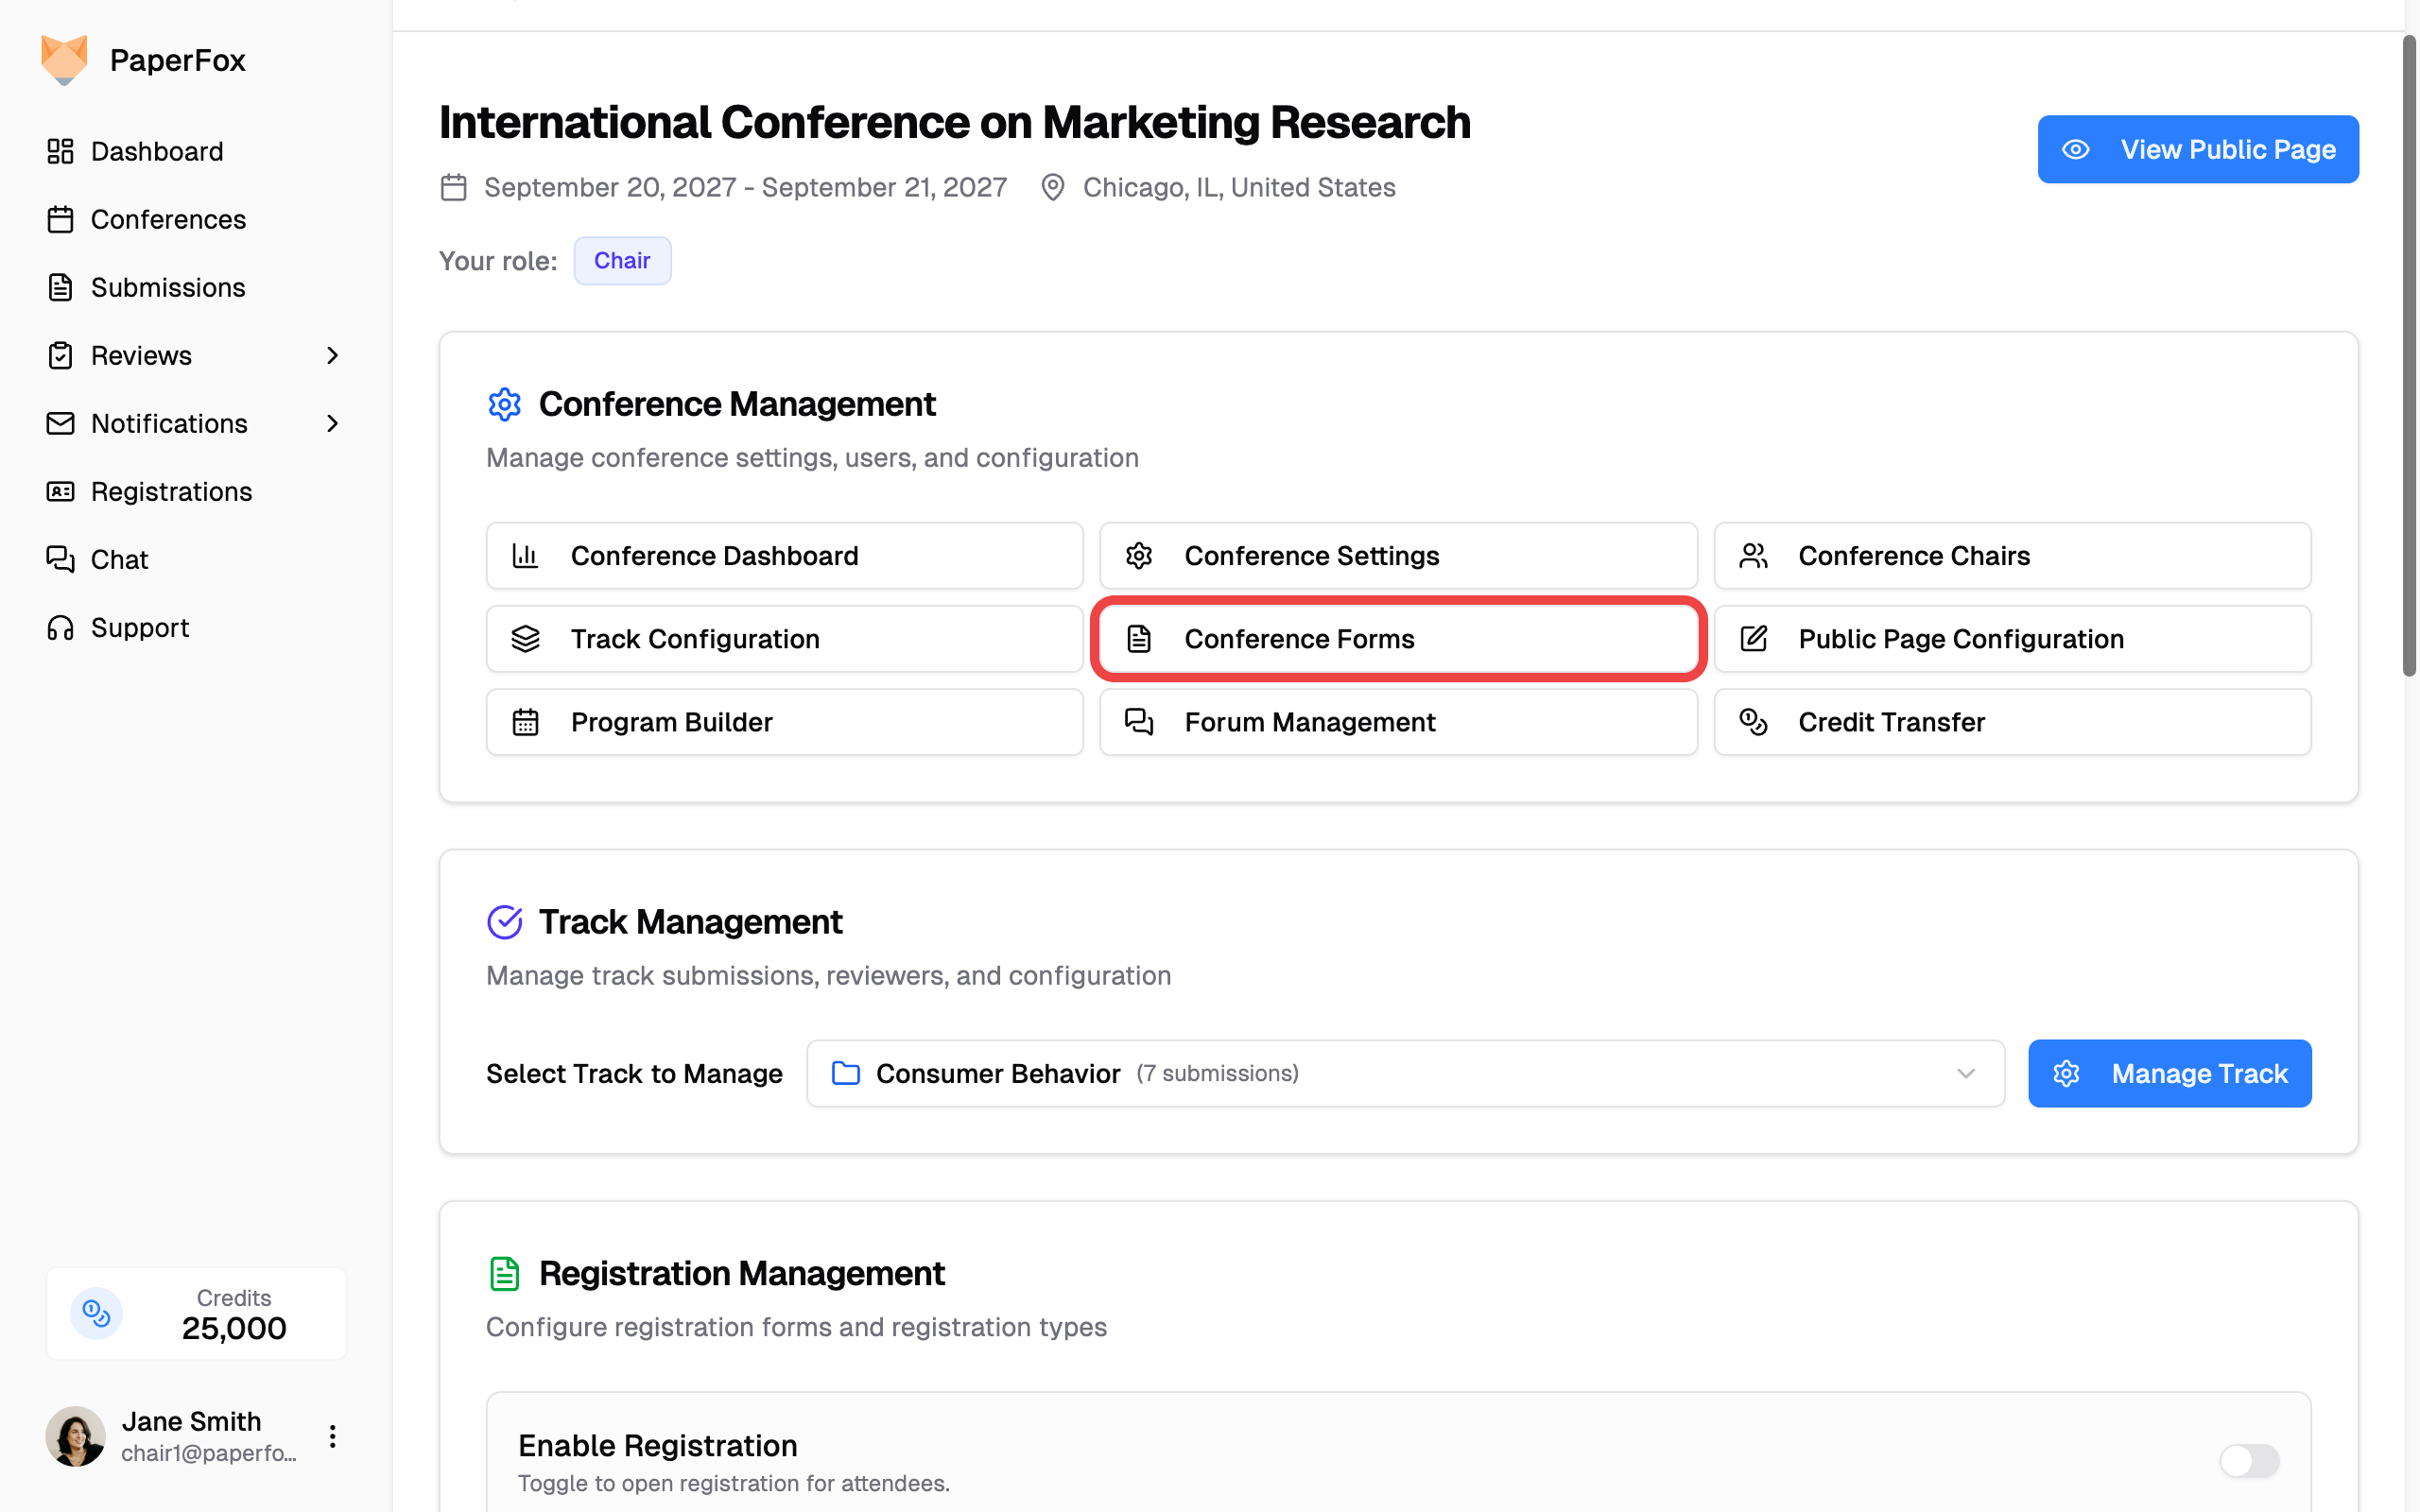
## Accessing Conference Forms
1. Go to your conference page
2. Under **Conference Management**, click **"Conference Forms"**
A sortable table ranking reviewers by review length and responsiveness. For each reviewer you can see:
- **Reviews** — Number of completed reviews
- **Total Words** — Total word count across all reviews
- **Avg Words** — Average words per review (highlighted in a badge)
- **Response** — Average days to accept the assignment
- **Turnaround** — Average days from assignment to review submission
Click any column header to sort. Use the search box to filter by reviewer name or email.
Click on a reviewer row to expand and see their individual reviews with per-review word counts, time to accept, and total turnaround days.
---
# Configure Conference Forms
URL: https://paperfox.ai/docs/chairs/configure-conference-forms
Description: Set up default submission and review form fields that all tracks inherit
As a conference chair, you can configure default submission and review forms at the conference level. These forms define the base fields that **all tracks inherit automatically**. Track chairs can then add additional fields to customize their track's forms.
## Accessing Conference Forms
1. Go to your conference page
2. Under **Conference Management**, click **"Conference Forms"**
 ## Submission Form Template
The **Submission Form** tab lets you configure the default fields authors see when submitting submissions. Core fields like Title, Authors, Abstract, and Keywords are included by default and cannot be deleted.
## Submission Form Template
The **Submission Form** tab lets you configure the default fields authors see when submitting submissions. Core fields like Title, Authors, Abstract, and Keywords are included by default and cannot be deleted.
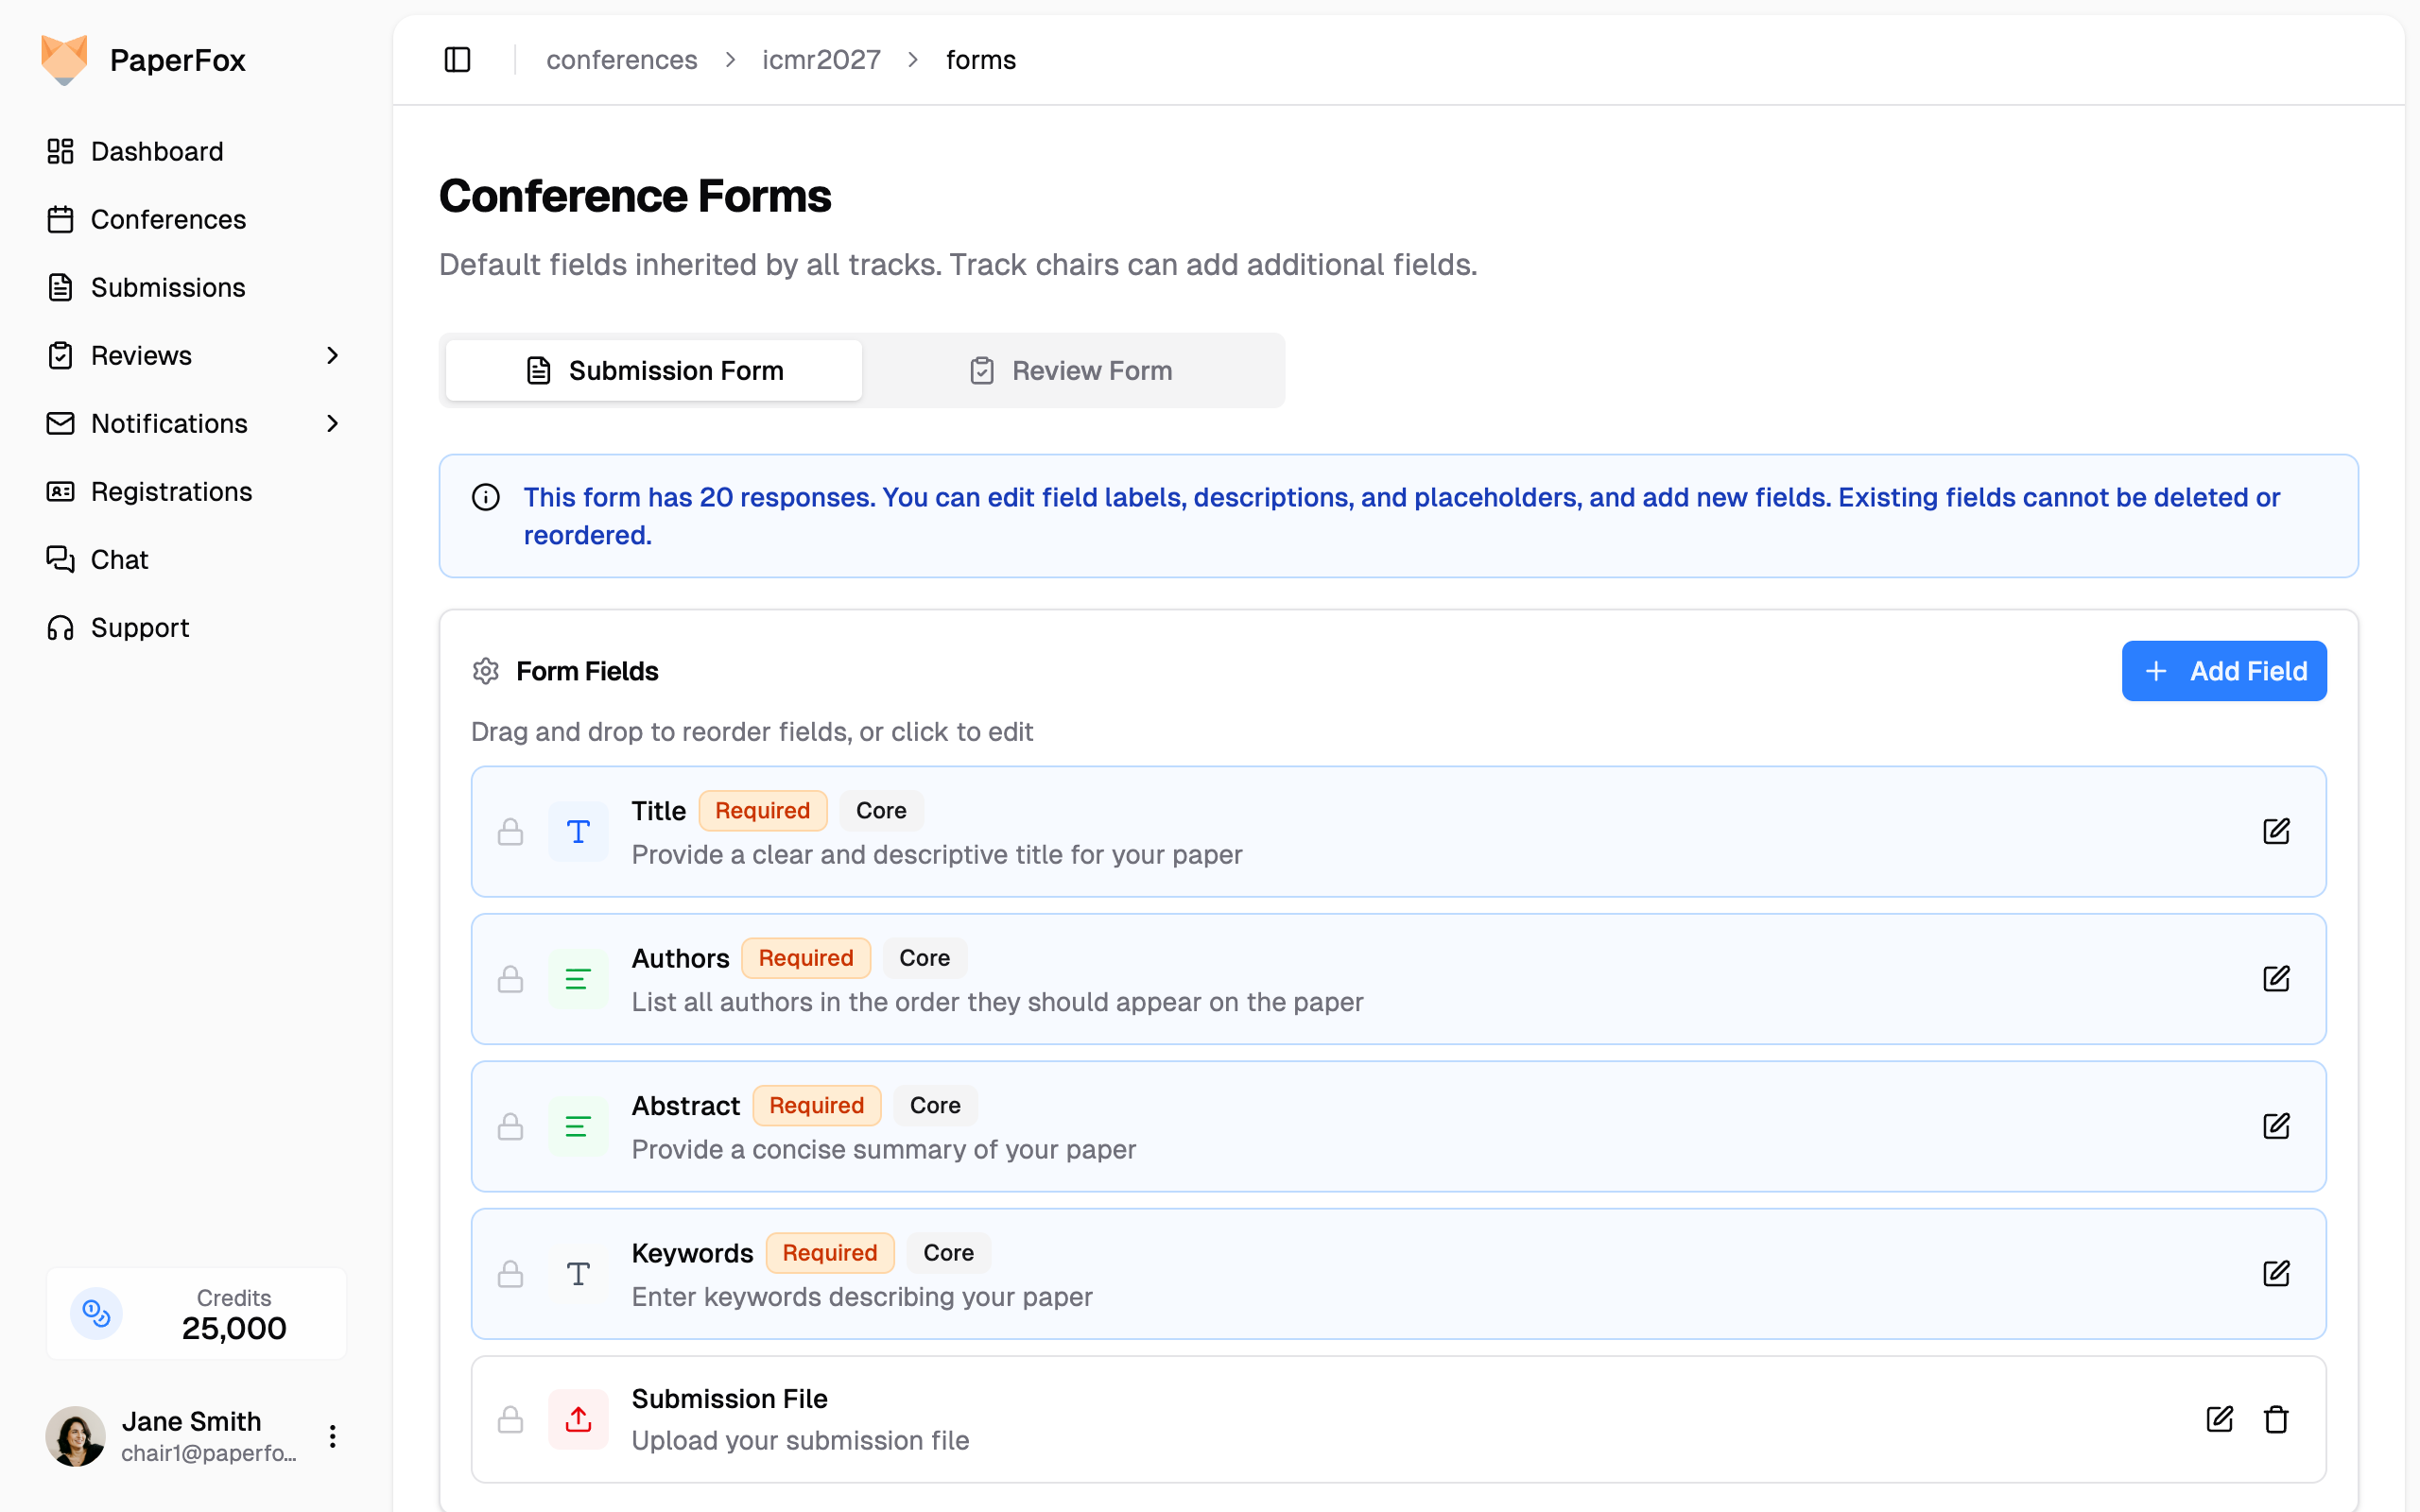 You can:
- **Add fields** — Click **"Add Field"** to create new fields (Text Input, Text Area, Single Choice, Multiple Choice, or File Upload)
- **Edit fields** — Click the edit icon to modify labels, descriptions, and placeholders
- **Reorder fields** — Drag and drop to change field order
You can:
- **Add fields** — Click **"Add Field"** to create new fields (Text Input, Text Area, Single Choice, Multiple Choice, or File Upload)
- **Edit fields** — Click the edit icon to modify labels, descriptions, and placeholders
- **Reorder fields** — Drag and drop to change field order
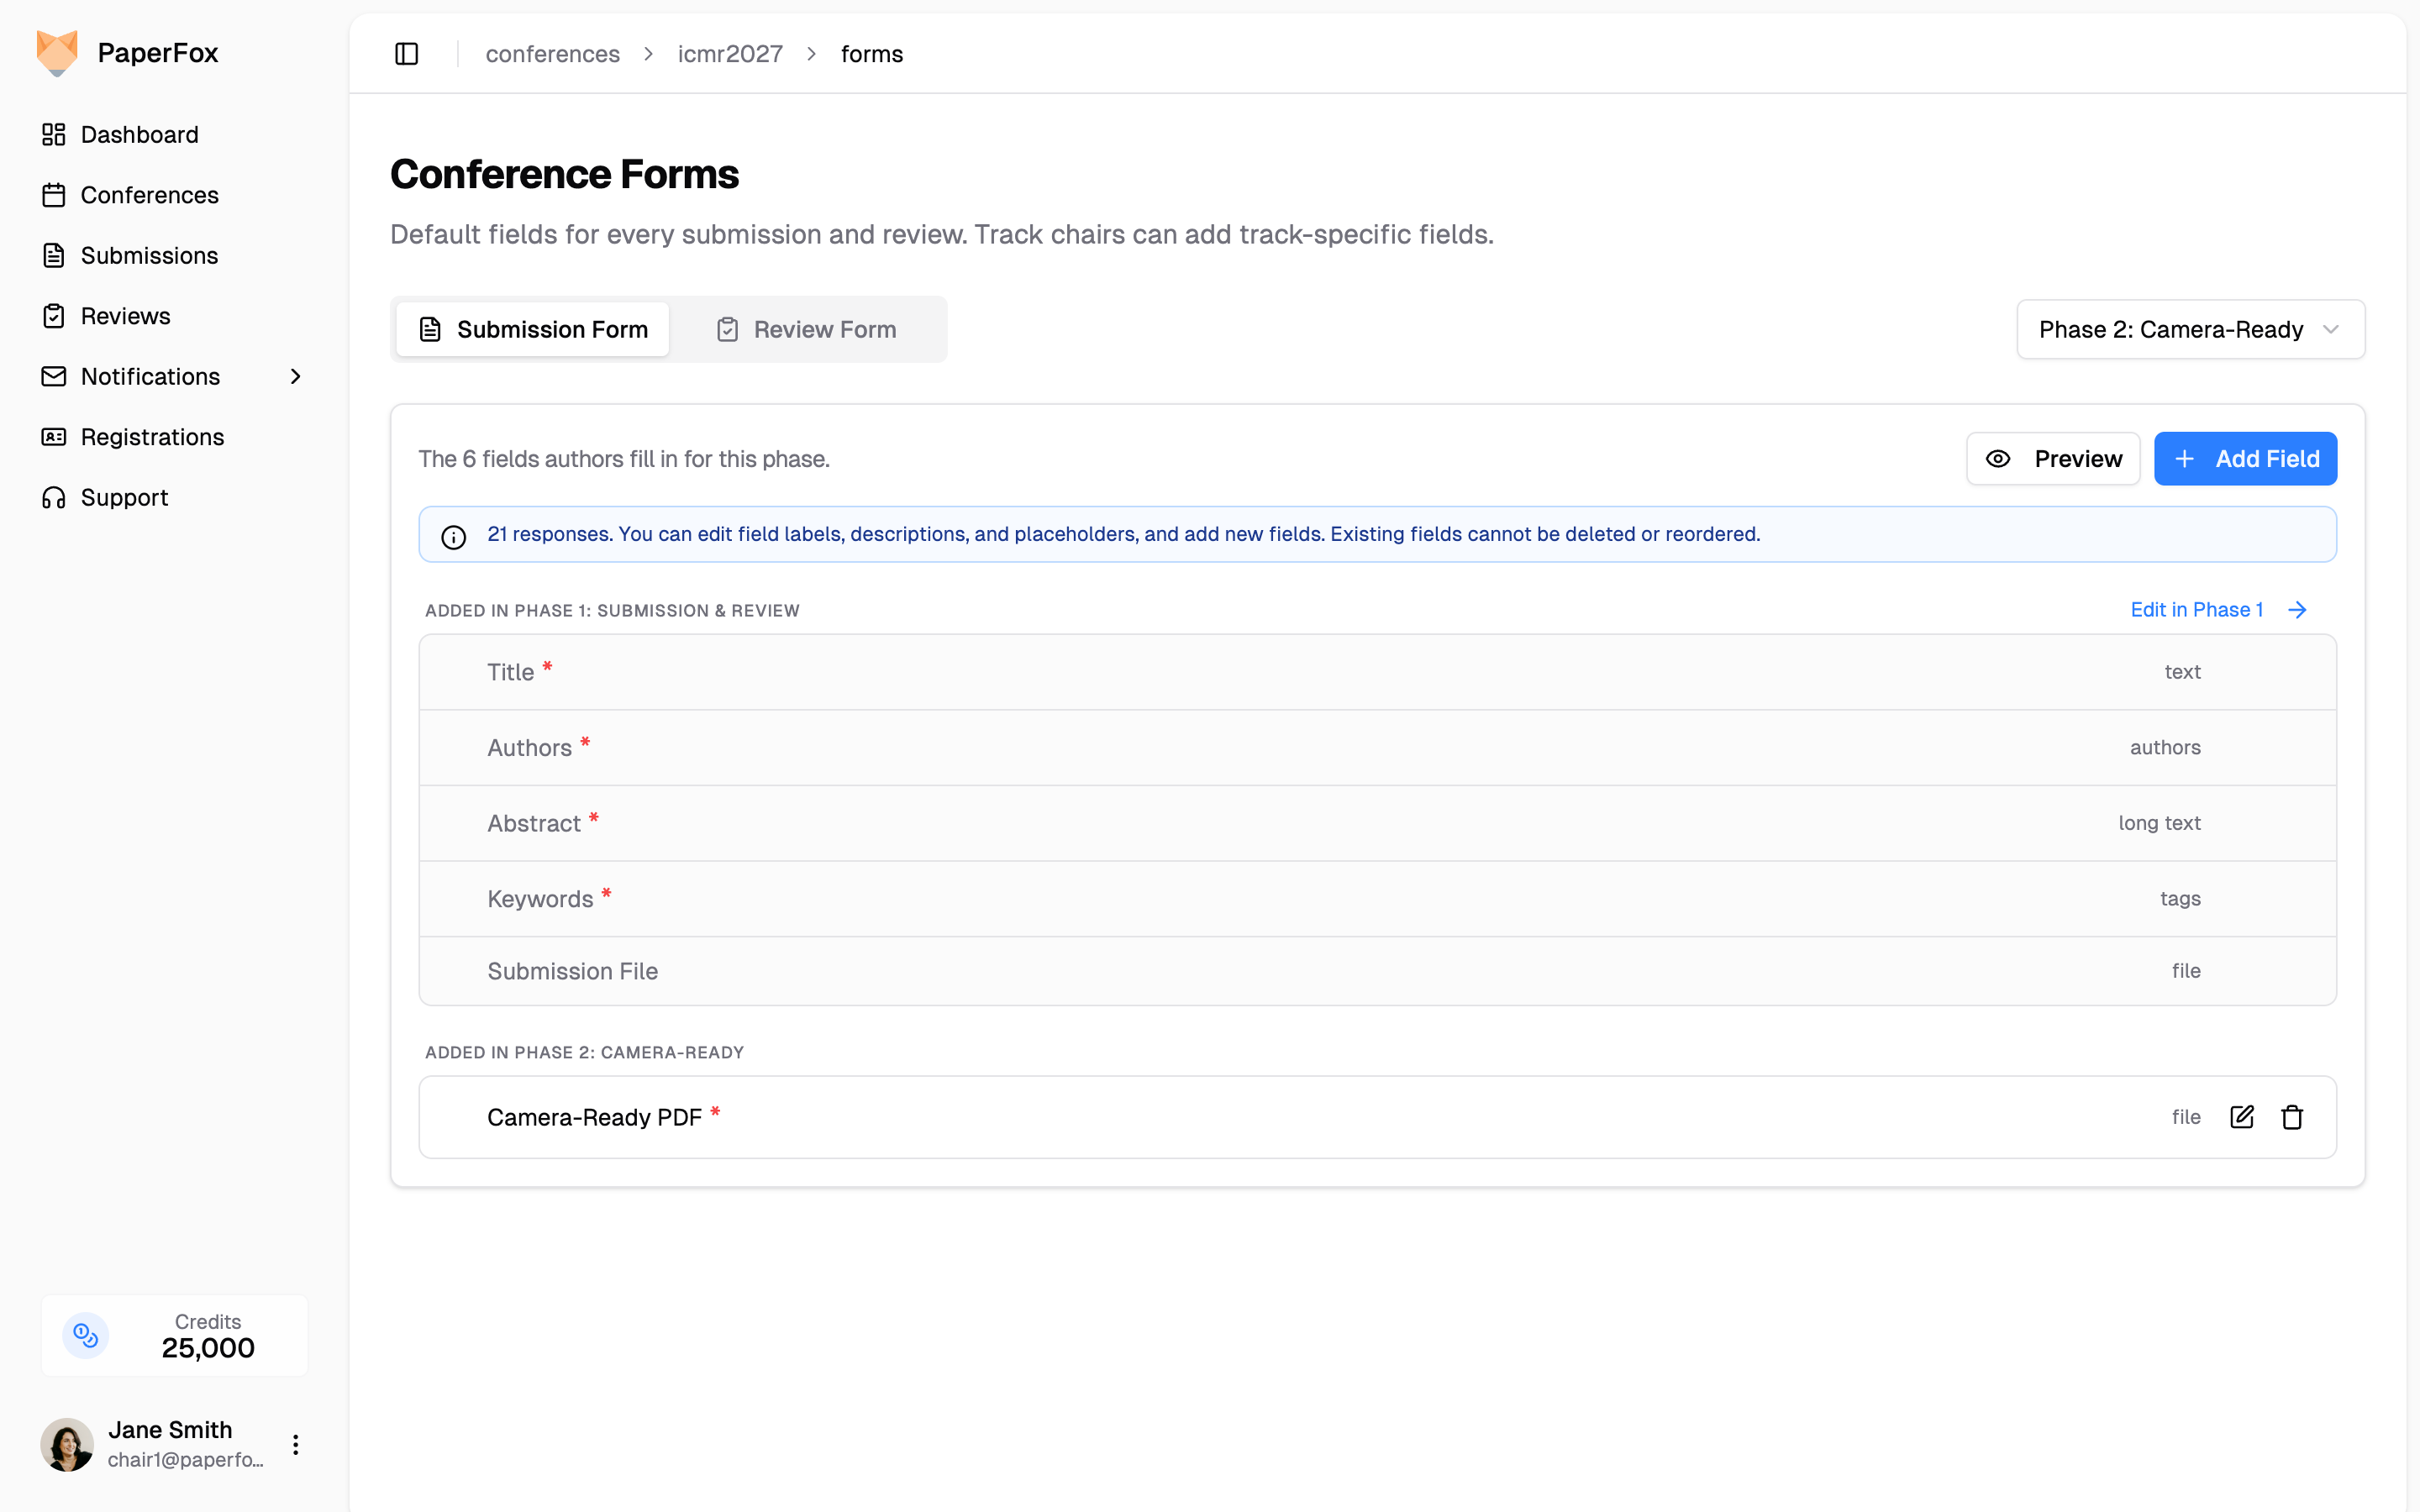 The field appears for every track's submissions once they reach that phase, and stays hidden before it. Adding it here — once, at conference level — beats adding it to each track's form separately: it also applies automatically to any track you create later.
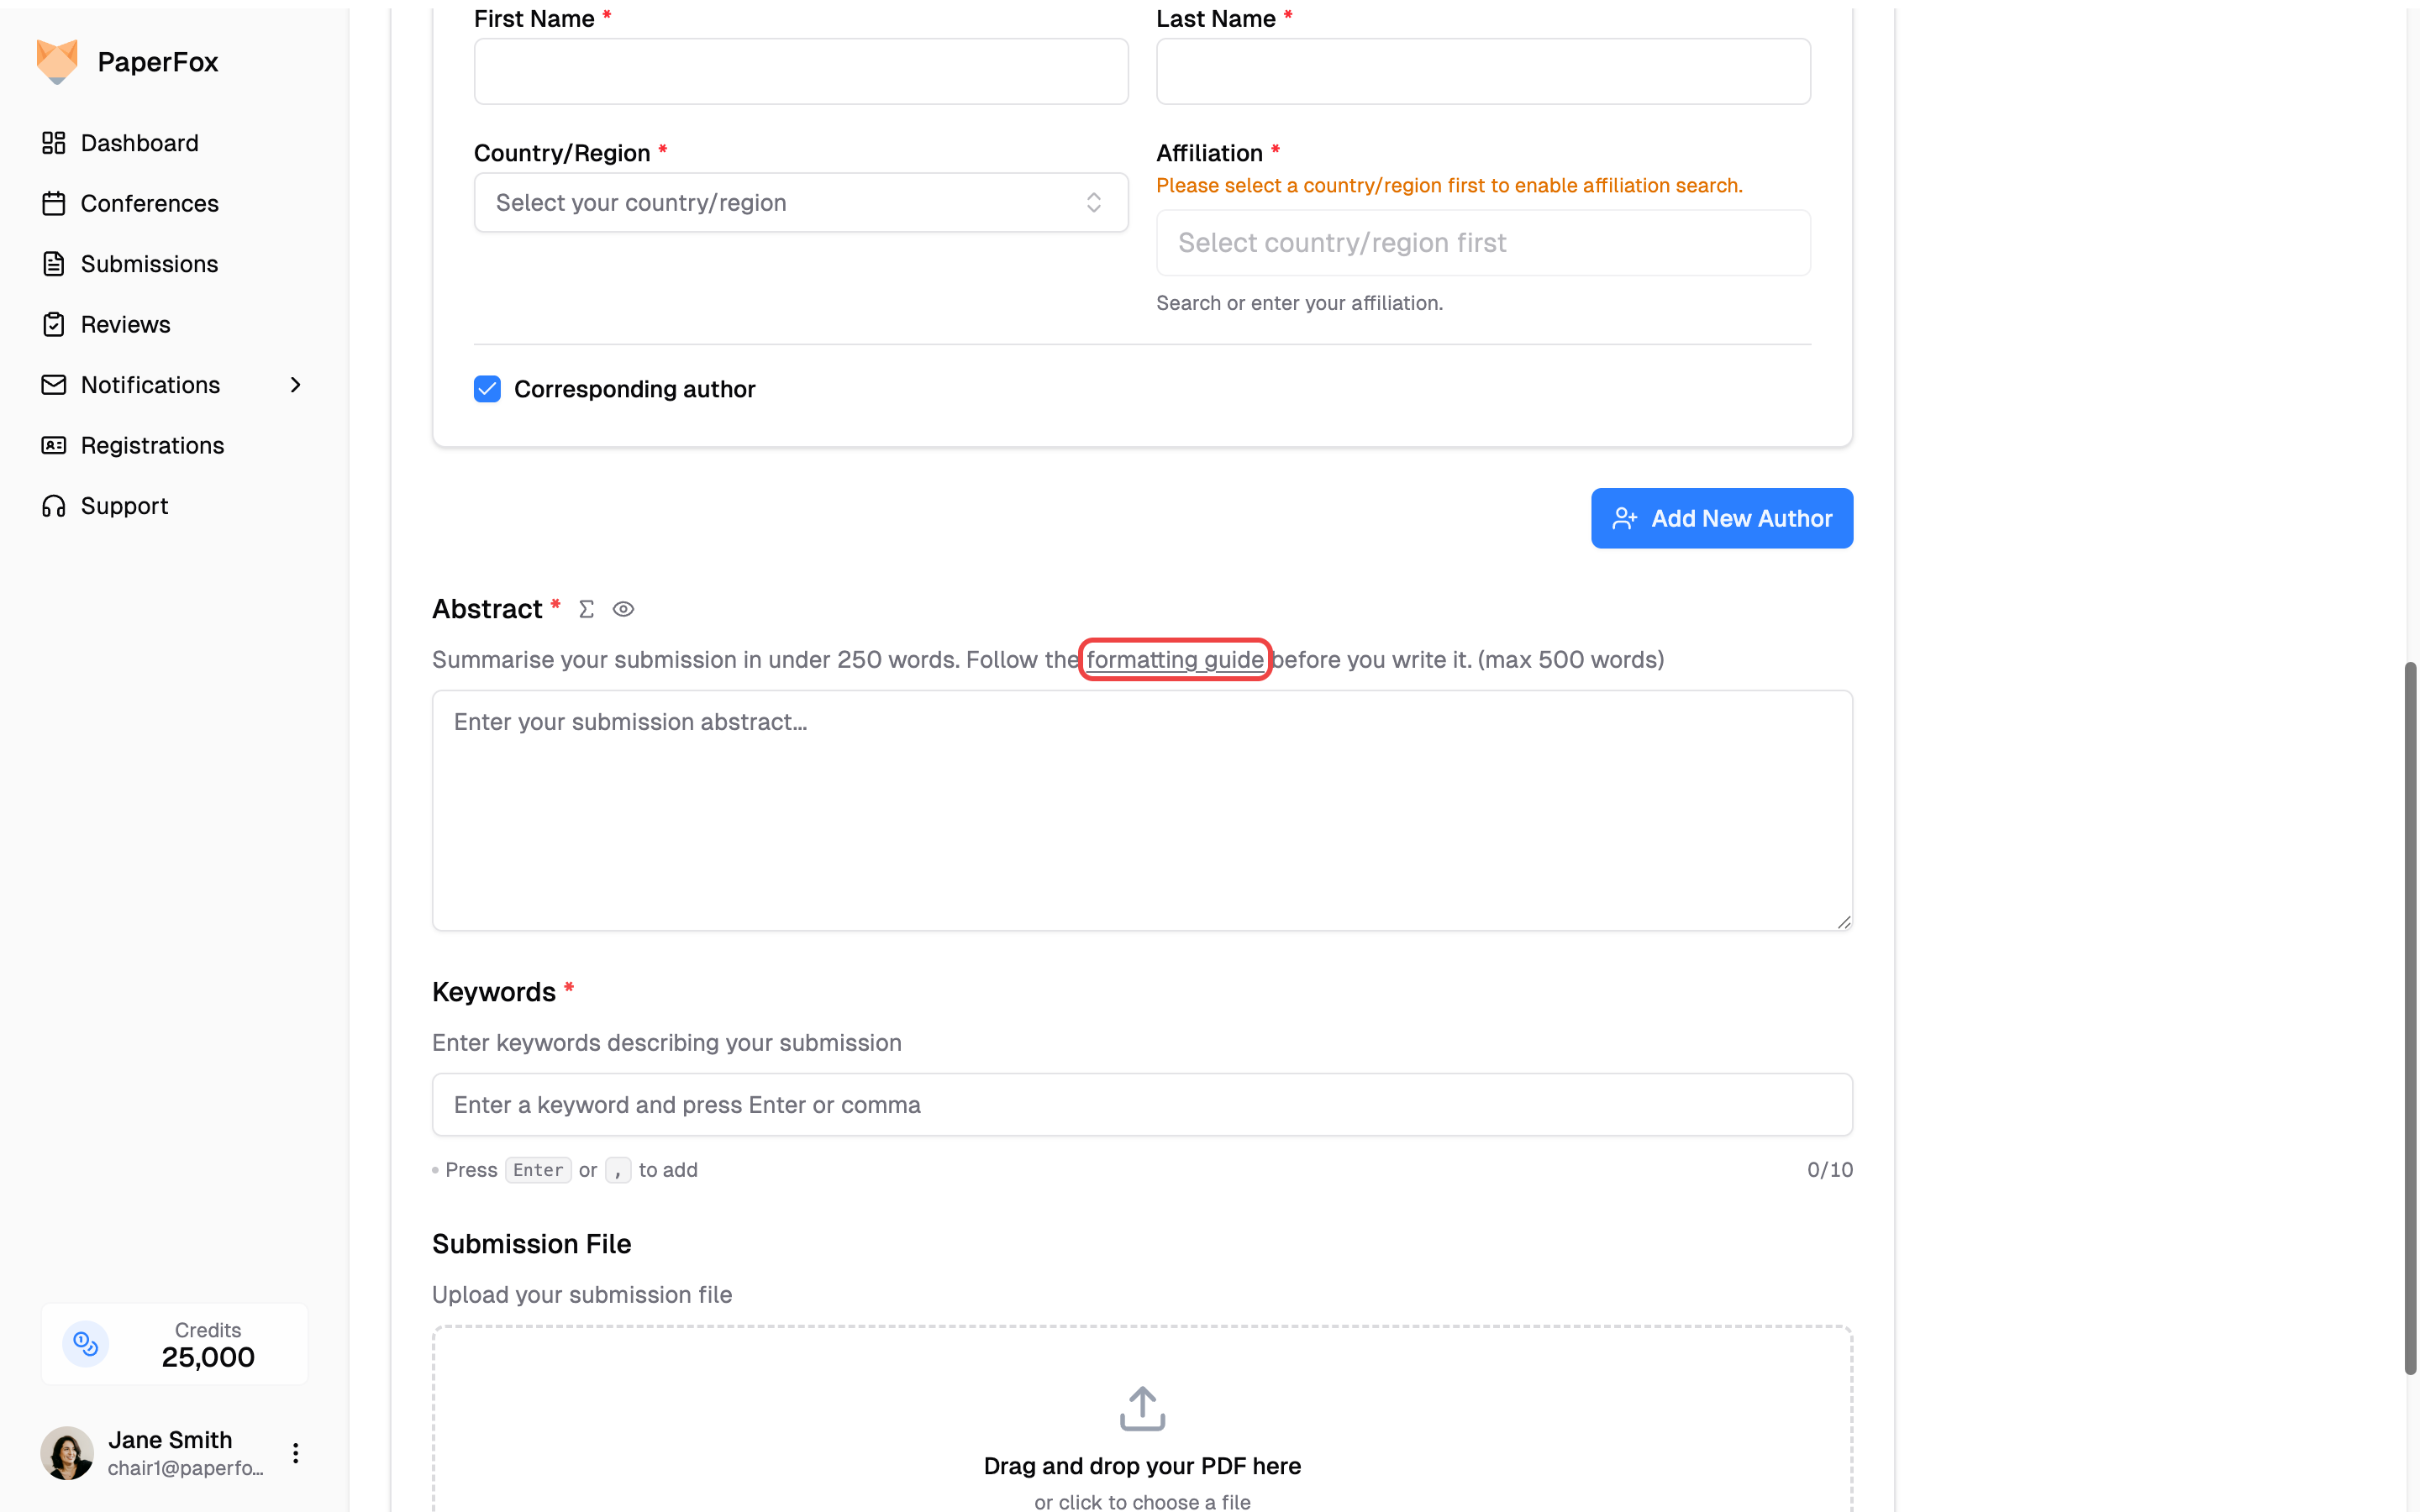 Bold (`**text**`), italics (`*text*`) and bullet lists also work. A plain sentence stays exactly as you typed it — Keywords in the screenshot above is an ordinary description with no Markdown in it.
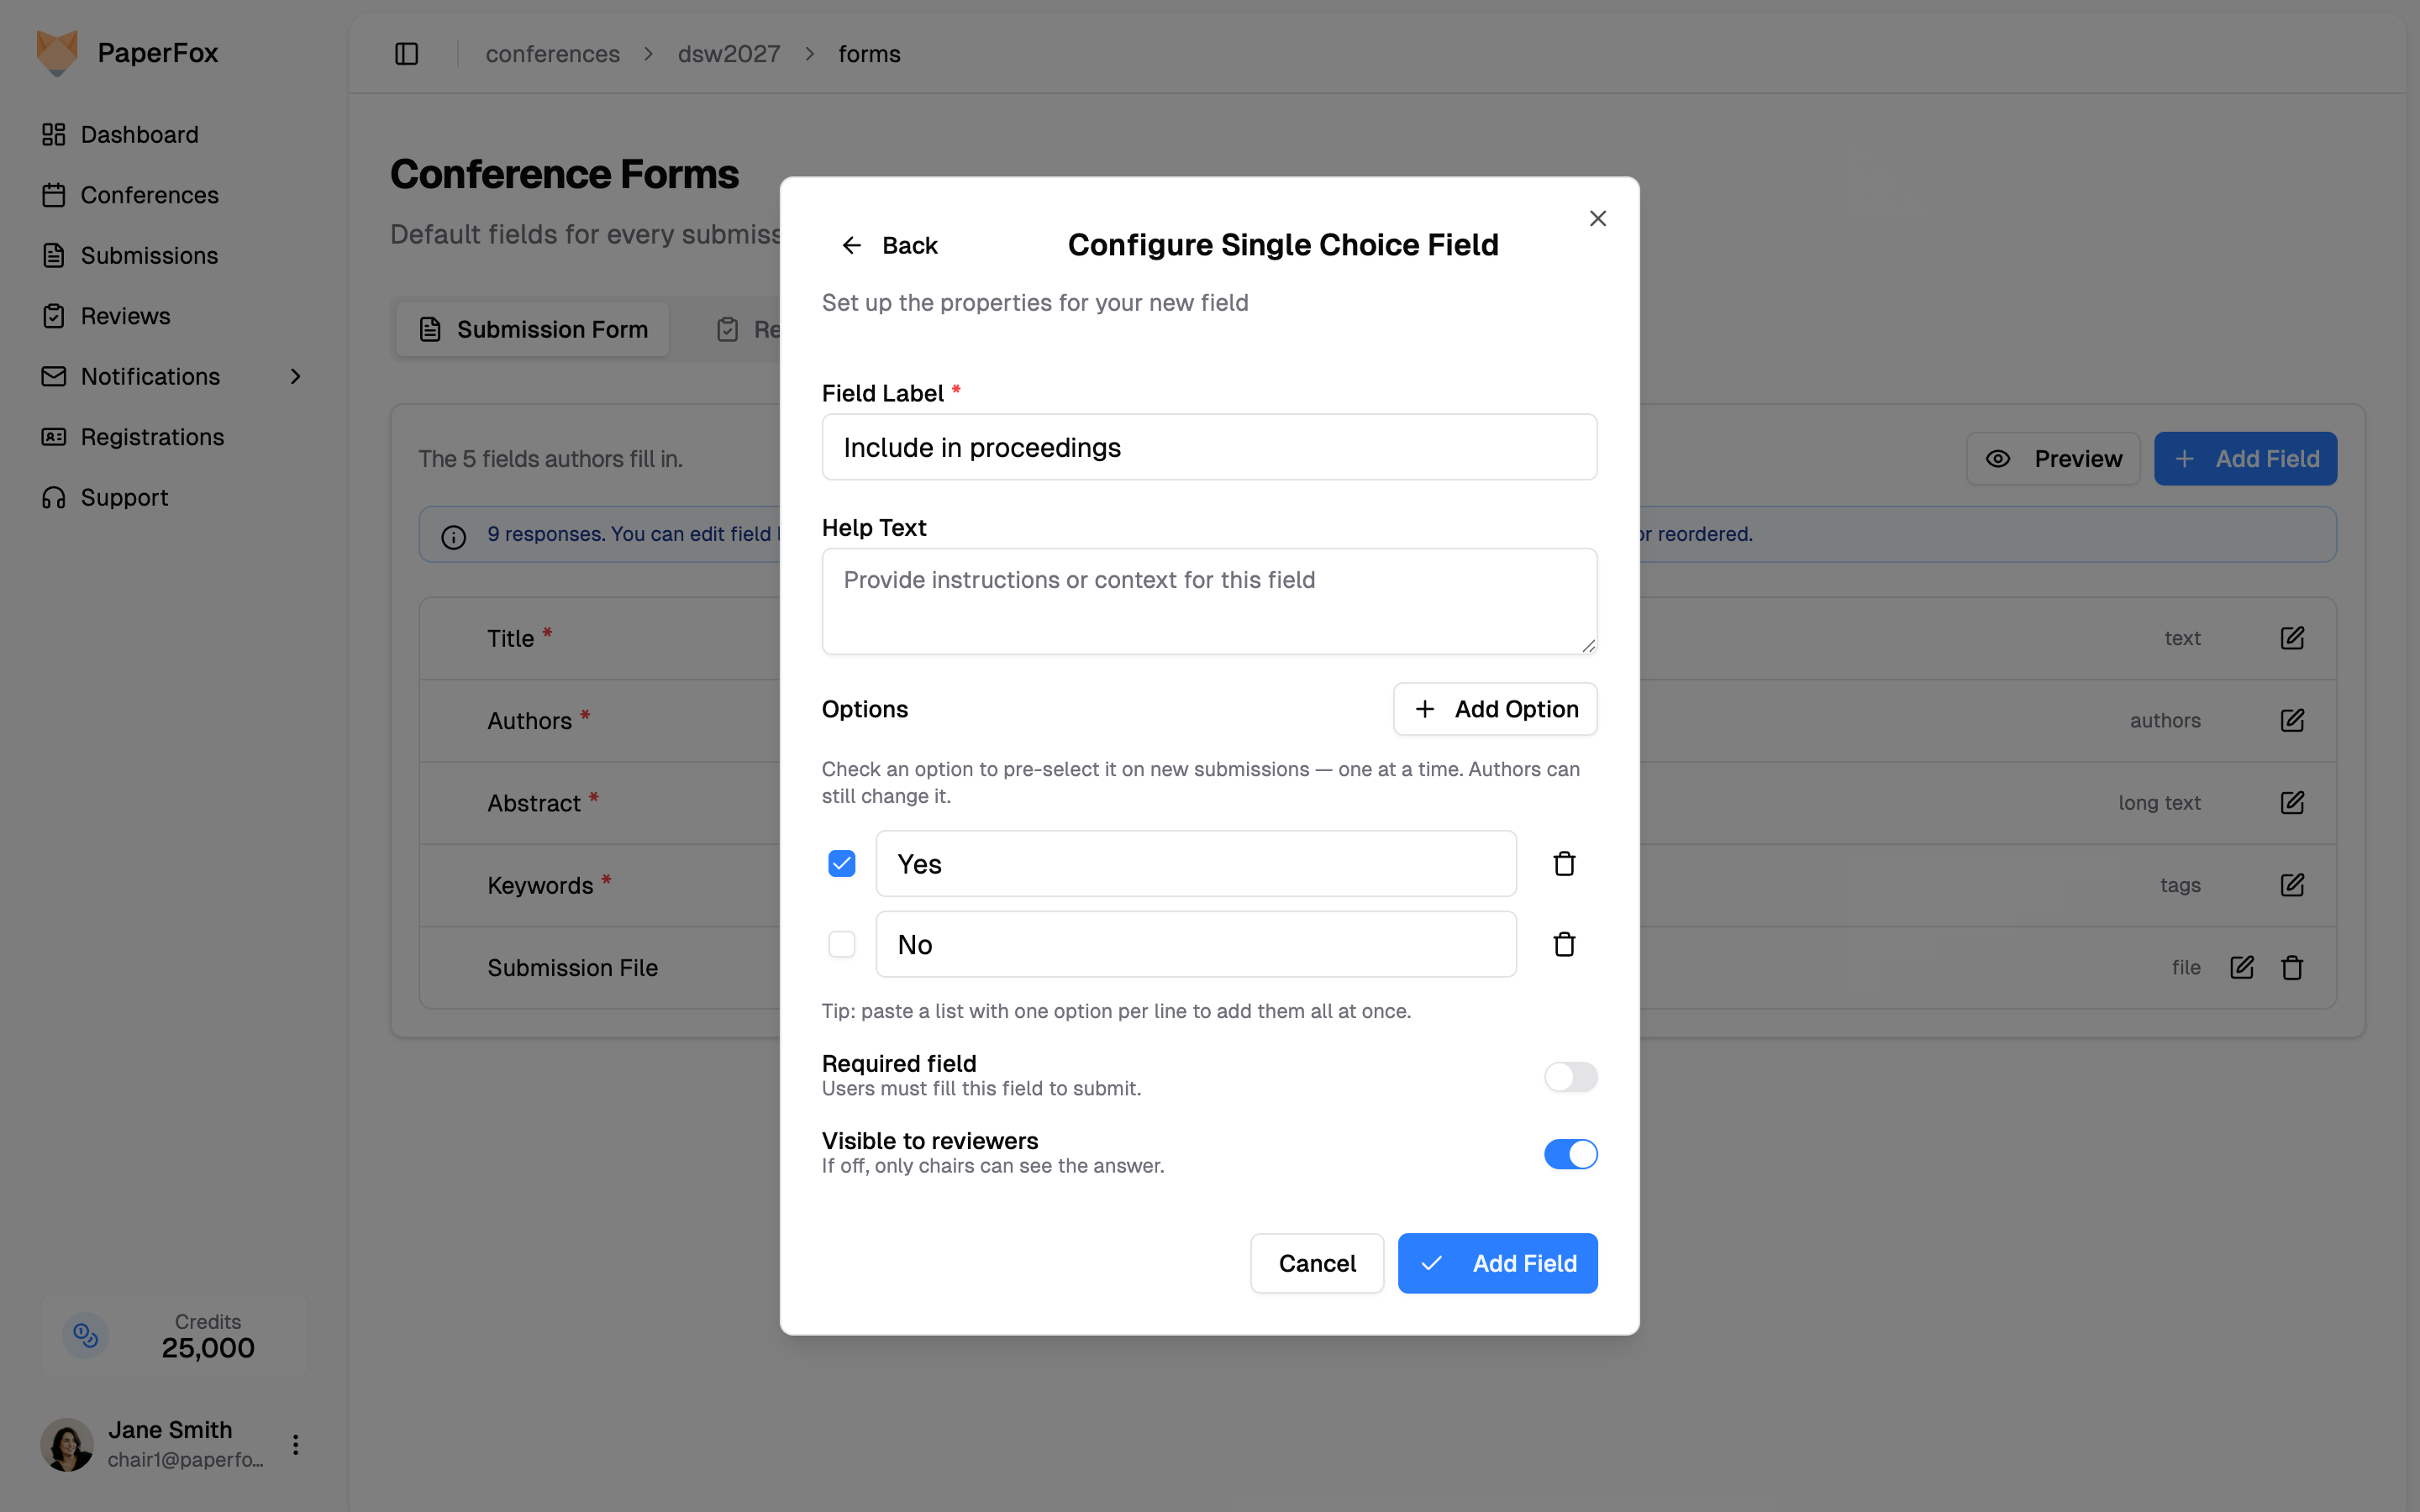 - **Multiple Choice** — pre-select as many options as you like.
- **Single Choice** — only one option can be pre-selected. Checking a second moves the mark to it; checking the marked option again clears it.
Authors see the field already filled in, and can change it like any other answer.
- **Multiple Choice** — pre-select as many options as you like.
- **Single Choice** — only one option can be pre-selected. Checking a second moves the mark to it; checking the marked option again clears it.
Authors see the field already filled in, and can change it like any other answer.

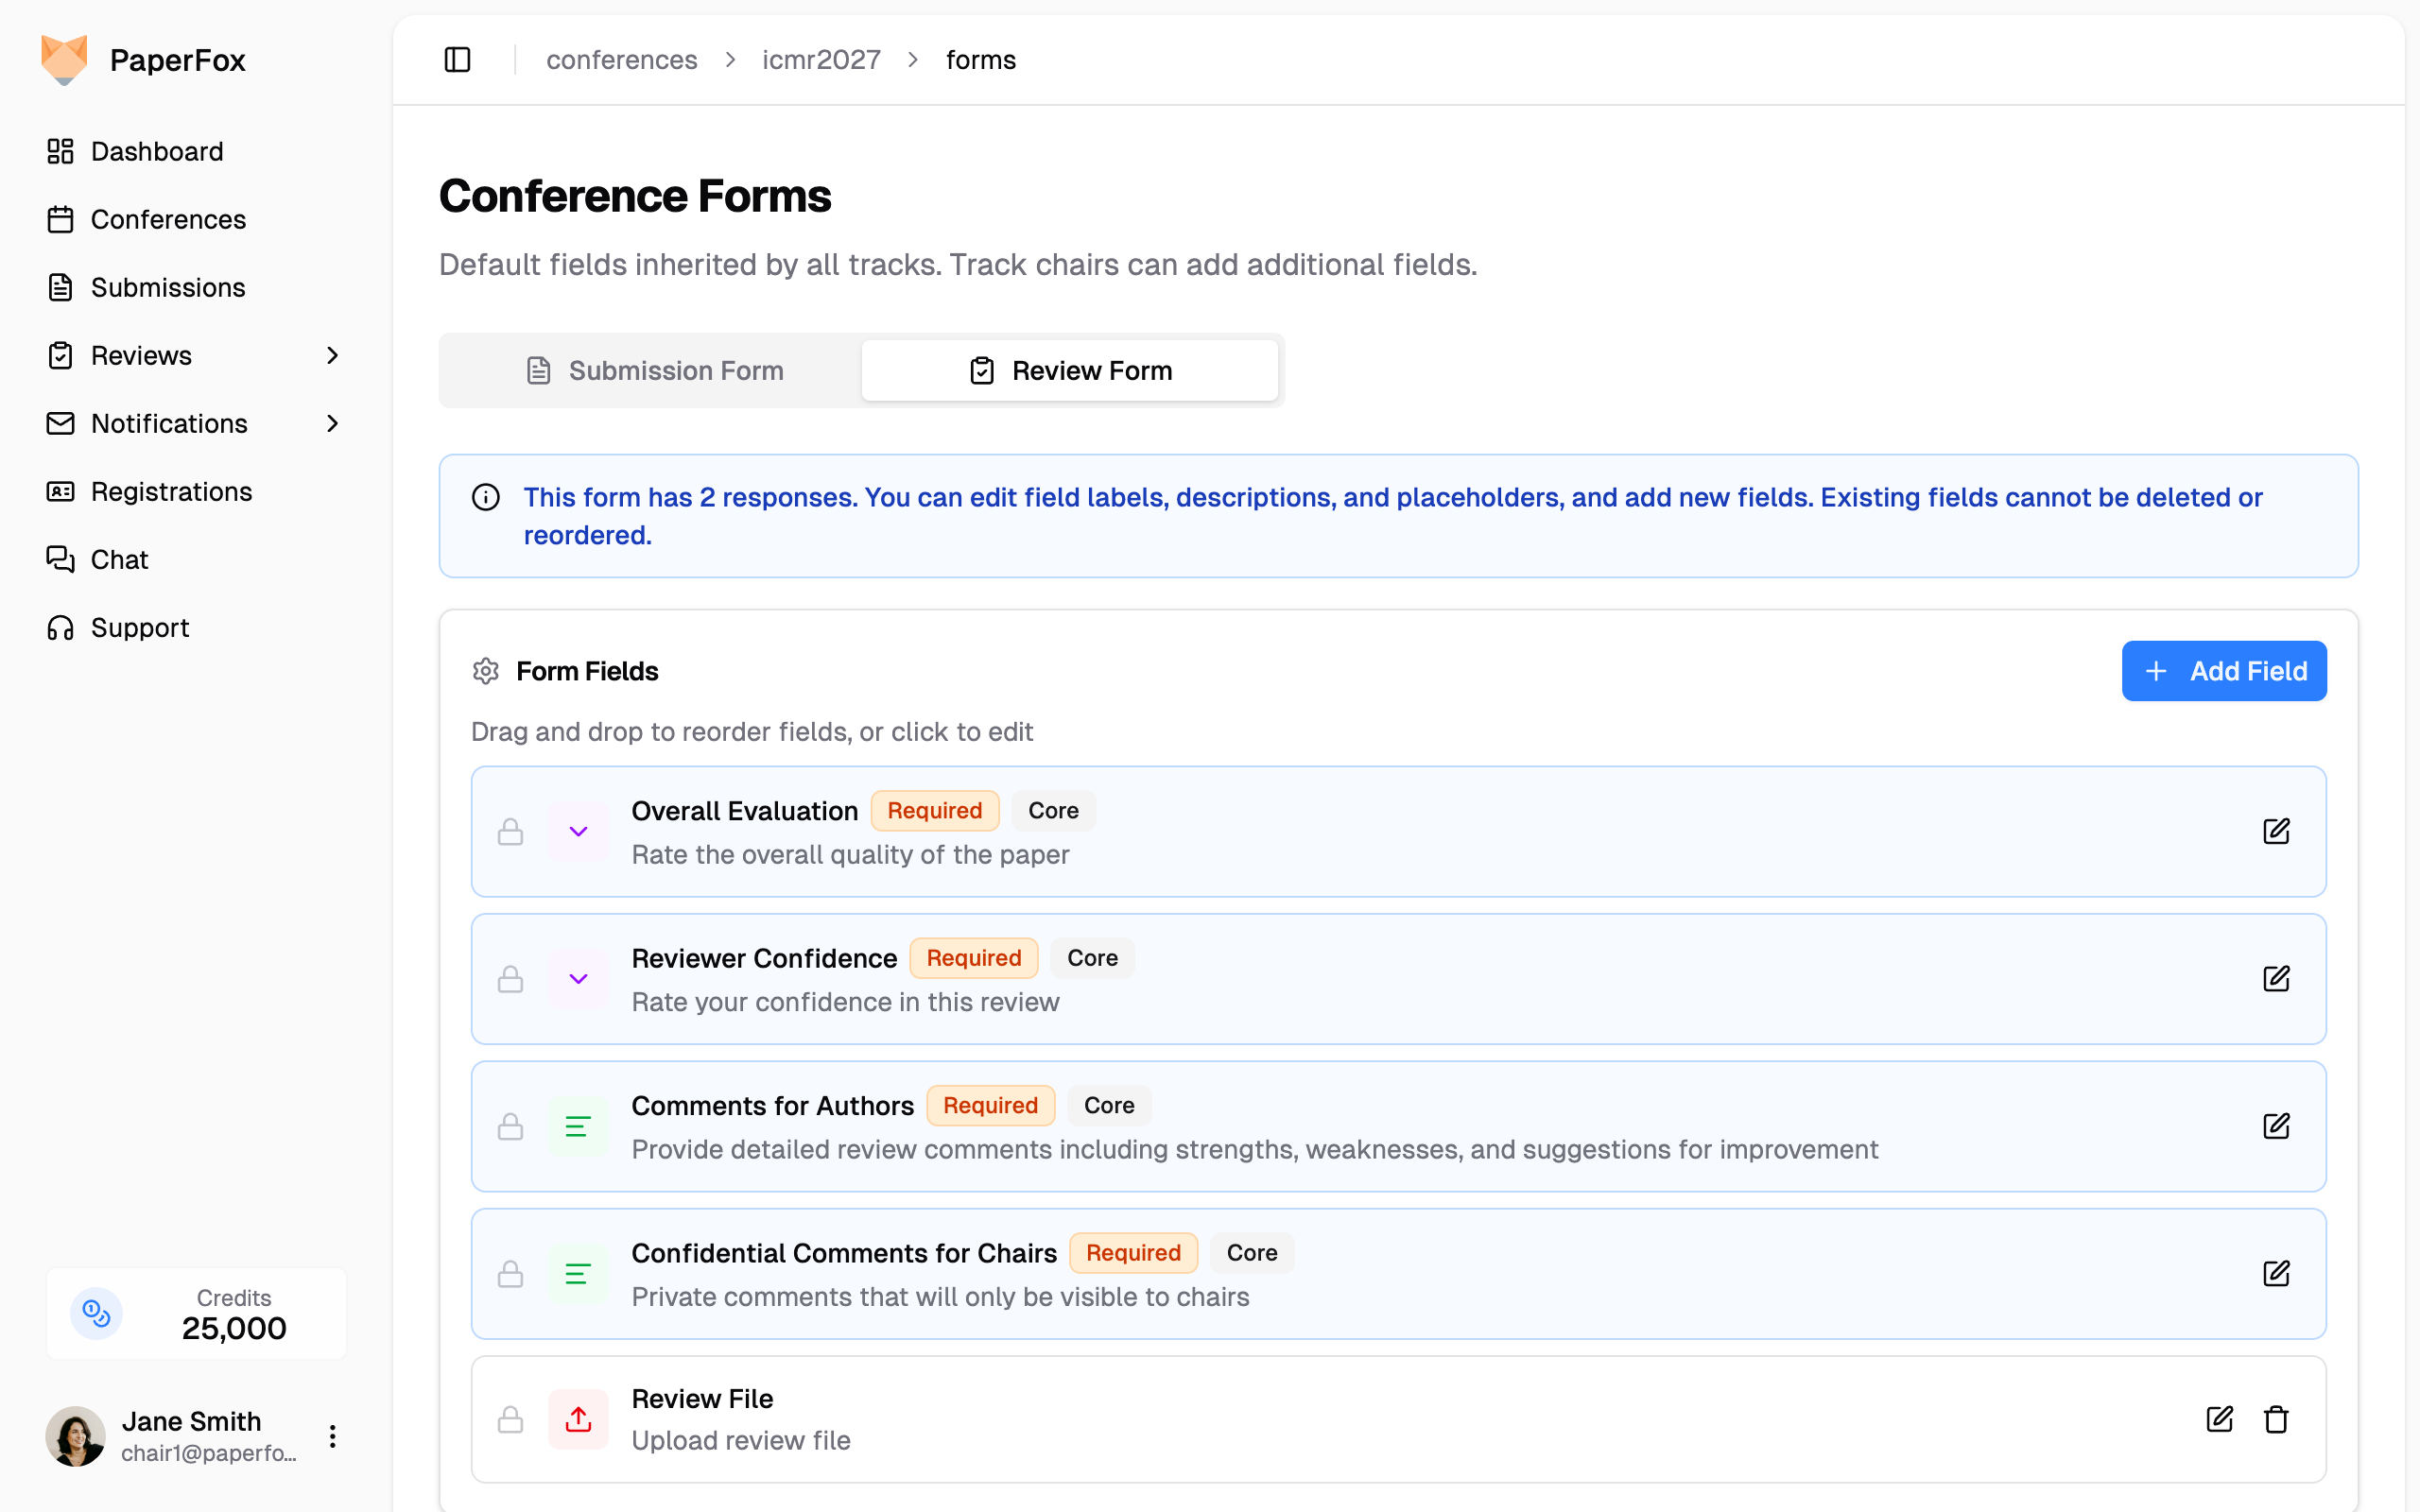 The same editing capabilities apply — add new fields, edit labels, and reorder as needed.
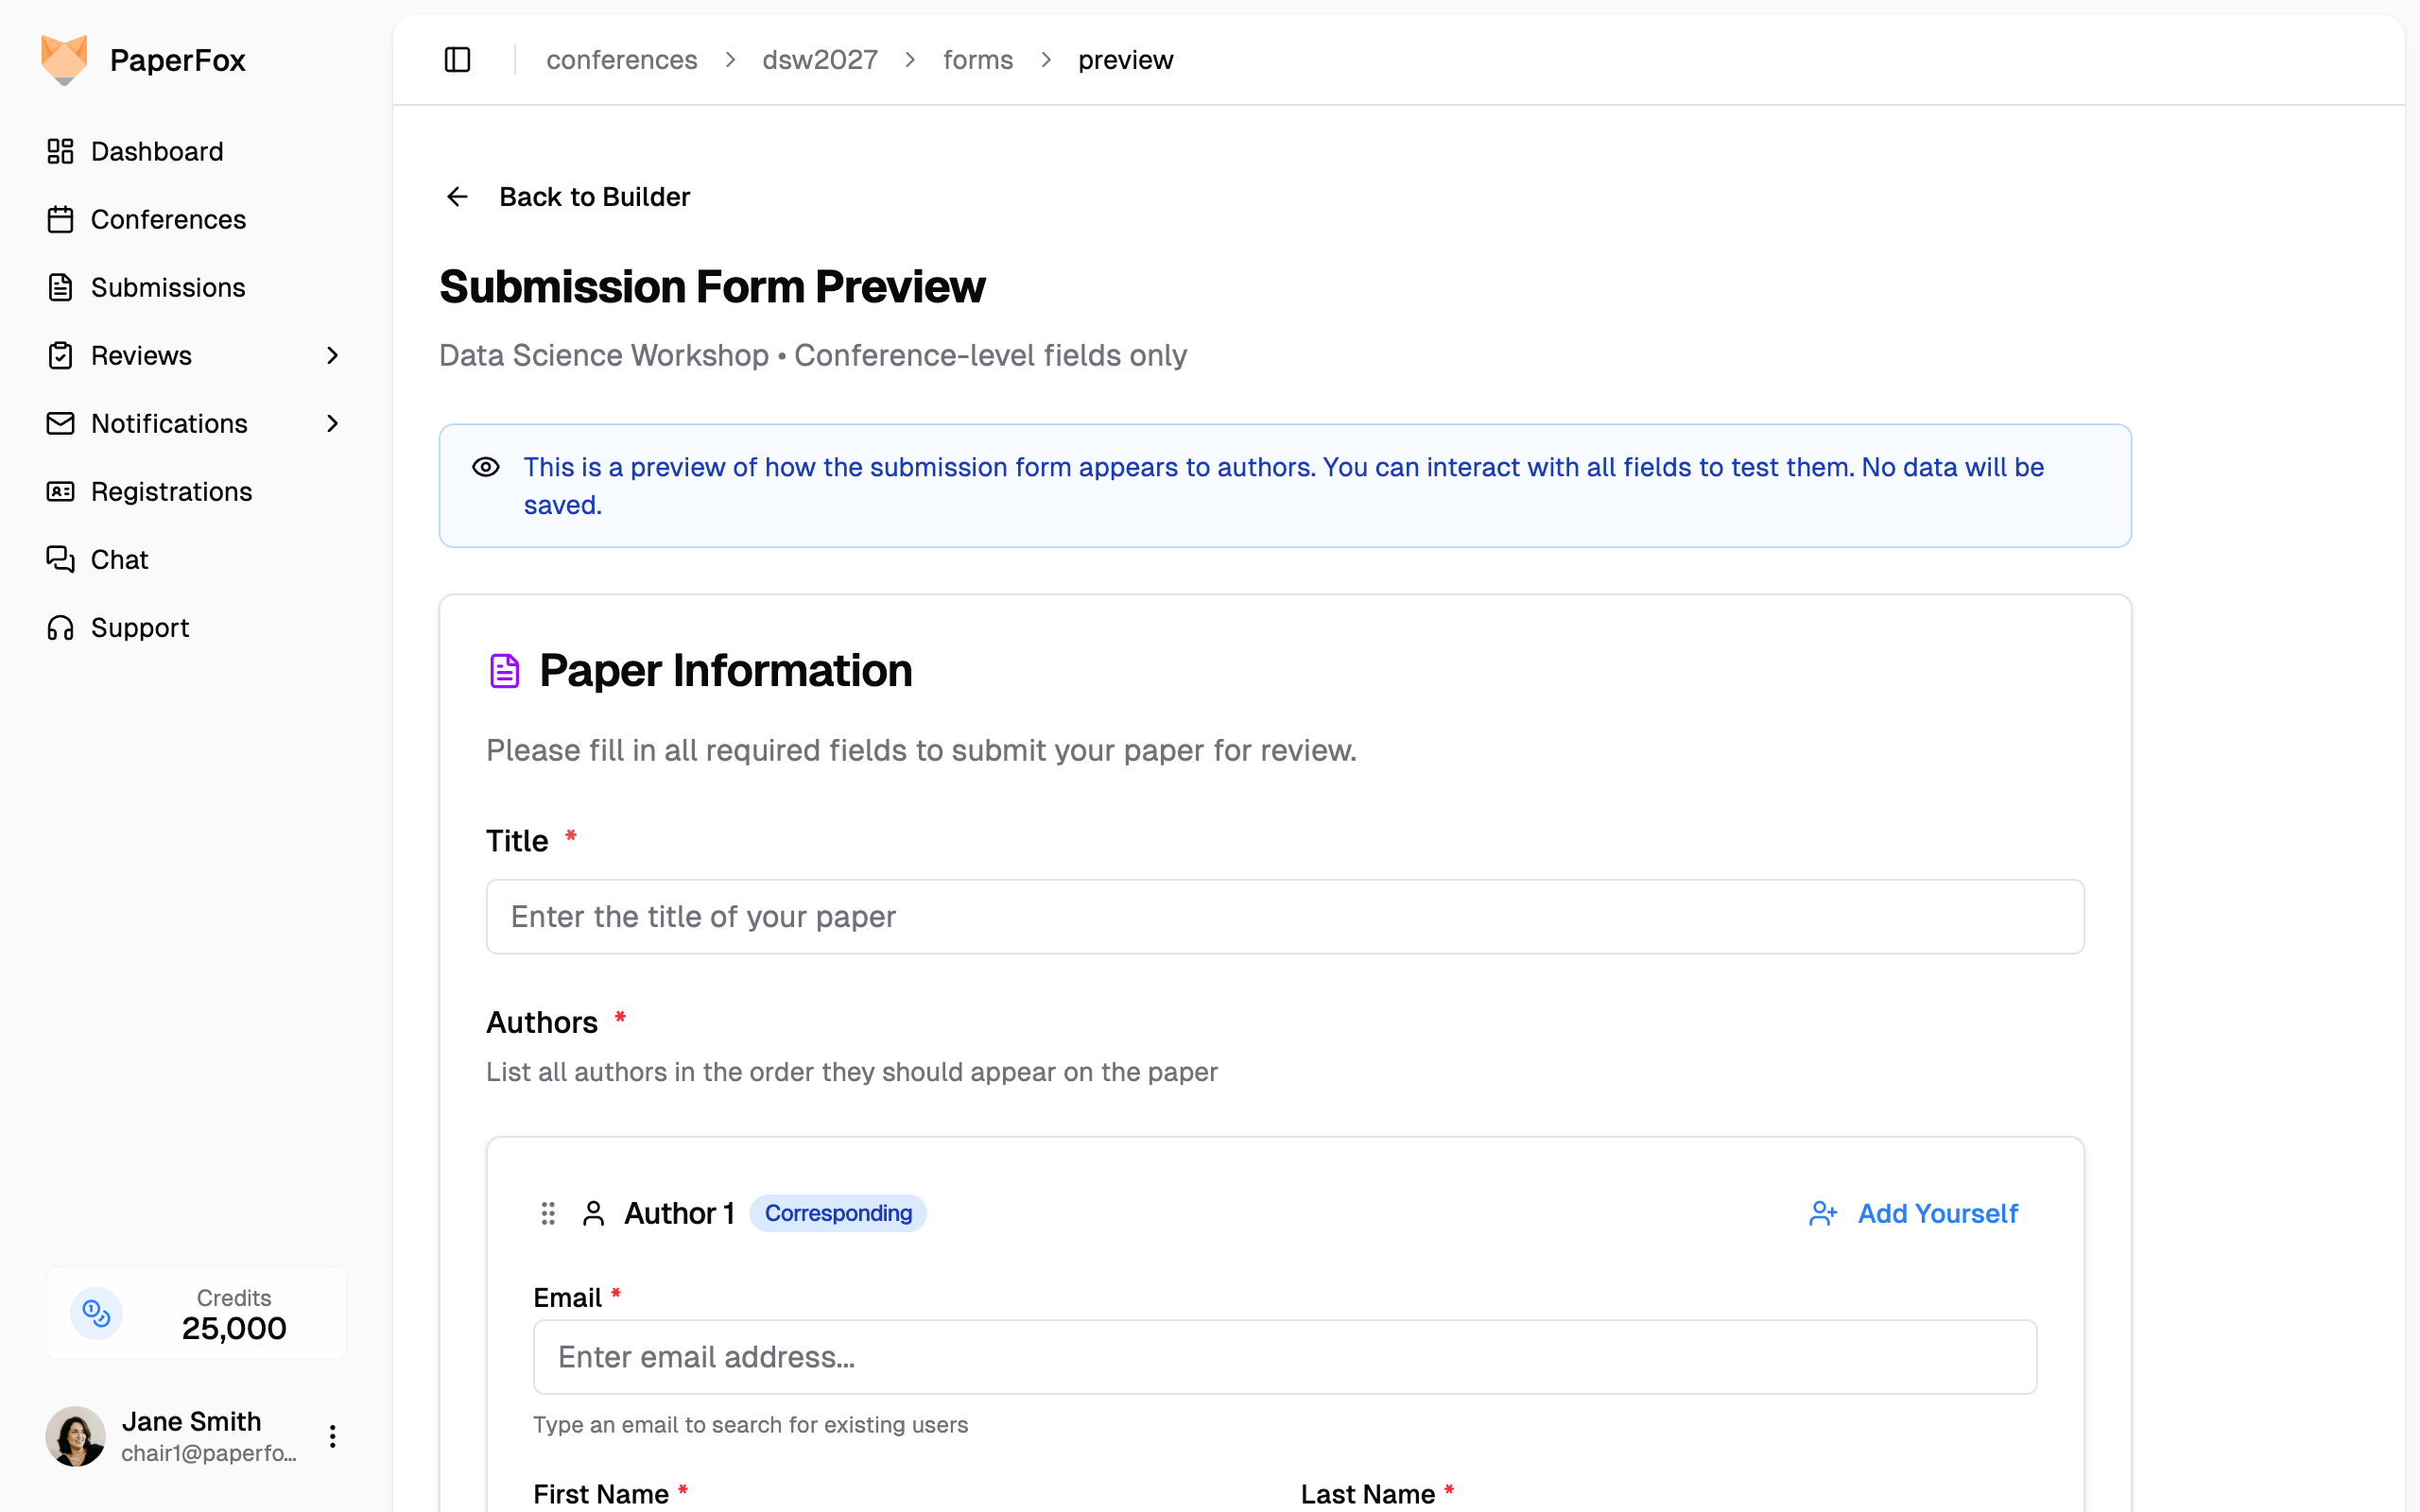
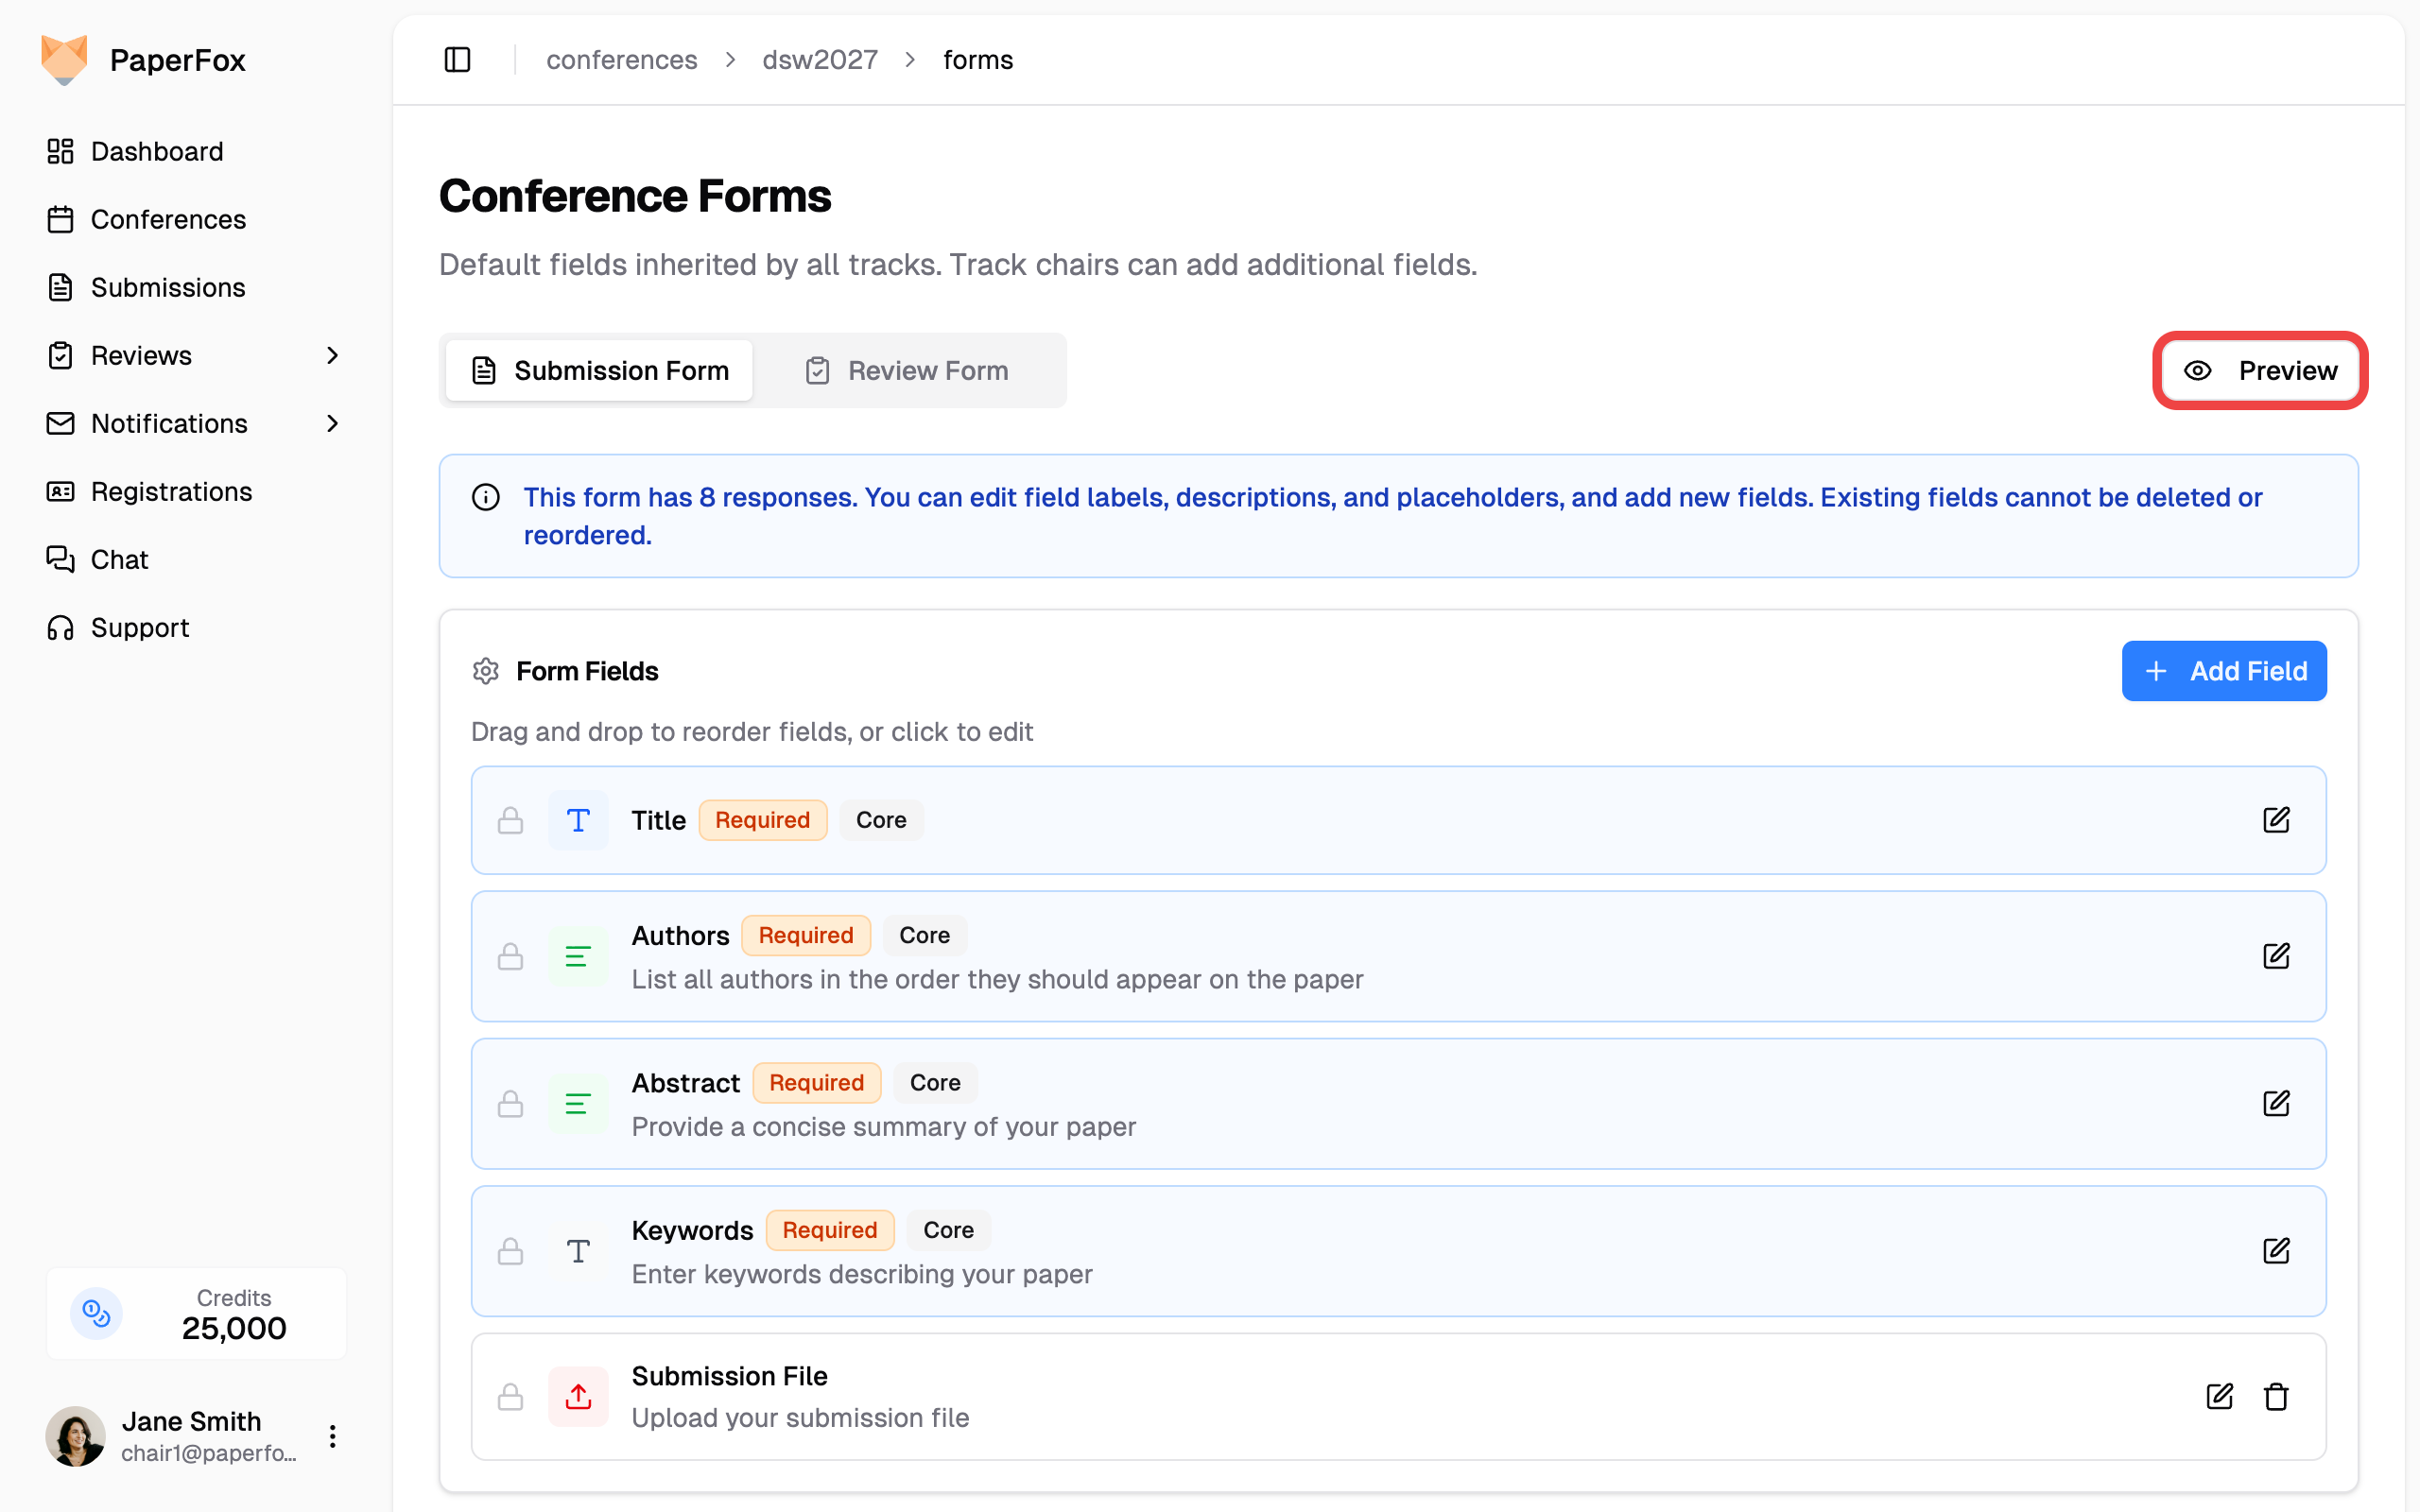 The preview page shows the form with a blue info banner and a **"Back to Builder"** link to return.
 ---
## How Inheritance Works
Conference forms serve as the **starting point** for all tracks:
| Level | Who configures | What happens |
|-------|---------------|--------------|
| **Conference** (this page) | Conference chairs | Sets default fields inherited by all tracks |
| **Track** | Track chairs | Can add additional fields on top of the conference defaults |
This two-level approach ensures consistency across tracks while giving track chairs flexibility to collect track-specific information.
---
Track chairs can customize their track-level forms by following these guides:
- [Configure Track-level Submission Forms](/docs/track-chairs/configure-track-submission-forms)
- [Configure Track-level Review Forms](/docs/track-chairs/configure-track-review-forms)
---
# Create Conference Website
URL: https://paperfox.ai/docs/chairs/create-conference-website
Description: Complete guide to building and customizing your conference's public website
This guide will help you create a professional conference website using PaperFox. You'll learn how to set up submissions, showcase your event, and provide attendees with all the essential information.
## Getting Started
### Step 1: Access the Website Builder
**From your dashboard:**
1. Go to your conference dashboard
2. Click the conference you want to manage
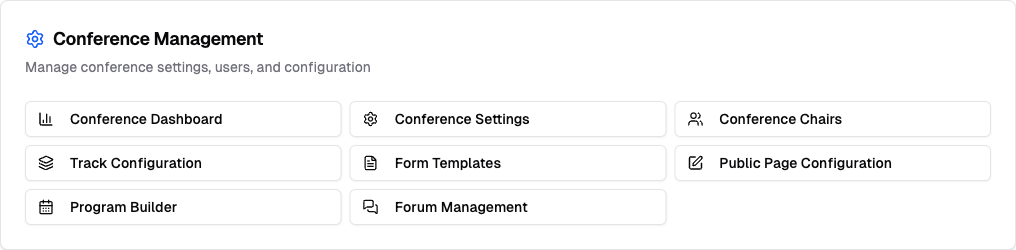
3. Click **"Public Page Configuration"** in the Conference Management section
---
## How Inheritance Works
Conference forms serve as the **starting point** for all tracks:
| Level | Who configures | What happens |
|-------|---------------|--------------|
| **Conference** (this page) | Conference chairs | Sets default fields inherited by all tracks |
| **Track** | Track chairs | Can add additional fields on top of the conference defaults |
This two-level approach ensures consistency across tracks while giving track chairs flexibility to collect track-specific information.
---
Track chairs can customize their track-level forms by following these guides:
- [Configure Track-level Submission Forms](/docs/track-chairs/configure-track-submission-forms)
- [Configure Track-level Review Forms](/docs/track-chairs/configure-track-review-forms)
---
# Create Conference Website
URL: https://paperfox.ai/docs/chairs/create-conference-website
Description: Complete guide to building and customizing your conference's public website
This guide will help you create a professional conference website using PaperFox. You'll learn how to set up submissions, showcase your event, and provide attendees with all the essential information.
## Getting Started
### Step 1: Access the Website Builder
**From your dashboard:**
1. Go to your conference dashboard
2. Click the conference you want to manage
3. Click **"Public Page Configuration"** in the Conference Management section
 ### Step 2: Choose Your Website Approach
PaperFox offers two approaches for your conference website:
#### Option A: Built-in Page Editor (Recommended)
- **Best for:** Most conferences
- **Features:** Drag-and-drop editor, rich content tools, integrated submissions
- **Benefits:** Easy to maintain, automatically handles submissions, mobile-optimized
#### Option B: External Website
- **Best for:** Conferences with existing websites
- **Features:** Link to your custom website
- **Benefits:** Complete design control, use existing infrastructure
If you choose Option B, you will not be able to use the built-in page editor.
---
## Landing Page Customization
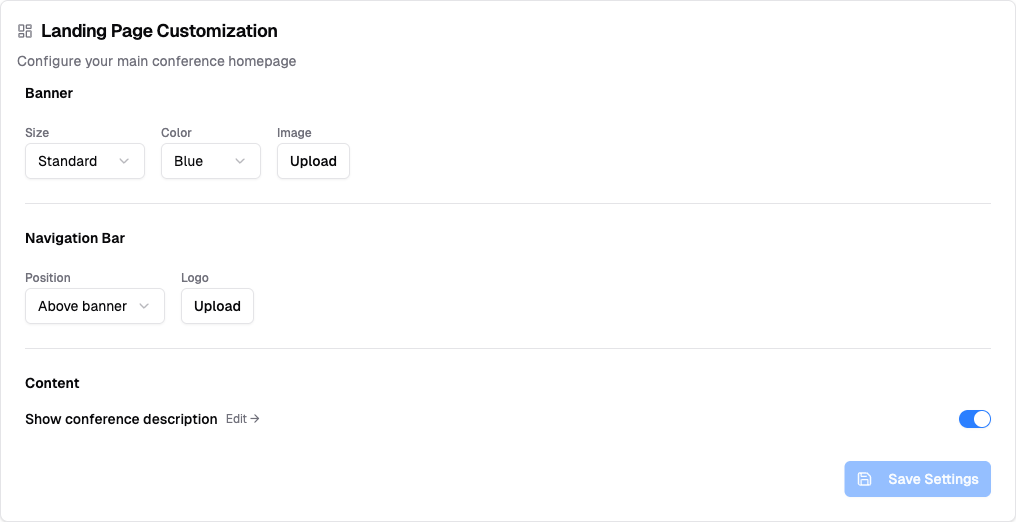
The Landing Page Customization card lets you configure your main conference homepage appearance.
### Step 2: Choose Your Website Approach
PaperFox offers two approaches for your conference website:
#### Option A: Built-in Page Editor (Recommended)
- **Best for:** Most conferences
- **Features:** Drag-and-drop editor, rich content tools, integrated submissions
- **Benefits:** Easy to maintain, automatically handles submissions, mobile-optimized
#### Option B: External Website
- **Best for:** Conferences with existing websites
- **Features:** Link to your custom website
- **Benefits:** Complete design control, use existing infrastructure
If you choose Option B, you will not be able to use the built-in page editor.
---
## Landing Page Customization
The Landing Page Customization card lets you configure your main conference homepage appearance.
 ### Banner
Configure the visual header of your landing page:
- **Size:** Choose from Compact, Standard, or Full Screen
- **Color:** Select from 22 professional color themes with color swatches
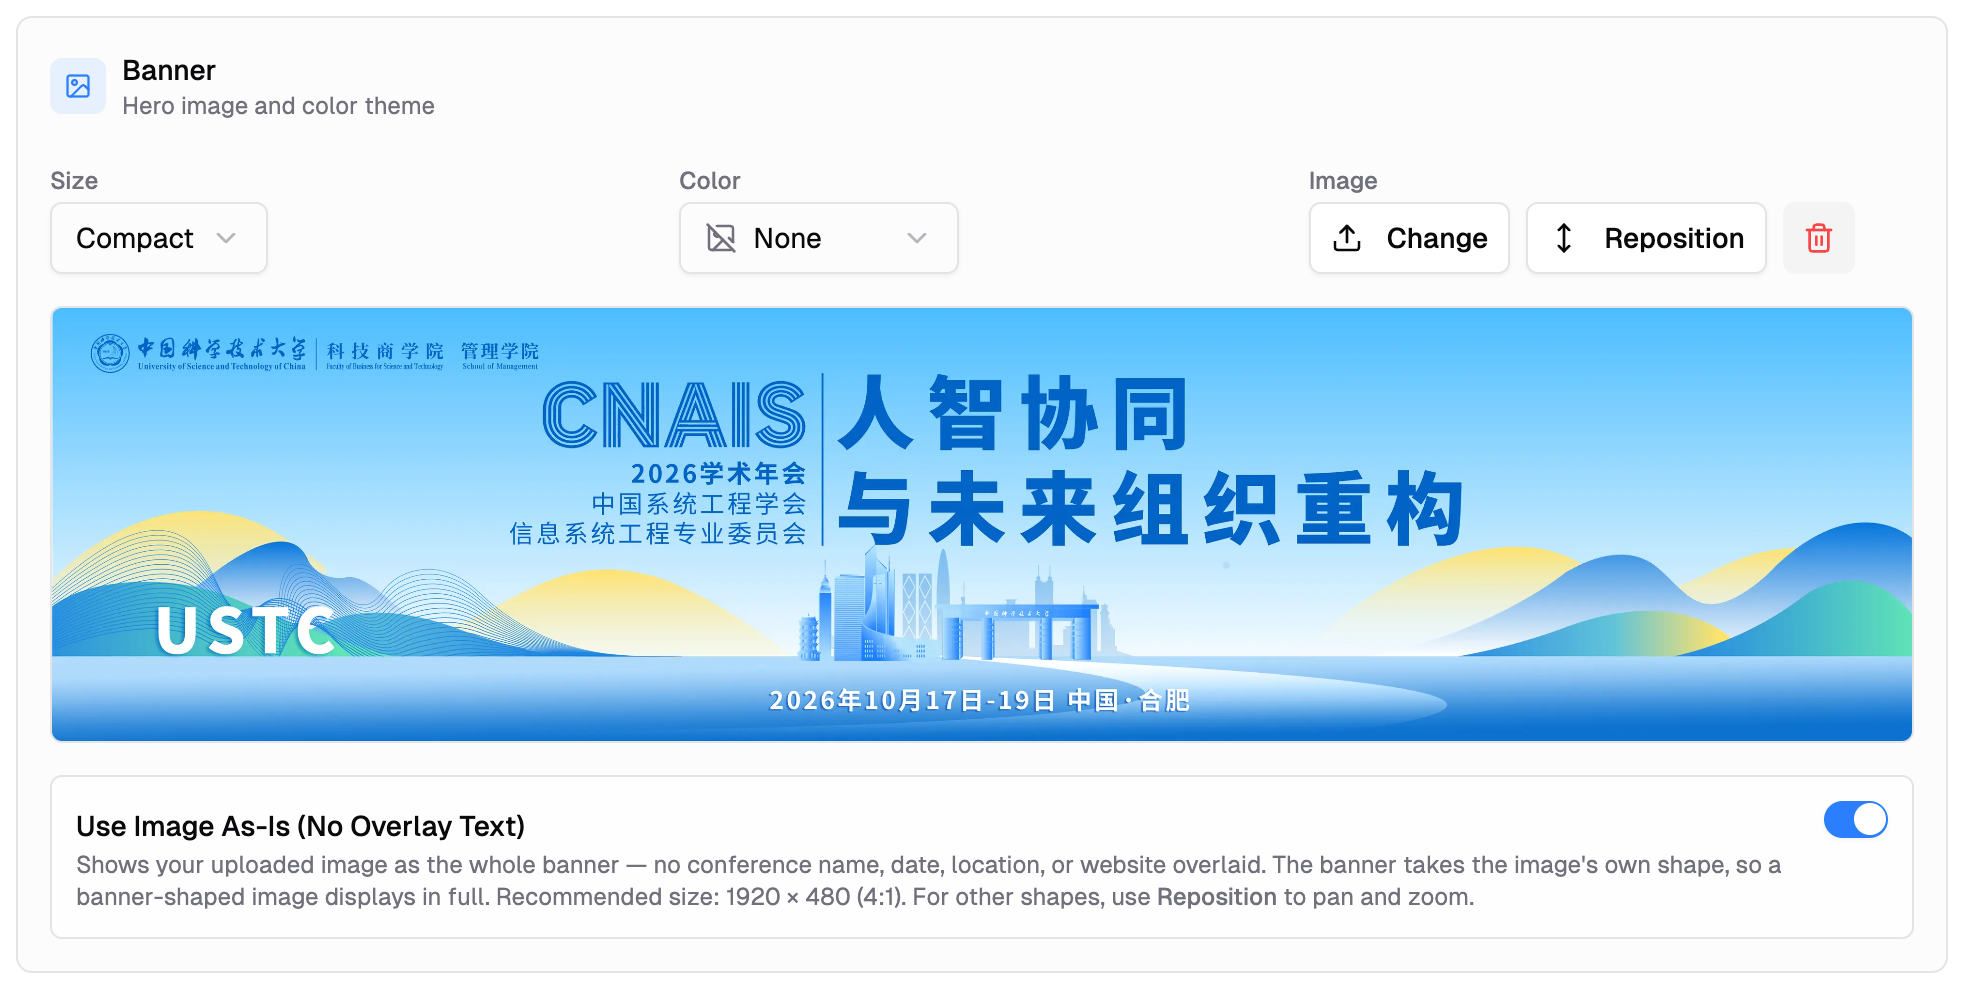
- **Image:** Upload a custom banner image (optional). After uploading, you can reposition the focal point using the cropper dialog to ensure the most important part of your image stays visible at different screen sizes.
- **Use Image As-Is (No Overlay Text):** Toggle that appears after uploading an image. When enabled, your uploaded image becomes the whole banner — the conference name, date, location, and website link are hidden. The banner takes the image's own shape, so a banner-shaped image displays in full with no crop or stretch. Recommended upload size is **1920 × 480** (4:1). For images that aren't banner-shaped, use **Reposition** to pan and zoom within the frame.
### Banner
Configure the visual header of your landing page:
- **Size:** Choose from Compact, Standard, or Full Screen
- **Color:** Select from 22 professional color themes with color swatches
- **Image:** Upload a custom banner image (optional). After uploading, you can reposition the focal point using the cropper dialog to ensure the most important part of your image stays visible at different screen sizes.
- **Use Image As-Is (No Overlay Text):** Toggle that appears after uploading an image. When enabled, your uploaded image becomes the whole banner — the conference name, date, location, and website link are hidden. The banner takes the image's own shape, so a banner-shaped image displays in full with no crop or stretch. Recommended upload size is **1920 × 480** (4:1). For images that aren't banner-shaped, use **Reposition** to pan and zoom within the frame.
 ### Navigation Bar
Control how the navigation appears on your site:
- **Position:** Choose where the navigation bar appears — "Above banner" or "Overlaid" on top of the banner. Full Screen banners require overlaid navigation.
- **Logo:** Upload your conference logo to display in the navigation bar
- **Logo size:** Choose Small, Medium, or Large (appears after uploading a logo)
- **Full width navigation:** Toggle to make the navigation bar span the full width of the page
### Content
- **Show conference description:** Toggle whether to display your conference description on the landing page. Click **"Edit →"** to update the description in Conference Settings.
Click **"Save Settings"** to apply your changes.
---
## Using the Page Editor
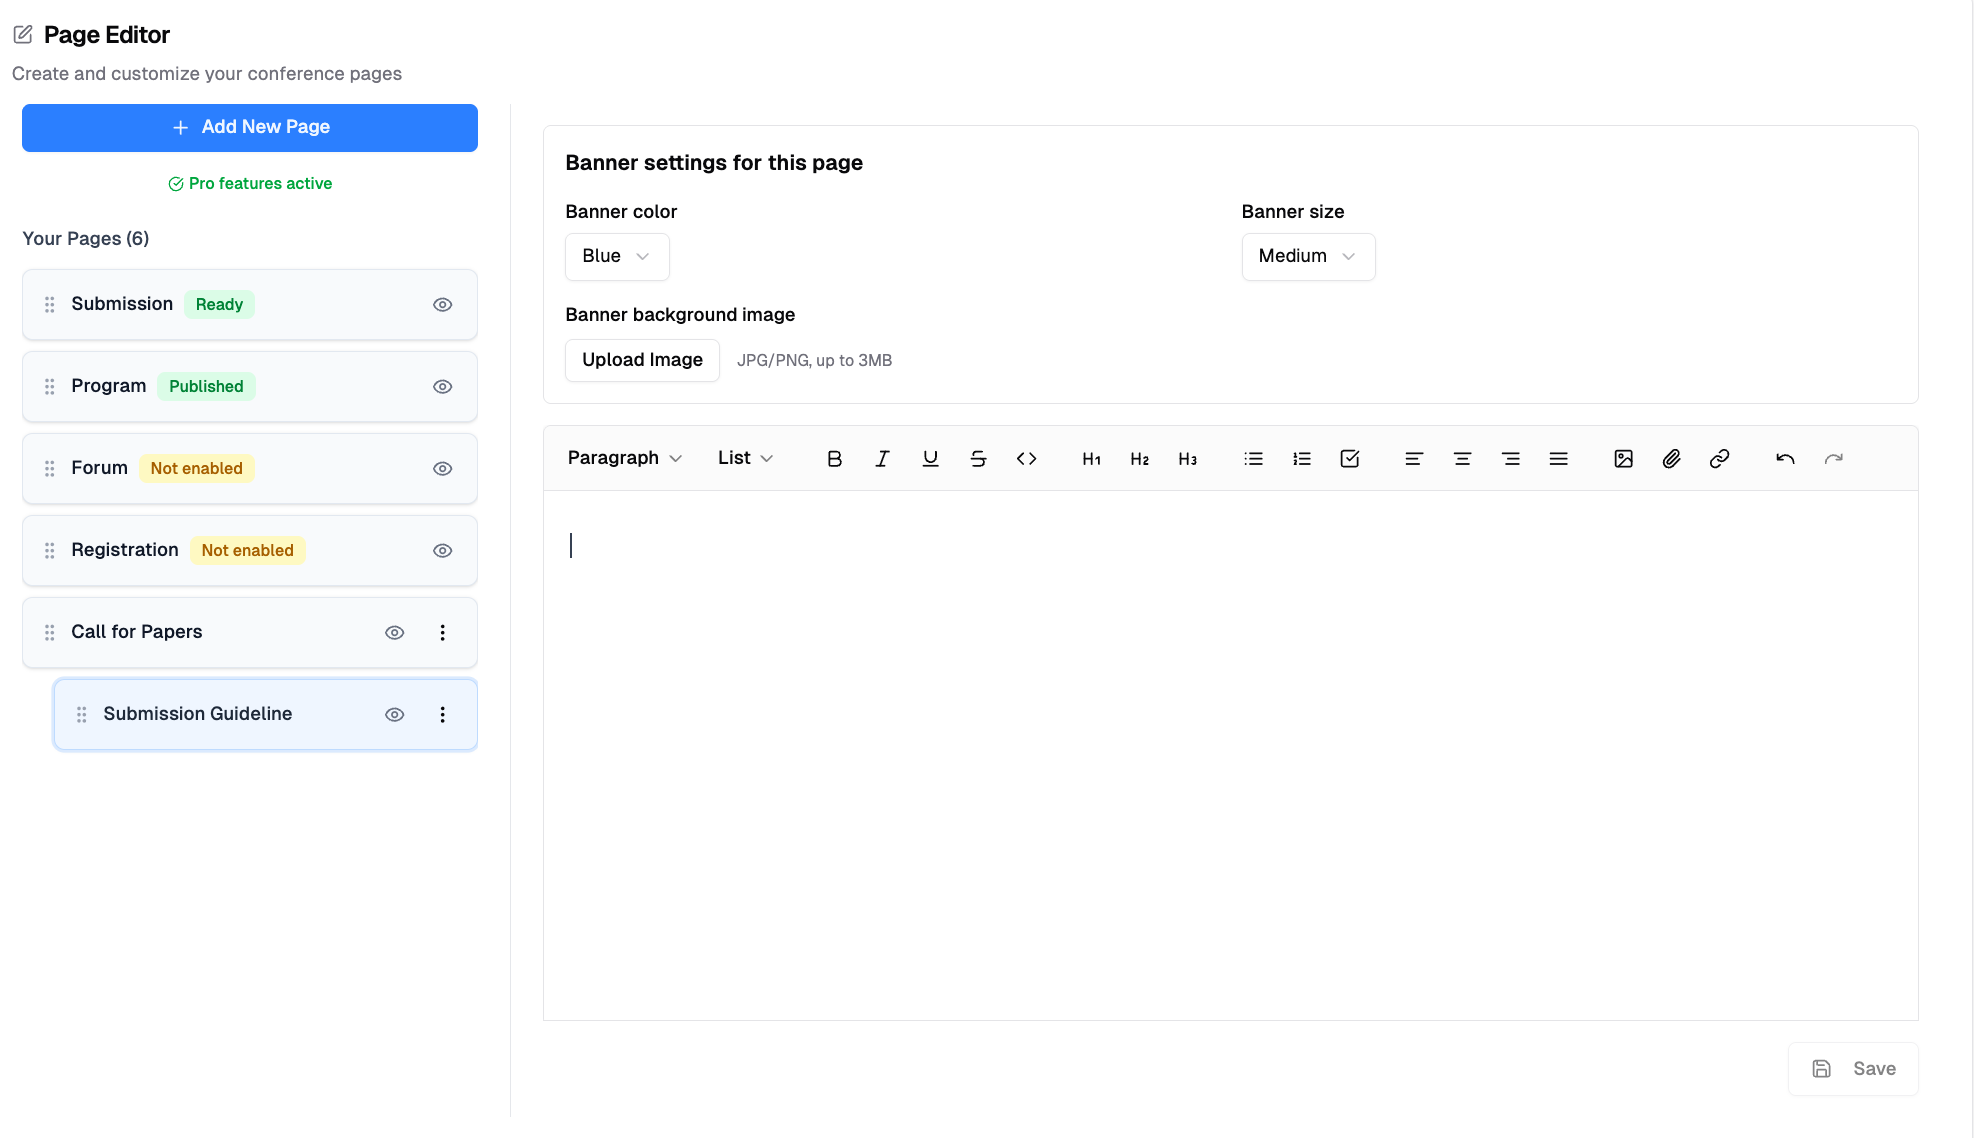
The Page Editor allows you to create and customize your conference pages.
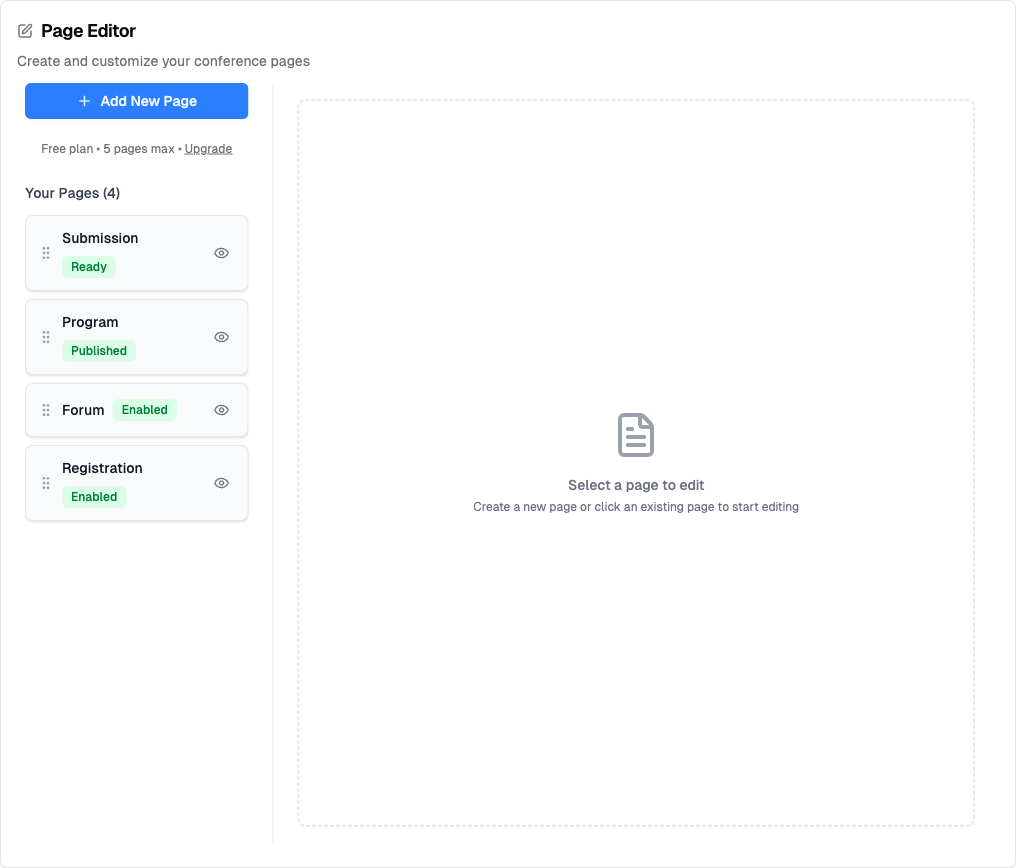
### System Pages (Built-in)
Your website includes five system pages that connect to core features:
| Page | Status Badge | Description |
|------|--------------|-------------|
| **Home** | — | Landing page with banner, conference info, and description. |
| **Submission** | Ready | Lists tracks with deadlines. Authors submit submissions here. |
| **Program** | Published | Displays sessions by day with search and mobile app support. |
| **Registration** | Enabled | Sign-up forms with registration types and Stripe payments. |
| **Forum** | Enabled | Discussion threads for attendees to connect. |
System pages show a status badge indicating whether the feature is ready.
### Navigation Bar
Control how the navigation appears on your site:
- **Position:** Choose where the navigation bar appears — "Above banner" or "Overlaid" on top of the banner. Full Screen banners require overlaid navigation.
- **Logo:** Upload your conference logo to display in the navigation bar
- **Logo size:** Choose Small, Medium, or Large (appears after uploading a logo)
- **Full width navigation:** Toggle to make the navigation bar span the full width of the page
### Content
- **Show conference description:** Toggle whether to display your conference description on the landing page. Click **"Edit →"** to update the description in Conference Settings.
Click **"Save Settings"** to apply your changes.
---
## Using the Page Editor
The Page Editor allows you to create and customize your conference pages.
### System Pages (Built-in)
Your website includes five system pages that connect to core features:
| Page | Status Badge | Description |
|------|--------------|-------------|
| **Home** | — | Landing page with banner, conference info, and description. |
| **Submission** | Ready | Lists tracks with deadlines. Authors submit submissions here. |
| **Program** | Published | Displays sessions by day with search and mobile app support. |
| **Registration** | Enabled | Sign-up forms with registration types and Stripe payments. |
| **Forum** | Enabled | Discussion threads for attendees to connect. |
System pages show a status badge indicating whether the feature is ready.
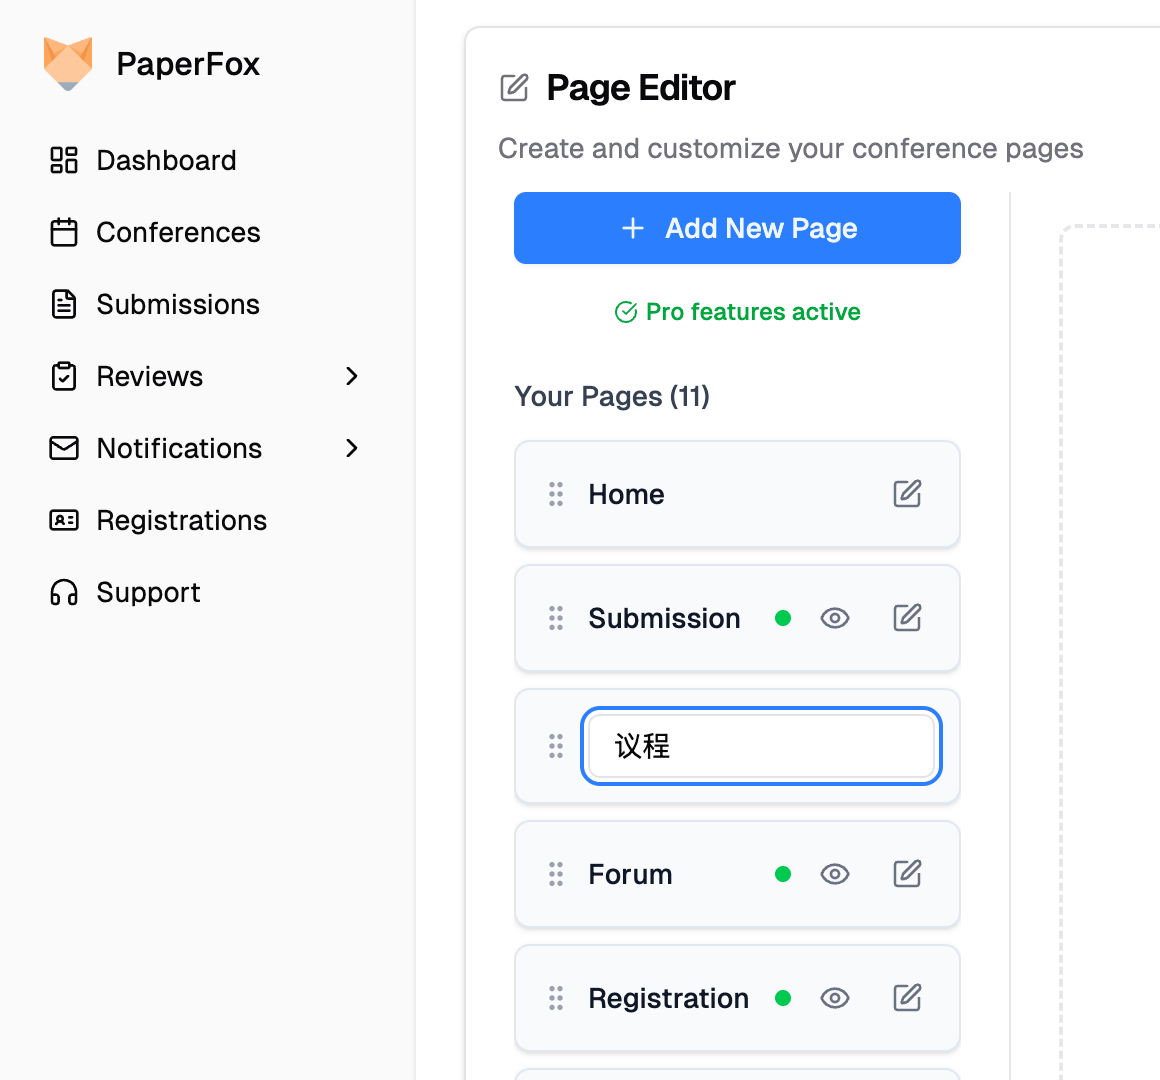
 #### Renaming a system page
Click the pencil ✏ button next to any system page to change the label that appears in your menu. Labels can be any language — Chinese, Japanese, Cyrillic, emoji — they all work:
- "Submission" → "提交"
- "Program" → "プログラム"
- "Registration" → "Регистрация"
The page's URL never changes. Renaming only updates the menu label visitors see.
#### Renaming a system page
Click the pencil ✏ button next to any system page to change the label that appears in your menu. Labels can be any language — Chinese, Japanese, Cyrillic, emoji — they all work:
- "Submission" → "提交"
- "Program" → "プログラム"
- "Registration" → "Регистрация"
The page's URL never changes. Renaming only updates the menu label visitors see.
 ### Creating Custom Pages
1. Click **"Add New Page"** in the Page Editor
2. The new page appears in your page list
### Creating Custom Pages
1. Click **"Add New Page"** in the Page Editor
2. The new page appears in your page list
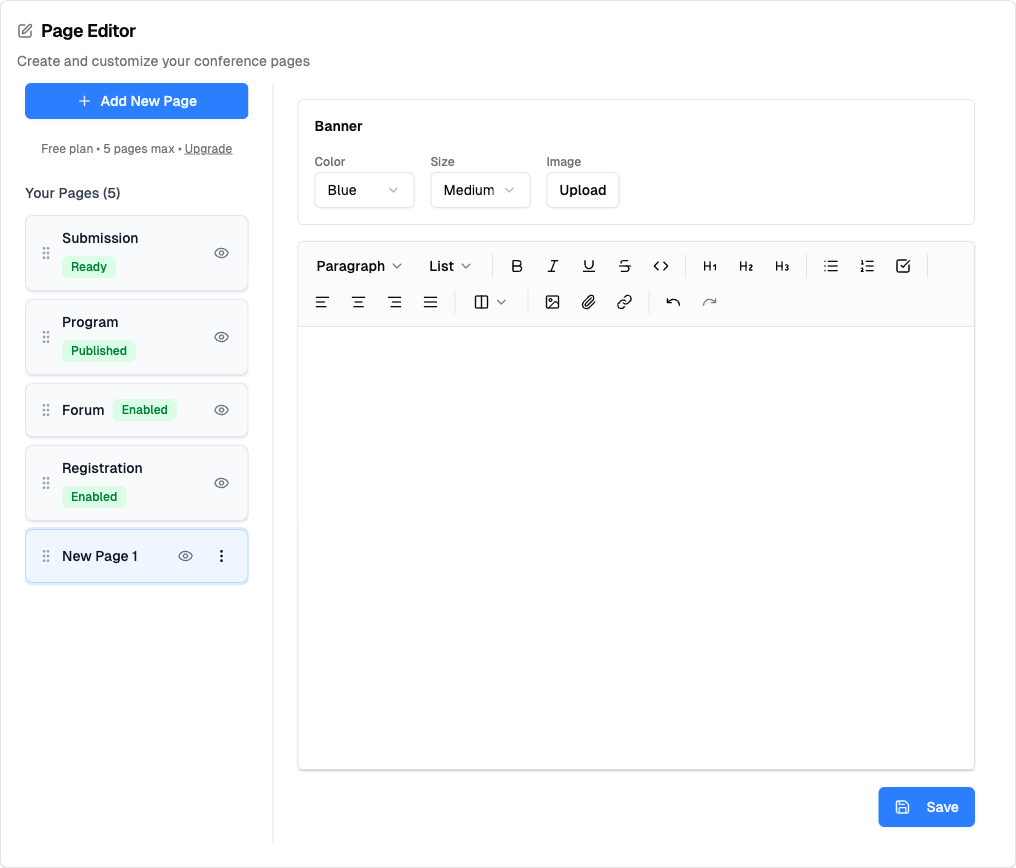 3. Configure page-specific banner settings (Color, Size, Image)
4. Use the rich text editor to add content
5. Click **"Save"** to save your changes
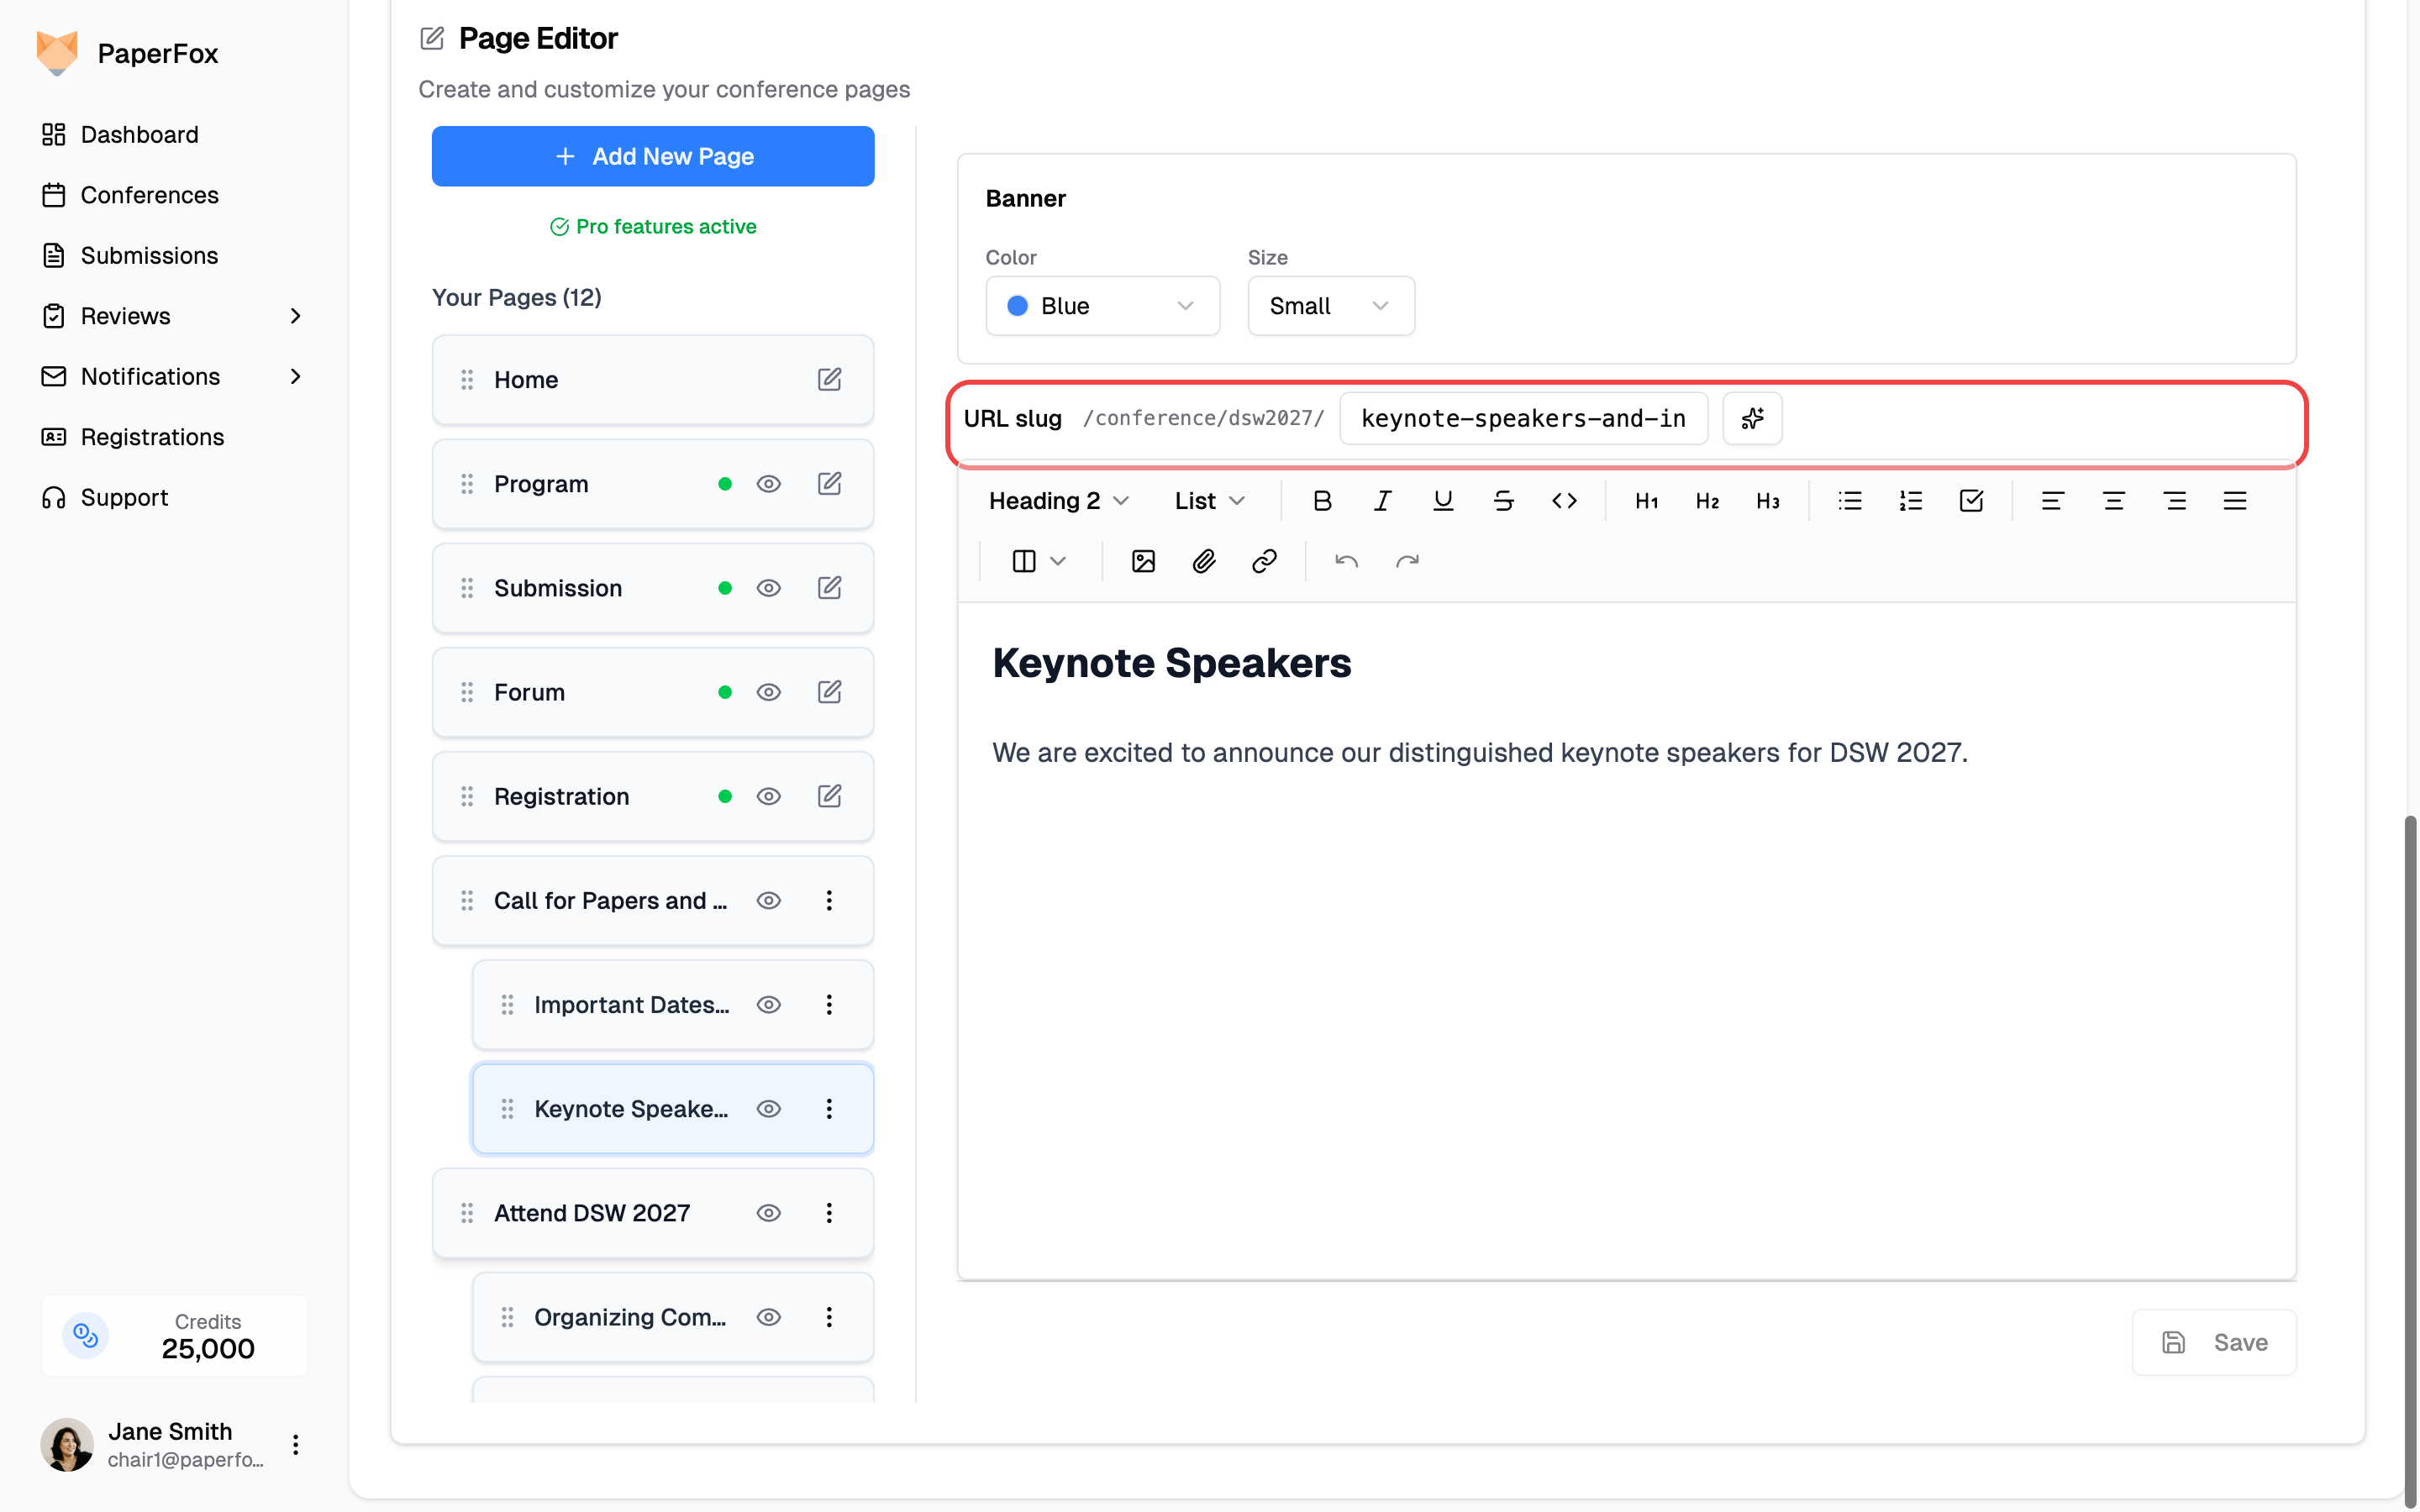
#### Editing the URL slug
Above the rich text editor, custom pages have a **URL slug** field that controls the page's web address (e.g. `/conference/dsw2027/agenda`). Slugs must be lowercase ASCII — letters, numbers, and hyphens only. Edit the field and click outside to save.
If you renamed the page label to a non-English language, click the ✨ button next to the slug field and PaperFox will translate the label into a clean English slug ("议程" → `agenda`, "プログラム" → `program`). You can edit the suggestion before it commits.
3. Configure page-specific banner settings (Color, Size, Image)
4. Use the rich text editor to add content
5. Click **"Save"** to save your changes
#### Editing the URL slug
Above the rich text editor, custom pages have a **URL slug** field that controls the page's web address (e.g. `/conference/dsw2027/agenda`). Slugs must be lowercase ASCII — letters, numbers, and hyphens only. Edit the field and click outside to save.
If you renamed the page label to a non-English language, click the ✨ button next to the slug field and PaperFox will translate the label into a clean English slug ("议程" → `agenda`, "プログラム" → `program`). You can edit the suggestion before it commits.
 ### Rich Content Editor
The built-in editor supports:
**Text Formatting:**
- Headers (H1–H3)
- Bold, italic, underline, strikethrough
- Bullet points, numbered lists, and checklists
- Text alignment (left, center, right, justify)
- Code blocks
**Media Integration:**
- **Images:** Upload and resize images
- **Links:** Add links to external websites and resources
- **File Attachments:** Upload PDFs, documents, and other files
### Page Organization
- **Drag and drop** pages to reorder navigation
- **Create submenus** by dragging pages below other pages
- **Maximum 5 main pages** and 5 submenu items per section
### Rich Content Editor
The built-in editor supports:
**Text Formatting:**
- Headers (H1–H3)
- Bold, italic, underline, strikethrough
- Bullet points, numbered lists, and checklists
- Text alignment (left, center, right, justify)
- Code blocks
**Media Integration:**
- **Images:** Upload and resize images
- **Links:** Add links to external websites and resources
- **File Attachments:** Upload PDFs, documents, and other files
### Page Organization
- **Drag and drop** pages to reorder navigation
- **Create submenus** by dragging pages below other pages
- **Maximum 5 main pages** and 5 submenu items per section
 ### Page Visibility
Control which pages appear in your navigation by clicking the visibility toggle (eye icon) on any page.
- **Your own pages** are taken off the site entirely — they leave the menu, and anyone who opens the address sees a "not available" notice.
- **Built-in pages** (Submission, Program, Forum, Registration, Registrants) only leave the menu. Their addresses keep working, so a link you already shared still opens.
**Home cannot be hidden** — it's the conference's landing page and always appears first in navigation.
### Draft Pages
To work on one of your own pages before anyone sees it, open the **⋮** menu on that page and click **"Unpublish"**. The page keeps a **Draft** badge in the editor, and visitors get a "not available" notice instead of the content. Click **"Publish"** on the same menu to make it live.
Built-in pages don't use drafts — each one is controlled by its own feature setting instead.
## Preview Your Changes
You can always preview your website by clicking **"View Public Page"** in the top right to see how your changes will look to visitors.
### Page Visibility
Control which pages appear in your navigation by clicking the visibility toggle (eye icon) on any page.
- **Your own pages** are taken off the site entirely — they leave the menu, and anyone who opens the address sees a "not available" notice.
- **Built-in pages** (Submission, Program, Forum, Registration, Registrants) only leave the menu. Their addresses keep working, so a link you already shared still opens.
**Home cannot be hidden** — it's the conference's landing page and always appears first in navigation.
### Draft Pages
To work on one of your own pages before anyone sees it, open the **⋮** menu on that page and click **"Unpublish"**. The page keeps a **Draft** badge in the editor, and visitors get a "not available" notice instead of the content. Click **"Publish"** on the same menu to make it live.
Built-in pages don't use drafts — each one is controlled by its own feature setting instead.
## Preview Your Changes
You can always preview your website by clicking **"View Public Page"** in the top right to see how your changes will look to visitors.
 ---
## Use a Custom Domain
By default your conference website lives at `paperfox.ai/conference/your-slug`. The **Custom Domain** add-on serves the same site from an address you own — for example `2027.yourconference.org` — so links, posters, and call-for-papers emails all point at your own brand.
Custom Domain is a one-time **$30** purchase per conference, paid by card with a hosted invoice for expensing.
### Before You Start
- You must be a **conference chair** for the conference.
- You must already own the domain, and be able to **add DNS records** at whoever manages it — your registrar (Namecheap, GoDaddy, Cloudflare) or your university IT department.
- Decide which address you want:
- A **subdomain** like `2027.yourconference.org` — recommended, and the easiest to set up.
- An **apex domain** like `yourconference.org` — works too, but uses a different DNS record type.
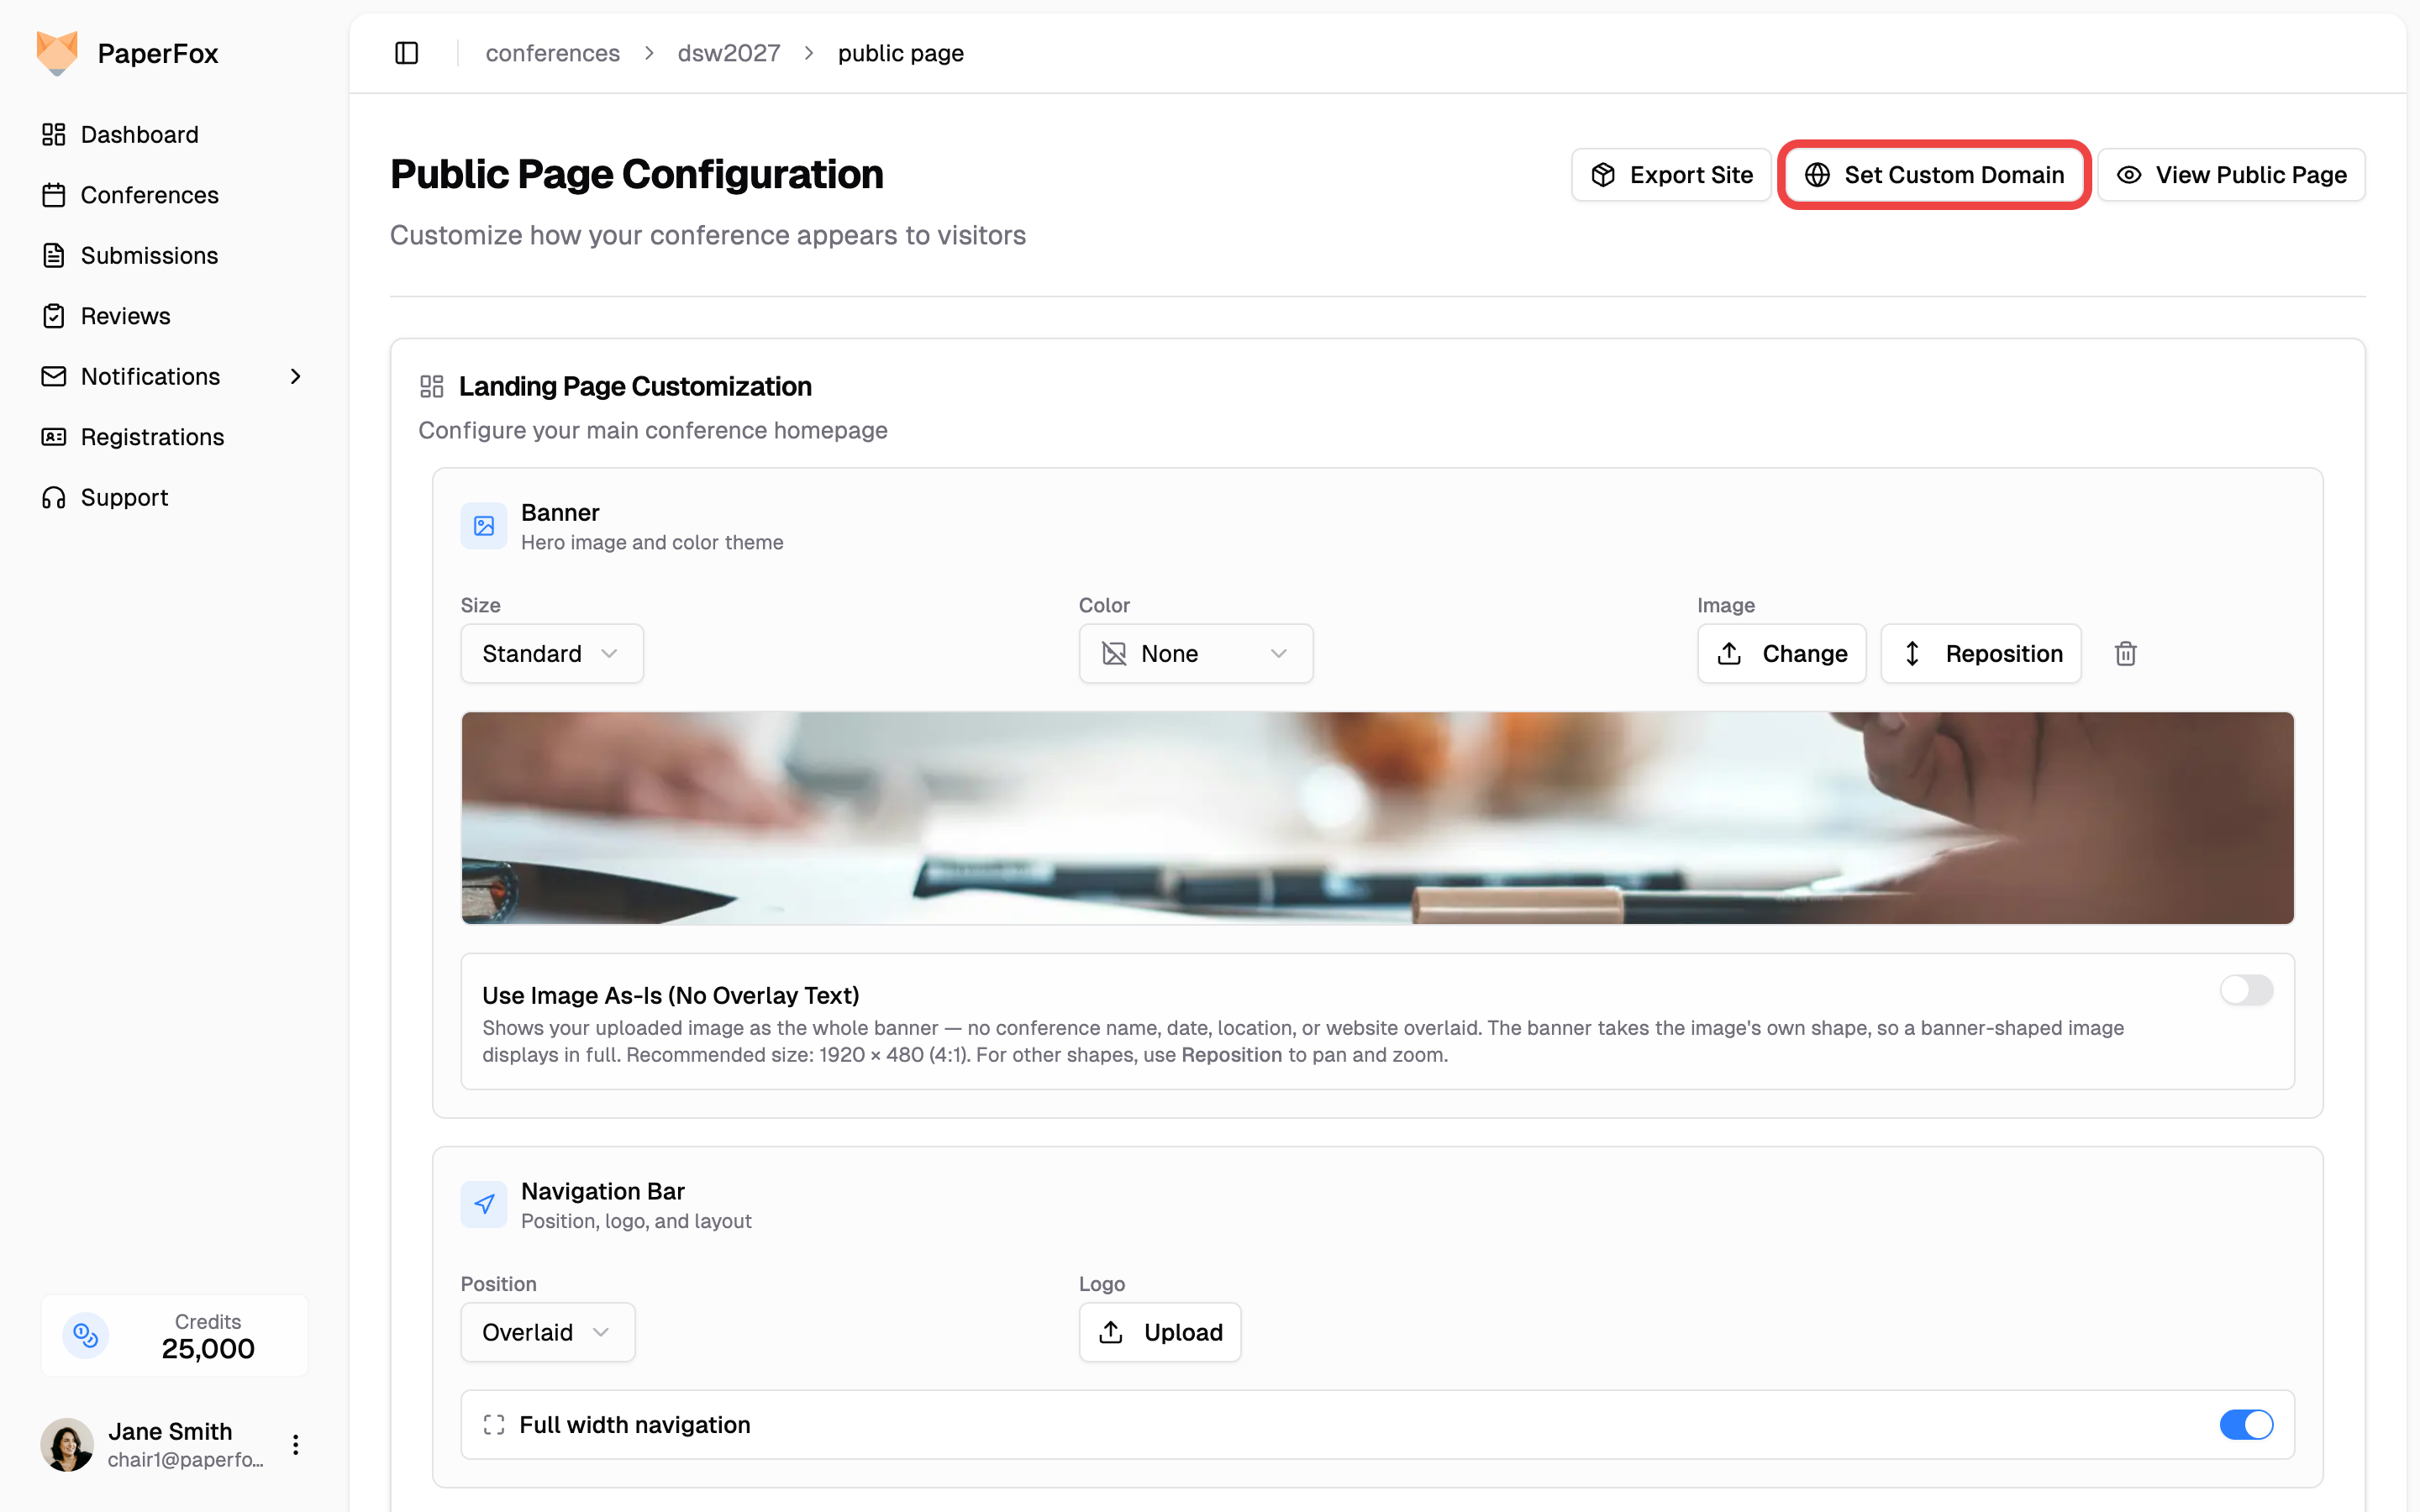
### Step 1: Open the Custom Domain Page
1. Go to **Conferences** in the sidebar, then click on your conference
2. Click **"Public Page Configuration"** in the Conference Management section
3. Click **"Set Custom Domain"** in the top-right actions bar
---
## Use a Custom Domain
By default your conference website lives at `paperfox.ai/conference/your-slug`. The **Custom Domain** add-on serves the same site from an address you own — for example `2027.yourconference.org` — so links, posters, and call-for-papers emails all point at your own brand.
Custom Domain is a one-time **$30** purchase per conference, paid by card with a hosted invoice for expensing.
### Before You Start
- You must be a **conference chair** for the conference.
- You must already own the domain, and be able to **add DNS records** at whoever manages it — your registrar (Namecheap, GoDaddy, Cloudflare) or your university IT department.
- Decide which address you want:
- A **subdomain** like `2027.yourconference.org` — recommended, and the easiest to set up.
- An **apex domain** like `yourconference.org` — works too, but uses a different DNS record type.
### Step 1: Open the Custom Domain Page
1. Go to **Conferences** in the sidebar, then click on your conference
2. Click **"Public Page Configuration"** in the Conference Management section
3. Click **"Set Custom Domain"** in the top-right actions bar
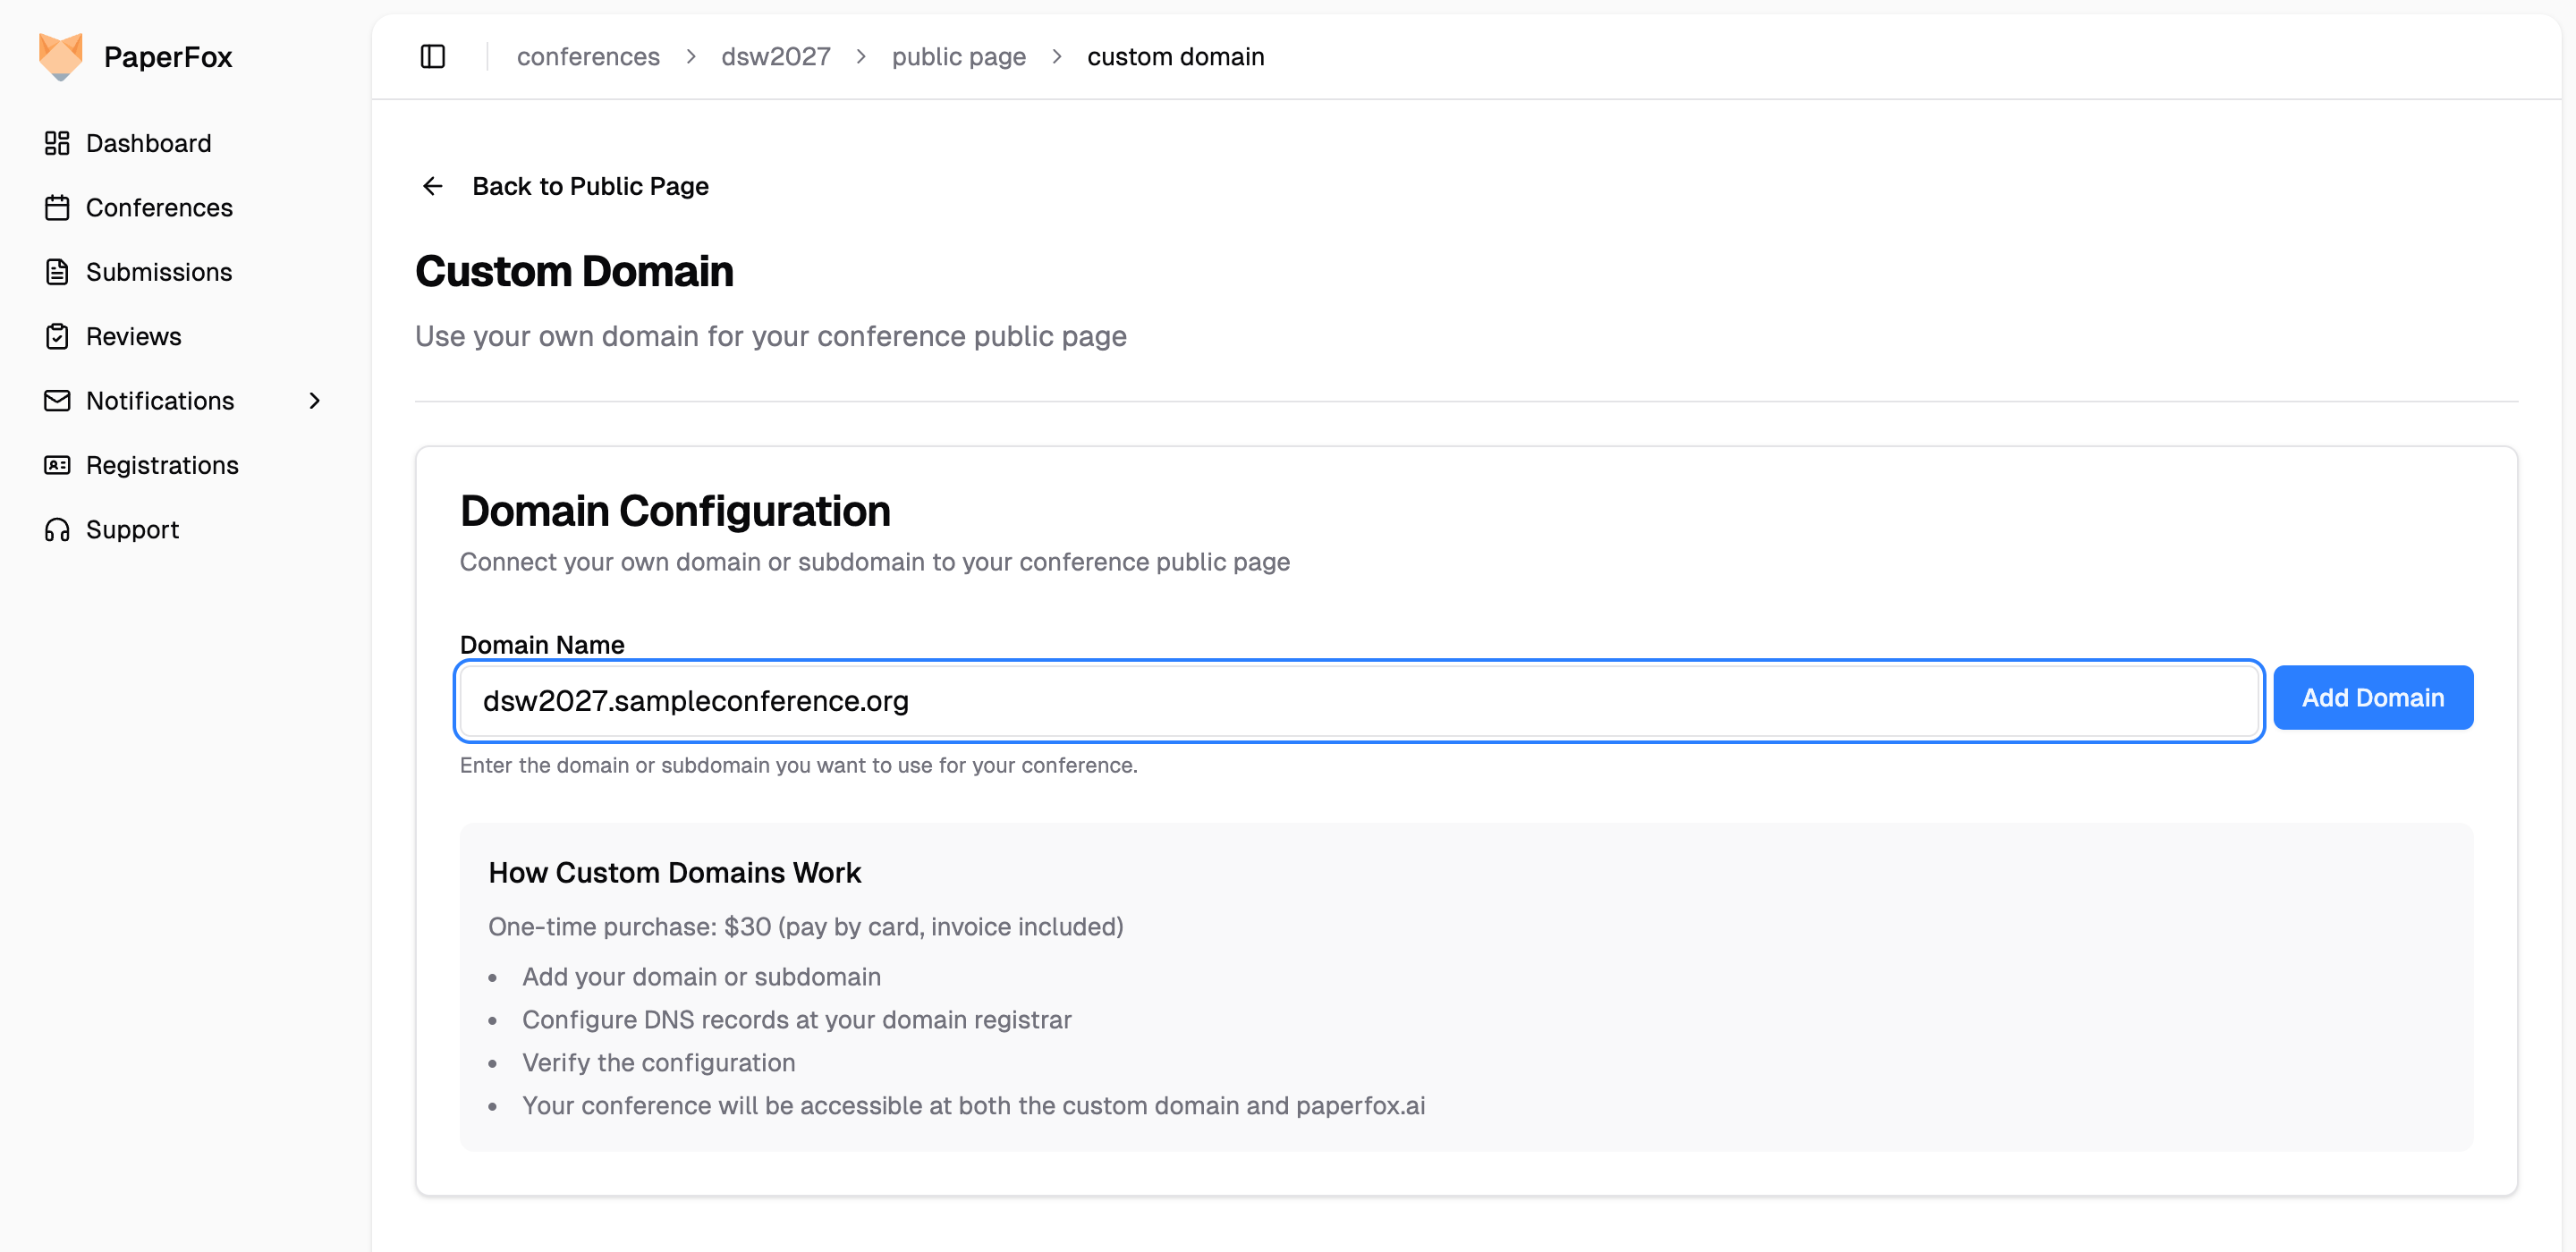
 ### Step 2: Add Your Domain
1. Type the address you want to use in the **Domain Name** field — enter it without `https://`, for example `2027.yourconference.org`
2. Click **"Add Domain"**
### Step 2: Add Your Domain
1. Type the address you want to use in the **Domain Name** field — enter it without `https://`, for example `2027.yourconference.org`
2. Click **"Add Domain"**
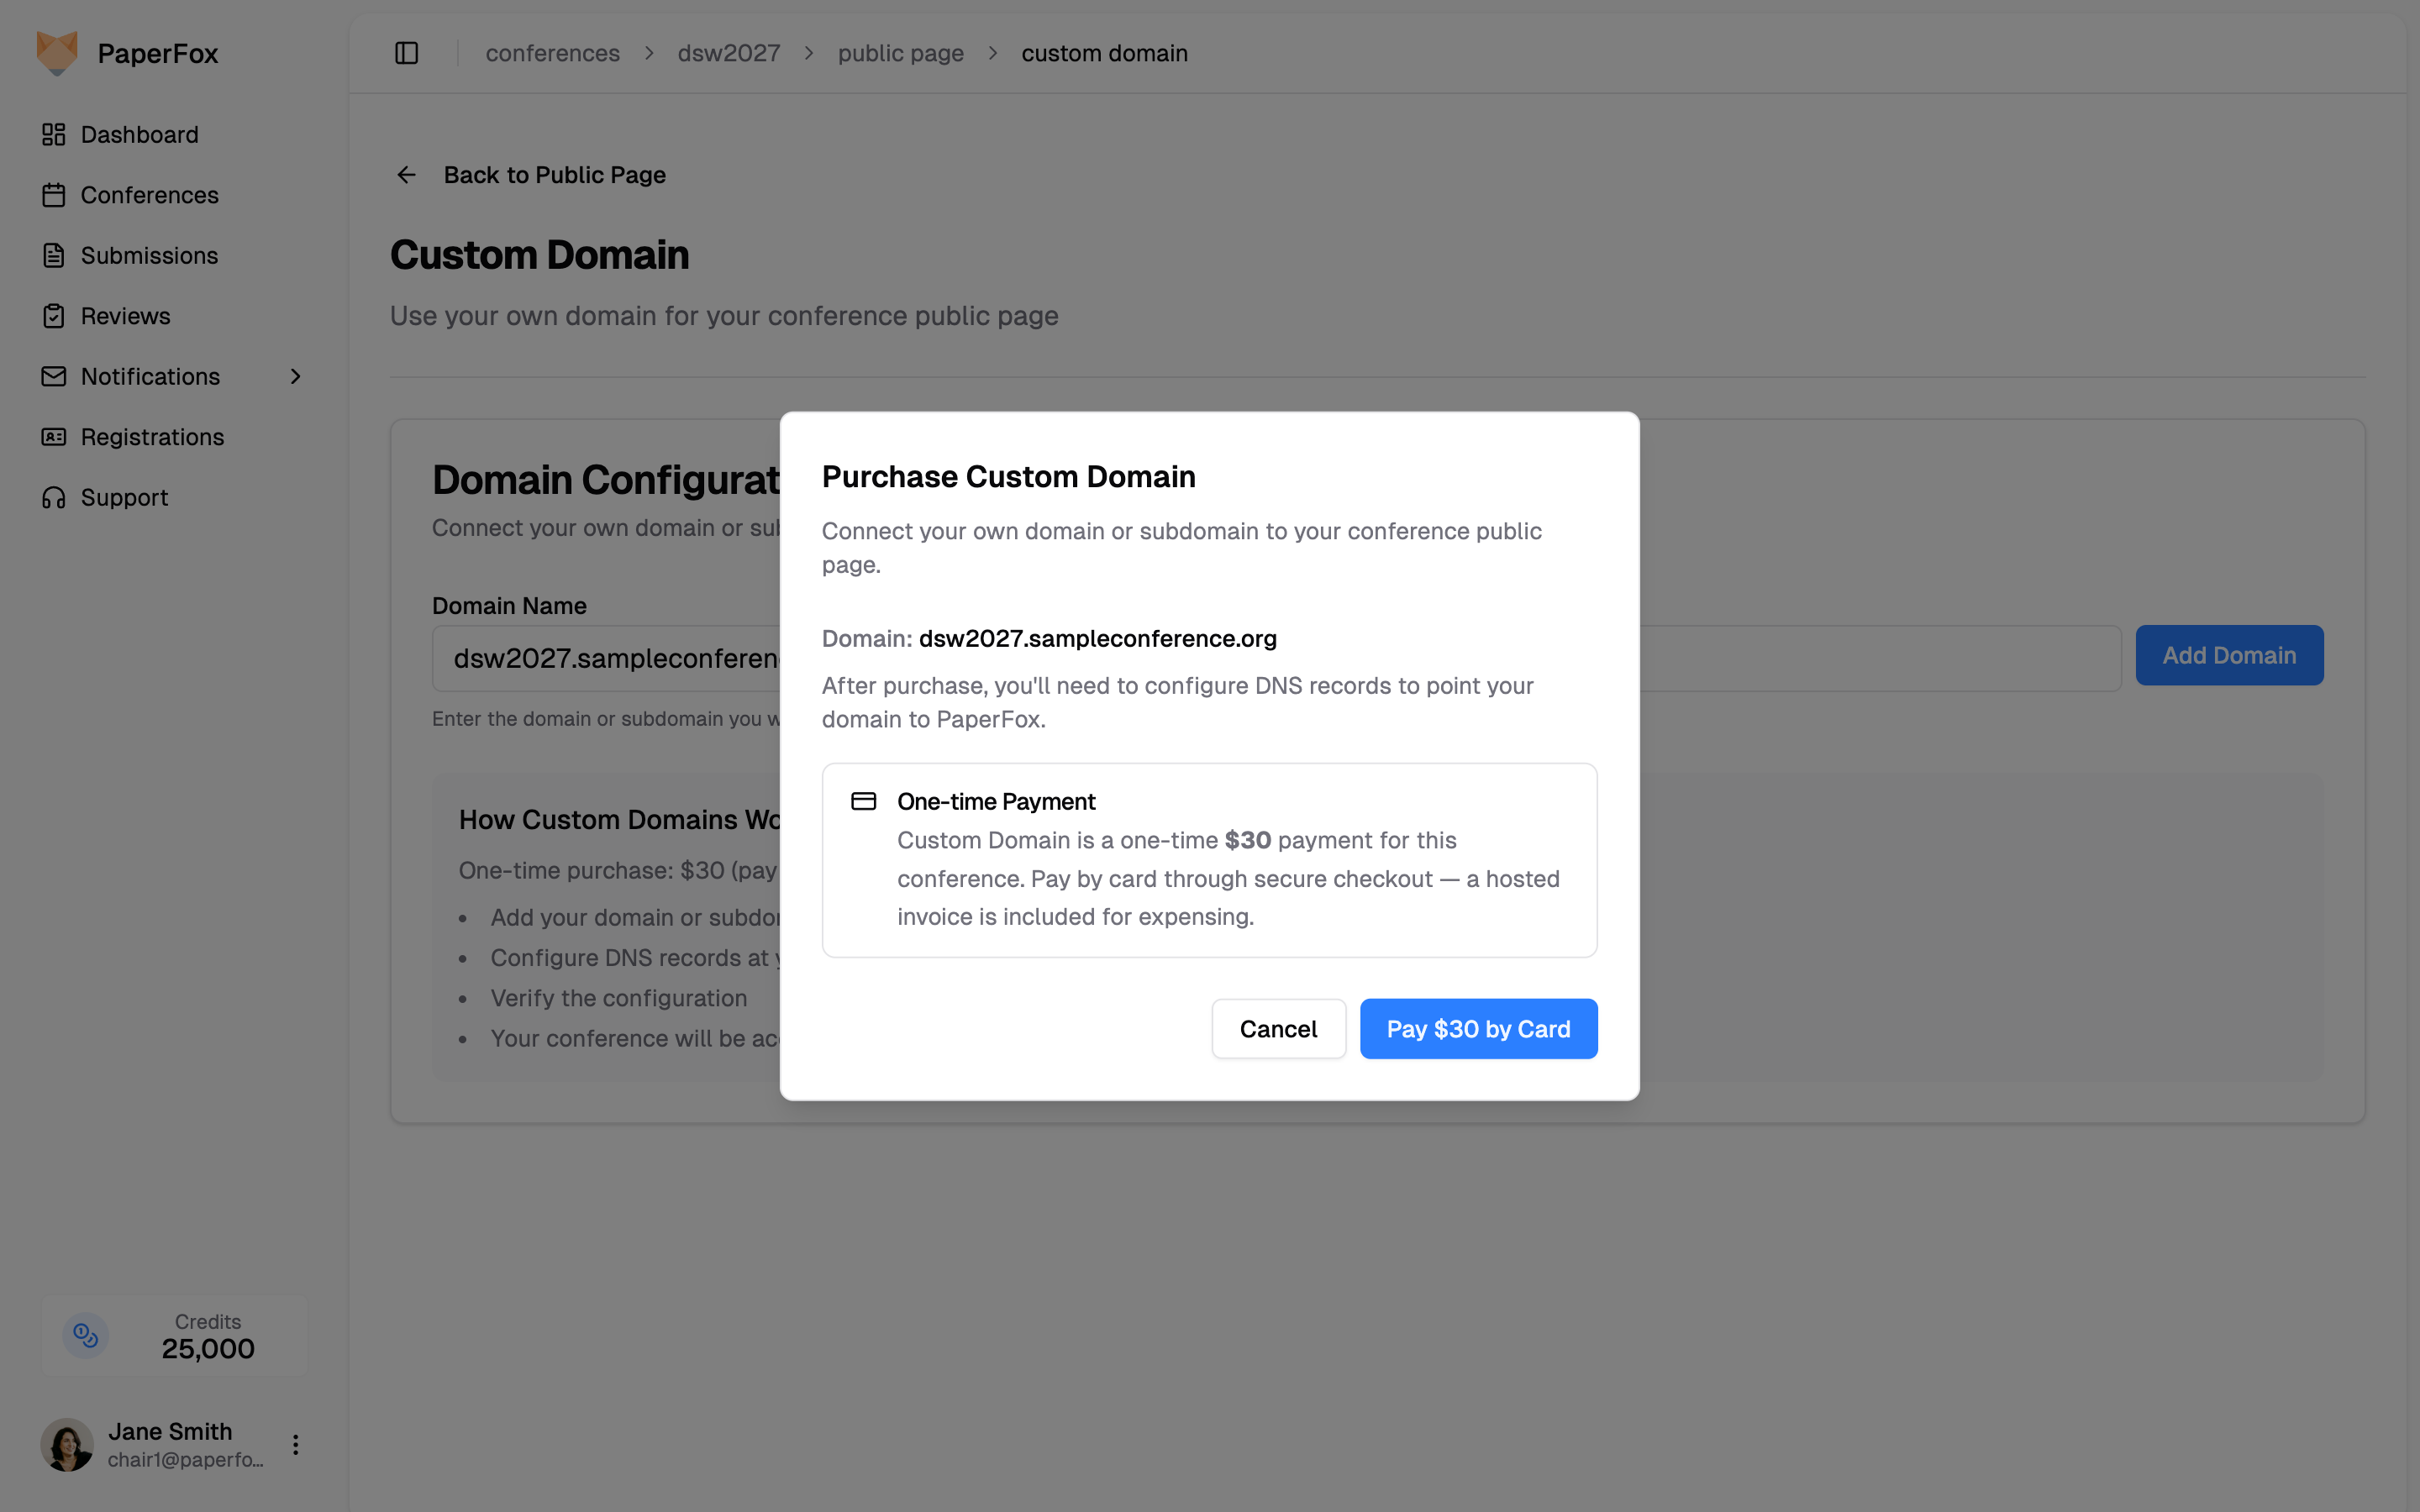
 The first time you do this, the **Purchase Custom Domain** dialog opens. Click **"Pay $30 by Card"** to go to secure Stripe checkout.
 After payment you return to this page and a green **Feature Purchased** badge appears in the header. **Enter your domain again and click "Add Domain"** — payment unlocks the feature, it doesn't save the domain for you.
### Step 3: Add the DNS Records
Once the domain is added, PaperFox shows exactly which DNS records to create. Each value has a copy button next to it.
After payment you return to this page and a green **Feature Purchased** badge appears in the header. **Enter your domain again and click "Add Domain"** — payment unlocks the feature, it doesn't save the domain for you.
### Step 3: Add the DNS Records
Once the domain is added, PaperFox shows exactly which DNS records to create. Each value has a copy button next to it.
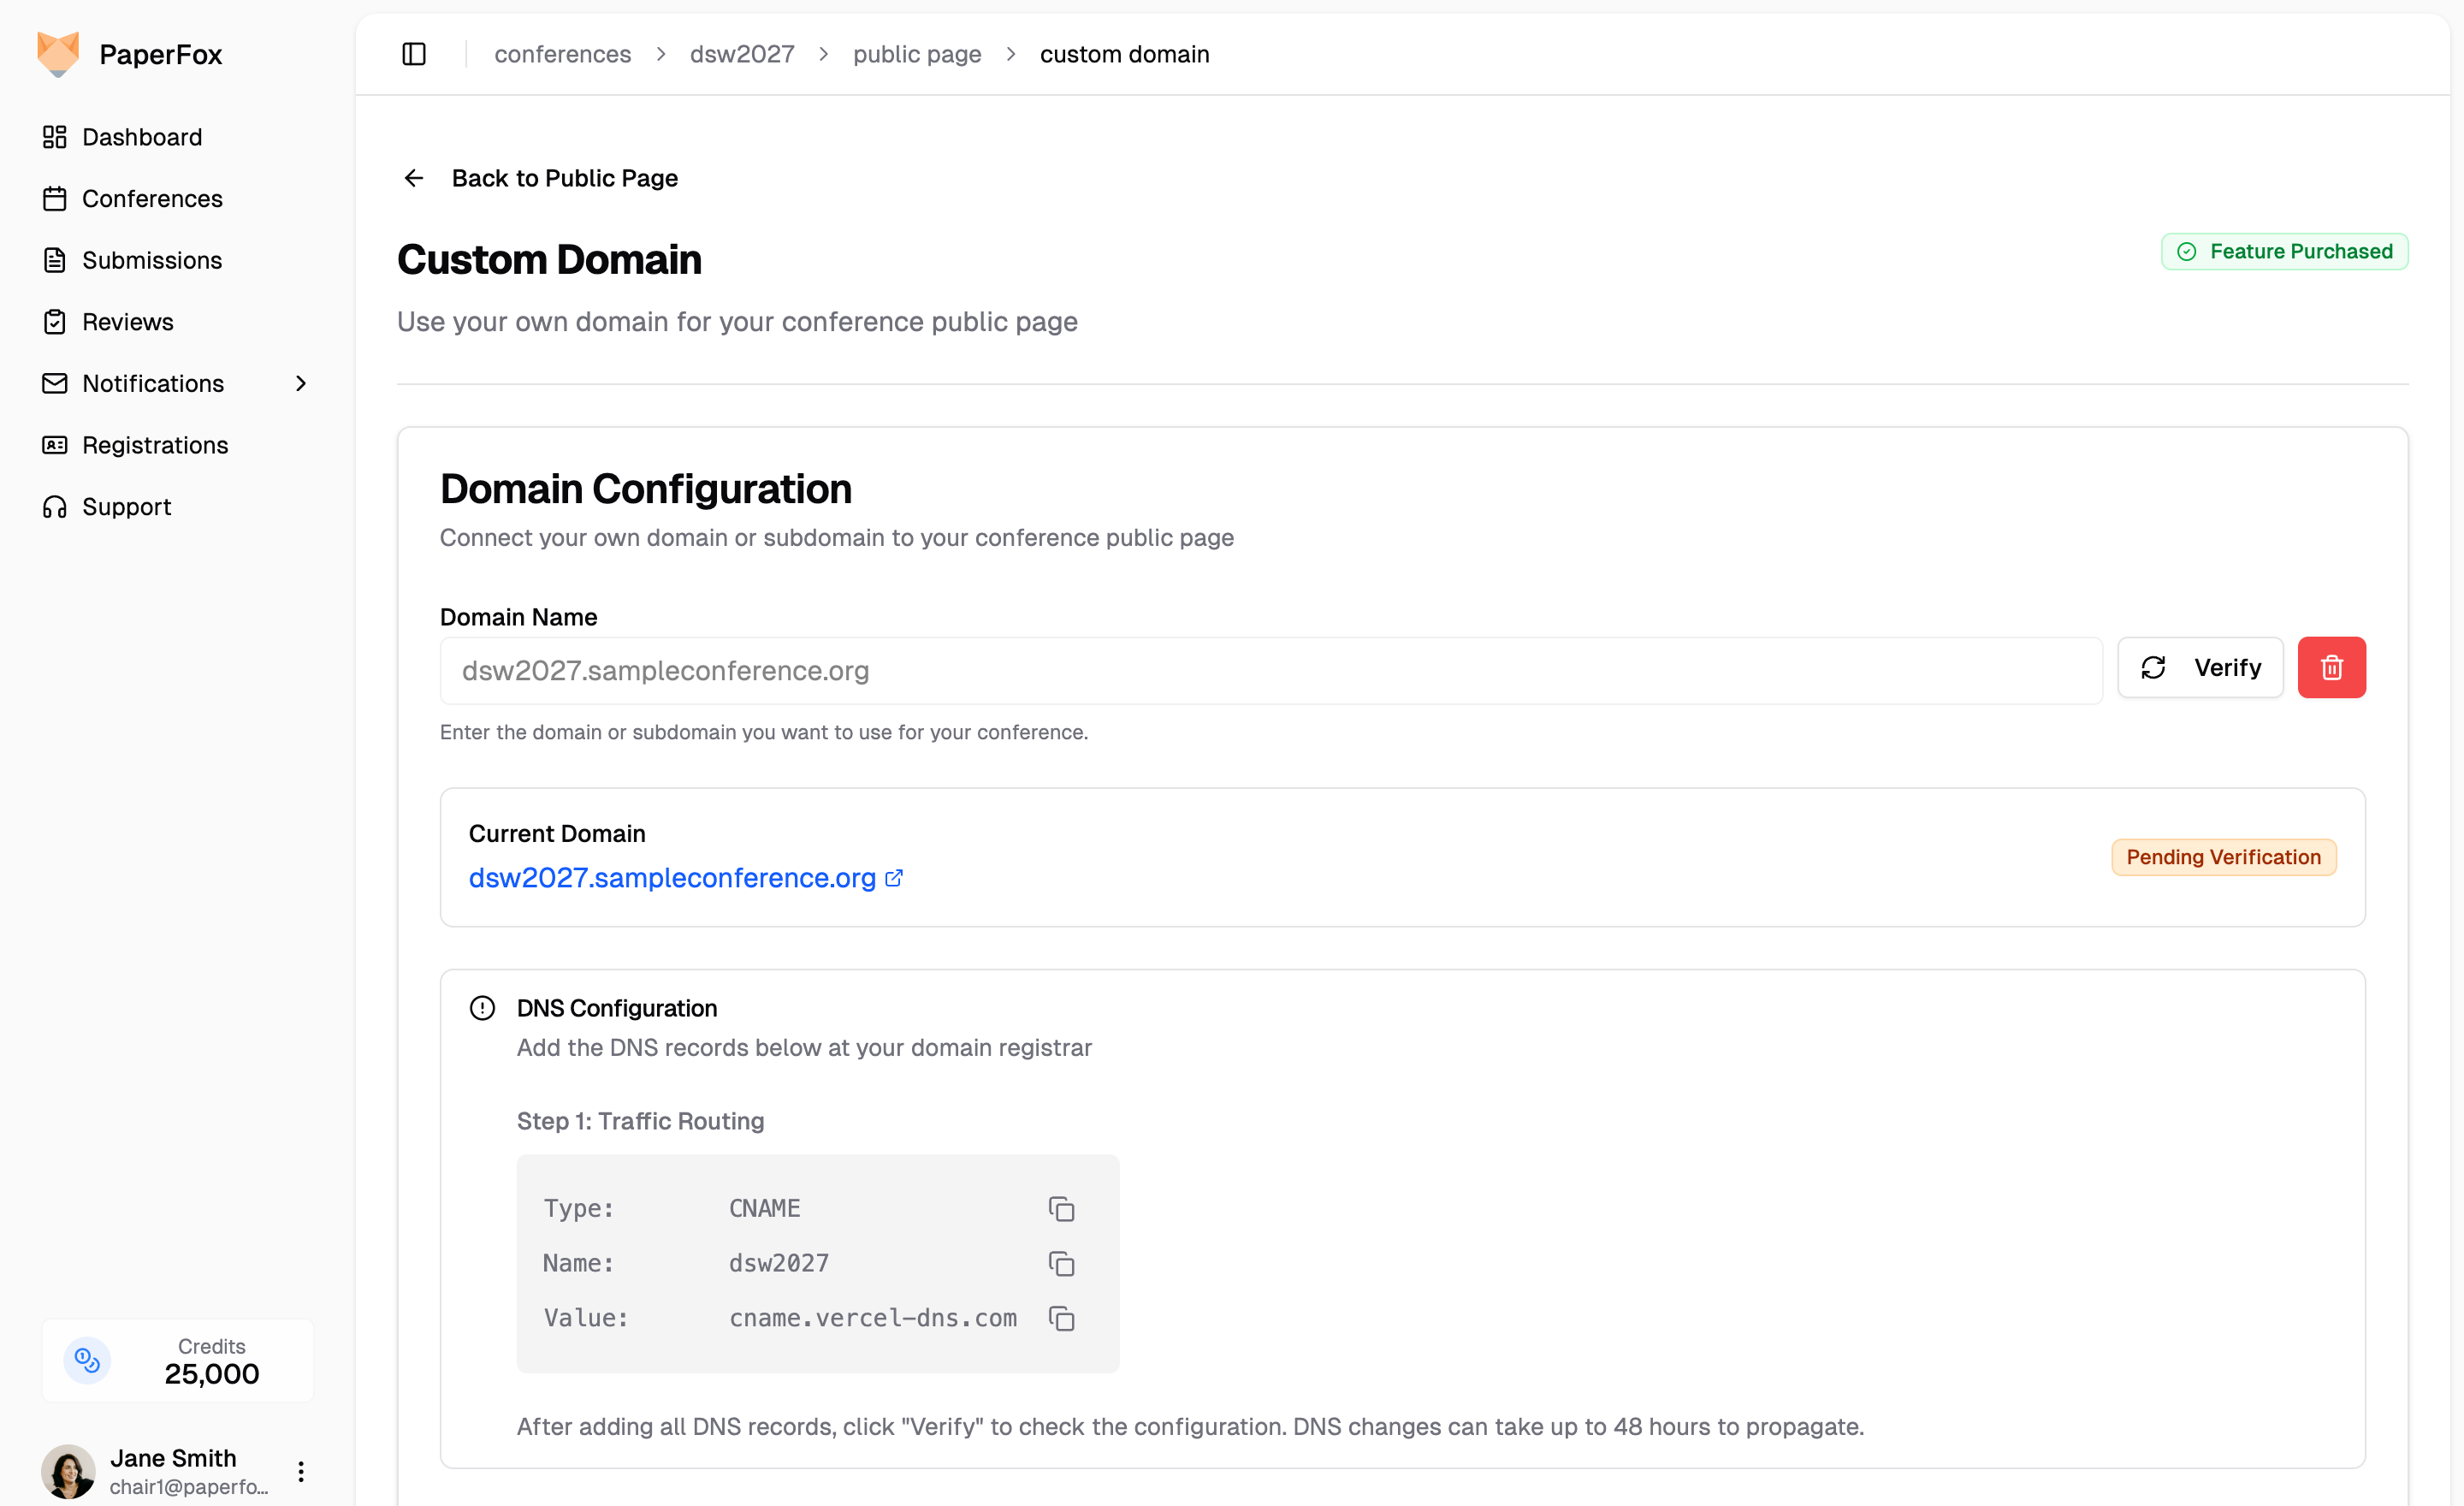 The record you get depends on the kind of address you chose:
| Your domain | Type | Name | Value |
|---|---|---|---|
| Subdomain (`2027.yourconference.org`) | `CNAME` | the subdomain (`2027`) | `cname.vercel-dns.com` |
| Apex domain (`yourconference.org`) | `A` | `@` | `76.76.21.21` |
Add the record at your registrar exactly as shown. If a second record appears under **Step 2: Domain Verification**, add that `TXT` record too — it proves you control the domain, and verification will not pass without it.
The record you get depends on the kind of address you chose:
| Your domain | Type | Name | Value |
|---|---|---|---|
| Subdomain (`2027.yourconference.org`) | `CNAME` | the subdomain (`2027`) | `cname.vercel-dns.com` |
| Apex domain (`yourconference.org`) | `A` | `@` | `76.76.21.21` |
Add the record at your registrar exactly as shown. If a second record appears under **Step 2: Domain Verification**, add that `TXT` record too — it proves you control the domain, and verification will not pass without it.
 4. A zip file will download automatically (e.g., `dsw2027-static-site.zip`)
5. Unzip and open `index.html` in your browser to view the site
### Hosting Your Exported Site
#### GitHub Pages
1. Create a new GitHub repository
2. Upload all the exported files (HTML files + `assets/` folder)
3. Go to **Settings → Pages** and set the source to the main branch
4. Your site will be live at `https://username.github.io/repo-name`
#### Netlify / Other Static Hosts
Simply drag and drop the unzipped folder into Netlify's deploy interface, or upload to any static file hosting service.
4. A zip file will download automatically (e.g., `dsw2027-static-site.zip`)
5. Unzip and open `index.html` in your browser to view the site
### Hosting Your Exported Site
#### GitHub Pages
1. Create a new GitHub repository
2. Upload all the exported files (HTML files + `assets/` folder)
3. Go to **Settings → Pages** and set the source to the main branch
4. Your site will be live at `https://username.github.io/repo-name`
#### Netlify / Other Static Hosts
Simply drag and drop the unzipped folder into Netlify's deploy interface, or upload to any static file hosting service.
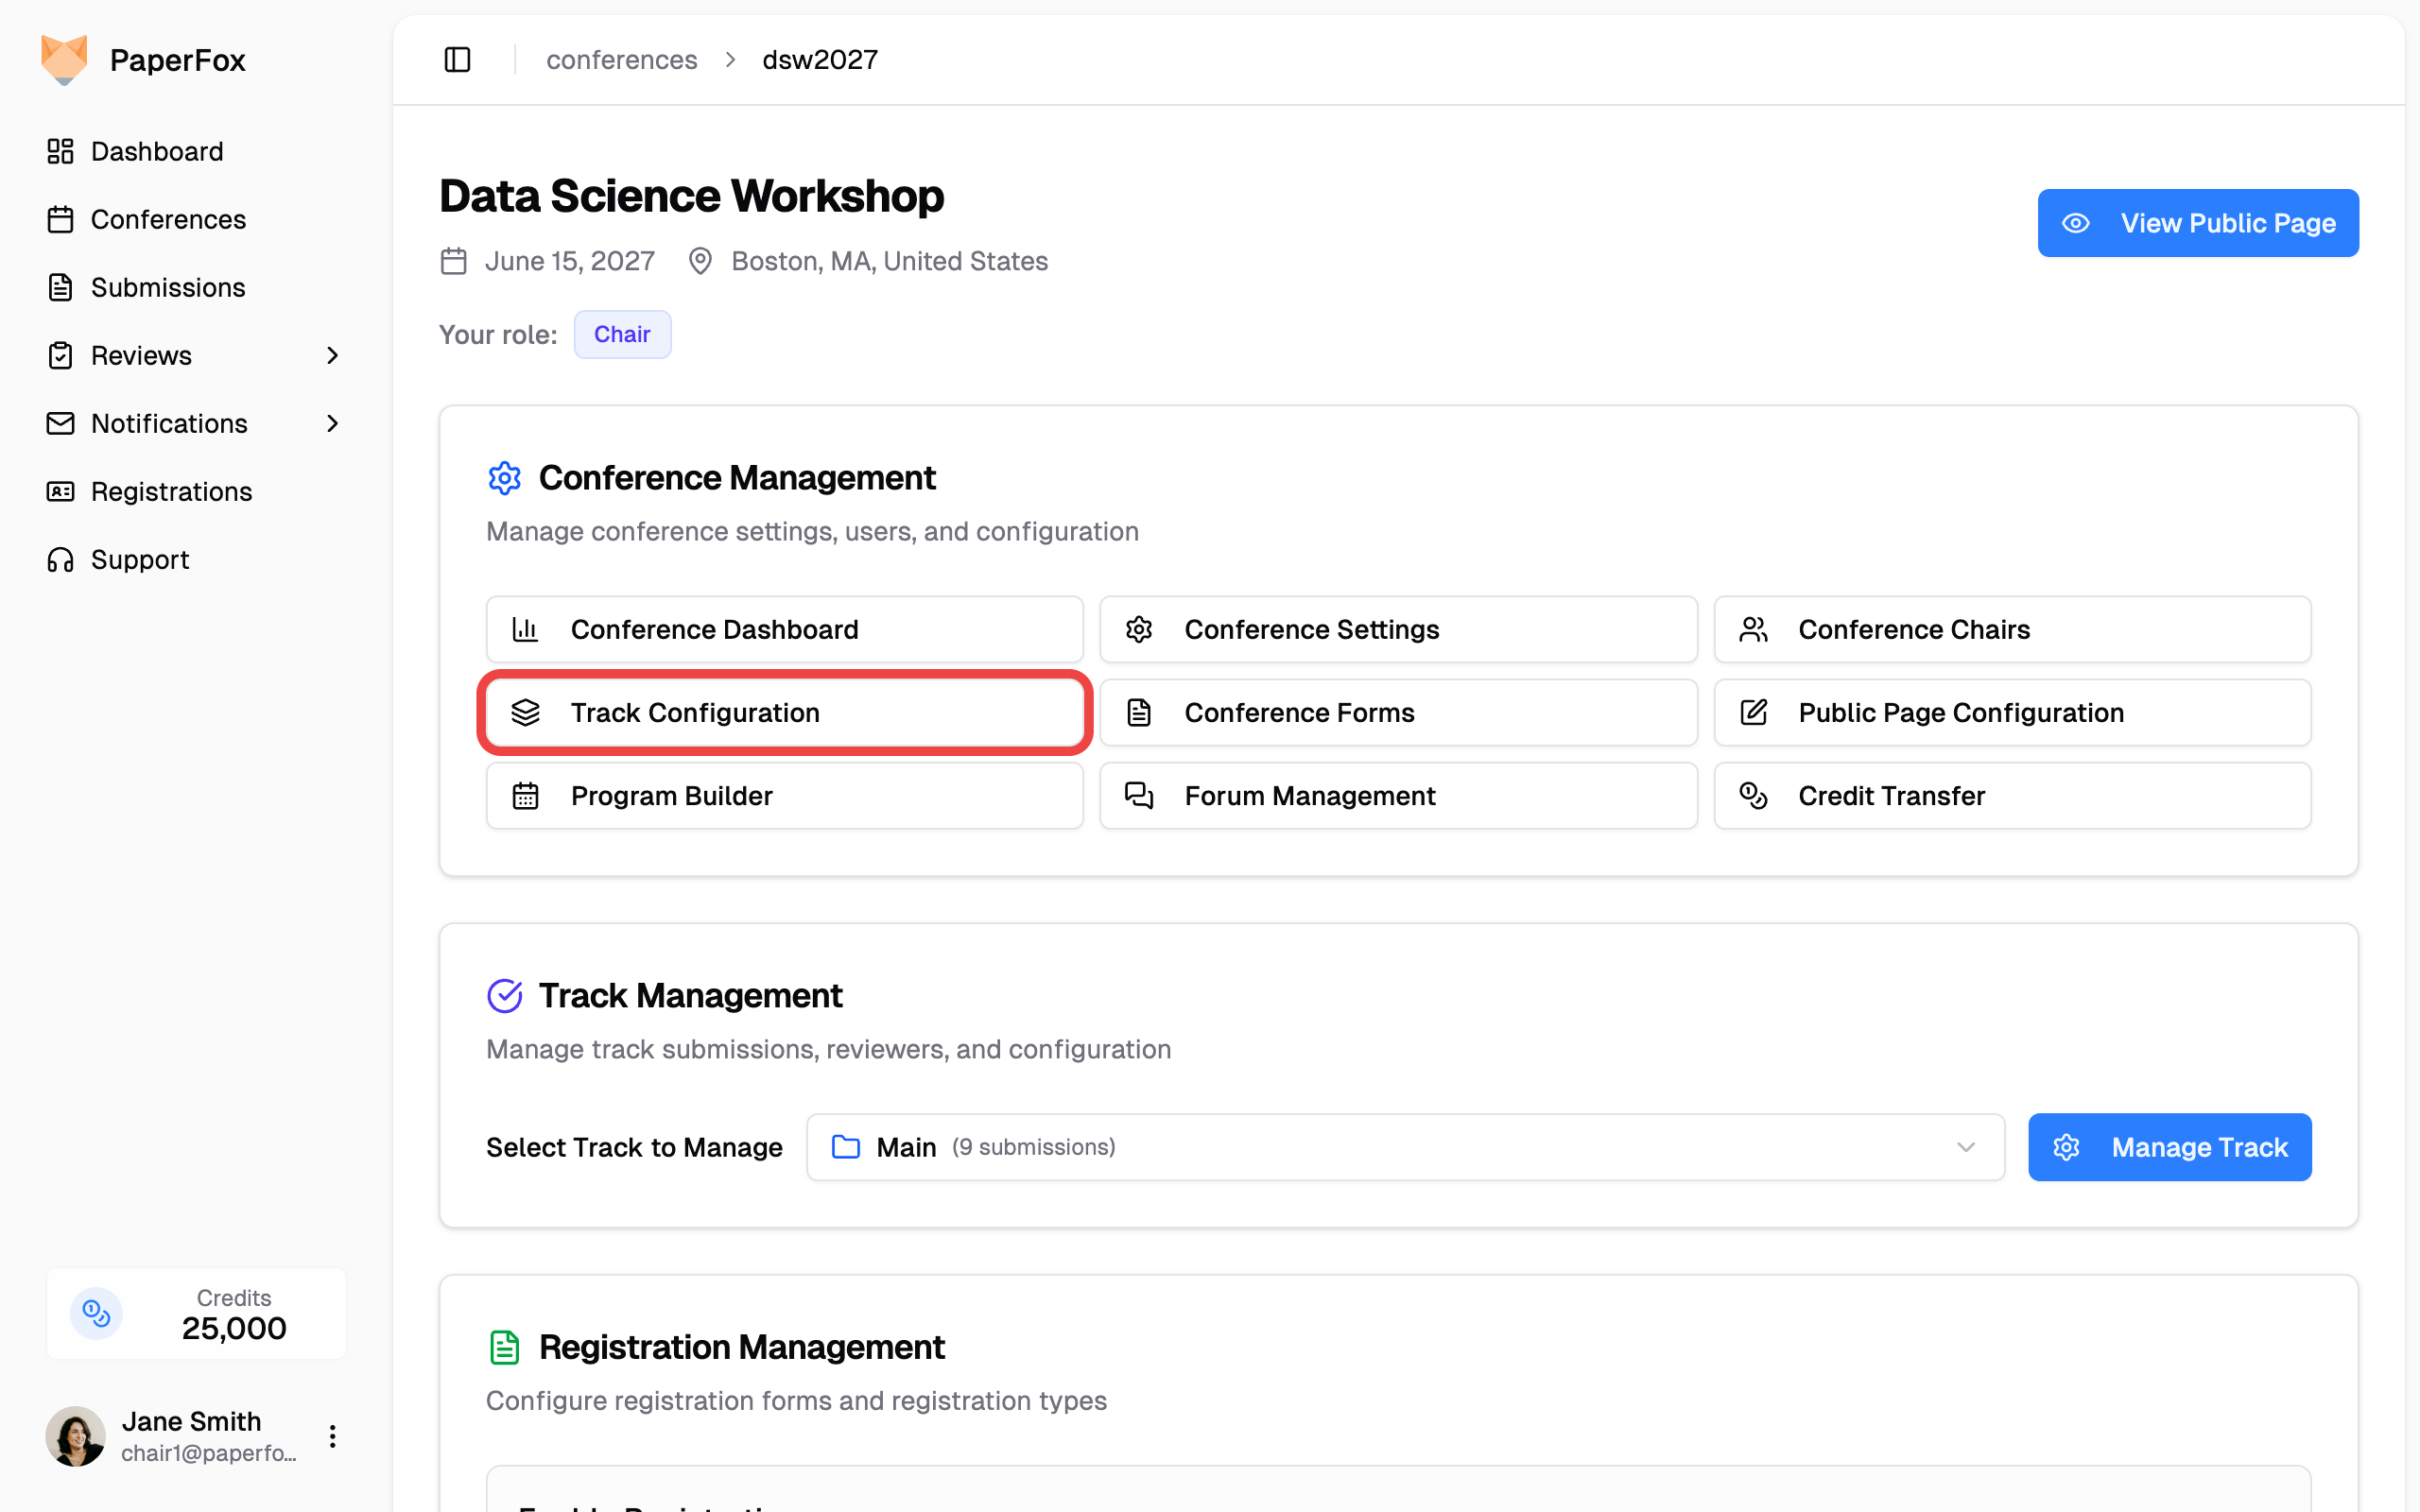
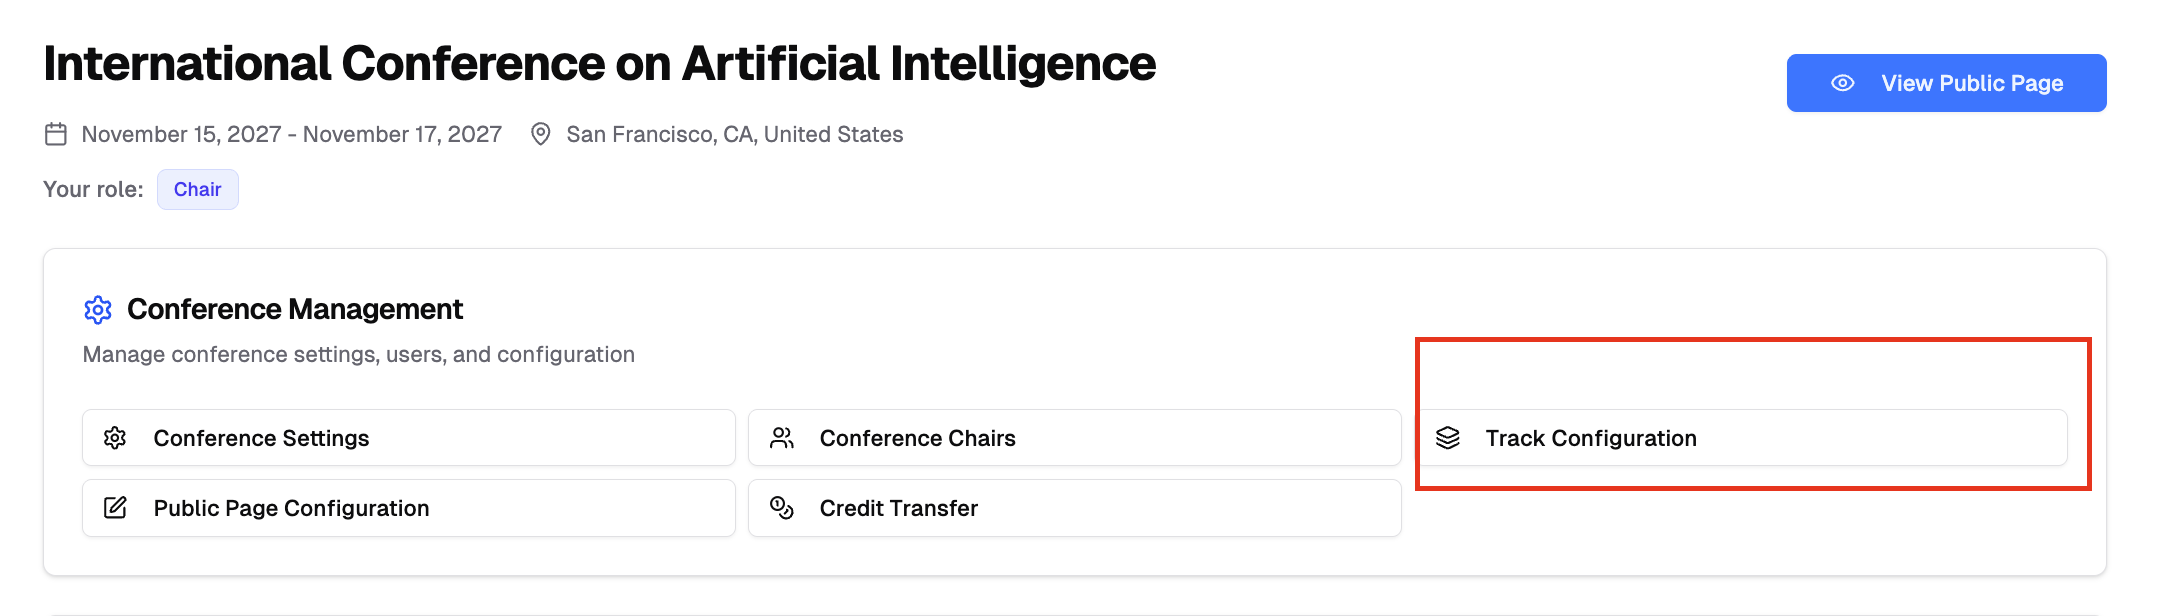 ## Creating Conference Tracks
**Create New Track:**
- Click **"Create Track"** from the Track Configuration page
- Fill in required track information
- Configure track settings and deadlines
- Save to create the track
## Creating Conference Tracks
**Create New Track:**
- Click **"Create Track"** from the Track Configuration page
- Fill in required track information
- Configure track settings and deadlines
- Save to create the track
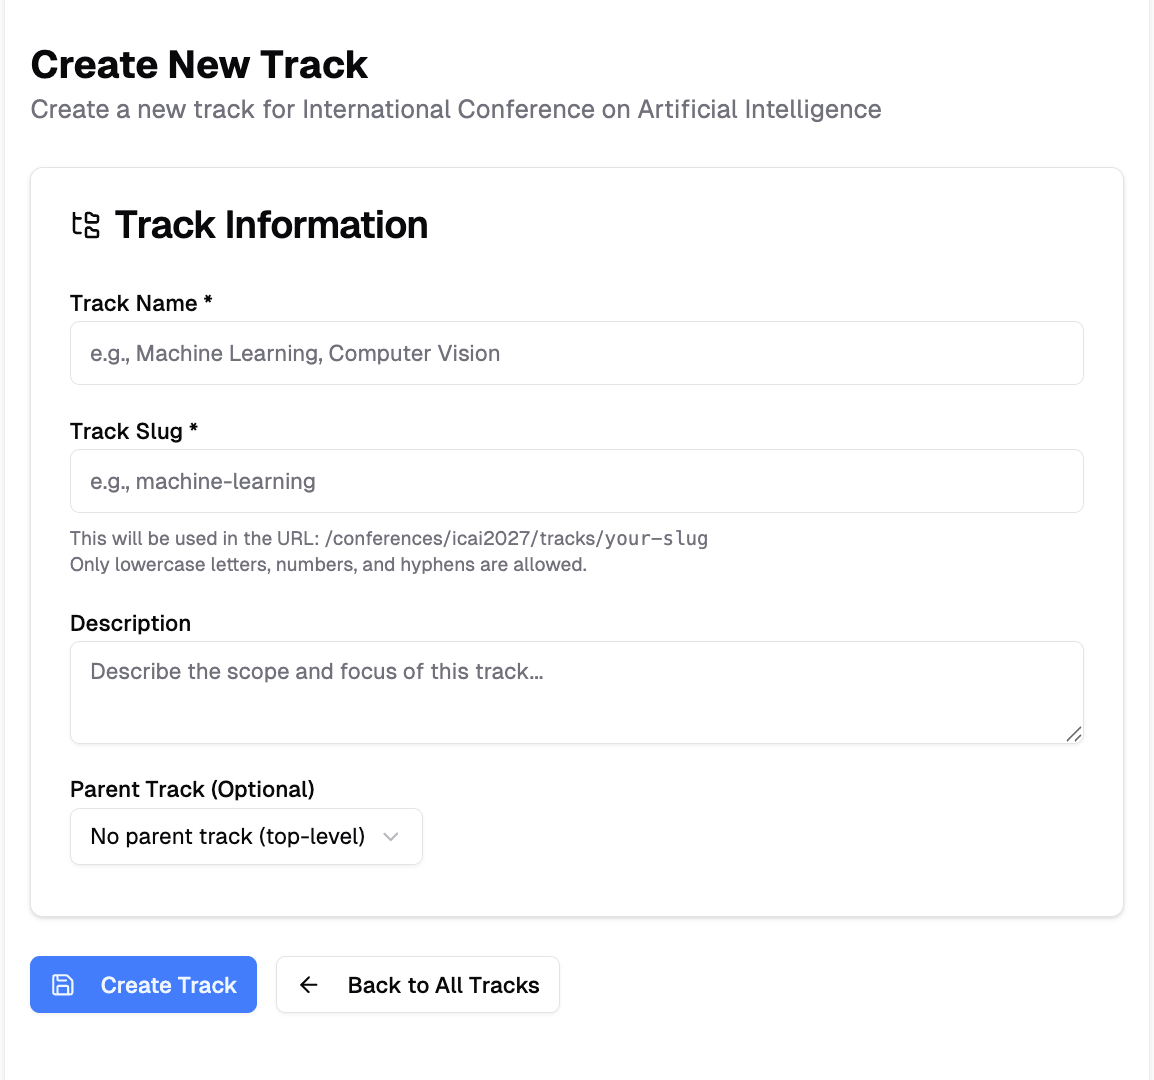 **Track Information Required:**
- **Track Name**: Clear, descriptive name (e.g., "Artificial Intelligence", "Data Science")
- **Track Slug**: URL-friendly identifier (e.g., "ai", "data-science")
- **Description**: Detailed track scope and objectives
- **Submission Deadlines**: Track-specific deadlines if different from conference
## Import Multiple Tracks at Once
If your conference has many tracks, create them all in one step instead of filling in the form for each one.
1. On the **Track Configuration** page, click **"Import Tracks"**
2. Paste your track names into the **Paste List** tab — one track per line. To give a track a description, add it after a comma.
**Track Information Required:**
- **Track Name**: Clear, descriptive name (e.g., "Artificial Intelligence", "Data Science")
- **Track Slug**: URL-friendly identifier (e.g., "ai", "data-science")
- **Description**: Detailed track scope and objectives
- **Submission Deadlines**: Track-specific deadlines if different from conference
## Import Multiple Tracks at Once
If your conference has many tracks, create them all in one step instead of filling in the form for each one.
1. On the **Track Configuration** page, click **"Import Tracks"**
2. Paste your track names into the **Paste List** tab — one track per line. To give a track a description, add it after a comma.
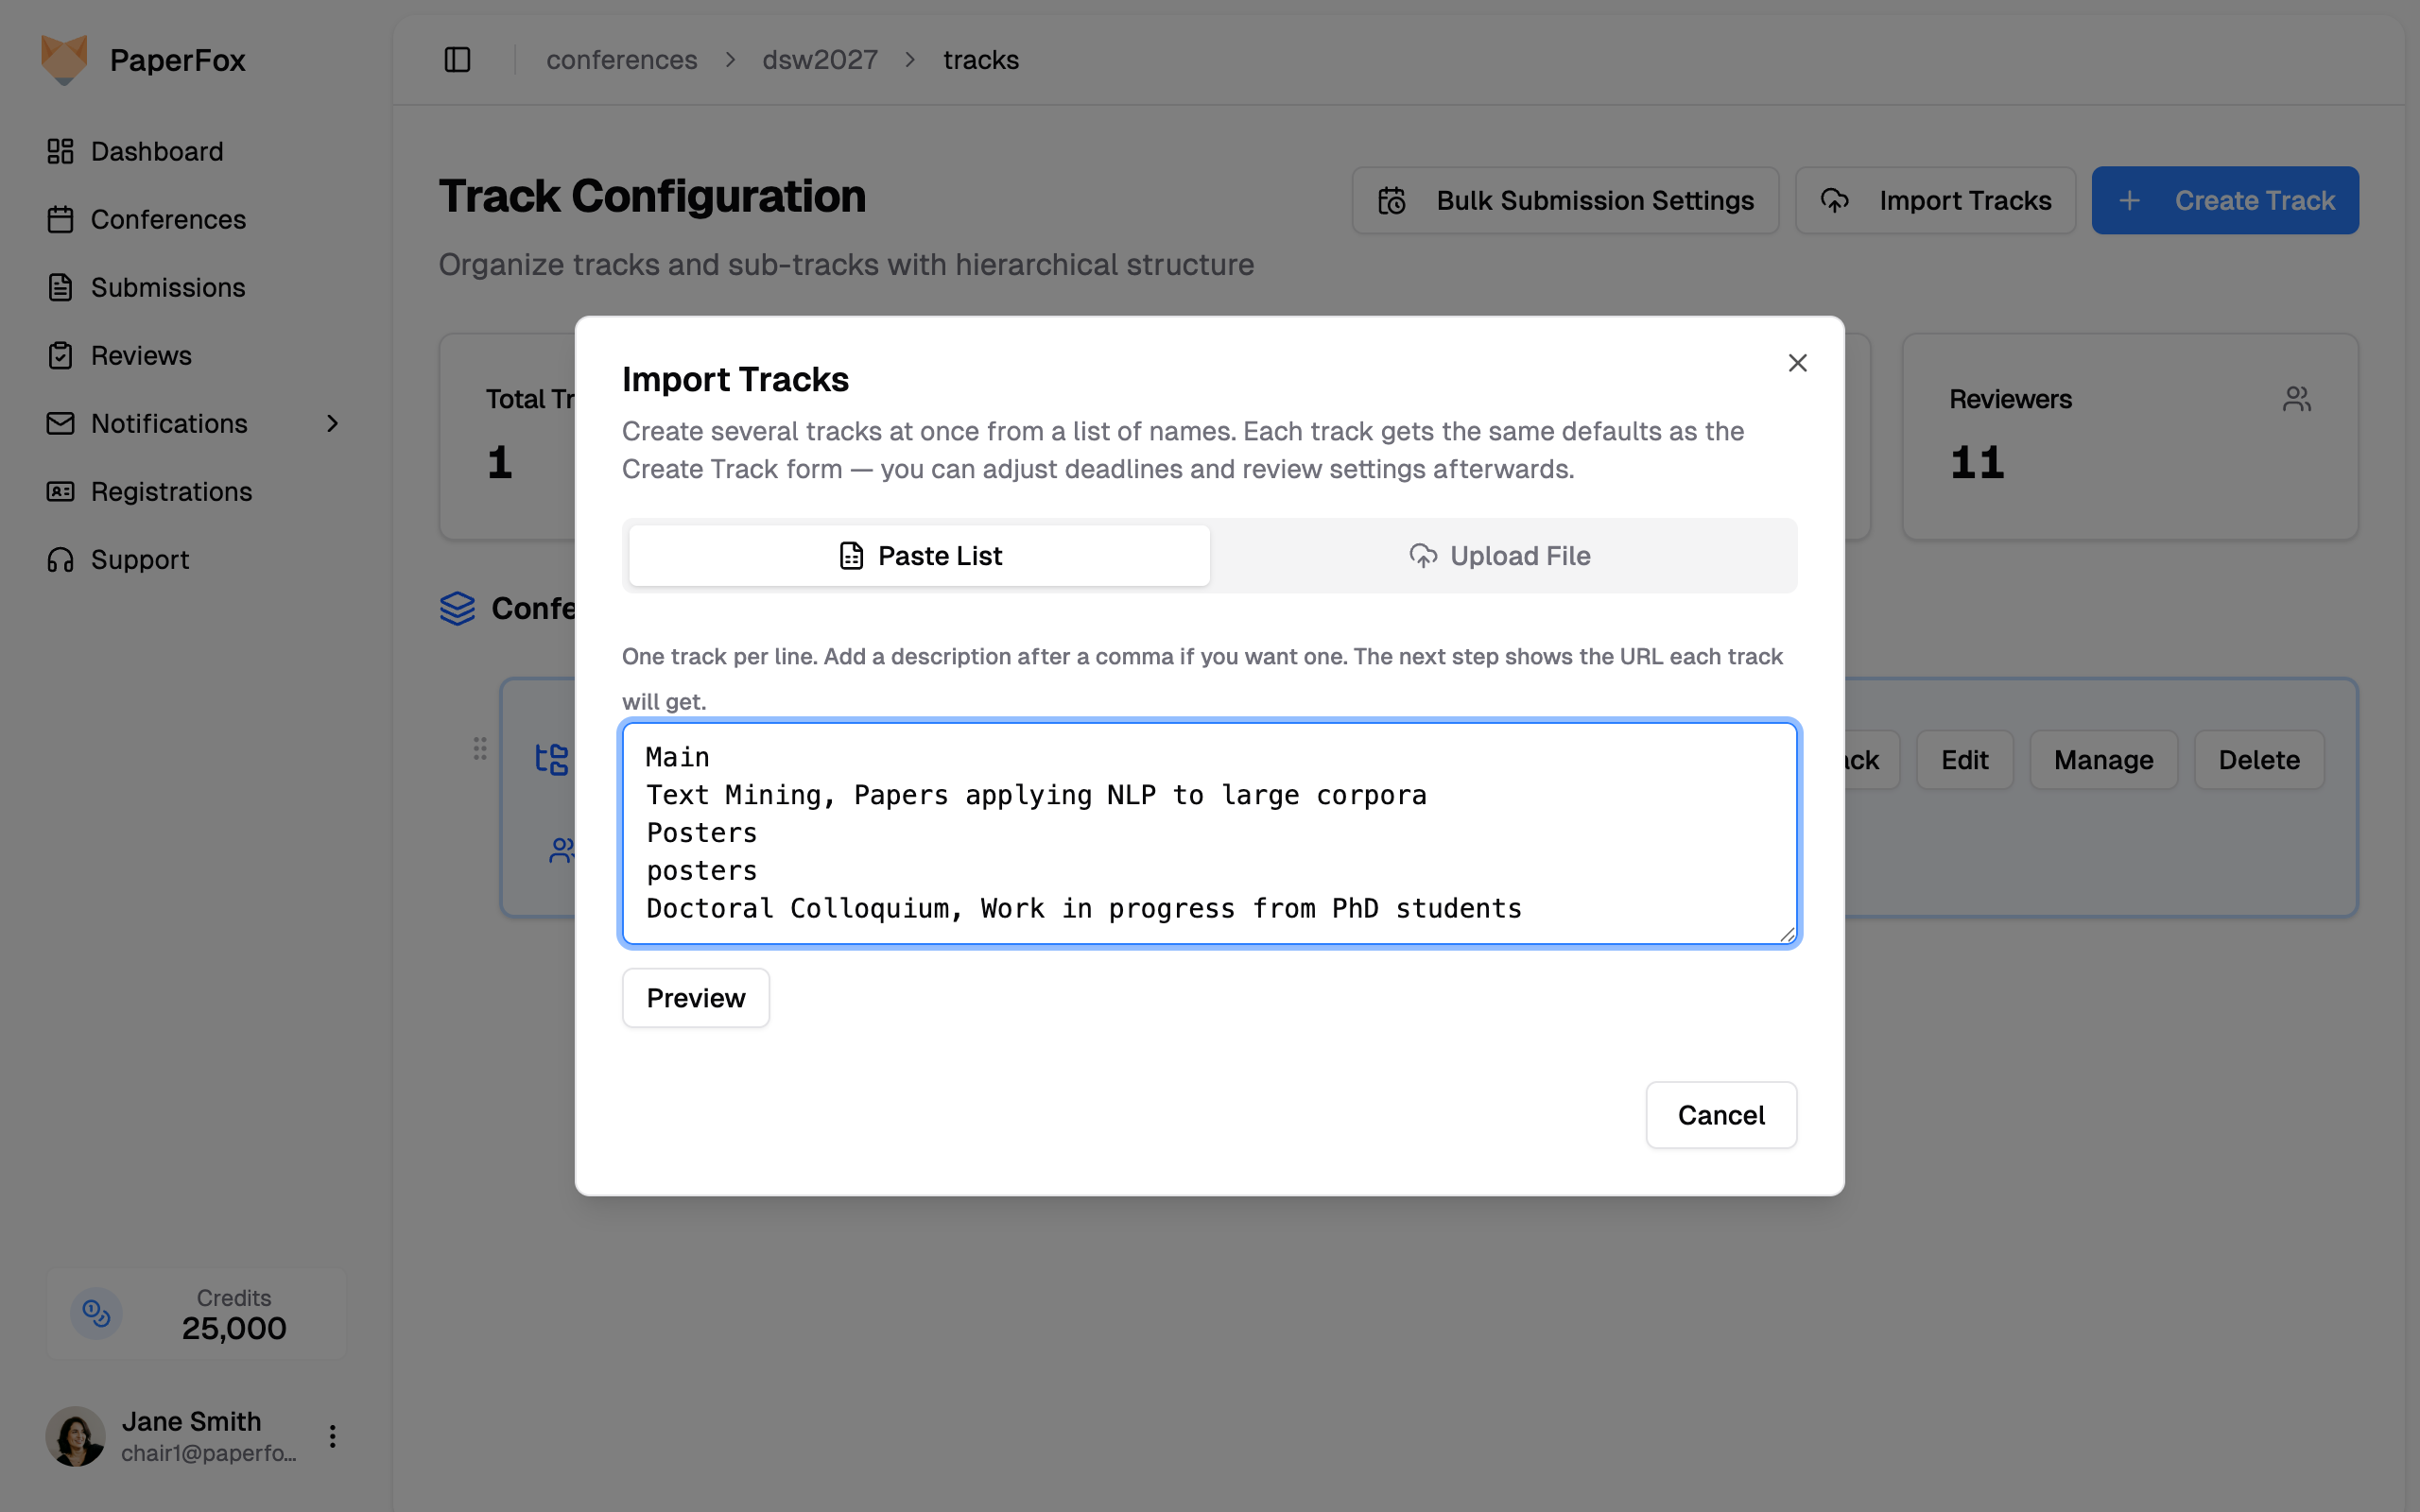 If you already have your tracks in a spreadsheet, switch to the **Upload File** tab and upload a CSV or Excel file instead. Without a header row the first column is the track name and the second the optional description; add a header row to name your columns explicitly (see below).
3. Click **"Preview"** to see exactly what will be created
If you already have your tracks in a spreadsheet, switch to the **Upload File** tab and upload a CSV or Excel file instead. Without a header row the first column is the track name and the second the optional description; add a header row to name your columns explicitly (see below).
3. Click **"Preview"** to see exactly what will be created
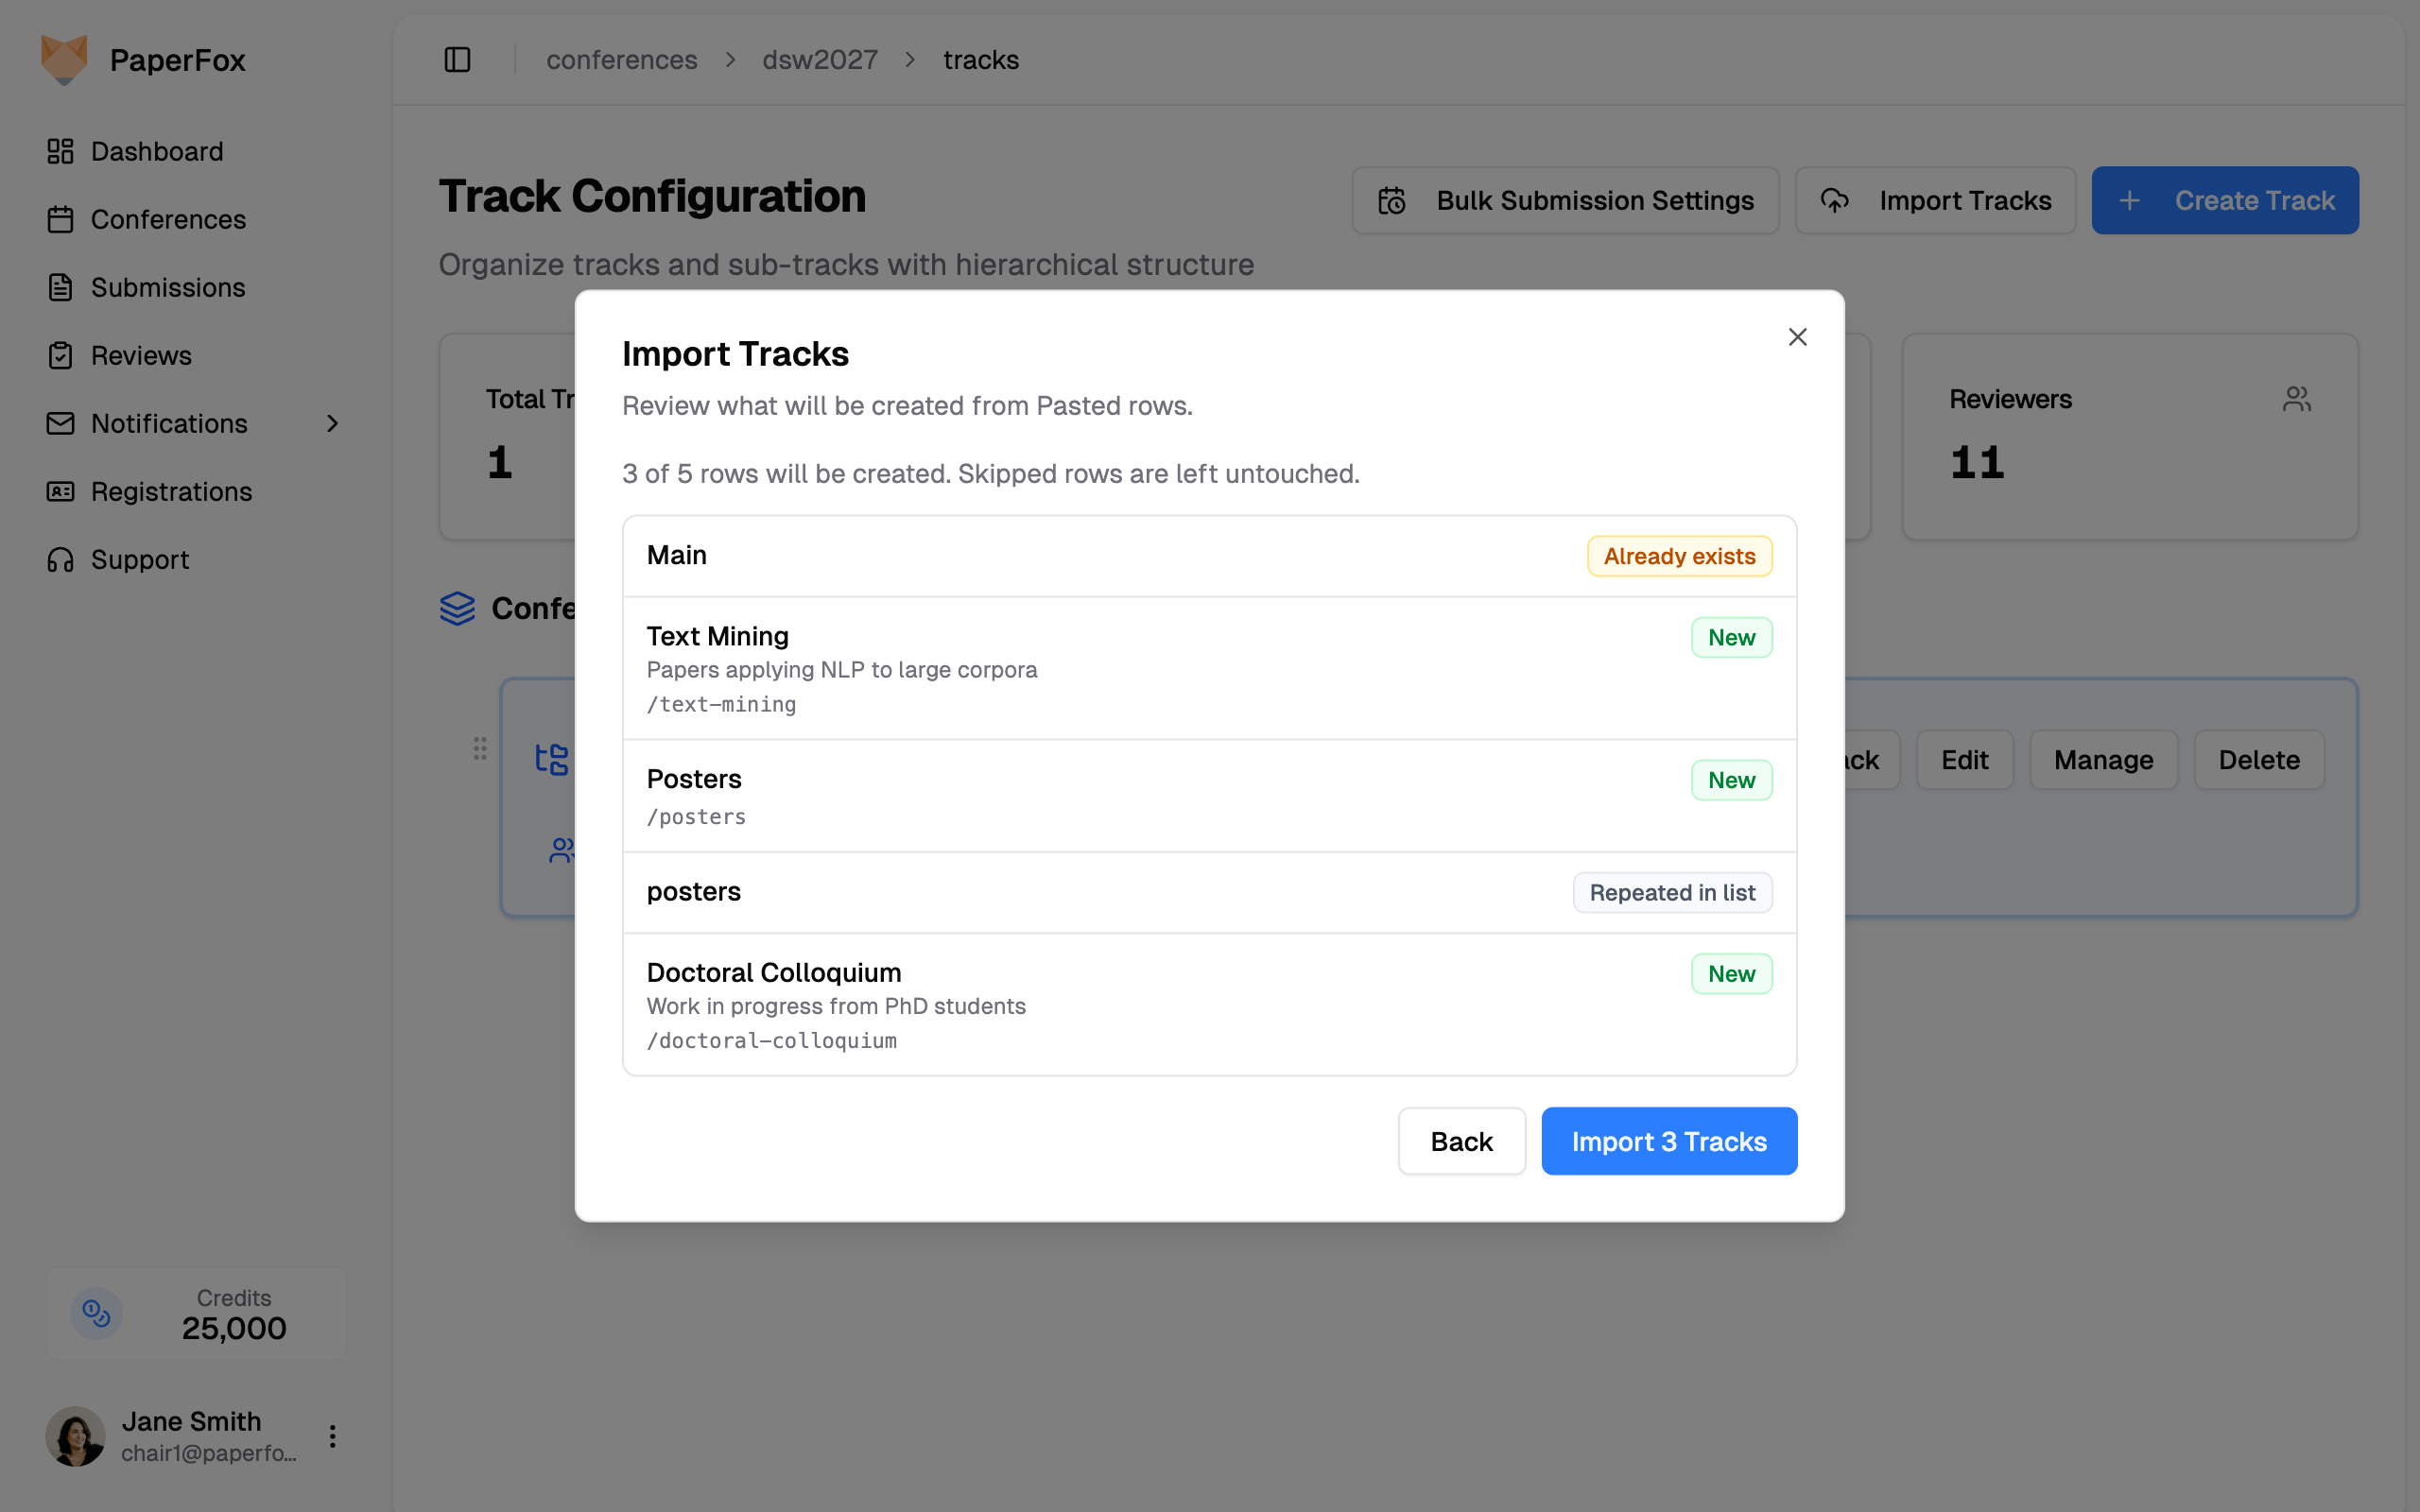 Every row is labeled before anything is saved:
| Label | What happens |
|-------|--------------|
| **New** | The track will be created |
| **Already exists** | Your conference already has a track with this name — skipped, and the existing track is left untouched |
| **Repeated in list** | The same name appears earlier in your list — skipped so you don't get two identical tracks |
Names are compared ignoring capitalization, so "Posters" and "posters" count as the same track.
Each row also shows the **URL the track will get**, like `/consumer-behavior`. PaperFox builds it from the track name — lowercased, punctuation removed, spaces turned into hyphens, and cut off at 100 characters. A long title such as "Track 4: Emerging Methods for Large-Scale Systems and Their Applications in Practice" therefore produces a long URL that stops mid-word.
To choose the URLs yourself, add a header row with a **slug** column:
```
name,slug
Applied Robotics and Control,robotics
Machine Learning Systems,ml-systems
```
The `name`, `slug`, and `description` columns are matched by their headers in any order, so you only need the ones you have. If you're moving from EasyChair, its **Short Name** column is recognized as a slug — export name and short name, and your existing abbreviations become the URLs.
4. Click **"Import"** to create the tracks
Imported tracks get the same defaults as the Create Track form — a submission form, a review form, and a starting deadline — so you can adjust deadlines and review settings afterwards just like any other track. Tracks you skip are never modified.
Every row is labeled before anything is saved:
| Label | What happens |
|-------|--------------|
| **New** | The track will be created |
| **Already exists** | Your conference already has a track with this name — skipped, and the existing track is left untouched |
| **Repeated in list** | The same name appears earlier in your list — skipped so you don't get two identical tracks |
Names are compared ignoring capitalization, so "Posters" and "posters" count as the same track.
Each row also shows the **URL the track will get**, like `/consumer-behavior`. PaperFox builds it from the track name — lowercased, punctuation removed, spaces turned into hyphens, and cut off at 100 characters. A long title such as "Track 4: Emerging Methods for Large-Scale Systems and Their Applications in Practice" therefore produces a long URL that stops mid-word.
To choose the URLs yourself, add a header row with a **slug** column:
```
name,slug
Applied Robotics and Control,robotics
Machine Learning Systems,ml-systems
```
The `name`, `slug`, and `description` columns are matched by their headers in any order, so you only need the ones you have. If you're moving from EasyChair, its **Short Name** column is recognized as a slug — export name and short name, and your existing abbreviations become the URLs.
4. Click **"Import"** to create the tracks
Imported tracks get the same defaults as the Create Track form — a submission form, a review form, and a starting deadline — so you can adjust deadlines and review settings afterwards just like any other track. Tracks you skip are never modified.
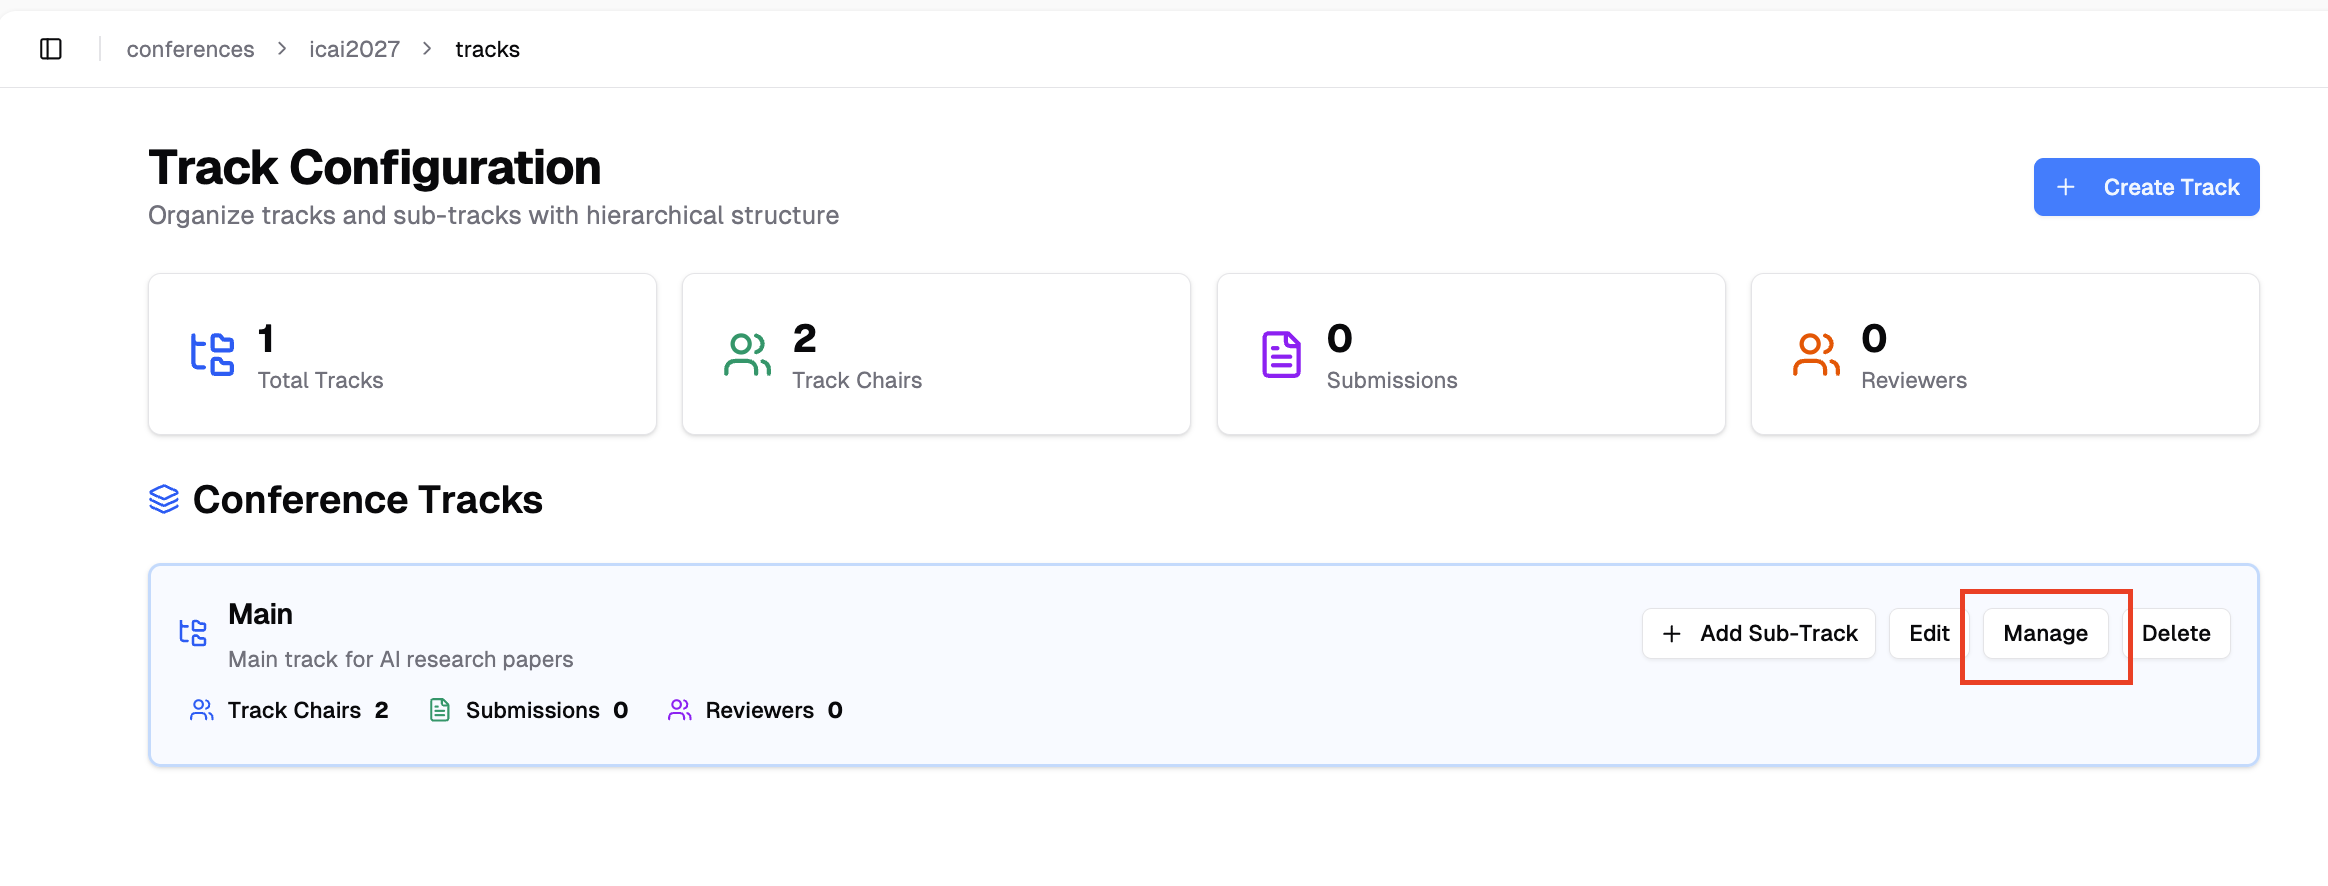 **From the Track Management page:**
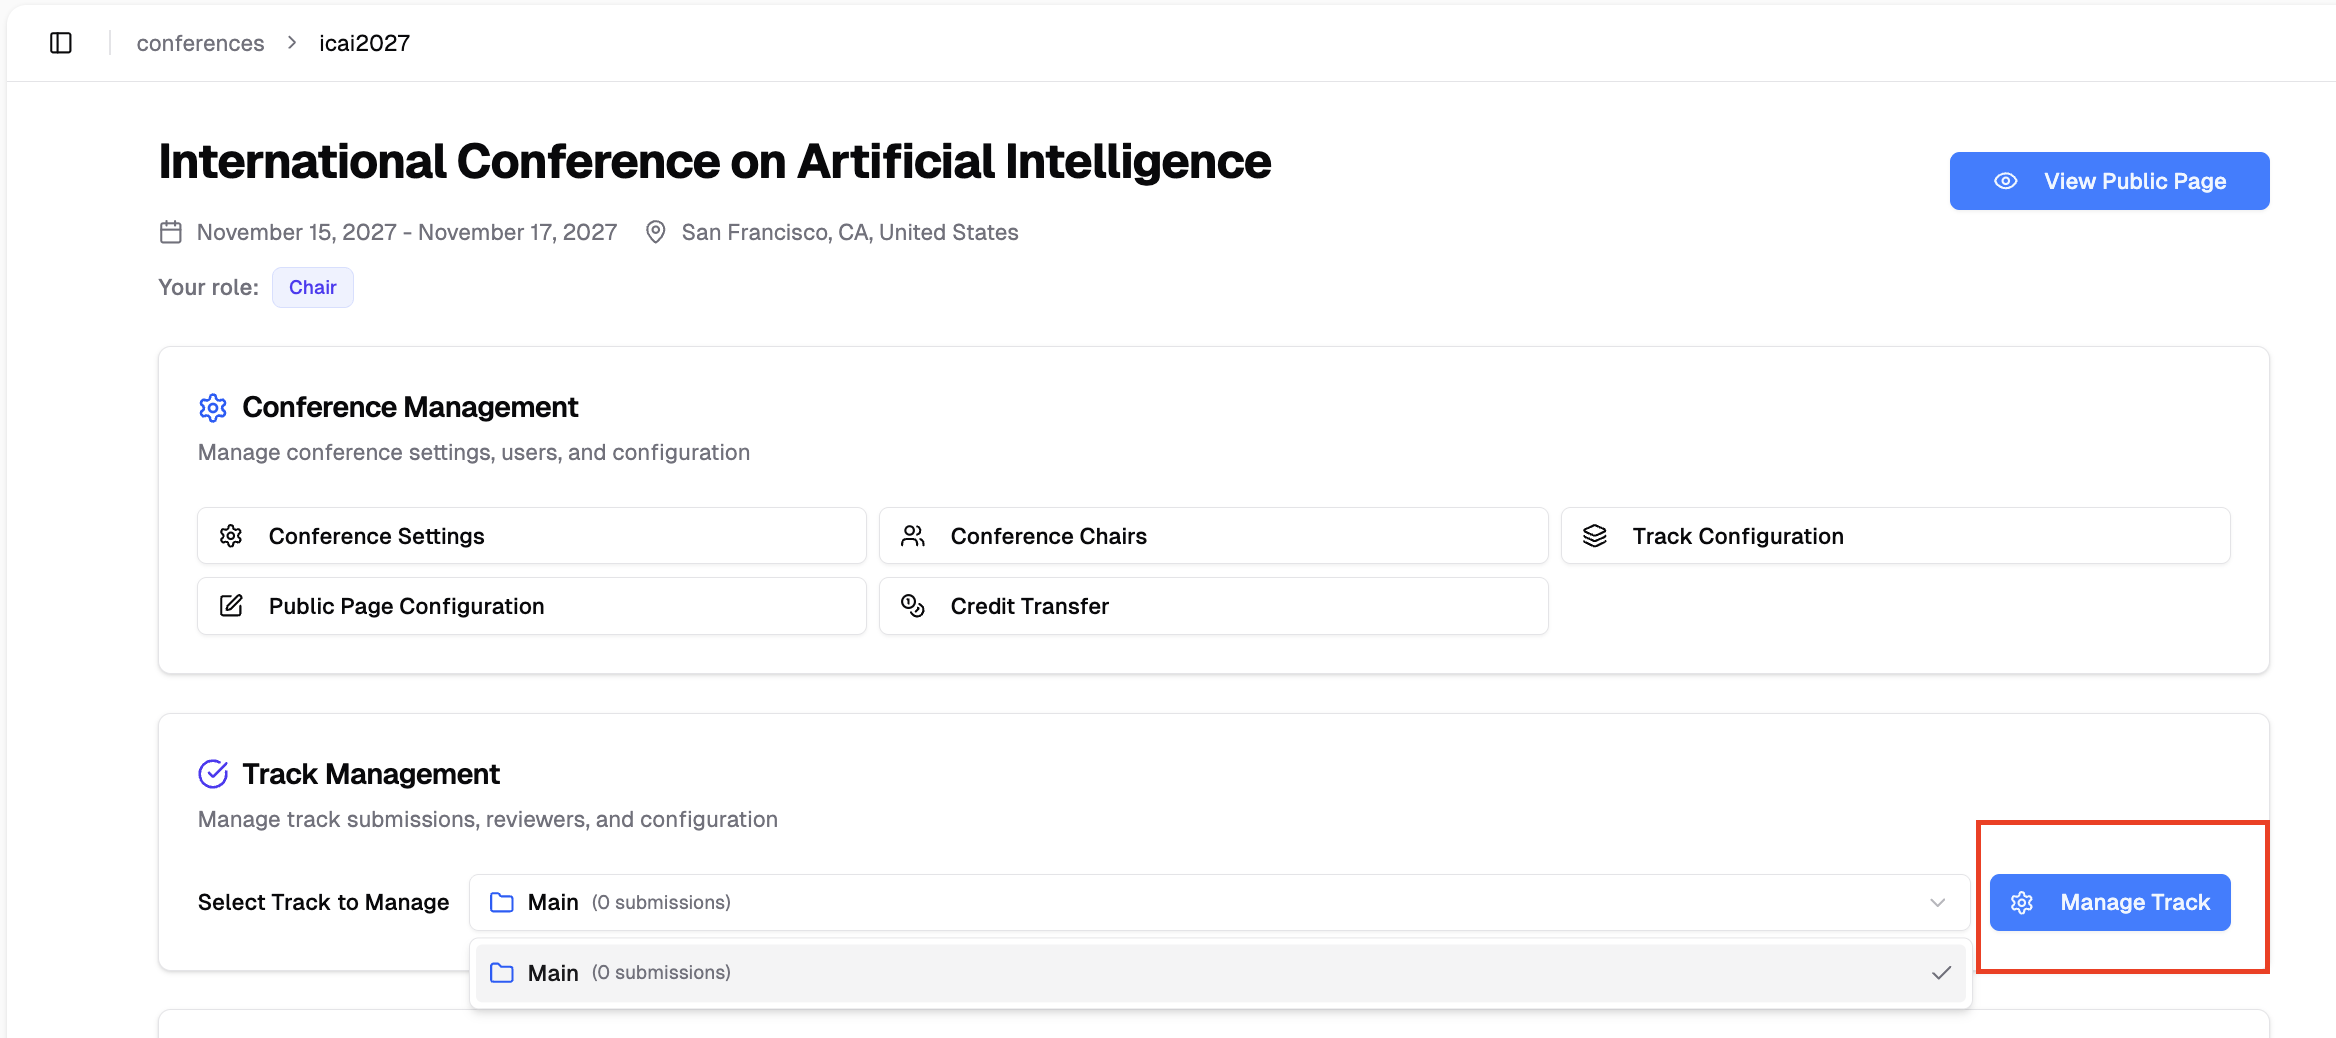 **Track Management Capabilities:**
- Define track details: name, description, and scope
- Set submission deadlines and requirements
- Configure review criteria, visibility, and access controls
- Monitor submissions and review progress
- Handle review assignments and final decisions
## Reorder Tracks
Use the **drag handle** on the left of each track card to set the order tracks appear in. The order is shared everywhere tracks are listed — the management page, the public conference page, and the submission picker your authors see.
**Track Management Capabilities:**
- Define track details: name, description, and scope
- Set submission deadlines and requirements
- Configure review criteria, visibility, and access controls
- Monitor submissions and review progress
- Handle review assignments and final decisions
## Reorder Tracks
Use the **drag handle** on the left of each track card to set the order tracks appear in. The order is shared everywhere tracks are listed — the management page, the public conference page, and the submission picker your authors see.
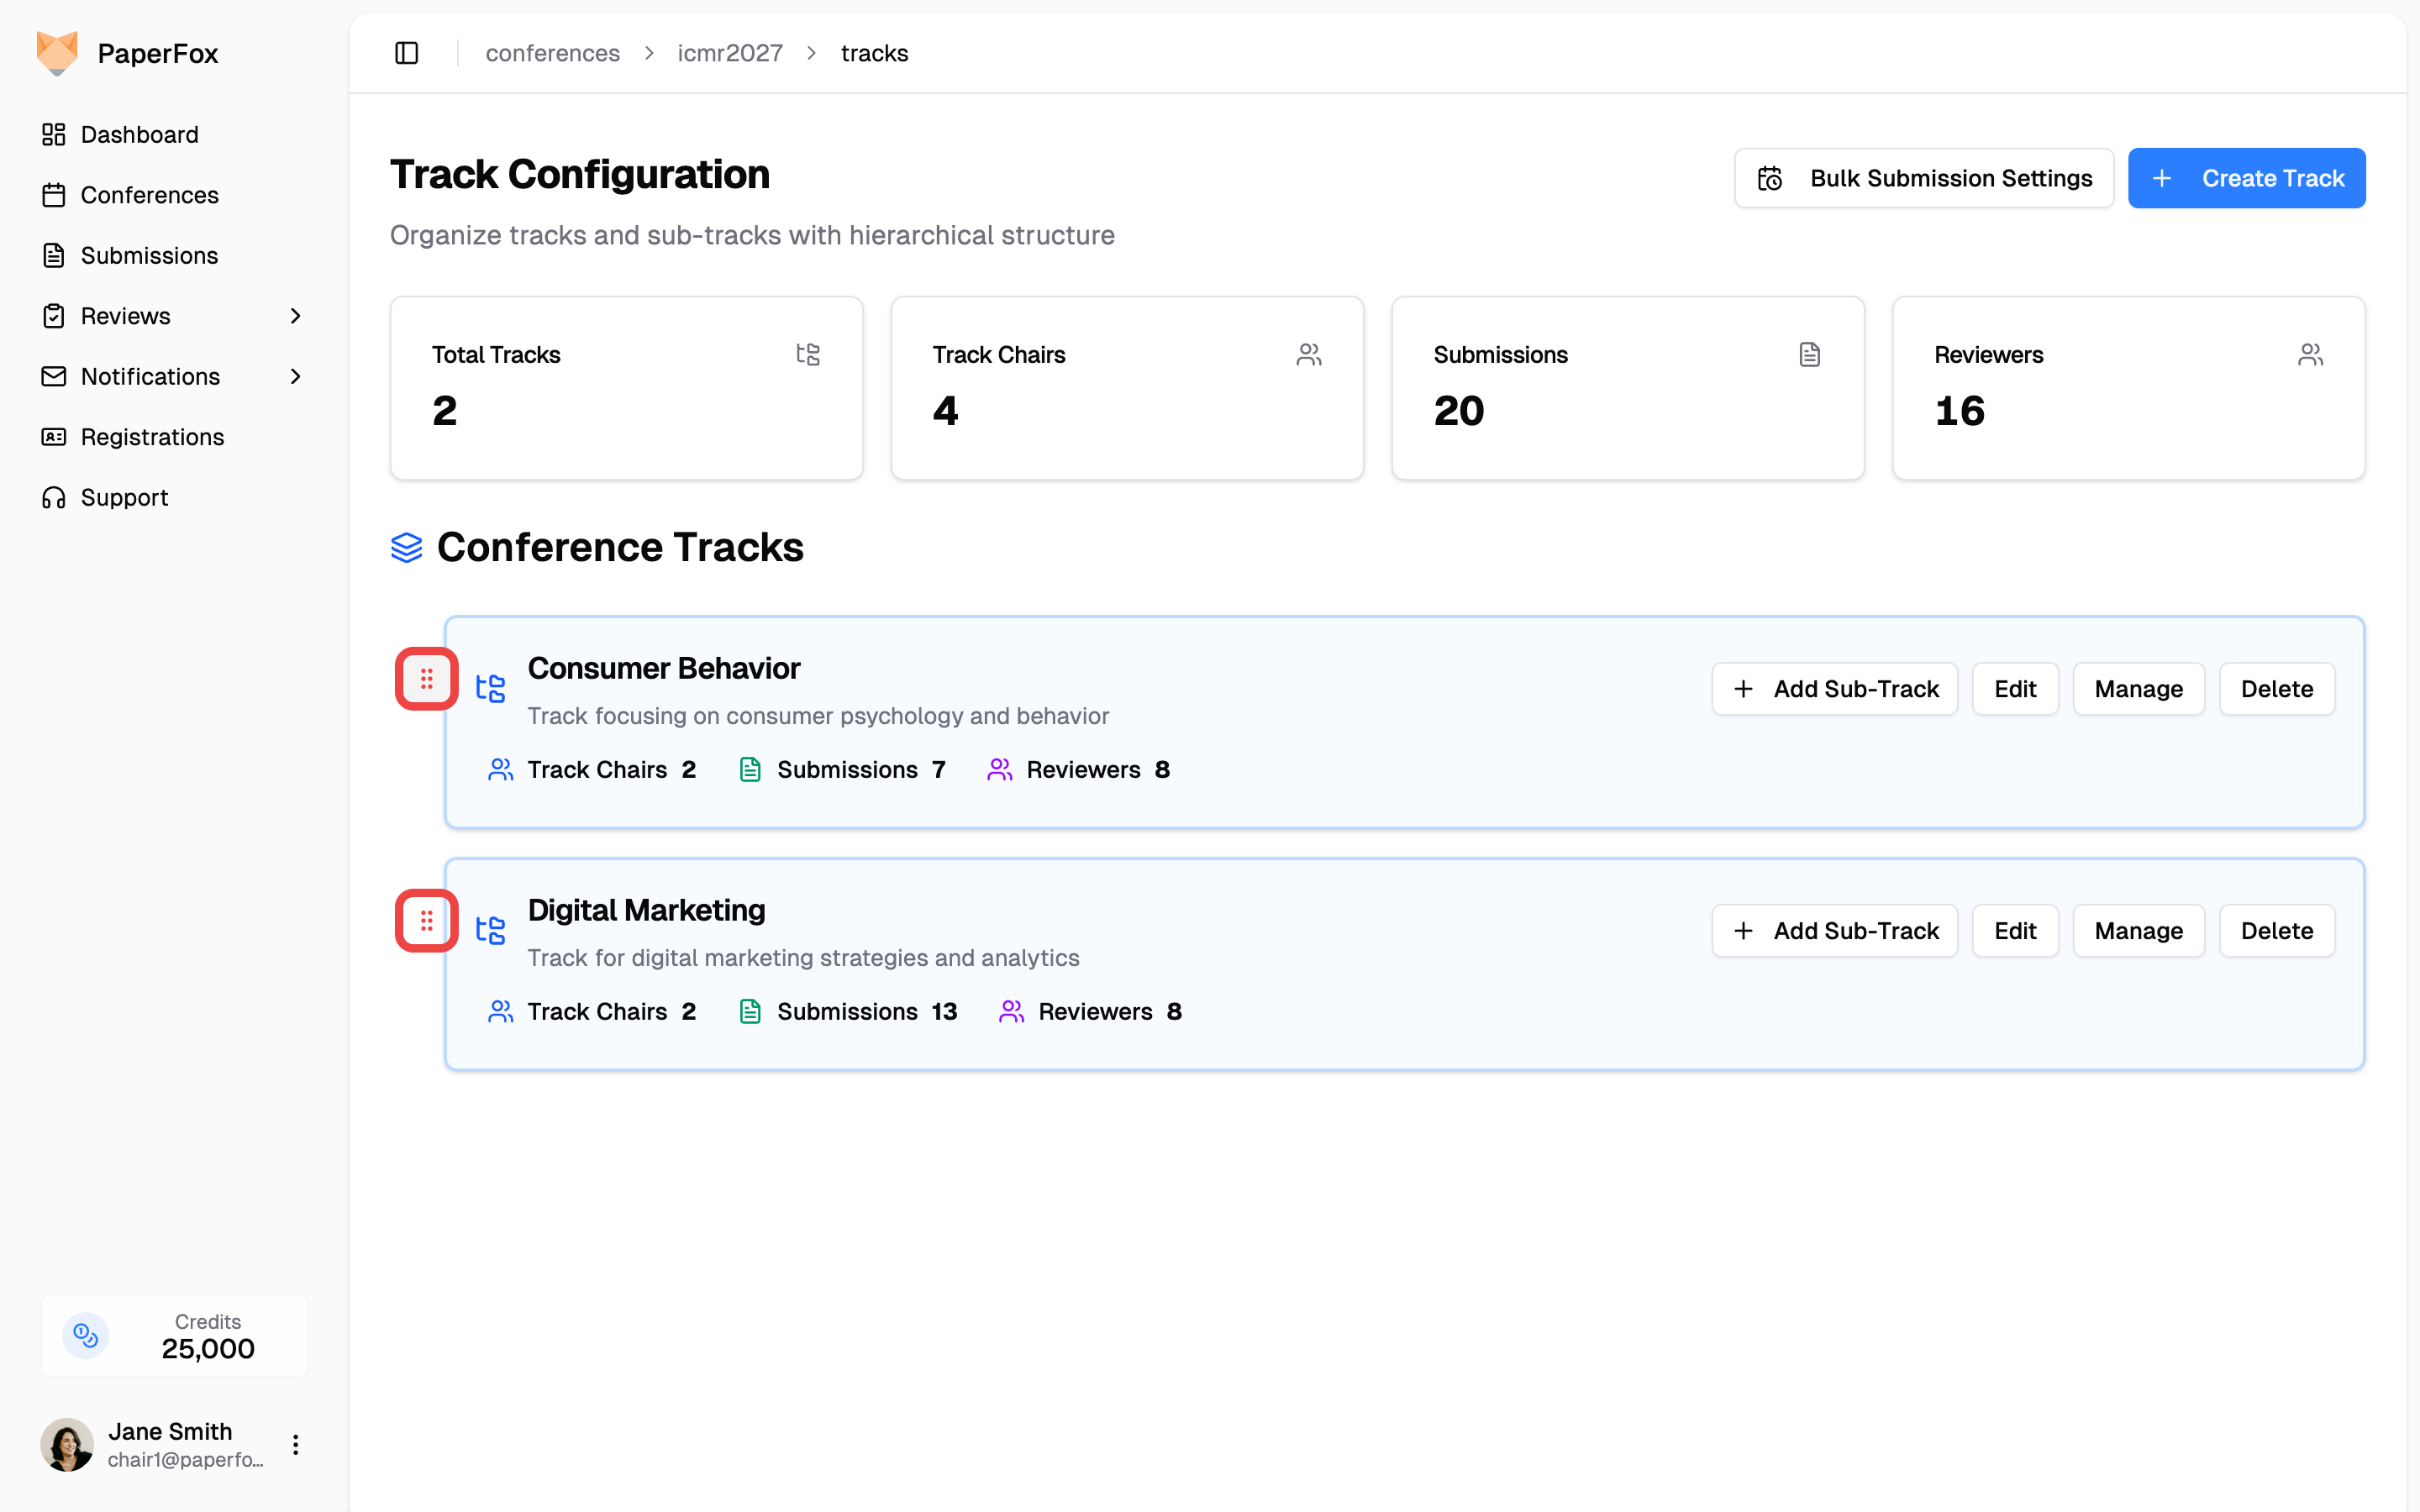 Drag a track card up or down by its handle, and PaperFox saves the new order immediately.
## Track Configuration Settings
**Track Settings:**
- **Scope and Topics**: Define what types of submissions fit this track
- **Submission Requirements**: Track-specific formatting or content requirements
- **Review Criteria**: Specialized review criteria for this track
- **Deadlines**: Track-specific submission and review deadlines
- **Visibility**: Public visibility settings for the track
## Next Steps: Invite Track Chairs
Congratulations! You have successfully created your conference tracks. Now you can invite track chairs to help manage each track.
Track chairs will be responsible for:
- Managing track-specific submissions
- Inviting and managing reviewers
- Configuring submission and review forms
- Making final decisions for their track
**Ready to invite track chairs?**
- **[Invite Track Chairs](../track-chairs/invite-track-chairs)** - Send invitations to track chairs for your newly created tracks
---
# Customize Committee Emails
URL: https://paperfox.ai/docs/chairs/customize-committee-emails
Description: Add a chair-authored intro and signature to invitation and assignment emails so recipients recognize the sender
PaperFox sends invitation and assignment emails on your behalf — to reviewers, area editors, senior editors, track chairs, and forum moderators. By default, these emails carry only the system body. You can add a custom **intro** (after the greeting) and **signature** (before the Accept / Decline buttons) so the email reads in your voice and recipients recognize who's behind it.
## What You Can and Can't Change
These emails carry the accept / decline links that grant committee access, so the body is a system template with chair-authored slots — not a blank page. Three parts are yours:
| Part | Where you set it |
|---|---|
| **Intro** — paragraph(s) after the greeting | Conference Settings → Committee Emails, or a track override |
| **Signature** — sign-off before the buttons | The same two places |
| **Role name** — "Reviewer" vs. "Program Committee Member" | Track → Committee Settings → Custom Role Names ([below](#rename-the-role)) |
The rest is fixed: the `Dear {name},` greeting line, the sentence naming the role and track ("You have been invited to be a Reviewer for …"), the note about signing in to accept, the "if you received this in error" line, the `[SHORTNAME] Reviewer Invitation` subject format, and the **Accept Invitation** / **Decline Invitation** button labels.
If you want to send committee members an email you wrote start to finish, that's a different tool — the [notification composer](/docs/chairs/send-notifications), where the subject and body are both free text. Use this page to shape the emails PaperFox sends automatically; use the composer for everything you send by hand.
## Set the Conference Default
1. Go to **Conferences** in the sidebar, then click on your conference
2. Click the **Settings** icon in the conference header, then choose **Committee Emails** in the settings sidebar
Drag a track card up or down by its handle, and PaperFox saves the new order immediately.
## Track Configuration Settings
**Track Settings:**
- **Scope and Topics**: Define what types of submissions fit this track
- **Submission Requirements**: Track-specific formatting or content requirements
- **Review Criteria**: Specialized review criteria for this track
- **Deadlines**: Track-specific submission and review deadlines
- **Visibility**: Public visibility settings for the track
## Next Steps: Invite Track Chairs
Congratulations! You have successfully created your conference tracks. Now you can invite track chairs to help manage each track.
Track chairs will be responsible for:
- Managing track-specific submissions
- Inviting and managing reviewers
- Configuring submission and review forms
- Making final decisions for their track
**Ready to invite track chairs?**
- **[Invite Track Chairs](../track-chairs/invite-track-chairs)** - Send invitations to track chairs for your newly created tracks
---
# Customize Committee Emails
URL: https://paperfox.ai/docs/chairs/customize-committee-emails
Description: Add a chair-authored intro and signature to invitation and assignment emails so recipients recognize the sender
PaperFox sends invitation and assignment emails on your behalf — to reviewers, area editors, senior editors, track chairs, and forum moderators. By default, these emails carry only the system body. You can add a custom **intro** (after the greeting) and **signature** (before the Accept / Decline buttons) so the email reads in your voice and recipients recognize who's behind it.
## What You Can and Can't Change
These emails carry the accept / decline links that grant committee access, so the body is a system template with chair-authored slots — not a blank page. Three parts are yours:
| Part | Where you set it |
|---|---|
| **Intro** — paragraph(s) after the greeting | Conference Settings → Committee Emails, or a track override |
| **Signature** — sign-off before the buttons | The same two places |
| **Role name** — "Reviewer" vs. "Program Committee Member" | Track → Committee Settings → Custom Role Names ([below](#rename-the-role)) |
The rest is fixed: the `Dear {name},` greeting line, the sentence naming the role and track ("You have been invited to be a Reviewer for …"), the note about signing in to accept, the "if you received this in error" line, the `[SHORTNAME] Reviewer Invitation` subject format, and the **Accept Invitation** / **Decline Invitation** button labels.
If you want to send committee members an email you wrote start to finish, that's a different tool — the [notification composer](/docs/chairs/send-notifications), where the subject and body are both free text. Use this page to shape the emails PaperFox sends automatically; use the composer for everything you send by hand.
## Set the Conference Default
1. Go to **Conferences** in the sidebar, then click on your conference
2. Click the **Settings** icon in the conference header, then choose **Committee Emails** in the settings sidebar
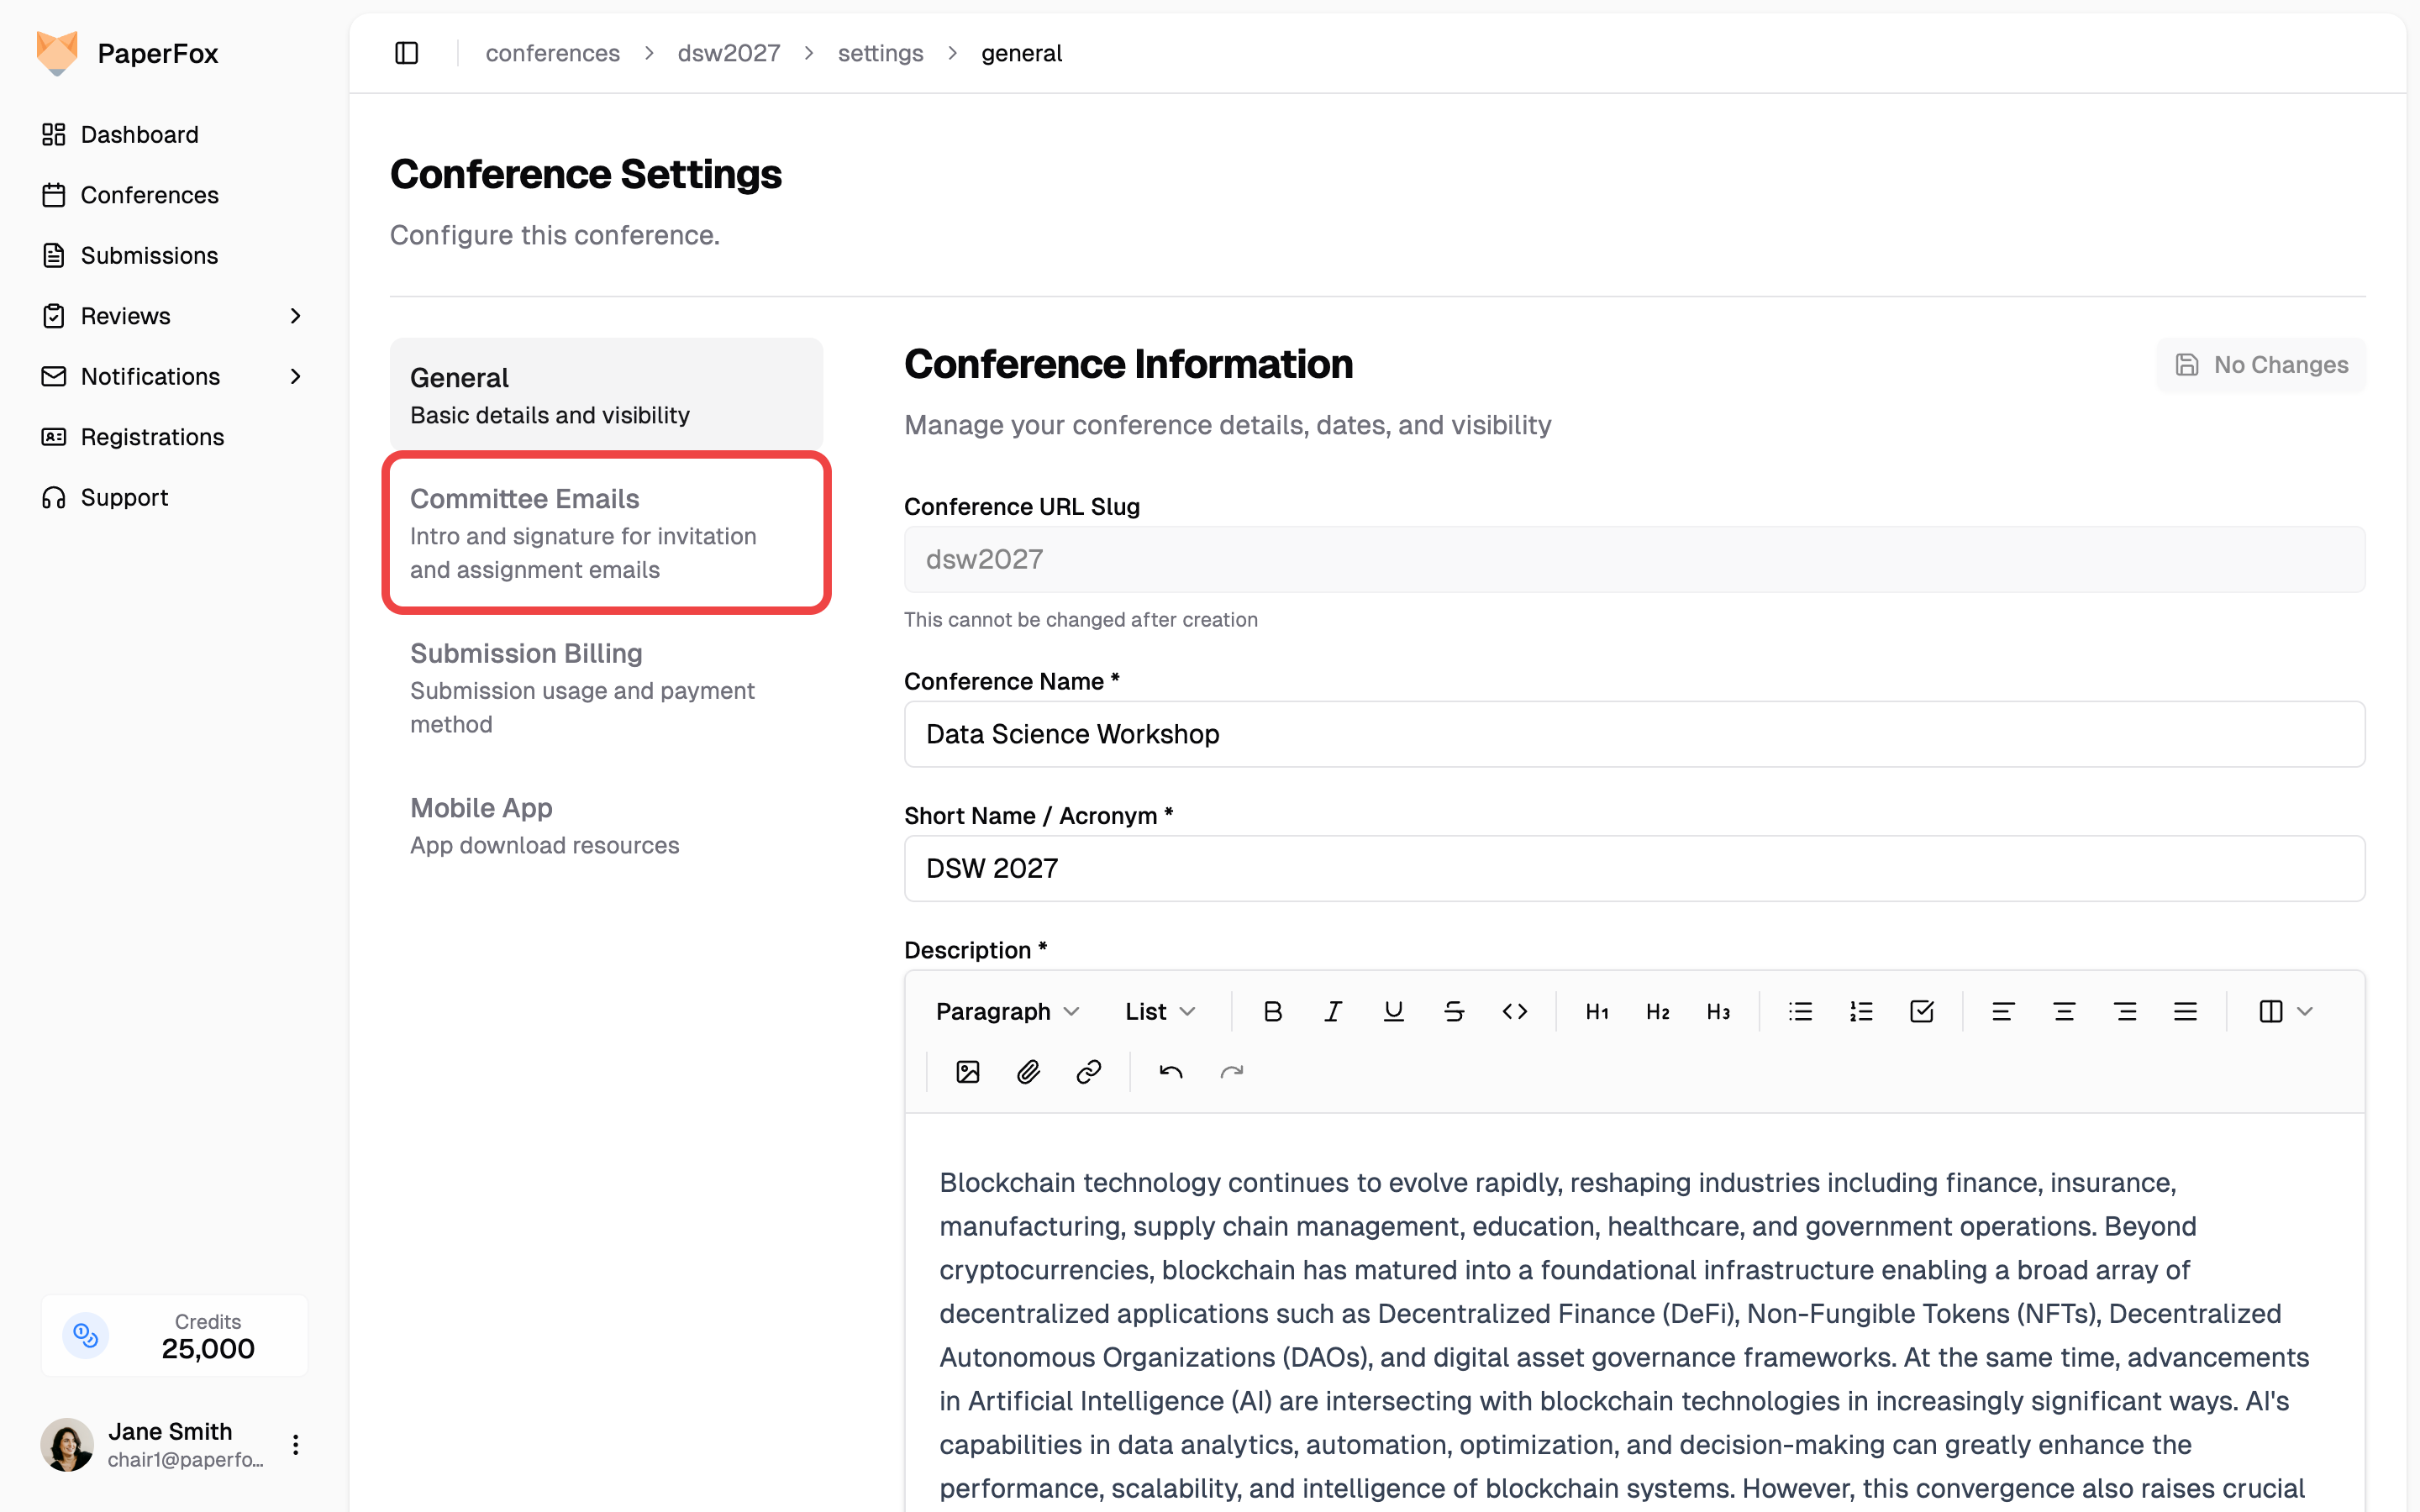 3. Fill in the **Intro** and **Signature** fields
4. Click **"Save Changes"**
3. Fill in the **Intro** and **Signature** fields
4. Click **"Save Changes"**
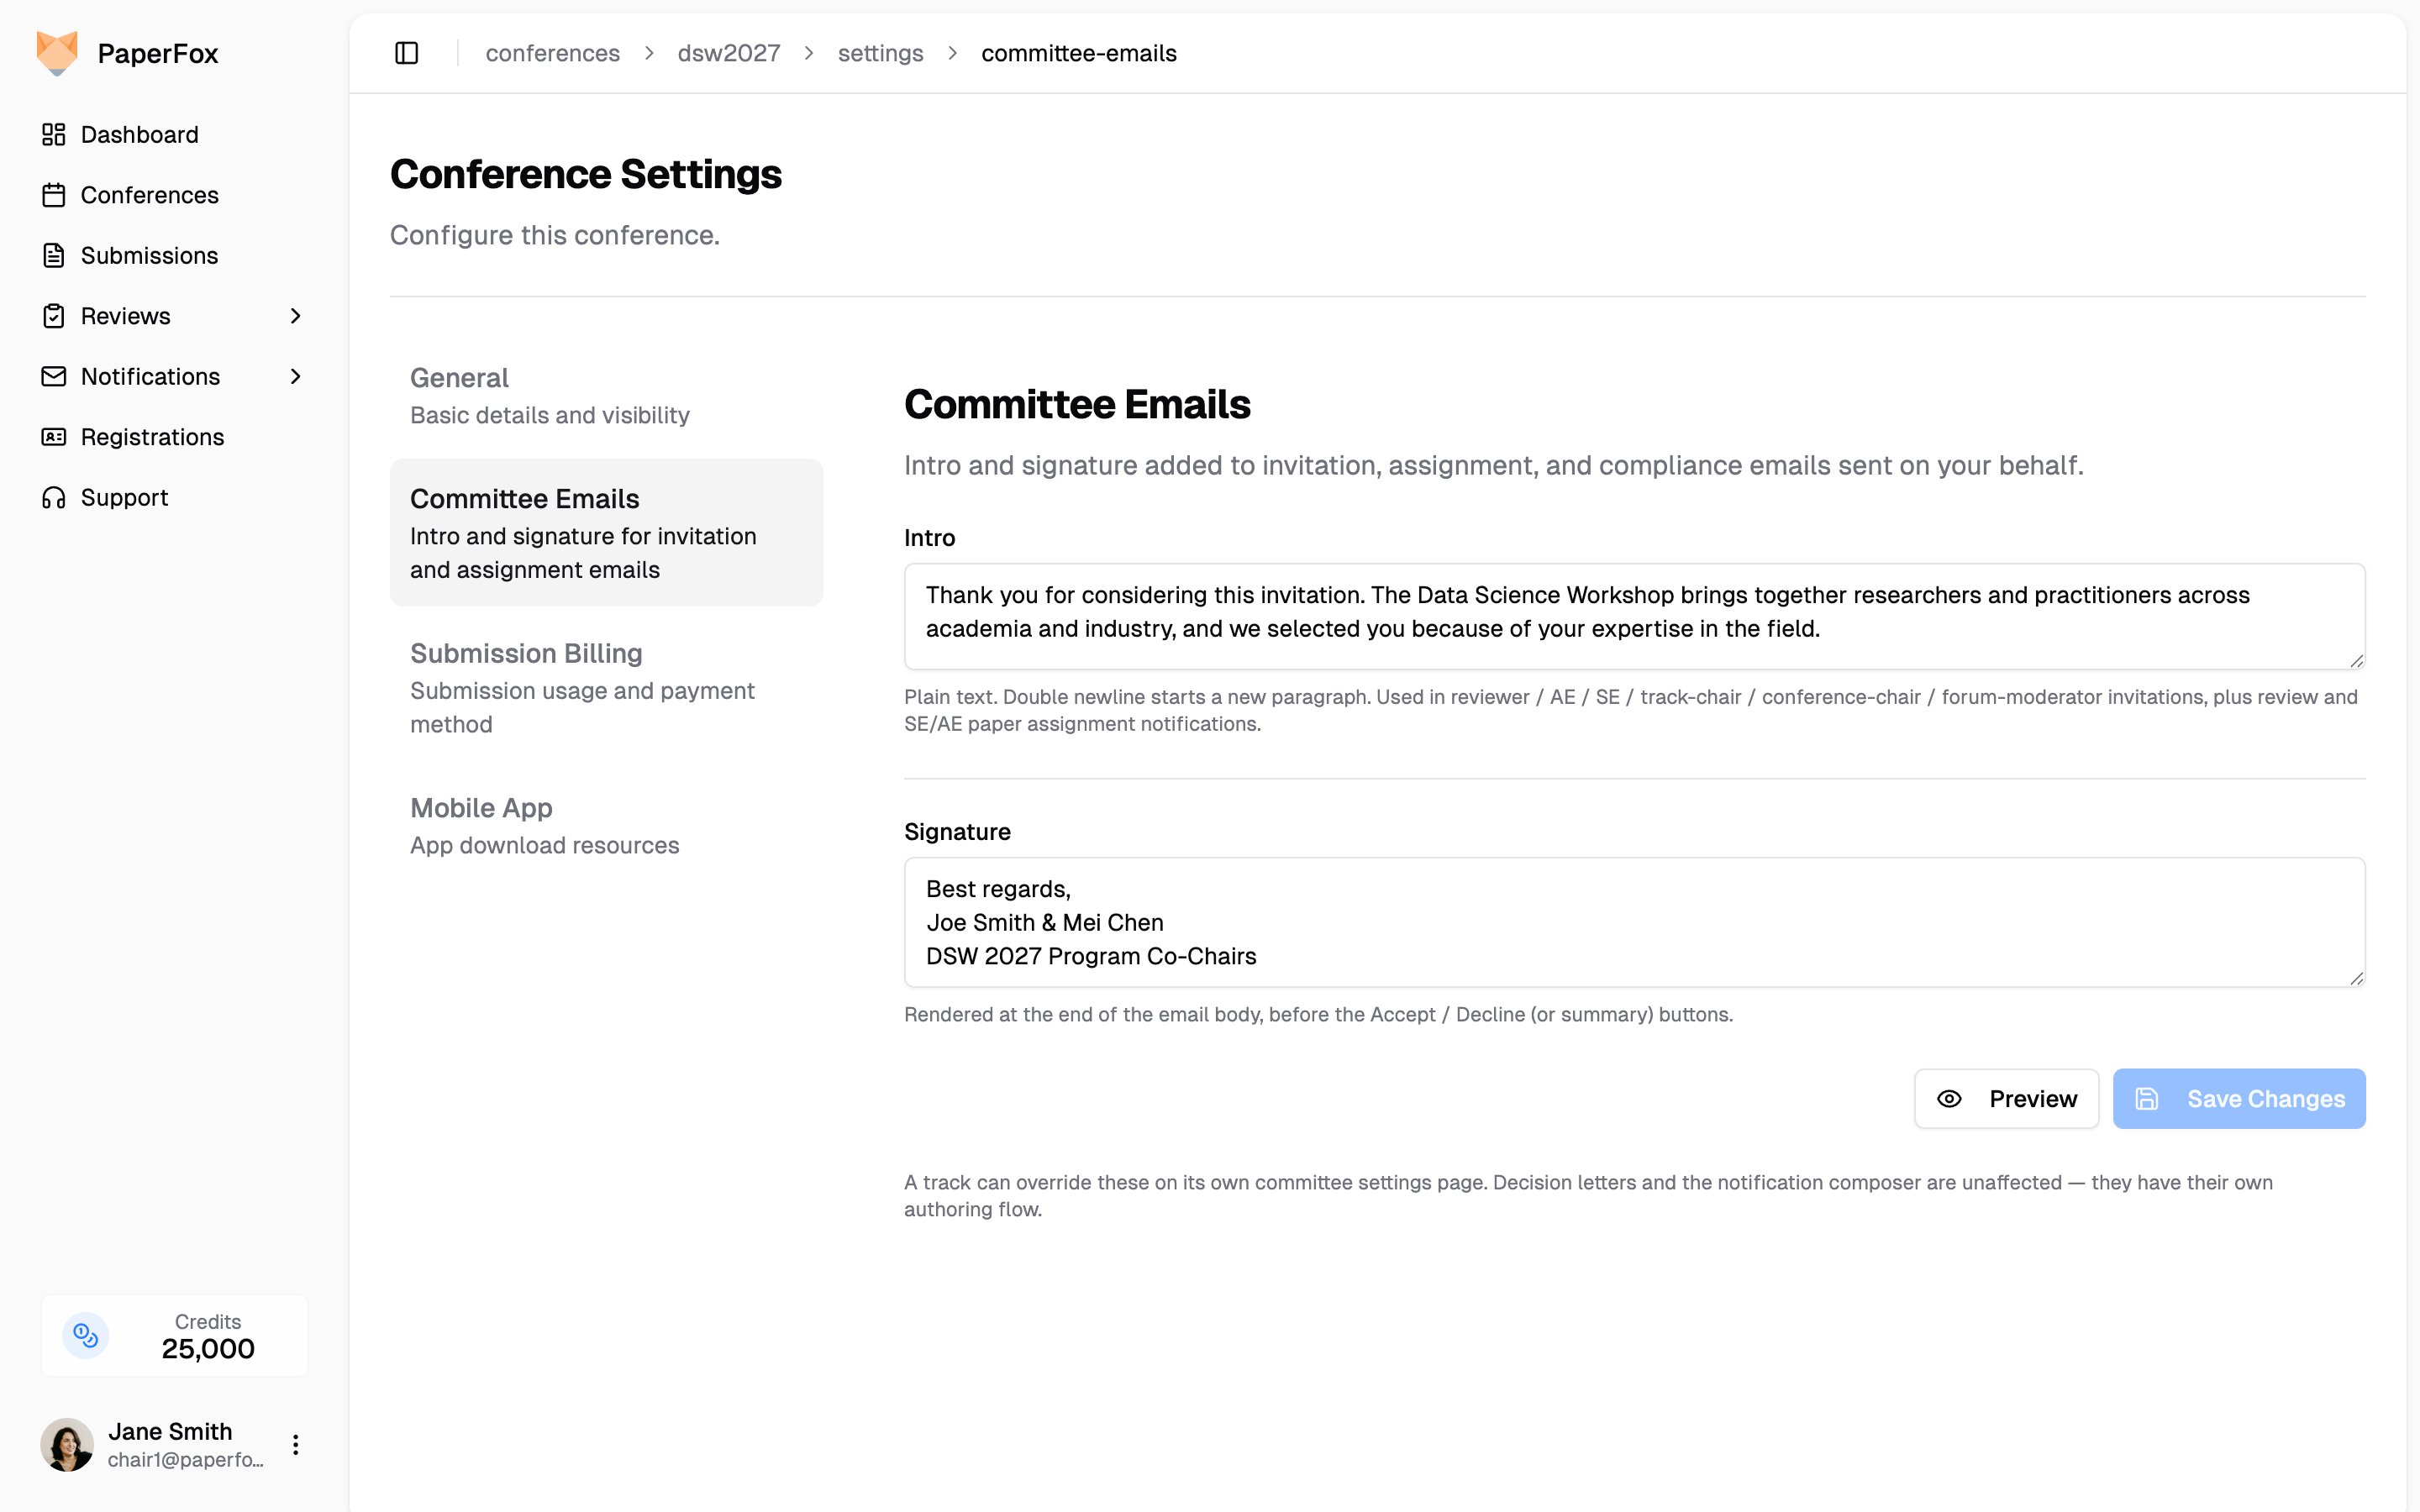 Both fields are plain text — a double newline starts a new paragraph. To add a link, paste the web address (any `https://` address becomes clickable) or write `[link text](https://…)` to link a phrase. Either field can be left blank. The intro renders after the recipient's greeting line, the signature renders before the Accept / Decline (or summary) buttons at the bottom of the email.
The intro and signature appear in every chair-triggered email below — **all five invitation types** (reviewer / AE / SE / track-chair / conference-chair / forum-moderator), plus **review assignments** (single and bulk), **SE and AE submission assignments**, and **compliance notices**. Decision letters and emails composed through `/notifications/compose` are unaffected — they have their own authoring flow.
## Preview Before Saving
Click **"Preview"** to see how a real Reviewer Invitation will look with your current draft intro and signature. Other invitation and assignment templates render the same intro/signature block, so a single preview reflects the change everywhere.
Both fields are plain text — a double newline starts a new paragraph. To add a link, paste the web address (any `https://` address becomes clickable) or write `[link text](https://…)` to link a phrase. Either field can be left blank. The intro renders after the recipient's greeting line, the signature renders before the Accept / Decline (or summary) buttons at the bottom of the email.
The intro and signature appear in every chair-triggered email below — **all five invitation types** (reviewer / AE / SE / track-chair / conference-chair / forum-moderator), plus **review assignments** (single and bulk), **SE and AE submission assignments**, and **compliance notices**. Decision letters and emails composed through `/notifications/compose` are unaffected — they have their own authoring flow.
## Preview Before Saving
Click **"Preview"** to see how a real Reviewer Invitation will look with your current draft intro and signature. Other invitation and assignment templates render the same intro/signature block, so a single preview reflects the change everywhere.
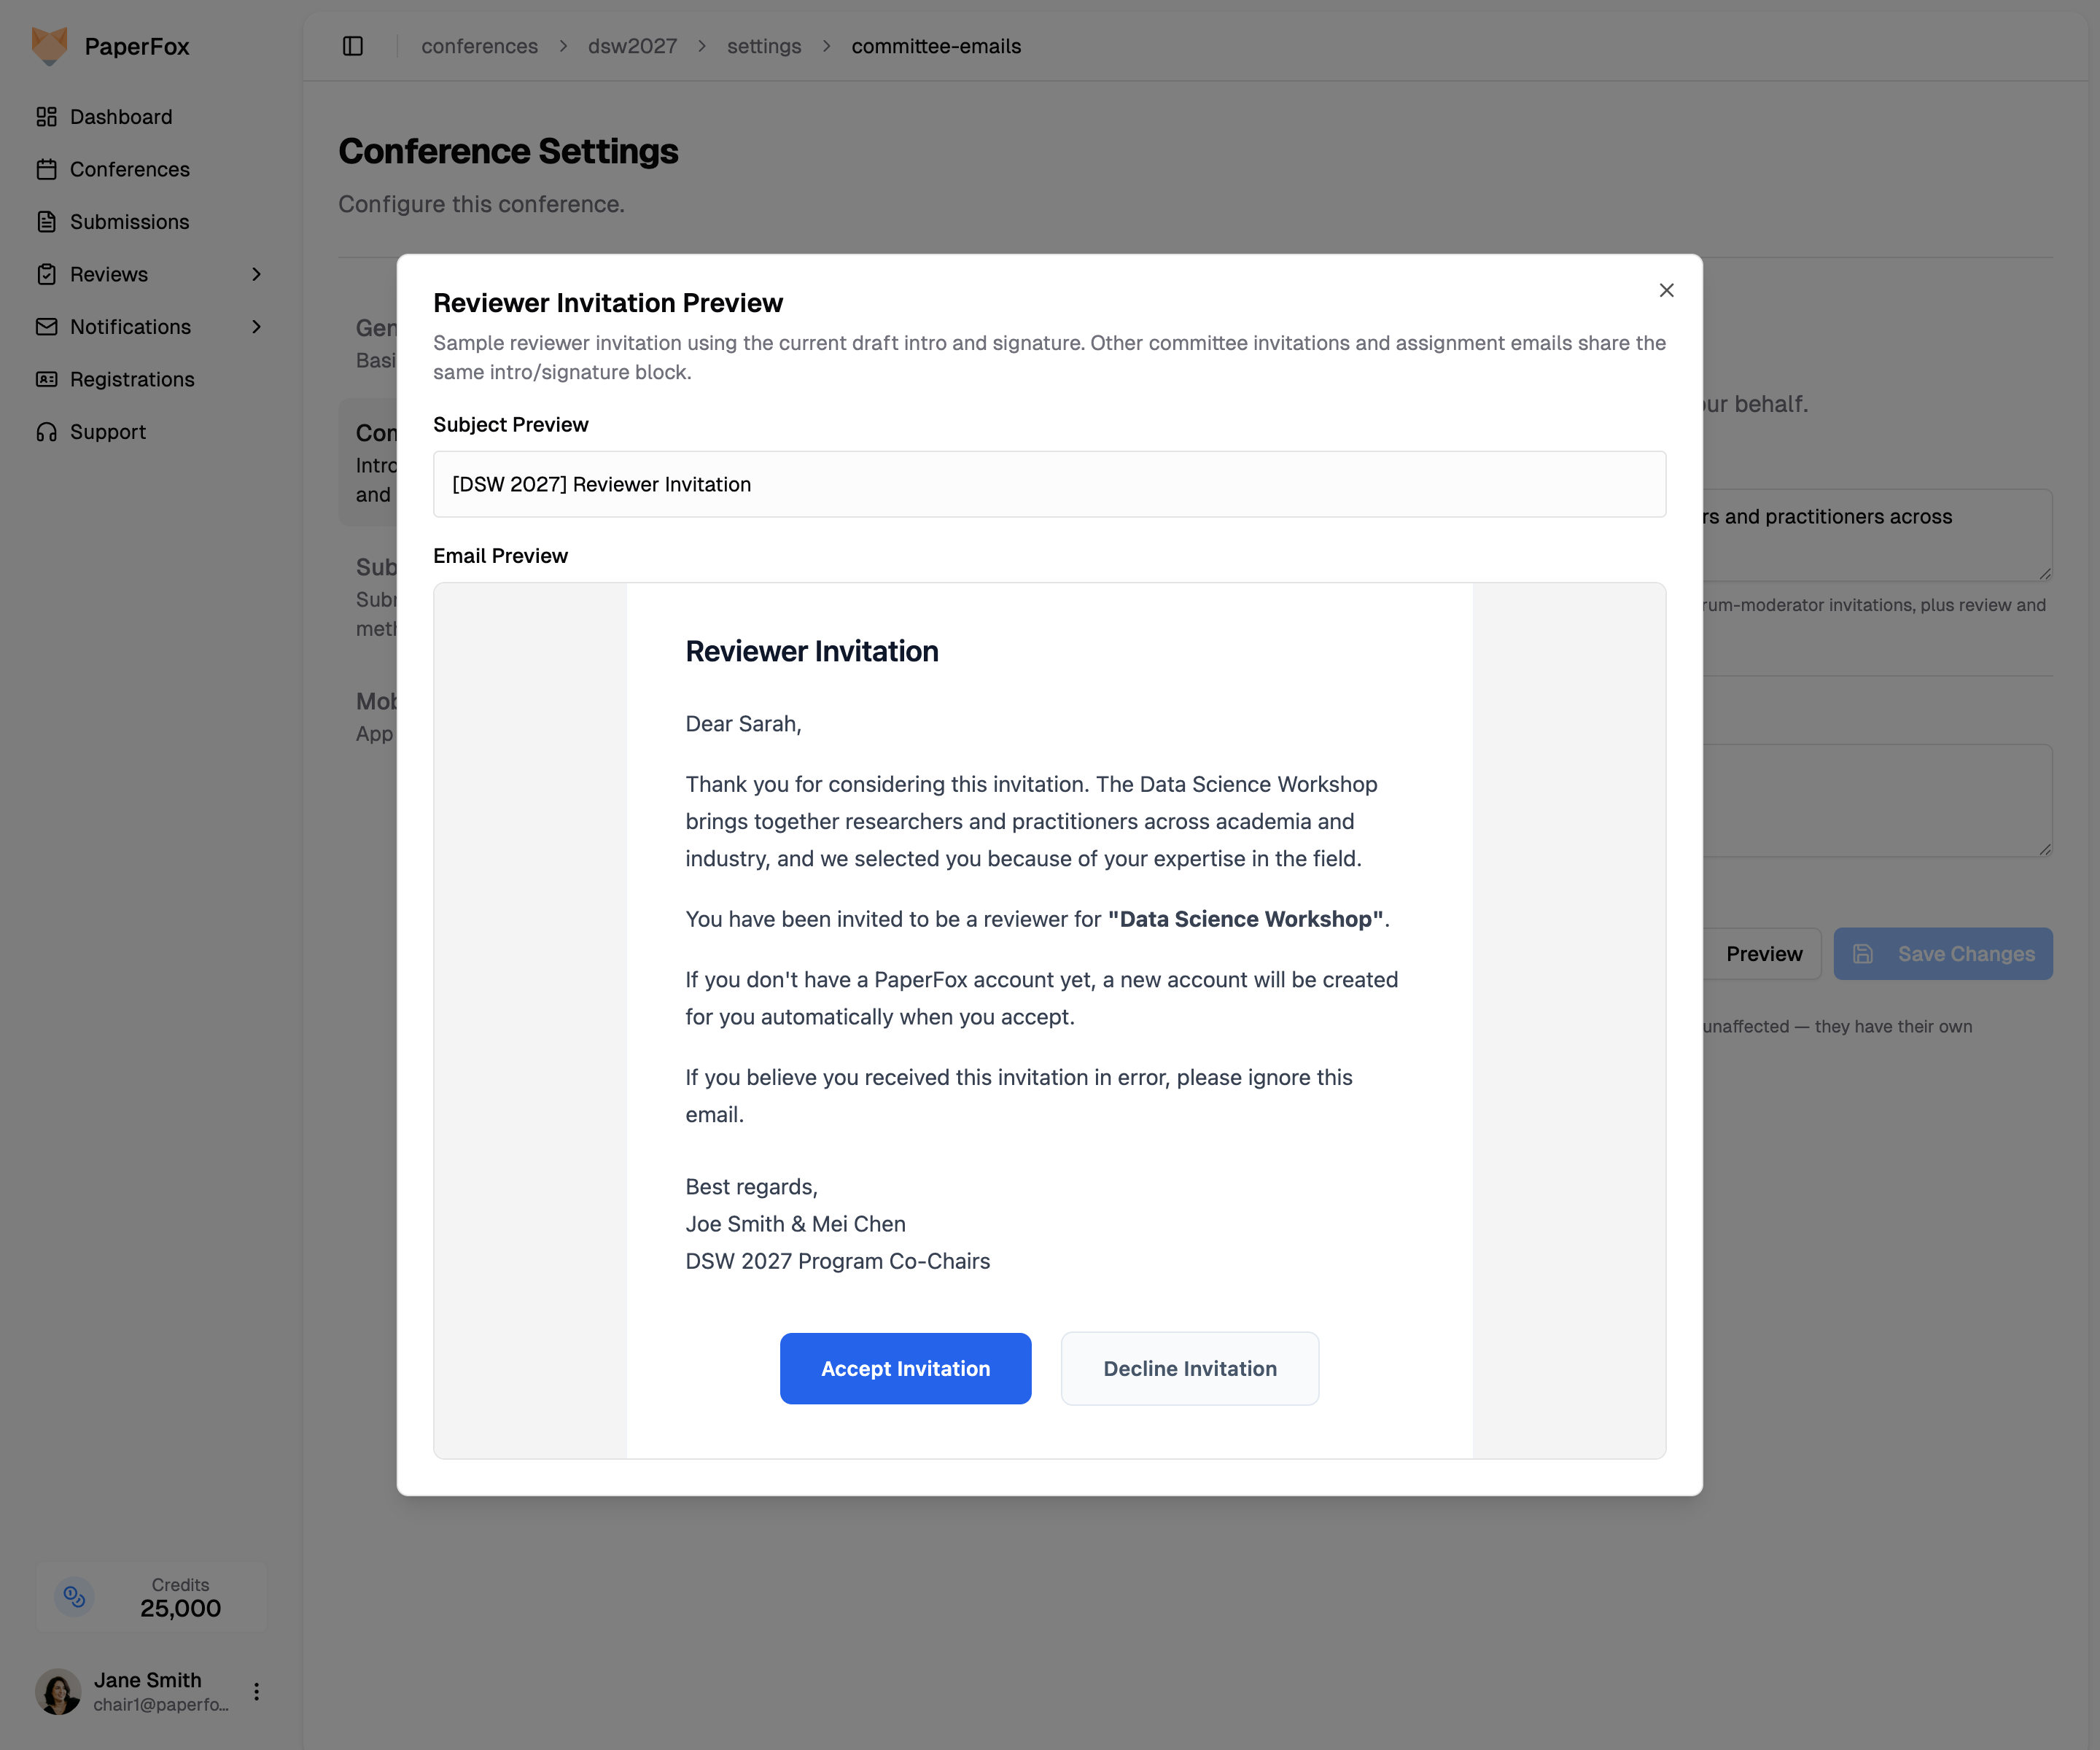 The preview uses sample recipient data (`Dear Sarah,`) but pulls your real conference name and the draft values from the form. Unsaved changes are reflected in the preview.
## Override on a Specific Track
Each track can override the conference default — useful when a multi-track conference has different program chairs per track.
1. Go to your track's management page, then click **"Committee Settings"**
2. Scroll past the Committee Structure card to **Committee Email Overrides**
The preview uses sample recipient data (`Dear Sarah,`) but pulls your real conference name and the draft values from the form. Unsaved changes are reflected in the preview.
## Override on a Specific Track
Each track can override the conference default — useful when a multi-track conference has different program chairs per track.
1. Go to your track's management page, then click **"Committee Settings"**
2. Scroll past the Committee Structure card to **Committee Email Overrides**
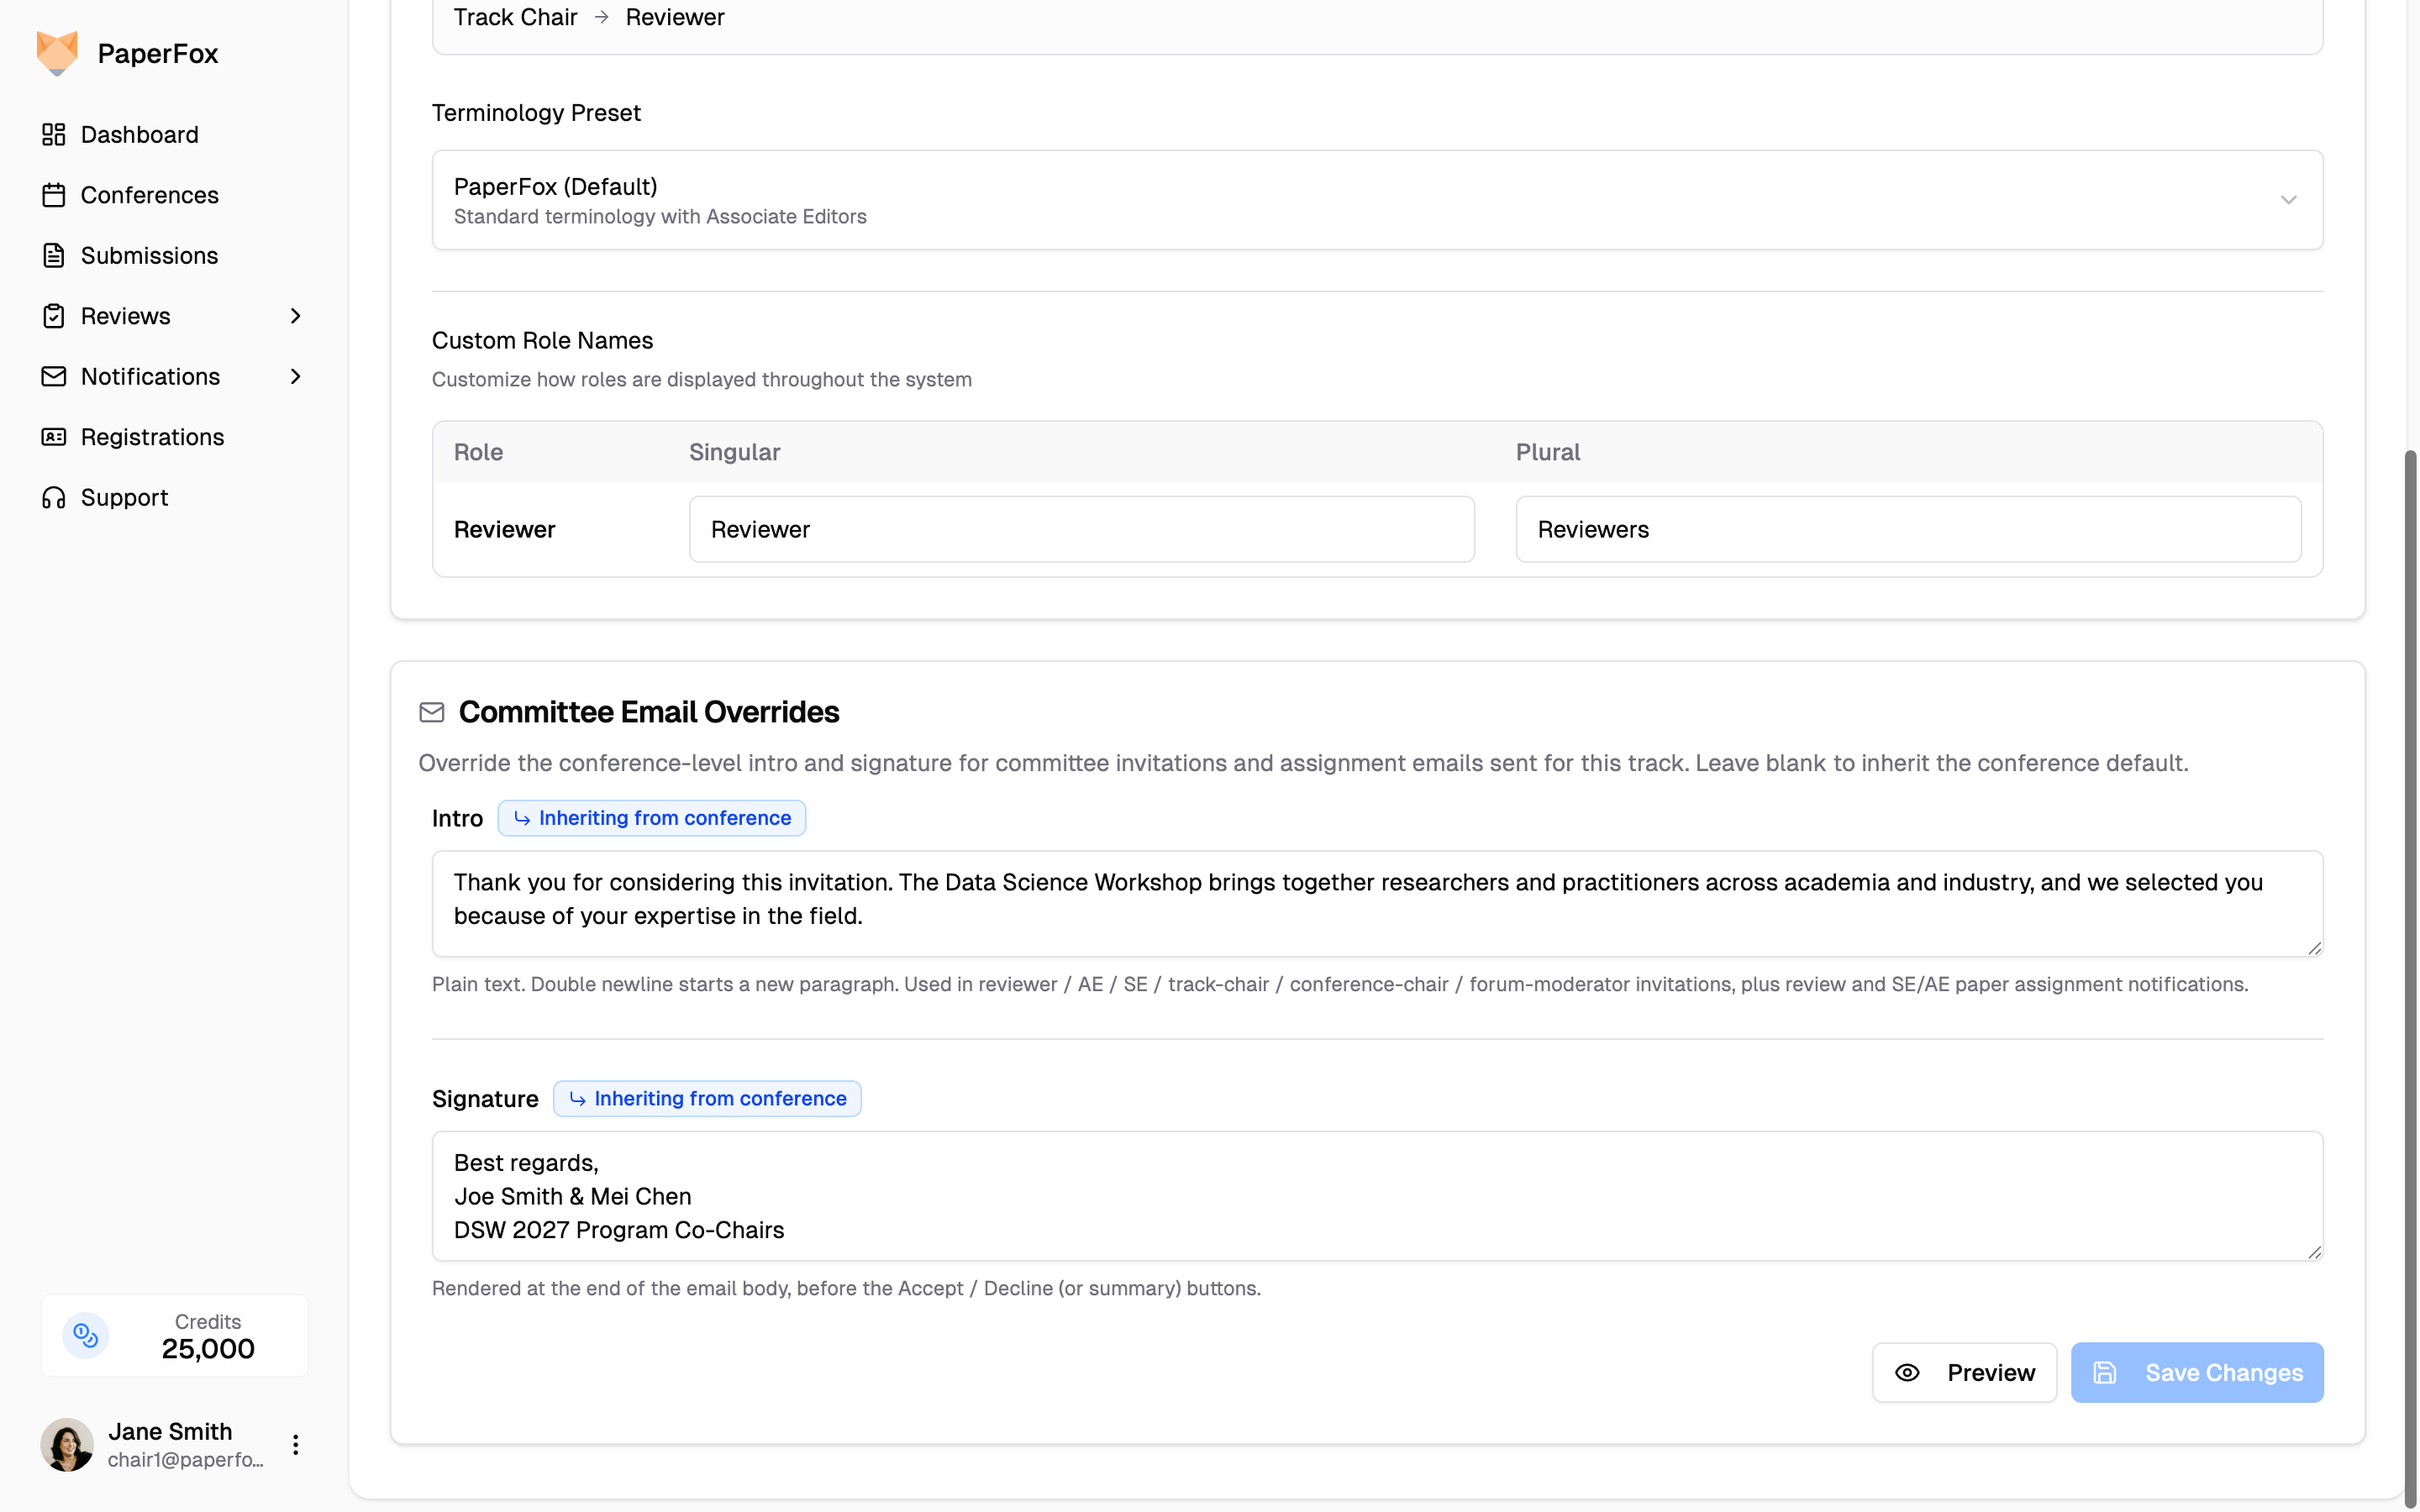 When a track field is blank, it inherits the conference value. The form pre-fills the field with that inherited content, and a blue **Inheriting from conference** badge appears next to the label. Editing the field replaces the inherited value with a track-specific override; the badge disappears.
To revert a track back to inheriting, clear the field and click **"Save Changes"** — that writes a blank value, which the email pipeline then resolves back to the conference default.
## Rename the Role
The invitation body reads "You have been invited to be a **Reviewer** for …" and its subject reads `[ICMR2027] Reviewer Invitation`. Both follow the role's display name, so renaming the role rewrites the invitation everywhere — no separate email setting involved.
1. Go to your track's management page, then click **"Committee Settings"**
2. Either pick a **Terminology Preset** to rename the whole committee at once, or set individual labels under **Custom Role Names**
A track that calls its reviewers "Program Committee Members" sends `[ICMR2027] Program Committee Member Invitation` instead. The same applies to the Associate Editor and Senior Editor invitations.
Display names are per track, so one track can run "Area Chairs" while another keeps "Senior Editors".
## Who Can Edit What
| Surface | Who has access |
|---|---|
| Conference Settings → Committee Emails | Conference chairs only |
| Track → Committee Settings → Overrides | Track chairs of that track, plus conference chairs |
| Track → Committee Settings → Custom Role Names | Track chairs of that track, plus conference chairs |
---
# Customize Decision Types
URL: https://paperfox.ai/docs/chairs/customize-decision-types
Description: Add custom verdict labels to your conference on top of the six built-ins
The six built-in decision types — Accept, Conditional Accept, Major Revision, Minor Revision, Reject, Desk Reject — are always available and drive a submission's submission status. **You can add custom verdict labels on top** for conferences that need finer distinctions like *Accept as Poster*, *Shepherd*, or *Reject and Resubmit*.
Navigate to **Conferences → your conference → Settings → Decision Types** in the sidebar.
When a track field is blank, it inherits the conference value. The form pre-fills the field with that inherited content, and a blue **Inheriting from conference** badge appears next to the label. Editing the field replaces the inherited value with a track-specific override; the badge disappears.
To revert a track back to inheriting, clear the field and click **"Save Changes"** — that writes a blank value, which the email pipeline then resolves back to the conference default.
## Rename the Role
The invitation body reads "You have been invited to be a **Reviewer** for …" and its subject reads `[ICMR2027] Reviewer Invitation`. Both follow the role's display name, so renaming the role rewrites the invitation everywhere — no separate email setting involved.
1. Go to your track's management page, then click **"Committee Settings"**
2. Either pick a **Terminology Preset** to rename the whole committee at once, or set individual labels under **Custom Role Names**
A track that calls its reviewers "Program Committee Members" sends `[ICMR2027] Program Committee Member Invitation` instead. The same applies to the Associate Editor and Senior Editor invitations.
Display names are per track, so one track can run "Area Chairs" while another keeps "Senior Editors".
## Who Can Edit What
| Surface | Who has access |
|---|---|
| Conference Settings → Committee Emails | Conference chairs only |
| Track → Committee Settings → Overrides | Track chairs of that track, plus conference chairs |
| Track → Committee Settings → Custom Role Names | Track chairs of that track, plus conference chairs |
---
# Customize Decision Types
URL: https://paperfox.ai/docs/chairs/customize-decision-types
Description: Add custom verdict labels to your conference on top of the six built-ins
The six built-in decision types — Accept, Conditional Accept, Major Revision, Minor Revision, Reject, Desk Reject — are always available and drive a submission's submission status. **You can add custom verdict labels on top** for conferences that need finer distinctions like *Accept as Poster*, *Shepherd*, or *Reject and Resubmit*.
Navigate to **Conferences → your conference → Settings → Decision Types** in the sidebar.
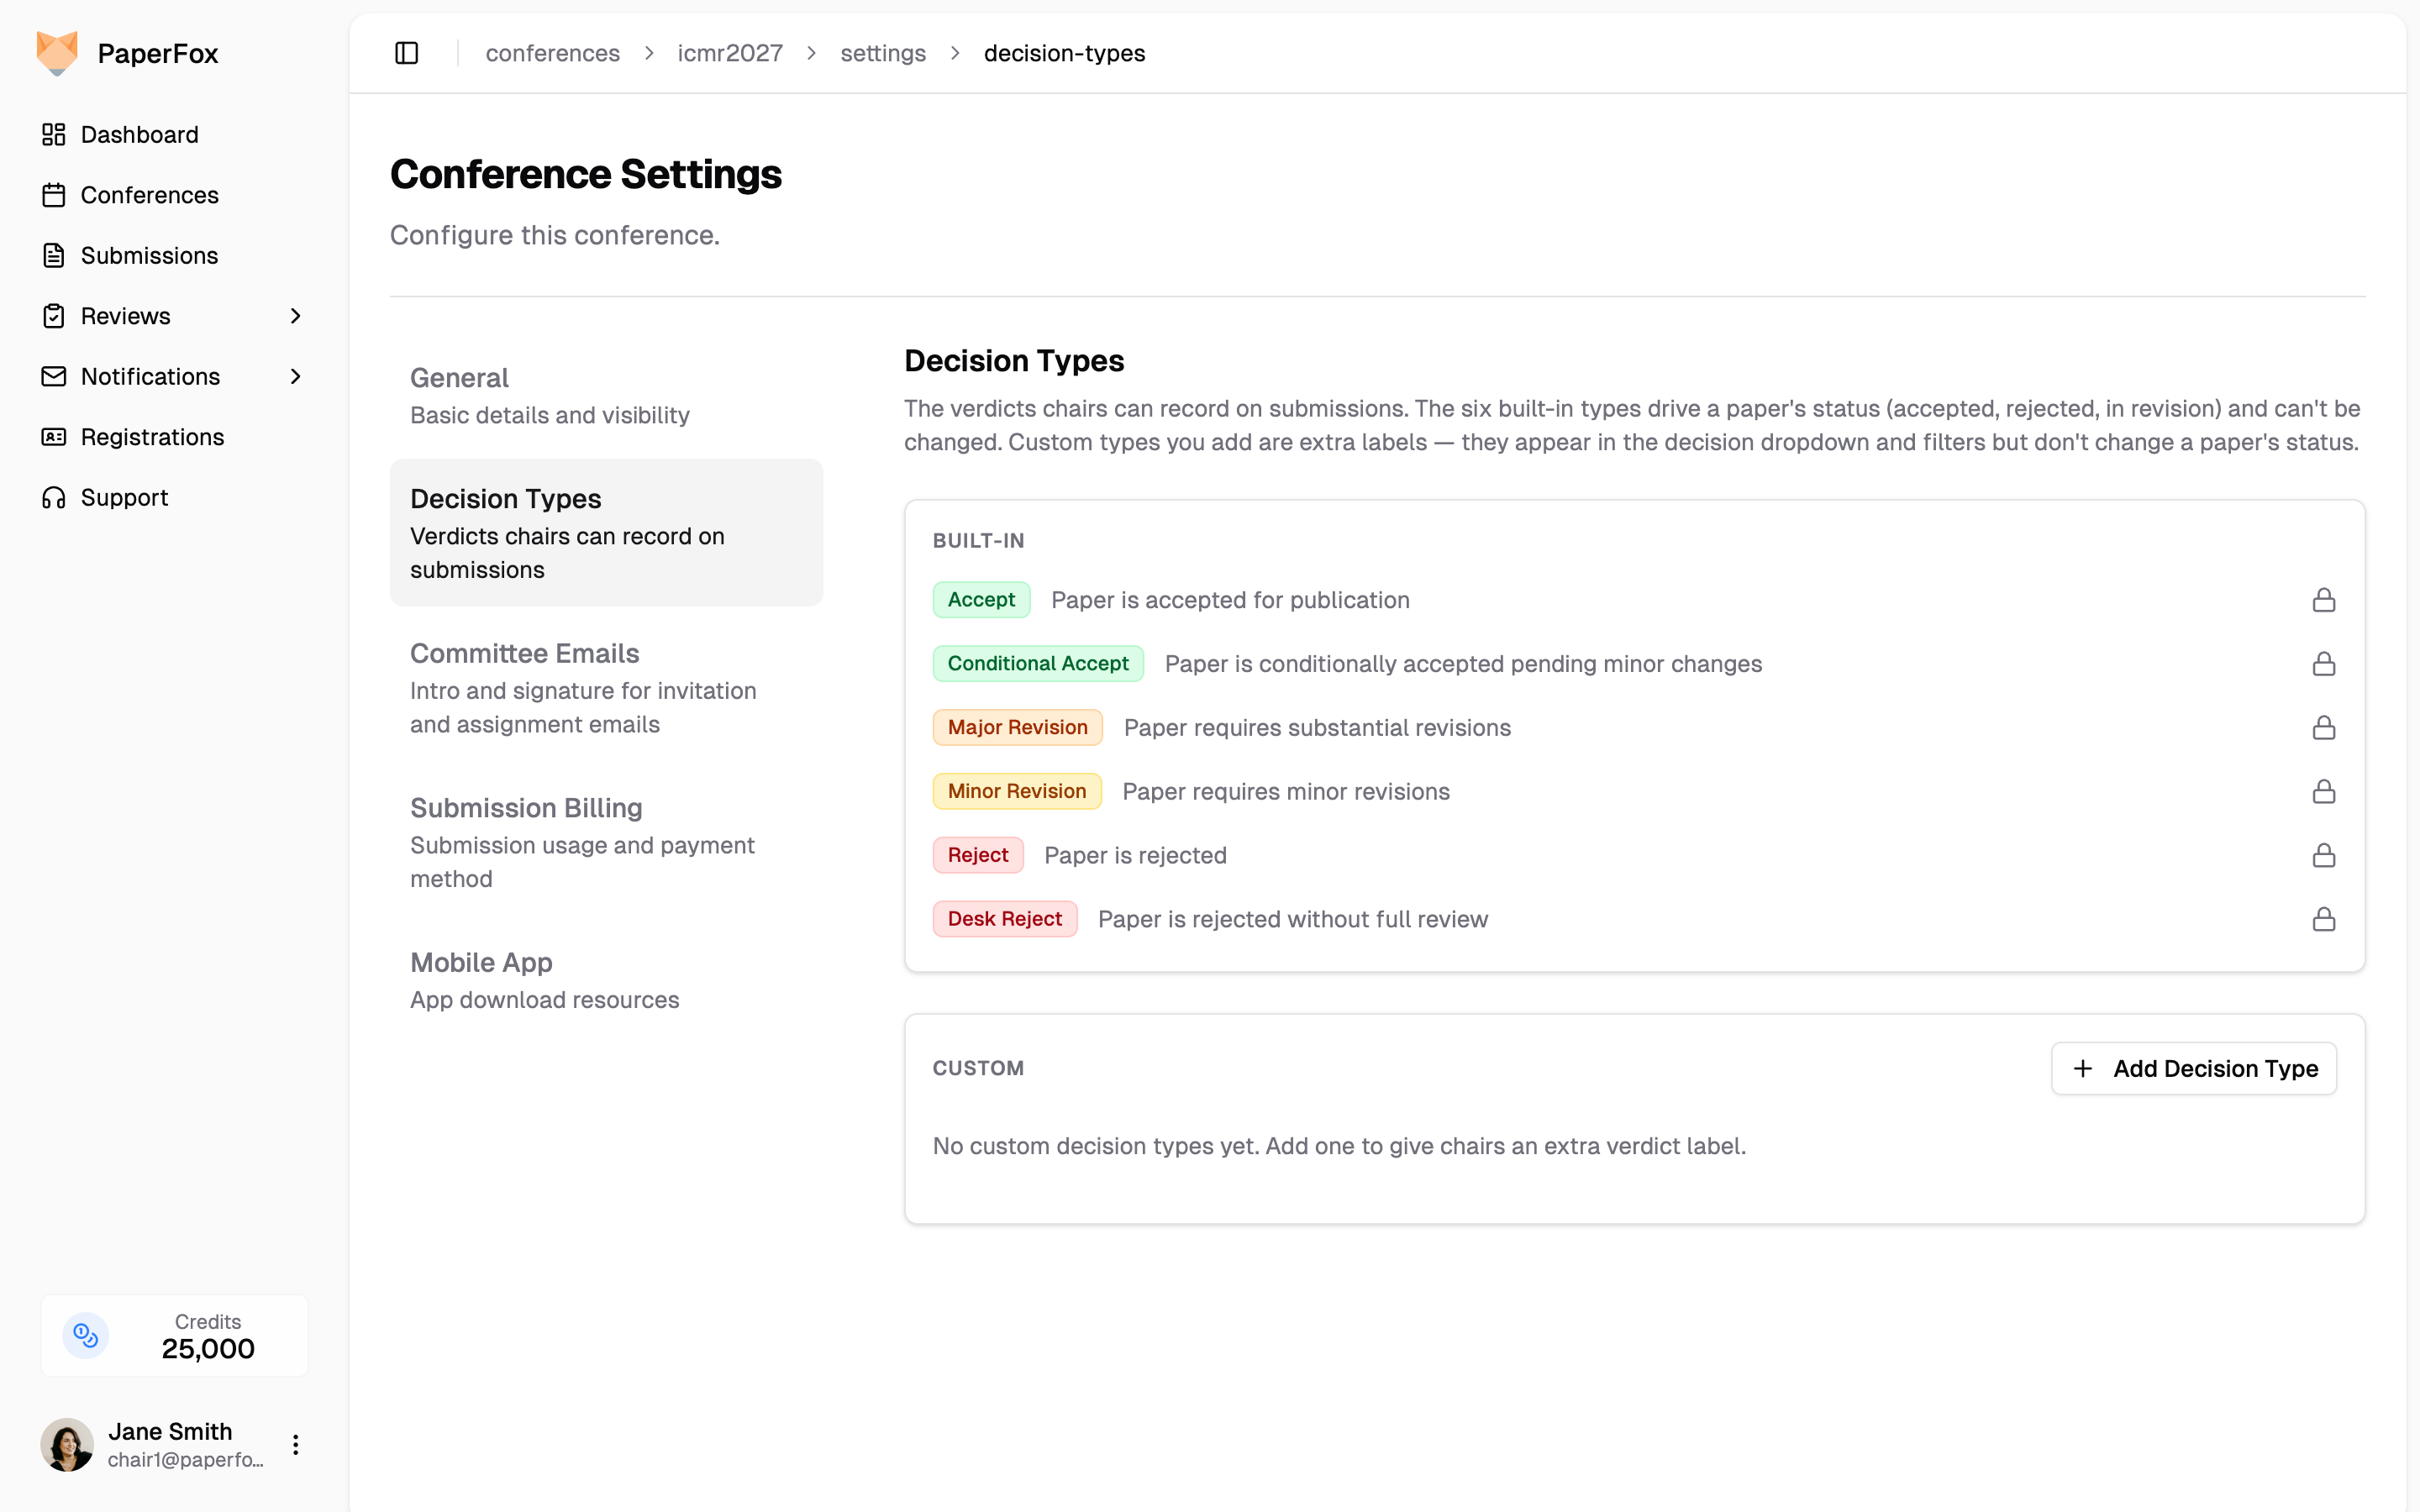 The page lists every decision type in one ordered list — the same order chairs see in the decision dropdown and filters:
- **Built-in** types (lock icon) — the six fixed types. They drive the submission's lifecycle status (accepted, rejected, in revision) and can't be renamed, recolored, or deleted. They can be reordered.
- **Custom** types (rename and delete icons) — verdict labels you add. They appear in the decision dropdown and filters but **don't change a submission's status** — useful when you want a granular outcome label without altering the lifecycle.
The page lists every decision type in one ordered list — the same order chairs see in the decision dropdown and filters:
- **Built-in** types (lock icon) — the six fixed types. They drive the submission's lifecycle status (accepted, rejected, in revision) and can't be renamed, recolored, or deleted. They can be reordered.
- **Custom** types (rename and delete icons) — verdict labels you add. They appear in the decision dropdown and filters but **don't change a submission's status** — useful when you want a granular outcome label without altering the lifecycle.
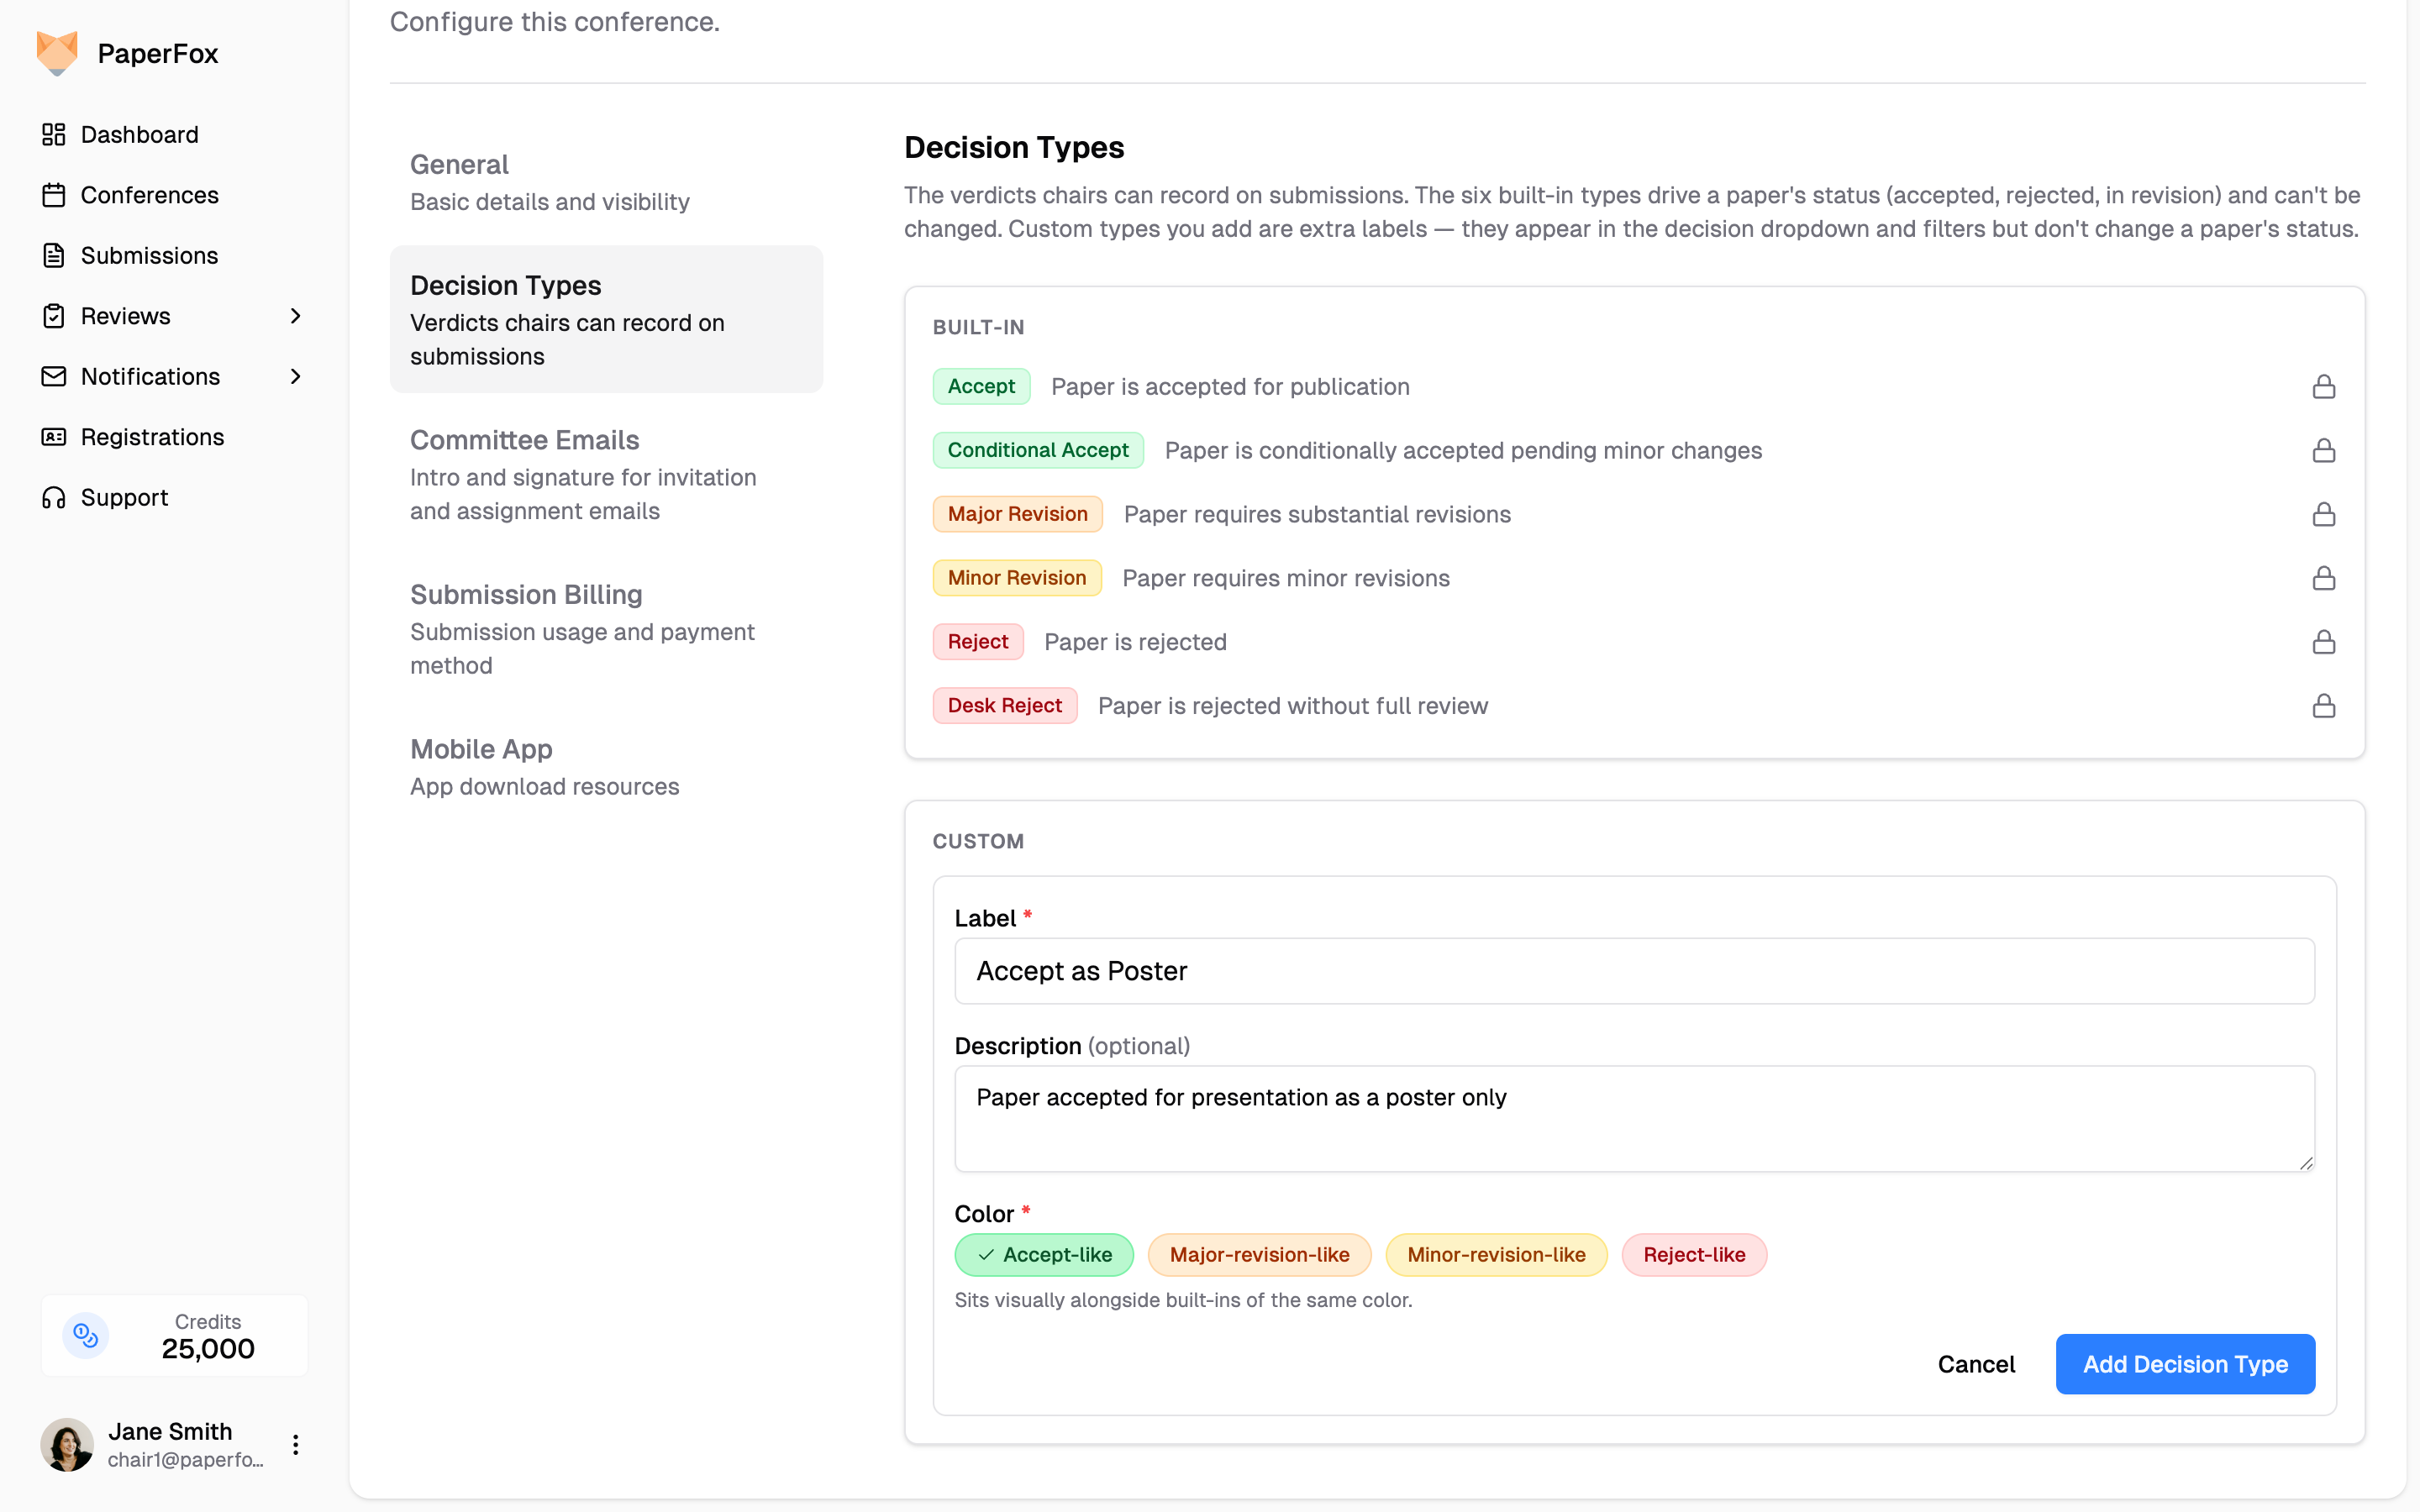 3. Click **"Add Decision Type"** to save
The new label is immediately available to all chairs (and AEs/SEs) making decisions in any track of this conference. It also appears as a filter option on the decisions page.
The new type is placed **right after the last type of the same color**, so an accept-like *Accept as Poster* lands beside Accept and Conditional Accept rather than at the bottom of the dropdown below Desk Reject, where a chair scanning for an accept option can miss it. Drag it elsewhere if you want a different spot.
---
## Reorder
Drag the handle at the left of any row — built-in or custom — to change its position. The order saves as soon as you drop the row and applies everywhere the list is shown: the **Decision** dropdown on a submission, the bulk decision page, and the decision filters. A common arrangement groups all accept-like verdicts first, then revisions, then rejections.
The handle also works from the keyboard: focus it, press Space, move with the arrow keys, and press Space again to drop.
---
## Rename or Recolor
Click the **rename** icon next to a custom decision to change its label, description, or color. This works whether or not the custom is in use — a label change updates everywhere, including on past decisions that referenced it.
---
## Delete
Custom decisions you haven't recorded on any submission yet can be deleted with the trash icon.
Once a custom decision has been recorded on at least one submission, the delete affordance becomes **disabled** — hovering shows a tooltip explaining why. A badge next to the row shows how many submissions currently carry that decision. You can still rename it, but to delete it you'd first need to change the affected decisions to something else.
Built-in decisions can never be deleted.
---
## Where Custom Decisions Show Up
After you add one, it appears in:
- The **Decision** dropdown when track chairs / AEs / SEs make a decision on a submission
- The **Decision** filter on the track's decisions page
- The decision badge wherever a decided submission is rendered (decisions page, submission detail, MCP responses, CSV exports)
- The decision-letter email to authors, using the label and color you set
See [Make Decisions on Submissions](/docs/track-chairs/make-decisions) for the track-chair workflow that uses these verdicts.
---
# Enable Conference Submissions
URL: https://paperfox.ai/docs/chairs/enable-submissions
Description: Open your conference tracks for submission submissions
## Accessing Track Settings
1. Go to your conference dashboard
2. Select the track you want to open for submissions
3. Click **Manage Track**
3. Click **"Add Decision Type"** to save
The new label is immediately available to all chairs (and AEs/SEs) making decisions in any track of this conference. It also appears as a filter option on the decisions page.
The new type is placed **right after the last type of the same color**, so an accept-like *Accept as Poster* lands beside Accept and Conditional Accept rather than at the bottom of the dropdown below Desk Reject, where a chair scanning for an accept option can miss it. Drag it elsewhere if you want a different spot.
---
## Reorder
Drag the handle at the left of any row — built-in or custom — to change its position. The order saves as soon as you drop the row and applies everywhere the list is shown: the **Decision** dropdown on a submission, the bulk decision page, and the decision filters. A common arrangement groups all accept-like verdicts first, then revisions, then rejections.
The handle also works from the keyboard: focus it, press Space, move with the arrow keys, and press Space again to drop.
---
## Rename or Recolor
Click the **rename** icon next to a custom decision to change its label, description, or color. This works whether or not the custom is in use — a label change updates everywhere, including on past decisions that referenced it.
---
## Delete
Custom decisions you haven't recorded on any submission yet can be deleted with the trash icon.
Once a custom decision has been recorded on at least one submission, the delete affordance becomes **disabled** — hovering shows a tooltip explaining why. A badge next to the row shows how many submissions currently carry that decision. You can still rename it, but to delete it you'd first need to change the affected decisions to something else.
Built-in decisions can never be deleted.
---
## Where Custom Decisions Show Up
After you add one, it appears in:
- The **Decision** dropdown when track chairs / AEs / SEs make a decision on a submission
- The **Decision** filter on the track's decisions page
- The decision badge wherever a decided submission is rendered (decisions page, submission detail, MCP responses, CSV exports)
- The decision-letter email to authors, using the label and color you set
See [Make Decisions on Submissions](/docs/track-chairs/make-decisions) for the track-chair workflow that uses these verdicts.
---
# Enable Conference Submissions
URL: https://paperfox.ai/docs/chairs/enable-submissions
Description: Open your conference tracks for submission submissions
## Accessing Track Settings
1. Go to your conference dashboard
2. Select the track you want to open for submissions
3. Click **Manage Track**
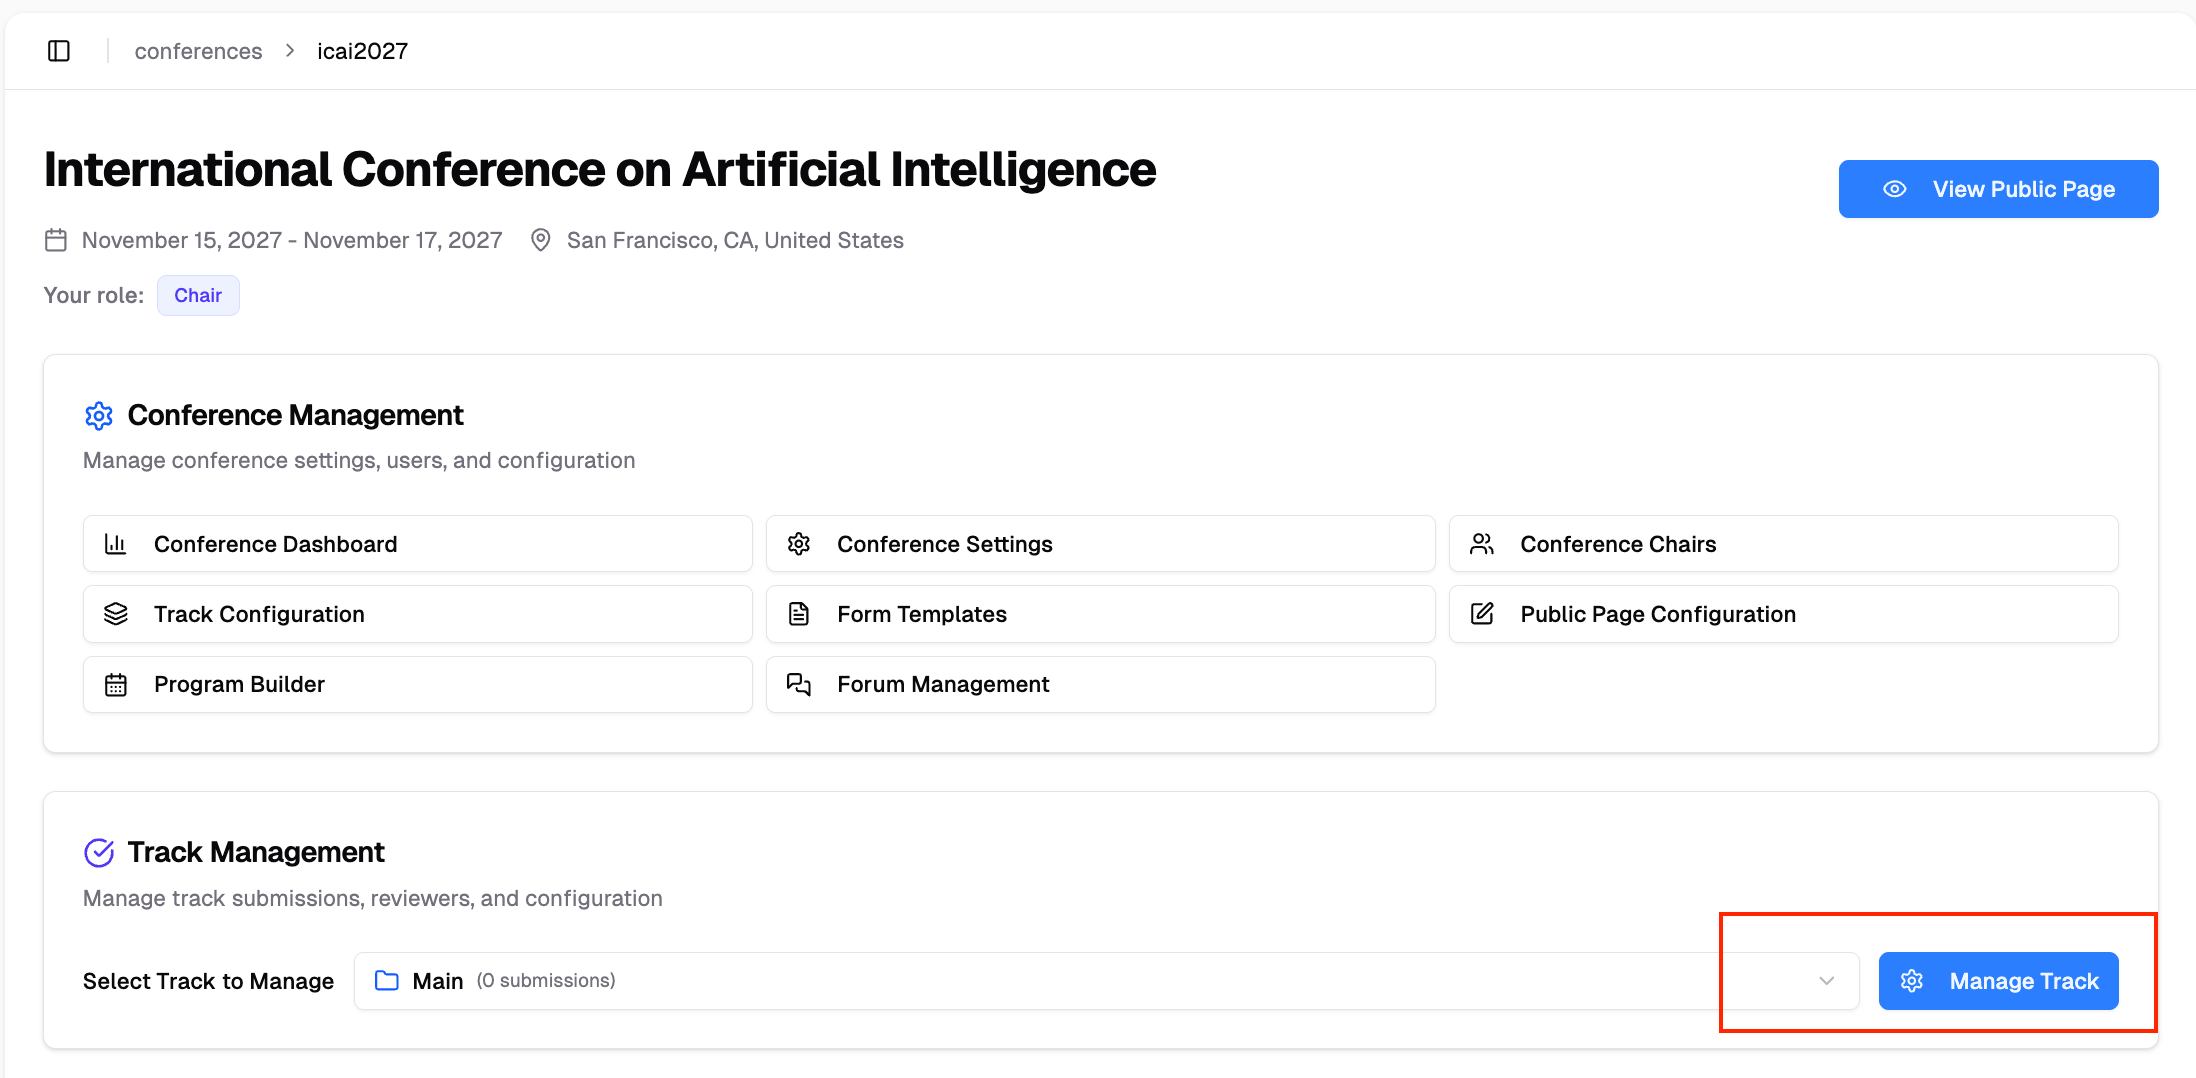 ## Enable Submissions
In the track management page, locate the **Submission Management** section and click **"Submission Settings"** to expand it — the collapsed row shows a one-line summary of the current status and deadline:
1. Toggle **Accept Submissions** to enable
2. Set a **Submission Deadline** (optional)
3. Select the deadline **Timezone**
4. Optionally set a **Late Submission Until** date to allow a grace period after the deadline (see [Manage Submission Deadline](/docs/track-chairs/manage-submission-deadline) for details)
## Enable Submissions
In the track management page, locate the **Submission Management** section and click **"Submission Settings"** to expand it — the collapsed row shows a one-line summary of the current status and deadline:
1. Toggle **Accept Submissions** to enable
2. Set a **Submission Deadline** (optional)
3. Select the deadline **Timezone**
4. Optionally set a **Late Submission Until** date to allow a grace period after the deadline (see [Manage Submission Deadline](/docs/track-chairs/manage-submission-deadline) for details)
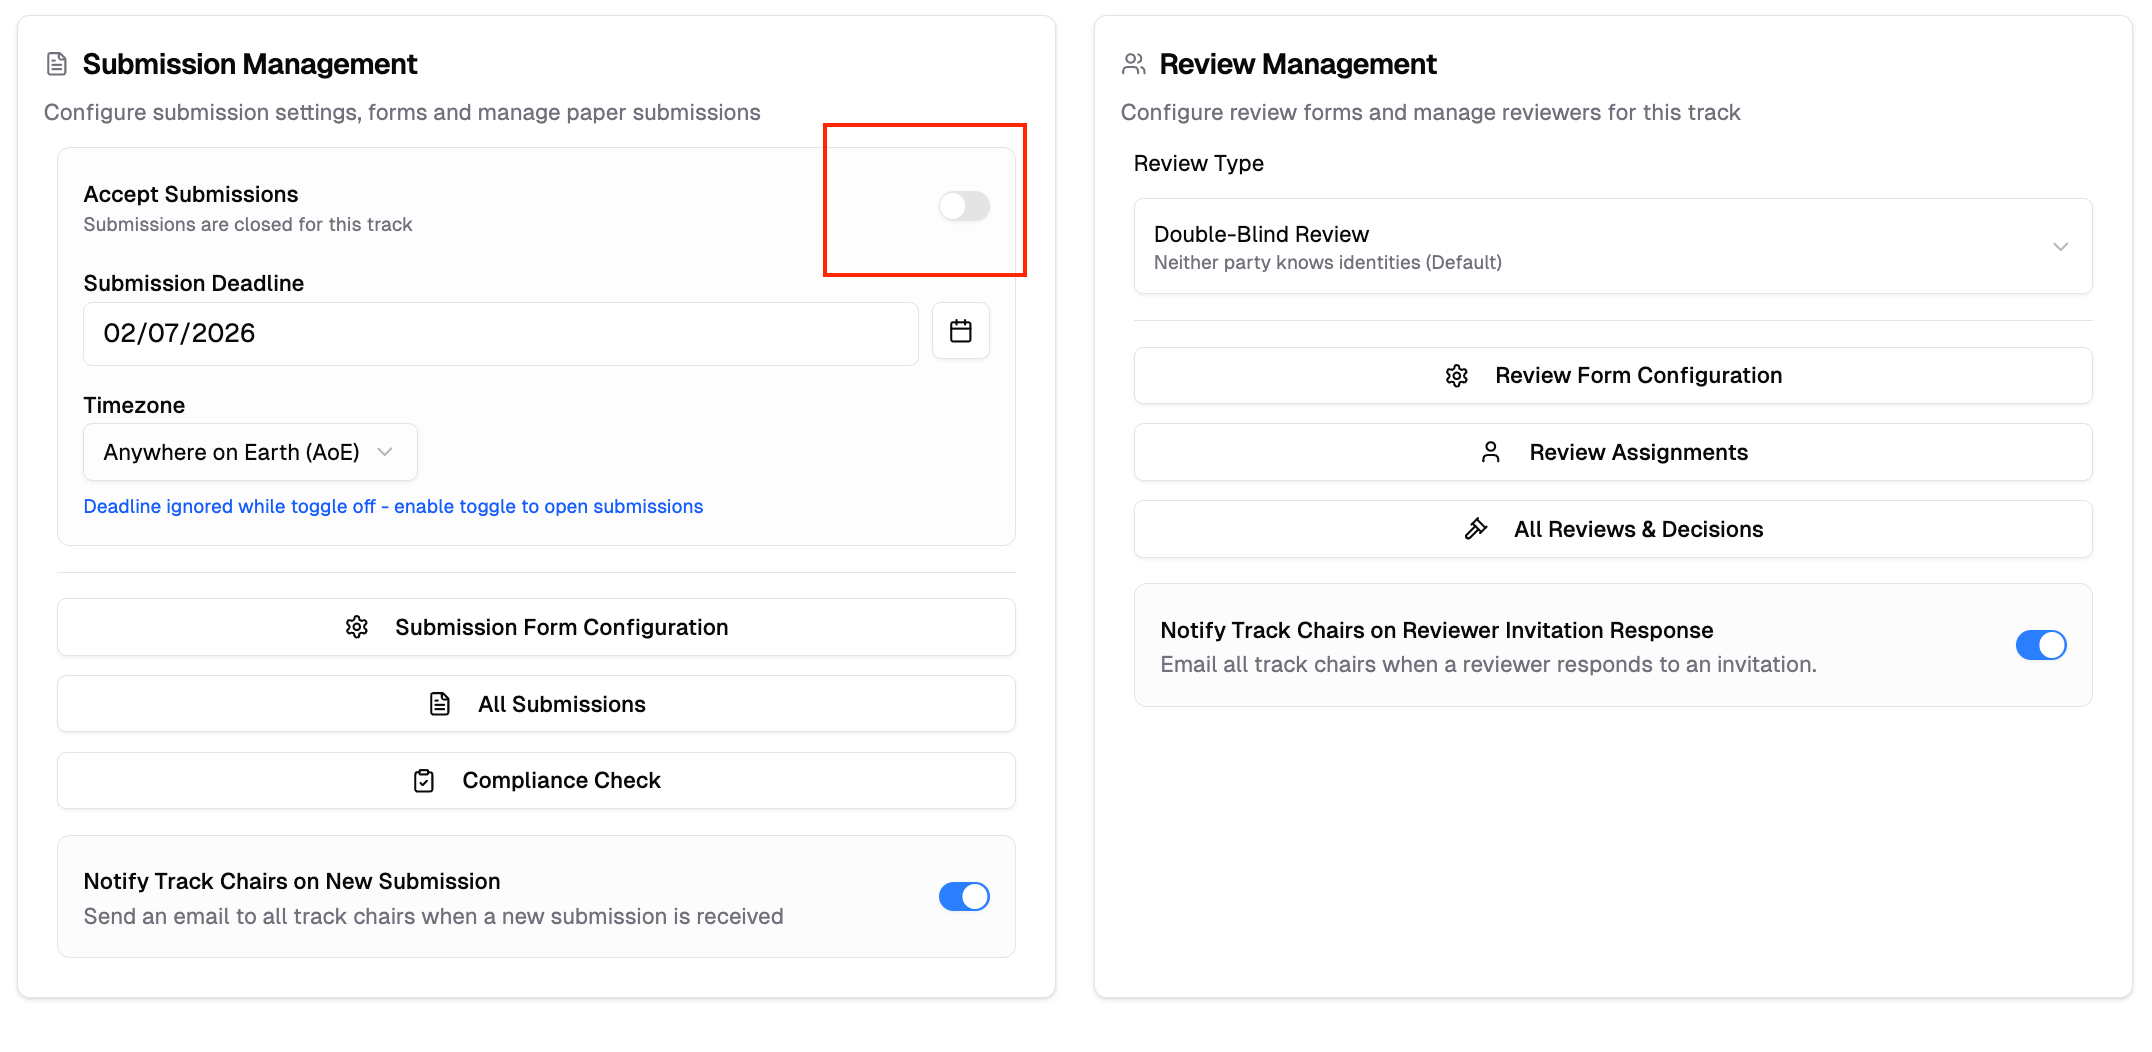 When enabled, authors can submit submissions to this track from your conference's public submission page. Before opening submissions, you may want to [configure your submission form](/docs/track-chairs/configure-track-submission-forms).
## Set Submissions for All Tracks at Once
If your conference has several tracks that share the same deadline, you don't need to open each track one by one. From the conference **Track Configuration** page, click **"Bulk Submission Settings"** in the top-right.
When enabled, authors can submit submissions to this track from your conference's public submission page. Before opening submissions, you may want to [configure your submission form](/docs/track-chairs/configure-track-submission-forms).
## Set Submissions for All Tracks at Once
If your conference has several tracks that share the same deadline, you don't need to open each track one by one. From the conference **Track Configuration** page, click **"Bulk Submission Settings"** in the top-right.
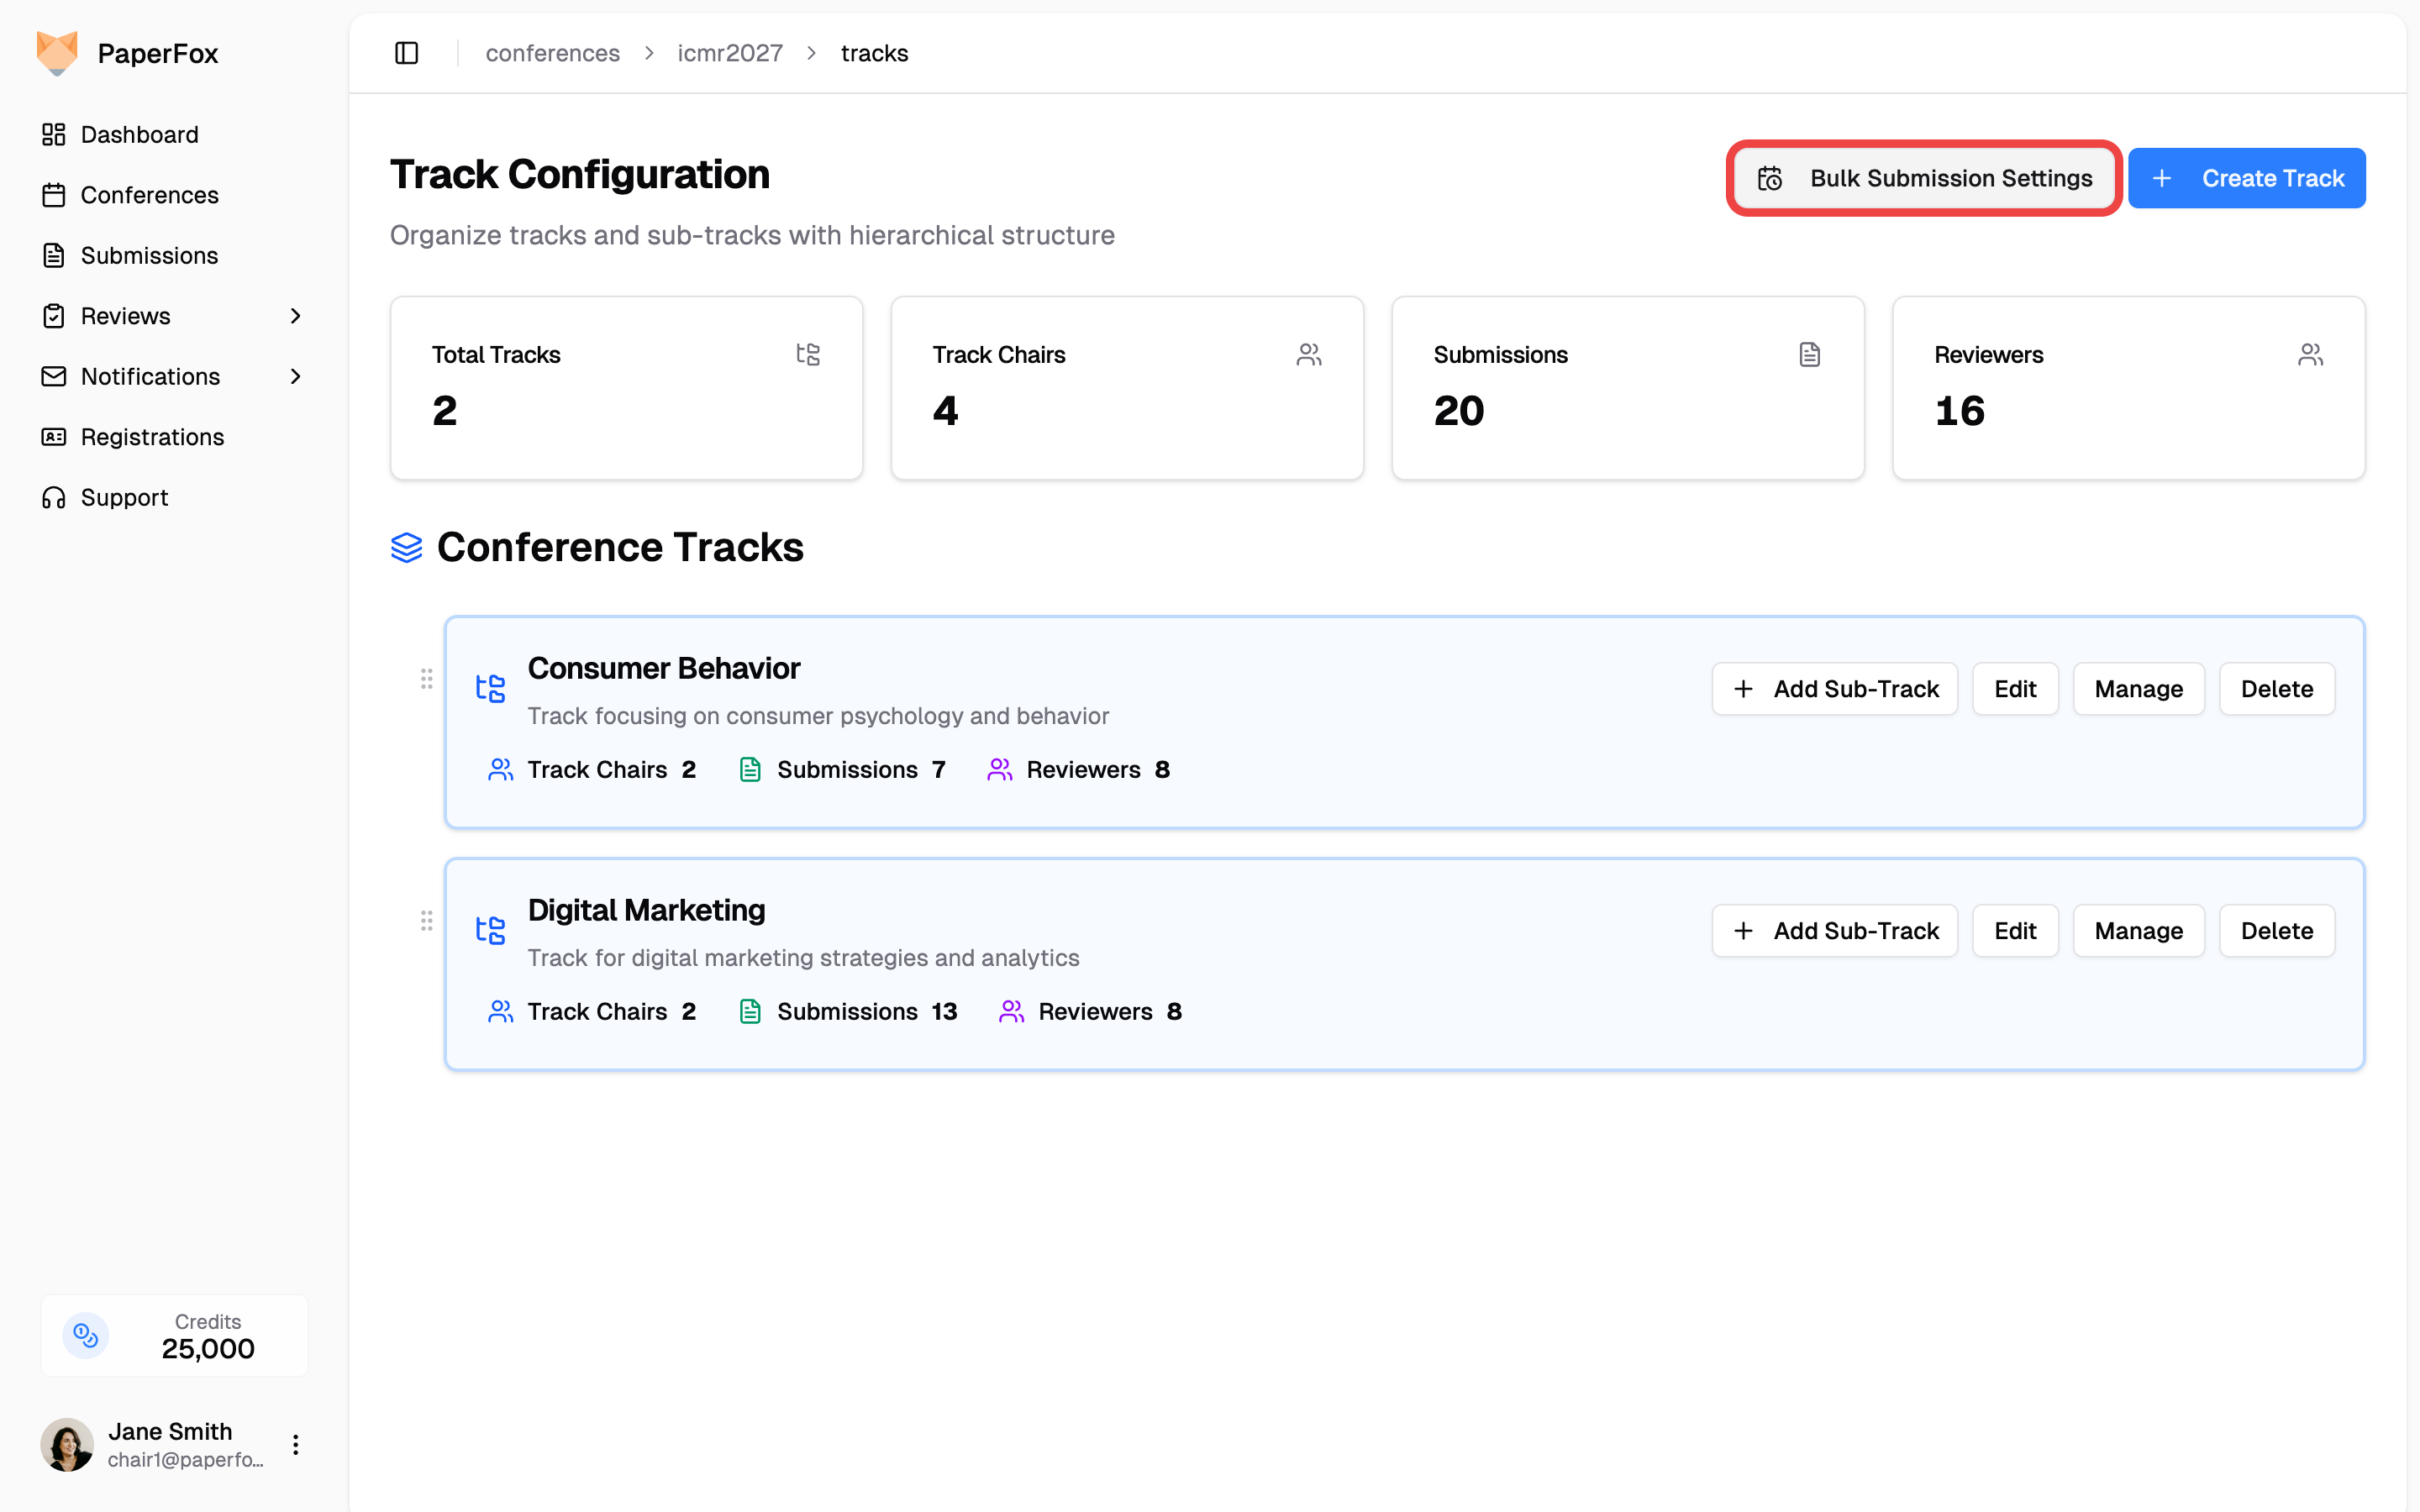 In the dialog, every track is selected by default. Uncheck any track you want to leave alone, then choose what to apply:
- **Accept Submissions** — flip to OFF to close all selected tracks, ON to open them.
- **Submission Deadline** — set a shared cutoff. Clear the date to remove the deadline entirely.
- **Late Submission Until** — optional grace period after the deadline.
When all selected tracks share the same values, those values pre-fill the form so you can see what's currently saved before changing anything. When tracks disagree on a field, the dialog resets that field to a safe default (toggle OFF, empty deadline, AOE timezone) and shows an amber banner reminding you that **Apply overwrites every selected track with whatever you leave in the form**. The per-track row above each field still shows each track's current value so you know what's being replaced.
In the dialog, every track is selected by default. Uncheck any track you want to leave alone, then choose what to apply:
- **Accept Submissions** — flip to OFF to close all selected tracks, ON to open them.
- **Submission Deadline** — set a shared cutoff. Clear the date to remove the deadline entirely.
- **Late Submission Until** — optional grace period after the deadline.
When all selected tracks share the same values, those values pre-fill the form so you can see what's currently saved before changing anything. When tracks disagree on a field, the dialog resets that field to a safe default (toggle OFF, empty deadline, AOE timezone) and shows an amber banner reminding you that **Apply overwrites every selected track with whatever you leave in the form**. The per-track row above each field still shows each track's current value so you know what's being replaced.
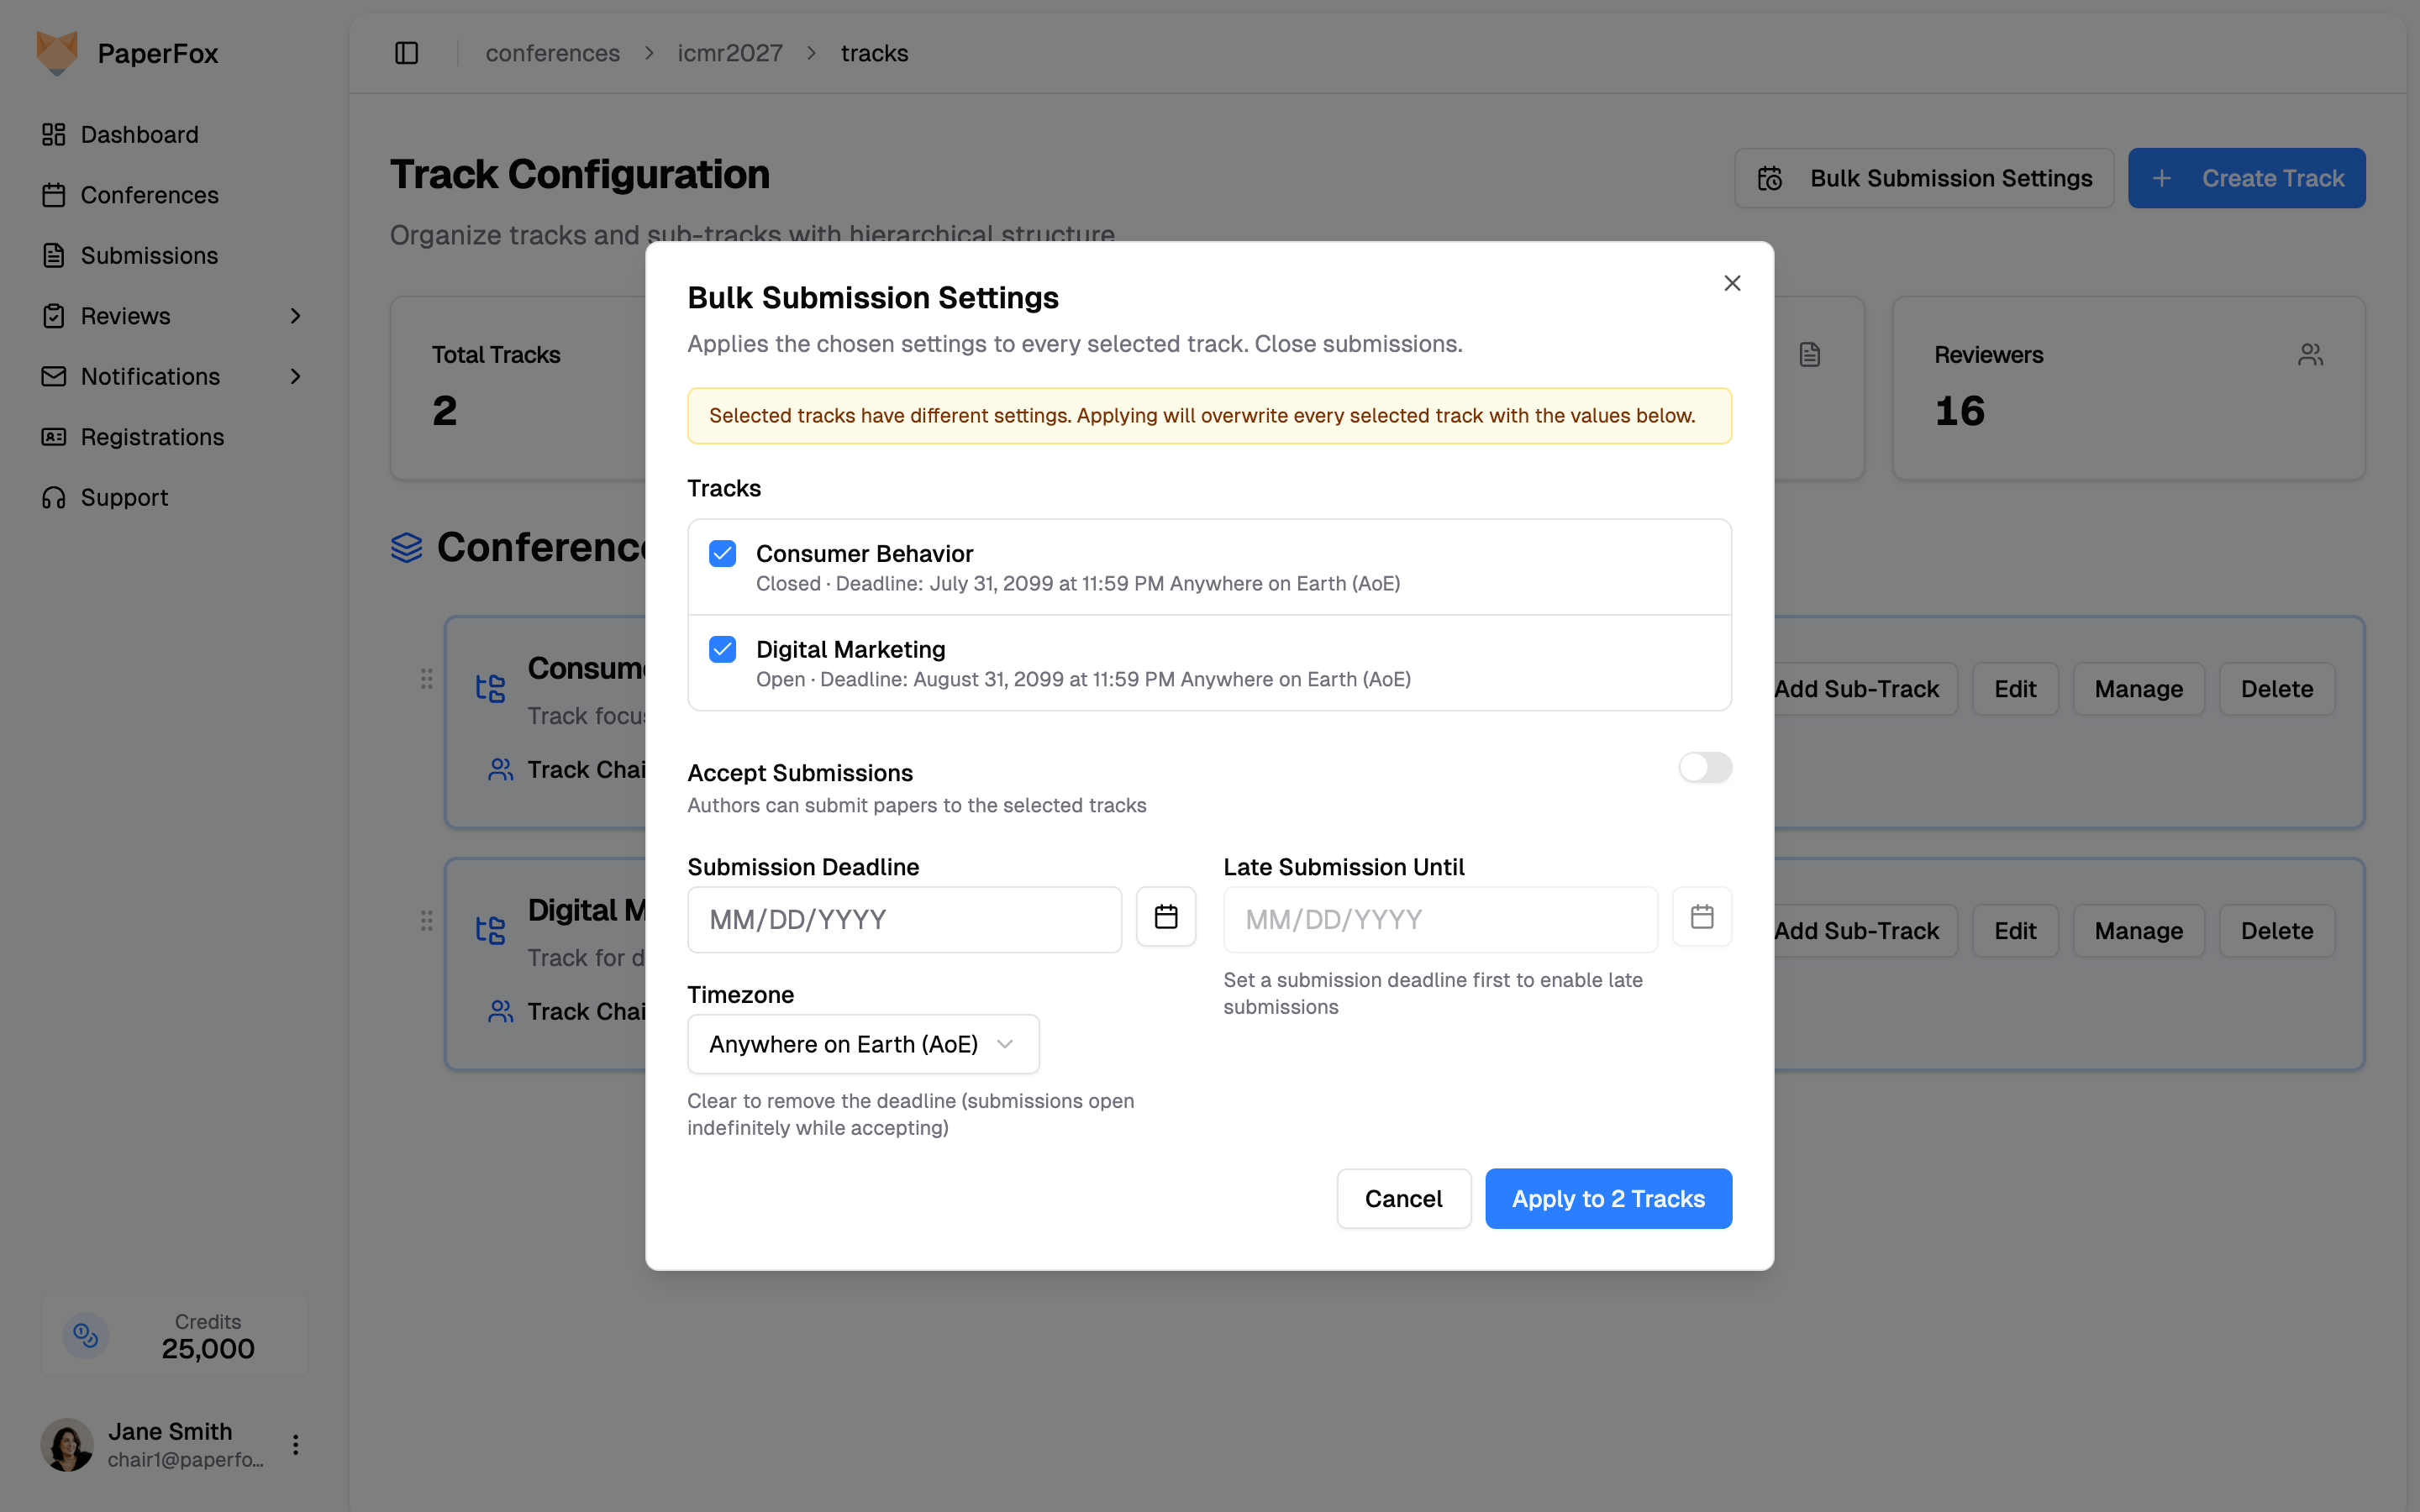 Click **"Apply to N Tracks"** to save. The action is conference-chair only and updates each track's settings in one step. This is a shortcut for the per-track flow above — anything you set here can still be fine-tuned later on each track's **Submission Management** section.
## Public Submission Page
To make the submission page visible to public, go to **Website Configuration** and enable the **Submission** page.
Click **"Apply to N Tracks"** to save. The action is conference-chair only and updates each track's settings in one step. This is a shortcut for the per-track flow above — anything you set here can still be fine-tuned later on each track's **Submission Management** section.
## Public Submission Page
To make the submission page visible to public, go to **Website Configuration** and enable the **Submission** page.
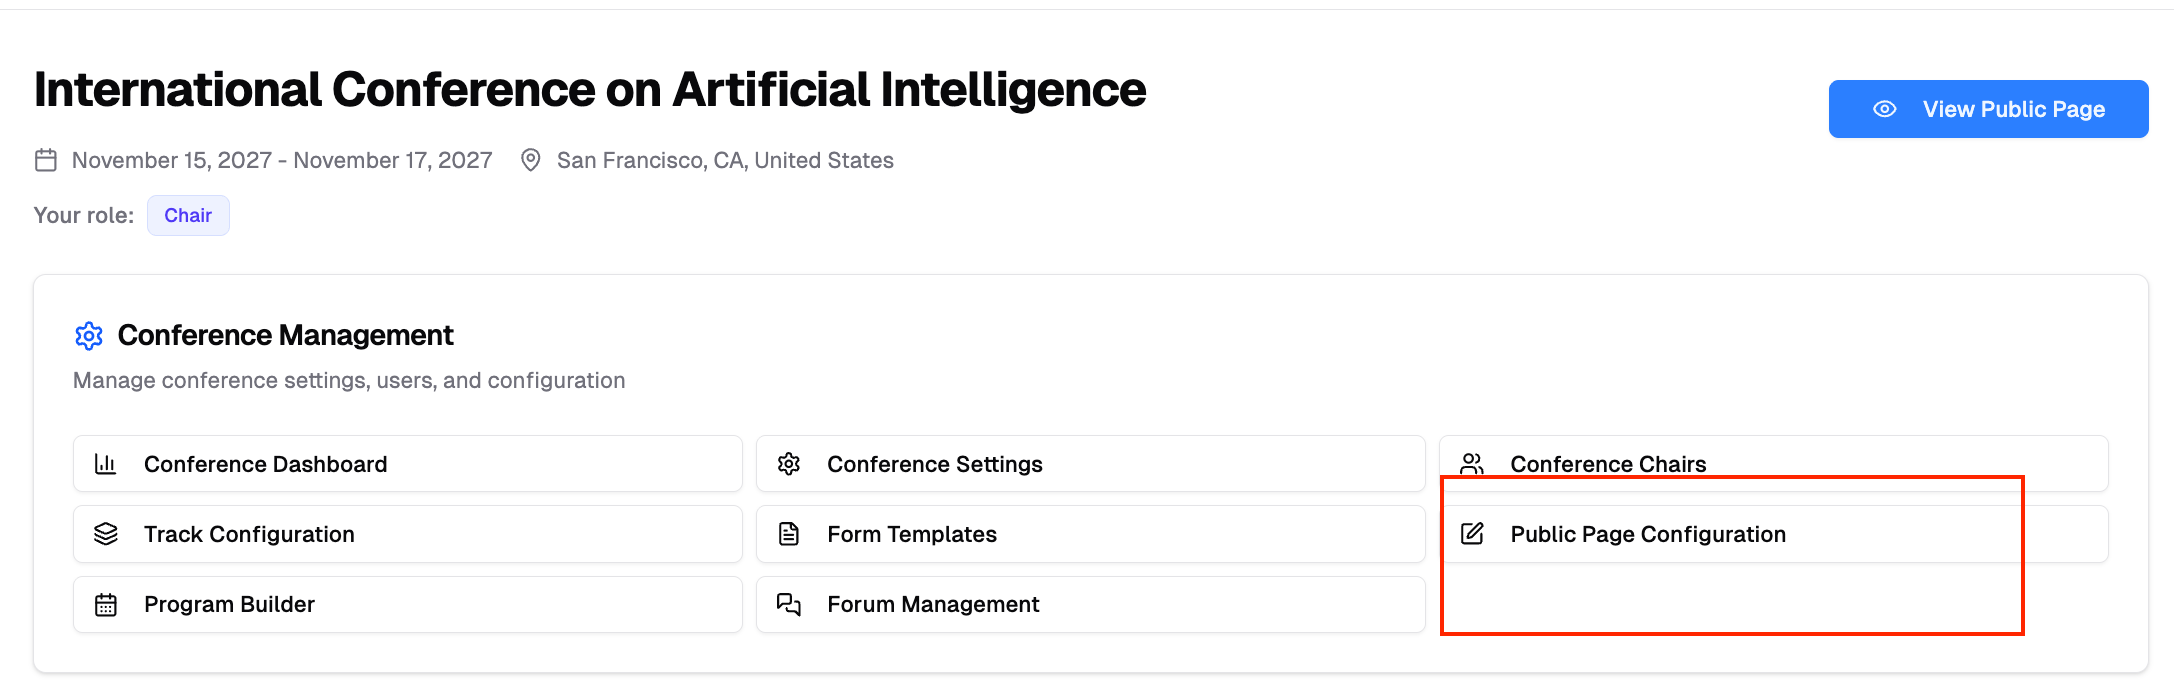
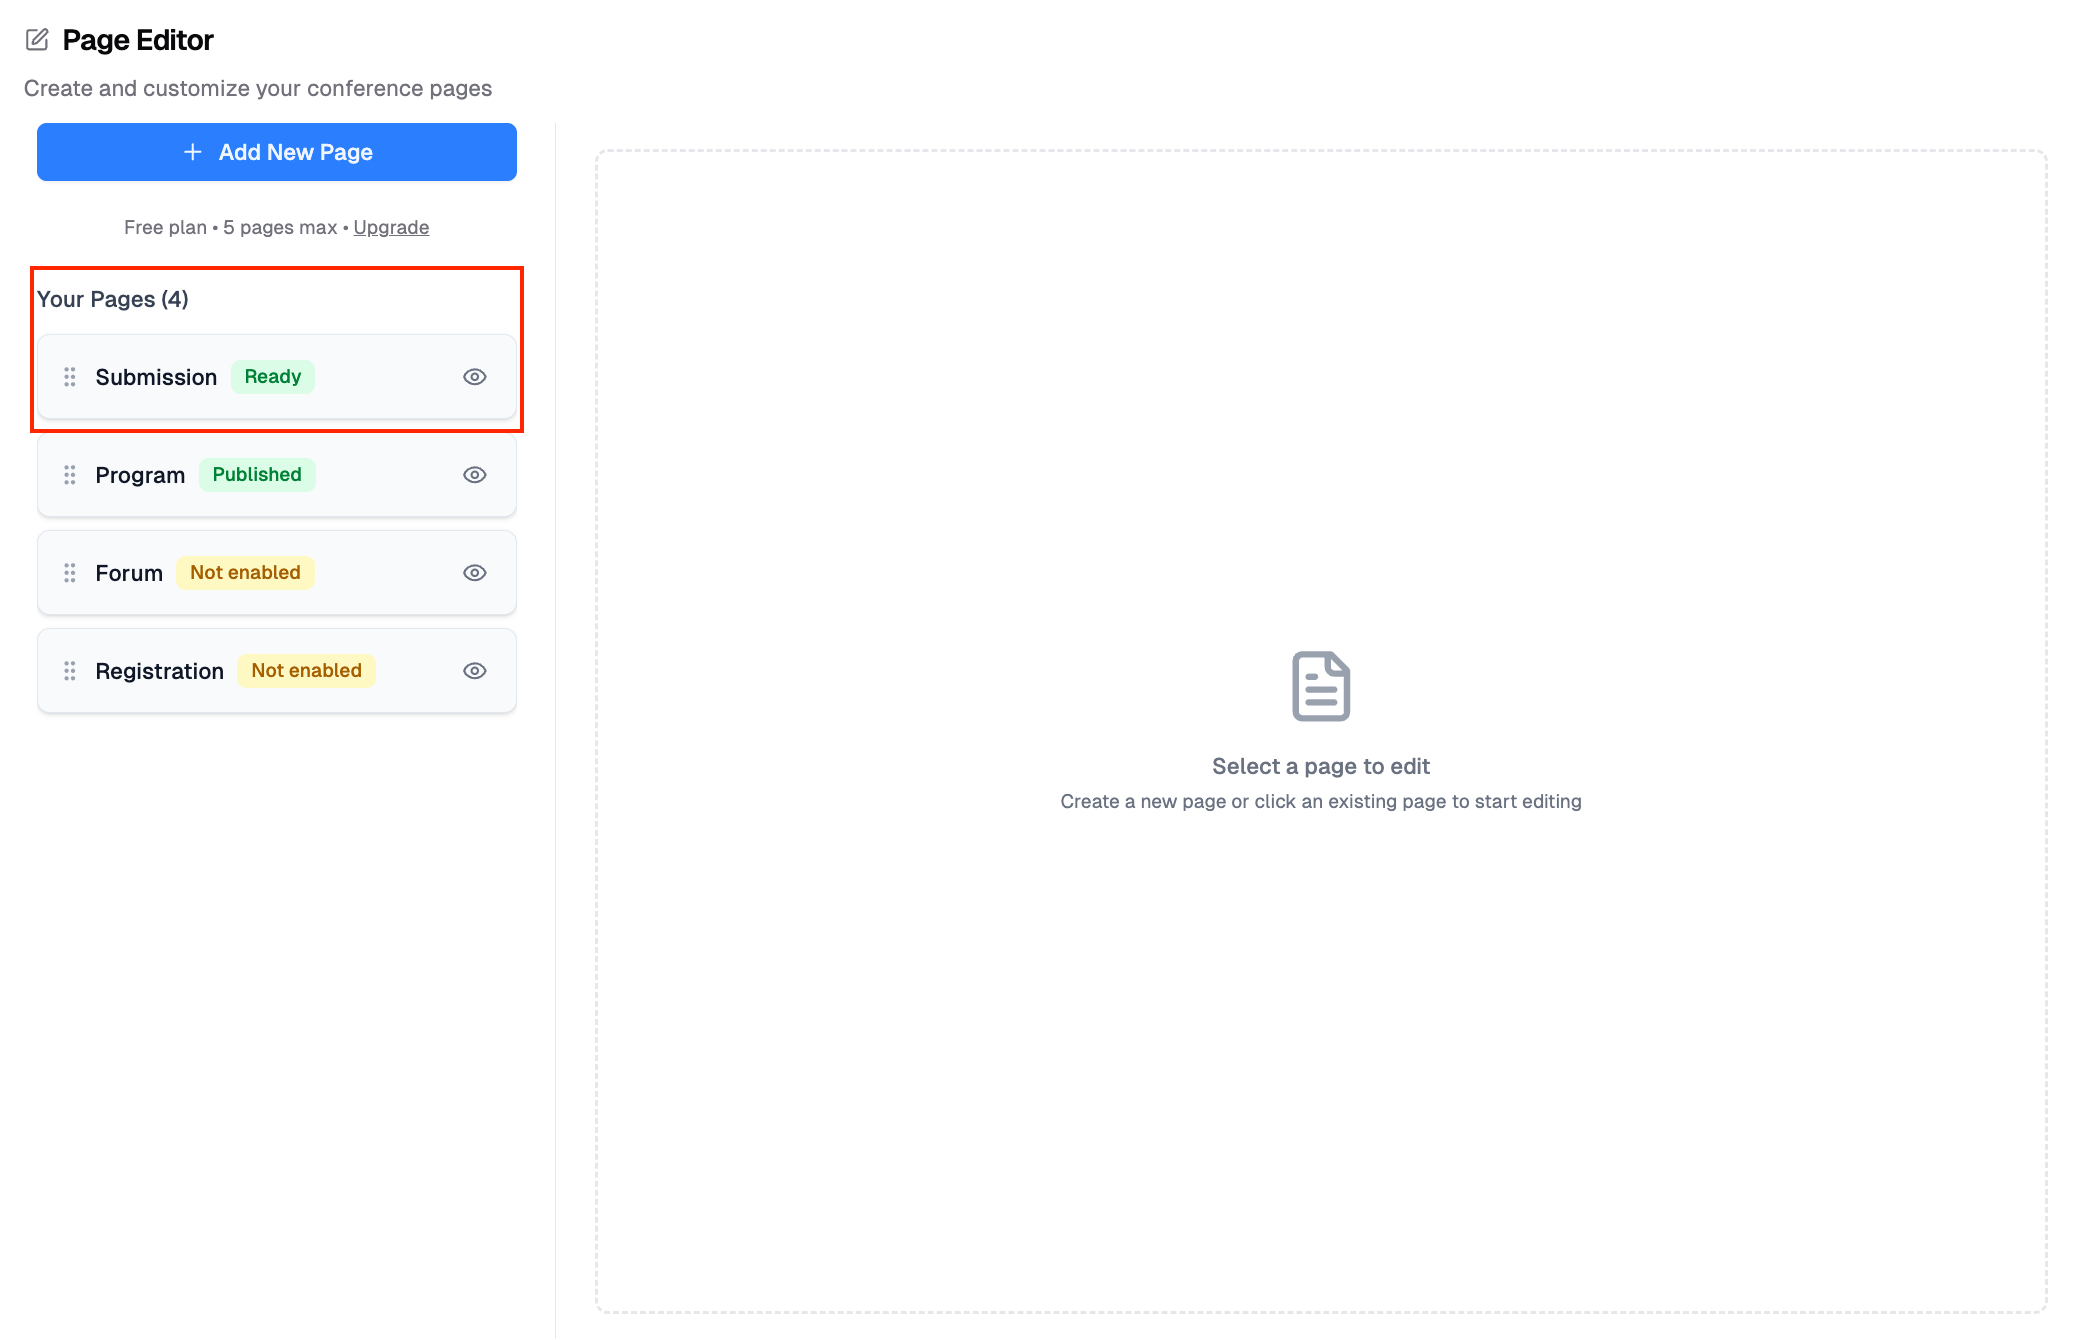 You can preview how the submission page looks to authors.
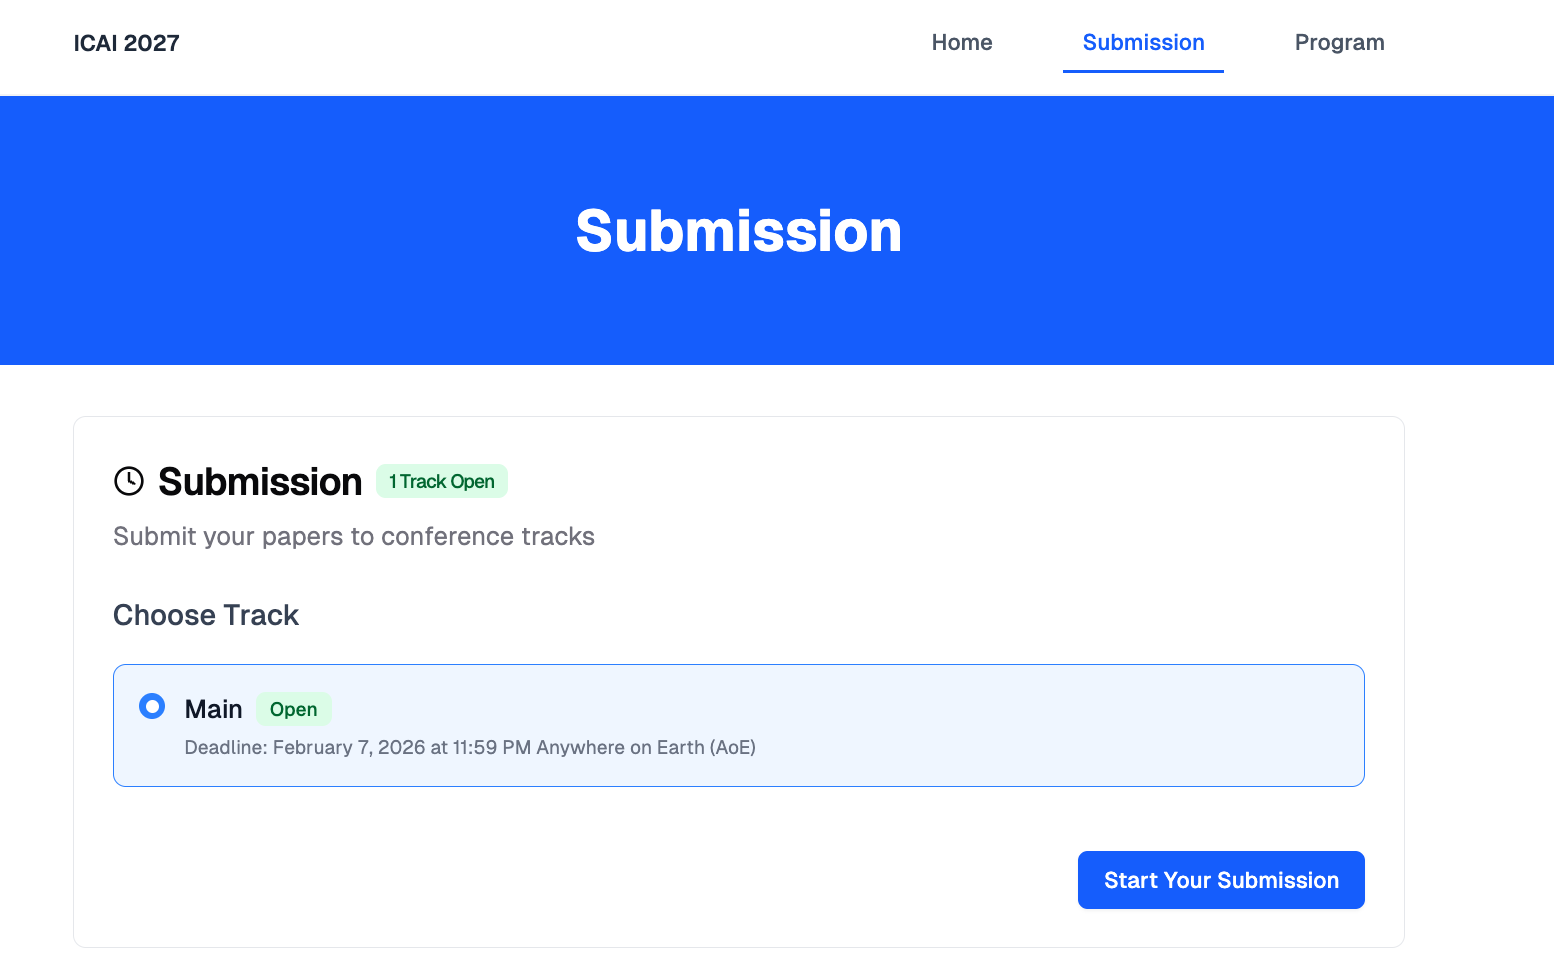 Once enabled, the submission page displays available tracks with deadlines and submit links.
See [Submission Guidelines](/docs/authors/submission-guidelines) for how authors submit submissions.
---
# Find People and Submissions
URL: https://paperfox.ai/docs/chairs/find-people-and-submissions
Description: Search across all your tracks for any reviewer, editor, chair, author, or submission — without knowing which track they belong to — and export every submission to one CSV.
When a reviewer emails you about their assignments, or an author asks where their paper stands, you usually have a name — not a track. The **People** and **Submissions** finders search across every track you manage from one place.
## Open the Finders
1. Go to **Conferences** in the sidebar, click your conference, then open **Conference Dashboard**
2. Click **"People"** or **"Submissions"** in the top-right of the dashboard header
Once enabled, the submission page displays available tracks with deadlines and submit links.
See [Submission Guidelines](/docs/authors/submission-guidelines) for how authors submit submissions.
---
# Find People and Submissions
URL: https://paperfox.ai/docs/chairs/find-people-and-submissions
Description: Search across all your tracks for any reviewer, editor, chair, author, or submission — without knowing which track they belong to — and export every submission to one CSV.
When a reviewer emails you about their assignments, or an author asks where their paper stands, you usually have a name — not a track. The **People** and **Submissions** finders search across every track you manage from one place.
## Open the Finders
1. Go to **Conferences** in the sidebar, click your conference, then open **Conference Dashboard**
2. Click **"People"** or **"Submissions"** in the top-right of the dashboard header
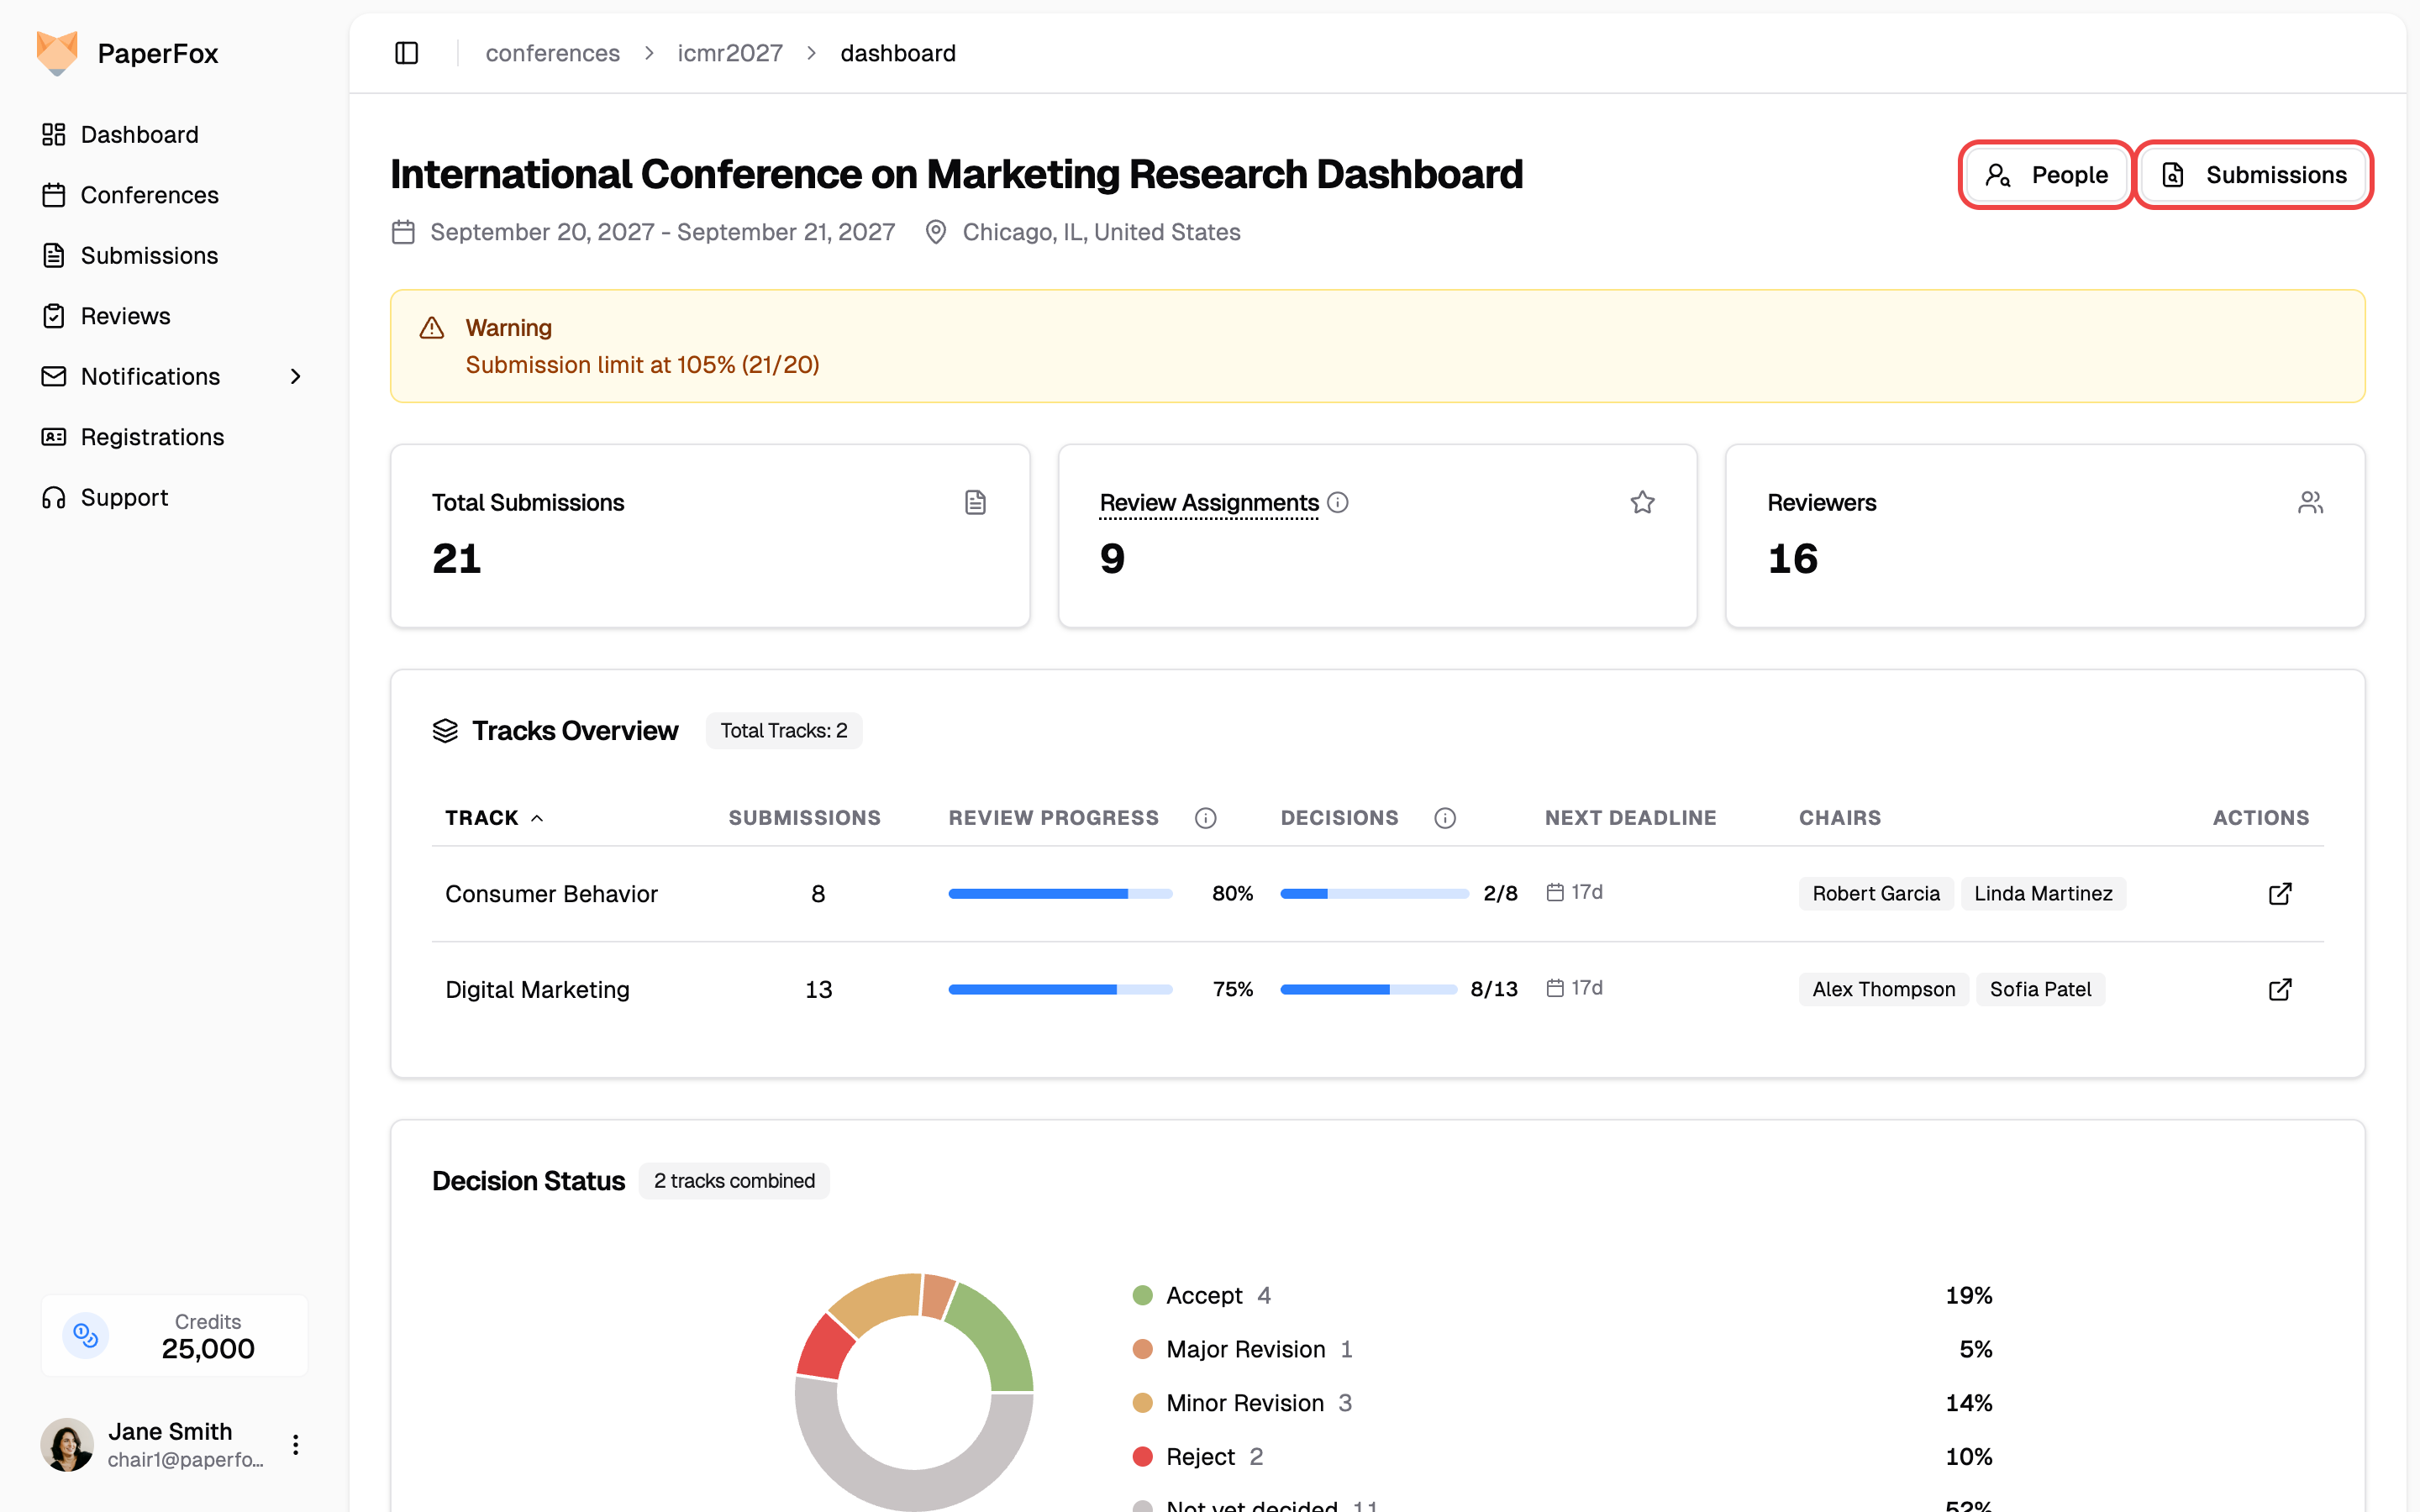 ---
## Find a Person
Type a name, email address, or affiliation into the search box. Full names work in either order, and partial typing works too — "sarah j" finds Sarah Johnson.
---
## Find a Person
Type a name, email address, or affiliation into the search box. Full names work in either order, and partial typing works too — "sarah j" finds Sarah Johnson.
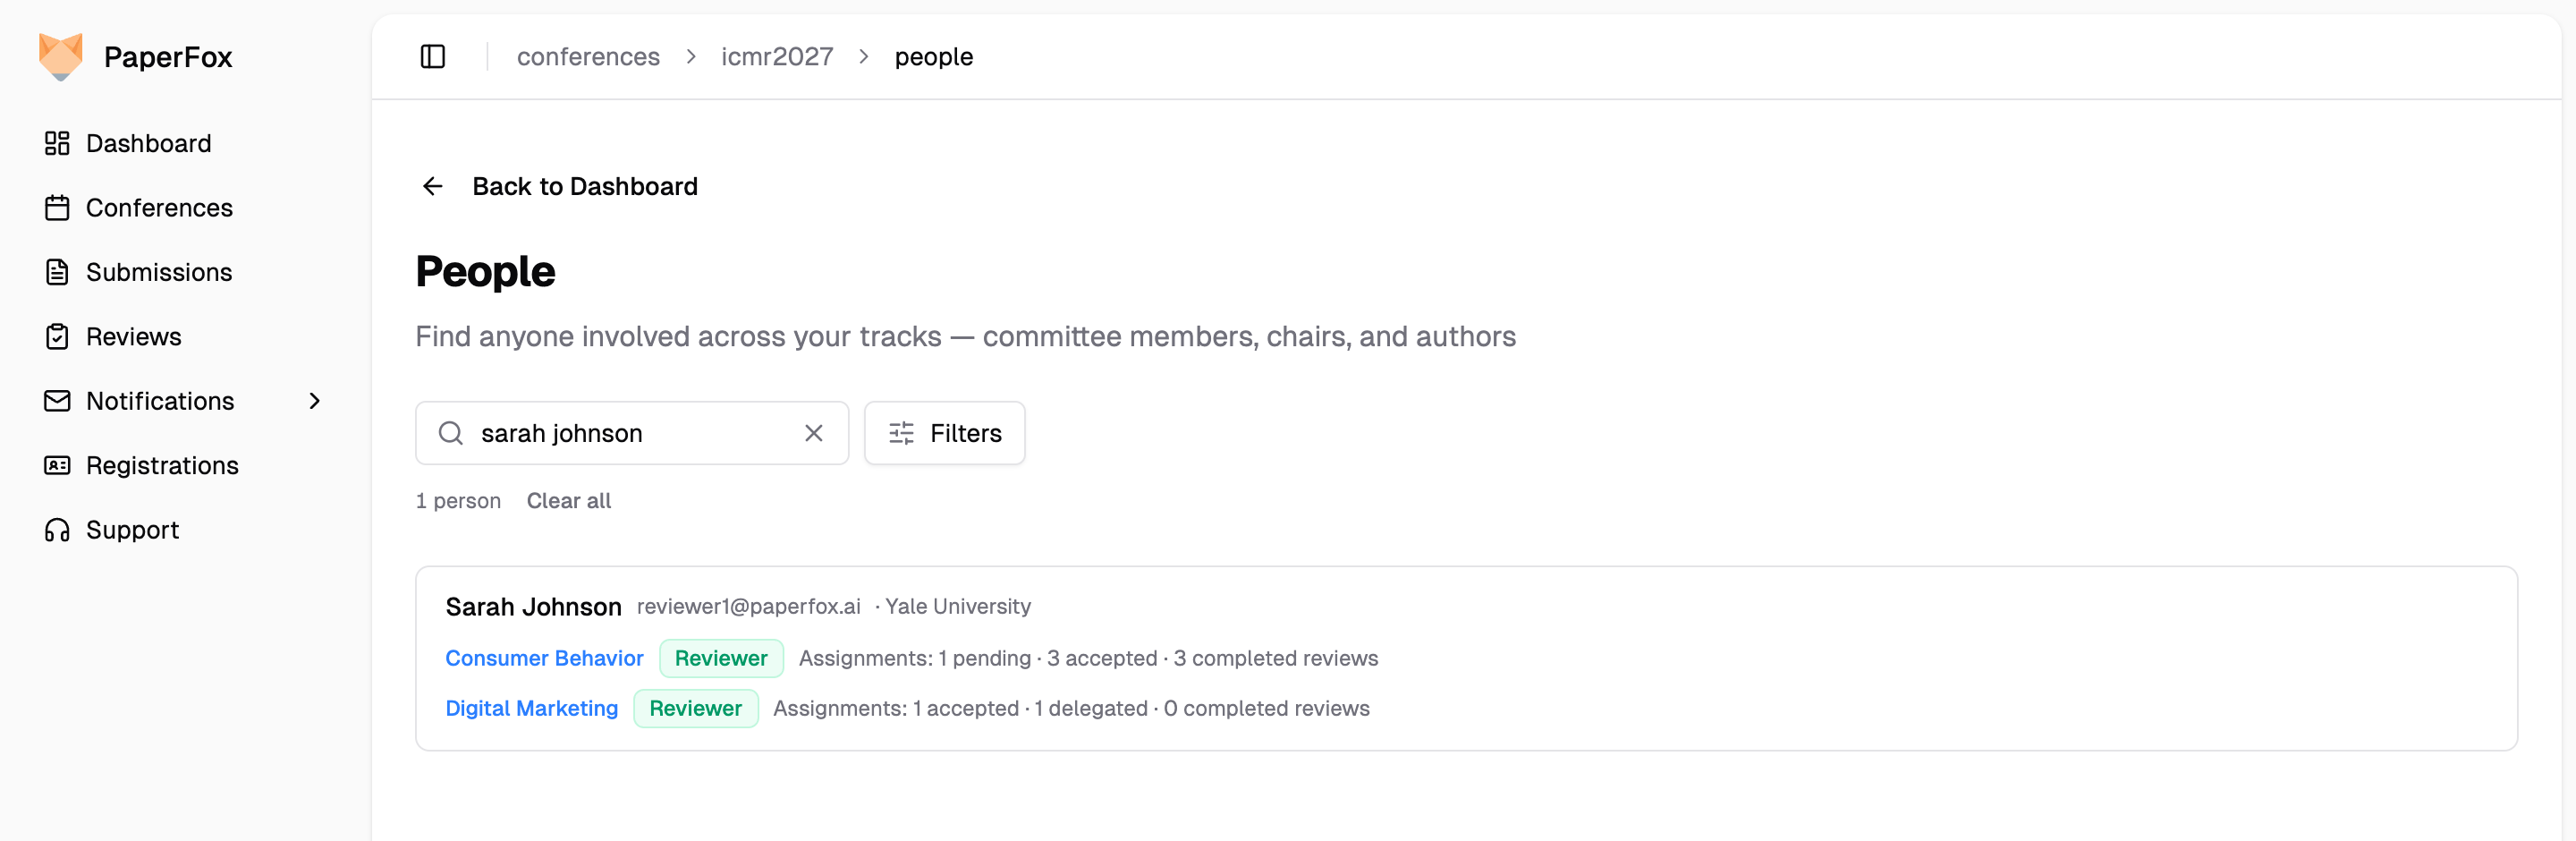 Each result is one **person**, with everything they do in your conference:
- **A row per track** showing their roles there (Reviewer, Associate Editor, Senior Editor, Track Chair) — the track name links to that track's committee page, where actions like reminding or removing live
- **Review workload** for reviewers: pending, accepted, and delegated assignments, plus completed reviews
- **Authored submissions** with their current status — several submissions collapse into a one-line summary you can expand
Use **"Filters"** to narrow by role or track. Conference chairs see every track; track chairs see only the tracks they manage.
Each result is one **person**, with everything they do in your conference:
- **A row per track** showing their roles there (Reviewer, Associate Editor, Senior Editor, Track Chair) — the track name links to that track's committee page, where actions like reminding or removing live
- **Review workload** for reviewers: pending, accepted, and delegated assignments, plus completed reviews
- **Authored submissions** with their current status — several submissions collapse into a one-line summary you can expand
Use **"Filters"** to narrow by role or track. Conference chairs see every track; track chairs see only the tracks they manage.
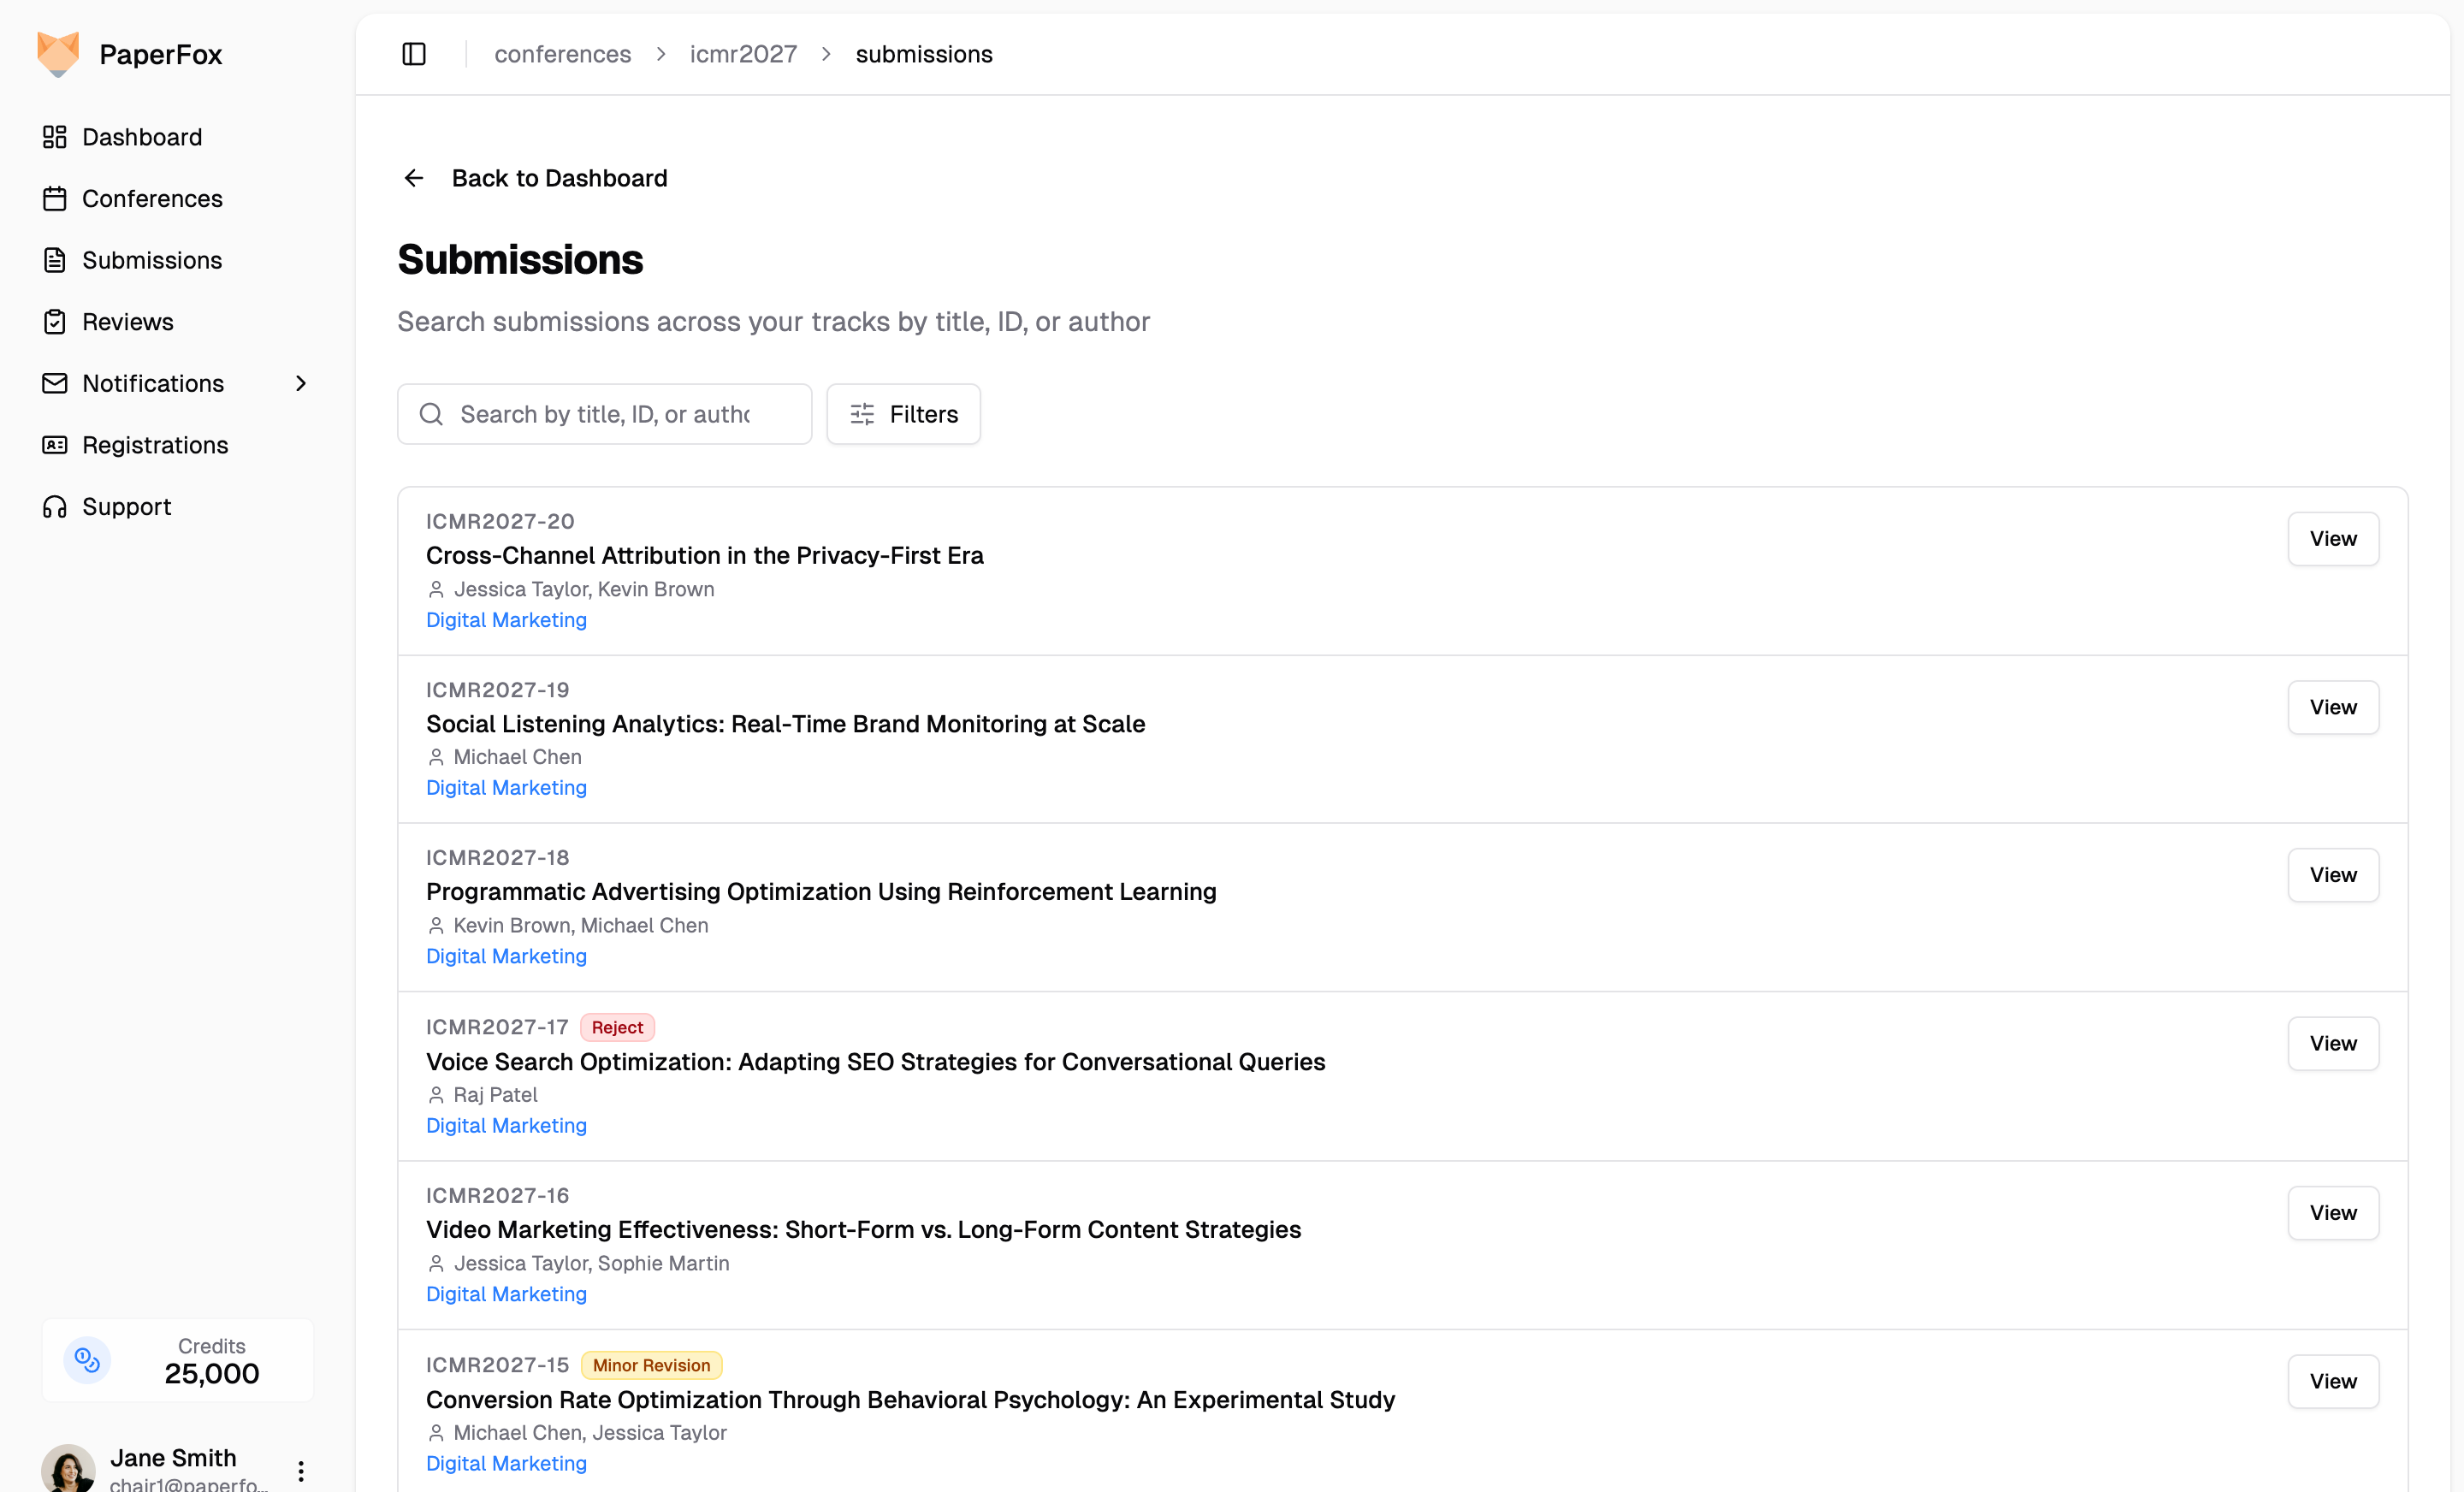 Each row shows the submission ID, any chair tags, the decision or status badge, the authors, and the track it belongs to. Click **"View"** to open the submission inside its track.
Use **"Filters"** to narrow by status or track.
---
## Export All Submissions
Click **"Export"** in the top-right of the Submissions finder and choose **CSV** or **JSON** to download every submission across your tracks in one file — no need to export each track separately and stitch the files together. The export always covers all submissions you can see, whatever search or filter is active.
The file is named `{conference}-submissions-{date}.csv` (or `.json`). Conference chairs get every track; track chairs get only the tracks they manage.
| Column | Description |
|--------|-------------|
| Submission ID | Submission slug (e.g., `icmr2027-21`) |
| Track | The track the submission belongs to |
| Title, Abstract | From the latest version |
| Status | Current status (e.g., Submitted, Under Review, Withdrawn) |
| Decision, Decision Date | Latest decision, if any |
| Submitted Date | Date and time of submission |
| Current Phase | The phase the submission is in |
| Tags | Chair-internal tags, separated by `; ` |
| Reviews Completed | Finished reviews in the current phase |
| Avg Score | Average of the reviewers' overall scores in the current phase |
| Form fields (e.g., Keywords) | Every submission form question across your tracks, one column each — file uploads are omitted |
| Reviewer N Score | Repeating column with each completed review's overall score |
| Author N Name/Email/Affiliation/Country | Repeating columns for each author |
For a single track's export with assignment counts and the decision maker, use the track's own [Export](/docs/track-chairs/export-submissions) instead.
---
## Download All Submission Files
Click **"Download Files"** next to Export to get every uploaded submission file across your tracks as one ZIP archive. A dialog first shows the number of submissions, files, and the estimated size; click **"Download ZIP"** to start.
The archive is named `{conference}-submission-files-{date}.zip`. With more than one track, each submission folder sits inside its track's folder, so the two never mix:
```
icmr2027-submission-files-2026-09-13.zip
├── consumer-behavior/
│ ├── icmr2027-1/
│ │ ├── icmr2027-1-info.txt
│ │ ├── icmr2027-1-info.csv
│ │ └── paper.pdf
│ └── ...
├── digital-marketing/
│ ├── icmr2027-9/
│ └── ...
└── _download-errors.txt # Only present if any files failed to download
```
Each submission folder holds the same info files and uploads as the [per-track download](/docs/track-chairs/export-submissions#download-submitted-files). Conference chairs get every track; track chairs get only the tracks they manage.
Each row shows the submission ID, any chair tags, the decision or status badge, the authors, and the track it belongs to. Click **"View"** to open the submission inside its track.
Use **"Filters"** to narrow by status or track.
---
## Export All Submissions
Click **"Export"** in the top-right of the Submissions finder and choose **CSV** or **JSON** to download every submission across your tracks in one file — no need to export each track separately and stitch the files together. The export always covers all submissions you can see, whatever search or filter is active.
The file is named `{conference}-submissions-{date}.csv` (or `.json`). Conference chairs get every track; track chairs get only the tracks they manage.
| Column | Description |
|--------|-------------|
| Submission ID | Submission slug (e.g., `icmr2027-21`) |
| Track | The track the submission belongs to |
| Title, Abstract | From the latest version |
| Status | Current status (e.g., Submitted, Under Review, Withdrawn) |
| Decision, Decision Date | Latest decision, if any |
| Submitted Date | Date and time of submission |
| Current Phase | The phase the submission is in |
| Tags | Chair-internal tags, separated by `; ` |
| Reviews Completed | Finished reviews in the current phase |
| Avg Score | Average of the reviewers' overall scores in the current phase |
| Form fields (e.g., Keywords) | Every submission form question across your tracks, one column each — file uploads are omitted |
| Reviewer N Score | Repeating column with each completed review's overall score |
| Author N Name/Email/Affiliation/Country | Repeating columns for each author |
For a single track's export with assignment counts and the decision maker, use the track's own [Export](/docs/track-chairs/export-submissions) instead.
---
## Download All Submission Files
Click **"Download Files"** next to Export to get every uploaded submission file across your tracks as one ZIP archive. A dialog first shows the number of submissions, files, and the estimated size; click **"Download ZIP"** to start.
The archive is named `{conference}-submission-files-{date}.zip`. With more than one track, each submission folder sits inside its track's folder, so the two never mix:
```
icmr2027-submission-files-2026-09-13.zip
├── consumer-behavior/
│ ├── icmr2027-1/
│ │ ├── icmr2027-1-info.txt
│ │ ├── icmr2027-1-info.csv
│ │ └── paper.pdf
│ └── ...
├── digital-marketing/
│ ├── icmr2027-9/
│ └── ...
└── _download-errors.txt # Only present if any files failed to download
```
Each submission folder holds the same info files and uploads as the [per-track download](/docs/track-chairs/export-submissions#download-submitted-files). Conference chairs get every track; track chairs get only the tracks they manage.
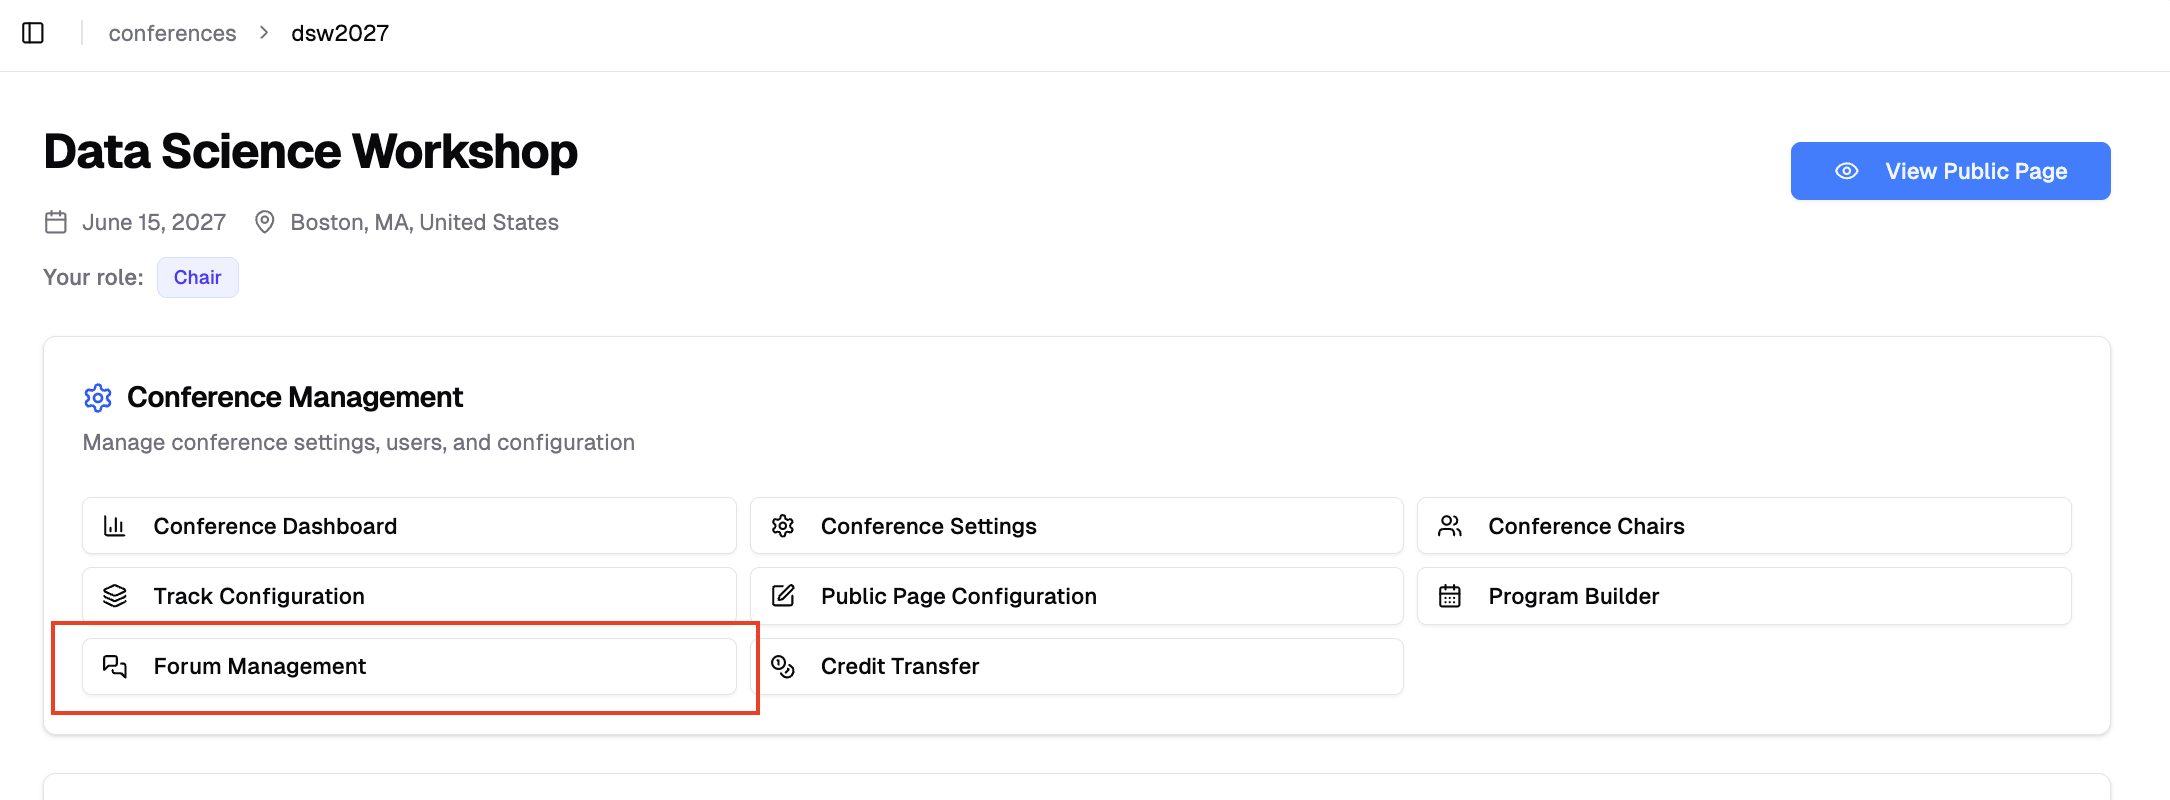 ## Enable or Disable Forum
You can enable or disable the forum at any time:
1. Navigate to Forum Management page
2. Toggle "Enable Forum" switch
## Enable or Disable Forum
You can enable or disable the forum at any time:
1. Navigate to Forum Management page
2. Toggle "Enable Forum" switch
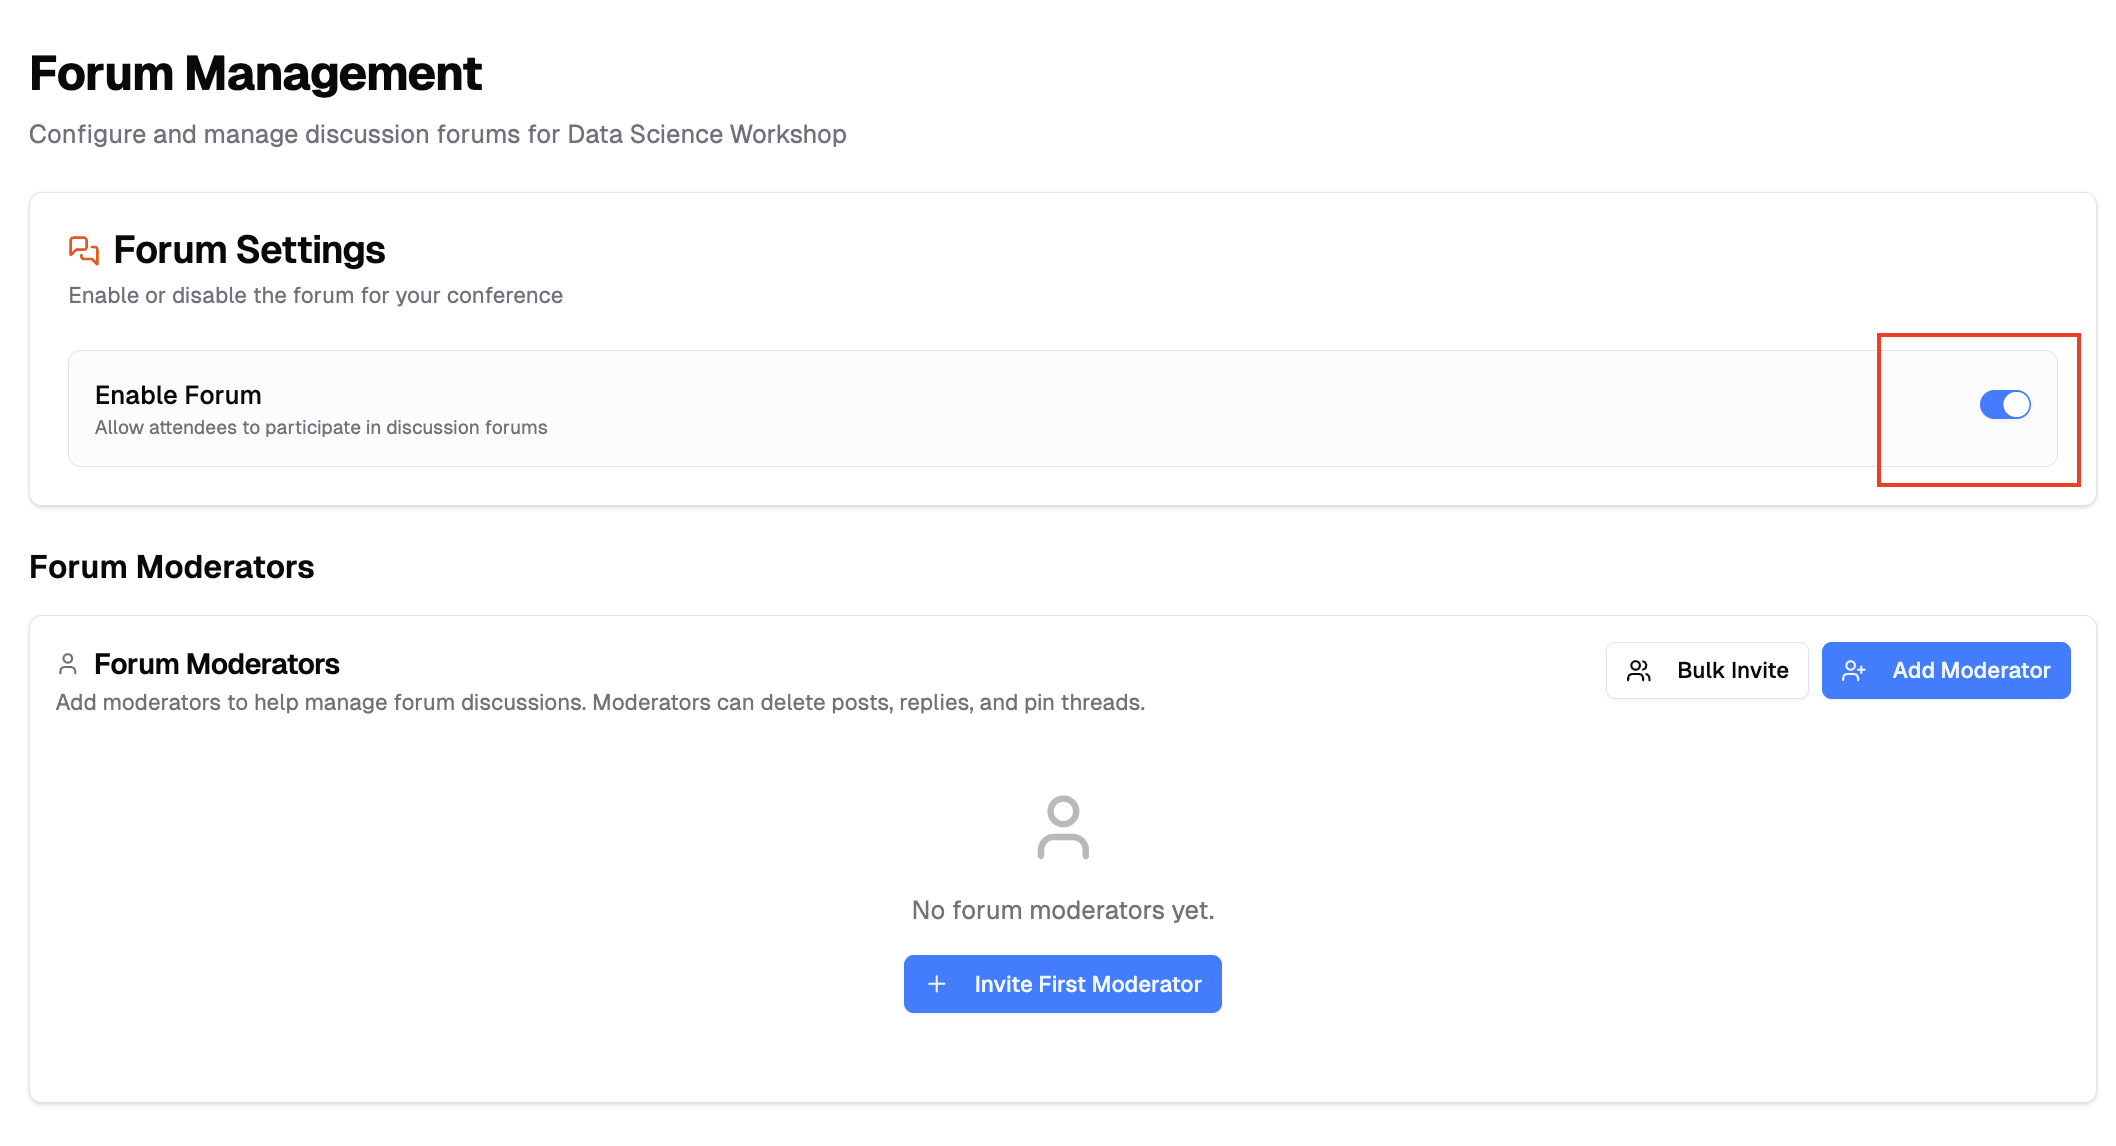 **When enabled:** The forum becomes immediately accessible to attendees
**When disabled:** The forum is hidden from attendees and no new posts can be created
## Accessing the Forum
Once enabled, the forum appears on your conference public website. Attendees can access it by clicking the "Forum" tab in the navigation menu.
**When enabled:** The forum becomes immediately accessible to attendees
**When disabled:** The forum is hidden from attendees and no new posts can be created
## Accessing the Forum
Once enabled, the forum appears on your conference public website. Attendees can access it by clicking the "Forum" tab in the navigation menu.
 ## Managing Forum Moderators
Conference chairs and creators automatically have moderator permissions. You can add additional moderators to help manage discussions.
### Adding Moderators
**Method 1: Add One Person**
1. Click **"Add Moderator"**, then **"Add a moderator"**
2. Search for the person by name or email — or type a new email address to invite someone without a PaperFox account
3. Select them and click **"Add"**
By default, **"Require acceptance"** is checked, so the person receives an invitation and becomes a moderator after accepting. Uncheck it to grant moderator access immediately (they get a notice email with a self-removal link). Click **"Preview Email"** next to the checkbox to see exactly what the current choice will send.
**Method 2: Bulk Add**
1. Click **"Add Moderator"**, then **"Bulk add forum moderators"**
2. Enter multiple emails (one per line or comma-separated), optionally with names in the format `email, firstname, lastname`
3. Click send — the same **"Require acceptance"** choice applies to the whole batch
## Managing Forum Moderators
Conference chairs and creators automatically have moderator permissions. You can add additional moderators to help manage discussions.
### Adding Moderators
**Method 1: Add One Person**
1. Click **"Add Moderator"**, then **"Add a moderator"**
2. Search for the person by name or email — or type a new email address to invite someone without a PaperFox account
3. Select them and click **"Add"**
By default, **"Require acceptance"** is checked, so the person receives an invitation and becomes a moderator after accepting. Uncheck it to grant moderator access immediately (they get a notice email with a self-removal link). Click **"Preview Email"** next to the checkbox to see exactly what the current choice will send.
**Method 2: Bulk Add**
1. Click **"Add Moderator"**, then **"Bulk add forum moderators"**
2. Enter multiple emails (one per line or comma-separated), optionally with names in the format `email, firstname, lastname`
3. Click send — the same **"Require acceptance"** choice applies to the whole batch
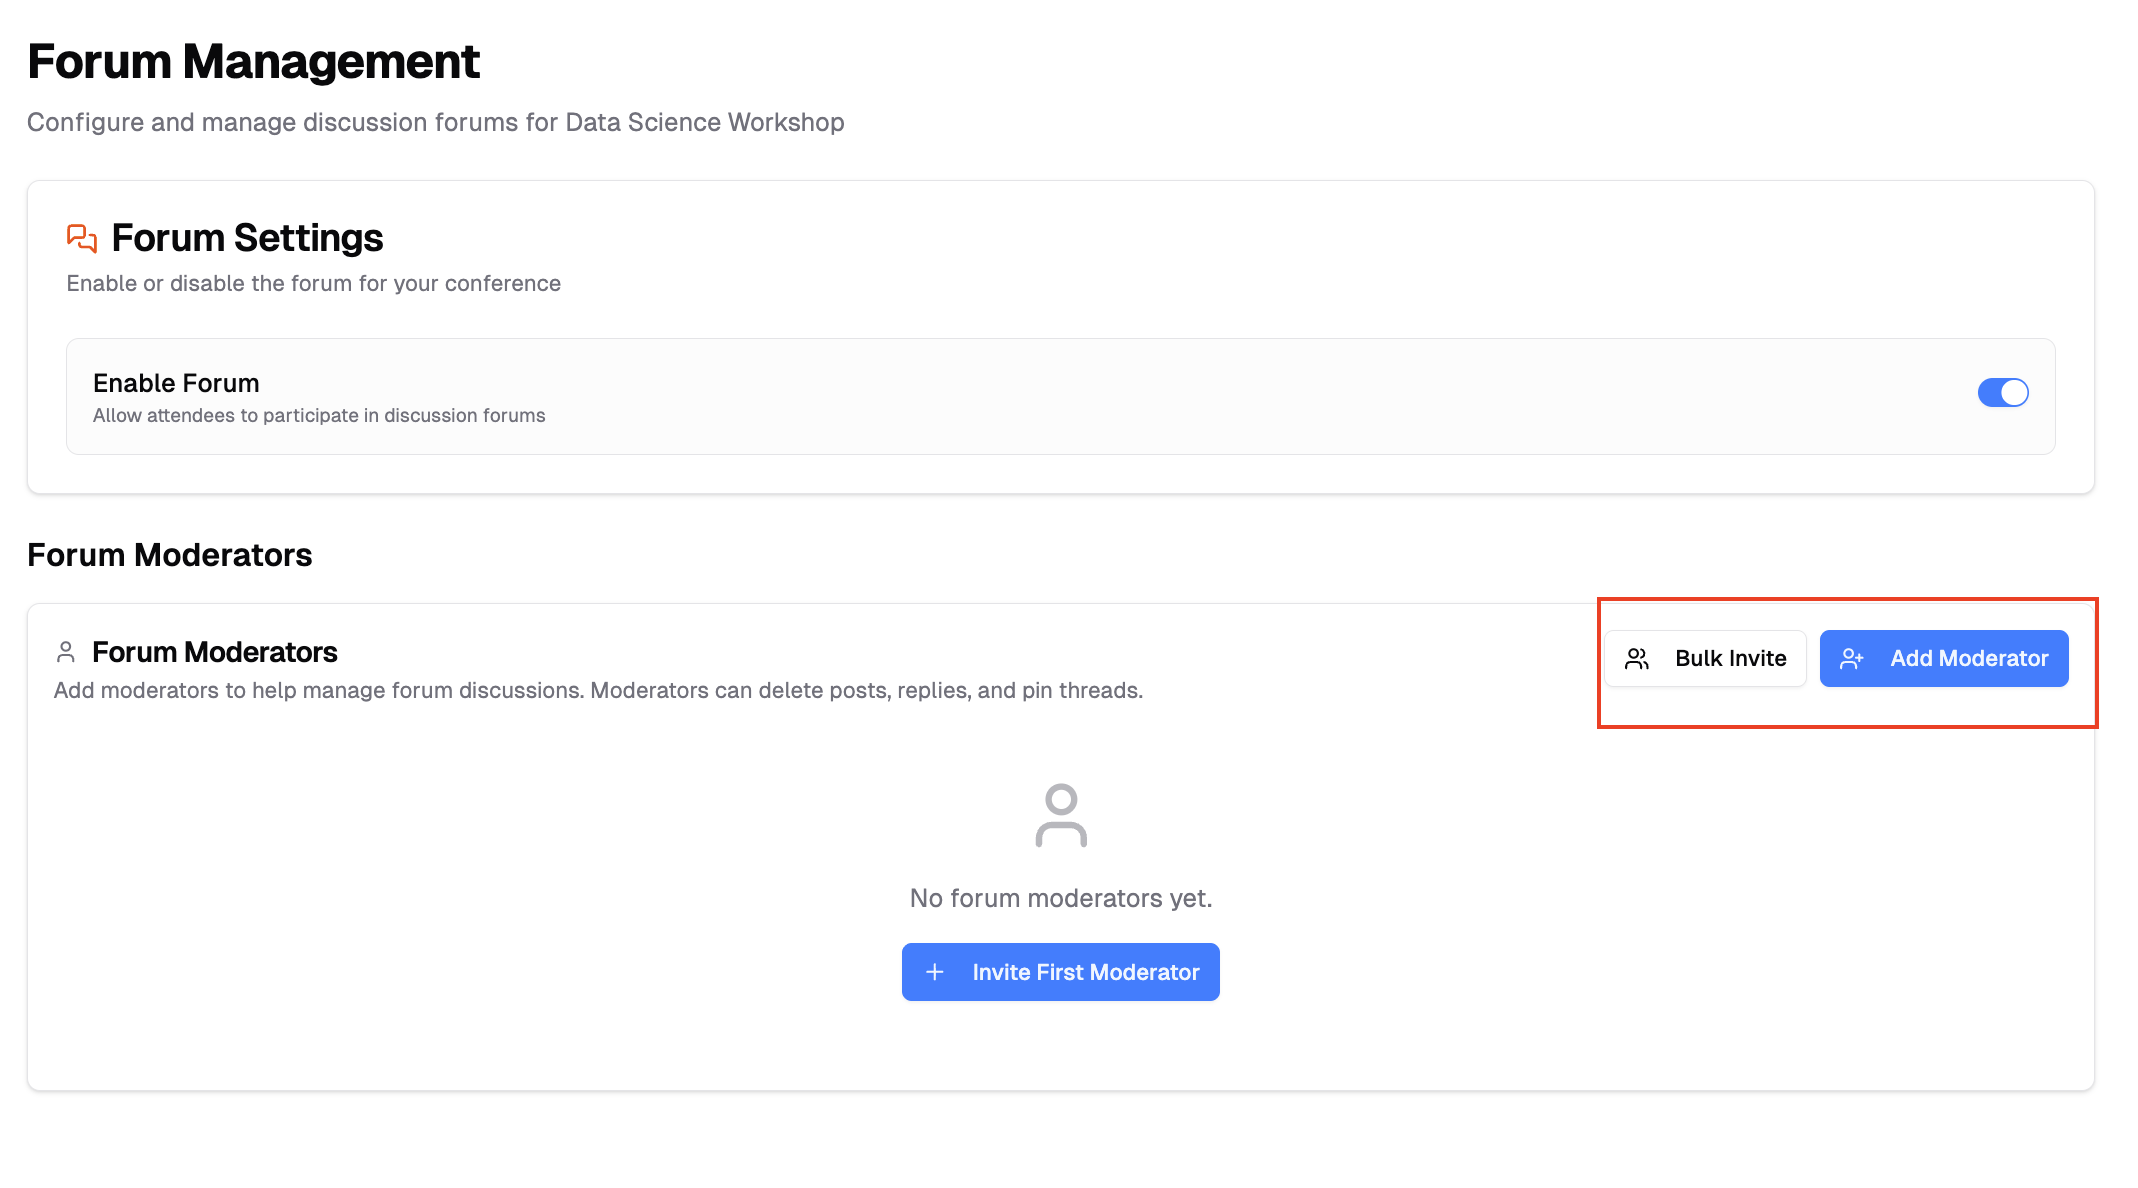 ### Viewing Moderators
The "Active Members" tab shows all current forum moderators with their name, email, affiliation, and who added them.
### Removing Moderators
1. Find the moderator in the Active Members list
2. Click "Remove" button
3. Confirm the removal
4. Moderator access is revoked immediately
### Managing Invitations
- **Pending Tab:** View all sent invitations awaiting response
- **Declined Tab:** See invitations that were declined
- **Resend:** Click resend icon to send reminder email
- **Cancel:** Click cancel icon to revoke pending invitation
## Moderator Permissions
Forum moderators can:
- Pin/unpin posts to highlight important discussions
- Delete posts and replies
- Manage forum content
Moderators cannot access conference settings, submissions, or other administrative features.
## Using the Forum
### Viewing the Forum
The forum displays:
- Pinned posts (shown first with pin icon)
- Recent posts sorted by last activity
- Post title, author, view count, and comment count
### Viewing Moderators
The "Active Members" tab shows all current forum moderators with their name, email, affiliation, and who added them.
### Removing Moderators
1. Find the moderator in the Active Members list
2. Click "Remove" button
3. Confirm the removal
4. Moderator access is revoked immediately
### Managing Invitations
- **Pending Tab:** View all sent invitations awaiting response
- **Declined Tab:** See invitations that were declined
- **Resend:** Click resend icon to send reminder email
- **Cancel:** Click cancel icon to revoke pending invitation
## Moderator Permissions
Forum moderators can:
- Pin/unpin posts to highlight important discussions
- Delete posts and replies
- Manage forum content
Moderators cannot access conference settings, submissions, or other administrative features.
## Using the Forum
### Viewing the Forum
The forum displays:
- Pinned posts (shown first with pin icon)
- Recent posts sorted by last activity
- Post title, author, view count, and comment count
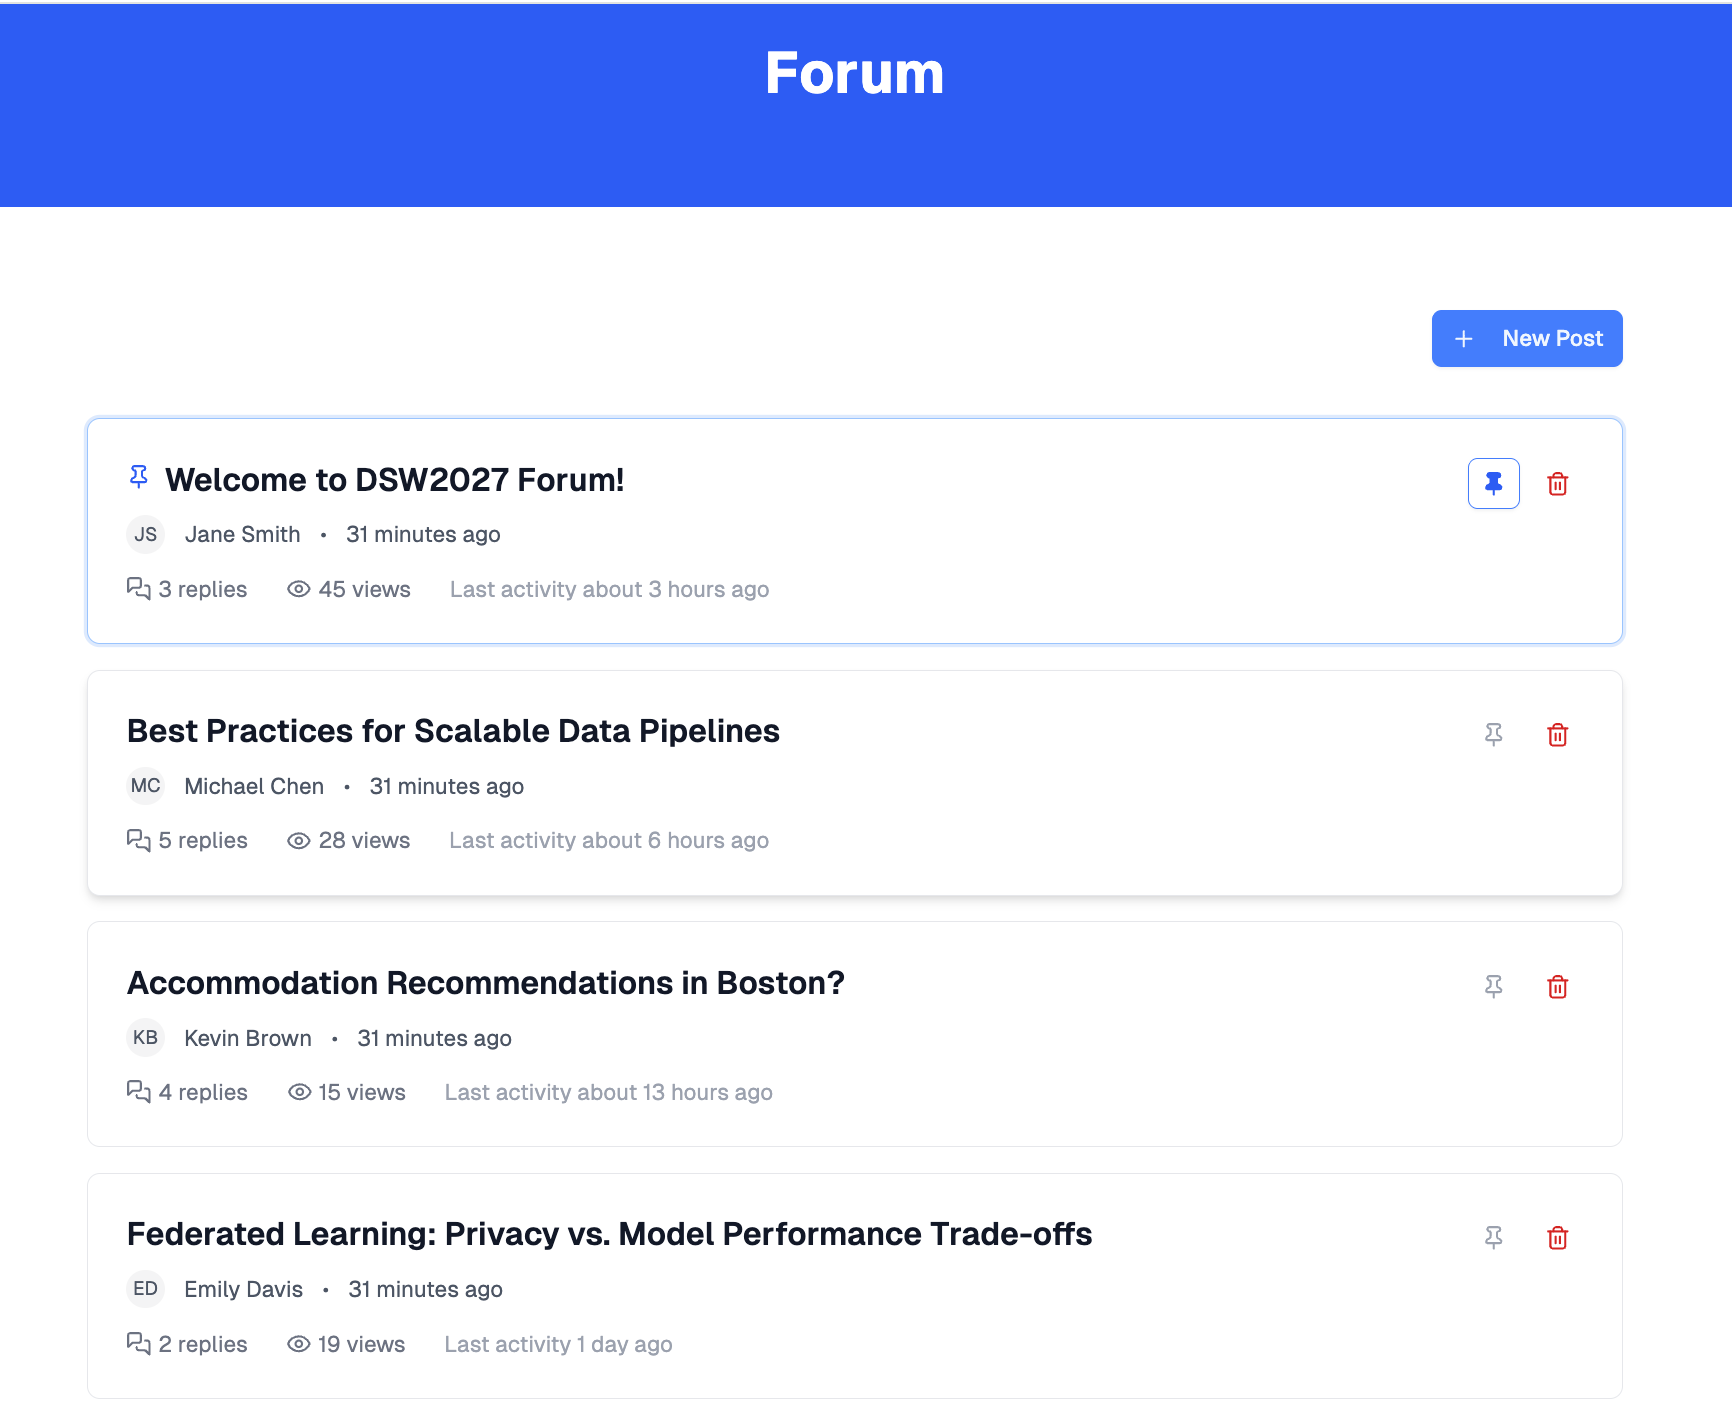 ### Creating Posts
1. Navigate to the forum page
2. Click "New Post" button
### Creating Posts
1. Navigate to the forum page
2. Click "New Post" button
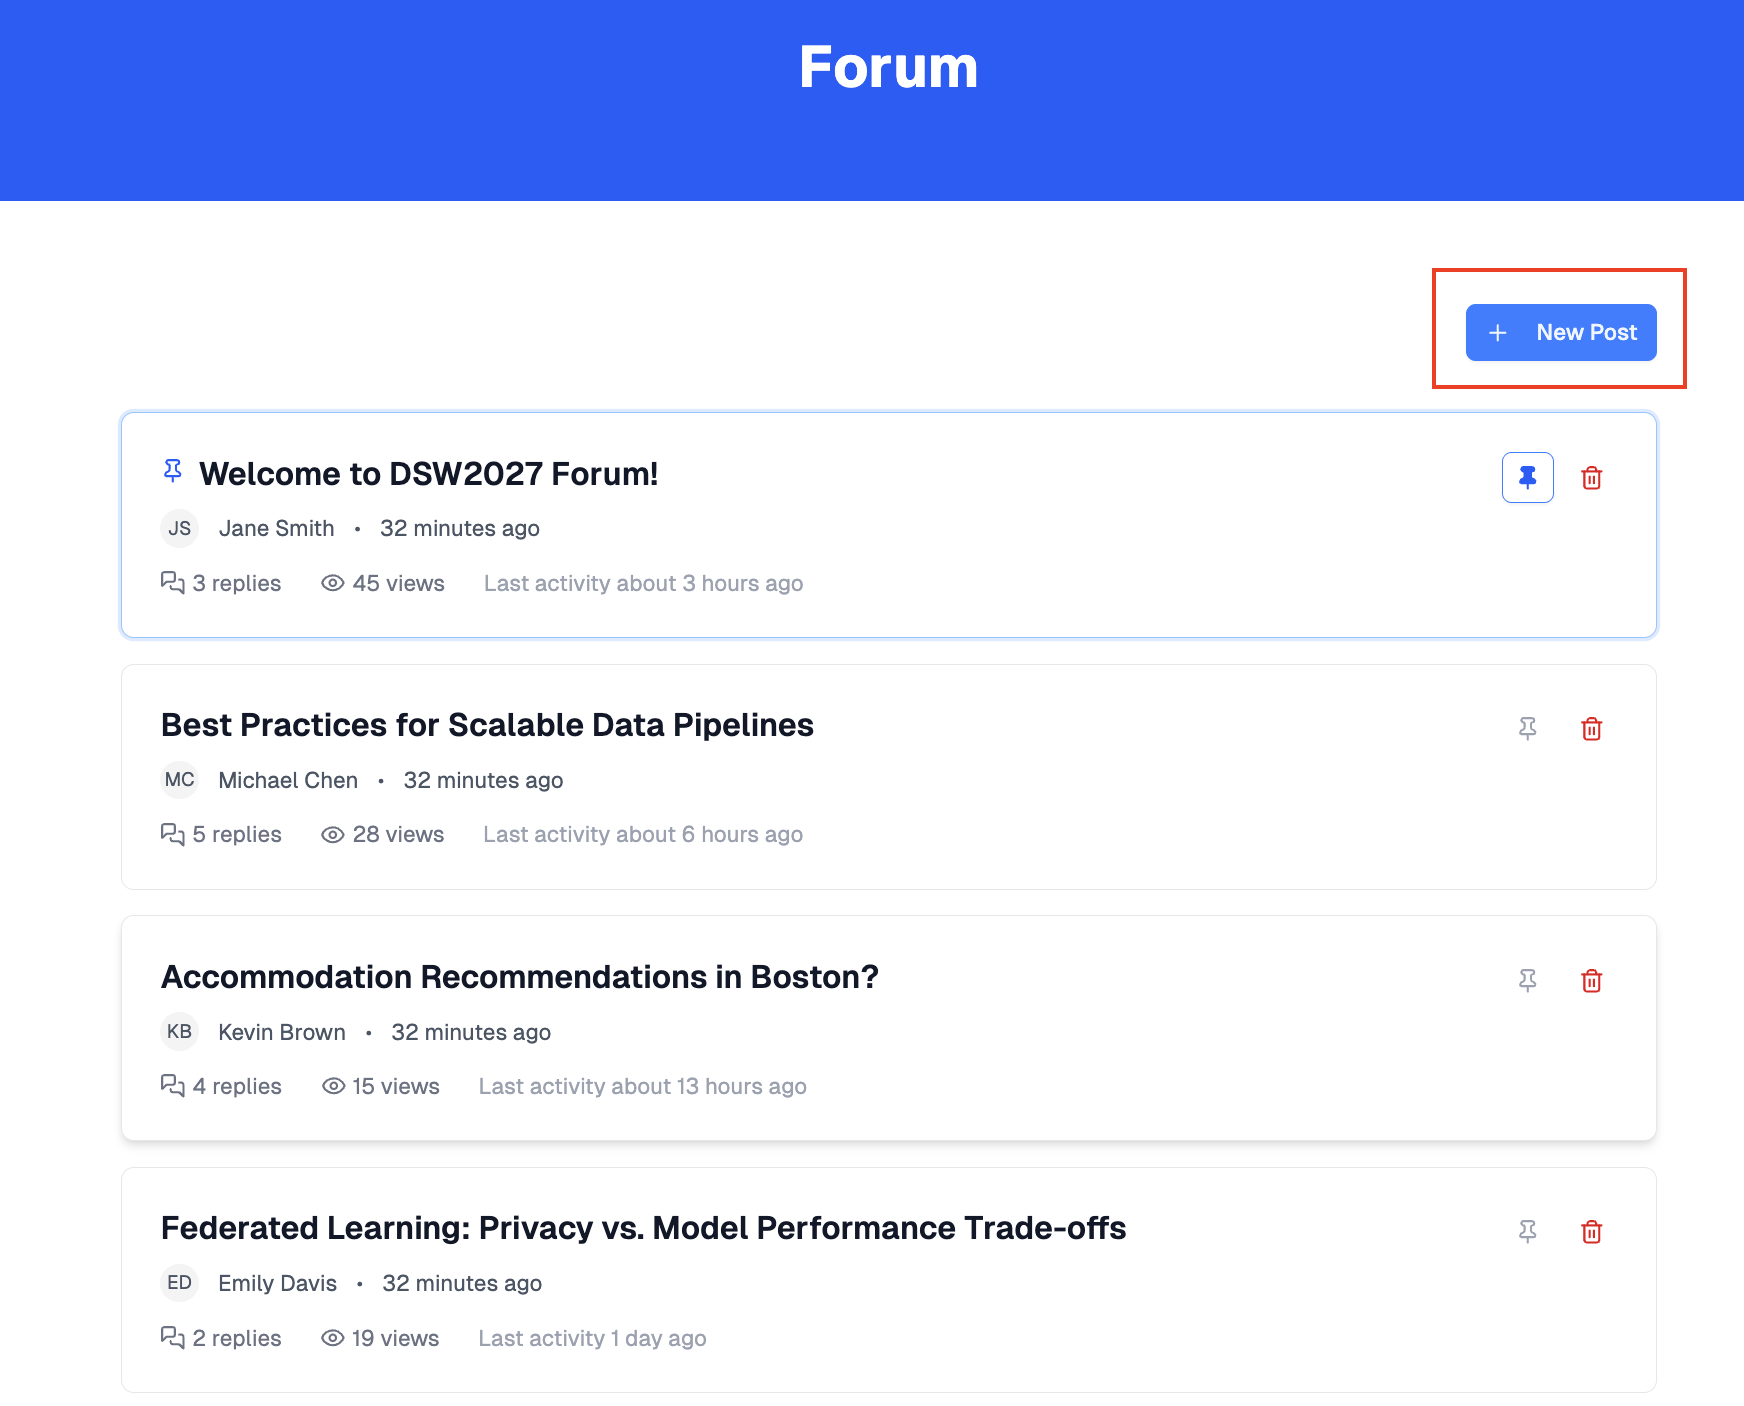 3. Enter post title
4. Write content using the rich text editor
5. Click "Create Post"
3. Enter post title
4. Write content using the rich text editor
5. Click "Create Post"
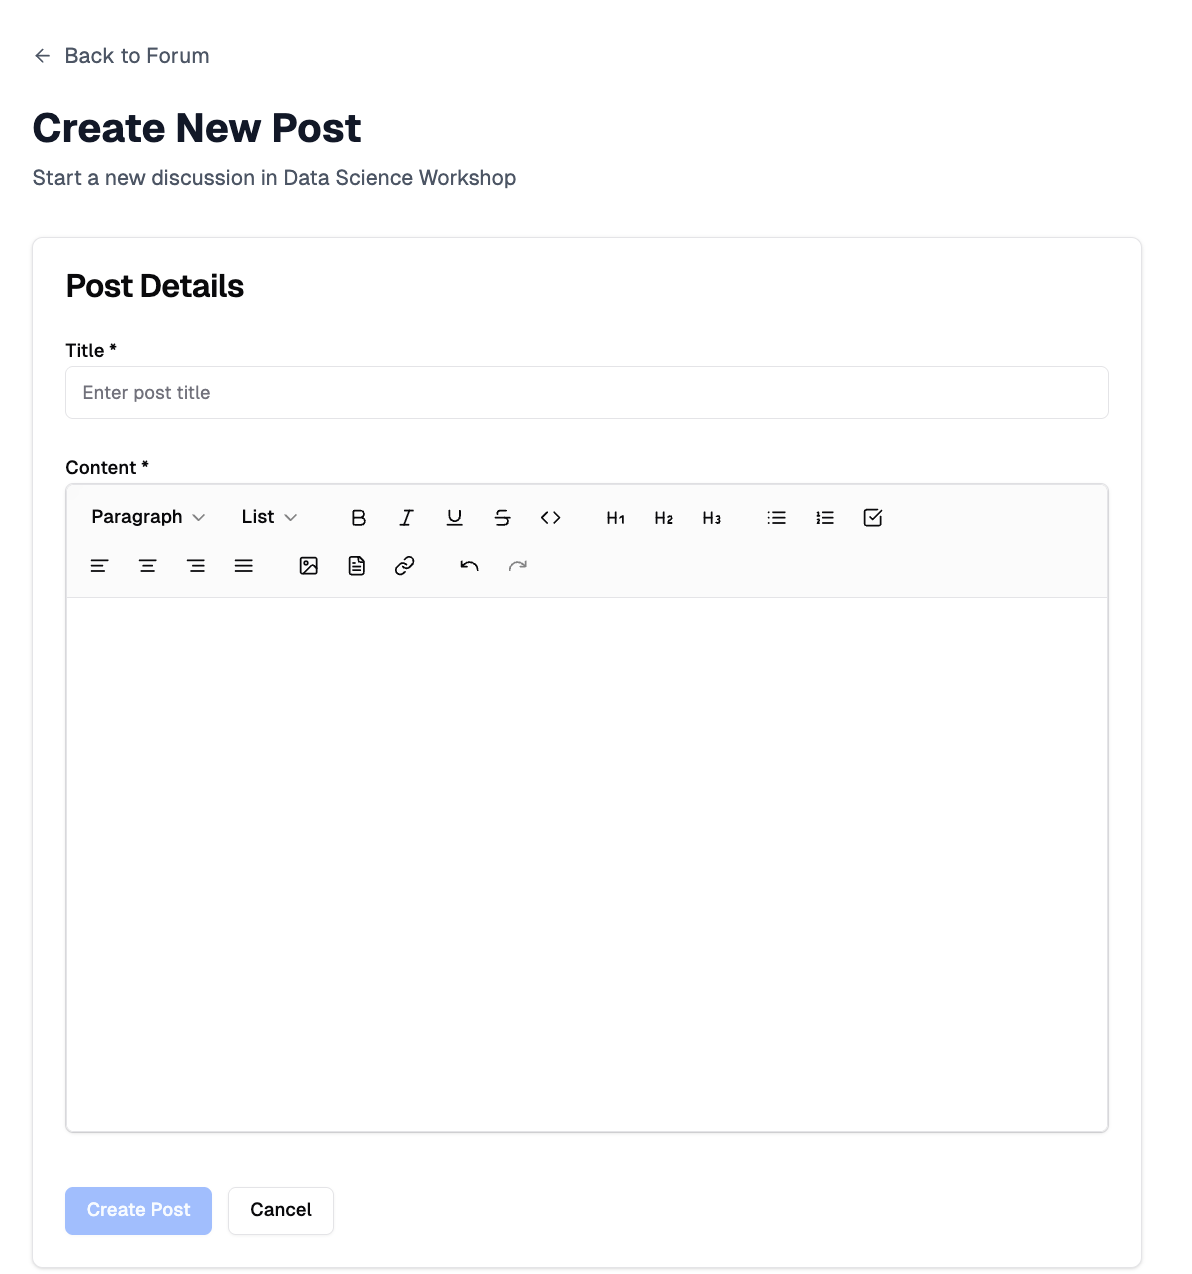 The rich text editor supports text formatting, headings, lists, links, images, and file attachments.
### Replying to Posts
1. Open a post by clicking its title
2. Scroll to the comment form at the bottom
3. Write your comment using the rich text editor
4. Click "Post Comment"
The rich text editor supports text formatting, headings, lists, links, images, and file attachments.
### Replying to Posts
1. Open a post by clicking its title
2. Scroll to the comment form at the bottom
3. Write your comment using the rich text editor
4. Click "Post Comment"
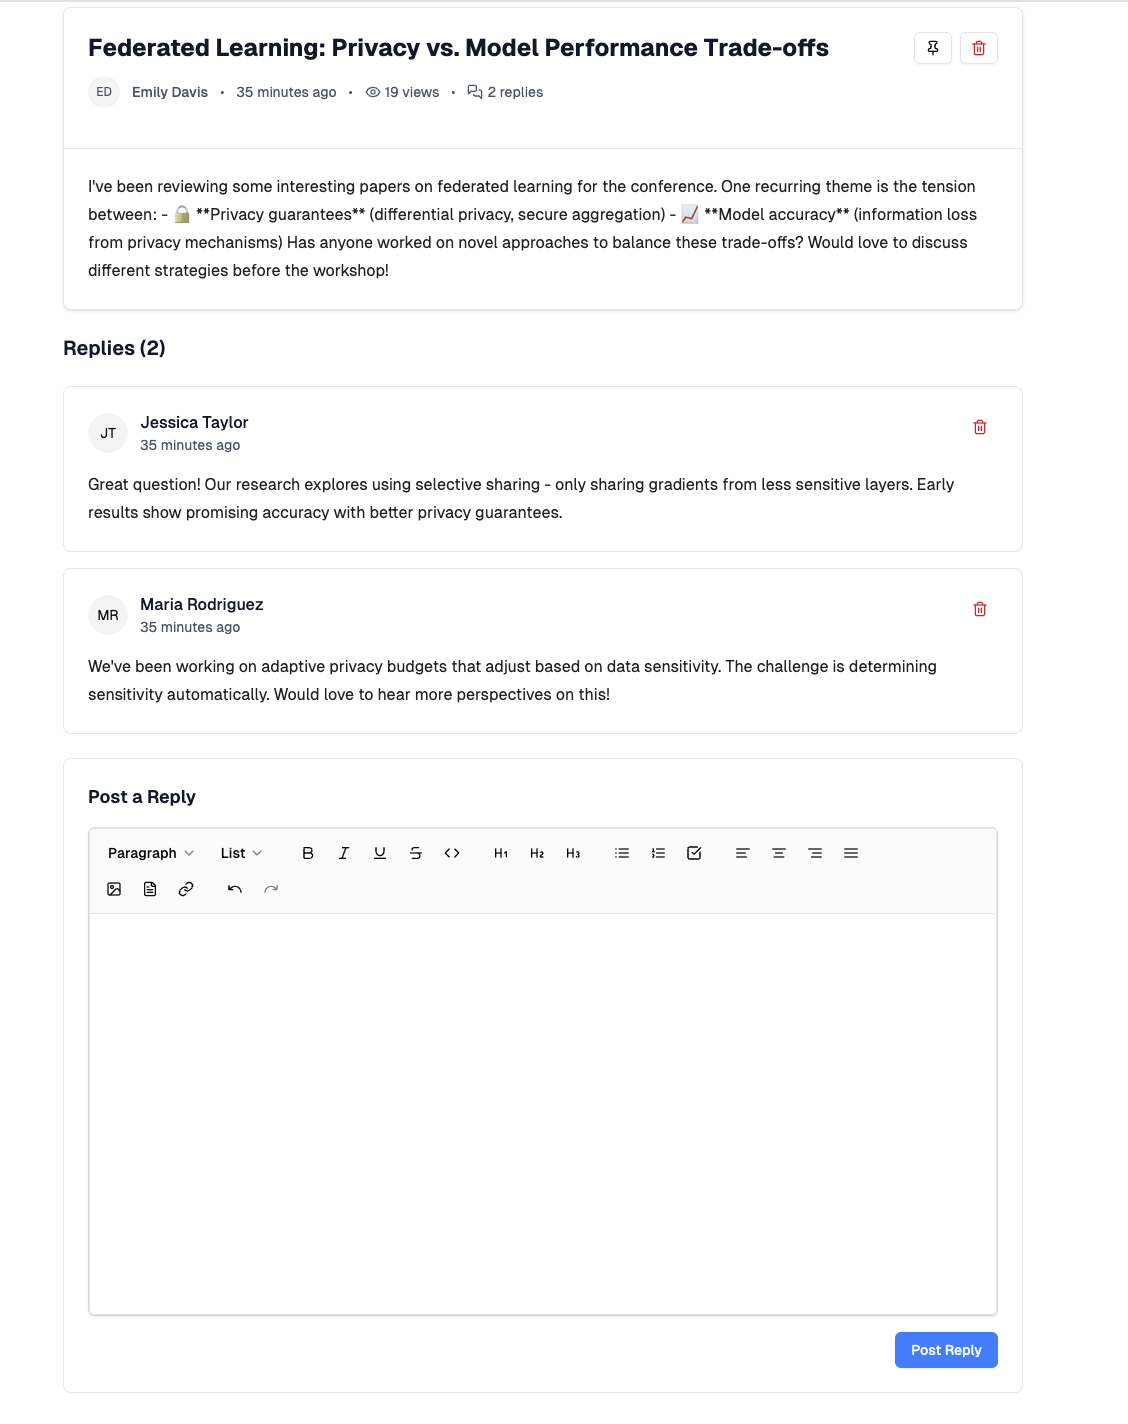 To respond to a specific comment, click **"Quote reply"** on that comment. A reply form opens with the original comment quoted, and your reply is shown with a "Replying to" reference.
### Pinning Posts (Moderators Only)
1. Open the post or view it in the forum list
2. Click the pin icon button
3. Post moves to the top of the forum
4. Click again to unpin
Pinned posts appear first in the forum list with a blue pin icon.
### Deleting Content
**Delete Posts:**
1. Open the post
2. Click the delete (trash) icon button
3. Confirm deletion in the dialog
**Delete Replies:**
1. Open the post containing the reply
2. Find the reply to delete
3. Click the delete icon on the reply
4. Confirm deletion in the dialog
Moderators can delete any post or reply. Post authors can also delete their own posts and any replies on their own posts, and comment authors can delete their own comments. Deleting is not permanent — content is hidden from the forum but retained for moderation records.
---
# Getting Help & Support
URL: https://paperfox.ai/docs/chairs/getting-help
Description: Get help through support tickets or community forum
Conference chairs can get help through two channels: dedicated support tickets (for conferences with support packages) or the free community forum.
## Support Tickets
Support tickets provide dedicated assistance from the PaperFox support team for conferences with an active support package.
### Who Can Submit Tickets
Only **conference chairs** can create support tickets. This includes:
- Conference creators (users who created the conference)
- Assigned conference chairs
Your conference must have a [support package](https://www.paperfox.ai/support-packages) (Small, Medium, Large, or Mega) to enable ticket creation.
### Accessing Support Tickets
1. Go to your dashboard
2. Click **Support** in the left sidebar navigation
To respond to a specific comment, click **"Quote reply"** on that comment. A reply form opens with the original comment quoted, and your reply is shown with a "Replying to" reference.
### Pinning Posts (Moderators Only)
1. Open the post or view it in the forum list
2. Click the pin icon button
3. Post moves to the top of the forum
4. Click again to unpin
Pinned posts appear first in the forum list with a blue pin icon.
### Deleting Content
**Delete Posts:**
1. Open the post
2. Click the delete (trash) icon button
3. Confirm deletion in the dialog
**Delete Replies:**
1. Open the post containing the reply
2. Find the reply to delete
3. Click the delete icon on the reply
4. Confirm deletion in the dialog
Moderators can delete any post or reply. Post authors can also delete their own posts and any replies on their own posts, and comment authors can delete their own comments. Deleting is not permanent — content is hidden from the forum but retained for moderation records.
---
# Getting Help & Support
URL: https://paperfox.ai/docs/chairs/getting-help
Description: Get help through support tickets or community forum
Conference chairs can get help through two channels: dedicated support tickets (for conferences with support packages) or the free community forum.
## Support Tickets
Support tickets provide dedicated assistance from the PaperFox support team for conferences with an active support package.
### Who Can Submit Tickets
Only **conference chairs** can create support tickets. This includes:
- Conference creators (users who created the conference)
- Assigned conference chairs
Your conference must have a [support package](https://www.paperfox.ai/support-packages) (Small, Medium, Large, or Mega) to enable ticket creation.
### Accessing Support Tickets
1. Go to your dashboard
2. Click **Support** in the left sidebar navigation
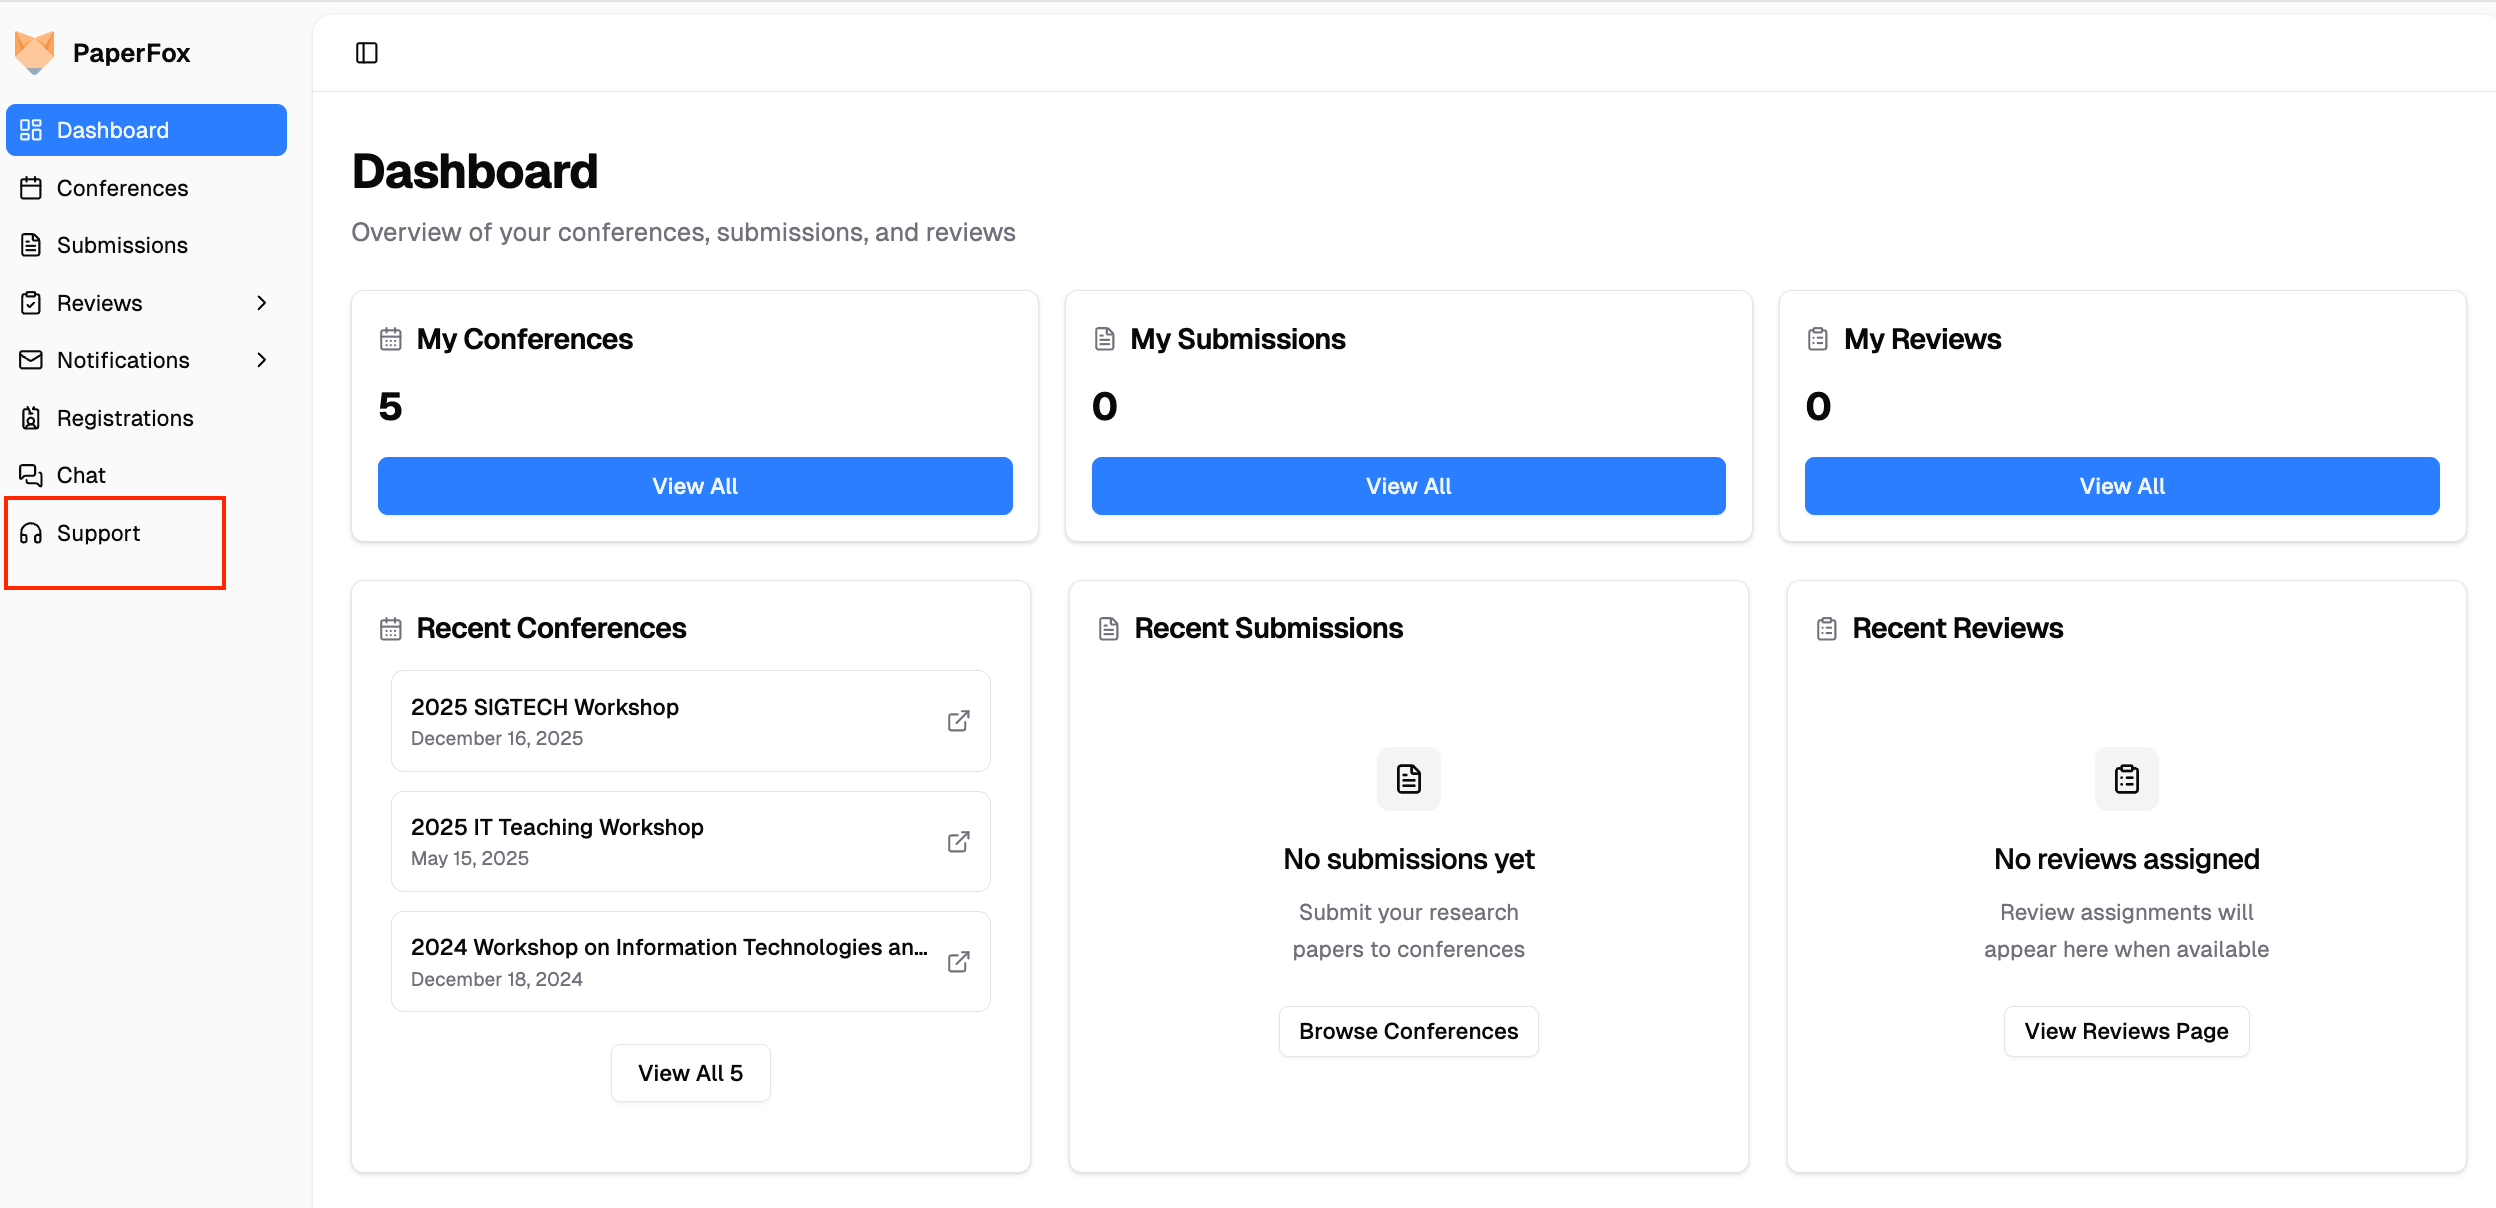 ### Viewing Your Tickets
The Support Tickets page displays all your tickets with the following information:
- **Subject** - Brief summary of your issue
- **Conference** - Associated conference name
- **Status** - Current ticket status
- **Priority** - Urgency level
- **Replies** - Number of support responses
- **Created** - Submission date
### Status Filter
Use the status dropdown to filter your tickets:
- **All Statuses** - View all tickets
- **Open** - New tickets awaiting initial response
- **In Progress** - Support team is actively working on the issue
- **Resolved** - Issue has been addressed
- **Closed** - Ticket is completed
### Creating a New Ticket
1. Click the **New Ticket** button
### Viewing Your Tickets
The Support Tickets page displays all your tickets with the following information:
- **Subject** - Brief summary of your issue
- **Conference** - Associated conference name
- **Status** - Current ticket status
- **Priority** - Urgency level
- **Replies** - Number of support responses
- **Created** - Submission date
### Status Filter
Use the status dropdown to filter your tickets:
- **All Statuses** - View all tickets
- **Open** - New tickets awaiting initial response
- **In Progress** - Support team is actively working on the issue
- **Resolved** - Issue has been addressed
- **Closed** - Ticket is completed
### Creating a New Ticket
1. Click the **New Ticket** button
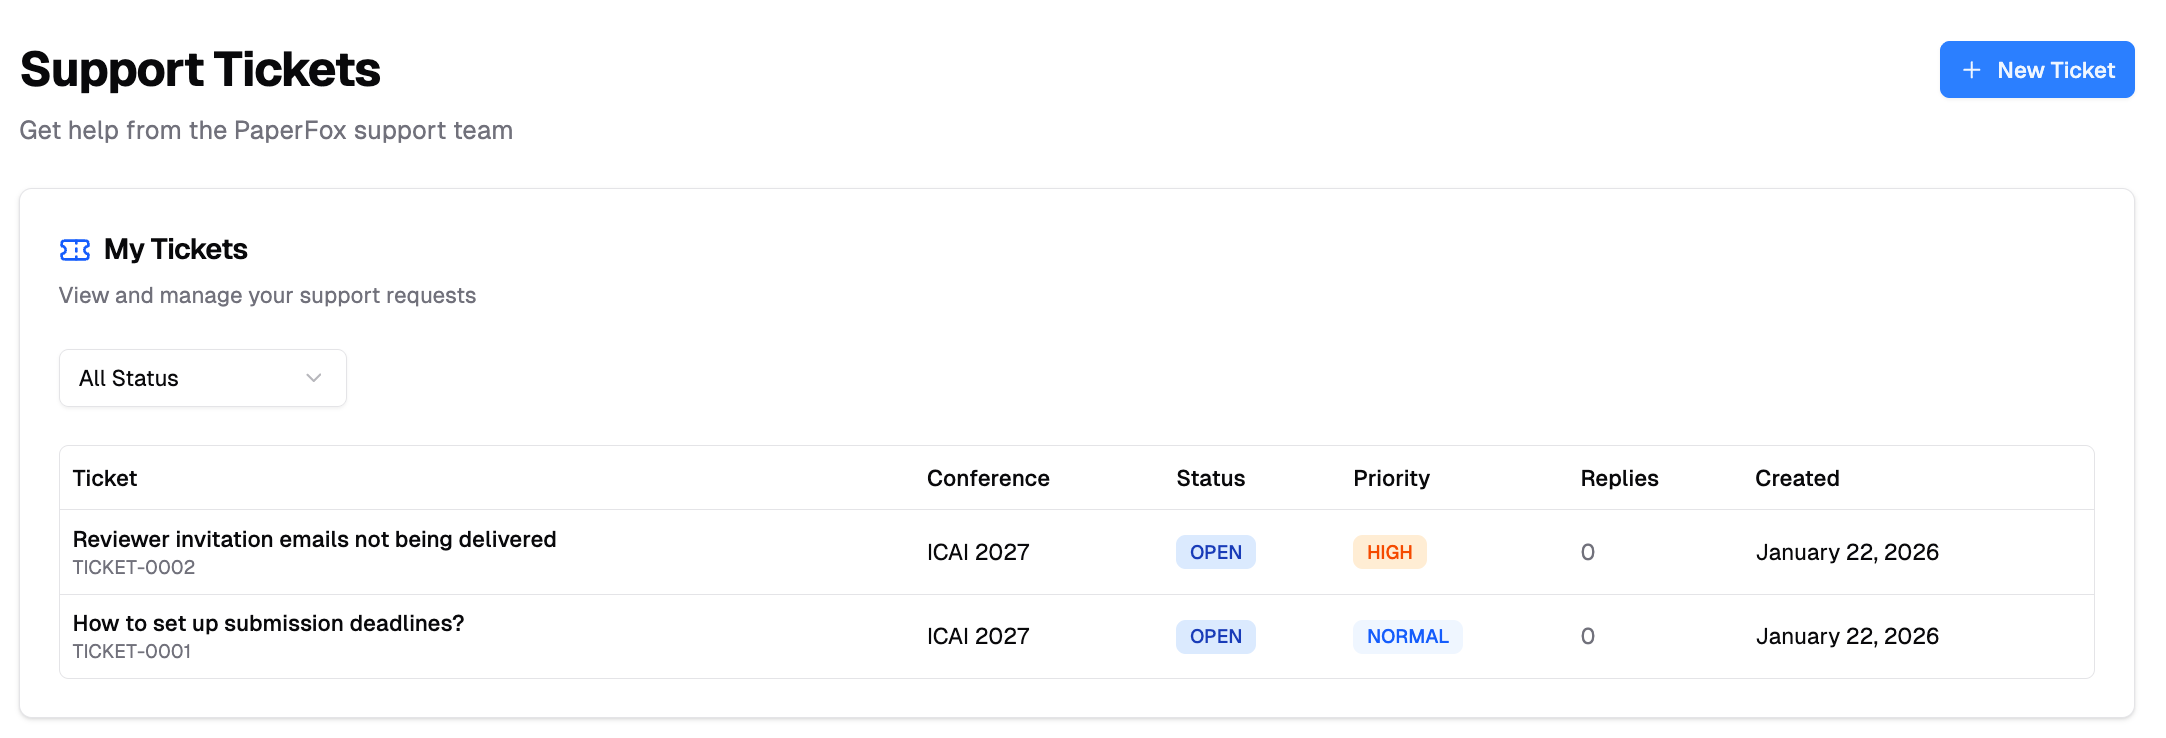 2. Select the **Conference** from the dropdown
3. Enter a **Subject** (brief summary of your issue)
4. Write a detailed **Description** in the rich text editor
5. Choose a **Priority** level:
- **Low** - General questions, non-urgent issues
- **Normal** - Standard support requests (default)
- **High** - Important issues affecting conference operations
- **Urgent** - Critical problems requiring immediate attention
6. Click **Submit Ticket**
You'll receive an email confirmation once your ticket is submitted.
2. Select the **Conference** from the dropdown
3. Enter a **Subject** (brief summary of your issue)
4. Write a detailed **Description** in the rich text editor
5. Choose a **Priority** level:
- **Low** - General questions, non-urgent issues
- **Normal** - Standard support requests (default)
- **High** - Important issues affecting conference operations
- **Urgent** - Critical problems requiring immediate attention
6. Click **Submit Ticket**
You'll receive an email confirmation once your ticket is submitted.
 ### Attaching Screenshots and Files
A screenshot usually explains a problem faster than a paragraph does. In the **Description** editor, click the paperclip **Attach File** button, then drag your file onto the drop zone or click to choose one.
### Attaching Screenshots and Files
A screenshot usually explains a problem faster than a paragraph does. In the **Description** editor, click the paperclip **Attach File** button, then drag your file onto the drop zone or click to choose one.
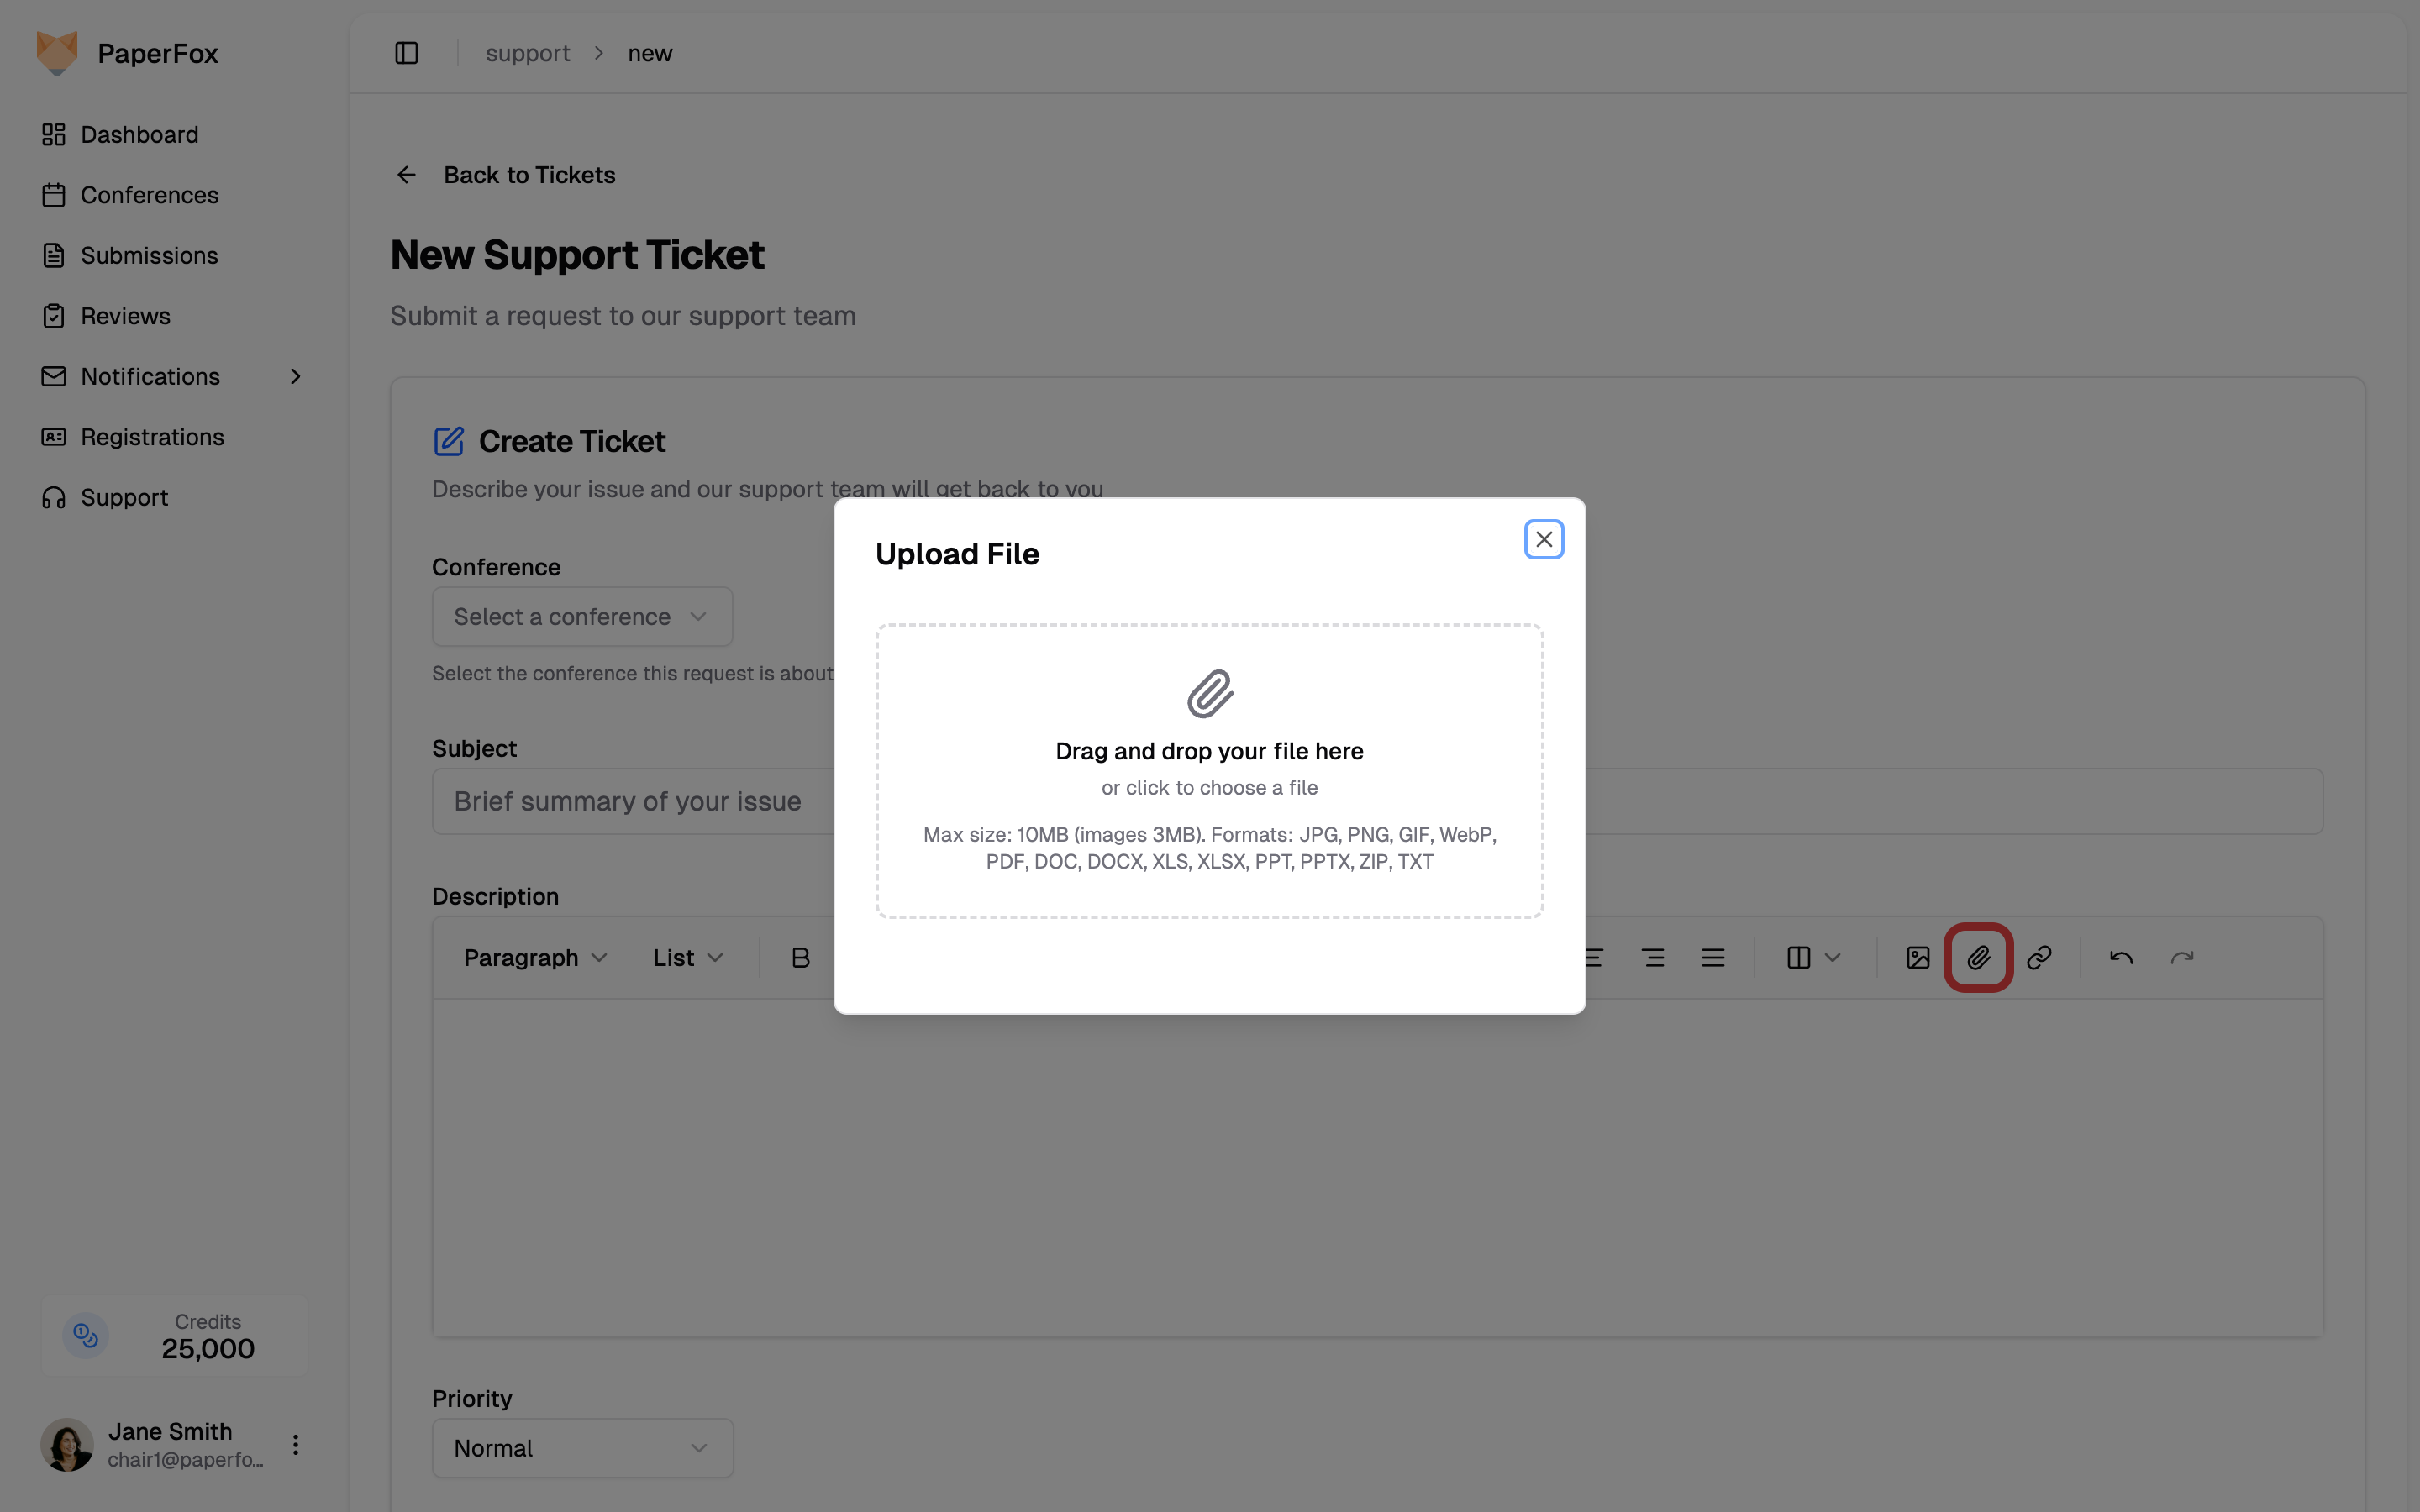 - **Images** (JPG, PNG, GIF, WebP — up to 3MB) appear inline in your message, so the support team sees them without downloading anything. You can also paste a screenshot straight from your clipboard into the editor.
- **Documents** (PDF, DOC, DOCX, XLS, XLSX, PPT, PPTX, ZIP, TXT — up to 10MB) appear as a card showing the file name, which the support team can click to download.
Dragging a file anywhere onto the editor works too, and the same paperclip is available when you reply to a ticket.
### Viewing Ticket Details
Click any ticket to view:
- Original message and description
- Full conversation history with all replies
- Ticket details sidebar with status, priority, conference, assigned agent, and timestamps
### Ticket Status Workflow
| Status | Description |
|--------|-------------|
| **Open** | Ticket submitted, awaiting initial response |
| **In Progress** | Support team is actively working on it |
| **Resolved** | Issue has been addressed by support team |
| **Closed** | Ticket is completed and archived |
### Replying to Tickets
To add a reply to your ticket:
1. Open the ticket
2. Scroll to the **Add Reply** section at the bottom
3. Write your message in the rich text editor
4. Click **Send Reply**
- **Images** (JPG, PNG, GIF, WebP — up to 3MB) appear inline in your message, so the support team sees them without downloading anything. You can also paste a screenshot straight from your clipboard into the editor.
- **Documents** (PDF, DOC, DOCX, XLS, XLSX, PPT, PPTX, ZIP, TXT — up to 10MB) appear as a card showing the file name, which the support team can click to download.
Dragging a file anywhere onto the editor works too, and the same paperclip is available when you reply to a ticket.
### Viewing Ticket Details
Click any ticket to view:
- Original message and description
- Full conversation history with all replies
- Ticket details sidebar with status, priority, conference, assigned agent, and timestamps
### Ticket Status Workflow
| Status | Description |
|--------|-------------|
| **Open** | Ticket submitted, awaiting initial response |
| **In Progress** | Support team is actively working on it |
| **Resolved** | Issue has been addressed by support team |
| **Closed** | Ticket is completed and archived |
### Replying to Tickets
To add a reply to your ticket:
1. Open the ticket
2. Scroll to the **Add Reply** section at the bottom
3. Write your message in the rich text editor
4. Click **Send Reply**
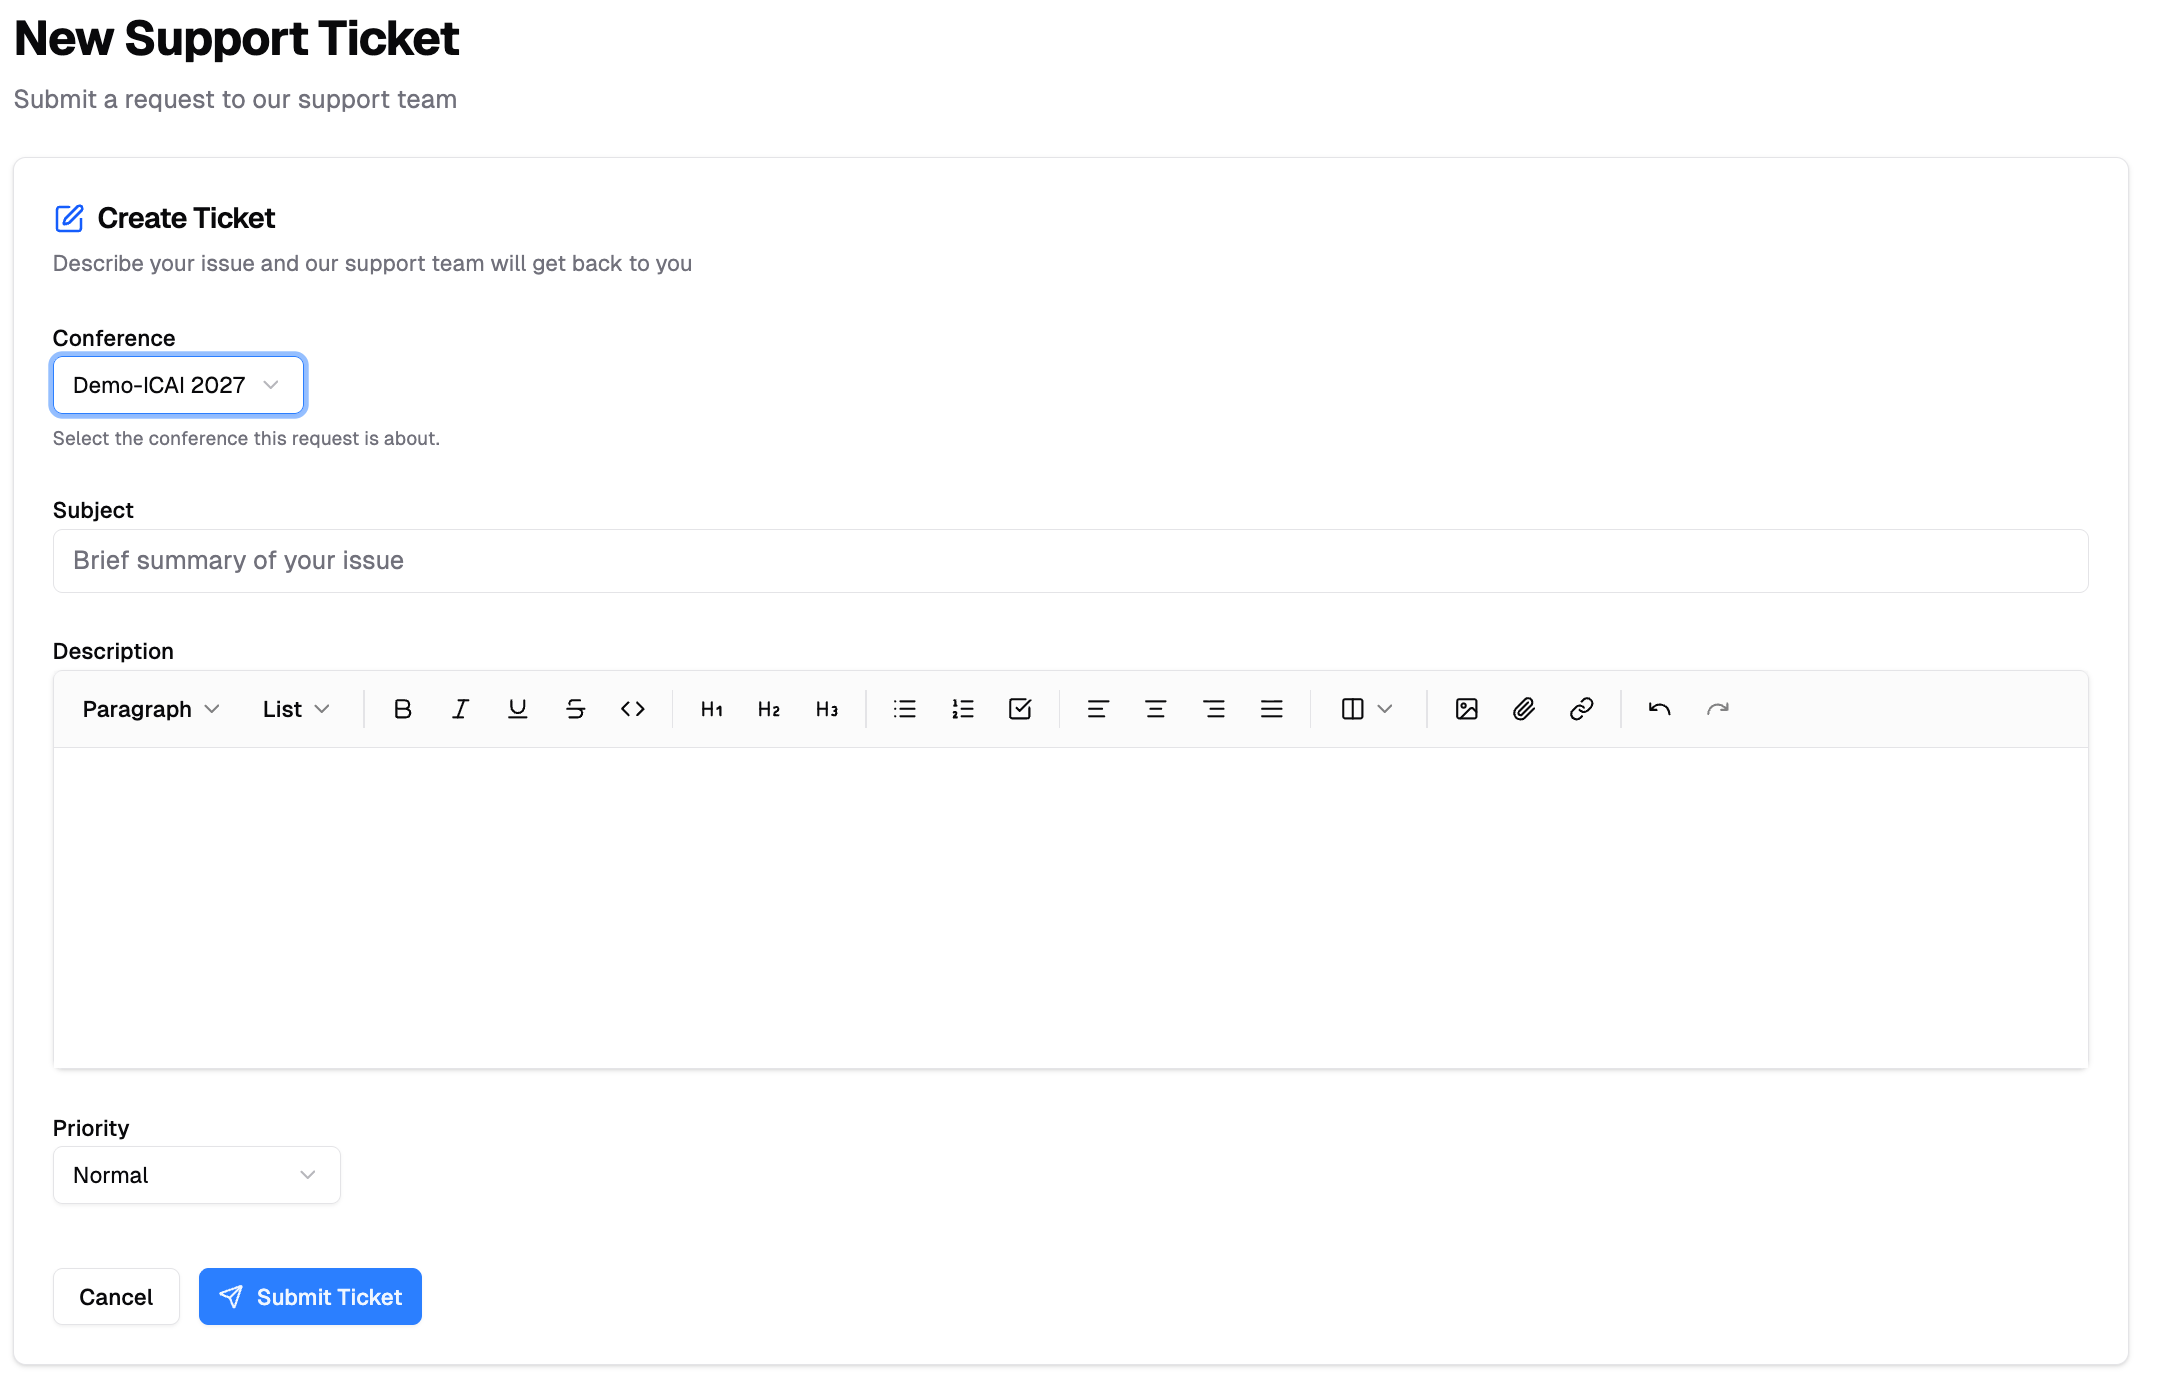 **Note:** Support team replies are highlighted with a blue background and "Support" badge.
You'll receive email notifications when the support team responds to your ticket.
## Alternative: Community Forum
If your conference doesn't have a support package, you can get help through the **[Community Forum](https://www.paperfox.ai/community/forum)** - a free platform where you can:
- **Ask Questions** - Post questions about conference management, submissions, reviews, and more
- **Share Knowledge** - Learn from other conference chairs and PaperFox users
- **Connect with Community** - Engage in discussions with the broader PaperFox community
- **Browse Discussions** - Search existing threads to find answers to common questions
### Using the Community Forum
1. Visit **[Community Forum](https://www.paperfox.ai/community/forum)**
2. Click **New Post** to create a new discussion thread
**Note:** Support team replies are highlighted with a blue background and "Support" badge.
You'll receive email notifications when the support team responds to your ticket.
## Alternative: Community Forum
If your conference doesn't have a support package, you can get help through the **[Community Forum](https://www.paperfox.ai/community/forum)** - a free platform where you can:
- **Ask Questions** - Post questions about conference management, submissions, reviews, and more
- **Share Knowledge** - Learn from other conference chairs and PaperFox users
- **Connect with Community** - Engage in discussions with the broader PaperFox community
- **Browse Discussions** - Search existing threads to find answers to common questions
### Using the Community Forum
1. Visit **[Community Forum](https://www.paperfox.ai/community/forum)**
2. Click **New Post** to create a new discussion thread
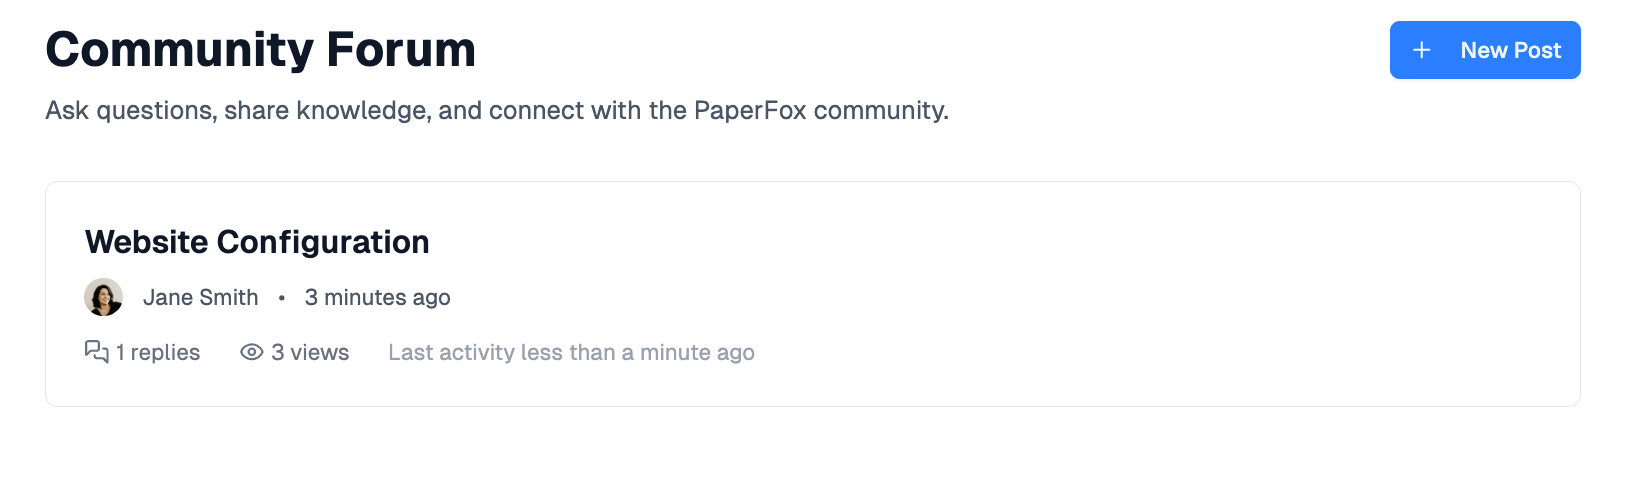 3. Enter a clear title and detailed description of your question
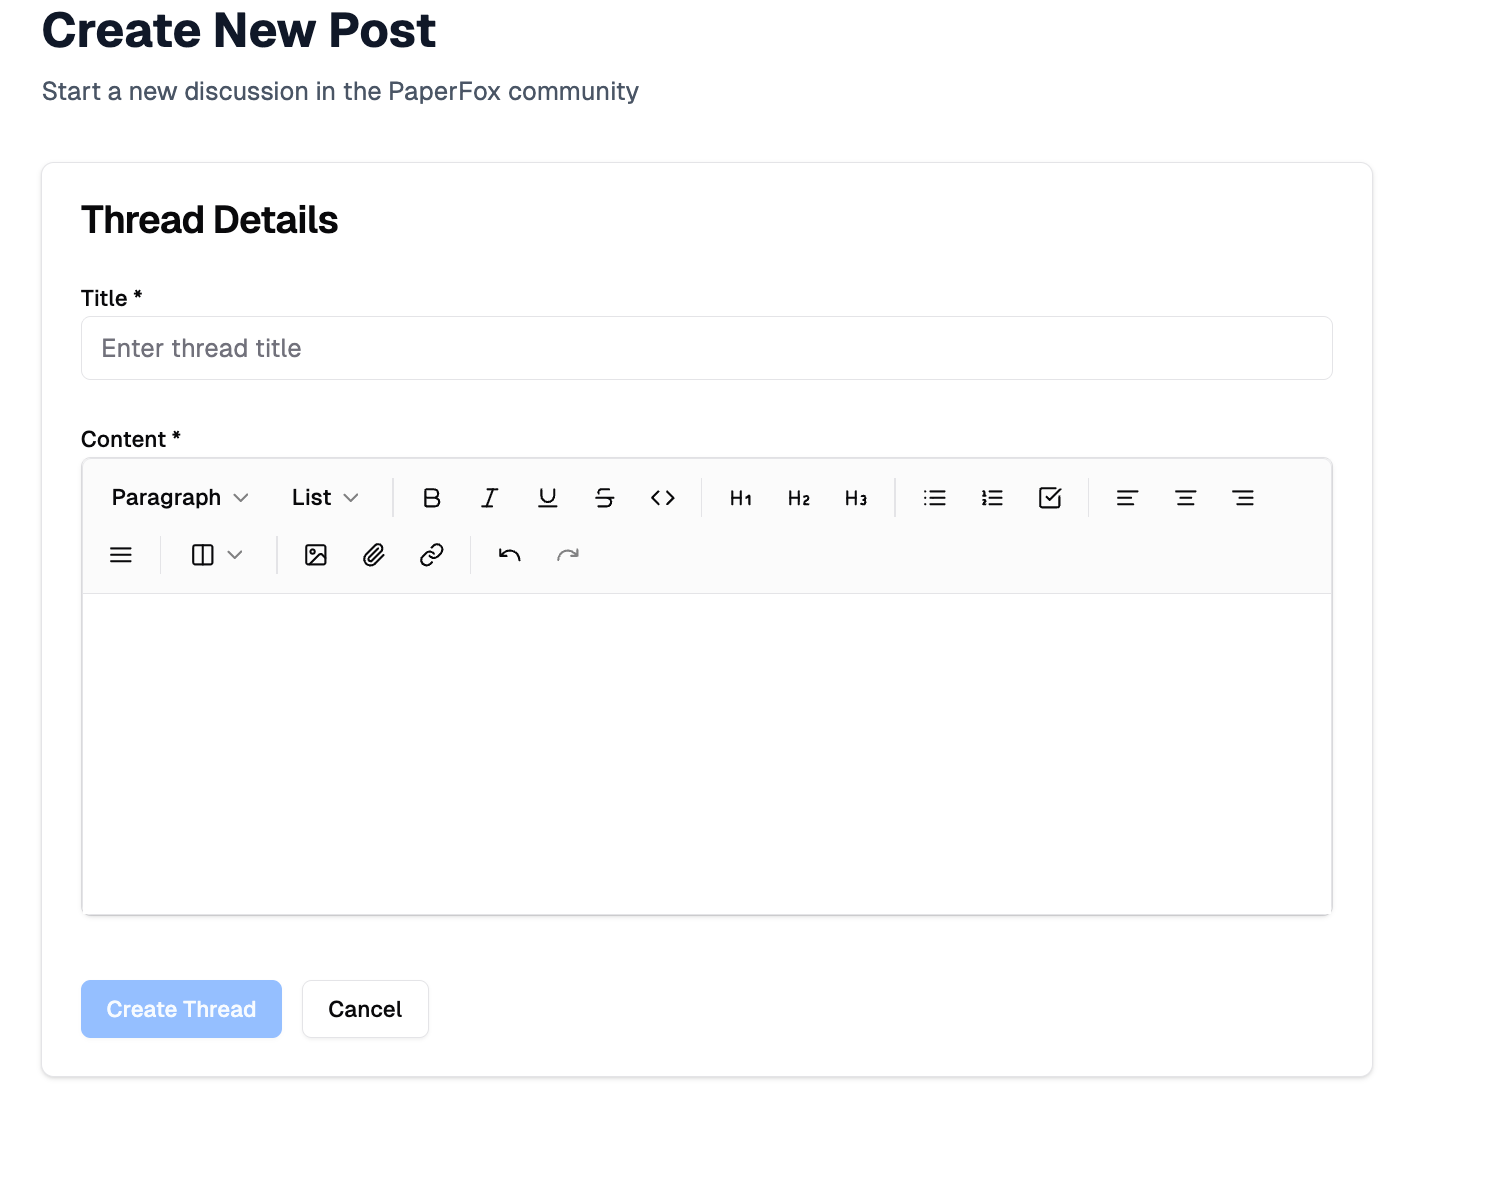 4. Monitor replies from community members and moderators
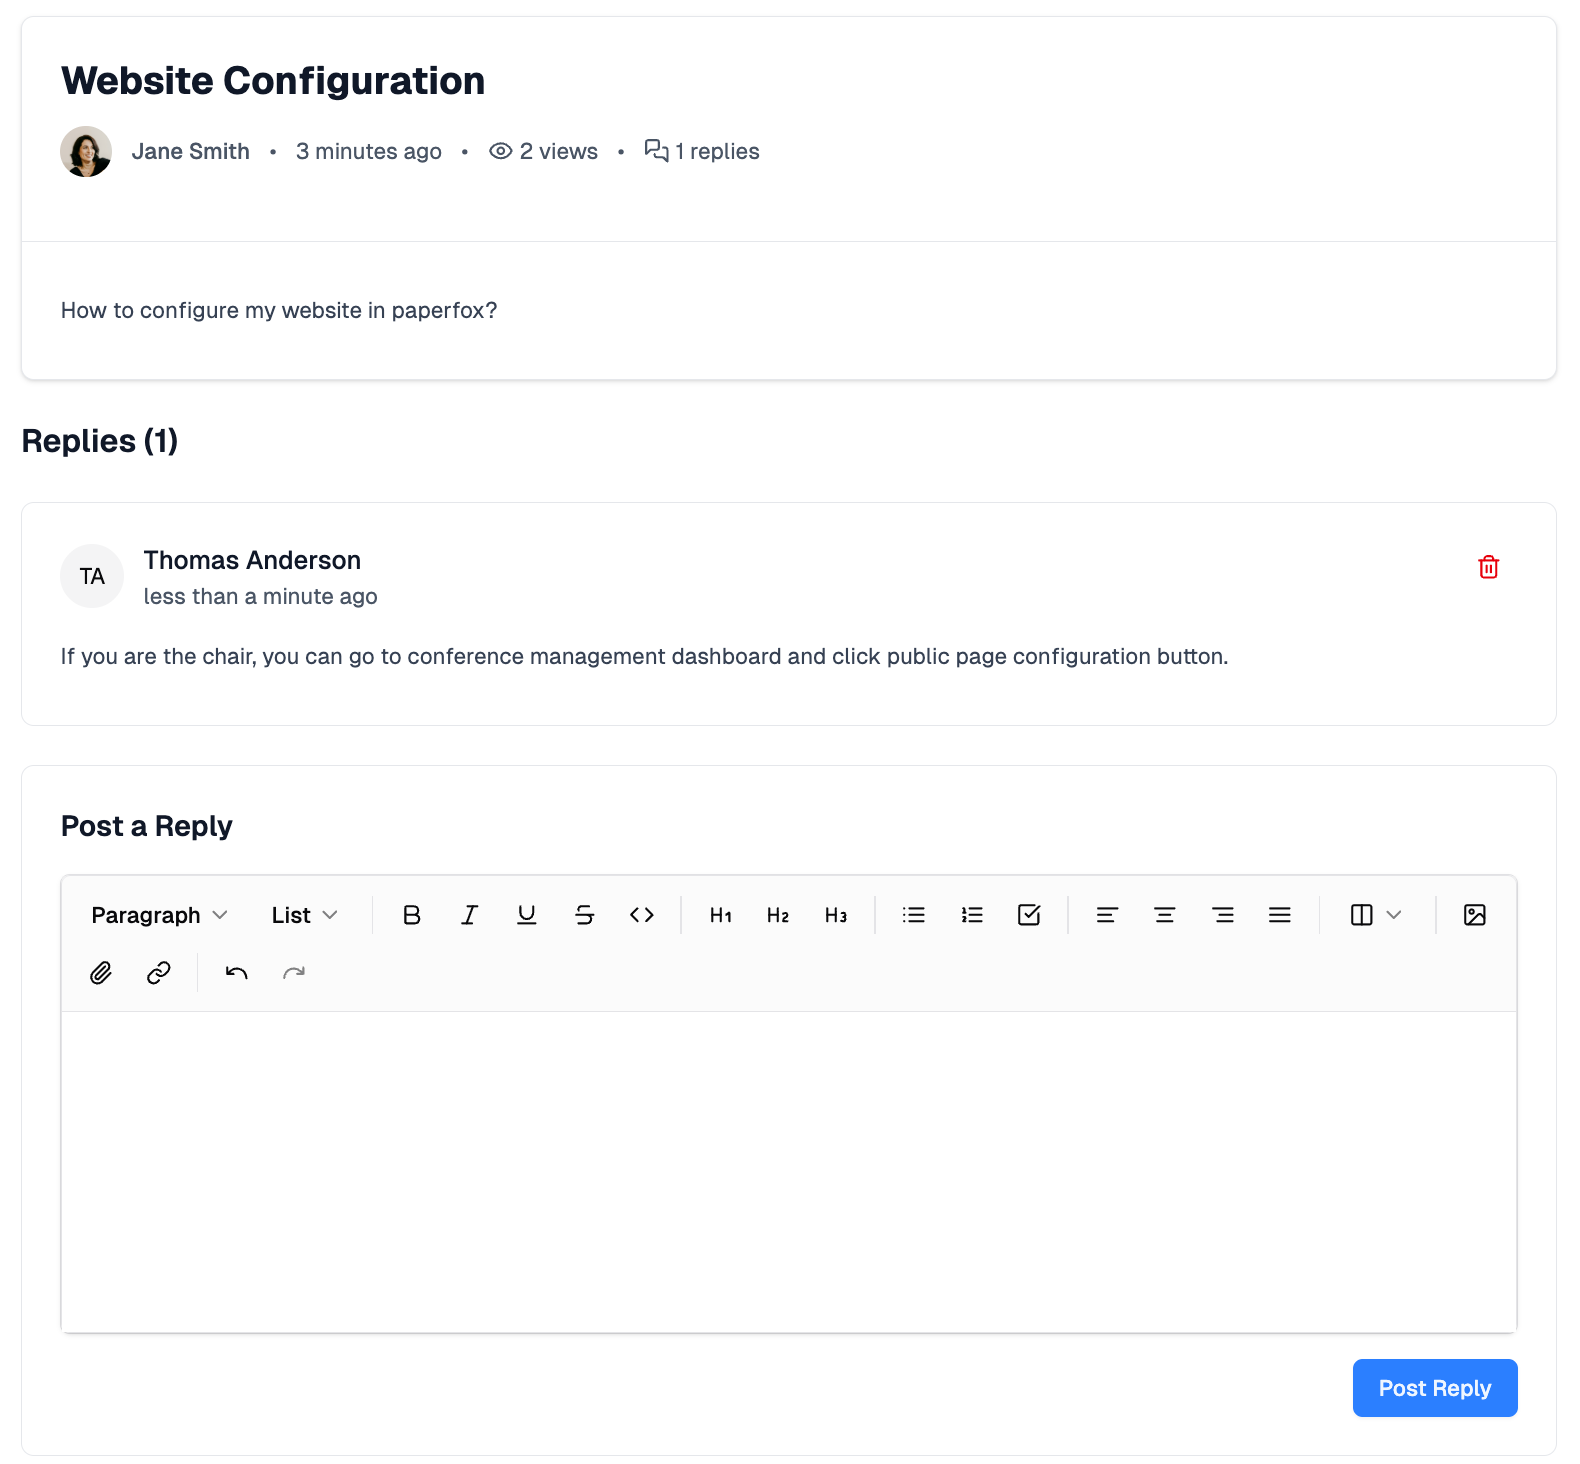 The Community Forum is ideal for general questions, best practices, and connecting with other conference organizers. For dedicated, priority support with guaranteed response times, consider upgrading to a [support package](https://www.paperfox.ai/support-packages).
## Support Package Information
Different support packages offer varying response times and benefits:
- **Small** (< 300 submissions) - 12-hour response time, 1 setup call
- **Medium** (300-1,000 submissions) - 12-hour response time, 2 setup calls
- **Large** (1,000-3,000 submissions) - 12-hour response time, 4 setup calls
- **Mega** (3,000+ submissions) - Custom support with dedicated account manager
Learn more about [support packages and pricing](https://www.paperfox.ai/support-packages).
---
# Import External Registrants
URL: https://paperfox.ai/docs/chairs/import-external-registrants
Description: Add registrants from a registration system outside PaperFox so we can flag submissions without a registered author
If your conference uses a registration system other than PaperFox, you can still import the registrant list here. Once imported, PaperFox can tell you which accepted submissions don't have a registered author yet — see [Author Registration Coverage](/docs/chairs/registration-coverage).
Required fields per registrant: **first name**, **last name**, **email**. Affiliation and country are optional.
## Open the External Tab
1. Go to **Conferences** in the sidebar, then click your conference.
2. Under **Registration Management**, click **"Registrants"**.
The Community Forum is ideal for general questions, best practices, and connecting with other conference organizers. For dedicated, priority support with guaranteed response times, consider upgrading to a [support package](https://www.paperfox.ai/support-packages).
## Support Package Information
Different support packages offer varying response times and benefits:
- **Small** (< 300 submissions) - 12-hour response time, 1 setup call
- **Medium** (300-1,000 submissions) - 12-hour response time, 2 setup calls
- **Large** (1,000-3,000 submissions) - 12-hour response time, 4 setup calls
- **Mega** (3,000+ submissions) - Custom support with dedicated account manager
Learn more about [support packages and pricing](https://www.paperfox.ai/support-packages).
---
# Import External Registrants
URL: https://paperfox.ai/docs/chairs/import-external-registrants
Description: Add registrants from a registration system outside PaperFox so we can flag submissions without a registered author
If your conference uses a registration system other than PaperFox, you can still import the registrant list here. Once imported, PaperFox can tell you which accepted submissions don't have a registered author yet — see [Author Registration Coverage](/docs/chairs/registration-coverage).
Required fields per registrant: **first name**, **last name**, **email**. Affiliation and country are optional.
## Open the External Tab
1. Go to **Conferences** in the sidebar, then click your conference.
2. Under **Registration Management**, click **"Registrants"**.
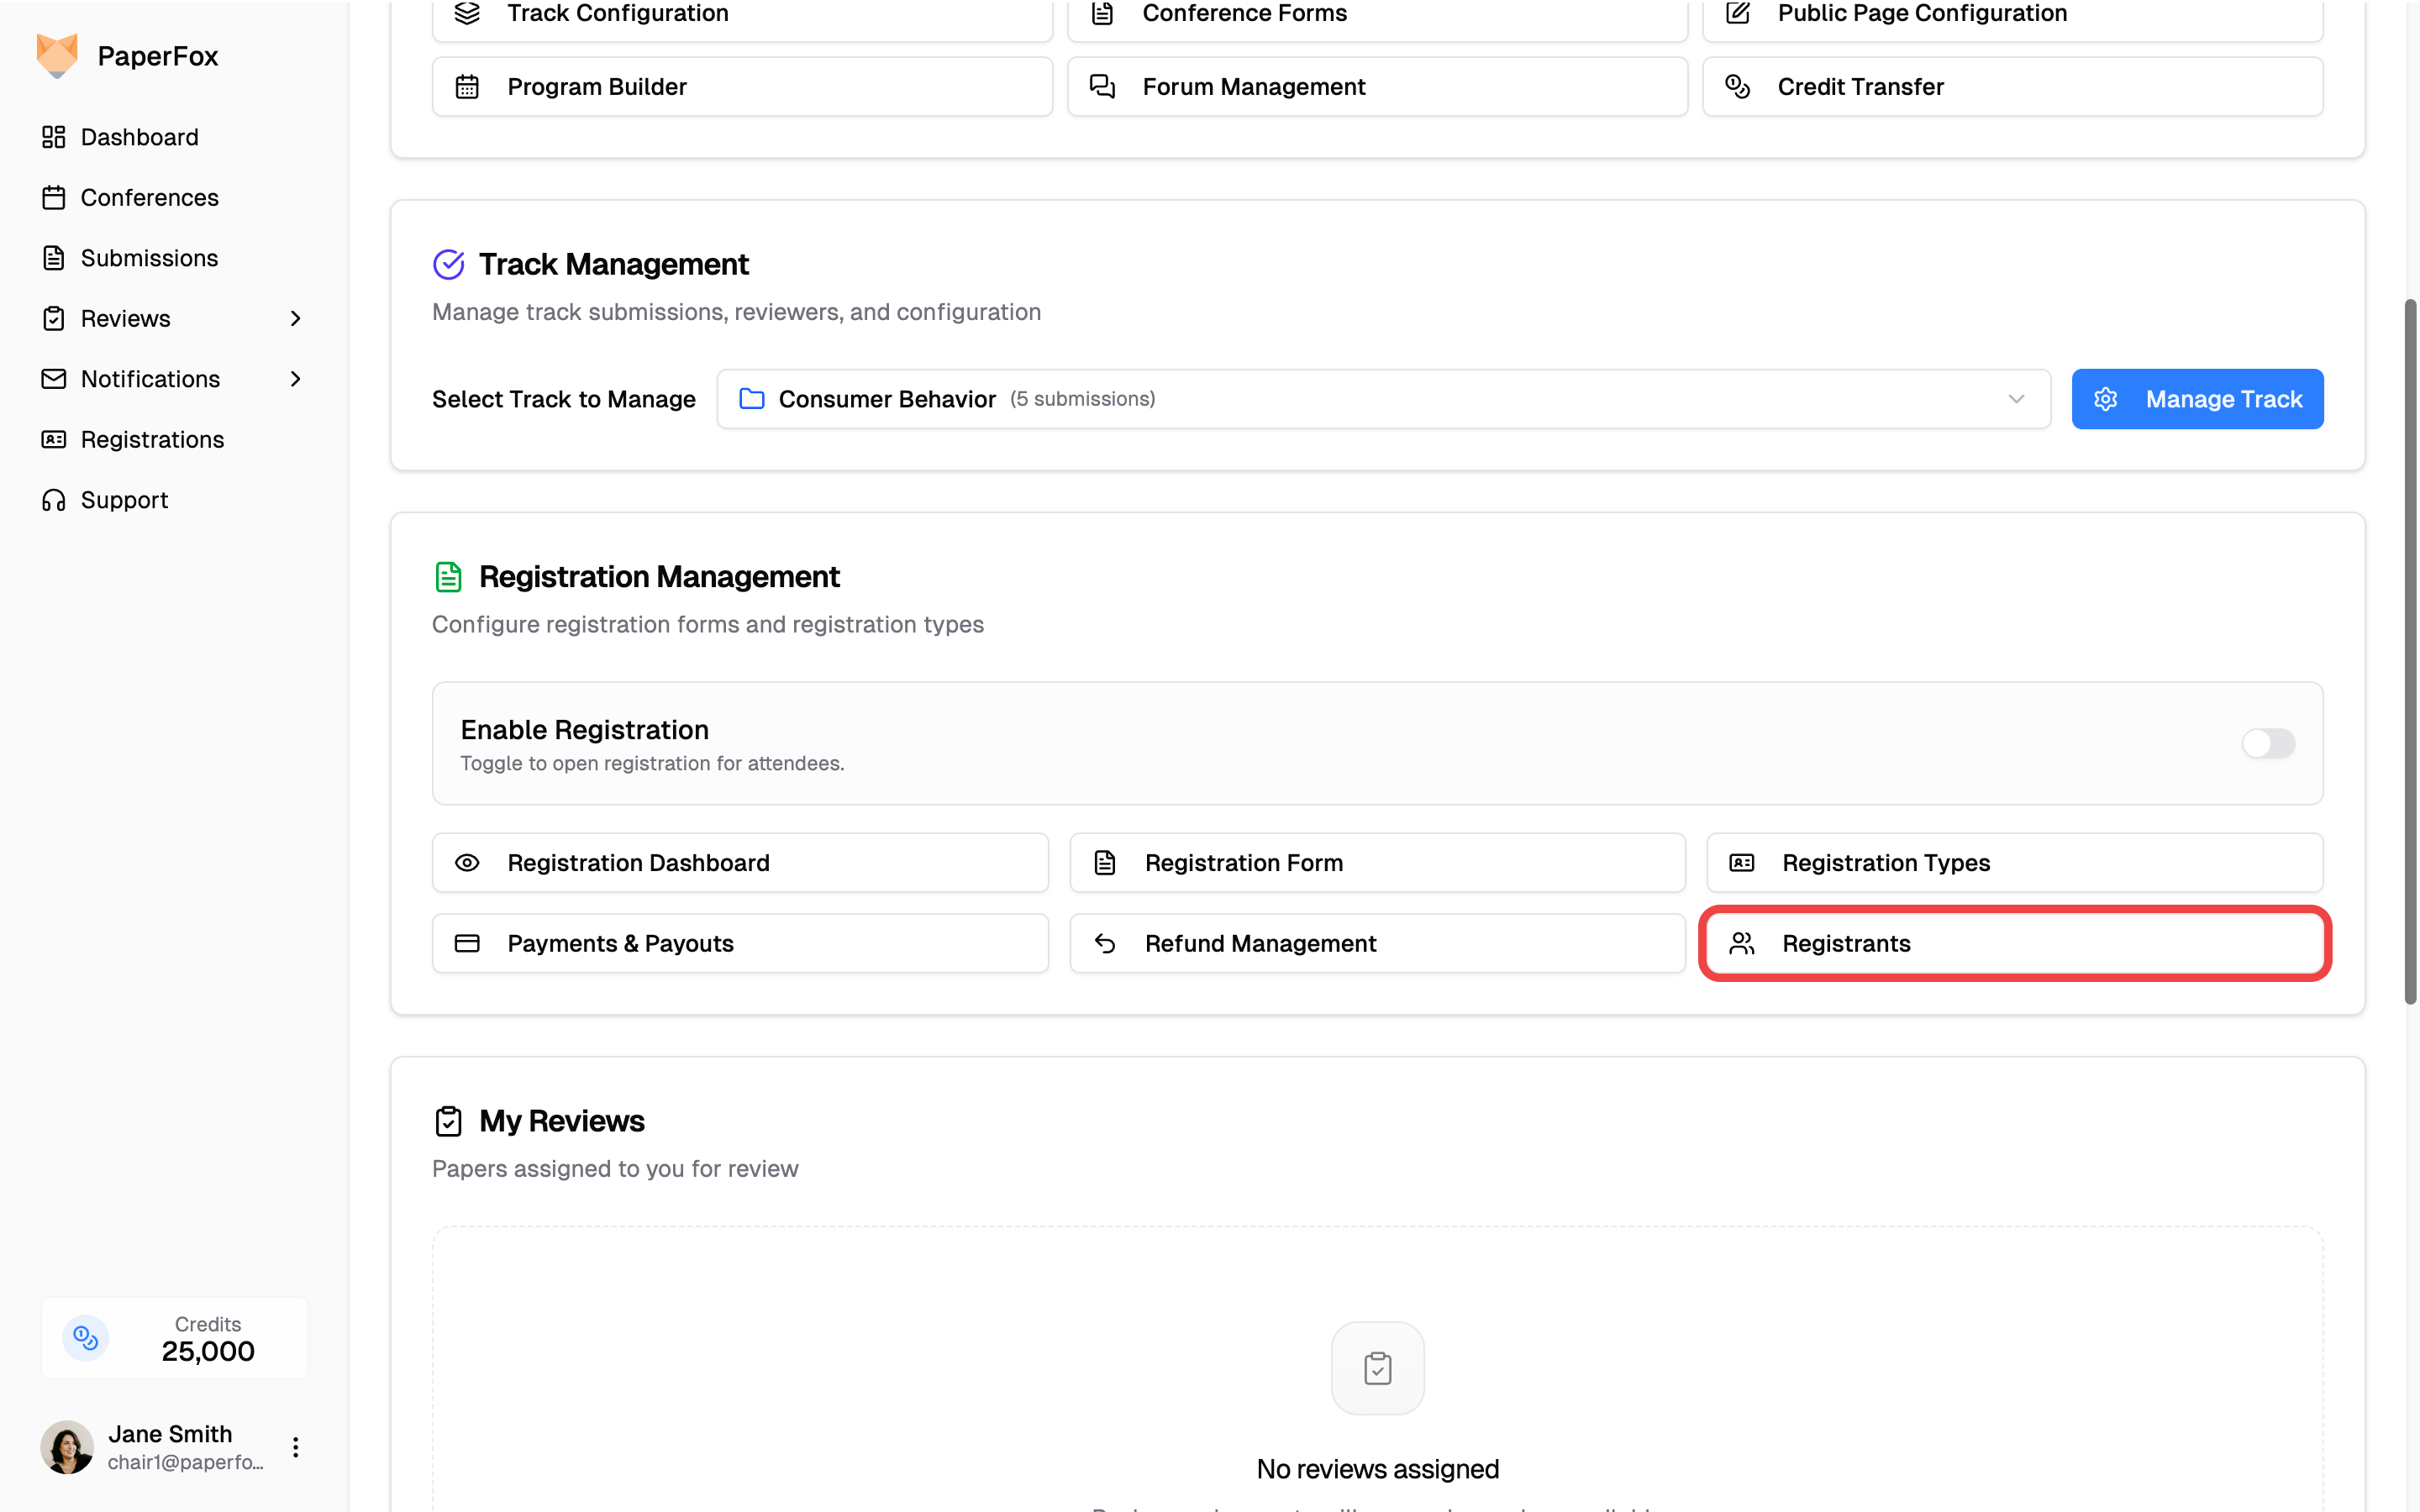 3. Click the **External** tab.
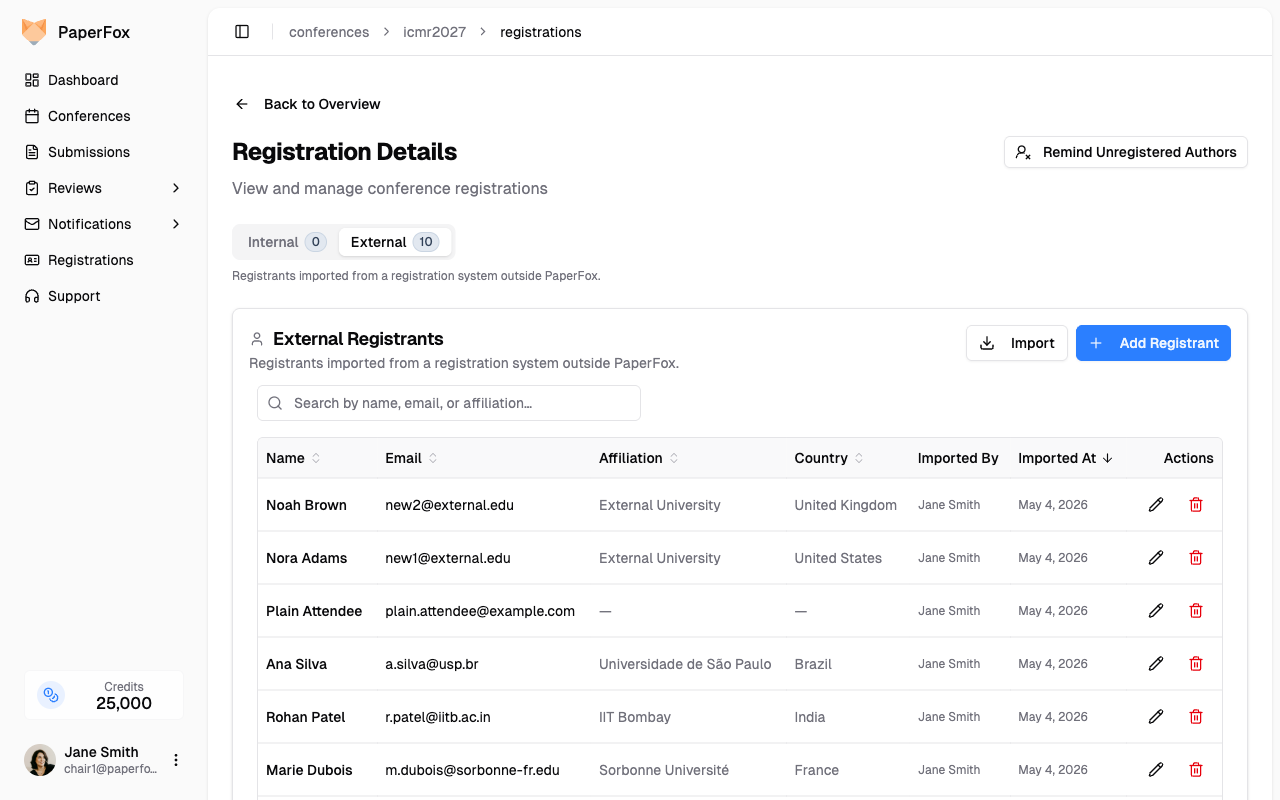 The **Account** column tells you, at a glance, whether each registrant matches an existing PaperFox account. The legend above the table is the key:
- **No PaperFox account** — email isn't tied to any PaperFox user.
- **Has PaperFox account** — email matches a PaperFox user. We use that user's profile (name, affiliation, country) for the registrant — see "How matching works" below.
- **Already in Internal list** — this person already paid through PaperFox, so they're also on the **Internal** tab. The External row remains for your records.
## Add One Registrant
1. Click **"Add Registrant"** (top right of the table).
2. Pick a **Country/Region** first, then start typing the **Affiliation** — PaperFox suggests matching institutions from ROR scoped to that country.
3. Fill in **First Name**, **Last Name**, **Email**.
4. Click **"Add Registrant"** to save.
The **Account** column tells you, at a glance, whether each registrant matches an existing PaperFox account. The legend above the table is the key:
- **No PaperFox account** — email isn't tied to any PaperFox user.
- **Has PaperFox account** — email matches a PaperFox user. We use that user's profile (name, affiliation, country) for the registrant — see "How matching works" below.
- **Already in Internal list** — this person already paid through PaperFox, so they're also on the **Internal** tab. The External row remains for your records.
## Add One Registrant
1. Click **"Add Registrant"** (top right of the table).
2. Pick a **Country/Region** first, then start typing the **Affiliation** — PaperFox suggests matching institutions from ROR scoped to that country.
3. Fill in **First Name**, **Last Name**, **Email**.
4. Click **"Add Registrant"** to save.
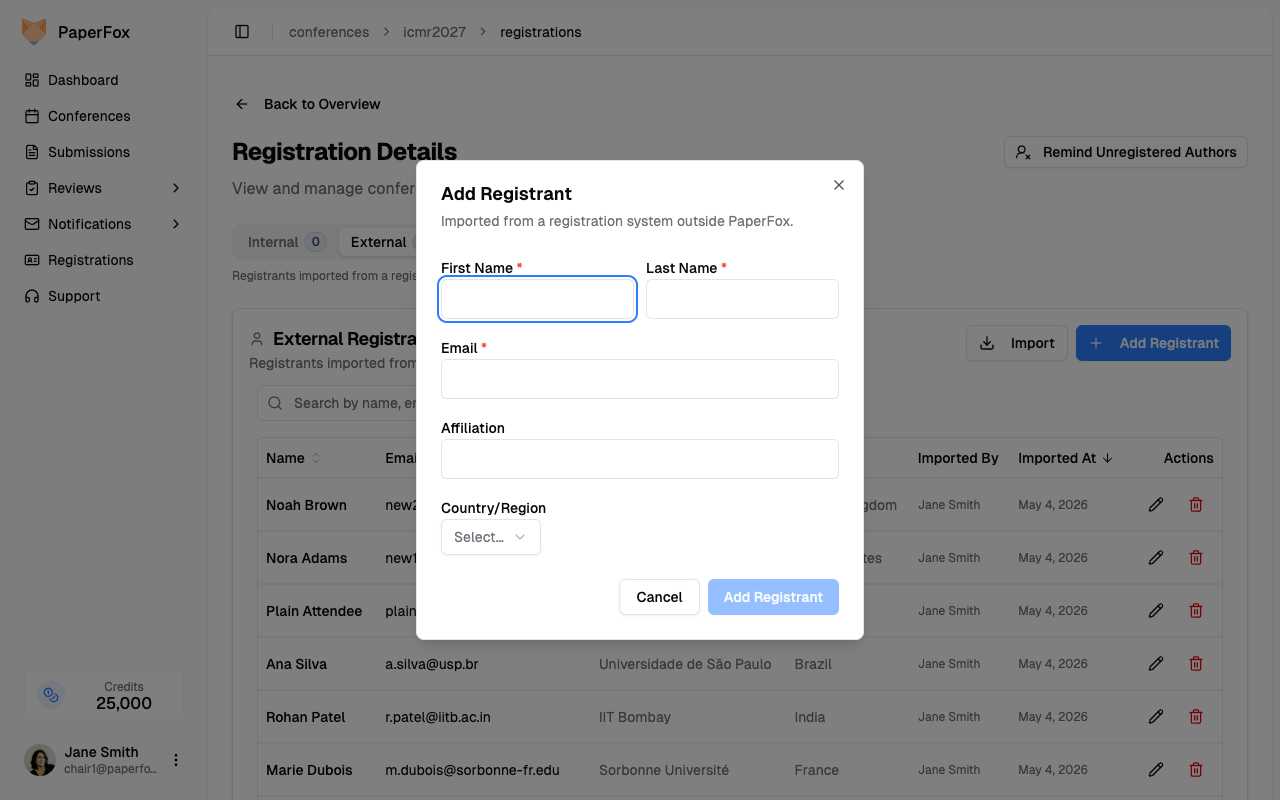 The new row appears at the top of the table. Use the pencil icon to edit any field, or the red trash icon to remove a row.
## Bulk Import (CSV / Excel / Paste)
For more than a handful of registrants, use the bulk import.
1. Click **"Import"** to open the dialog.
2. Pick a method:
- **Upload File** — drag a CSV, XLSX, or TXT file onto the dashed zone, or click to choose. Use **"Download CSV template"** for a starting point.
- **Paste Rows** — paste the contents of a spreadsheet (header row included).
The new row appears at the top of the table. Use the pencil icon to edit any field, or the red trash icon to remove a row.
## Bulk Import (CSV / Excel / Paste)
For more than a handful of registrants, use the bulk import.
1. Click **"Import"** to open the dialog.
2. Pick a method:
- **Upload File** — drag a CSV, XLSX, or TXT file onto the dashed zone, or click to choose. Use **"Download CSV template"** for a starting point.
- **Paste Rows** — paste the contents of a spreadsheet (header row included).
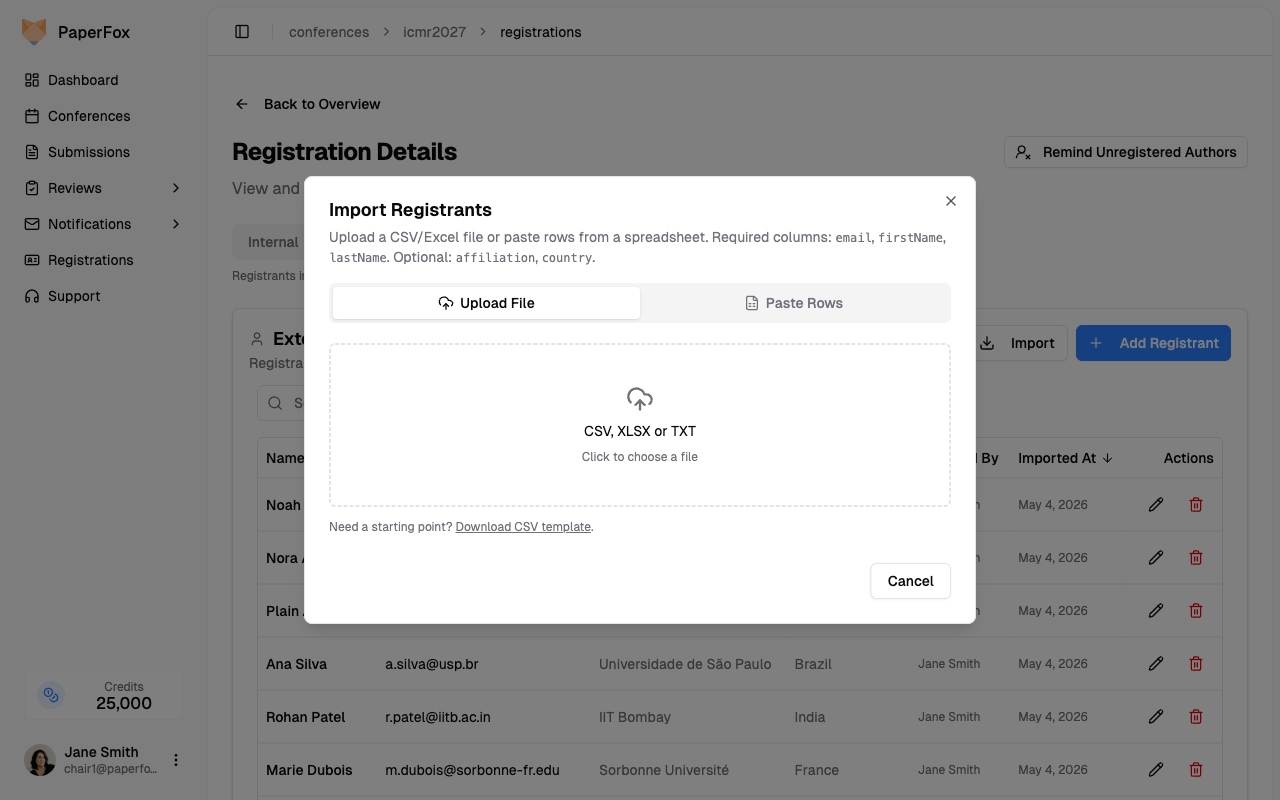 3. PaperFox parses the file and shows a preview with four counters and a per-row **Account** status:
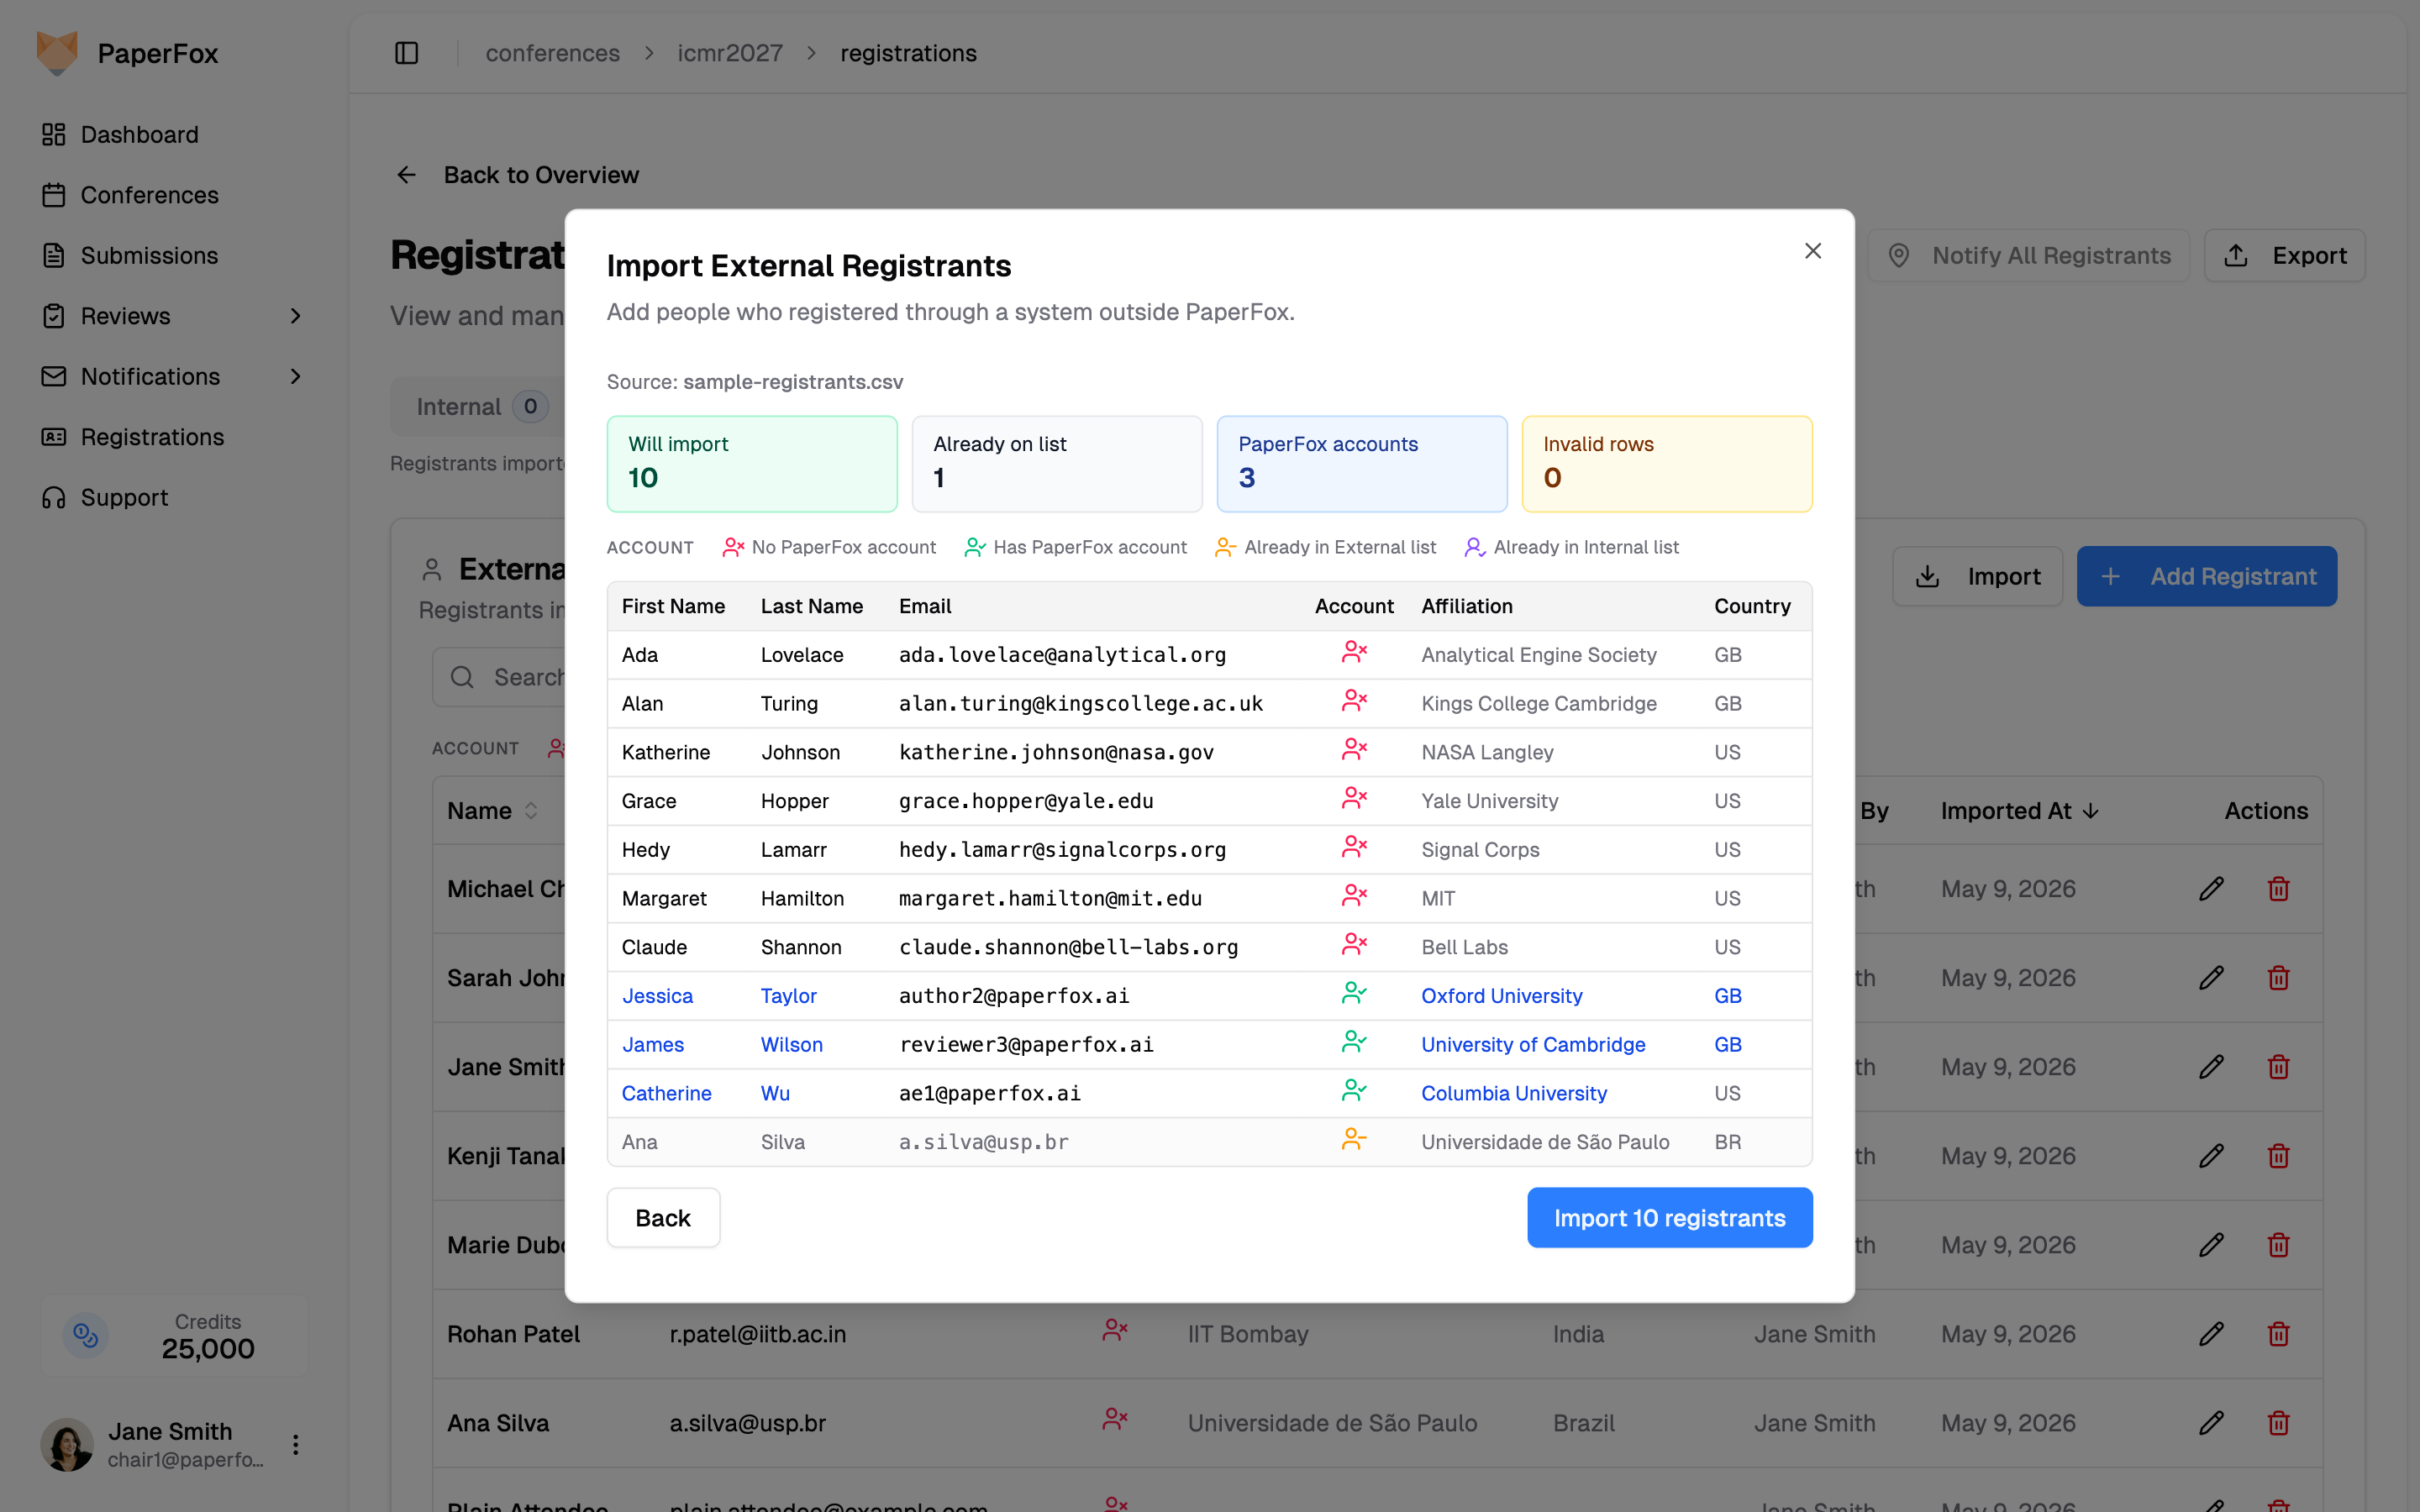 - **Will import** — rows that will be created.
- **Already on list** — rows skipped because the email is already on the External or Internal list for this conference.
- **PaperFox accounts** — rows whose email matches an existing PaperFox user. Their profile data overrides the CSV — see below.
- **Invalid rows** — missing/invalid email, missing first/last name, or unknown country code. Listed with the row number so you can fix the source.
4. Click **"Import N registrants"** to commit. On a clean run you'll see a toast and the dialog closes; if any rows had errors or skips you weren't expecting, the dialog stays open so you can review before dismissing.
- **Will import** — rows that will be created.
- **Already on list** — rows skipped because the email is already on the External or Internal list for this conference.
- **PaperFox accounts** — rows whose email matches an existing PaperFox user. Their profile data overrides the CSV — see below.
- **Invalid rows** — missing/invalid email, missing first/last name, or unknown country code. Listed with the row number so you can fix the source.
4. Click **"Import N registrants"** to commit. On a clean run you'll see a toast and the dialog closes; if any rows had errors or skips you weren't expecting, the dialog stays open so you can review before dismissing.
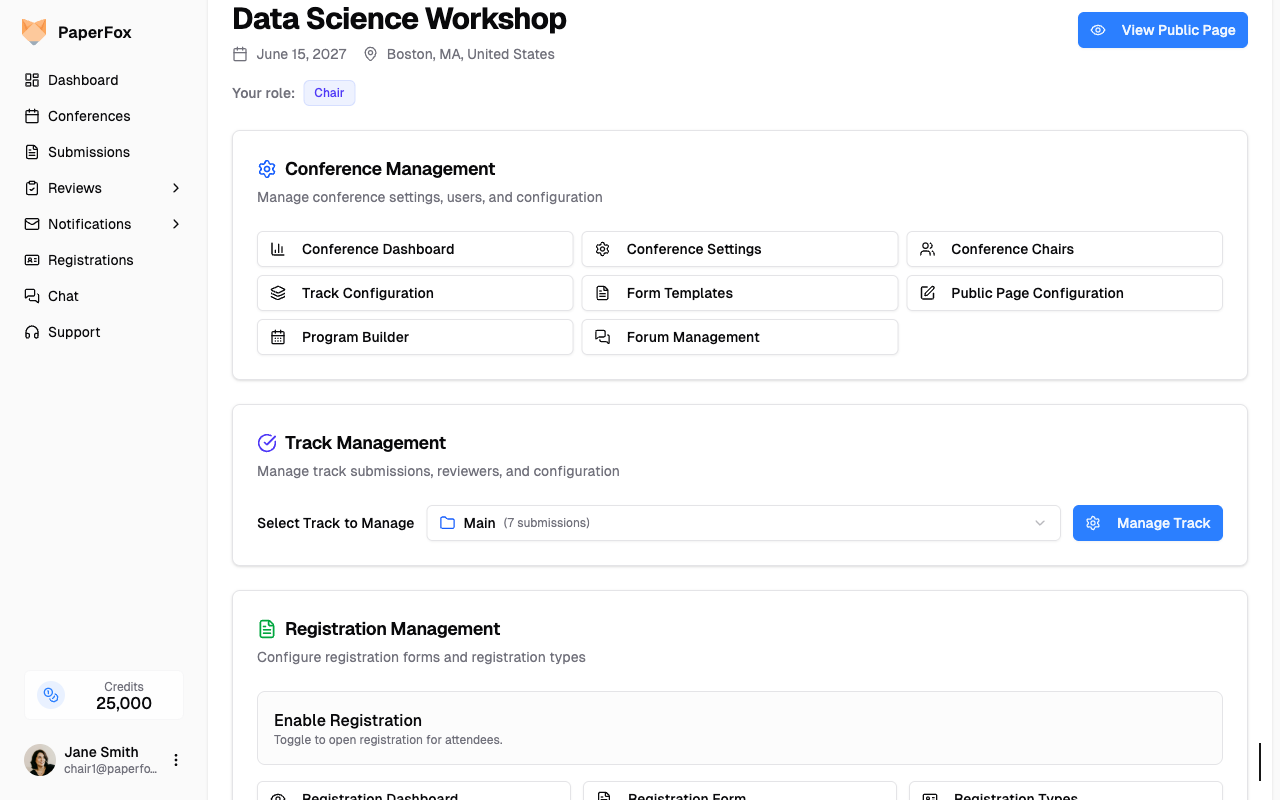 ## Adding Co-Chairs
1. Click **"Invite Chair"**, then **"Add a chair"**
## Adding Co-Chairs
1. Click **"Invite Chair"**, then **"Add a chair"**
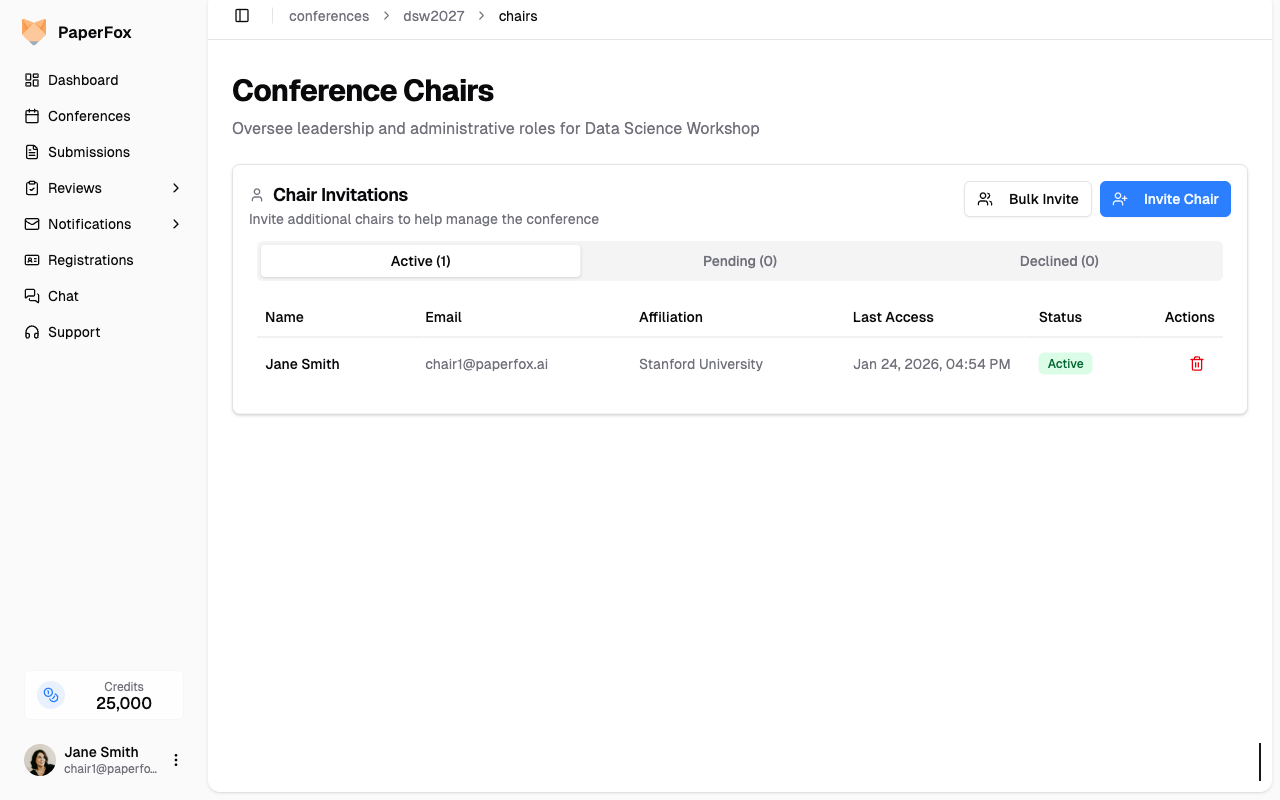 2. Enter the person's email address
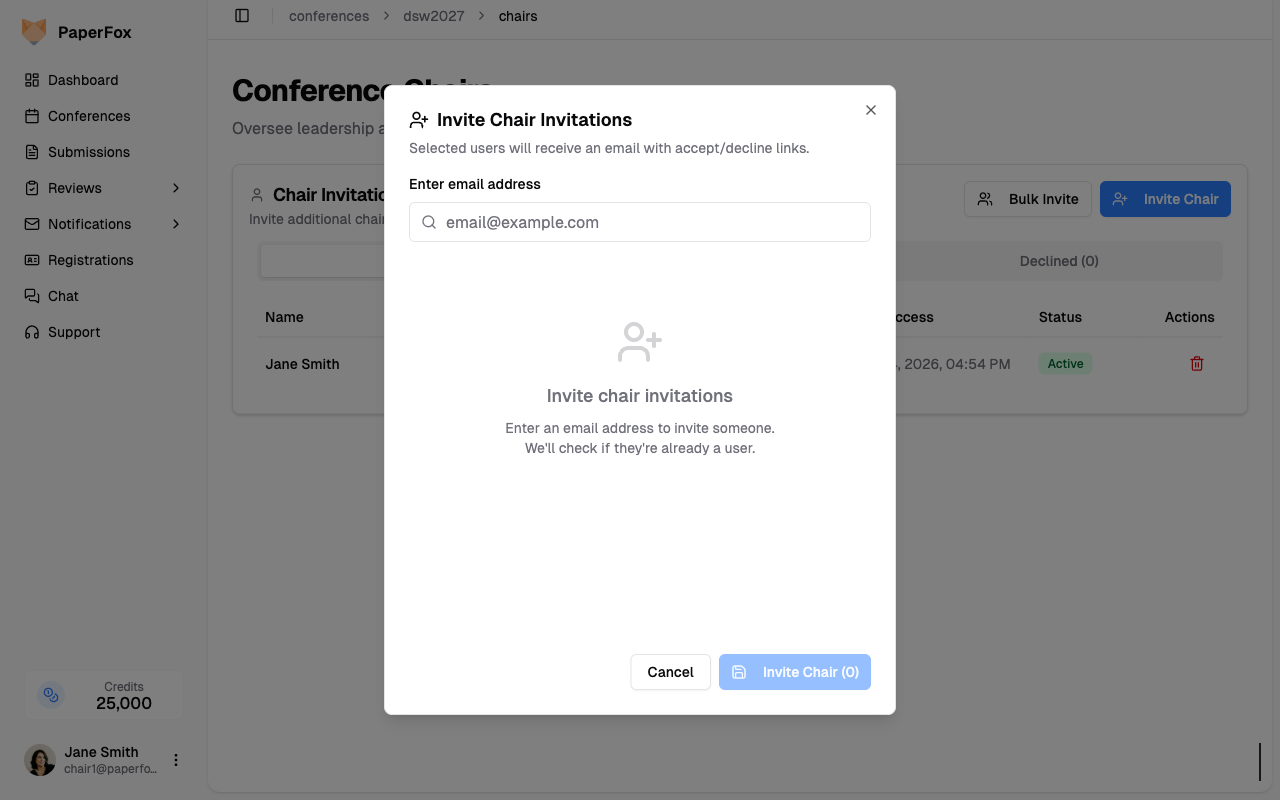 3. Click the invite button to send the invitation
The system automatically detects whether the email belongs to an existing user or a new user. By default they'll receive an email with a link to accept or decline — the role is granted only after they accept. Click **"Preview Email"** next to the checkbox to see exactly what the current choice will send before you commit.
3. Click the invite button to send the invitation
The system automatically detects whether the email belongs to an existing user or a new user. By default they'll receive an email with a link to accept or decline — the role is granted only after they accept. Click **"Preview Email"** next to the checkbox to see exactly what the current choice will send before you commit.
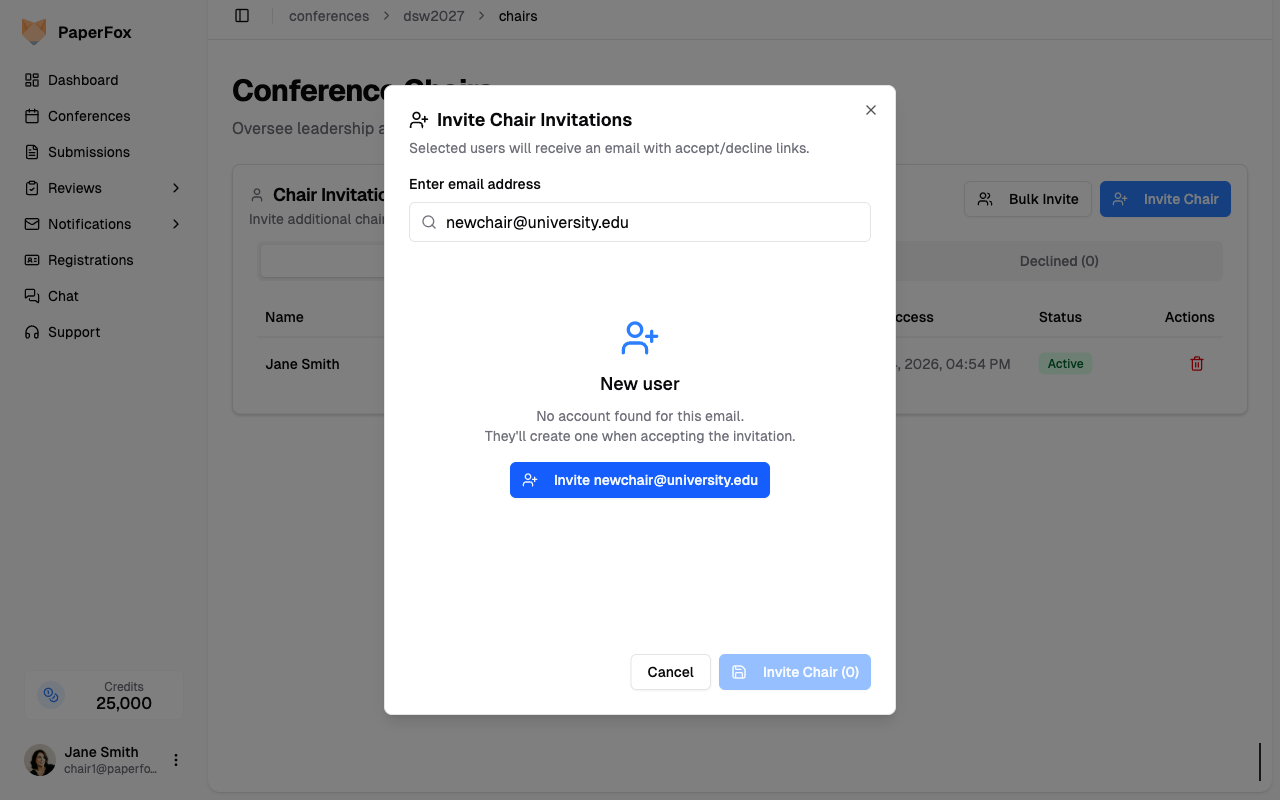 ### Adding a Chair Directly
**"Require acceptance"** is checked by default for chair roles. If you've already agreed with the person offline, uncheck it to add them directly: existing users get chair access immediately (with a notice email that includes a self-removal link), and new email addresses get it as soon as they create and verify a PaperFox account.
### Adding a Chair Directly
**"Require acceptance"** is checked by default for chair roles. If you've already agreed with the person offline, uncheck it to add them directly: existing users get chair access immediately (with a notice email that includes a self-removal link), and new email addresses get it as soon as they create and verify a PaperFox account.
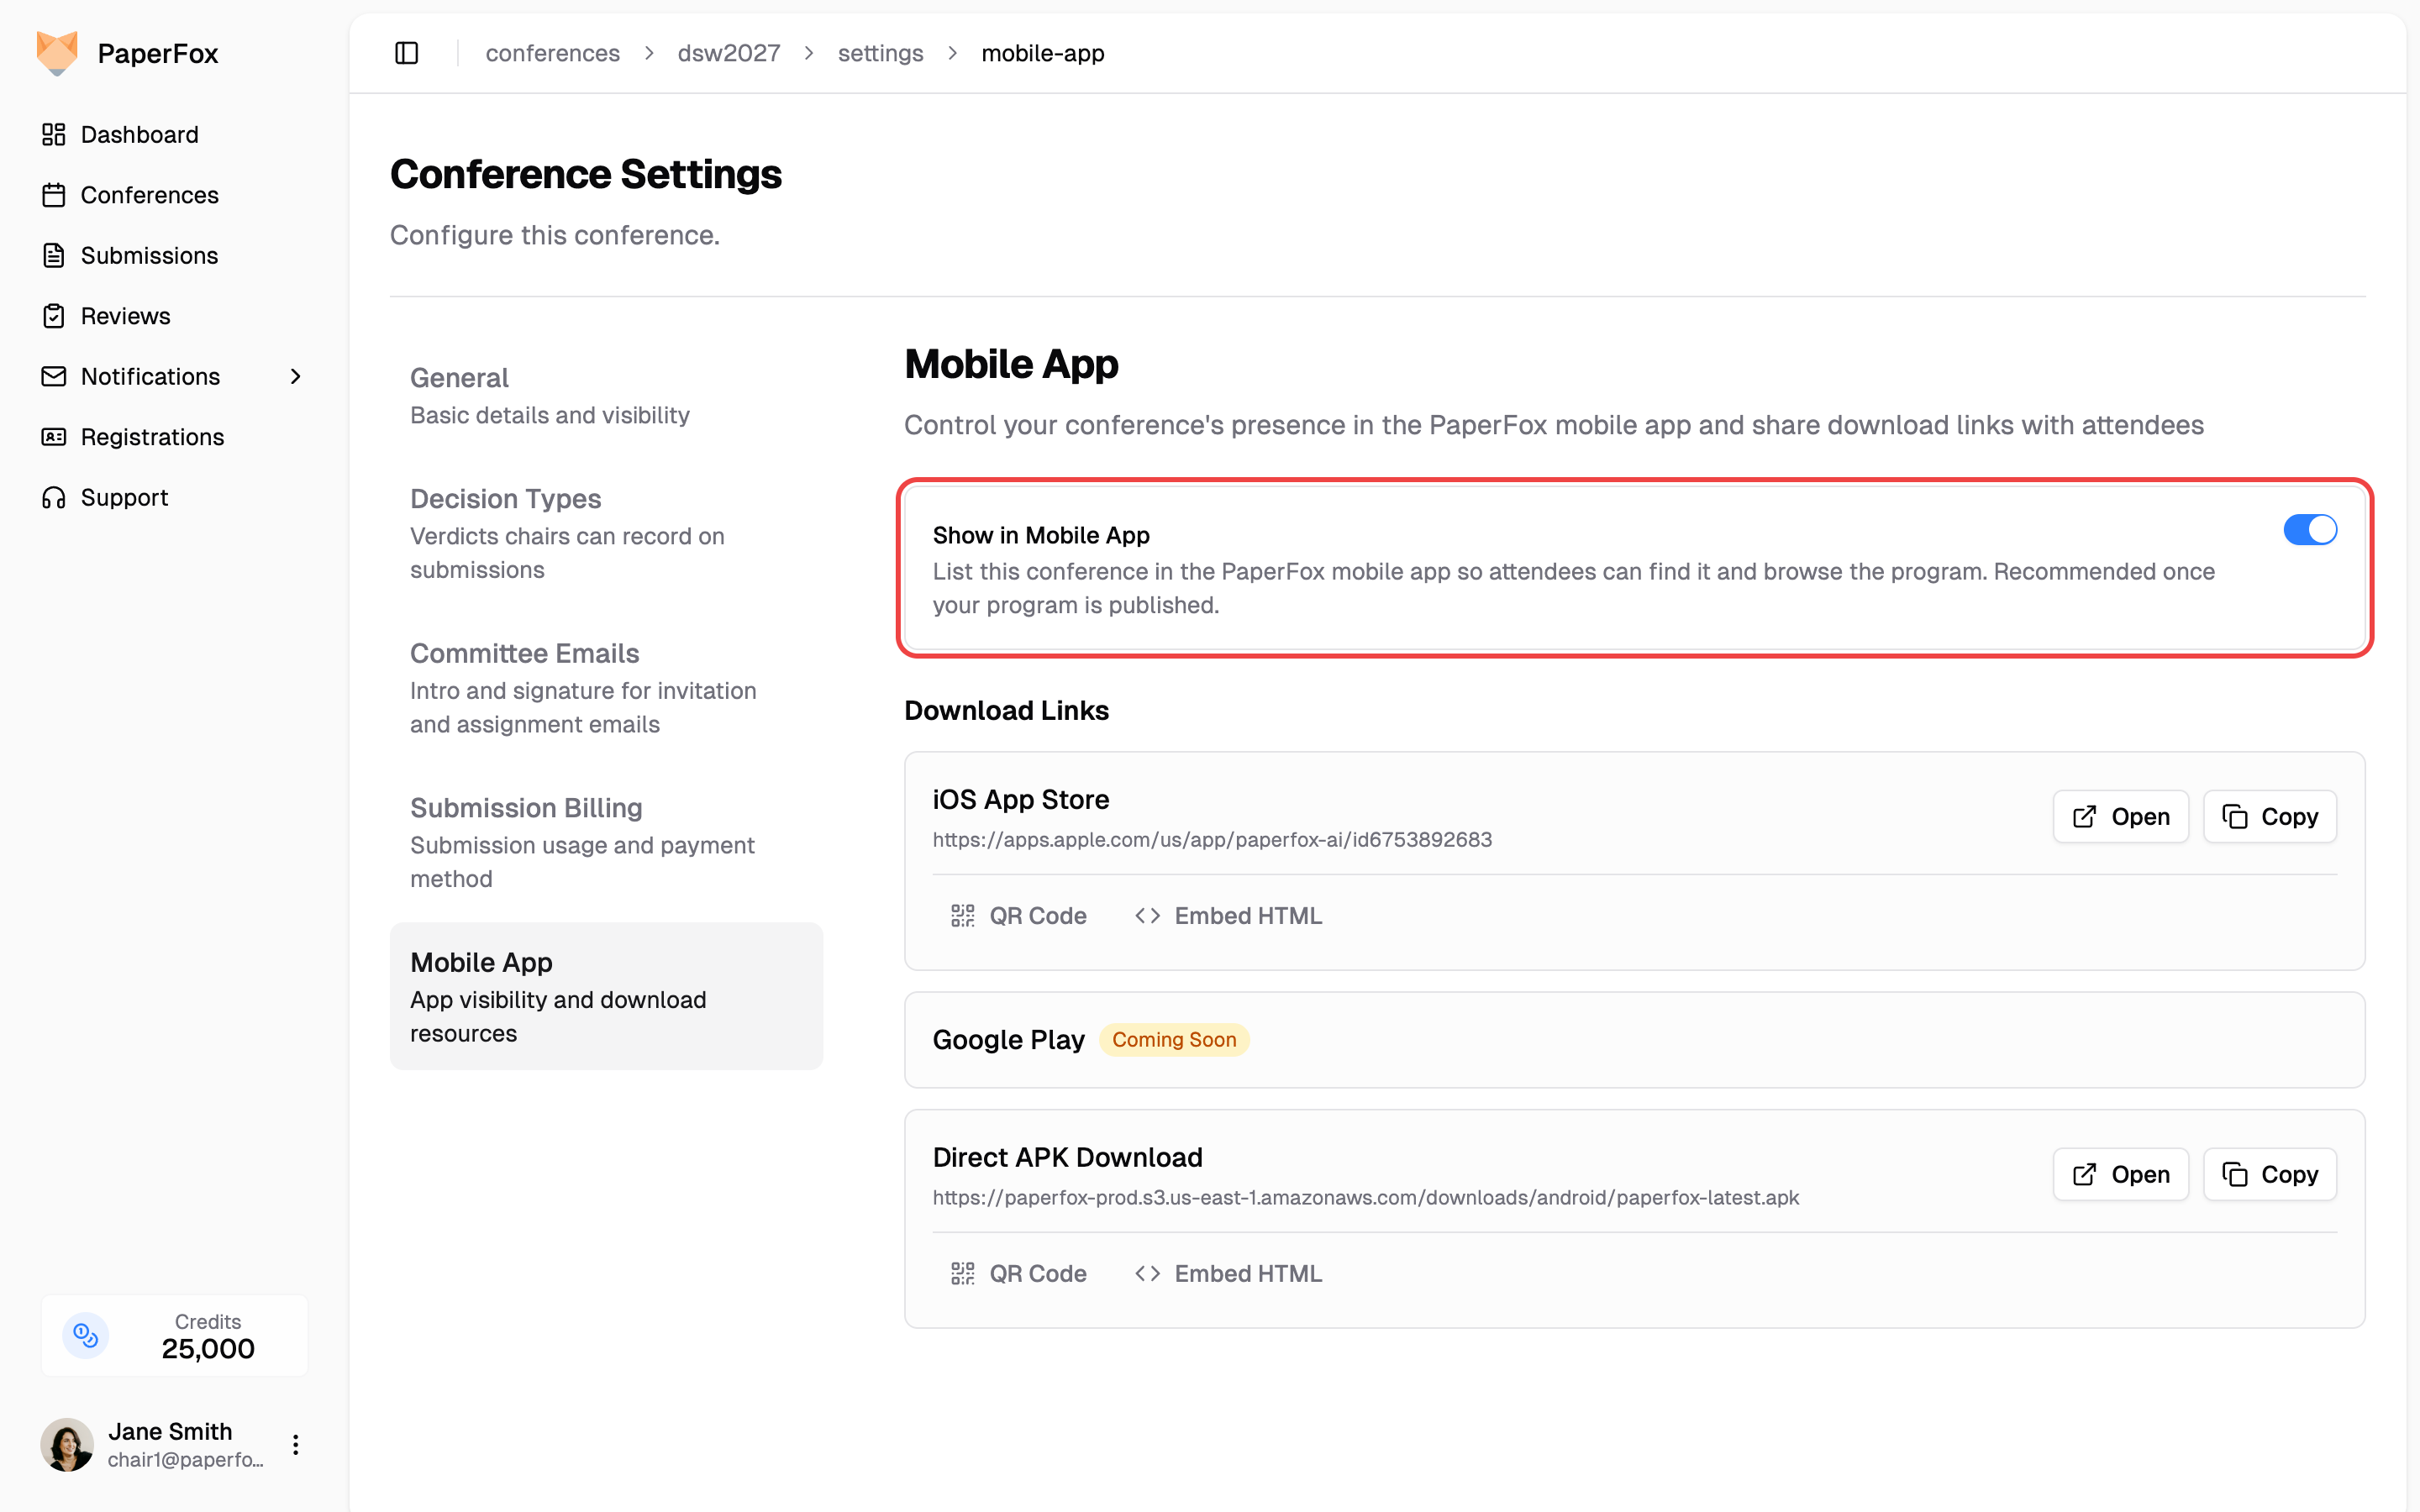 If the website listing is off, an amber note under the toggle says so and links to **Settings → General**, where you can turn it on.
The change takes effect immediately — no app update is required. Toggle it off at any time to remove the conference from the app's browse list. Publishing the program again re-enables the listing, so turn it off after publishing if you want the program on your website but not in the app.
**Note:** people with a role in your conference (chairs, track chairs, reviewers, authors) always see it in the app under their **Involved** tab, regardless of this setting. The toggle only controls whether the conference appears when attendees browse or search all conferences.
## Check Both Listings in General Settings
**Settings → General** shows both listings side by side: **"Listed on the PaperFox Website"** and **"Listed in the PaperFox Mobile App"**. New conferences start listed on the website only, so a blue note reminds you the app listing is still off. If the app listing is on but the website listing is off, an amber warning explains that the app is hiding the conference. Both switches save as soon as you flip them — no **"Save Changes"** needed. Turning the website listing off asks you to confirm first, since it hides the conference's page from everyone without a role in it.
If the website listing is off, an amber note under the toggle says so and links to **Settings → General**, where you can turn it on.
The change takes effect immediately — no app update is required. Toggle it off at any time to remove the conference from the app's browse list. Publishing the program again re-enables the listing, so turn it off after publishing if you want the program on your website but not in the app.
**Note:** people with a role in your conference (chairs, track chairs, reviewers, authors) always see it in the app under their **Involved** tab, regardless of this setting. The toggle only controls whether the conference appears when attendees browse or search all conferences.
## Check Both Listings in General Settings
**Settings → General** shows both listings side by side: **"Listed on the PaperFox Website"** and **"Listed in the PaperFox Mobile App"**. New conferences start listed on the website only, so a blue note reminds you the app listing is still off. If the app listing is on but the website listing is off, an amber warning explains that the app is hiding the conference. Both switches save as soon as you flip them — no **"Save Changes"** needed. Turning the website listing off asks you to confirm first, since it hides the conference's page from everyone without a role in it.
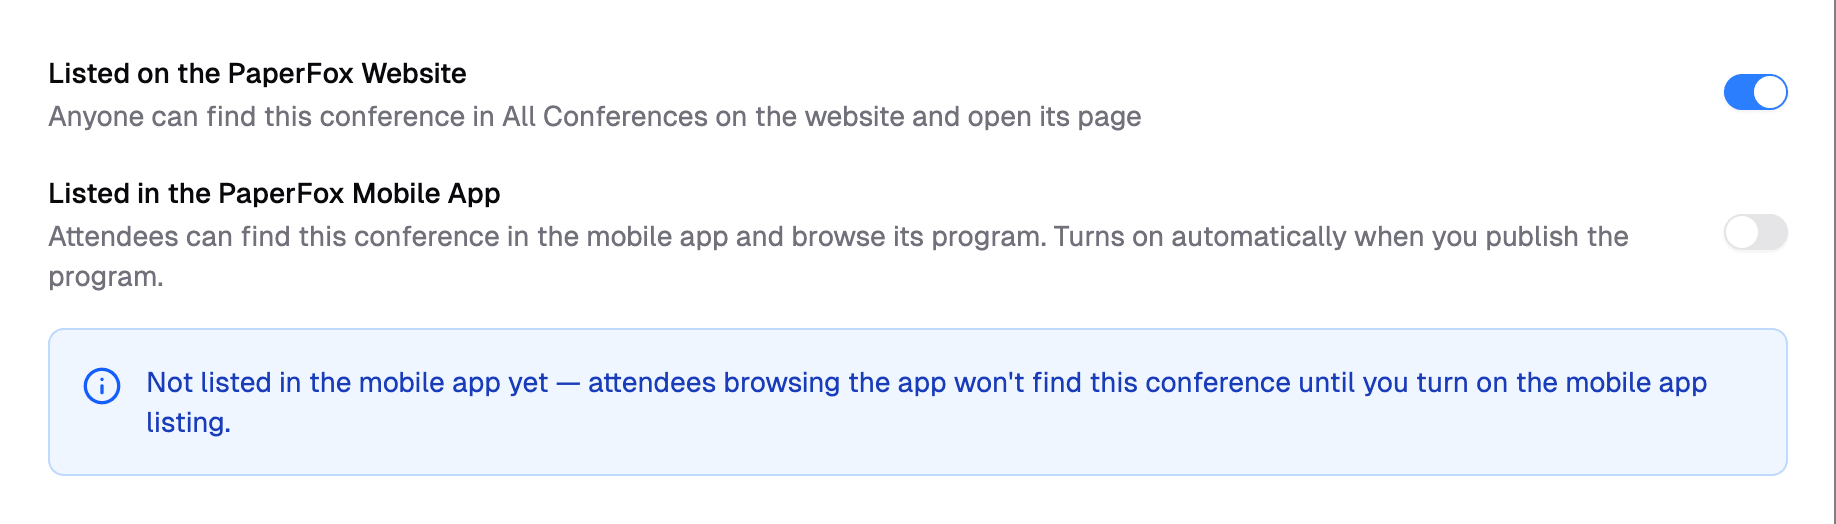 ## Share Download Links
The same **Settings → Mobile App** page provides the iOS App Store link and the direct Android APK download, each with a QR code and embeddable HTML button for your conference website or emails.
See also: [Using the PaperFox App](/docs/users/using-mobile-app) — what attendees can do in the app.
---
# Manage Storage and Upload Limits
URL: https://paperfox.ai/docs/chairs/manage-storage
Description: Monitor your conference's storage usage, set the per-file upload limit, and upgrade with the Storage Add-on
Every conference has a storage pool and a per-file upload limit that apply to all uploads — submissions, review attachments, and website assets. Both are managed from one place in your conference settings.
## Viewing Storage and Limits
1. Go to **Conferences** in the sidebar, then click on your conference
2. Click **"Settings"**, then open the **General** section
3. Scroll to **Storage & Uploads**
## Share Download Links
The same **Settings → Mobile App** page provides the iOS App Store link and the direct Android APK download, each with a QR code and embeddable HTML button for your conference website or emails.
See also: [Using the PaperFox App](/docs/users/using-mobile-app) — what attendees can do in the app.
---
# Manage Storage and Upload Limits
URL: https://paperfox.ai/docs/chairs/manage-storage
Description: Monitor your conference's storage usage, set the per-file upload limit, and upgrade with the Storage Add-on
Every conference has a storage pool and a per-file upload limit that apply to all uploads — submissions, review attachments, and website assets. Both are managed from one place in your conference settings.
## Viewing Storage and Limits
1. Go to **Conferences** in the sidebar, then click on your conference
2. Click **"Settings"**, then open the **General** section
3. Scroll to **Storage & Uploads**
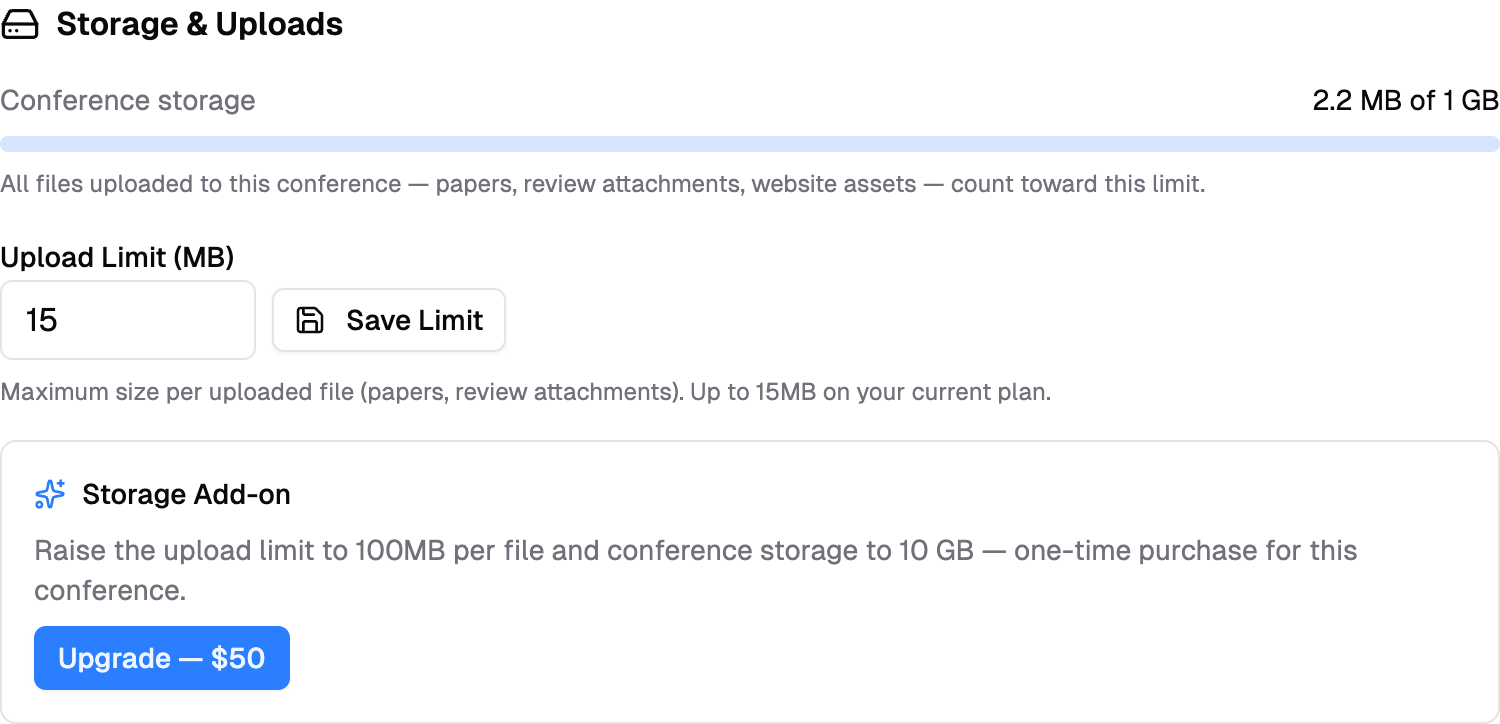 The usage bar shows how much of your conference's storage pool is used. On the free plan, each conference includes **1 GB of storage** and uploads up to **15 MB per file**.
## Changing the Upload Limit
The **Upload Limit (MB)** controls the maximum size of a single uploaded file (submission files, review attachments).
1. Enter a value between **1 MB** and your plan's ceiling (15 MB on the free plan)
2. Click **"Save Limit"**
Authors see the limit on every upload field (for example, "PDF only, up to 15MB"), and oversized files are rejected before upload.
## Storage Add-on
The **Storage Add-on** is a one-time **$50** purchase per conference that raises both limits:
| | Free plan | With Storage Add-on |
|---|---|---|
| Max upload size | 15 MB per file | **100 MB per file** |
| Conference storage | 1 GB | **10 GB** |
Click **"Upgrade — $50"** to pay by card through a secure Stripe checkout. You'll receive a hosted invoice for expensing, and the higher limits apply immediately after payment.
The usage bar shows how much of your conference's storage pool is used. On the free plan, each conference includes **1 GB of storage** and uploads up to **15 MB per file**.
## Changing the Upload Limit
The **Upload Limit (MB)** controls the maximum size of a single uploaded file (submission files, review attachments).
1. Enter a value between **1 MB** and your plan's ceiling (15 MB on the free plan)
2. Click **"Save Limit"**
Authors see the limit on every upload field (for example, "PDF only, up to 15MB"), and oversized files are rejected before upload.
## Storage Add-on
The **Storage Add-on** is a one-time **$50** purchase per conference that raises both limits:
| | Free plan | With Storage Add-on |
|---|---|---|
| Max upload size | 15 MB per file | **100 MB per file** |
| Conference storage | 1 GB | **10 GB** |
Click **"Upgrade — $50"** to pay by card through a secure Stripe checkout. You'll receive a hosted invoice for expensing, and the higher limits apply immediately after payment.
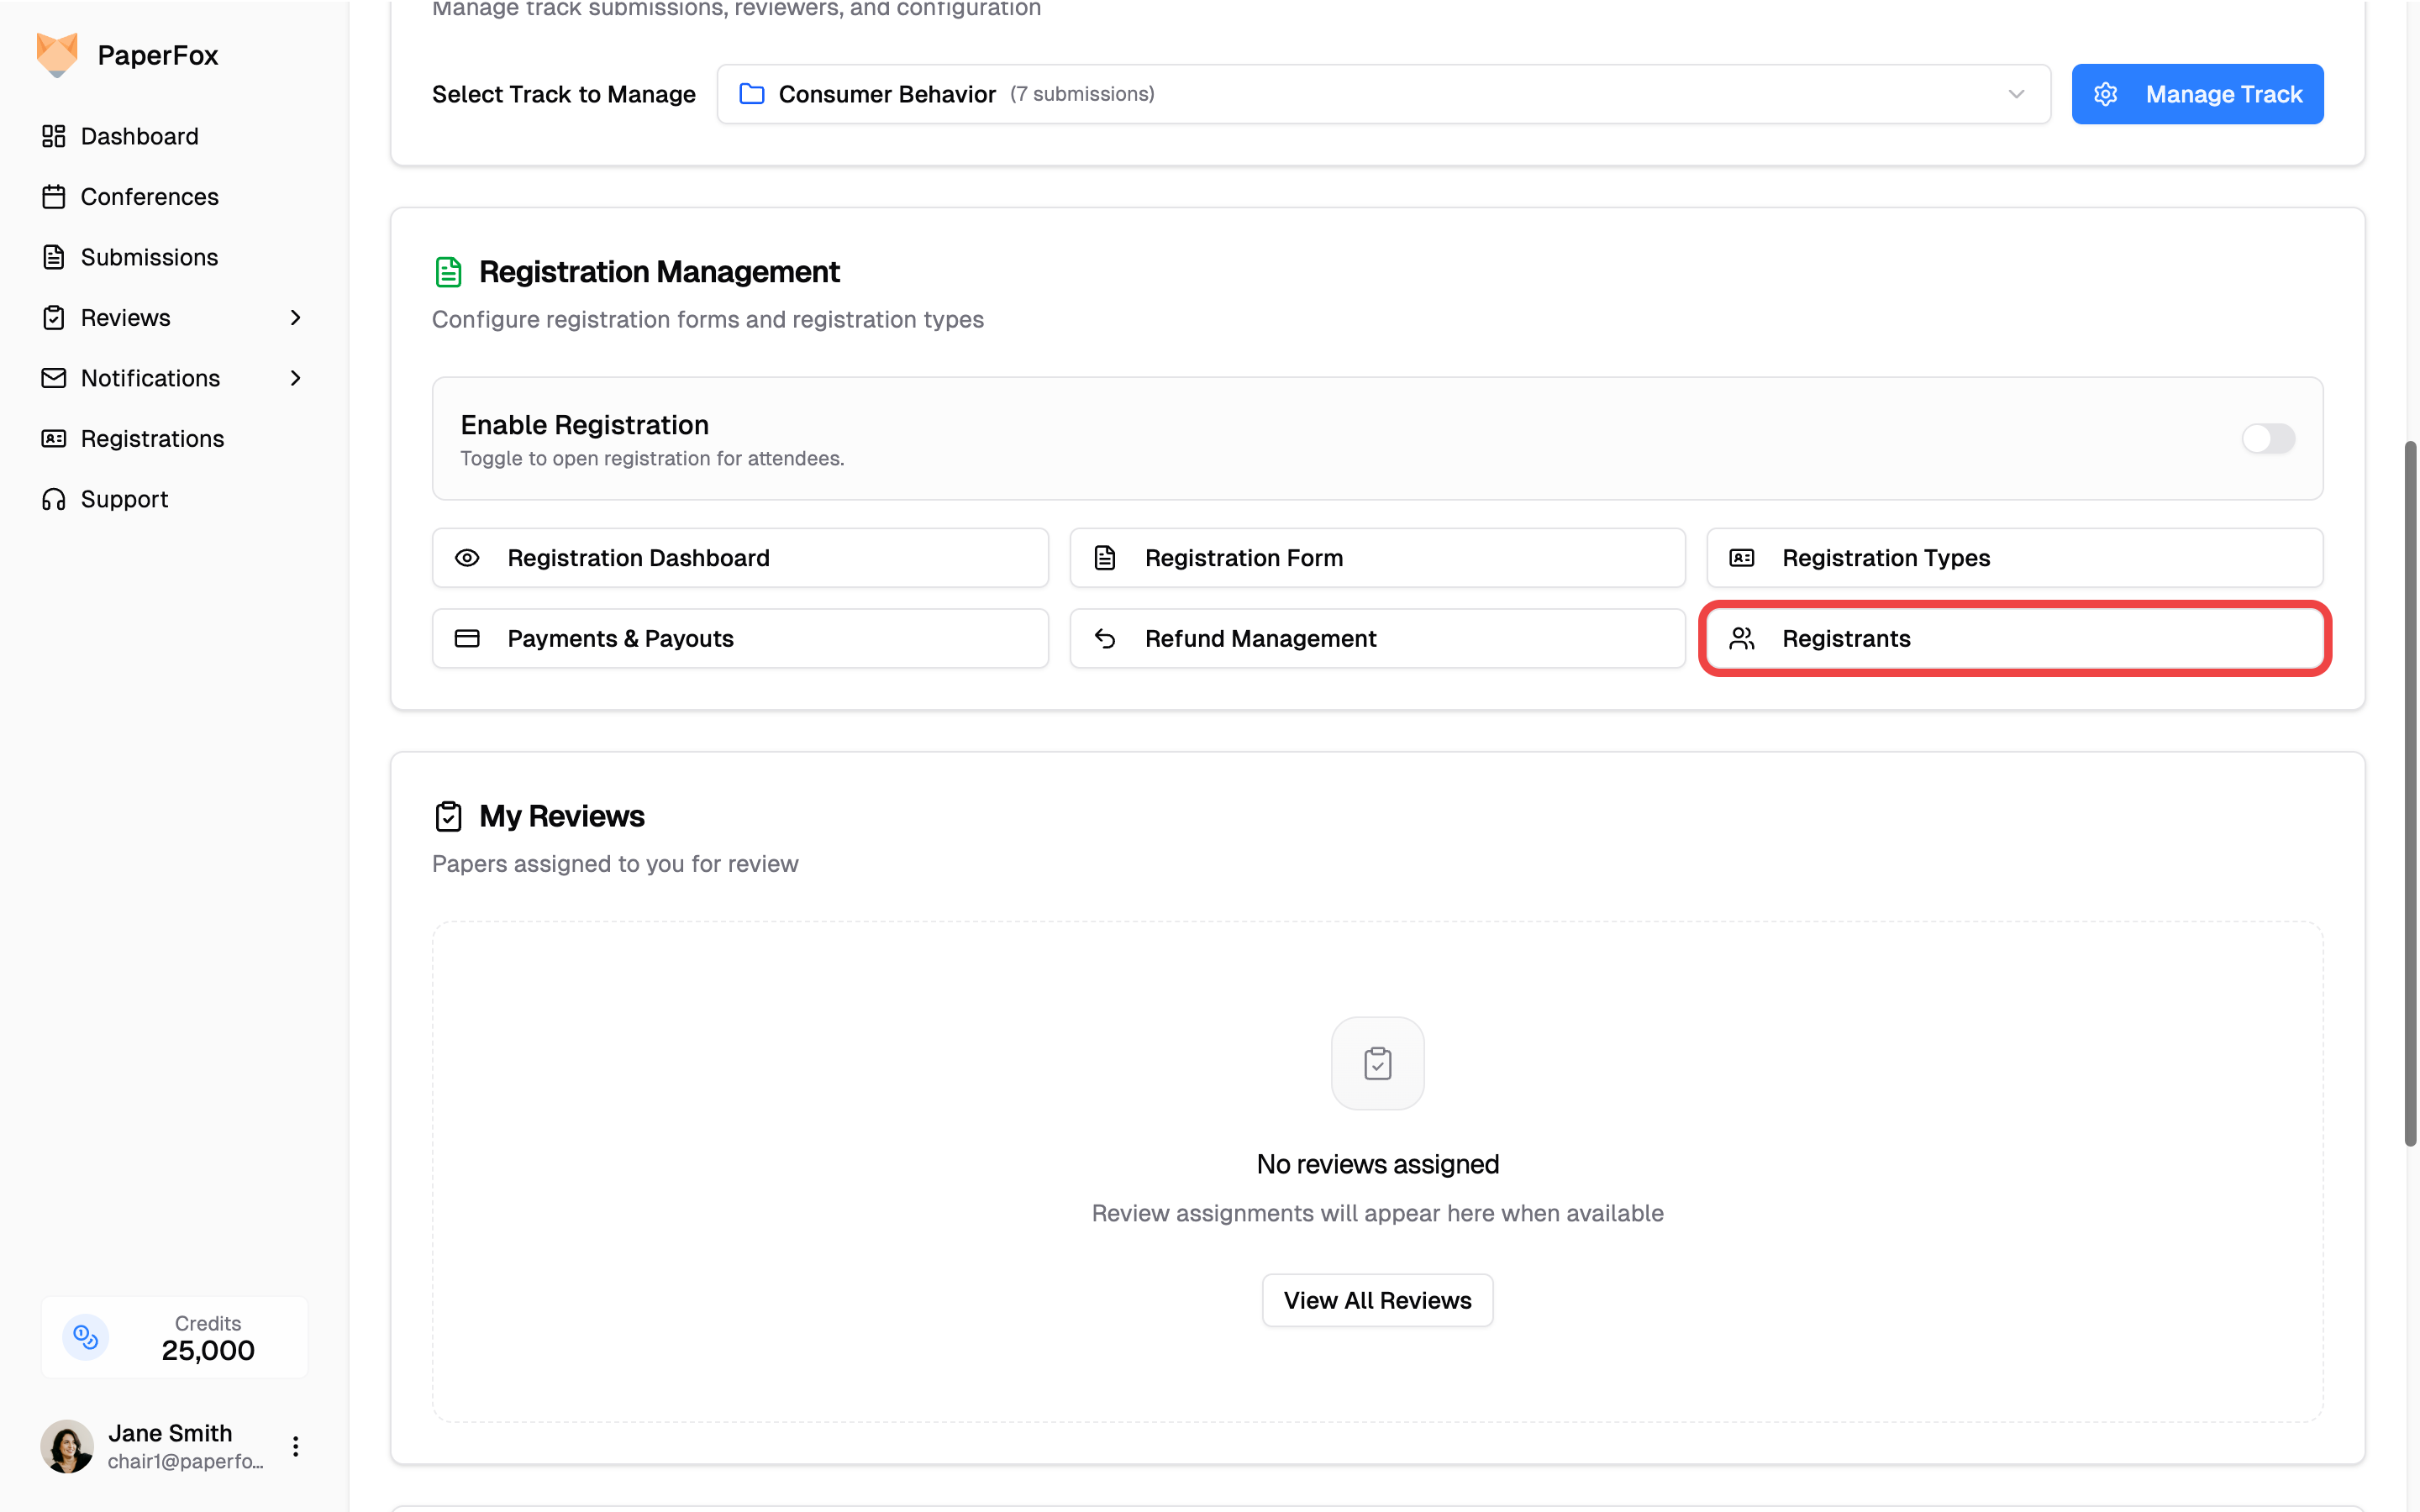 3. Click **"Notify All"** in the toolbar above the table.
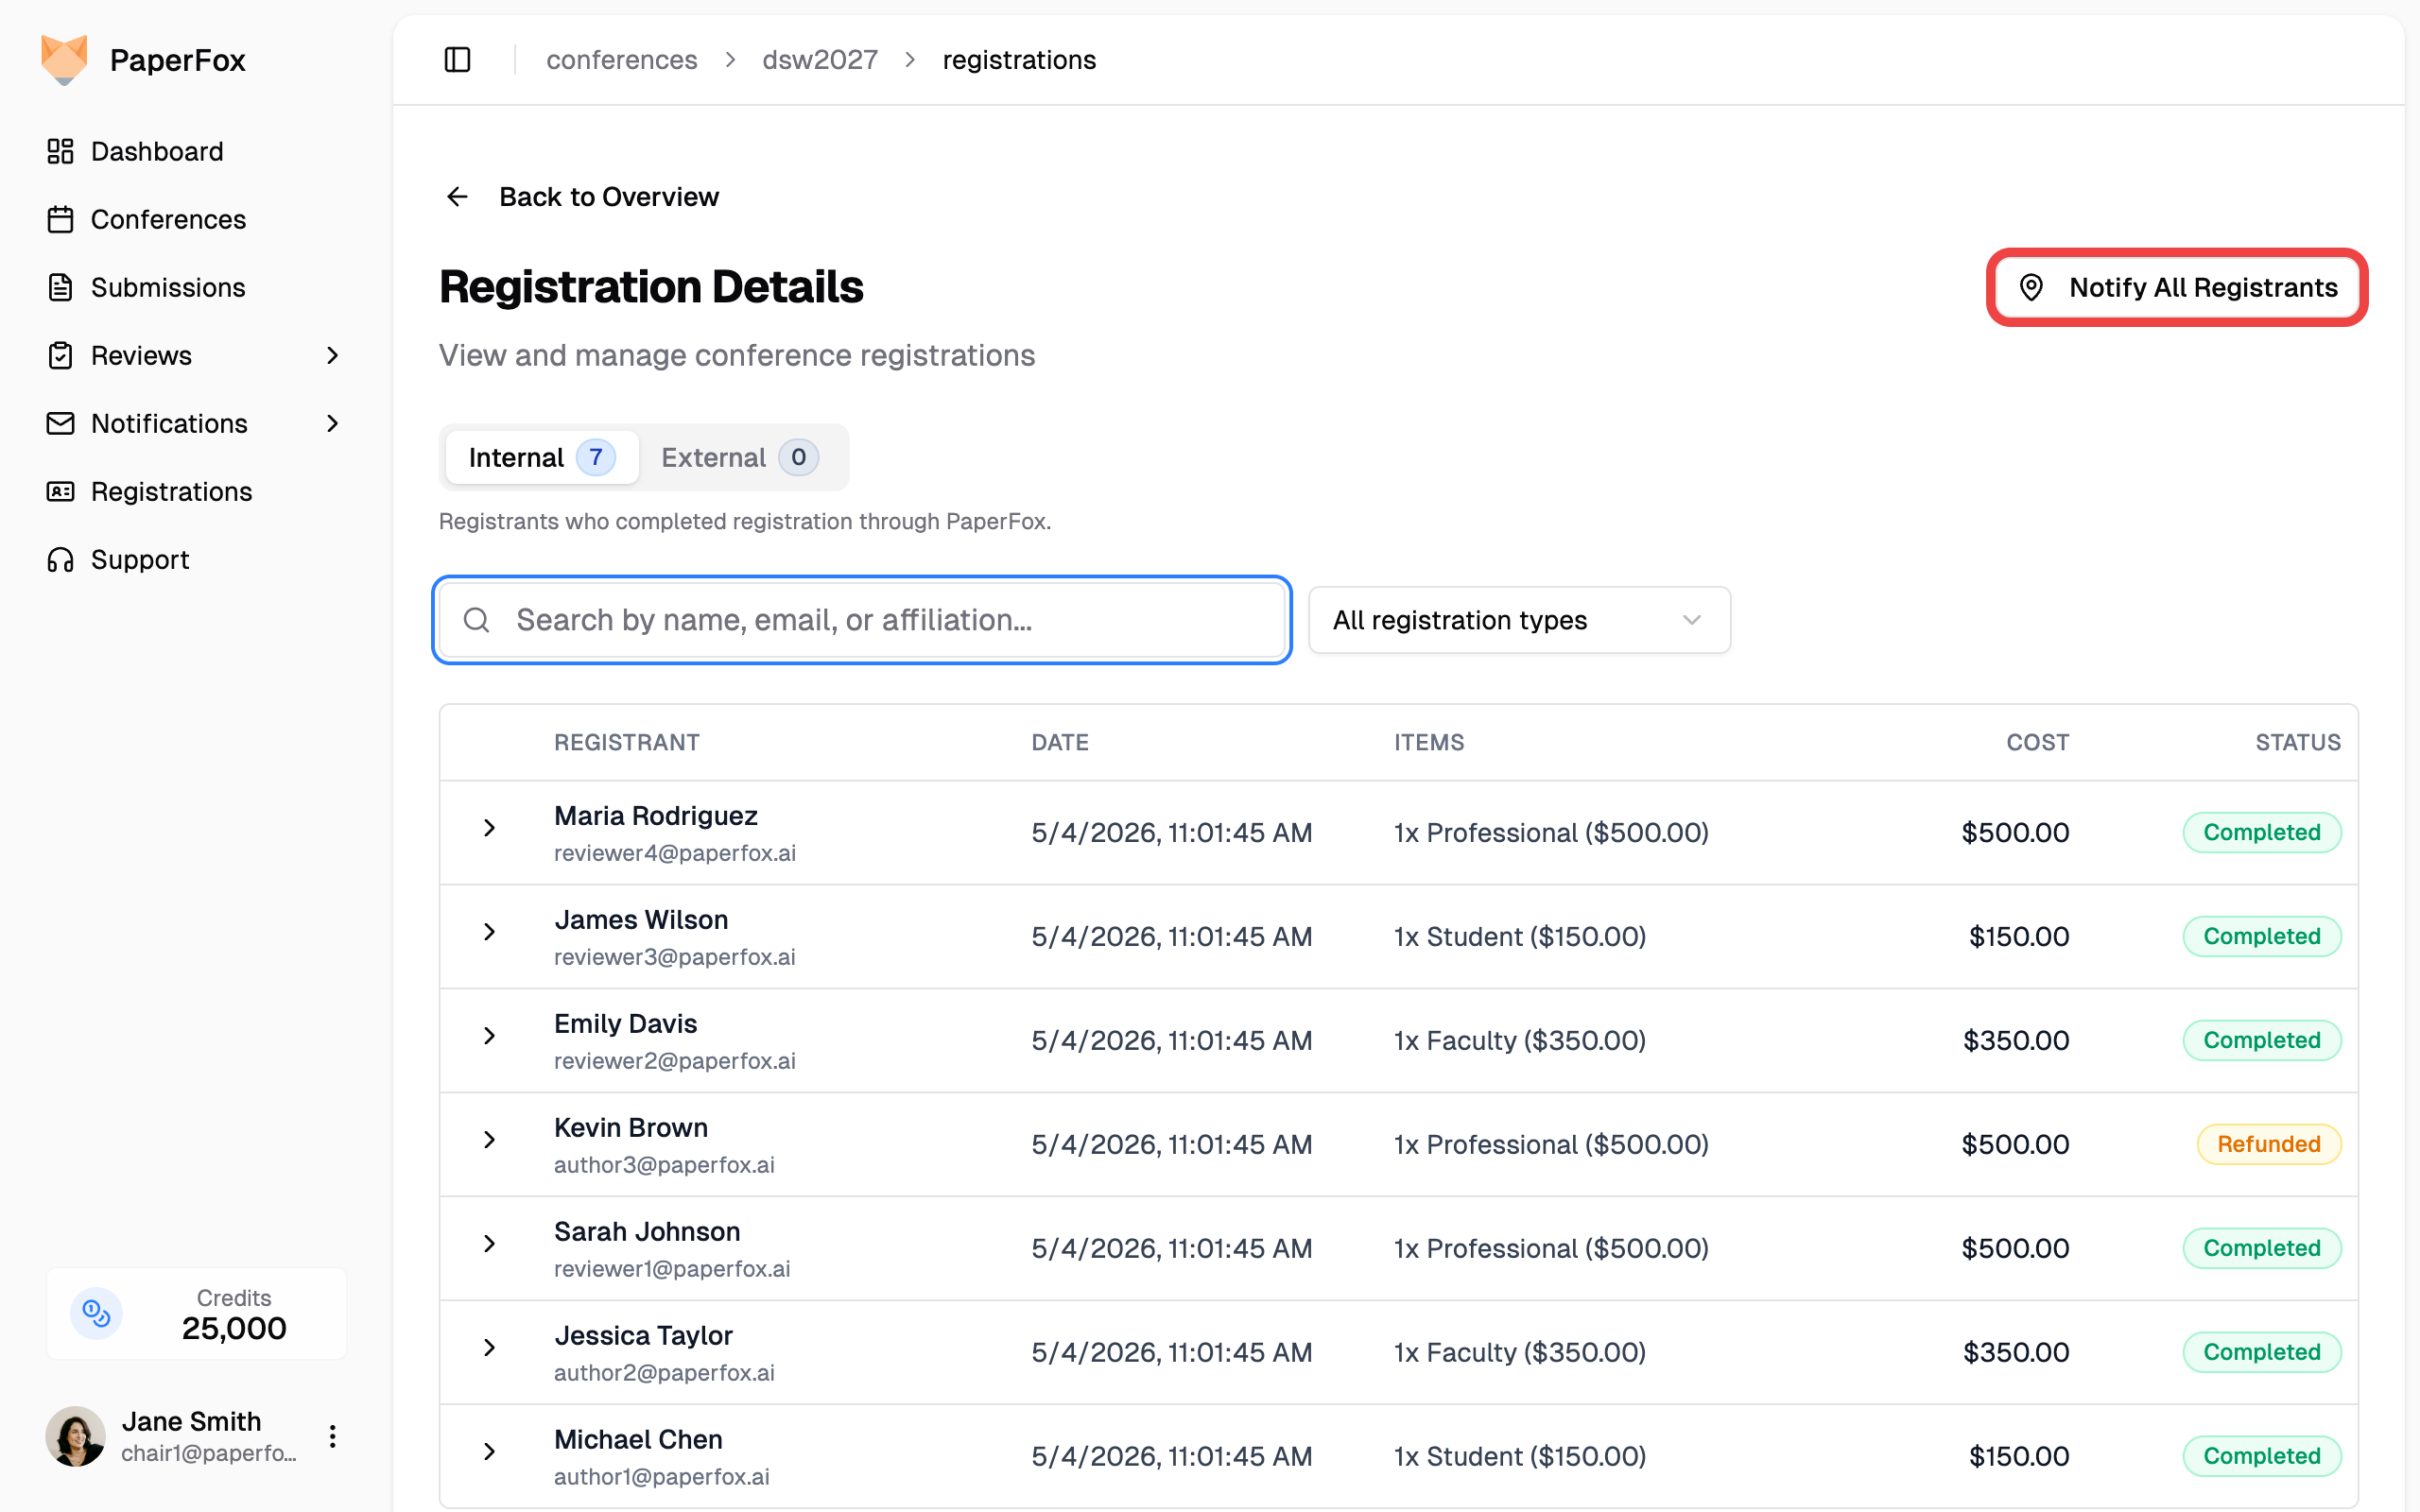 The button is enabled as soon as there's at least one active registration. With zero registrations the button is shown but disabled, with a tooltip explaining why.
## Edit and Send
The composer opens with everything pre-filled — recipients, subject, and a logistics template body.
The button is enabled as soon as there's at least one active registration. With zero registrations the button is shown but disabled, with a tooltip explaining why.
## Edit and Send
The composer opens with everything pre-filled — recipients, subject, and a logistics template body.
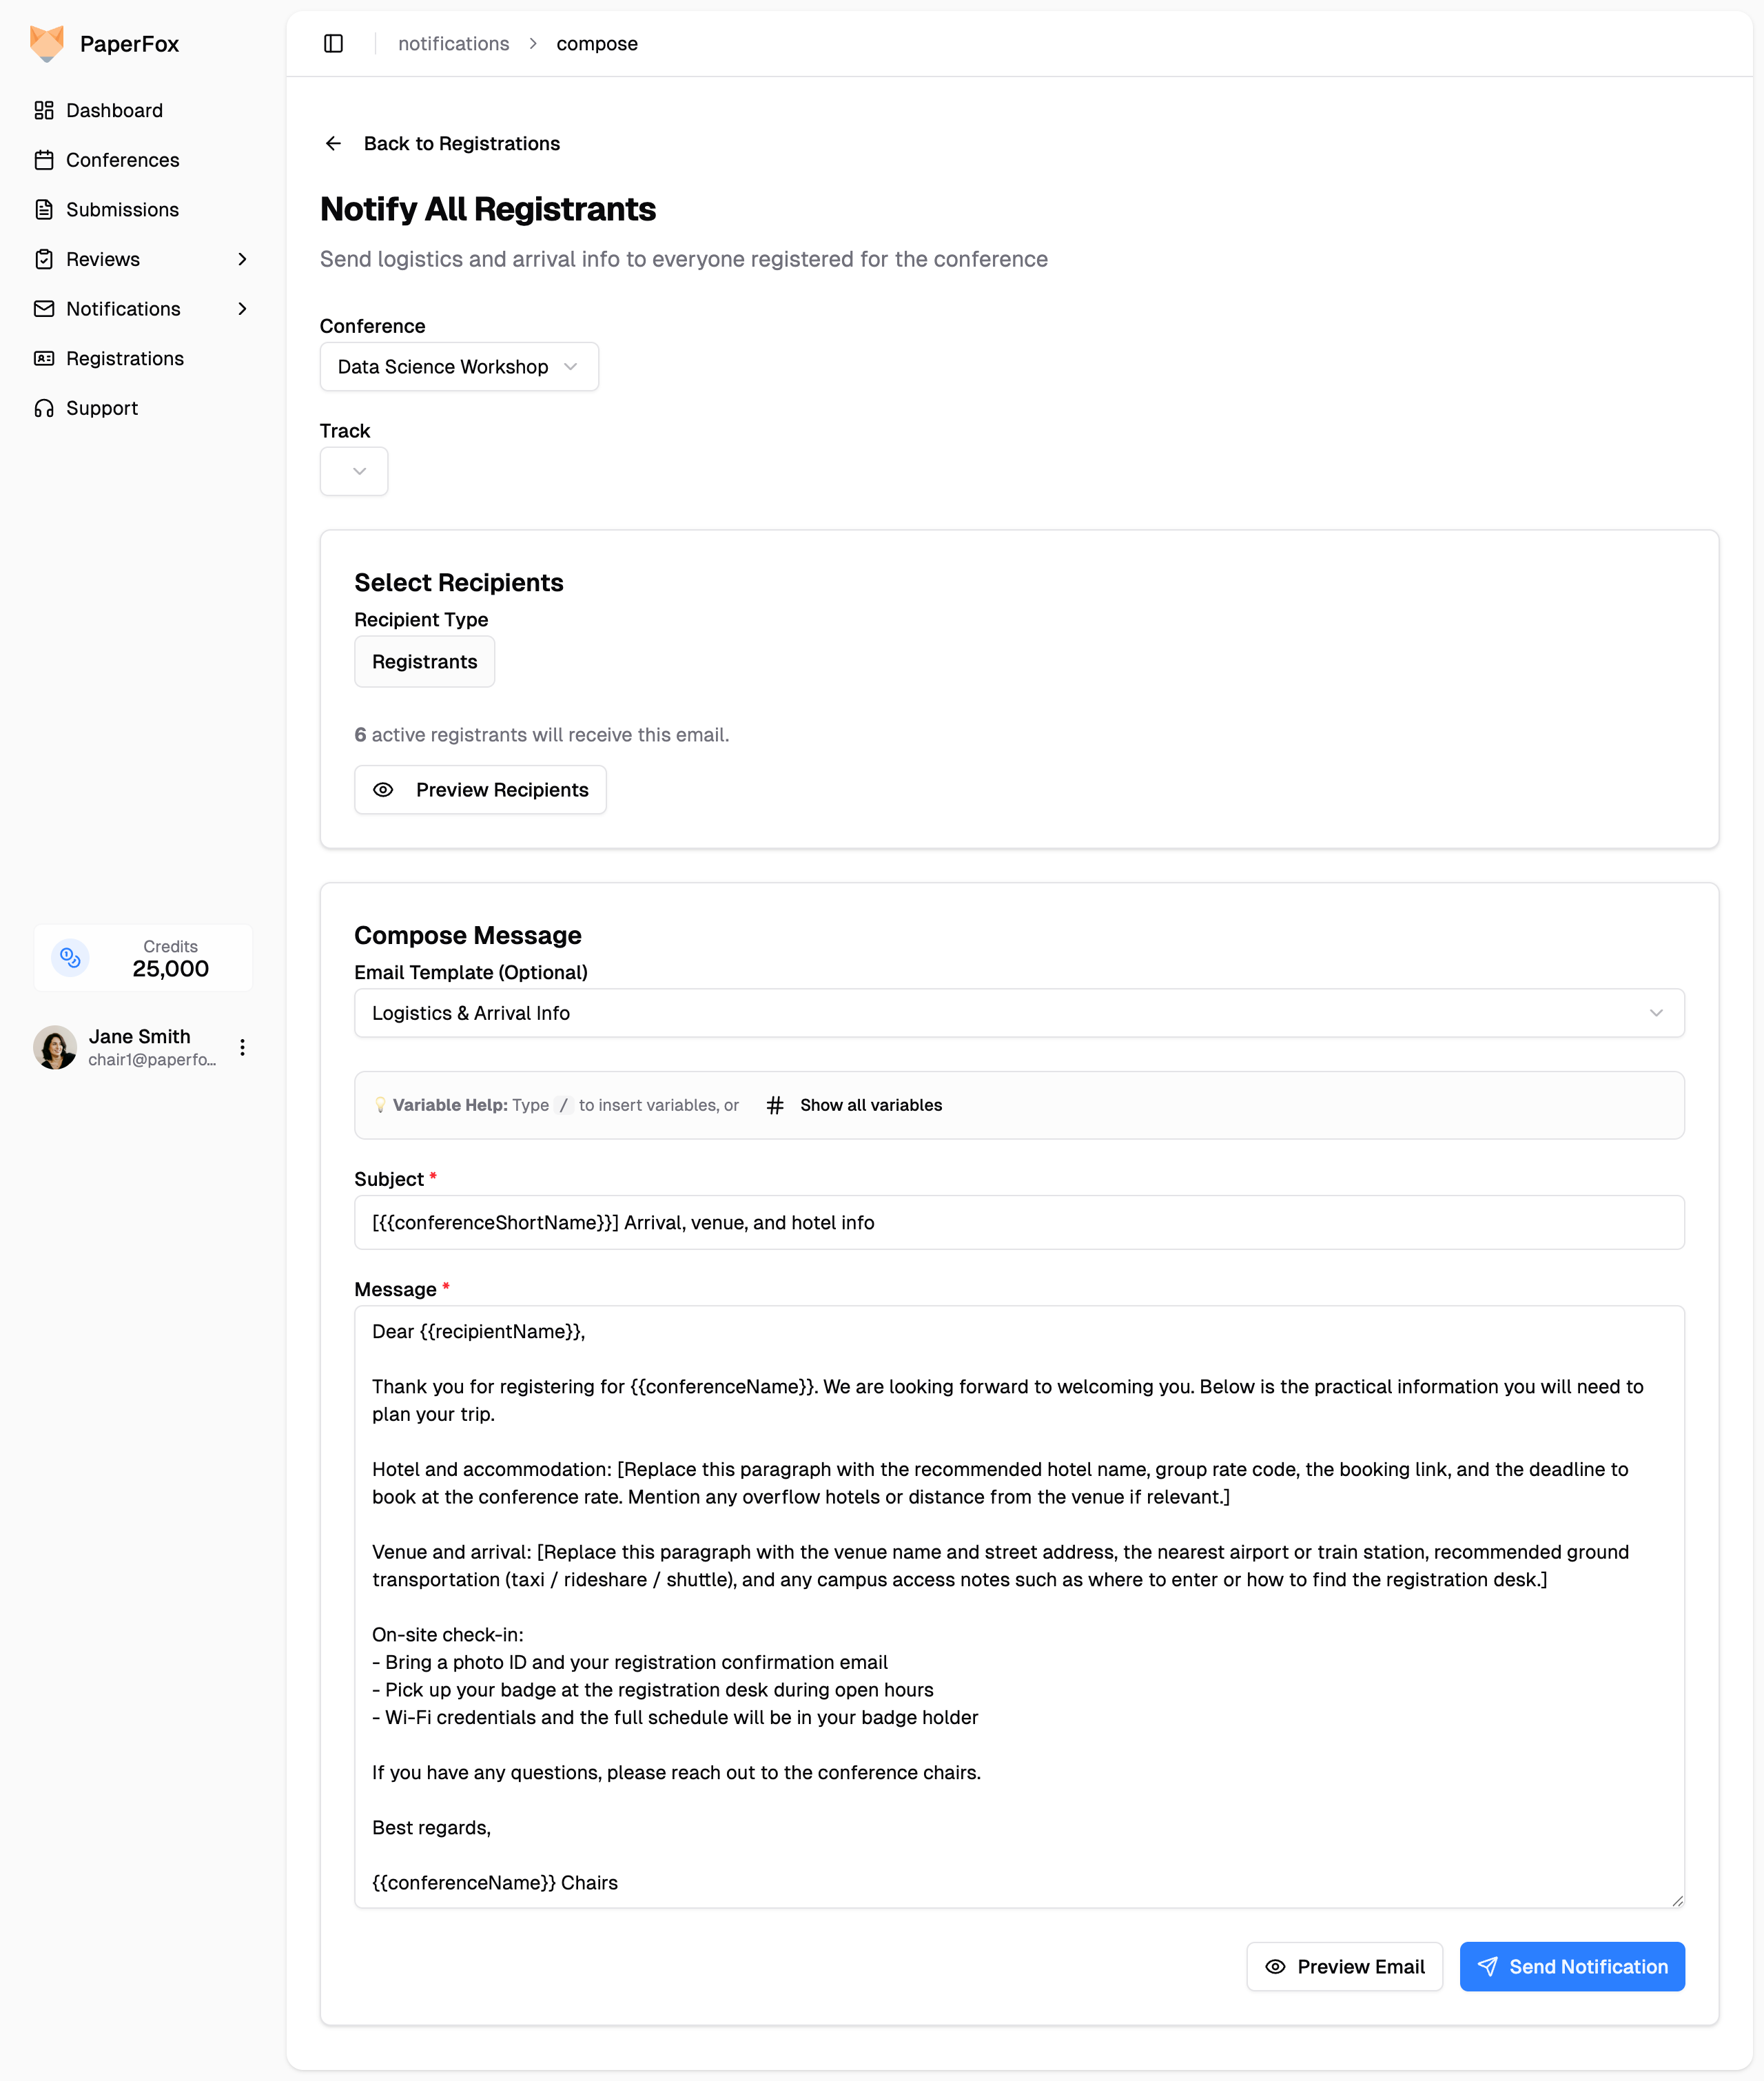 | Section | What's pre-filled |
|---------|-------------------|
| **Conference / Track** | Your conference, **All tracks** (registrations are conference-scoped, not per-track). |
| **Recipient Type** | Locked to **Registrants** — no other audience makes sense for this preset, so the role tabs are replaced with a read-only label. |
| **Audience count** | "**N** active registrants will receive this email." Only `ACTIVE` registrations count — refunded or cancelled registrations are skipped automatically. |
| **Subject** | `[{{conferenceShortName}}] Arrival, venue, and hotel info` |
| **Message** | Logistics template with placeholders for hotel info, venue & arrival, and on-site check-in. |
Replace the bracketed placeholders in the body with your actual hotel name and group rate, venue address and transit notes, and any on-site specifics. The Mustache variables (`{{conferenceName}}`, `{{recipientName}}`, etc.) are filled in per recipient at send time — leave them as-is.
Click **"Preview Email"** to see a fully rendered version, then **"Send Notification"** when ready.
## Email Specific Registrants
Sometimes you only need to reach a subset — the workshop presenters, a single institution, or everyone who booked a particular package. Instead of **"Notify"**, tick the checkbox next to each registrant you want, then click **"Notify Selected"** in the toolbar above the table.
| Section | What's pre-filled |
|---------|-------------------|
| **Conference / Track** | Your conference, **All tracks** (registrations are conference-scoped, not per-track). |
| **Recipient Type** | Locked to **Registrants** — no other audience makes sense for this preset, so the role tabs are replaced with a read-only label. |
| **Audience count** | "**N** active registrants will receive this email." Only `ACTIVE` registrations count — refunded or cancelled registrations are skipped automatically. |
| **Subject** | `[{{conferenceShortName}}] Arrival, venue, and hotel info` |
| **Message** | Logistics template with placeholders for hotel info, venue & arrival, and on-site check-in. |
Replace the bracketed placeholders in the body with your actual hotel name and group rate, venue address and transit notes, and any on-site specifics. The Mustache variables (`{{conferenceName}}`, `{{recipientName}}`, etc.) are filled in per recipient at send time — leave them as-is.
Click **"Preview Email"** to see a fully rendered version, then **"Send Notification"** when ready.
## Email Specific Registrants
Sometimes you only need to reach a subset — the workshop presenters, a single institution, or everyone who booked a particular package. Instead of **"Notify"**, tick the checkbox next to each registrant you want, then click **"Notify Selected"** in the toolbar above the table.
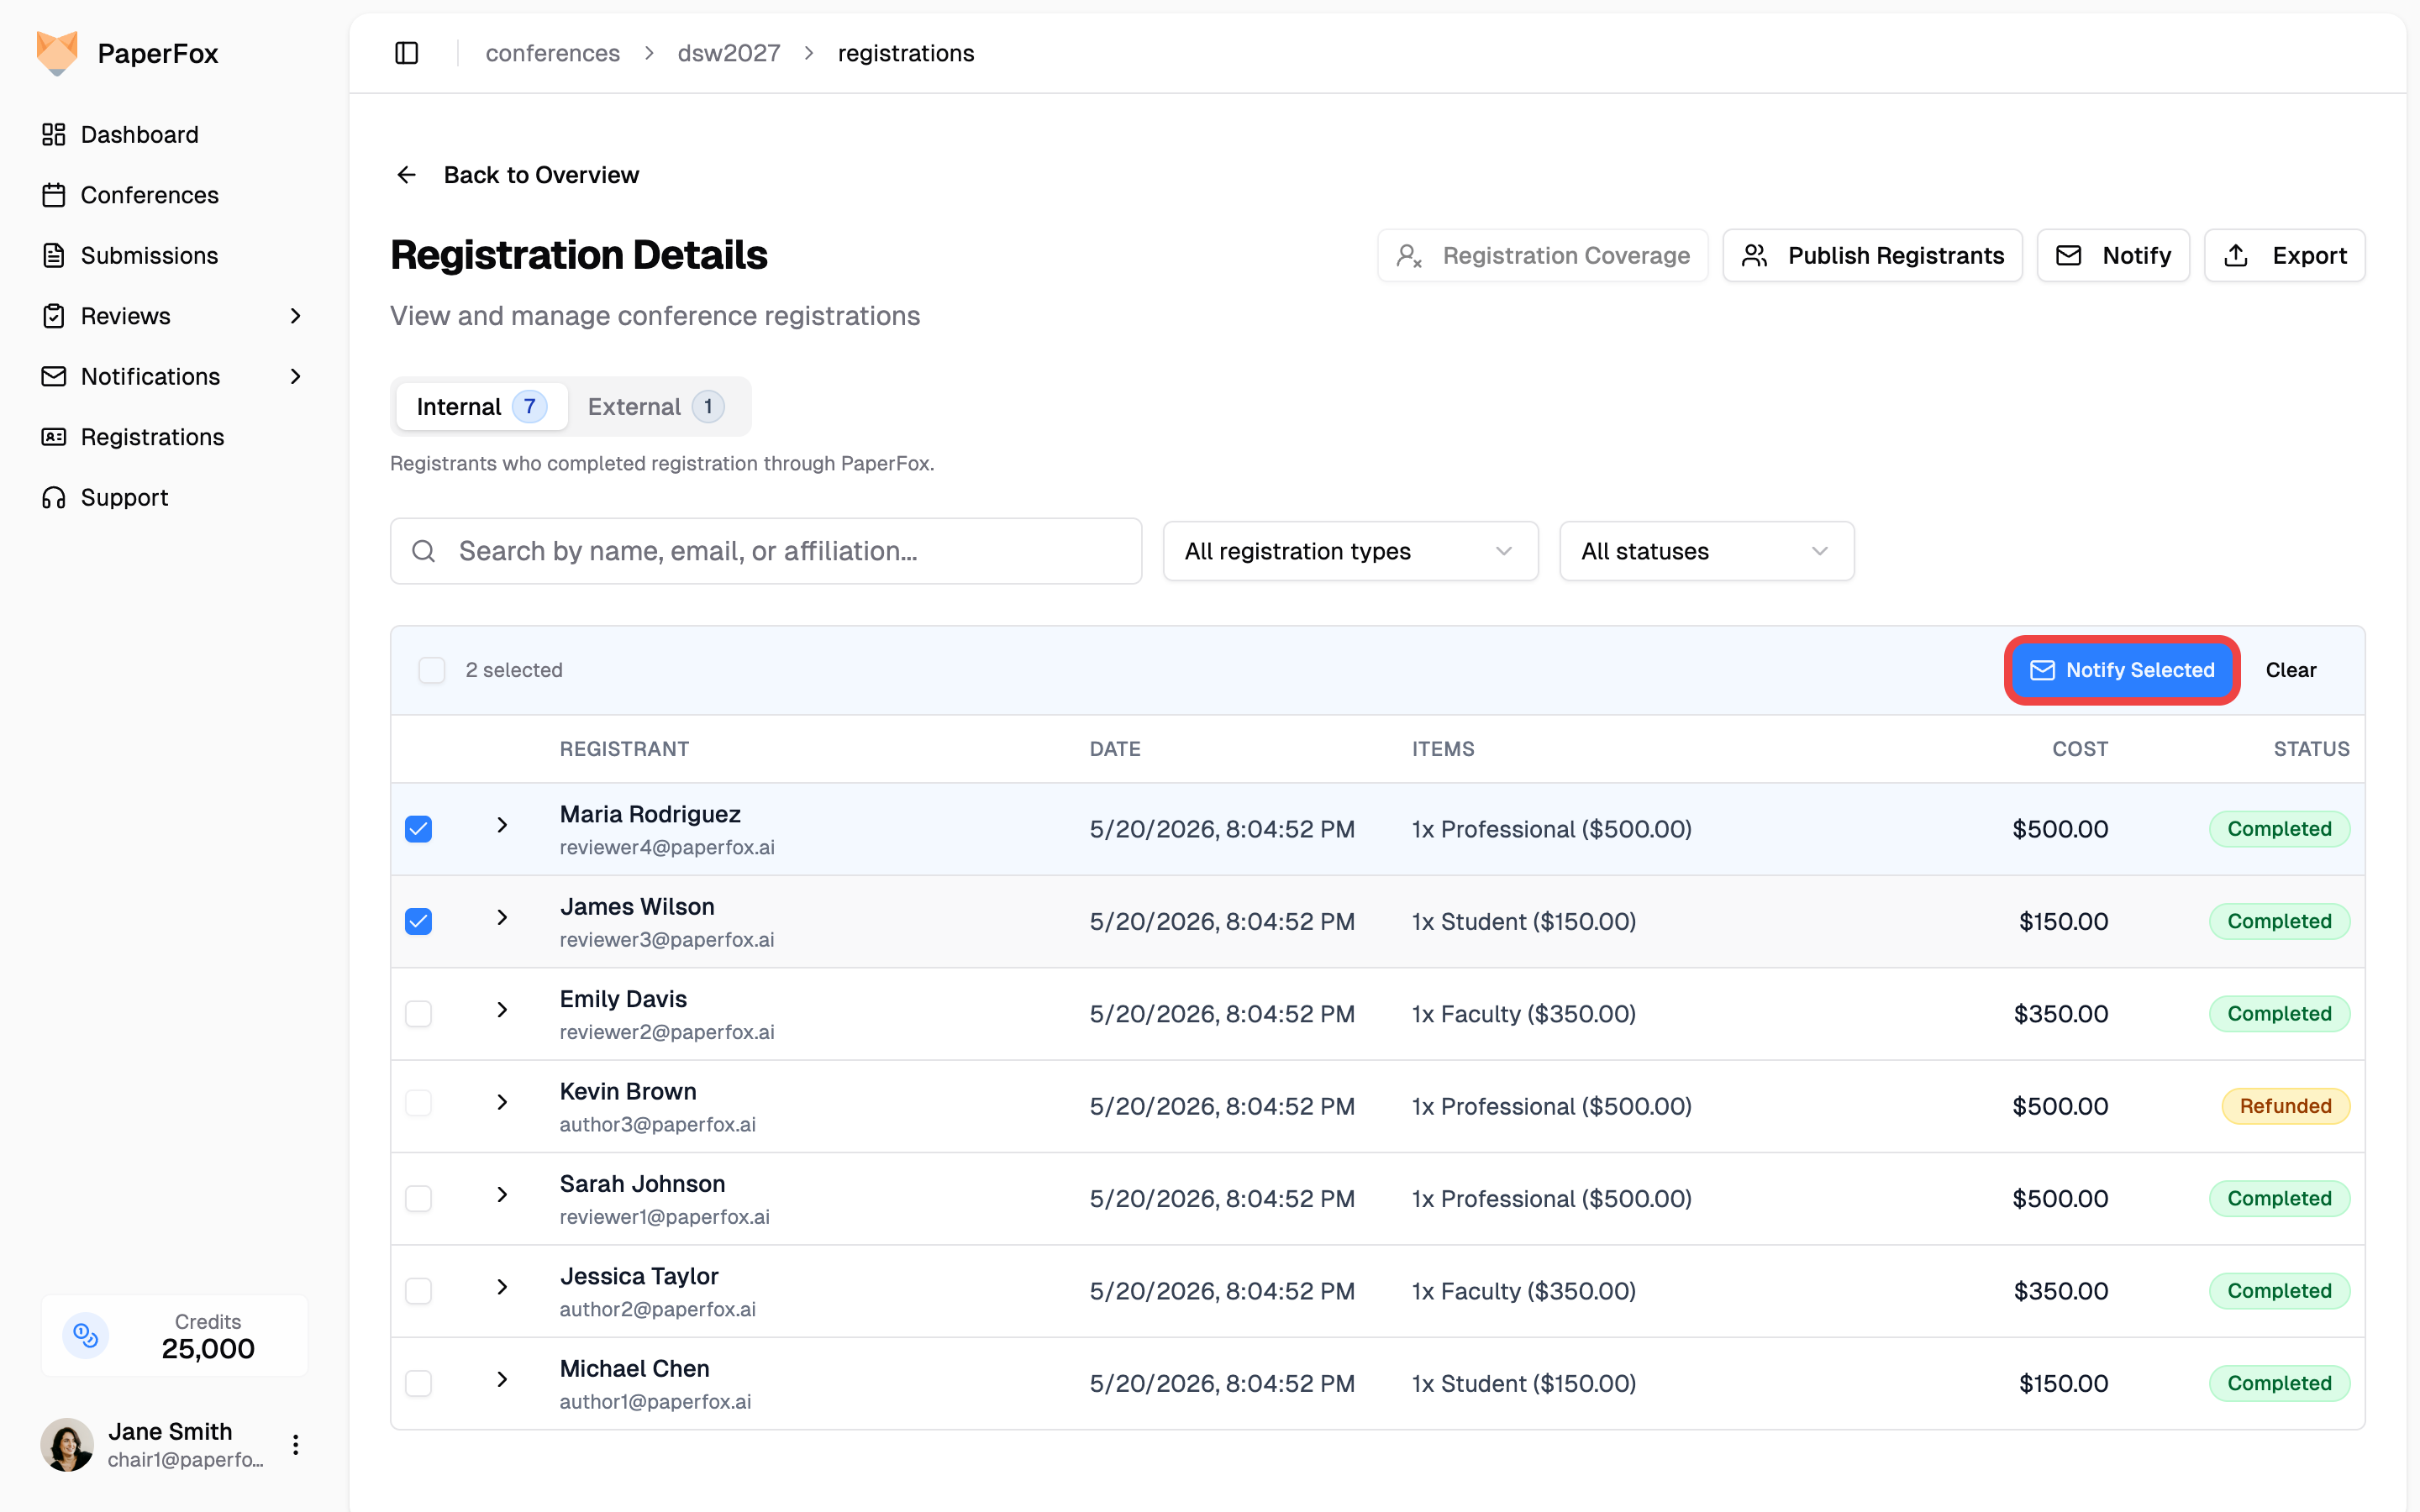 - The toolbar keeps a running **count** of who's picked, and **Notify Selected** enables once at least one registrant is selected. **Select all** checks everyone on the current page.
- Your selection **persists as you search, filter, and page through the list** — pick people across several pages, then send once.
- Refunded registrants can't be selected (their checkbox is disabled) — only active registrants are emailable, same as **Notify**.
**Notify Selected** opens the same composer, but with the recipients locked to just the people you picked — the Recipients card reads "**N** selected registrants" instead of the full count. Edit the subject and message, preview, and send.
## From the Notifications Hub
If you're already in the Notifications hub — for example, sending out reviewer reminders or decision letters — you can launch the same flow without going back to the conference page.
1. Click **Notifications** in the sidebar.
2. Pick your conference at the top.
3. Under **Announcements**, click the **Notify All Registrants** card.
- The toolbar keeps a running **count** of who's picked, and **Notify Selected** enables once at least one registrant is selected. **Select all** checks everyone on the current page.
- Your selection **persists as you search, filter, and page through the list** — pick people across several pages, then send once.
- Refunded registrants can't be selected (their checkbox is disabled) — only active registrants are emailable, same as **Notify**.
**Notify Selected** opens the same composer, but with the recipients locked to just the people you picked — the Recipients card reads "**N** selected registrants" instead of the full count. Edit the subject and message, preview, and send.
## From the Notifications Hub
If you're already in the Notifications hub — for example, sending out reviewer reminders or decision letters — you can launch the same flow without going back to the conference page.
1. Click **Notifications** in the sidebar.
2. Pick your conference at the top.
3. Under **Announcements**, click the **Notify All Registrants** card.
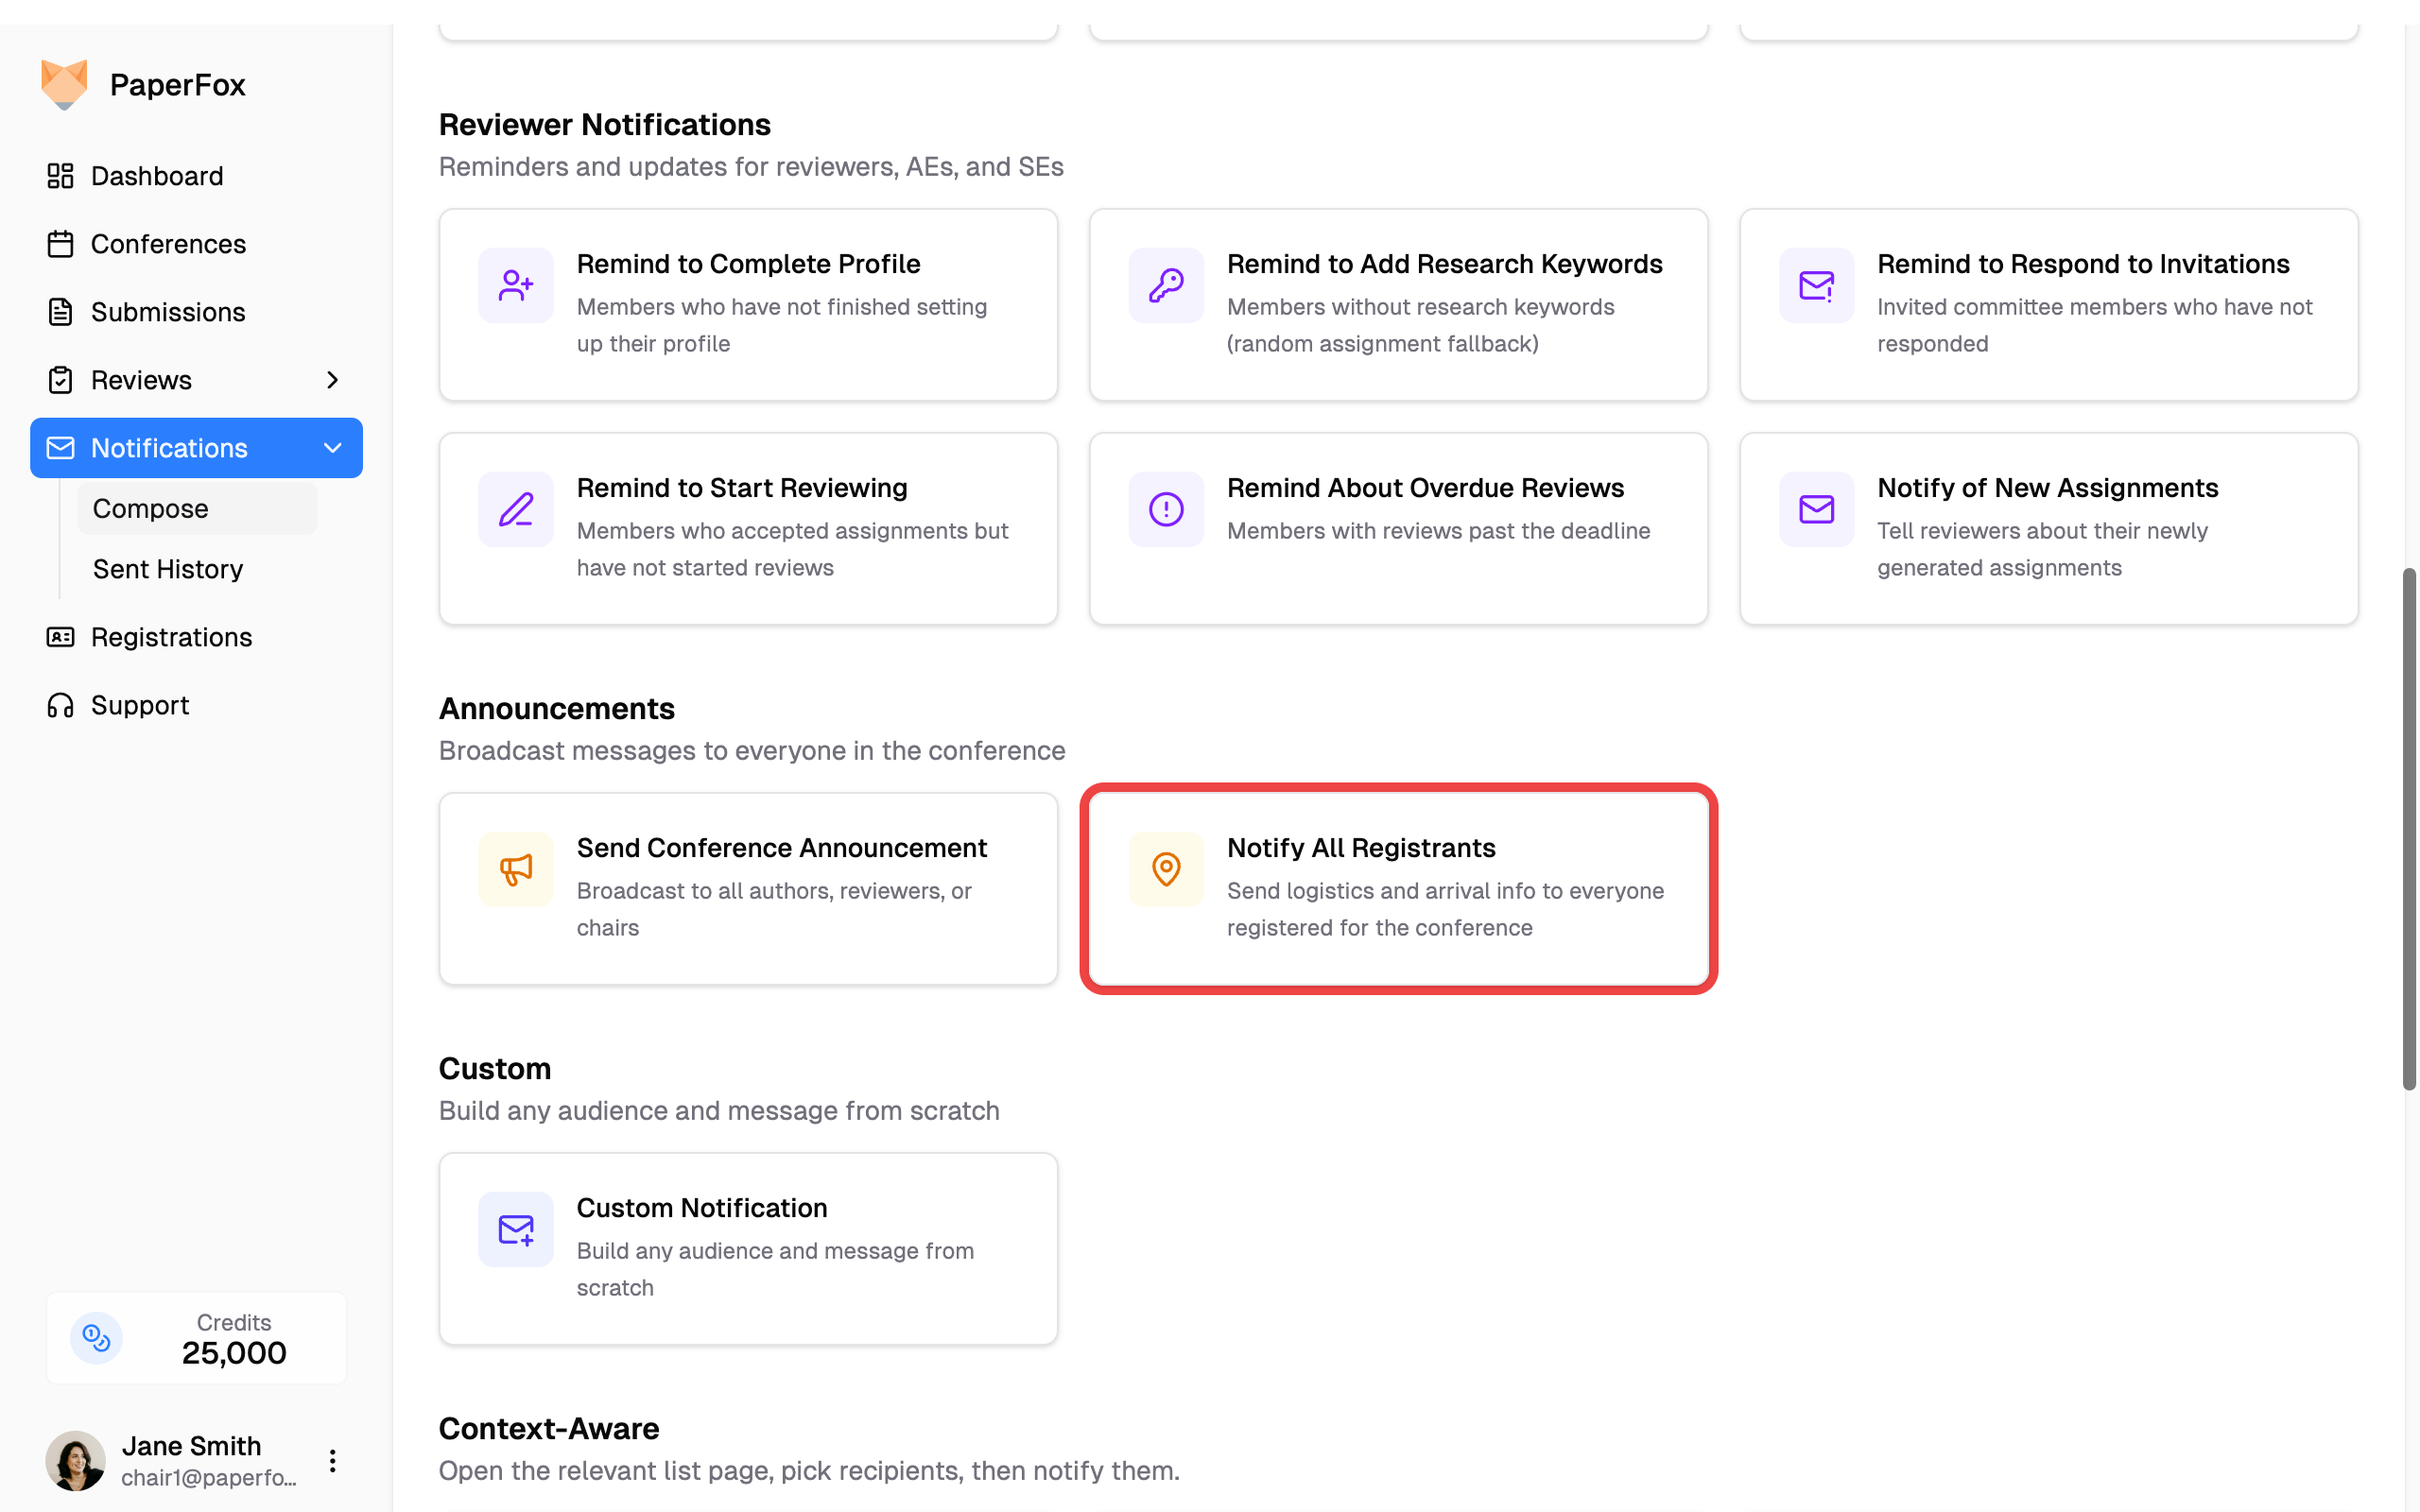 The composer opens with the same pre-fill as the in-page button.
To email a subset from the hub, use the **Email Selected Registrants** card under **Context-Aware** — it takes you to the registrants list to pick recipients first (the picking has to happen on the list page, so the hub links you there rather than opening an empty composer). See [Send Notifications](/docs/chairs/send-notifications) for the full preset catalog.
---
# Program Management
URL: https://paperfox.ai/docs/chairs/program-management
Description: Build and manage your conference program
The Program Builder allows you to create a structured schedule for your conference with days, sessions, and program items.
Prefer to chat? If you've connected Claude or ChatGPT to PaperFox, the AI can draft the whole program for you as an unpublished draft that you then refine here — see [Build Program with MCP](/docs/chairs/build-program-with-mcp).
## Program Workflow
1. **Add Days**: Create conference dates
2. **Add Sessions**: Create time blocks for each day
3. **Add Items**: Fill sessions with program content
4. **Add Description** (optional): Provide context about your program
5. **Publish**: Make the program visible to attendees
## Accessing Program Builder
1. Navigate to your conference dashboard
2. Click **"Program Builder"**
The composer opens with the same pre-fill as the in-page button.
To email a subset from the hub, use the **Email Selected Registrants** card under **Context-Aware** — it takes you to the registrants list to pick recipients first (the picking has to happen on the list page, so the hub links you there rather than opening an empty composer). See [Send Notifications](/docs/chairs/send-notifications) for the full preset catalog.
---
# Program Management
URL: https://paperfox.ai/docs/chairs/program-management
Description: Build and manage your conference program
The Program Builder allows you to create a structured schedule for your conference with days, sessions, and program items.
Prefer to chat? If you've connected Claude or ChatGPT to PaperFox, the AI can draft the whole program for you as an unpublished draft that you then refine here — see [Build Program with MCP](/docs/chairs/build-program-with-mcp).
## Program Workflow
1. **Add Days**: Create conference dates
2. **Add Sessions**: Create time blocks for each day
3. **Add Items**: Fill sessions with program content
4. **Add Description** (optional): Provide context about your program
5. **Publish**: Make the program visible to attendees
## Accessing Program Builder
1. Navigate to your conference dashboard
2. Click **"Program Builder"**
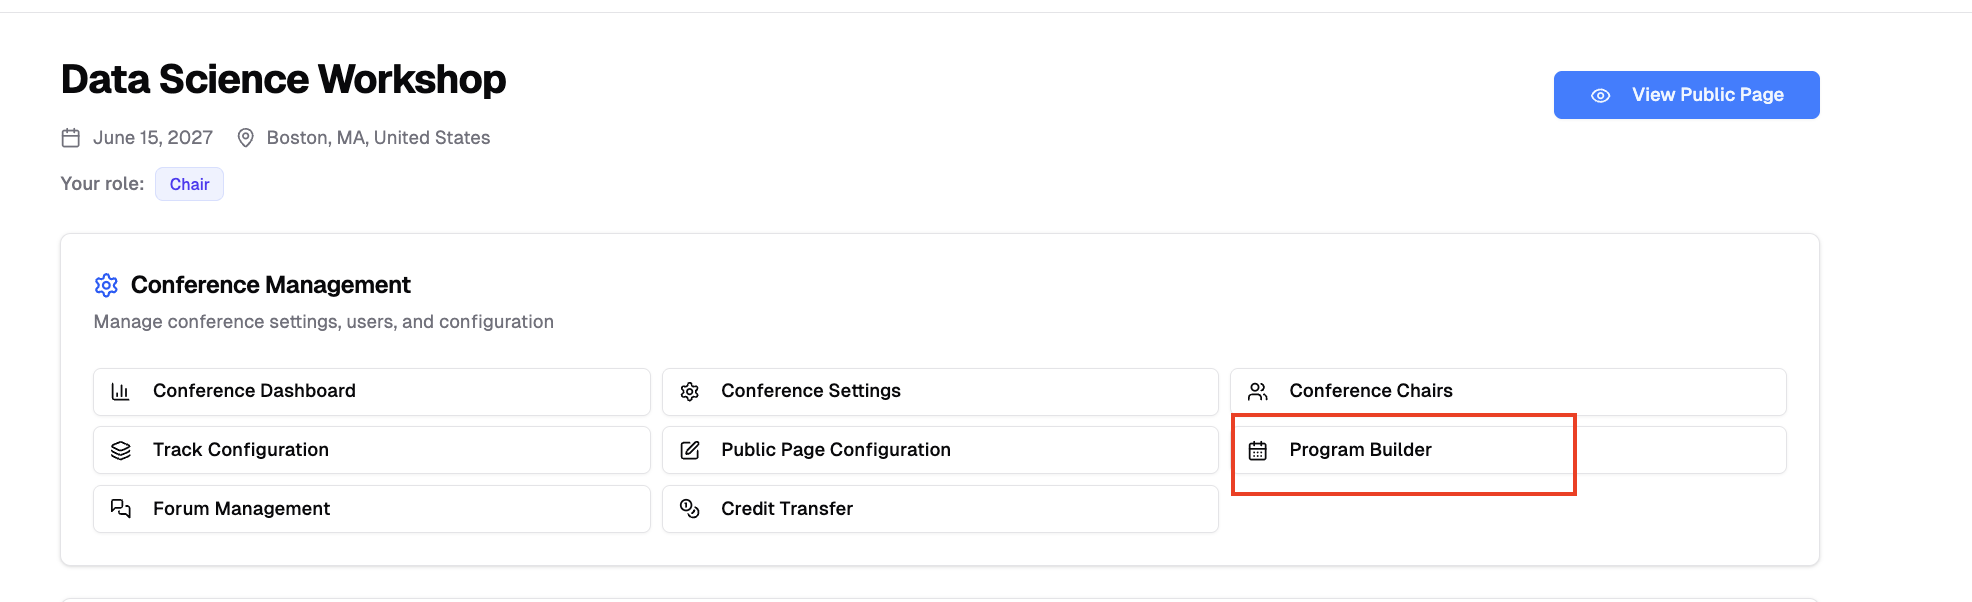 The program is automatically created when you first access Program Builder.
## Program Structure
Your conference program is organized hierarchically:
- **Program**: The overall conference schedule
- **Days**: Individual dates of your conference
- **Sessions**: Time blocks within each day (e.g., "Morning Session", "Keynote", "Coffee Break")
- **Items**: Individual activities within sessions (e.g., submissions, talks, panels)
The program is automatically created when you first access Program Builder.
## Program Structure
Your conference program is organized hierarchically:
- **Program**: The overall conference schedule
- **Days**: Individual dates of your conference
- **Sessions**: Time blocks within each day (e.g., "Morning Session", "Keynote", "Coffee Break")
- **Items**: Individual activities within sessions (e.g., submissions, talks, panels)
 ## Program Description
Add an optional description in the **Program Settings** section:
1. Click the description editor
2. Write content using the rich text editor
3. Click **"Save"**
## Program Description
Add an optional description in the **Program Settings** section:
1. Click the description editor
2. Write content using the rich text editor
3. Click **"Save"**
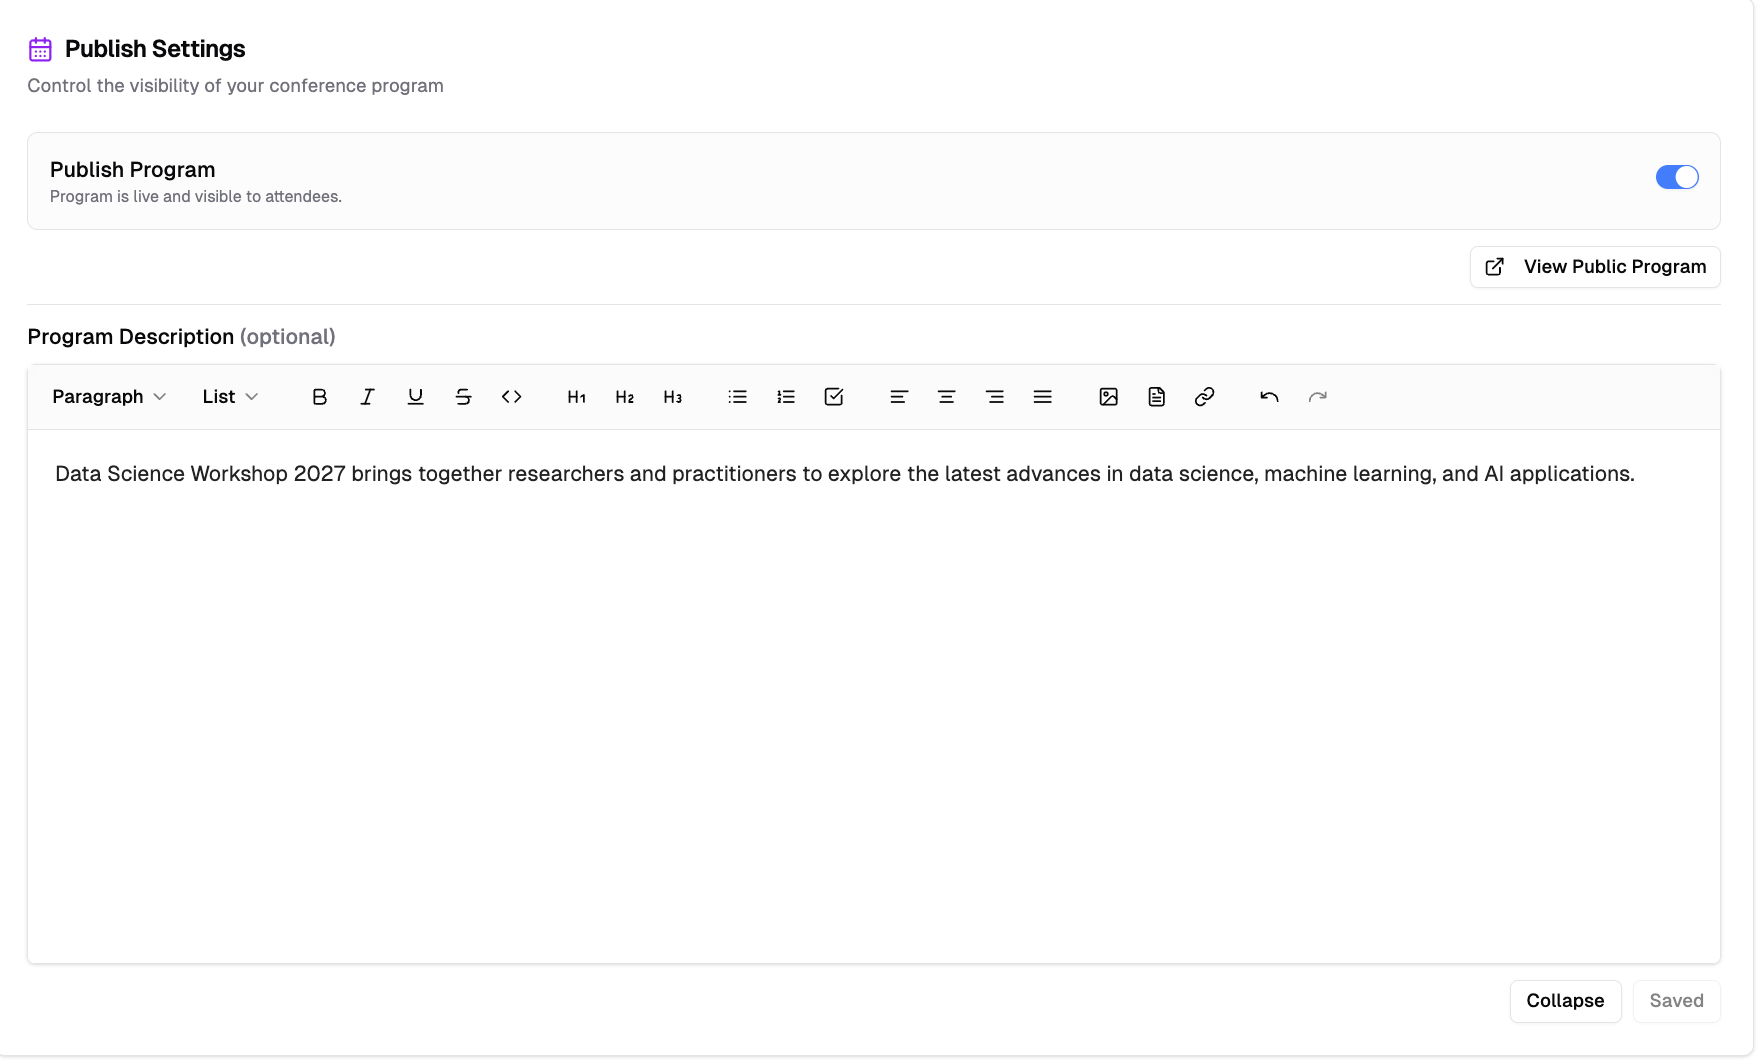 The description supports text formatting, images, links, and file attachments.
## Managing Program Days
### Add a Day
1. Click "Add Day" button
The description supports text formatting, images, links, and file attachments.
## Managing Program Days
### Add a Day
1. Click "Add Day" button
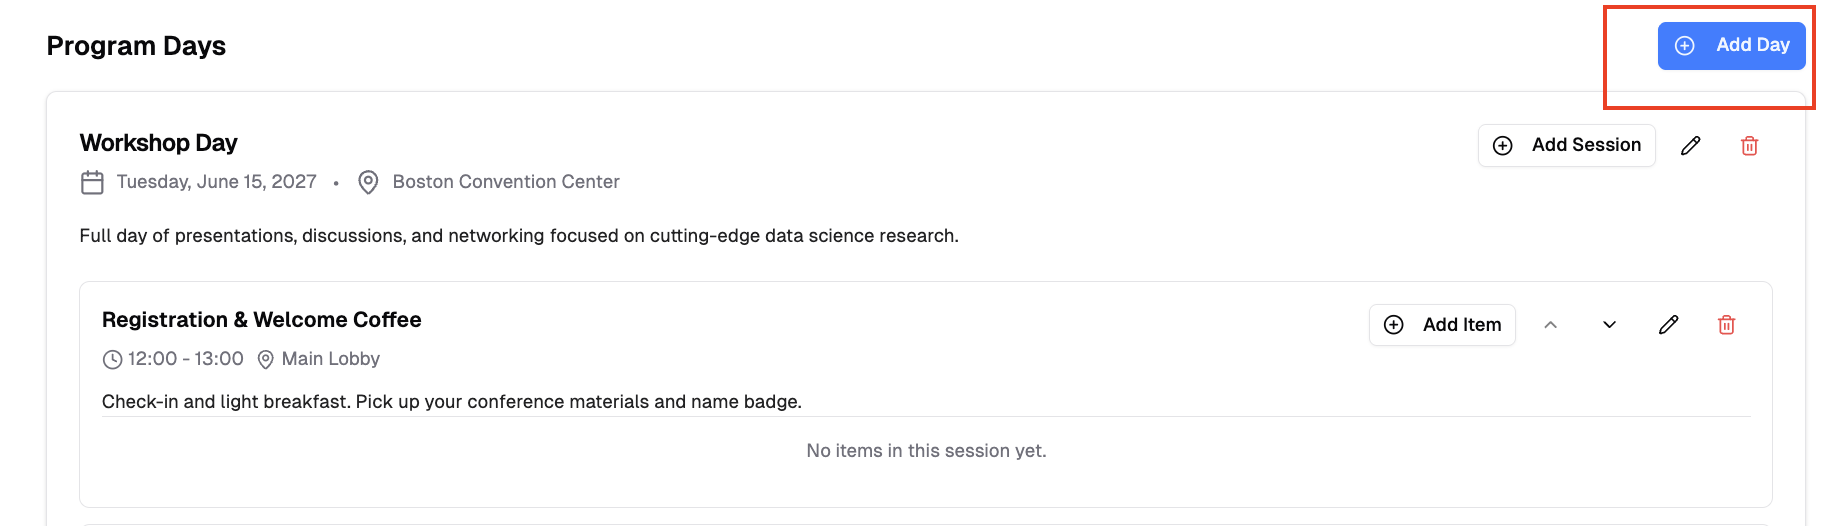 2. Fill in day details:
- **Date** (required): Select the conference date
- **Title** (optional): e.g., "Day 1: Opening & Keynotes"
- **Location** (optional): e.g., "Main Conference Hall"
- **Description** (optional): Rich text description with image and crop to avatar support
3. Click "Create Day"
2. Fill in day details:
- **Date** (required): Select the conference date
- **Title** (optional): e.g., "Day 1: Opening & Keynotes"
- **Location** (optional): e.g., "Main Conference Hall"
- **Description** (optional): Rich text description with image and crop to avatar support
3. Click "Create Day"
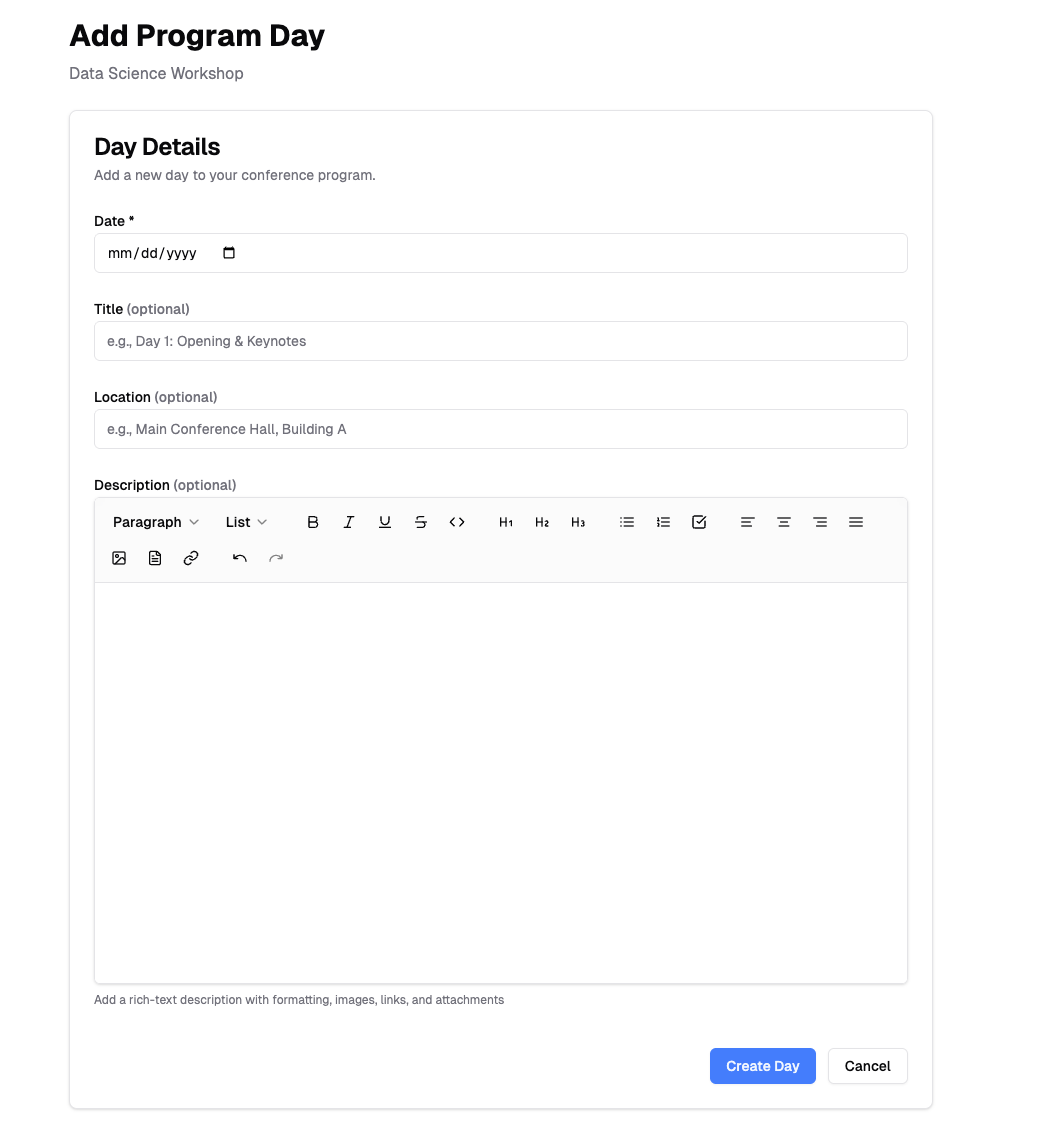 To edit or delete a day, click the edit or delete icon. Note that deleting a day removes all its sessions and items.
## Managing Sessions
### Add a Session
1. Click "Add Session" on a program day
To edit or delete a day, click the edit or delete icon. Note that deleting a day removes all its sessions and items.
## Managing Sessions
### Add a Session
1. Click "Add Session" on a program day
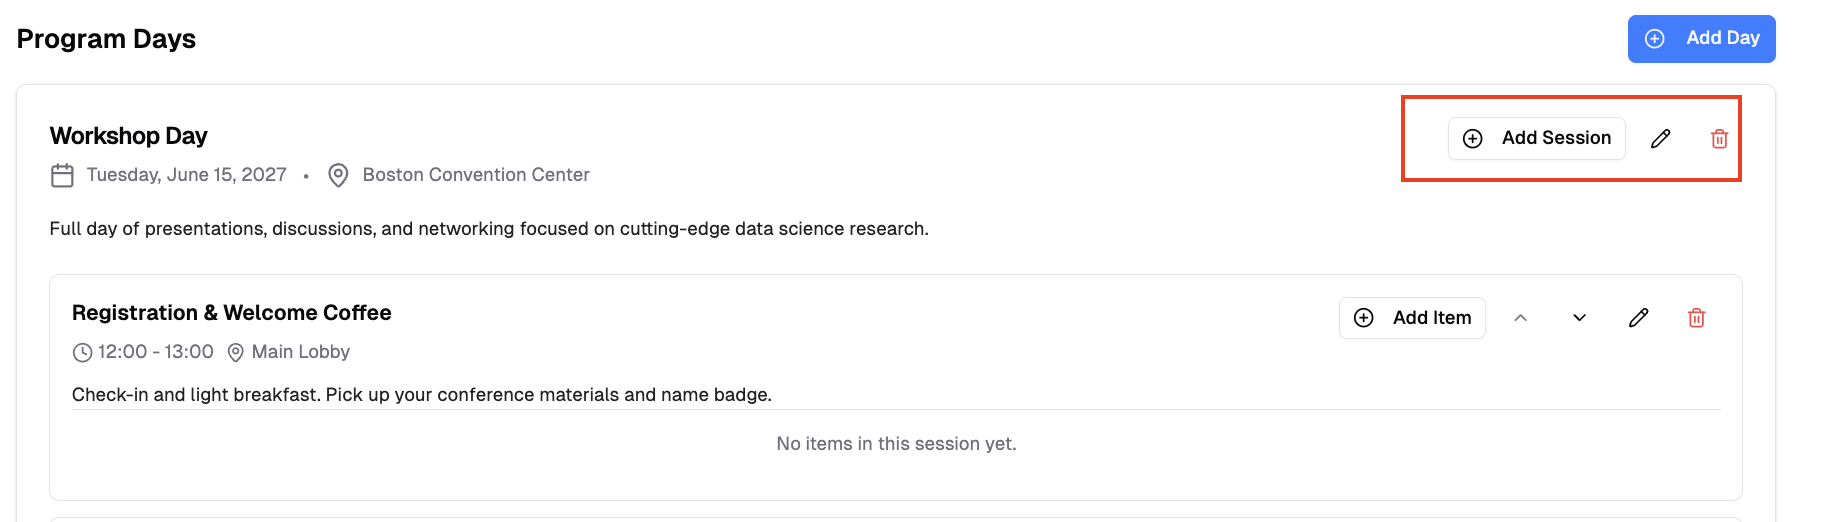 2. Fill in session details:
- **Session Type** (required): Choose from SESSION, BREAK, MEAL, SOCIAL, or OTHER
- **Title** (required): e.g., "Session 1A: Machine Learning"
- **Location** (optional): e.g., "Room 101"
- **Start Time** (required): Session start date and time
- **End Time** (required): Session end date and time
- **Description** (optional): Rich text description with image and crop to avatar support
3. Click "Create Session"
2. Fill in session details:
- **Session Type** (required): Choose from SESSION, BREAK, MEAL, SOCIAL, or OTHER
- **Title** (required): e.g., "Session 1A: Machine Learning"
- **Location** (optional): e.g., "Room 101"
- **Start Time** (required): Session start date and time
- **End Time** (required): Session end date and time
- **Description** (optional): Rich text description with image and crop to avatar support
3. Click "Create Session"
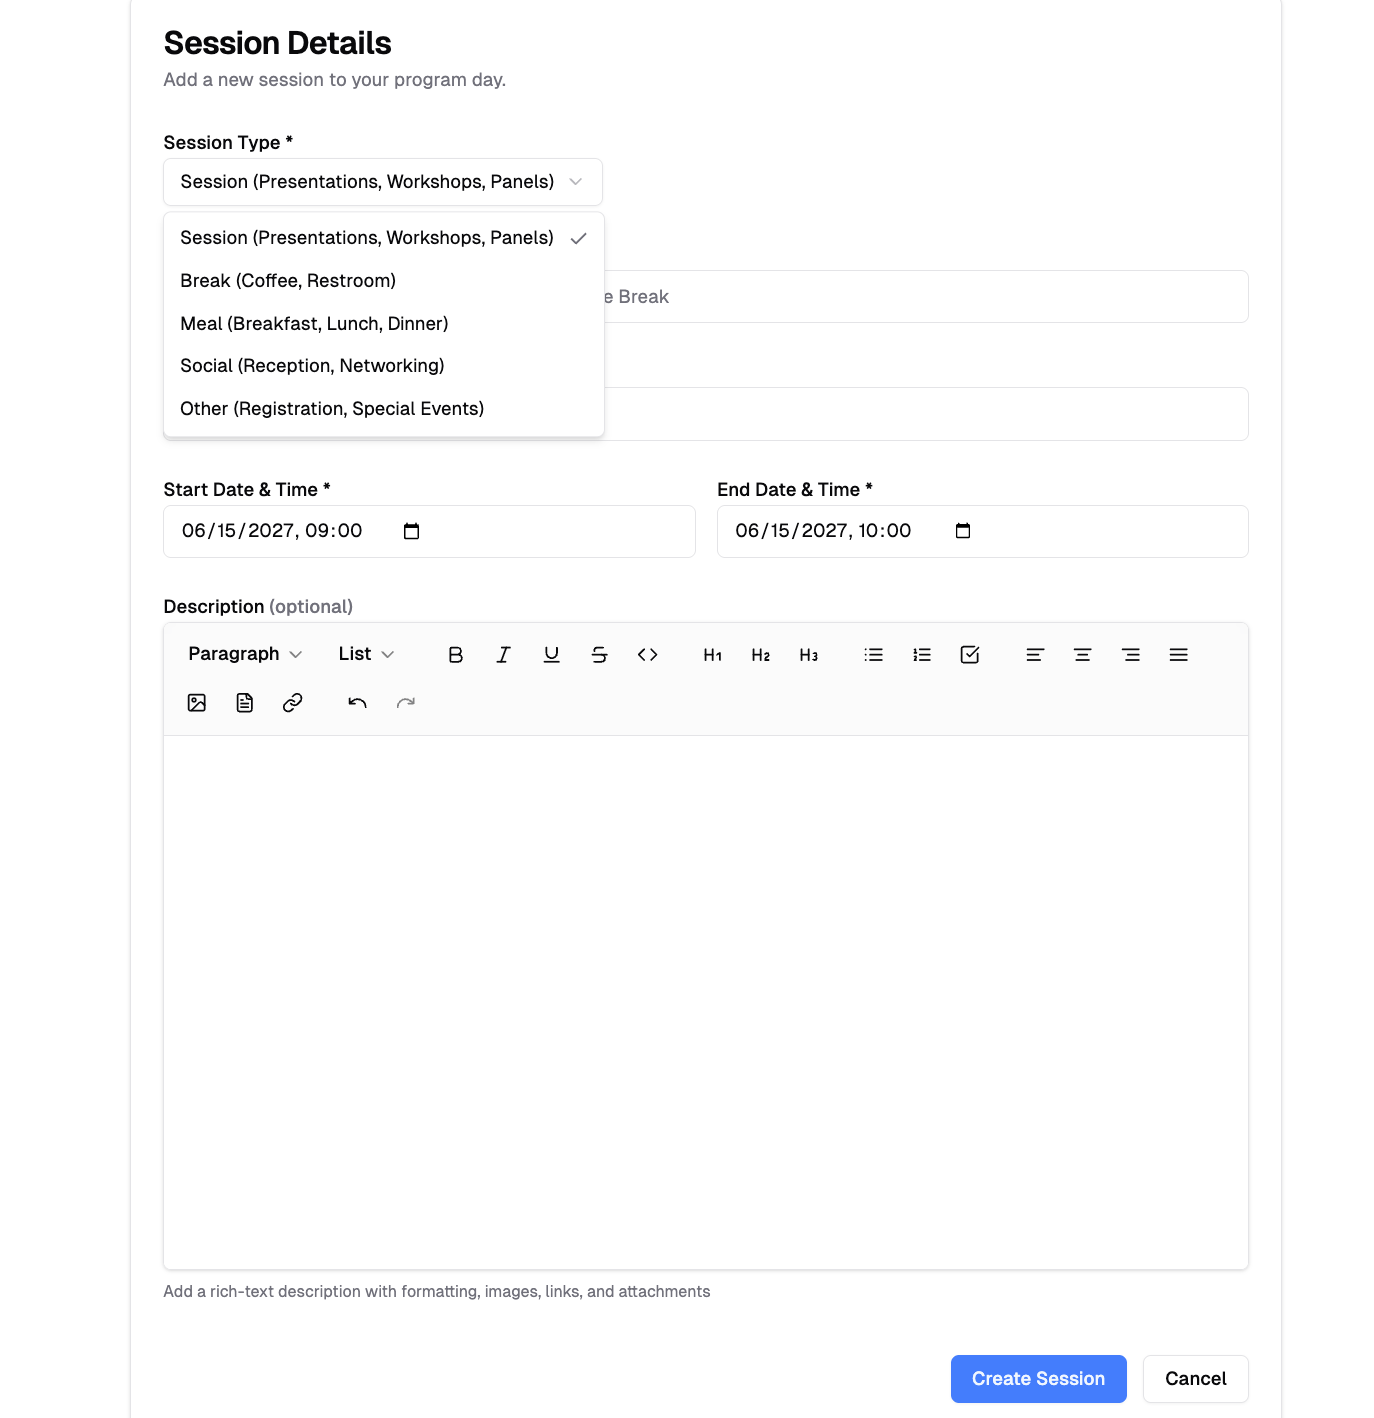 ### Parallel Sessions
You can schedule multiple sessions that start at the same time to accommodate parallel tracks or concurrent activities. Sessions sharing a start time are grouped under one time slot and labeled as parallel, as shown below in the Program Builder.
### Parallel Sessions
You can schedule multiple sessions that start at the same time to accommodate parallel tracks or concurrent activities. Sessions sharing a start time are grouped under one time slot and labeled as parallel, as shown below in the Program Builder.
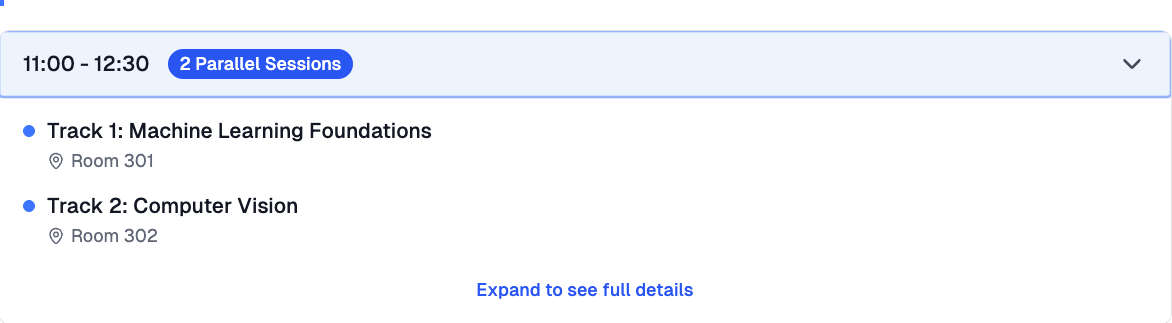 To edit or delete a session, click the edit or delete icon. Note that deleting a session removes all its program items.
## Managing Program Items
### Add an Item
1. Click "Add Item" within a session
To edit or delete a session, click the edit or delete icon. Note that deleting a session removes all its program items.
## Managing Program Items
### Add an Item
1. Click "Add Item" within a session
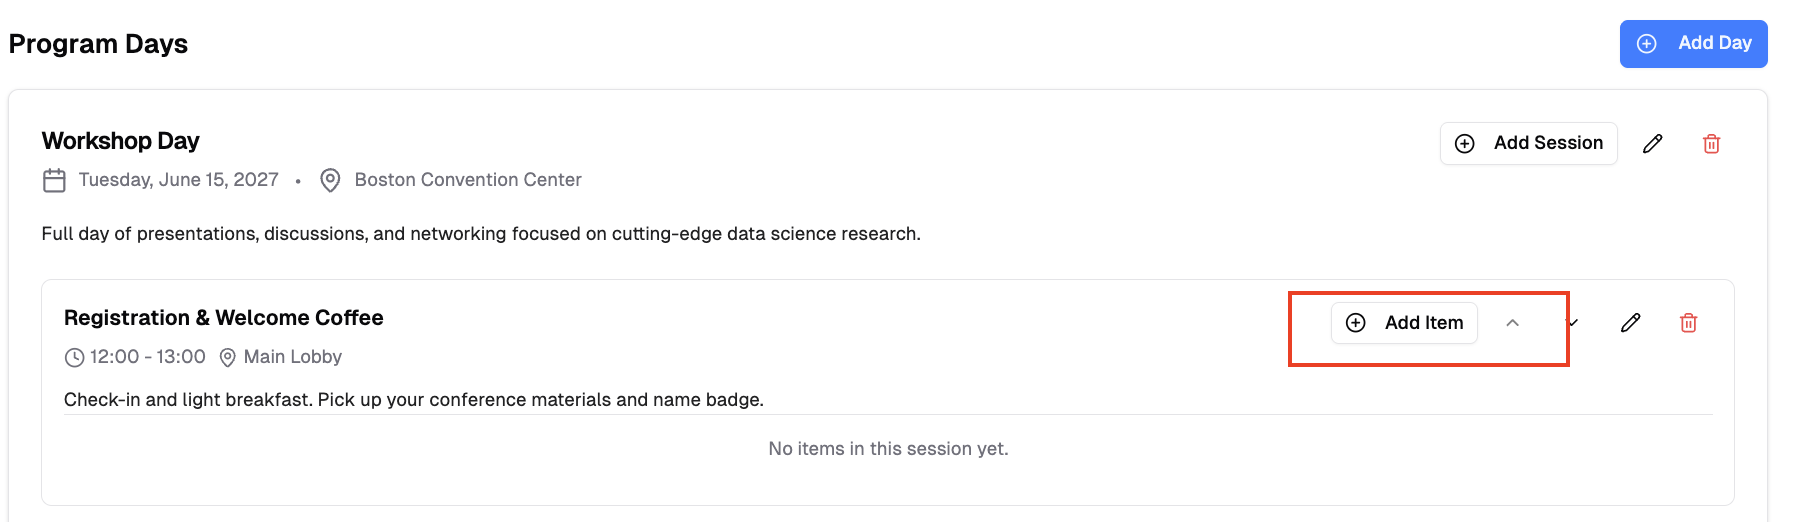 2. Fill in item details:
- **Item Type** (required): PAPER, POSTER, TALK, DISCUSSION, WORKSHOP, or OTHER
- **Title** (required): Item title
- **Description** (optional): Rich text description with image support
3. Click "Create Item"
2. Fill in item details:
- **Item Type** (required): PAPER, POSTER, TALK, DISCUSSION, WORKSHOP, or OTHER
- **Title** (required): Item title
- **Description** (optional): Rich text description with image support
3. Click "Create Item"
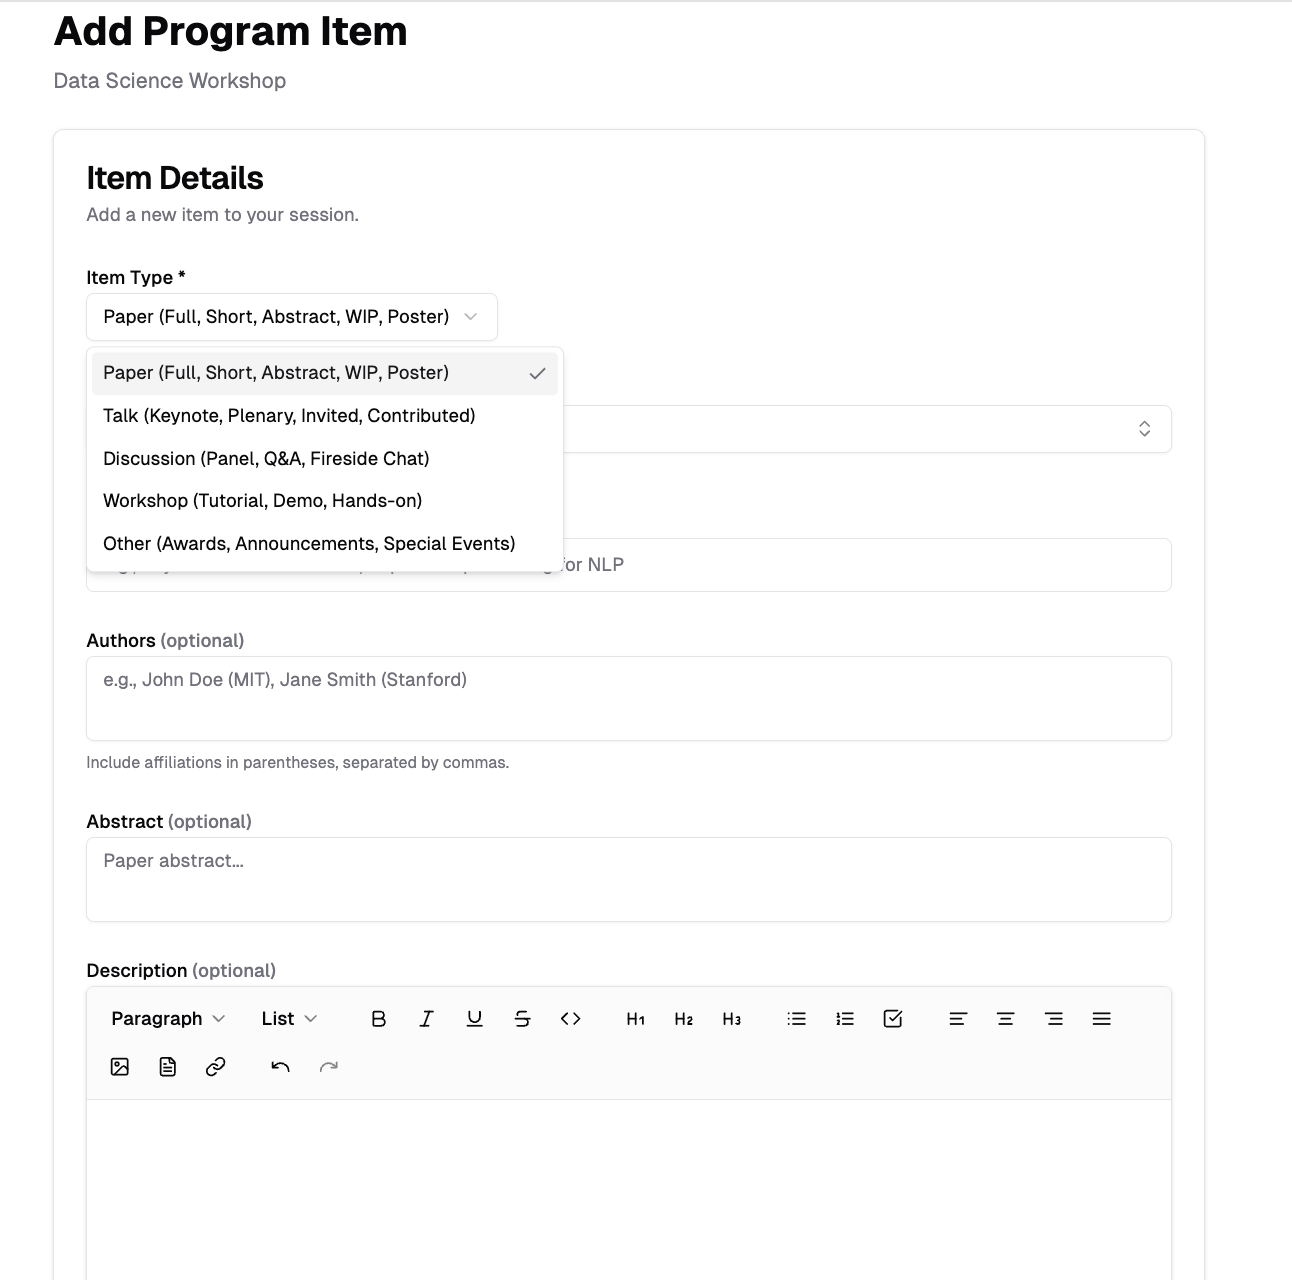 ### Link to Submission
For PAPER type items, you can link to an existing submission:
1. Select "PAPER" as item type
2. Click "Load from Existing Submission"
3. Search and select a submission
4. Title, authors, and abstract are automatically filled
### Link to Submission
For PAPER type items, you can link to an existing submission:
1. Select "PAPER" as item type
2. Click "Load from Existing Submission"
3. Search and select a submission
4. Title, authors, and abstract are automatically filled
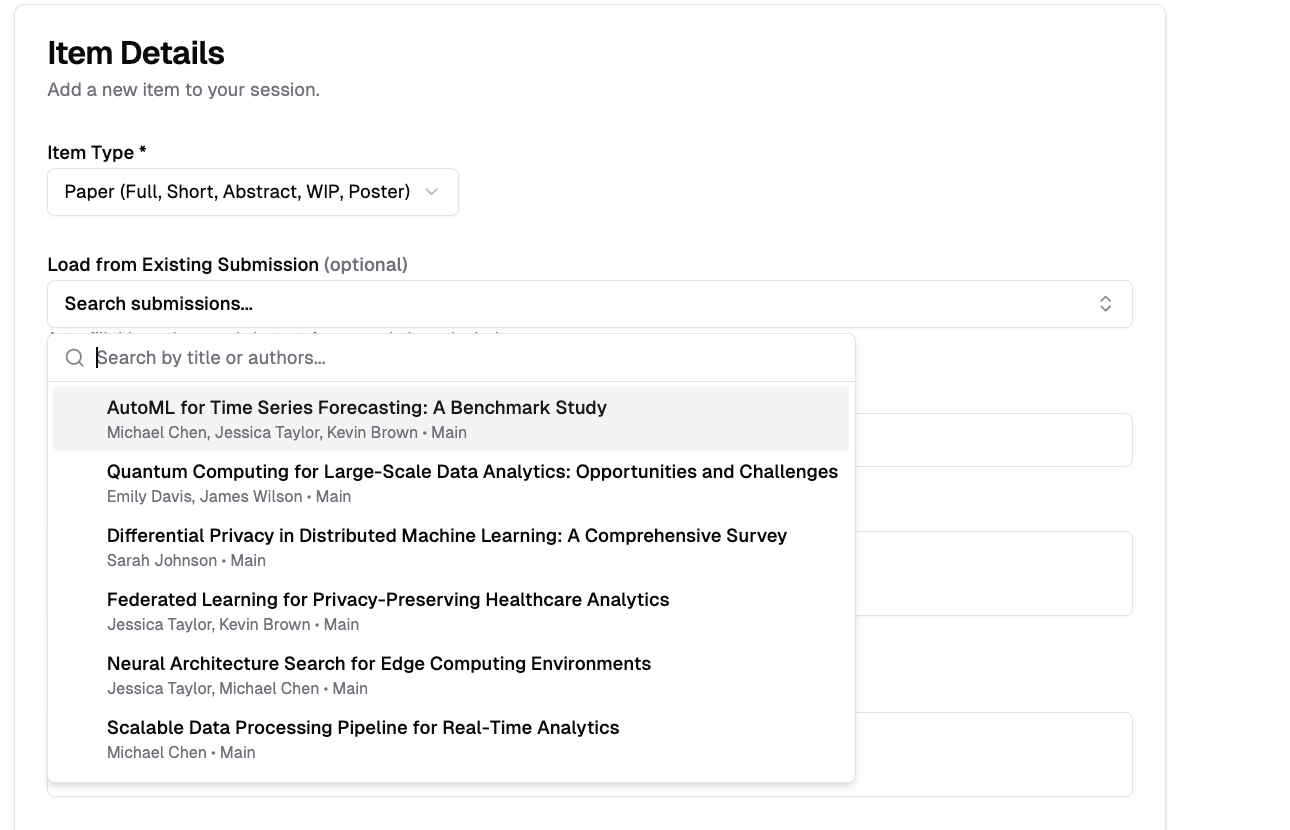 The picker lists **accepted submissions only**. Scheduling a submission copies its authors onto the program item, and publishing the program makes those authors public — so an undecided submission could otherwise reach the public program before its authors had been notified.
To schedule something that has no accept decision yet — an invited talk, or a submission you're slotting in ahead of notification — tick **"Show submissions without an accept decision"** at the bottom of the picker. Each row shows its decision badge, so you can see what you're choosing.
### Submission-Specific Fields
When creating a PAPER item:
- **Authors** (optional): List authors with affiliations
- **Abstract** (optional): Submission abstract
### Talk-Specific Fields
When creating a TALK item:
- **Presenters** (optional): List presenters with affiliations
To edit or delete an item, click the edit or delete icon.
## Crop to Avatar Tool
Use this feature to create professional circular profile pictures for speakers and presenters in your program descriptions.
1. Click the image icon in the editor toolbar
The picker lists **accepted submissions only**. Scheduling a submission copies its authors onto the program item, and publishing the program makes those authors public — so an undecided submission could otherwise reach the public program before its authors had been notified.
To schedule something that has no accept decision yet — an invited talk, or a submission you're slotting in ahead of notification — tick **"Show submissions without an accept decision"** at the bottom of the picker. Each row shows its decision badge, so you can see what you're choosing.
### Submission-Specific Fields
When creating a PAPER item:
- **Authors** (optional): List authors with affiliations
- **Abstract** (optional): Submission abstract
### Talk-Specific Fields
When creating a TALK item:
- **Presenters** (optional): List presenters with affiliations
To edit or delete an item, click the edit or delete icon.
## Crop to Avatar Tool
Use this feature to create professional circular profile pictures for speakers and presenters in your program descriptions.
1. Click the image icon in the editor toolbar
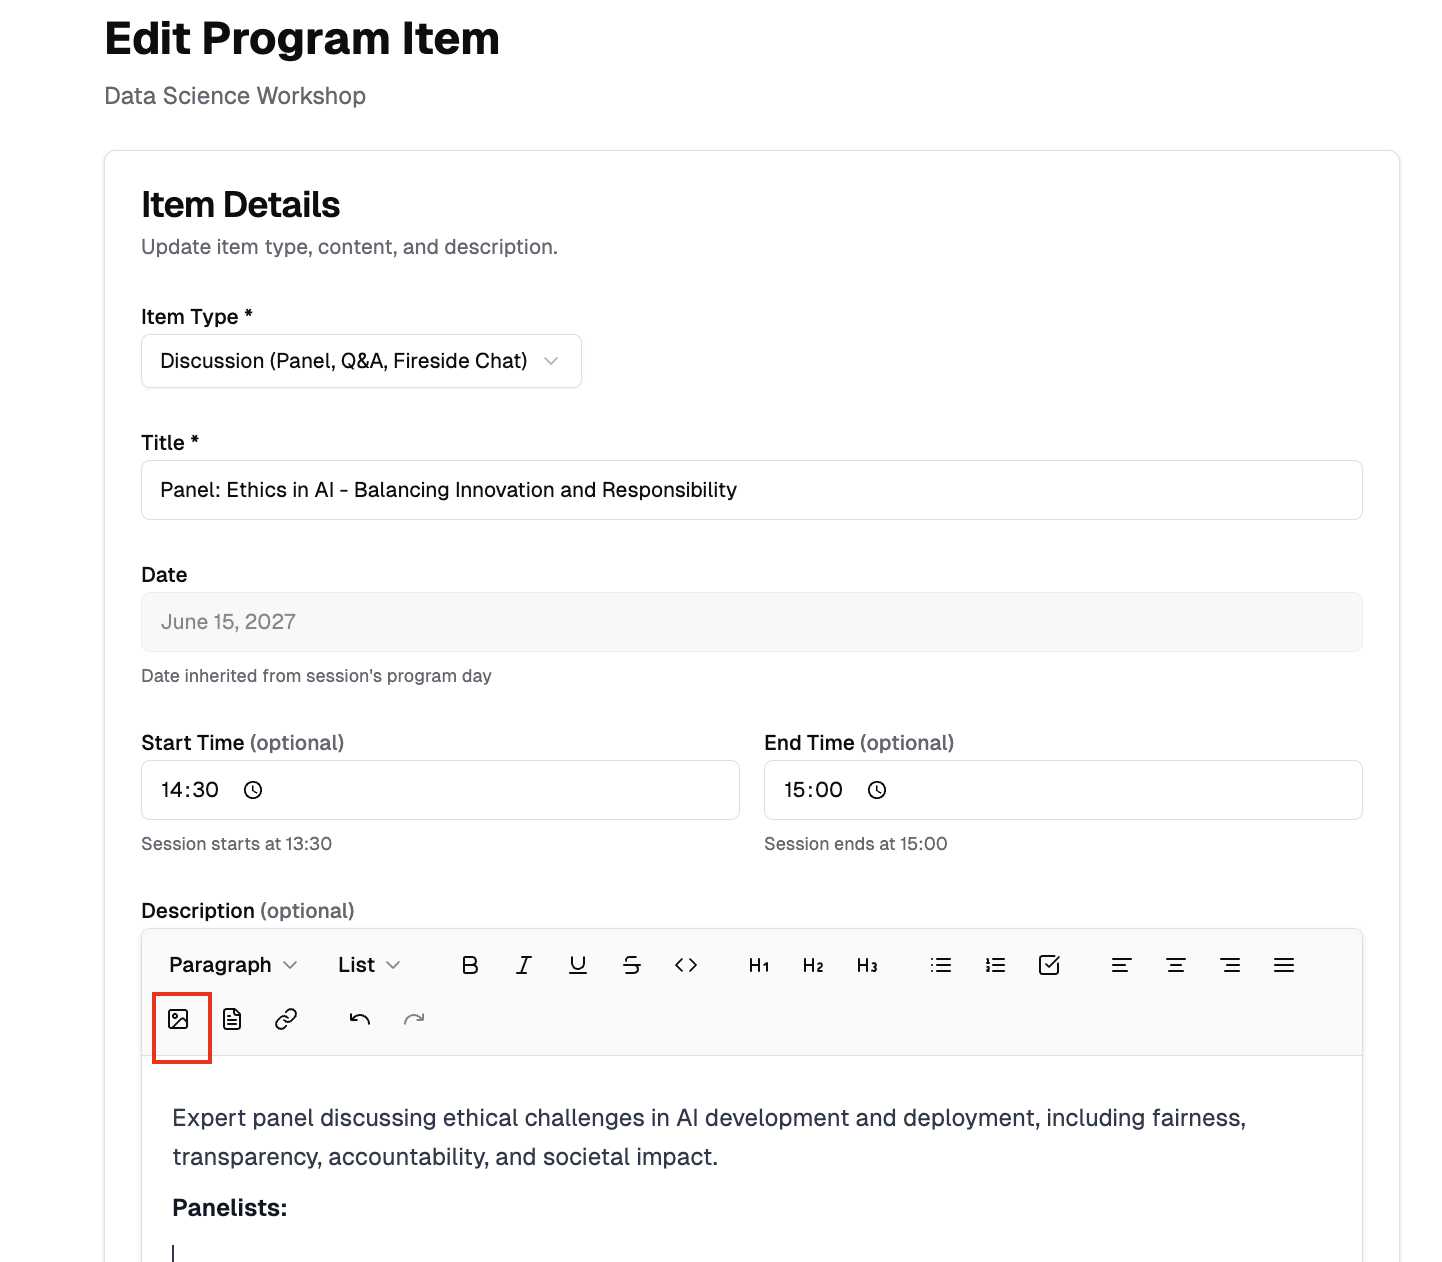 2. Upload your image and click it to locate the crop tool
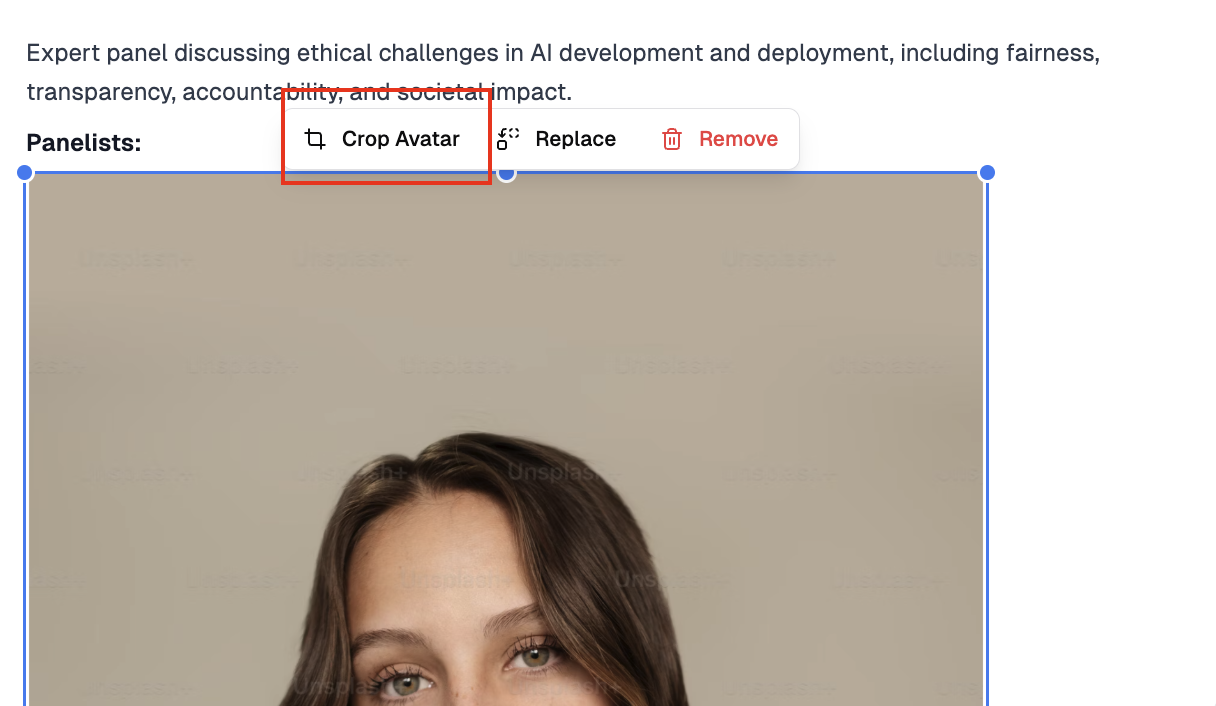 3. Adjust the circular crop area and click insert
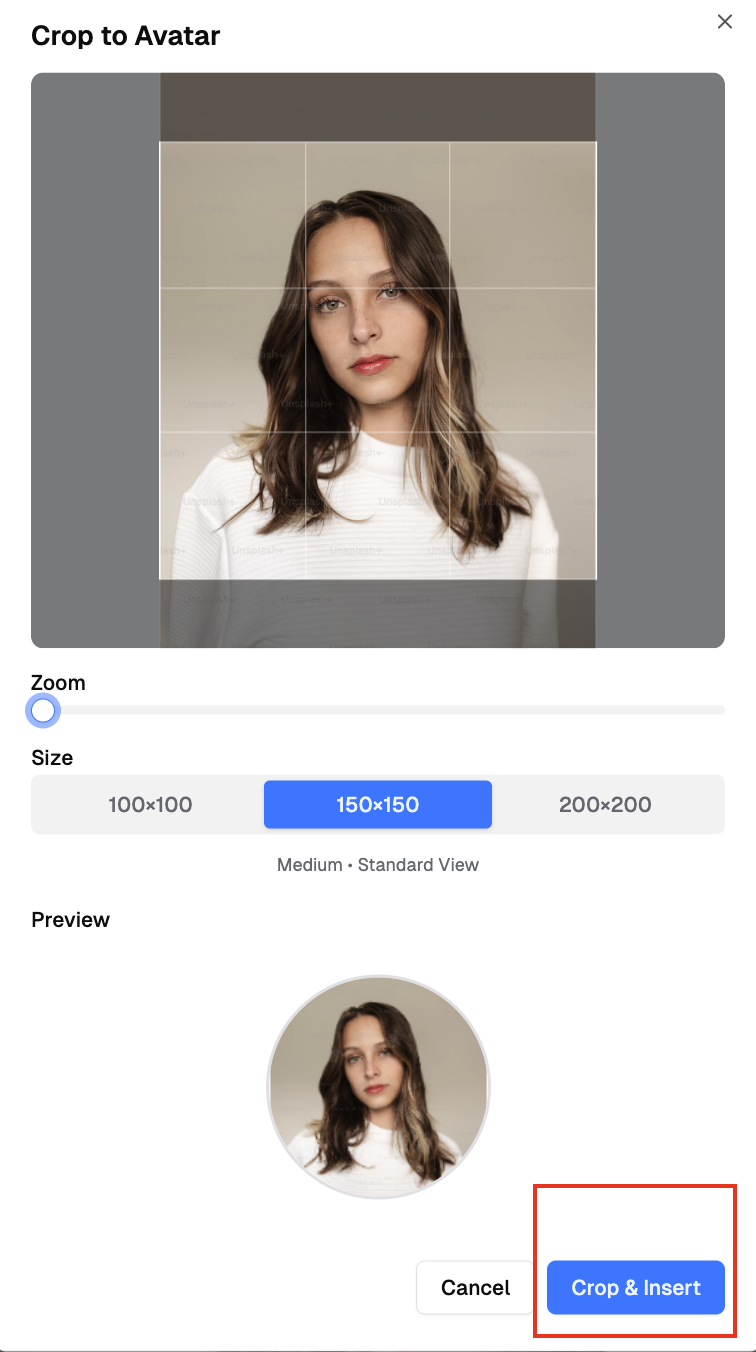 4. Result: professional speaker profiles
 This tool is available in all description fields (program, days, sessions, items).
## Publishing the Program
After creating your program content (days, sessions, items), publish it to make it visible to attendees.
### Publish Settings
1. Navigate to the **Program Settings** section at the top of Program Builder
2. Toggle **"Publish Program"** to ON
This tool is available in all description fields (program, days, sessions, items).
## Publishing the Program
After creating your program content (days, sessions, items), publish it to make it visible to attendees.
### Publish Settings
1. Navigate to the **Program Settings** section at the top of Program Builder
2. Toggle **"Publish Program"** to ON
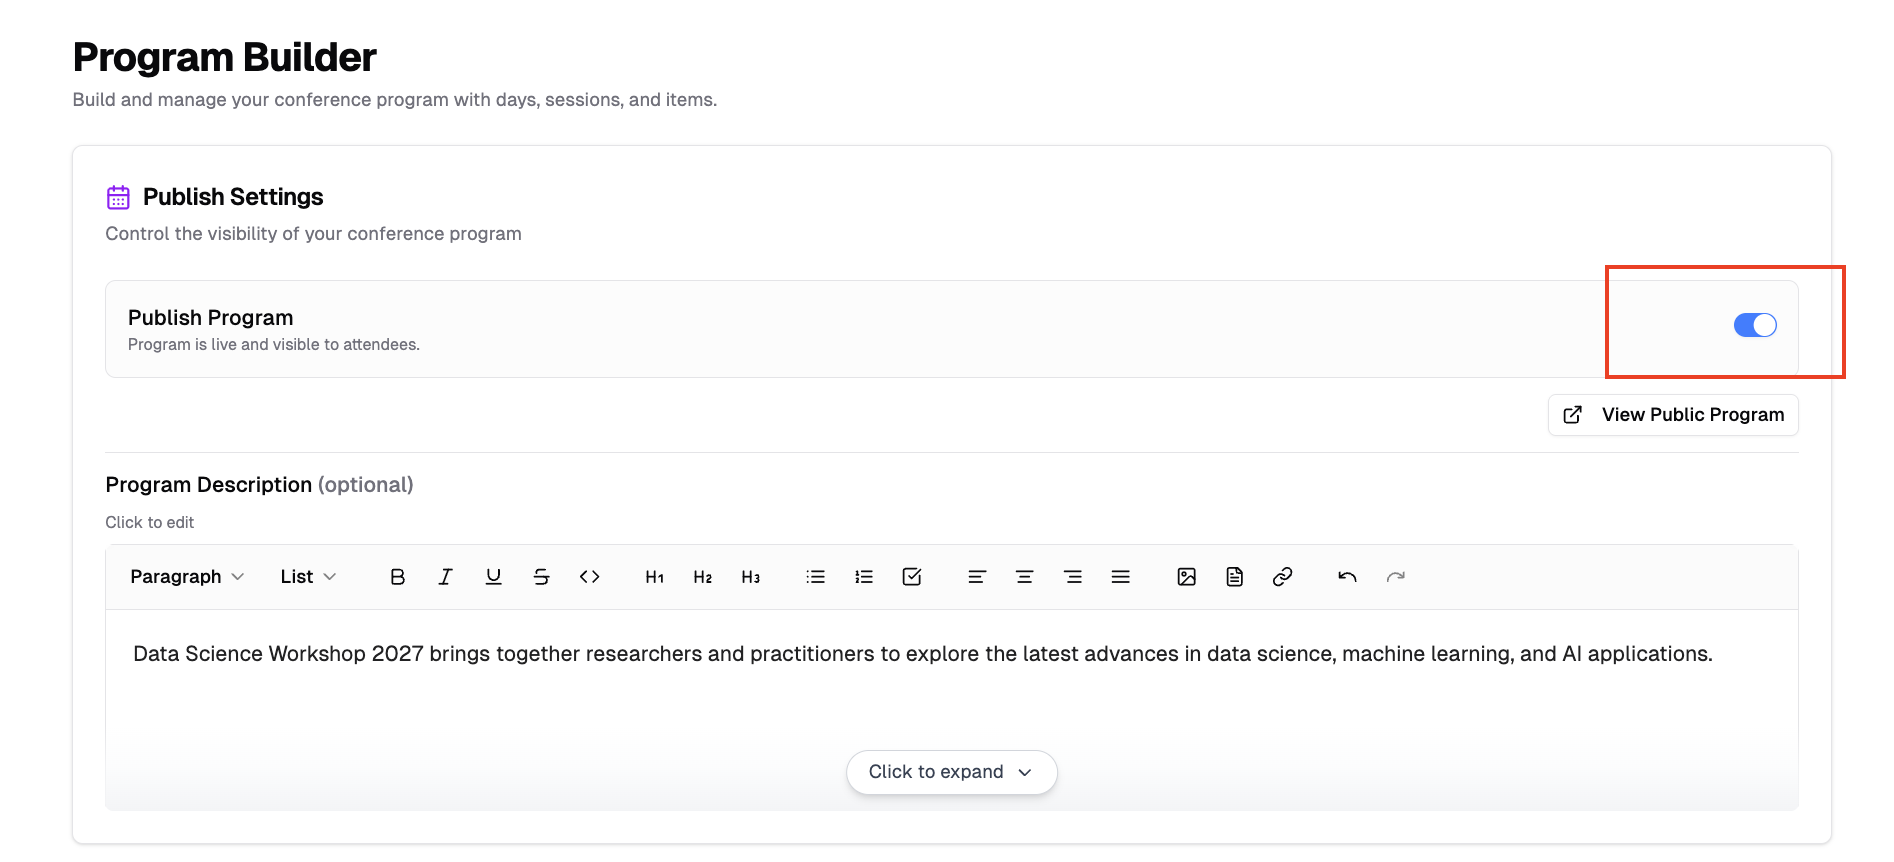 **Requirements:**
- You must add at least one day before publishing
- Published programs appear on your conference public website
**What publishing turns on:**
- The **Program** page on your public website becomes visible
- Your conference is listed in the PaperFox mobile app so attendees can find it and browse the schedule. A toast confirms this and links to **Settings → Mobile App**, where you can turn the listing off at any time — see [List Your Conference in the Mobile App](/docs/chairs/list-in-mobile-app)
Once published, the public program link appears under the toggle, followed by a **"Listed in the mobile app"** status that opens the mobile app setting. If you turn the listing off later, the status turns amber and reads **"Not listed in the mobile app"**.
### Viewing the Published Program
To preview your published program:
1. Click the **open** icon at the end of the program link under the **"Publish Program"** toggle
2. The program opens in a new tab
**Requirements:**
- You must add at least one day before publishing
- Published programs appear on your conference public website
**What publishing turns on:**
- The **Program** page on your public website becomes visible
- Your conference is listed in the PaperFox mobile app so attendees can find it and browse the schedule. A toast confirms this and links to **Settings → Mobile App**, where you can turn the listing off at any time — see [List Your Conference in the Mobile App](/docs/chairs/list-in-mobile-app)
Once published, the public program link appears under the toggle, followed by a **"Listed in the mobile app"** status that opens the mobile app setting. If you turn the listing off later, the status turns amber and reads **"Not listed in the mobile app"**.
### Viewing the Published Program
To preview your published program:
1. Click the **open** icon at the end of the program link under the **"Publish Program"** toggle
2. The program opens in a new tab
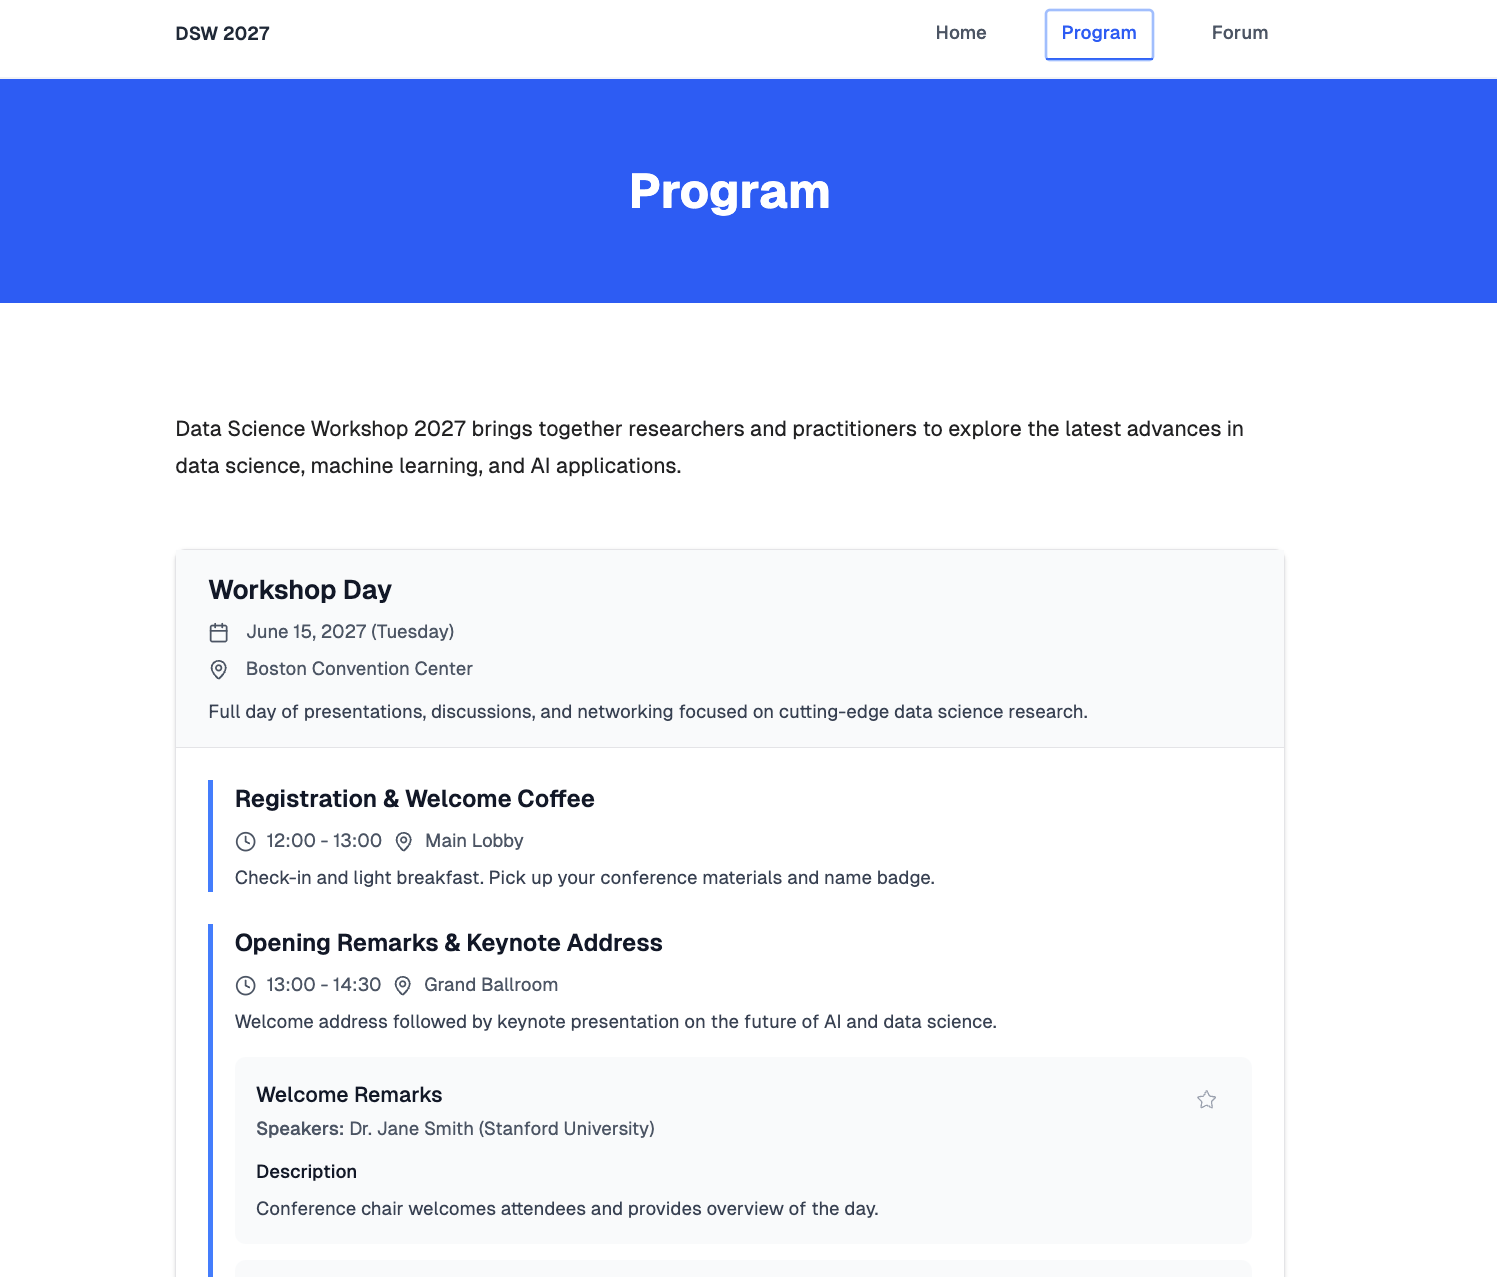 ## Sharing the Program
Once your program is published, you can share it with attendees and promote your conference.
### QR Code and Link Sharing
1. On the Program Builder page, find the program link under the **"Publish Program"** toggle
2. Click the **QR code** icon to show a scannable code, or the **copy** icon to copy the link
3. Share via conference materials, social media, or email
## Sharing the Program
Once your program is published, you can share it with attendees and promote your conference.
### QR Code and Link Sharing
1. On the Program Builder page, find the program link under the **"Publish Program"** toggle
2. Click the **QR code** icon to show a scannable code, or the **copy** icon to copy the link
3. Share via conference materials, social media, or email
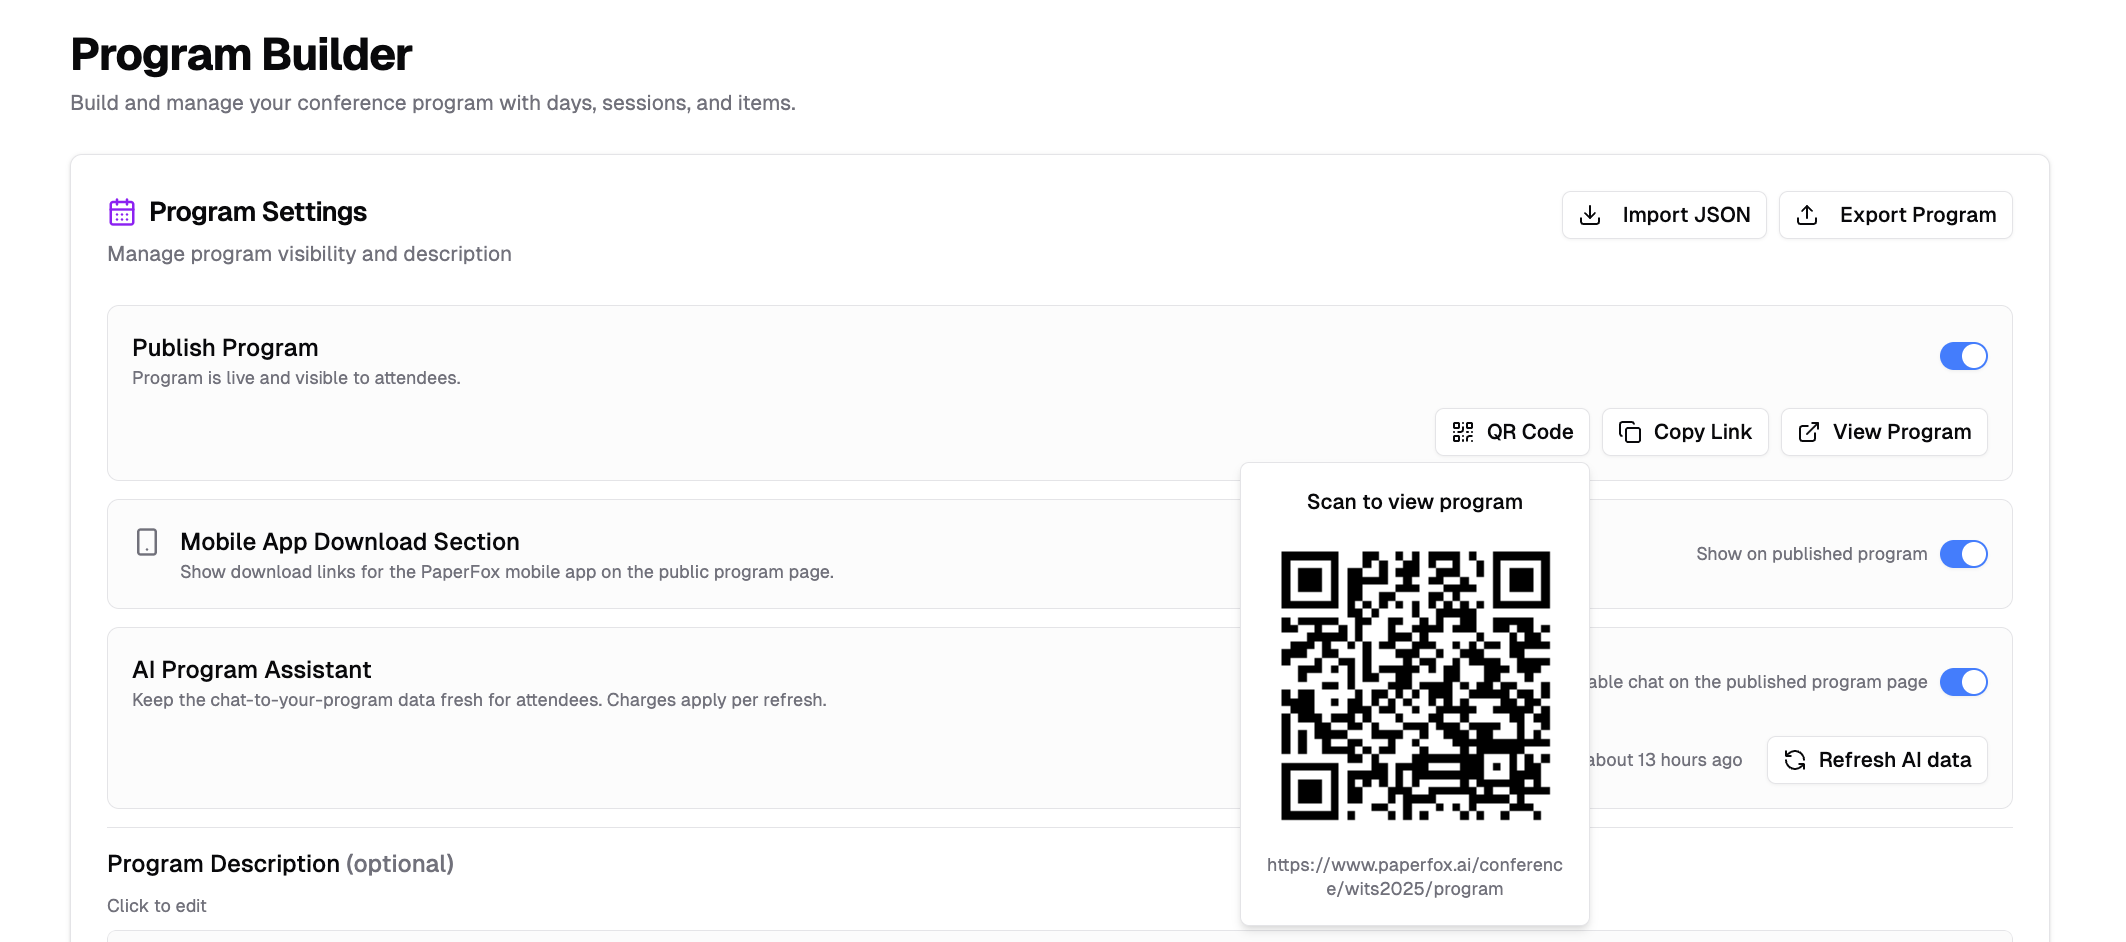 The QR code and link direct attendees to your public program page where they can view the full schedule.
## Exporting the Program
Export your conference program in several formats for different use cases:
1. In the **Program Settings** section, click the **"Export Program"** button
2. Select your preferred format:
- **Word (Stacked)**: A Word document with sessions listed top to bottom — best for light editing or a simple printed handout.
- **Word (Parallel Columns)**: A Word document that places concurrent sessions side by side as columns, like a printed program grid. Hover this option and choose **Landscape** or **Portrait**.
- **Markdown**: Formatted plain text for wikis or static sites.
- **Text**: Plain text with no formatting.
- **JSON**: Structured data for integration or re-importing later.
The QR code and link direct attendees to your public program page where they can view the full schedule.
## Exporting the Program
Export your conference program in several formats for different use cases:
1. In the **Program Settings** section, click the **"Export Program"** button
2. Select your preferred format:
- **Word (Stacked)**: A Word document with sessions listed top to bottom — best for light editing or a simple printed handout.
- **Word (Parallel Columns)**: A Word document that places concurrent sessions side by side as columns, like a printed program grid. Hover this option and choose **Landscape** or **Portrait**.
- **Markdown**: Formatted plain text for wikis or static sites.
- **Text**: Plain text with no formatting.
- **JSON**: Structured data for integration or re-importing later.
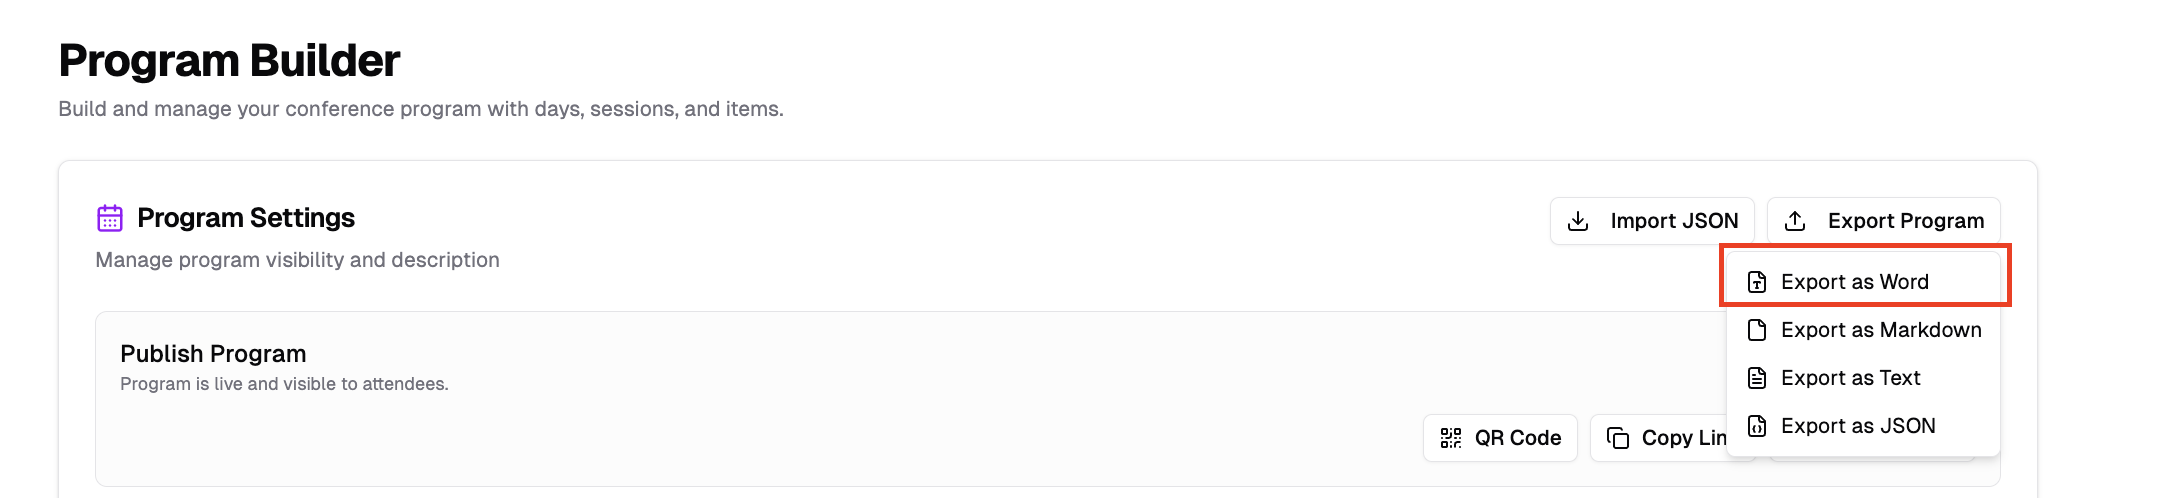 Every format includes all program days, sessions, and items.
### Parallel Columns Layout
The **Word (Parallel Columns)** export is built for conferences with parallel tracks. Sessions that start at the same time are placed side by side as columns under a single time slot — the same way they appear on your public program page.
- Choose **Landscape** to fit more columns across the page, or **Portrait** for standard upright pages.
- Columns share the page width evenly: two parallel sessions split the page in half, three into thirds, and so on.
- When a time slot has more parallel sessions than fit comfortably across the page, they wrap onto additional rows.
Each column shows the session title, and for every submission its title and authors with affiliations.
---
# Publish the Registrants List
URL: https://paperfox.ai/docs/chairs/publish-registrants-list
Description: Show a curated, email-free list of registrants on your public conference site
PaperFox can publish a public list of who's registered for your conference — names and affiliations only, no email addresses, ever. You control whether the list is published at all, and you can hide any individual registrant from it. The list covers both [paid PaperFox registrations](/docs/chairs/setup-registration) and [imported external registrants](/docs/chairs/import-external-registrants).
## Open the Curation Page
1. Go to **Conferences** in the sidebar, then click your conference.
2. Under **Registration Management**, click **"Registrants"**.
3. Click **"Publish Registrants"** in the top right.
{/* SCREENSHOT: full page, 1440x900, chair1@paperfox.ai → /conferences/dsw2027/registrations
The Registration Details page with the "Publish Registrants" button in the top-right
toolbar highlighted with a red outline.
Save to: public/docs/assets/chairs/publish-registrants-list/button-location.png
Width: 800 */}
This opens the **Public Registrants List** page — the one place you control publication and curate who appears.
## Publish the List
The card at the top is the master switch. Nothing is public until you turn it on.
{/* SCREENSHOT: full page, 1440x900, chair1@paperfox.ai → /conferences/dsw2027/registrations/public-list
The publication control card at the top of the page — accent rail, globe icon,
"Publish to public site" heading with the Published / Not published pill, the
description, the "N on public list · N hidden · N total" status strip, and the
toggle + View Public Page / Preview button on the right.
Save to: public/docs/assets/chairs/publish-registrants-list/publication-card.png
Width: 800 */}
1. Flip the **toggle** on the right of the card to publish. The pill switches to **Published** and the accent rail turns green.
2. The button next to the toggle opens the list in a new tab. Before you publish it reads **"Preview"** and opens a chair-only preview; once published it reads **"View Public Page"** and opens the live list.
| Element | What it tells you |
|---------|-------------------|
| **Published / Not published** pill | Whether visitors can see the list at all. |
| **On public list** | How many registrants currently appear publicly (total minus hidden). |
| **Hidden** | How many registrants you've hidden from the list. |
| **Total** | Every registrant — internal and external — in the conference. |
| **Last updated** | The most recent change to any registrant's info. |
Every format includes all program days, sessions, and items.
### Parallel Columns Layout
The **Word (Parallel Columns)** export is built for conferences with parallel tracks. Sessions that start at the same time are placed side by side as columns under a single time slot — the same way they appear on your public program page.
- Choose **Landscape** to fit more columns across the page, or **Portrait** for standard upright pages.
- Columns share the page width evenly: two parallel sessions split the page in half, three into thirds, and so on.
- When a time slot has more parallel sessions than fit comfortably across the page, they wrap onto additional rows.
Each column shows the session title, and for every submission its title and authors with affiliations.
---
# Publish the Registrants List
URL: https://paperfox.ai/docs/chairs/publish-registrants-list
Description: Show a curated, email-free list of registrants on your public conference site
PaperFox can publish a public list of who's registered for your conference — names and affiliations only, no email addresses, ever. You control whether the list is published at all, and you can hide any individual registrant from it. The list covers both [paid PaperFox registrations](/docs/chairs/setup-registration) and [imported external registrants](/docs/chairs/import-external-registrants).
## Open the Curation Page
1. Go to **Conferences** in the sidebar, then click your conference.
2. Under **Registration Management**, click **"Registrants"**.
3. Click **"Publish Registrants"** in the top right.
{/* SCREENSHOT: full page, 1440x900, chair1@paperfox.ai → /conferences/dsw2027/registrations
The Registration Details page with the "Publish Registrants" button in the top-right
toolbar highlighted with a red outline.
Save to: public/docs/assets/chairs/publish-registrants-list/button-location.png
Width: 800 */}
This opens the **Public Registrants List** page — the one place you control publication and curate who appears.
## Publish the List
The card at the top is the master switch. Nothing is public until you turn it on.
{/* SCREENSHOT: full page, 1440x900, chair1@paperfox.ai → /conferences/dsw2027/registrations/public-list
The publication control card at the top of the page — accent rail, globe icon,
"Publish to public site" heading with the Published / Not published pill, the
description, the "N on public list · N hidden · N total" status strip, and the
toggle + View Public Page / Preview button on the right.
Save to: public/docs/assets/chairs/publish-registrants-list/publication-card.png
Width: 800 */}
1. Flip the **toggle** on the right of the card to publish. The pill switches to **Published** and the accent rail turns green.
2. The button next to the toggle opens the list in a new tab. Before you publish it reads **"Preview"** and opens a chair-only preview; once published it reads **"View Public Page"** and opens the live list.
| Element | What it tells you |
|---------|-------------------|
| **Published / Not published** pill | Whether visitors can see the list at all. |
| **On public list** | How many registrants currently appear publicly (total minus hidden). |
| **Hidden** | How many registrants you've hidden from the list. |
| **Total** | Every registrant — internal and external — in the conference. |
| **Last updated** | The most recent change to any registrant's info. |
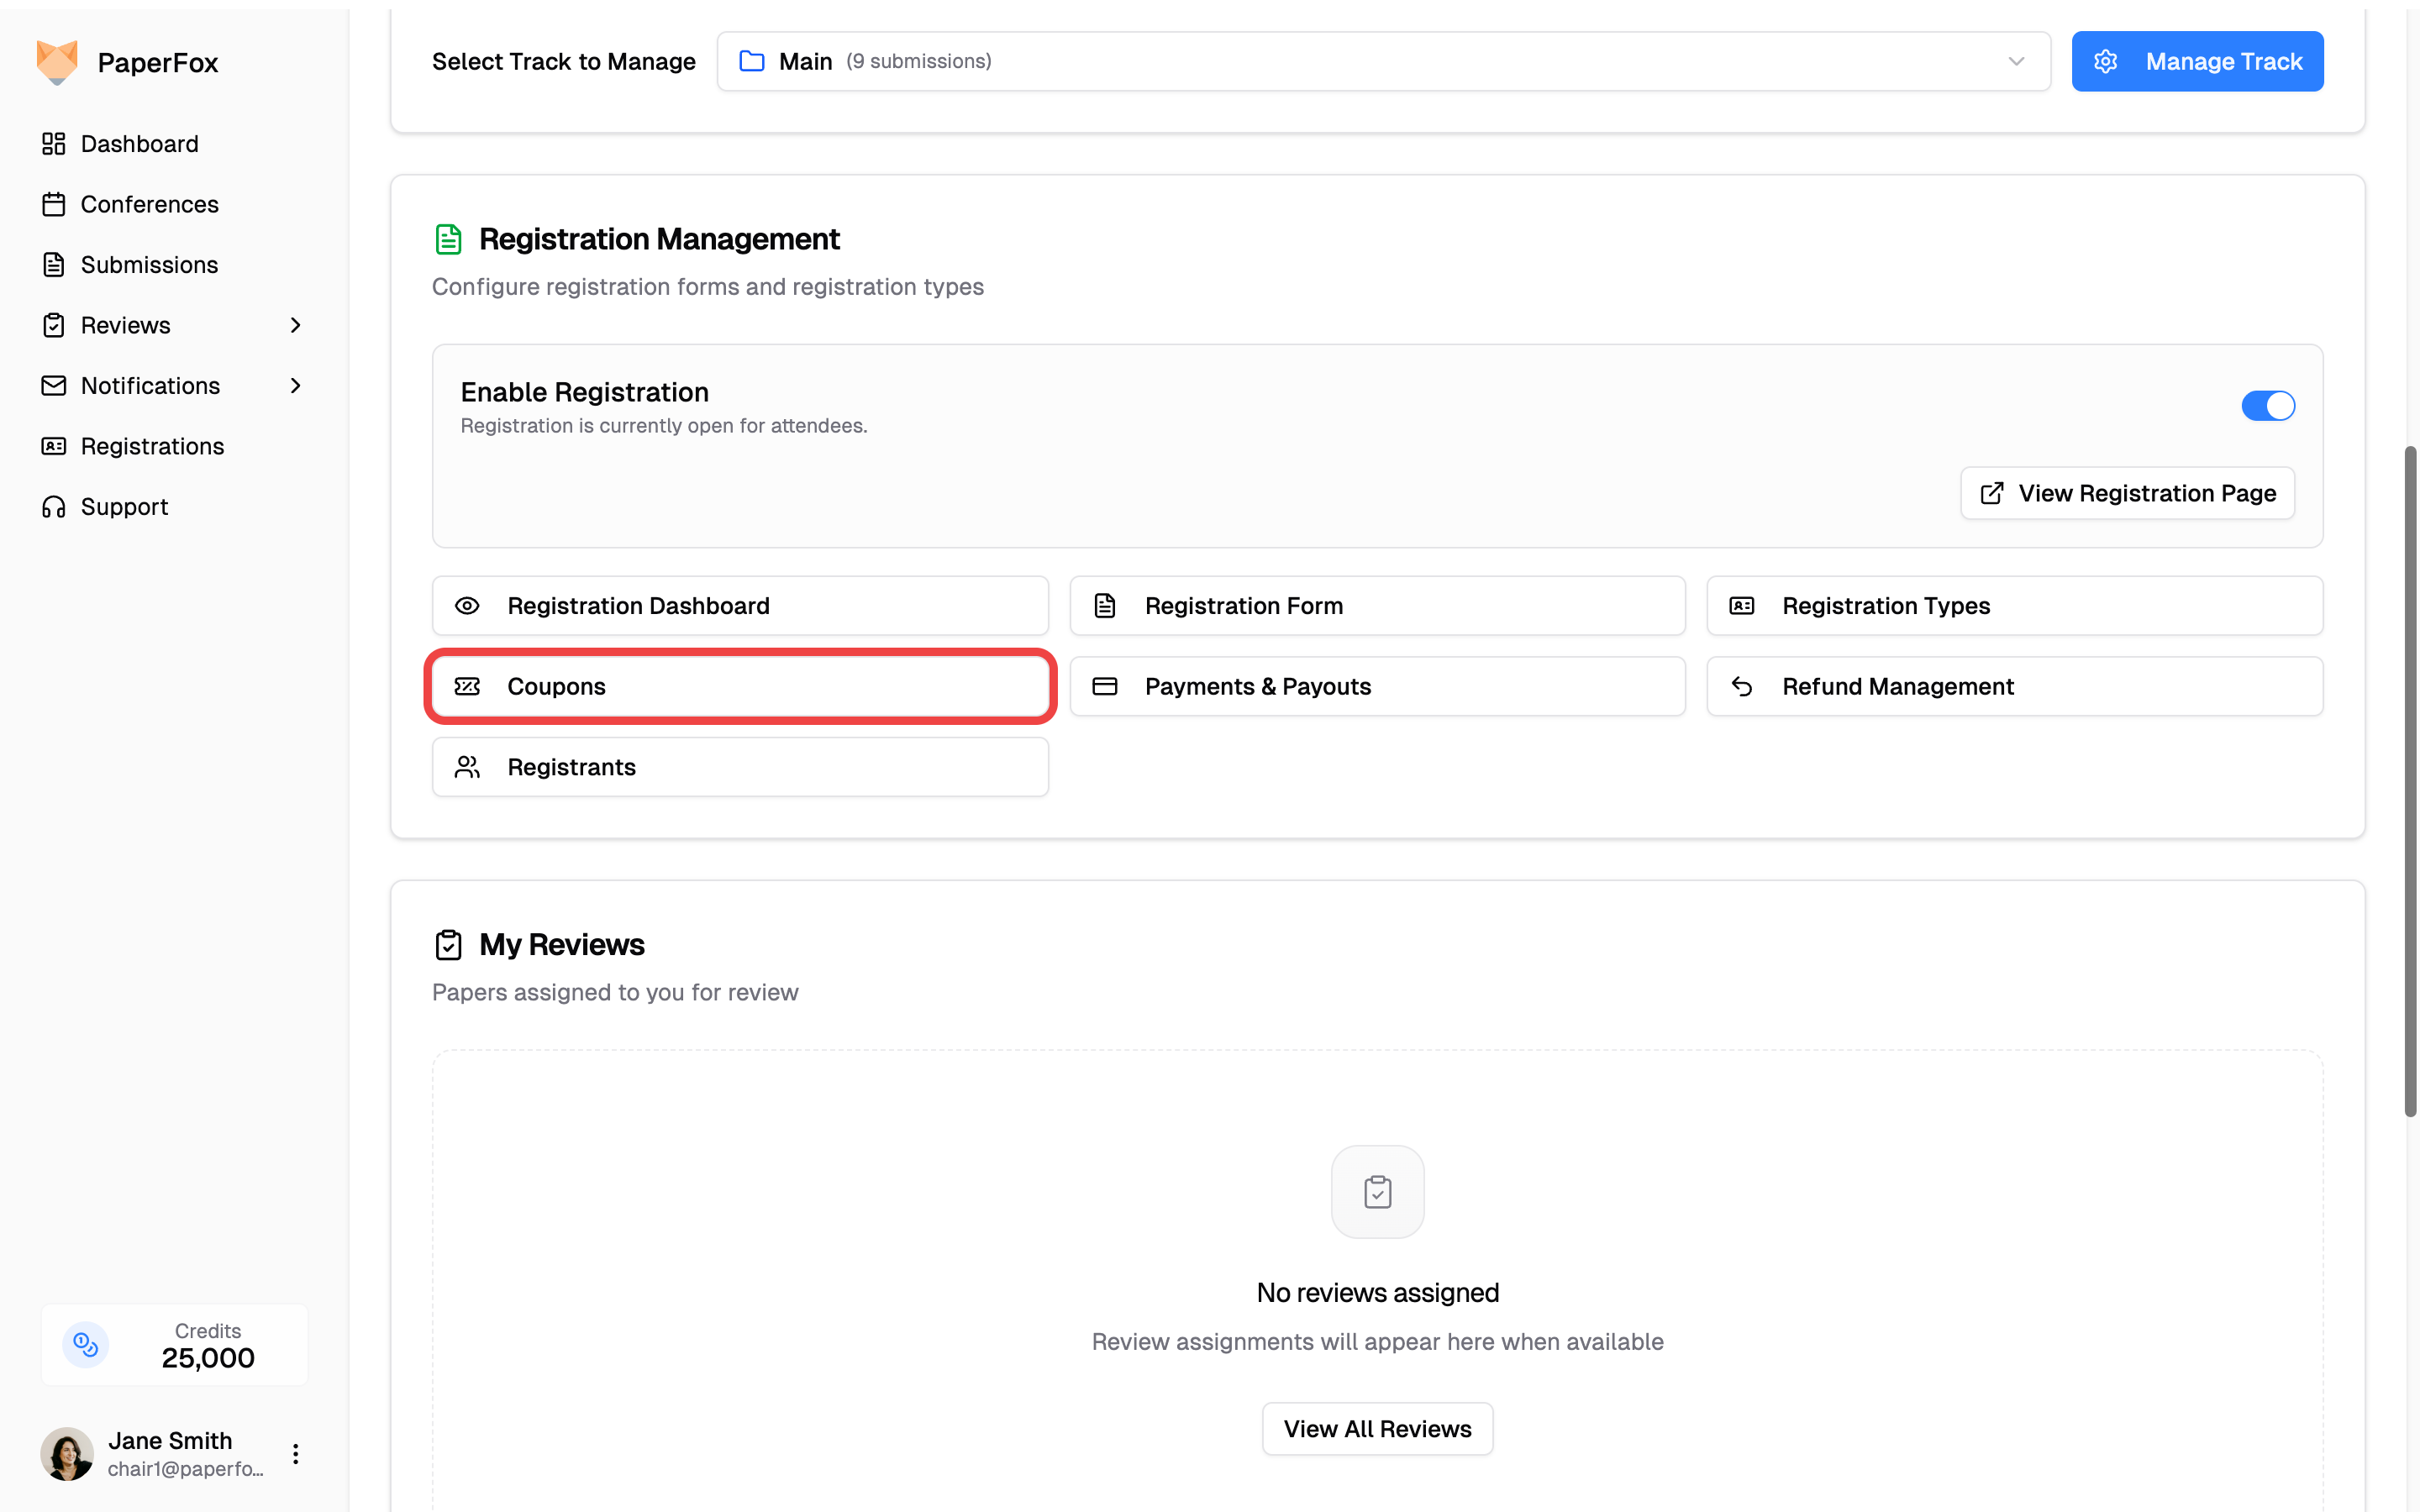 You can also reach this page from the **Registration Types** page via the **"Coupons"** button in the header. The Coupons page lists every coupon with its status and redemption count.
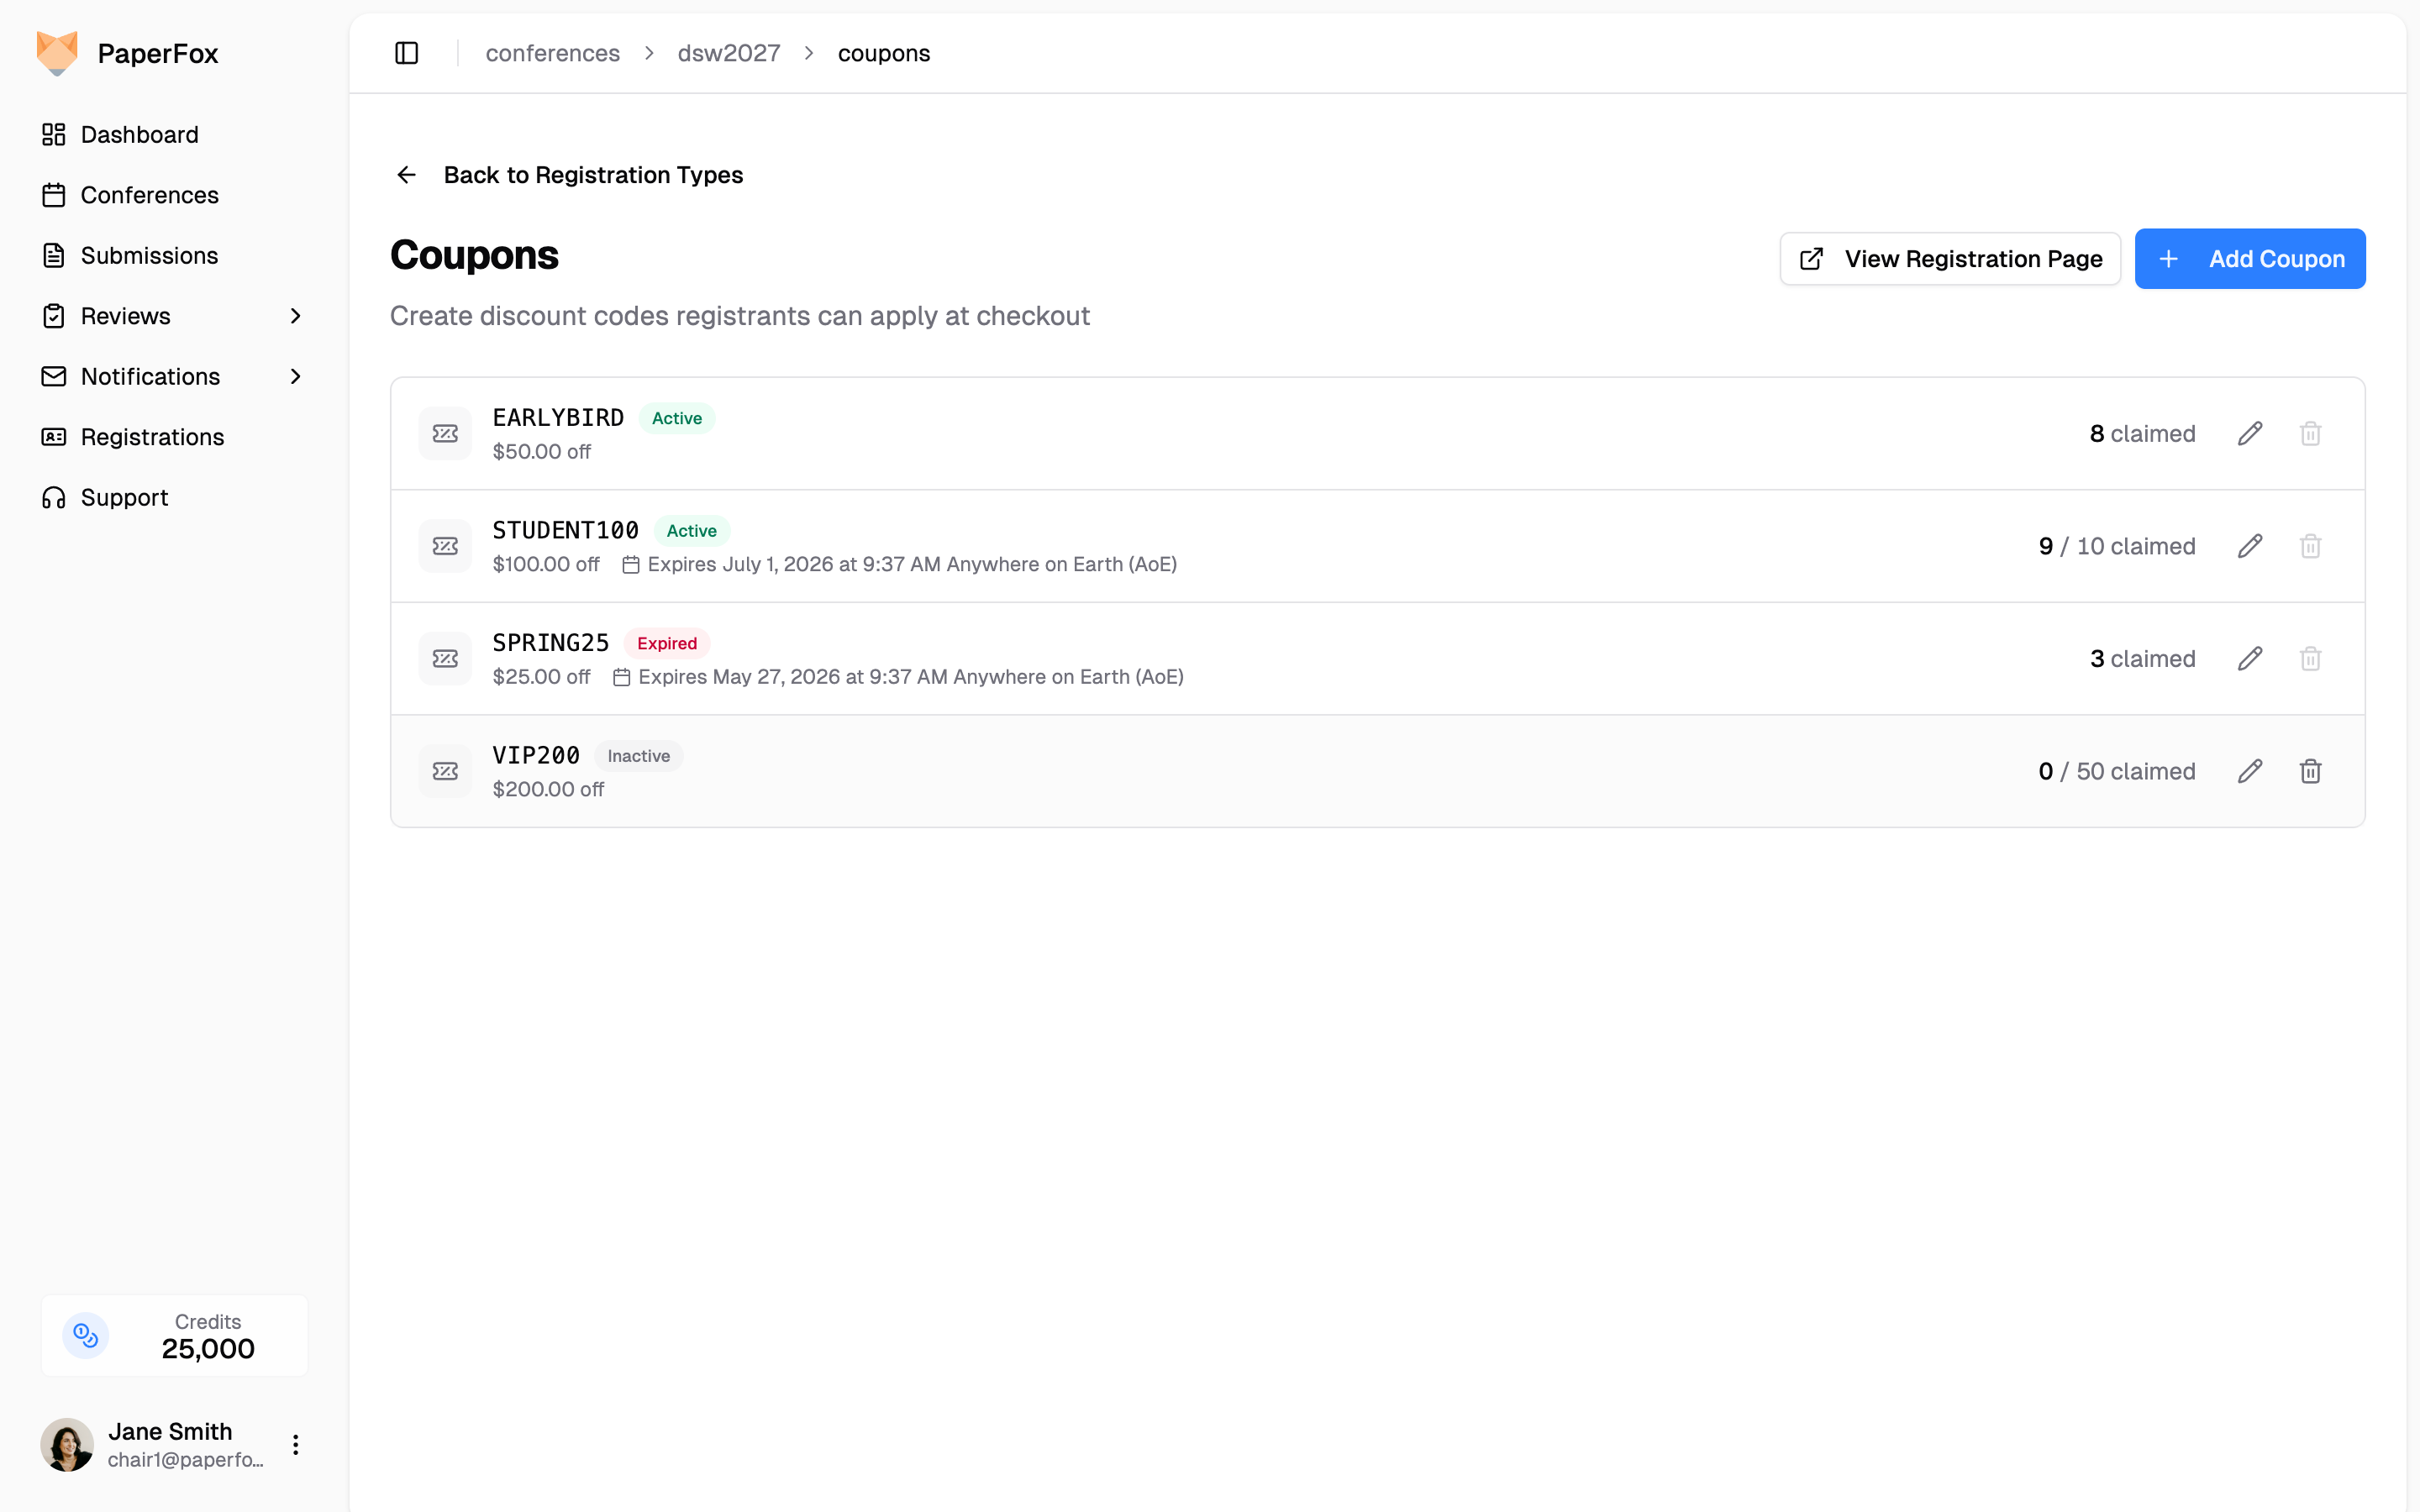 3. Click **"Add Coupon"** and configure the coupon:
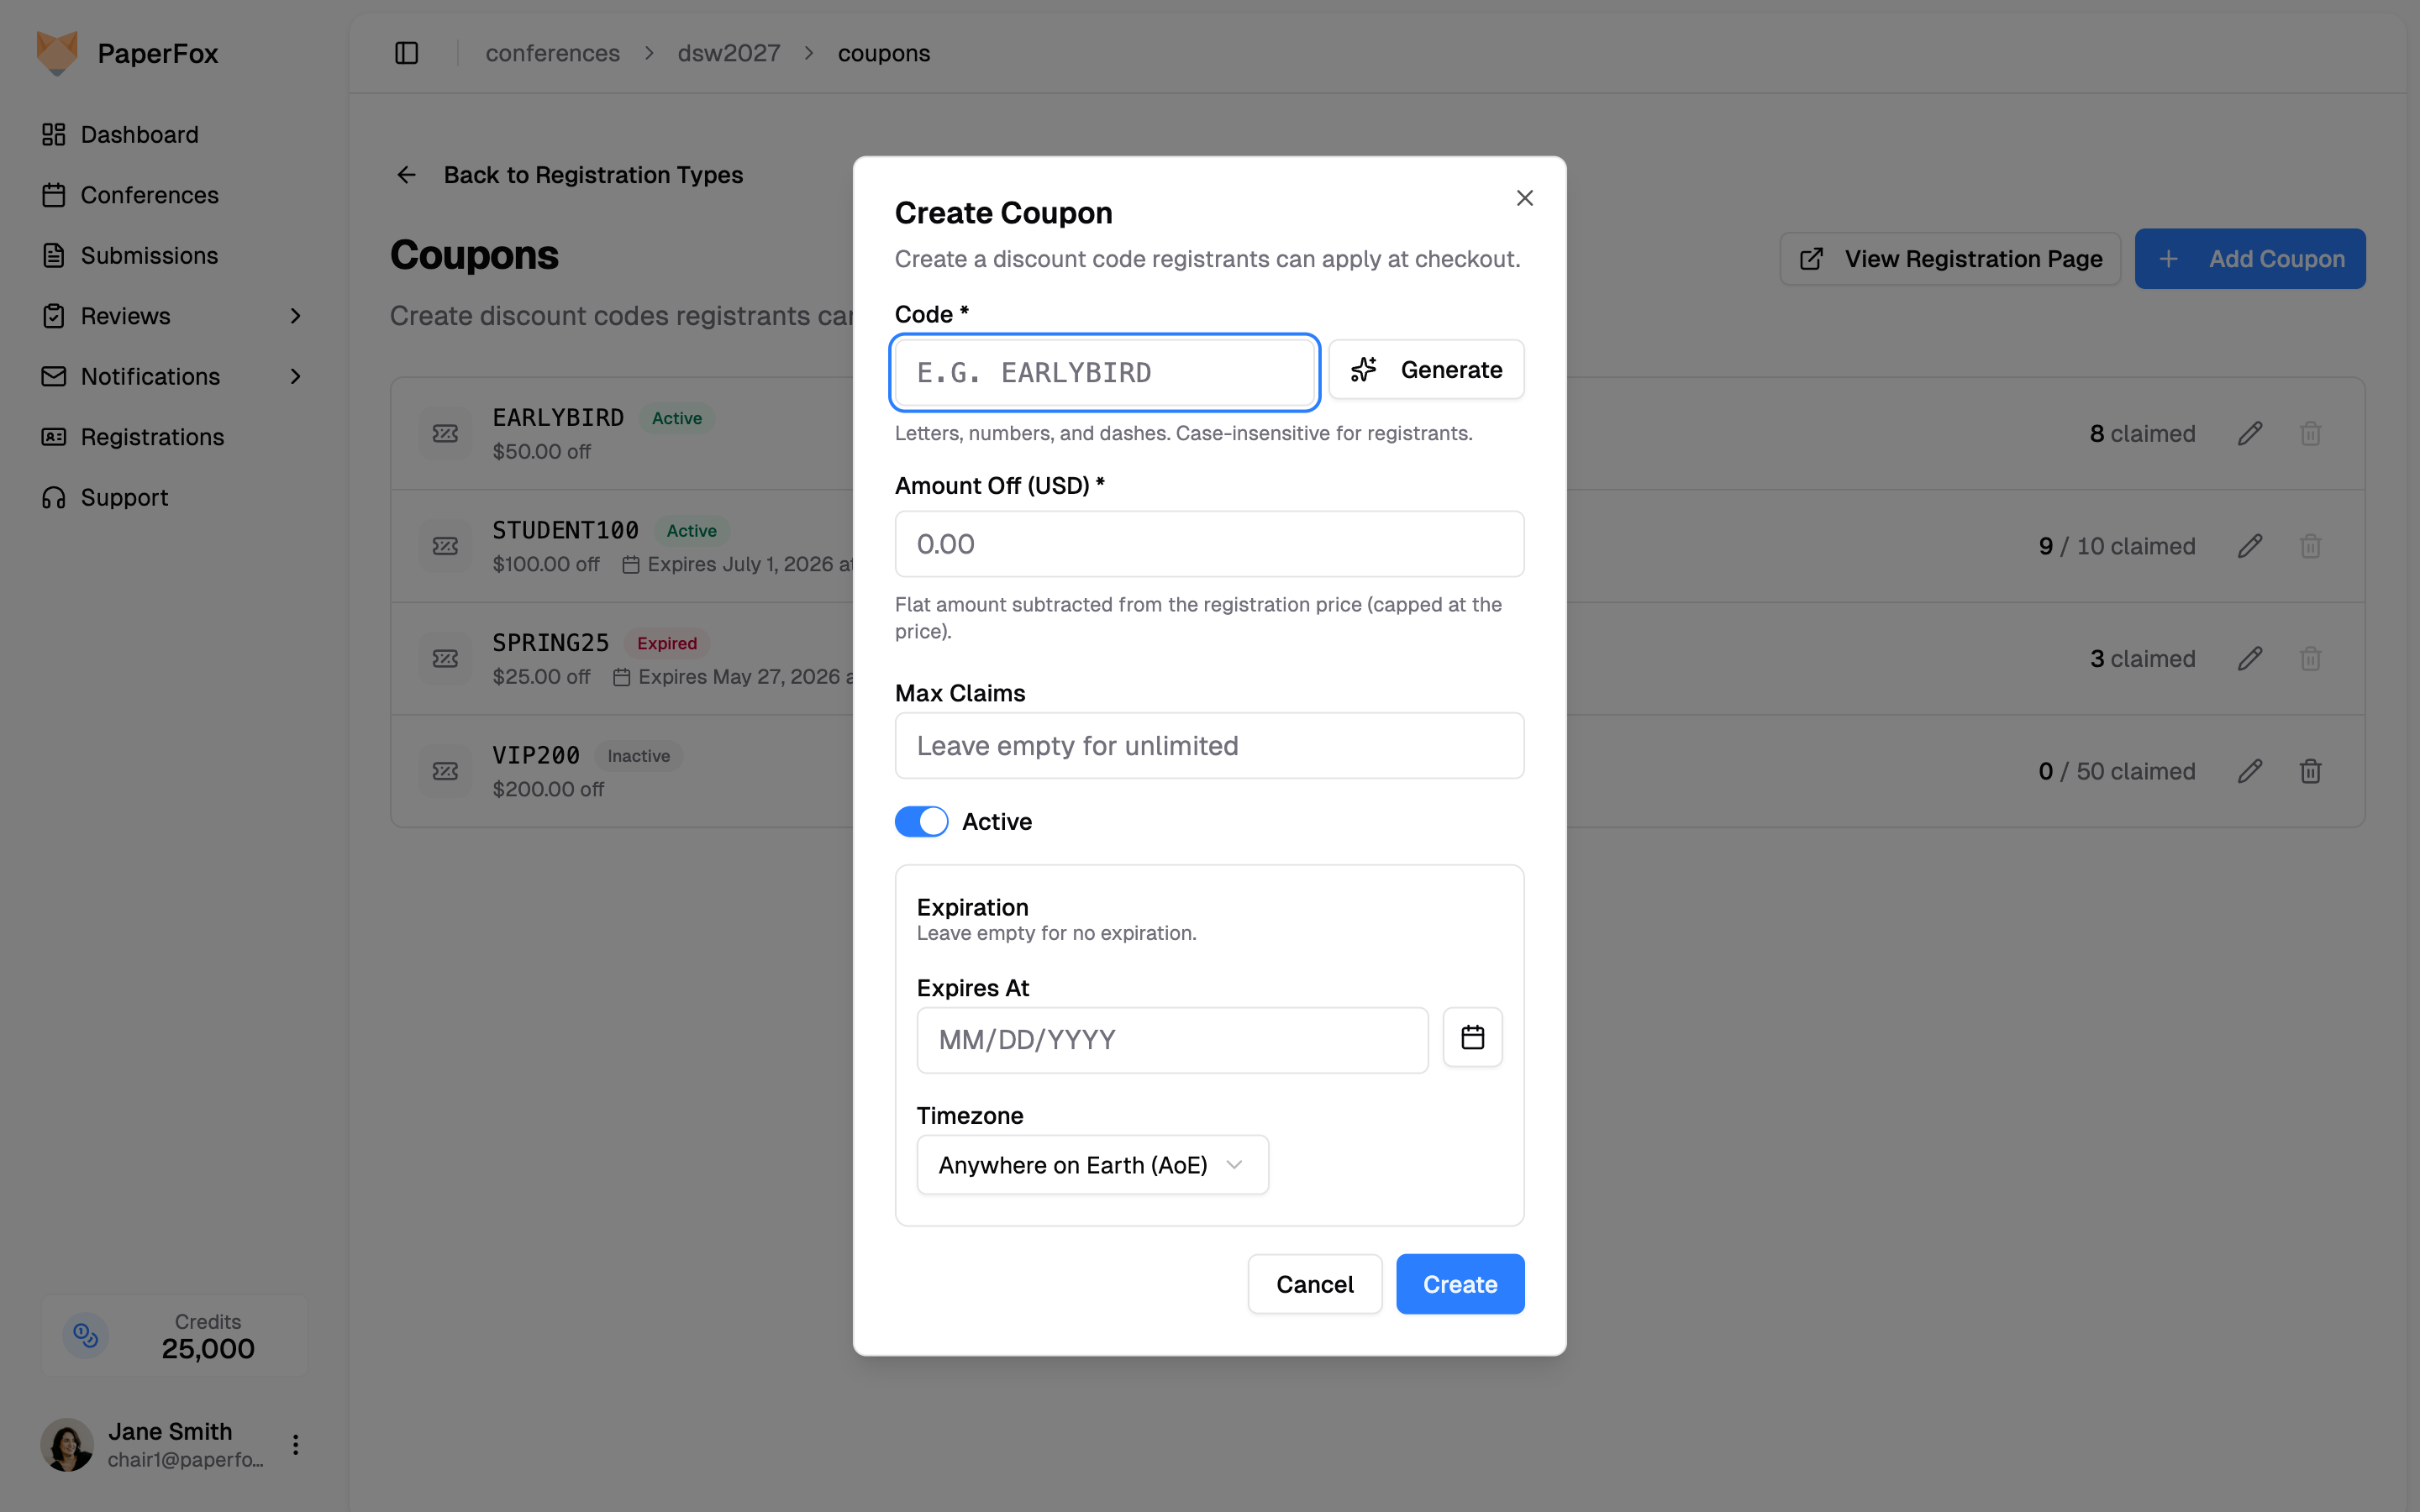 | Field | Description |
|-------|-------------|
| **Code** | What registrants type at checkout. Click **"Generate"** for a random, easy-to-read code, or enter your own (letters, numbers, and dashes). Codes are case-insensitive for registrants. |
| **Amount Off (USD)** | Flat amount subtracted from the registration price. Capped at the price — a coupon worth more than the registration simply makes it free, never negative. |
| **Max Claims** | Total number of times the coupon can be redeemed across all registrants. Leave empty for unlimited. |
| **Active** | Toggle off to pause a coupon without deleting it. |
| **Expiration** | Optional date and time (with timezone) after which the code stops working. Leave empty for no expiration. |
A coupon applies to **any paid registration type** the registrant selects.
| Field | Description |
|-------|-------------|
| **Code** | What registrants type at checkout. Click **"Generate"** for a random, easy-to-read code, or enter your own (letters, numbers, and dashes). Codes are case-insensitive for registrants. |
| **Amount Off (USD)** | Flat amount subtracted from the registration price. Capped at the price — a coupon worth more than the registration simply makes it free, never negative. |
| **Max Claims** | Total number of times the coupon can be redeemed across all registrants. Leave empty for unlimited. |
| **Active** | Toggle off to pause a coupon without deleting it. |
| **Expiration** | Optional date and time (with timezone) after which the code stops working. Leave empty for no expiration. |
A coupon applies to **any paid registration type** the registrant selects.
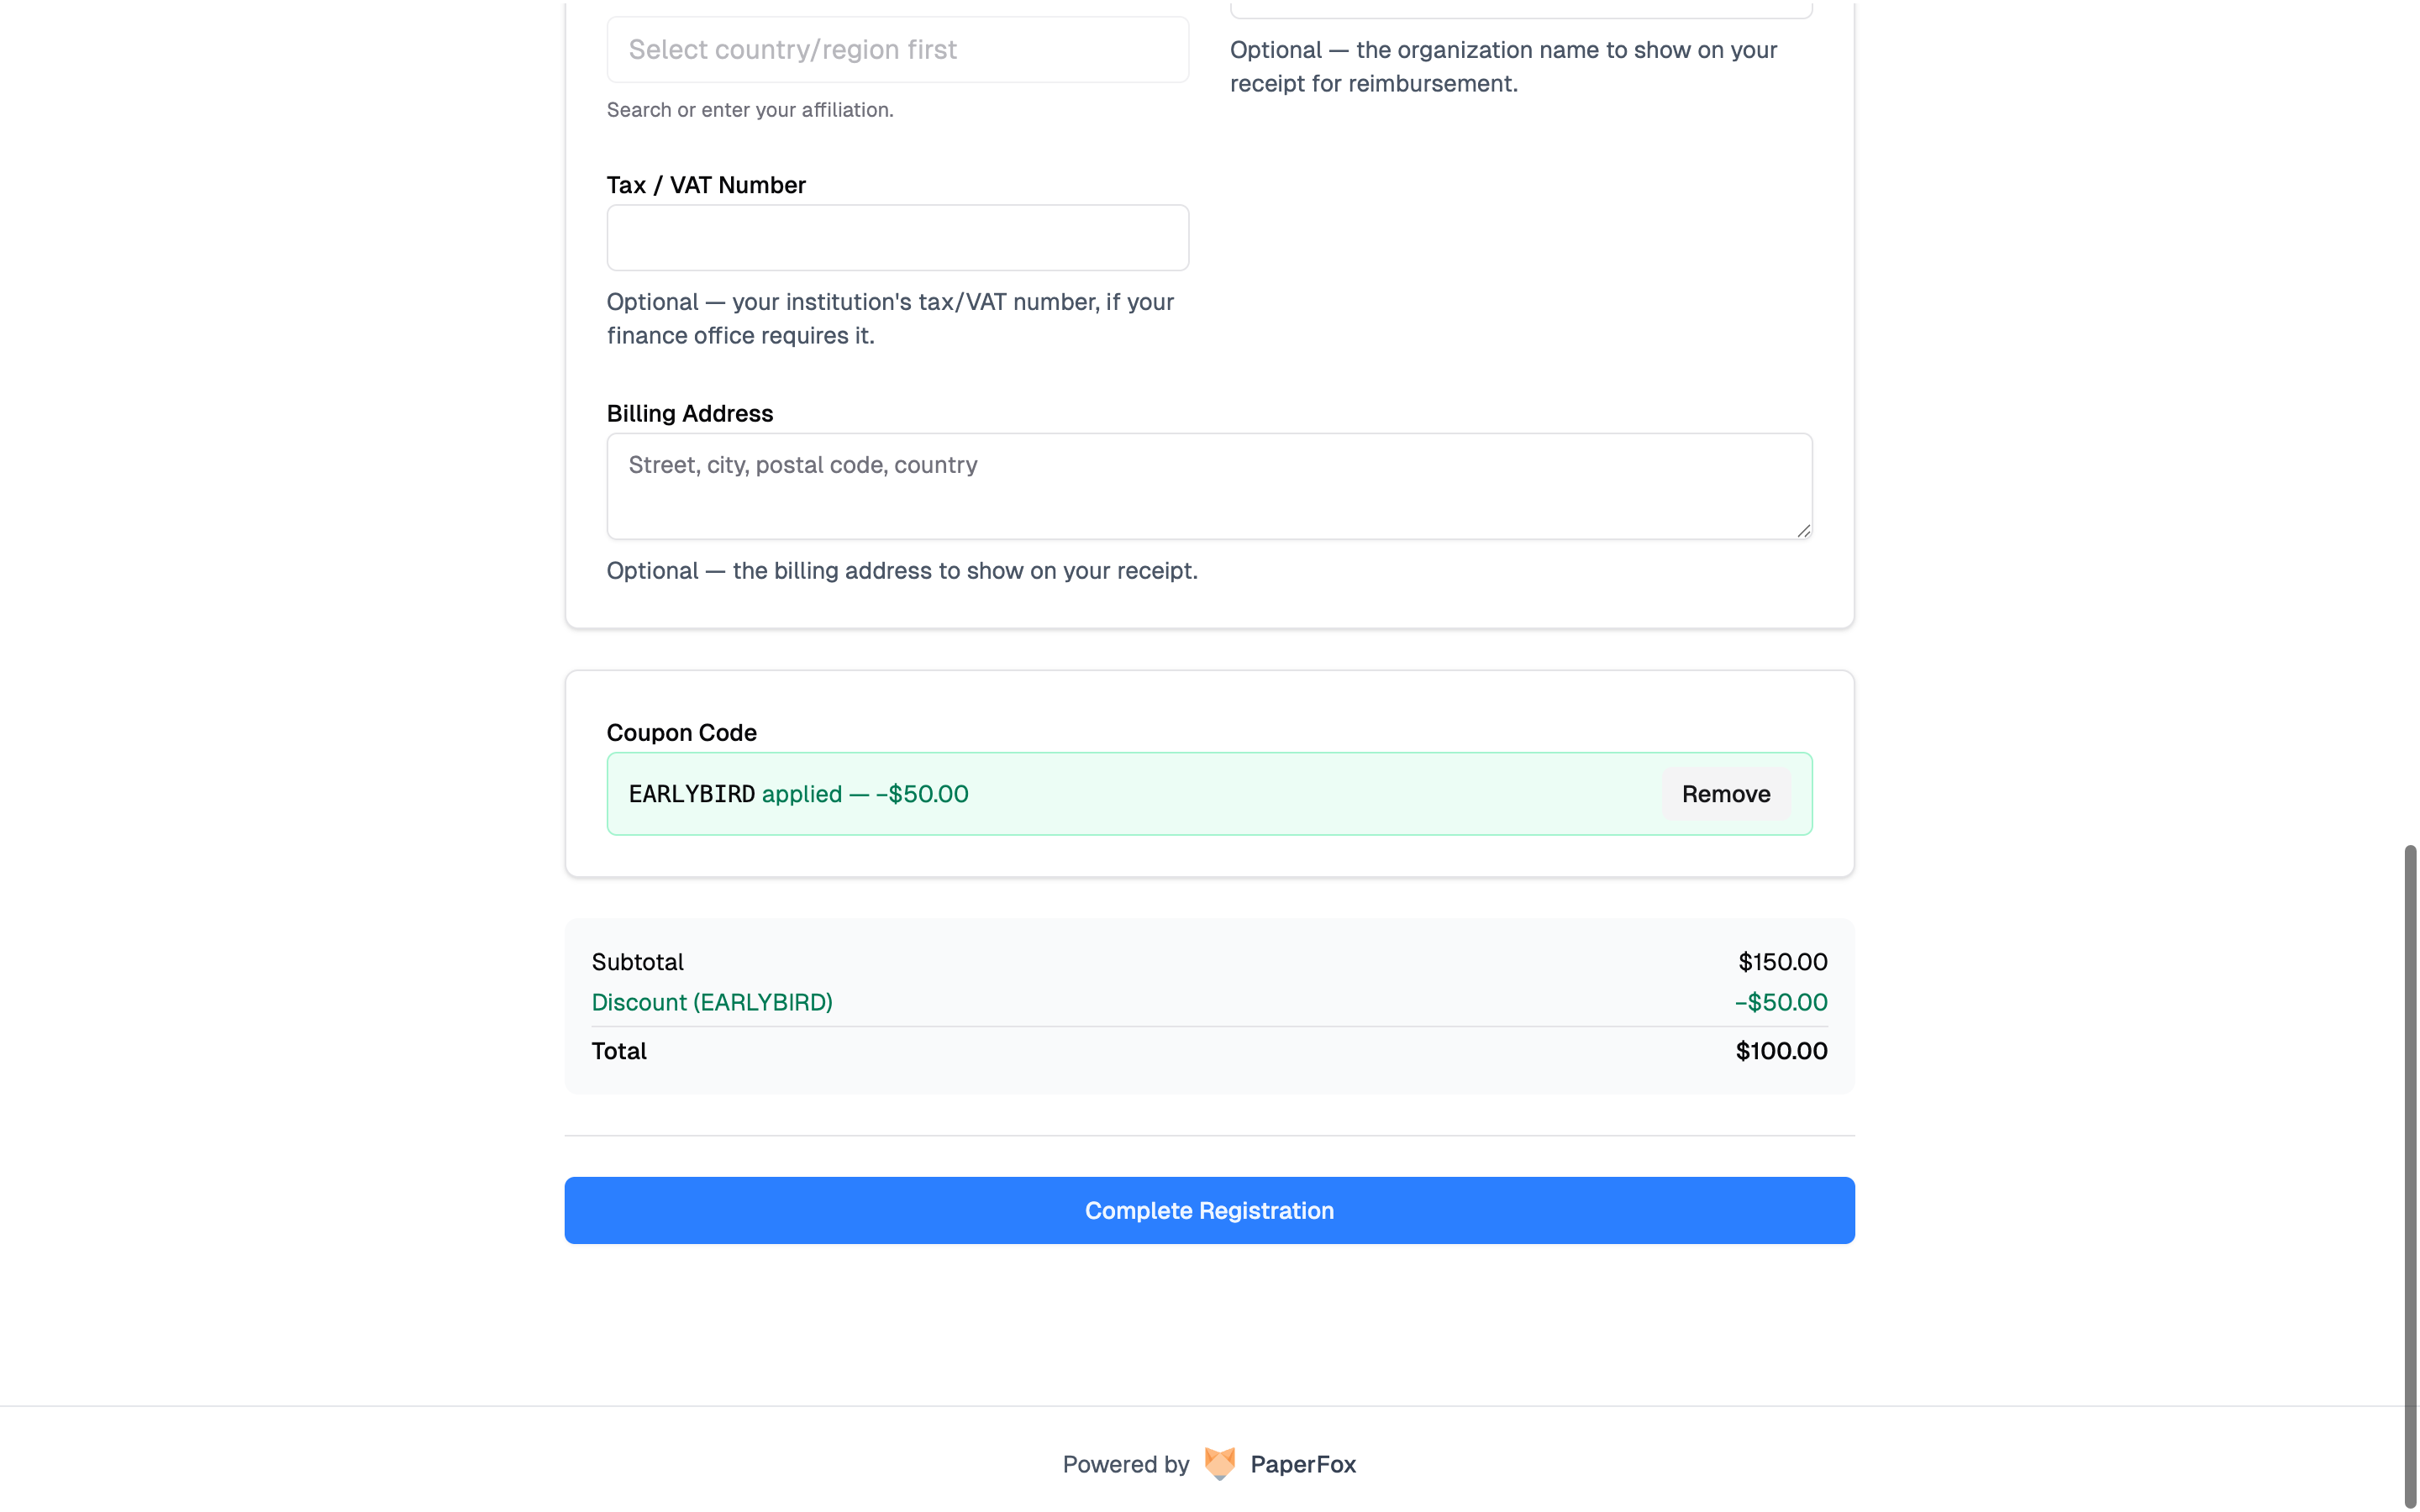 The registrant is charged — and refunded — based on the **discounted** amount, not the original price. A $150 registration with a $50 coupon charges $100, and a later refund is calculated from that $100. See [Handling Refunds](/docs/chairs/registration-payments#handling-refunds).
## Track and Manage Coupons
The Coupons page shows each coupon's status and redemption count (for example, **9 / 10 claimed**).
| Status | Meaning |
|--------|---------|
| **Active** | Usable now |
| **Fully claimed** | Reached its Max Claims limit |
| **Expired** | Past its expiration date |
| **Inactive** | Toggled off |
#### Editing and Deleting
- Once a coupon has been **redeemed at least once**, its **code and amount off are locked** to keep past redemptions accurate. You can still change the claim limit, expiration, and active status.
- A redeemed coupon **cannot be deleted** — deactivate it instead so its history is preserved. Coupons with zero redemptions can be deleted freely.
The registrant is charged — and refunded — based on the **discounted** amount, not the original price. A $150 registration with a $50 coupon charges $100, and a later refund is calculated from that $100. See [Handling Refunds](/docs/chairs/registration-payments#handling-refunds).
## Track and Manage Coupons
The Coupons page shows each coupon's status and redemption count (for example, **9 / 10 claimed**).
| Status | Meaning |
|--------|---------|
| **Active** | Usable now |
| **Fully claimed** | Reached its Max Claims limit |
| **Expired** | Past its expiration date |
| **Inactive** | Toggled off |
#### Editing and Deleting
- Once a coupon has been **redeemed at least once**, its **code and amount off are locked** to keep past redemptions accurate. You can still change the claim limit, expiration, and active status.
- A redeemed coupon **cannot be deleted** — deactivate it instead so its history is preserved. Coupons with zero redemptions can be deleted freely.
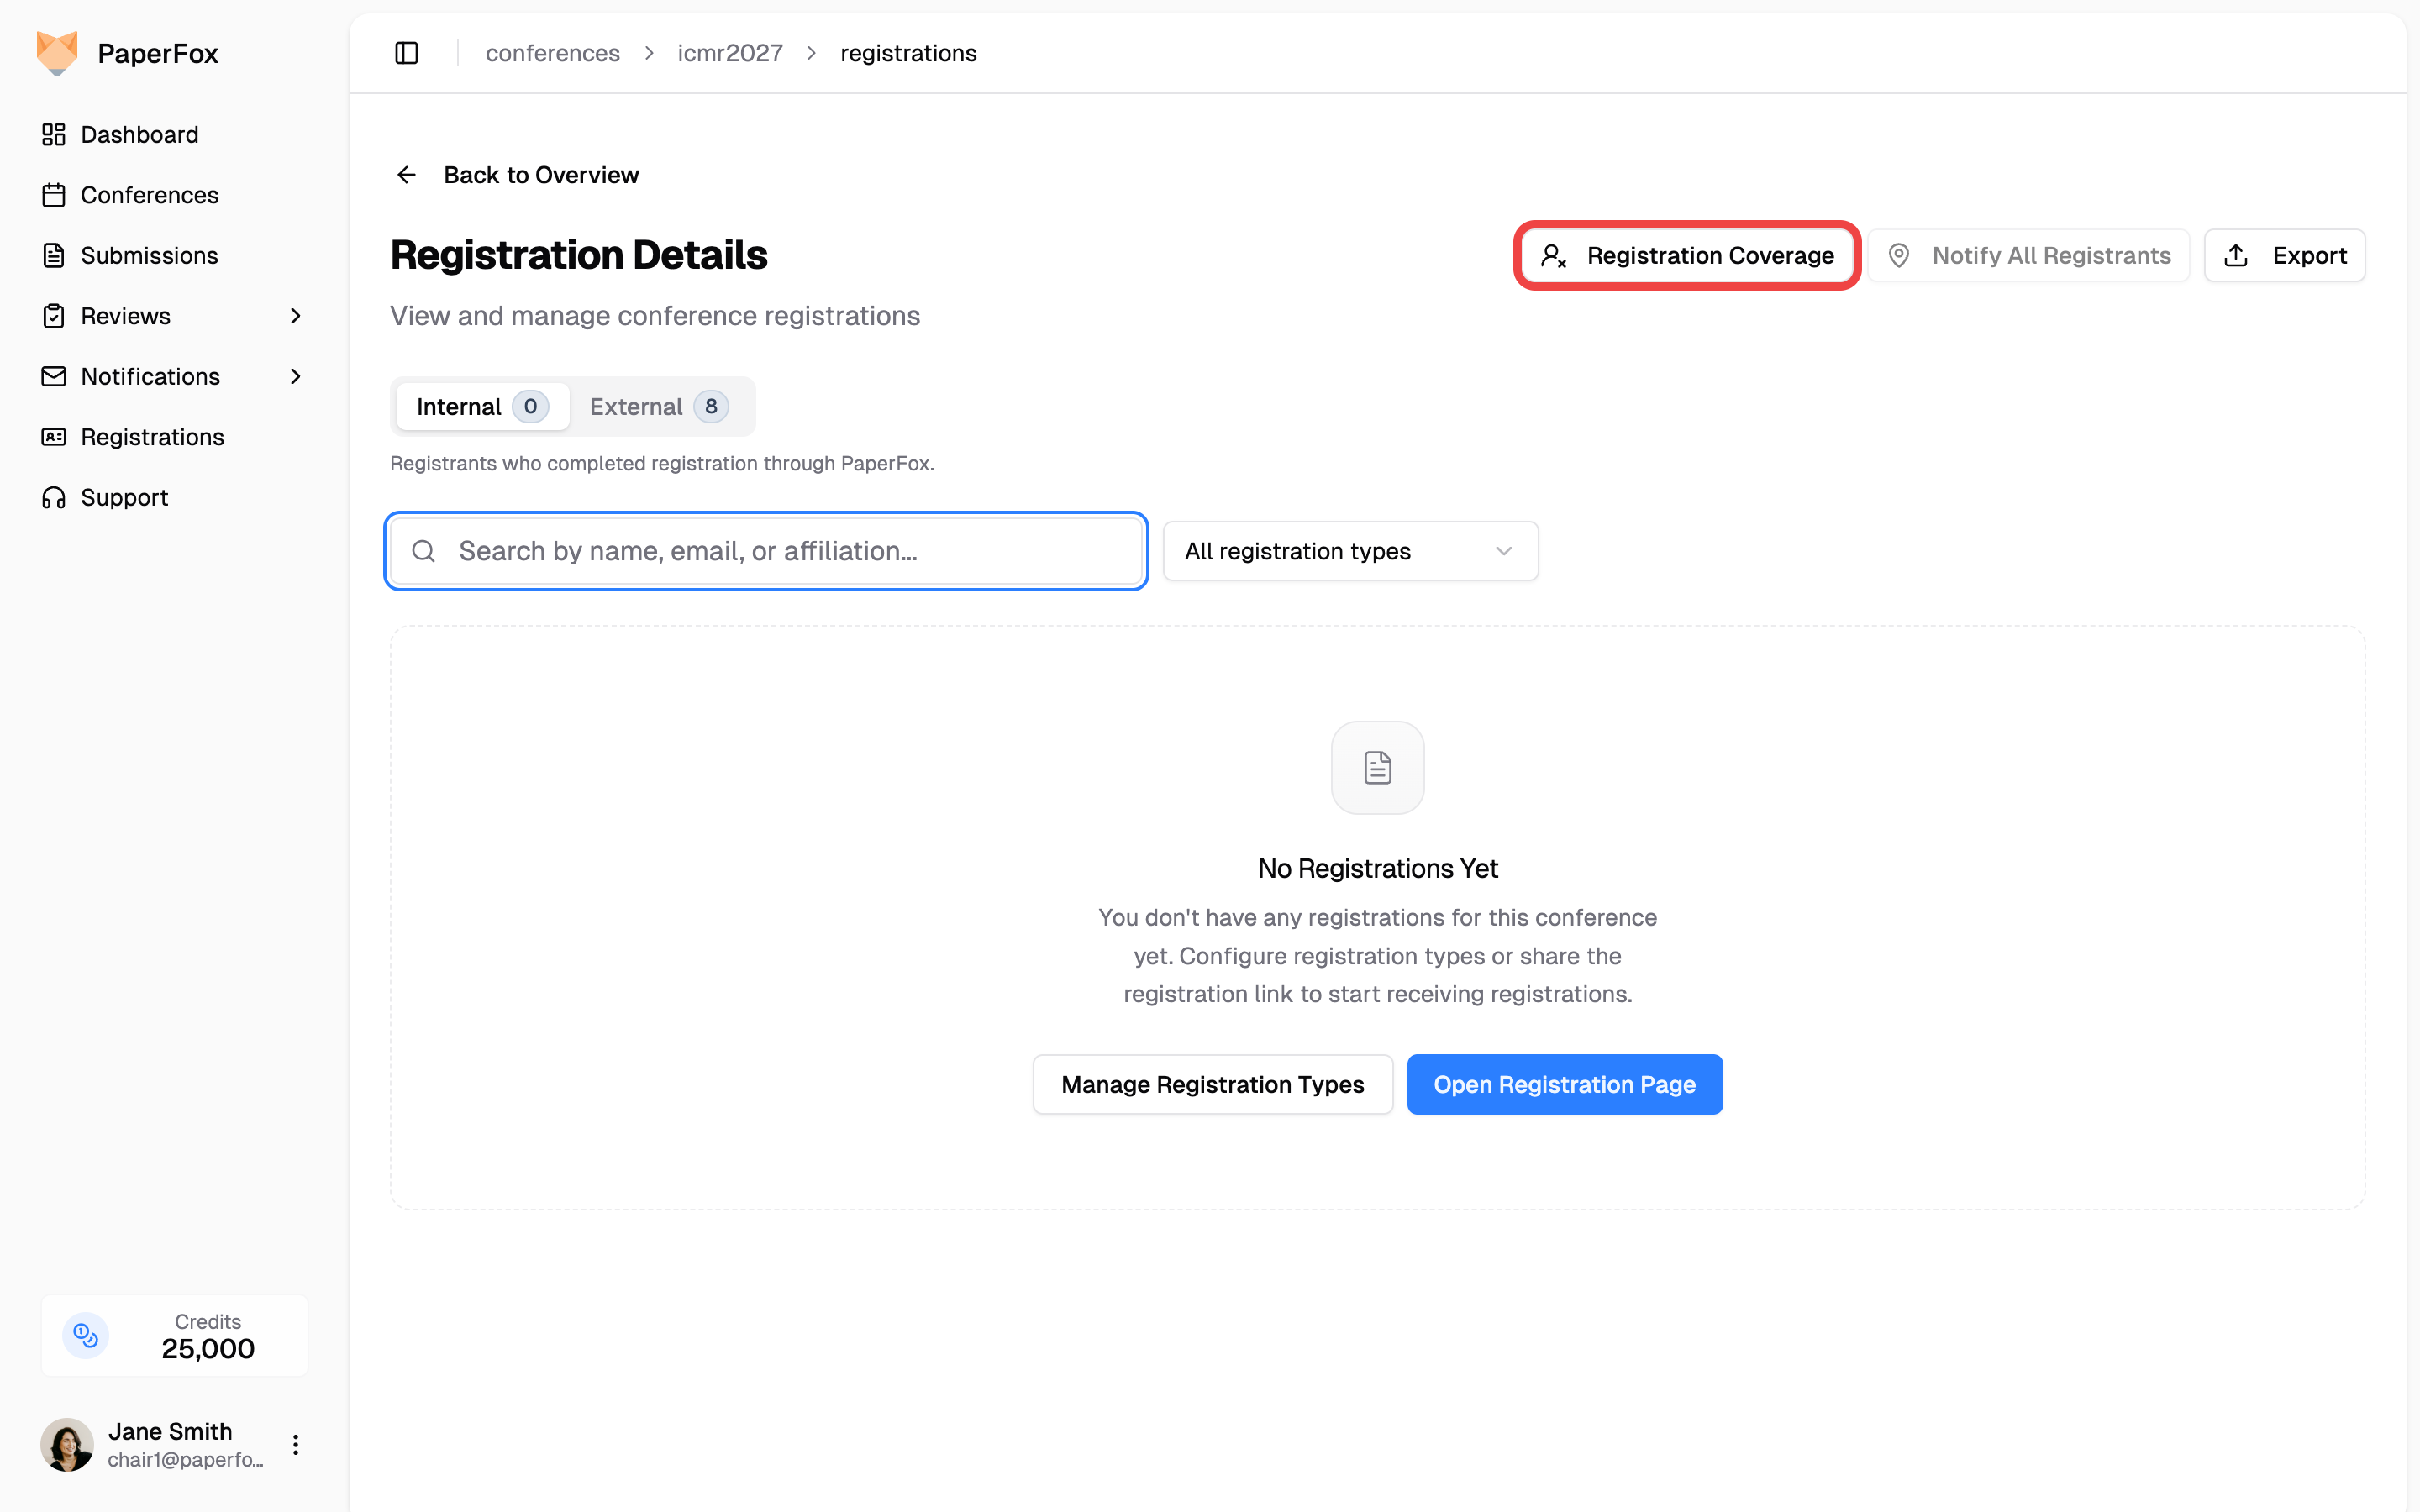 The button is always visible. When every accepted submission already has a registered author, it's disabled with a tooltip explaining why — no surprise disappearance, predictable position in the toolbar.
## What You See
The button is always visible. When every accepted submission already has a registered author, it's disabled with a tooltip explaining why — no surprise disappearance, predictable position in the toolbar.
## What You See
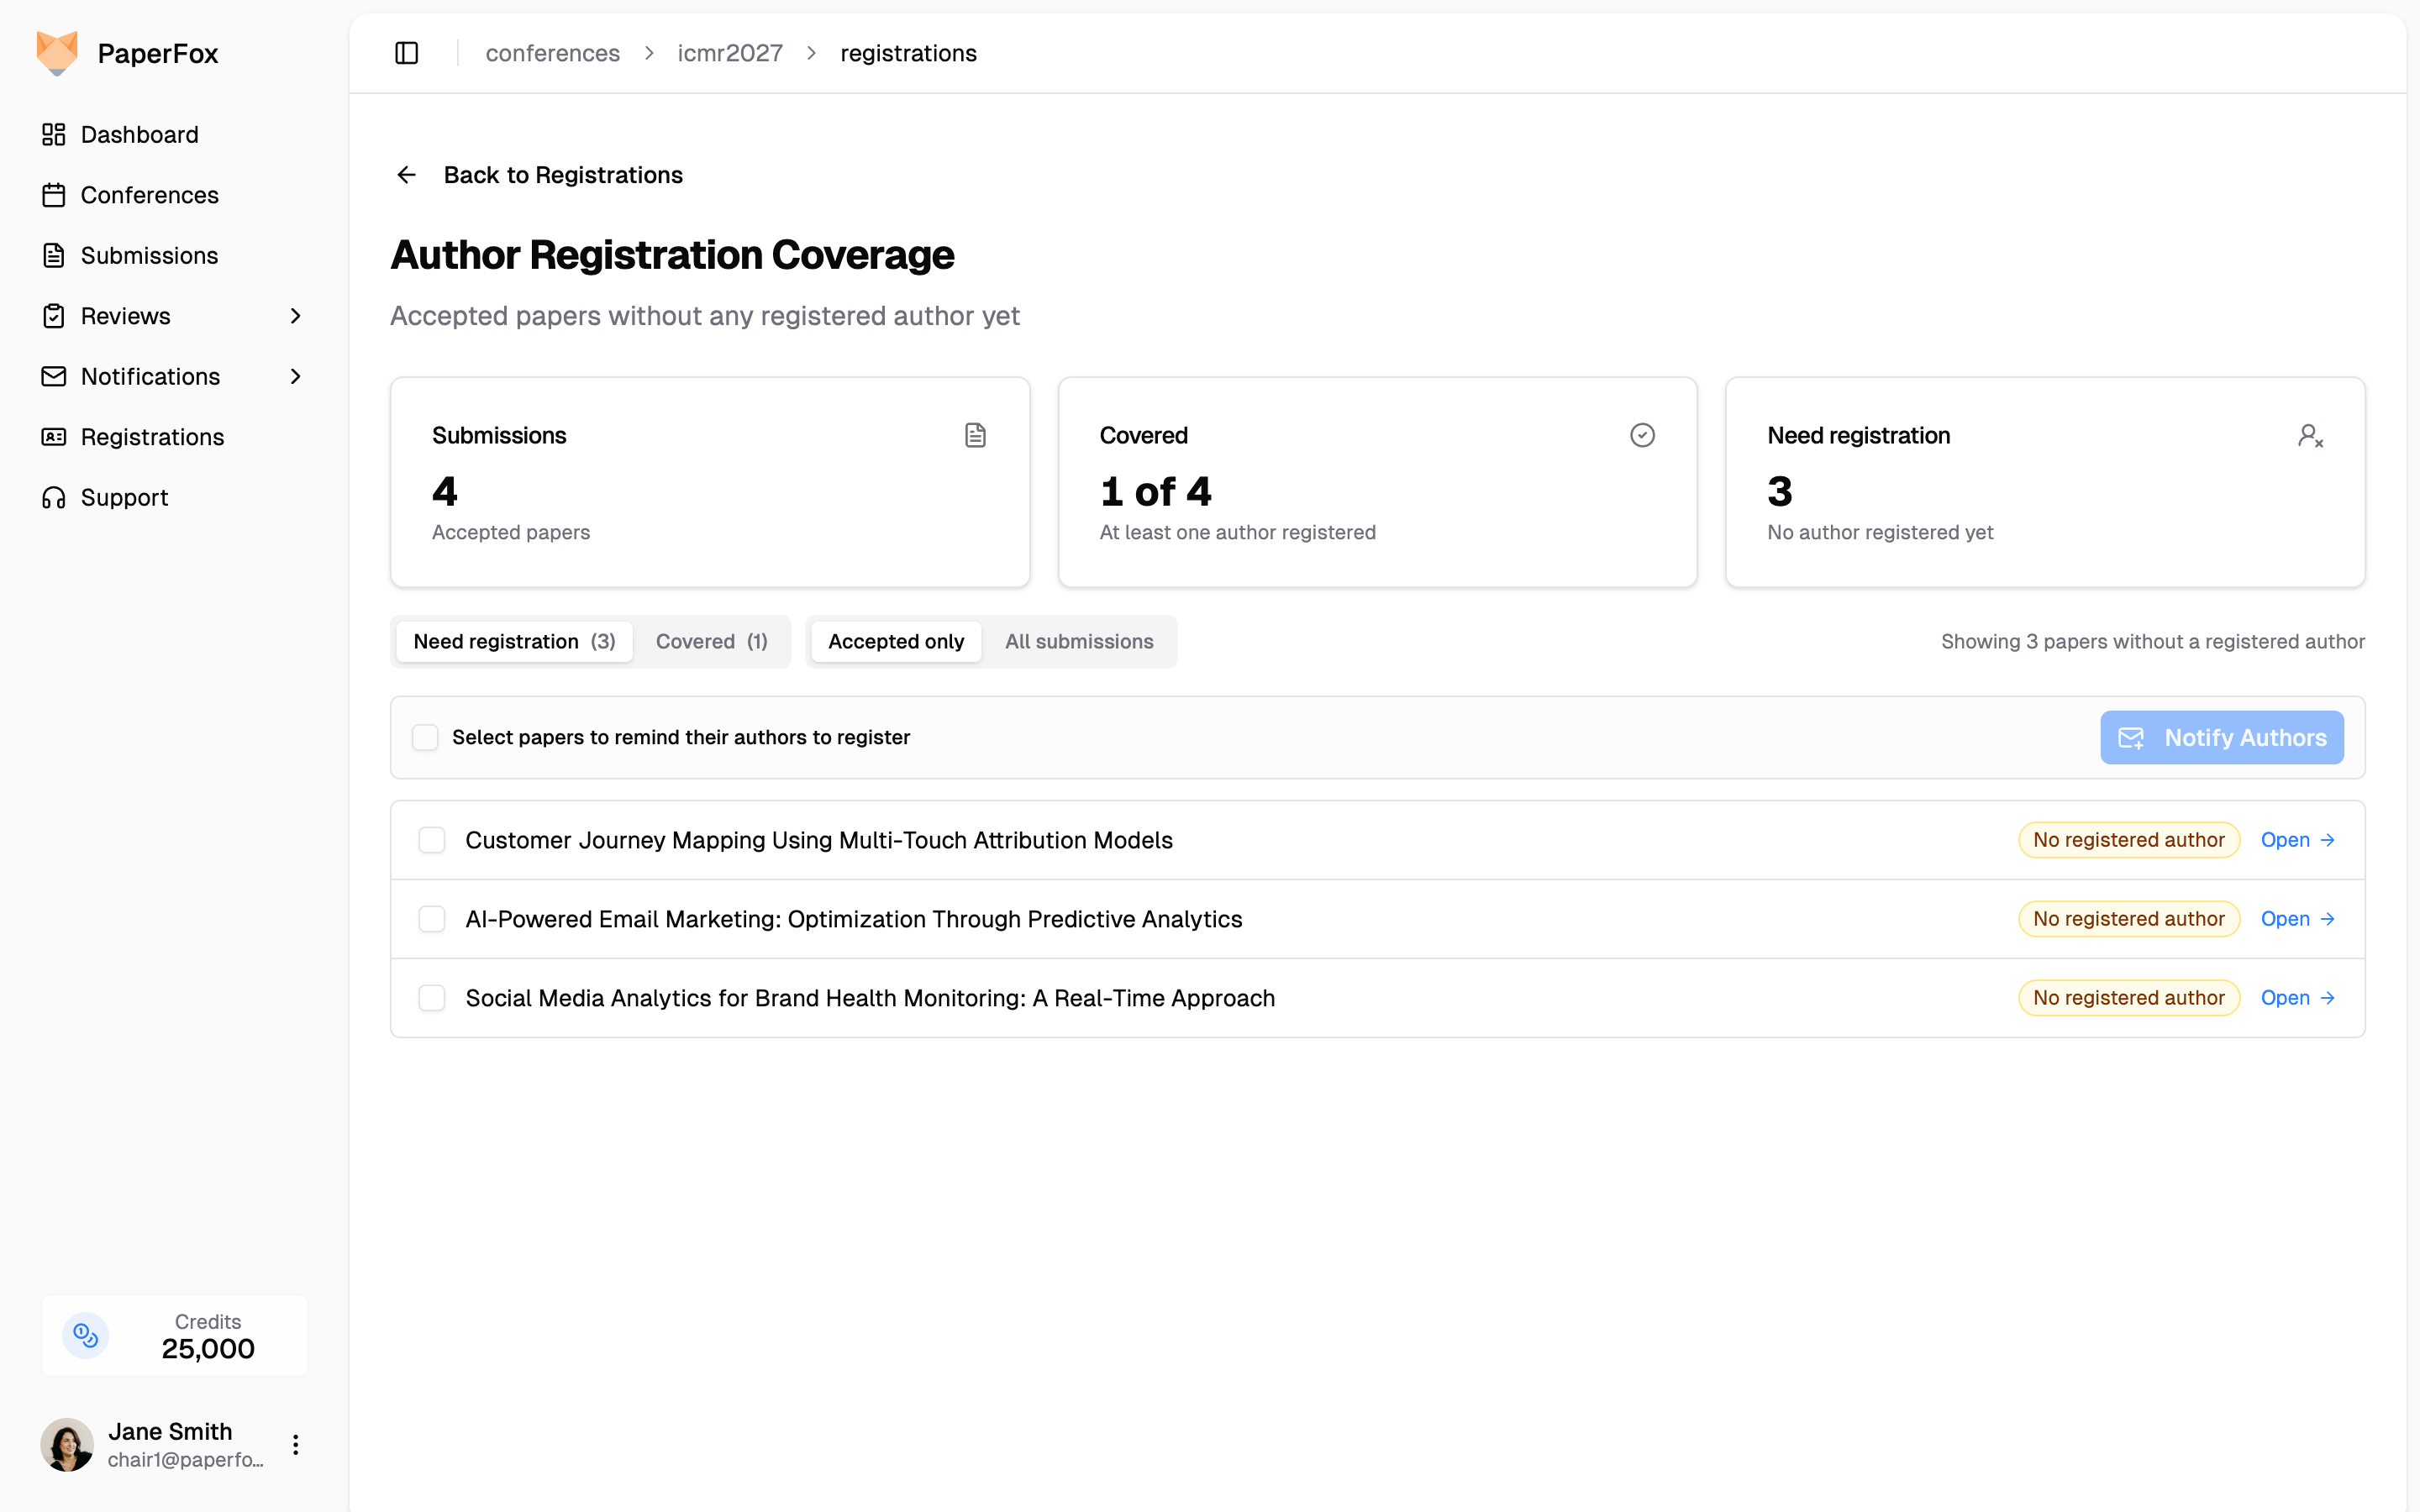 | Stat | Meaning |
|------|---------|
| **Submissions** | Accepted submissions in scope (filter pill above the list controls this). |
| **Covered** | Submissions that already have at least one registered author — nothing to do. |
| **Need registration** | Submissions with **zero** registered authors. These need a reminder. |
Two pill rows sit above the list:
- **View** — `Need registration` (default, shown above) lists submissions without a registered author so you can chase them. `Covered` lists submissions that already have at least one author registered, so you can verify who's in.
- **Filter** — `Accepted only` (default) restricts to accepted submissions. Switch to `All submissions` to also include submissions still under review.
The two axes are independent. Switching the filter preserves your view, and vice versa.
A **search box** above the list filters by submission id, submission title, or author name/email — handy on conferences with hundreds of submissions. Each row also shows the submission id (e.g. `icmr2027-12`) as a small monospace prefix so you can quote it in chair-to-chair messages.
Each row in the **Need registration** view carries a badge so you can triage at a glance without expanding:
| Badge | Meaning |
|---|---|
| Amber **"No registered author"** | None of the unmatched authors have a likely registrant in the system. Reminder is the next step. |
| Indigo **"N potential matches"** | One or more unmatched authors look like a registrant already in the system. Expand the row to confirm — most of these don't need a reminder. |
Sort or scan by badge color: indigo rows are usually faster to clear than amber ones.
## Run Matching
The **Find Potential Matches** card at the top of the page is how you generate suggestions. Pick a method, click **"Run Matching"**, and PaperFox scans every unmatched author against the conference's registrants and refreshes the suggestions in the list below.
| Method | Engine | Best For |
|---|---|---|
| **Algorithm Match** (default) | Name similarity + email-domain + affiliation tokens — runs entirely inside PaperFox. | Routine sweeps. Catches the bulk of "different email, same person" cases instantly. |
| **AI Match** | OpenAI reviewing a shortlist of candidates. | Hard cases — nicknames, transliterated names, ambiguous affiliations the algorithm couldn't decide on. Adds a short written explanation under each suggestion. |
Each run replaces the suggestions on the page. Decisions you've already made stick: **Confirm match** keeps the submission Covered, and **Not a match** stops that specific candidate from resurfacing for that author on later runs.
### AI Match privacy
Choosing **AI Match** opens a confirmation dialog before any data leaves your conference:
| Stat | Meaning |
|------|---------|
| **Submissions** | Accepted submissions in scope (filter pill above the list controls this). |
| **Covered** | Submissions that already have at least one registered author — nothing to do. |
| **Need registration** | Submissions with **zero** registered authors. These need a reminder. |
Two pill rows sit above the list:
- **View** — `Need registration` (default, shown above) lists submissions without a registered author so you can chase them. `Covered` lists submissions that already have at least one author registered, so you can verify who's in.
- **Filter** — `Accepted only` (default) restricts to accepted submissions. Switch to `All submissions` to also include submissions still under review.
The two axes are independent. Switching the filter preserves your view, and vice versa.
A **search box** above the list filters by submission id, submission title, or author name/email — handy on conferences with hundreds of submissions. Each row also shows the submission id (e.g. `icmr2027-12`) as a small monospace prefix so you can quote it in chair-to-chair messages.
Each row in the **Need registration** view carries a badge so you can triage at a glance without expanding:
| Badge | Meaning |
|---|---|
| Amber **"No registered author"** | None of the unmatched authors have a likely registrant in the system. Reminder is the next step. |
| Indigo **"N potential matches"** | One or more unmatched authors look like a registrant already in the system. Expand the row to confirm — most of these don't need a reminder. |
Sort or scan by badge color: indigo rows are usually faster to clear than amber ones.
## Run Matching
The **Find Potential Matches** card at the top of the page is how you generate suggestions. Pick a method, click **"Run Matching"**, and PaperFox scans every unmatched author against the conference's registrants and refreshes the suggestions in the list below.
| Method | Engine | Best For |
|---|---|---|
| **Algorithm Match** (default) | Name similarity + email-domain + affiliation tokens — runs entirely inside PaperFox. | Routine sweeps. Catches the bulk of "different email, same person" cases instantly. |
| **AI Match** | OpenAI reviewing a shortlist of candidates. | Hard cases — nicknames, transliterated names, ambiguous affiliations the algorithm couldn't decide on. Adds a short written explanation under each suggestion. |
Each run replaces the suggestions on the page. Decisions you've already made stick: **Confirm match** keeps the submission Covered, and **Not a match** stops that specific candidate from resurfacing for that author on later runs.
### AI Match privacy
Choosing **AI Match** opens a confirmation dialog before any data leaves your conference:
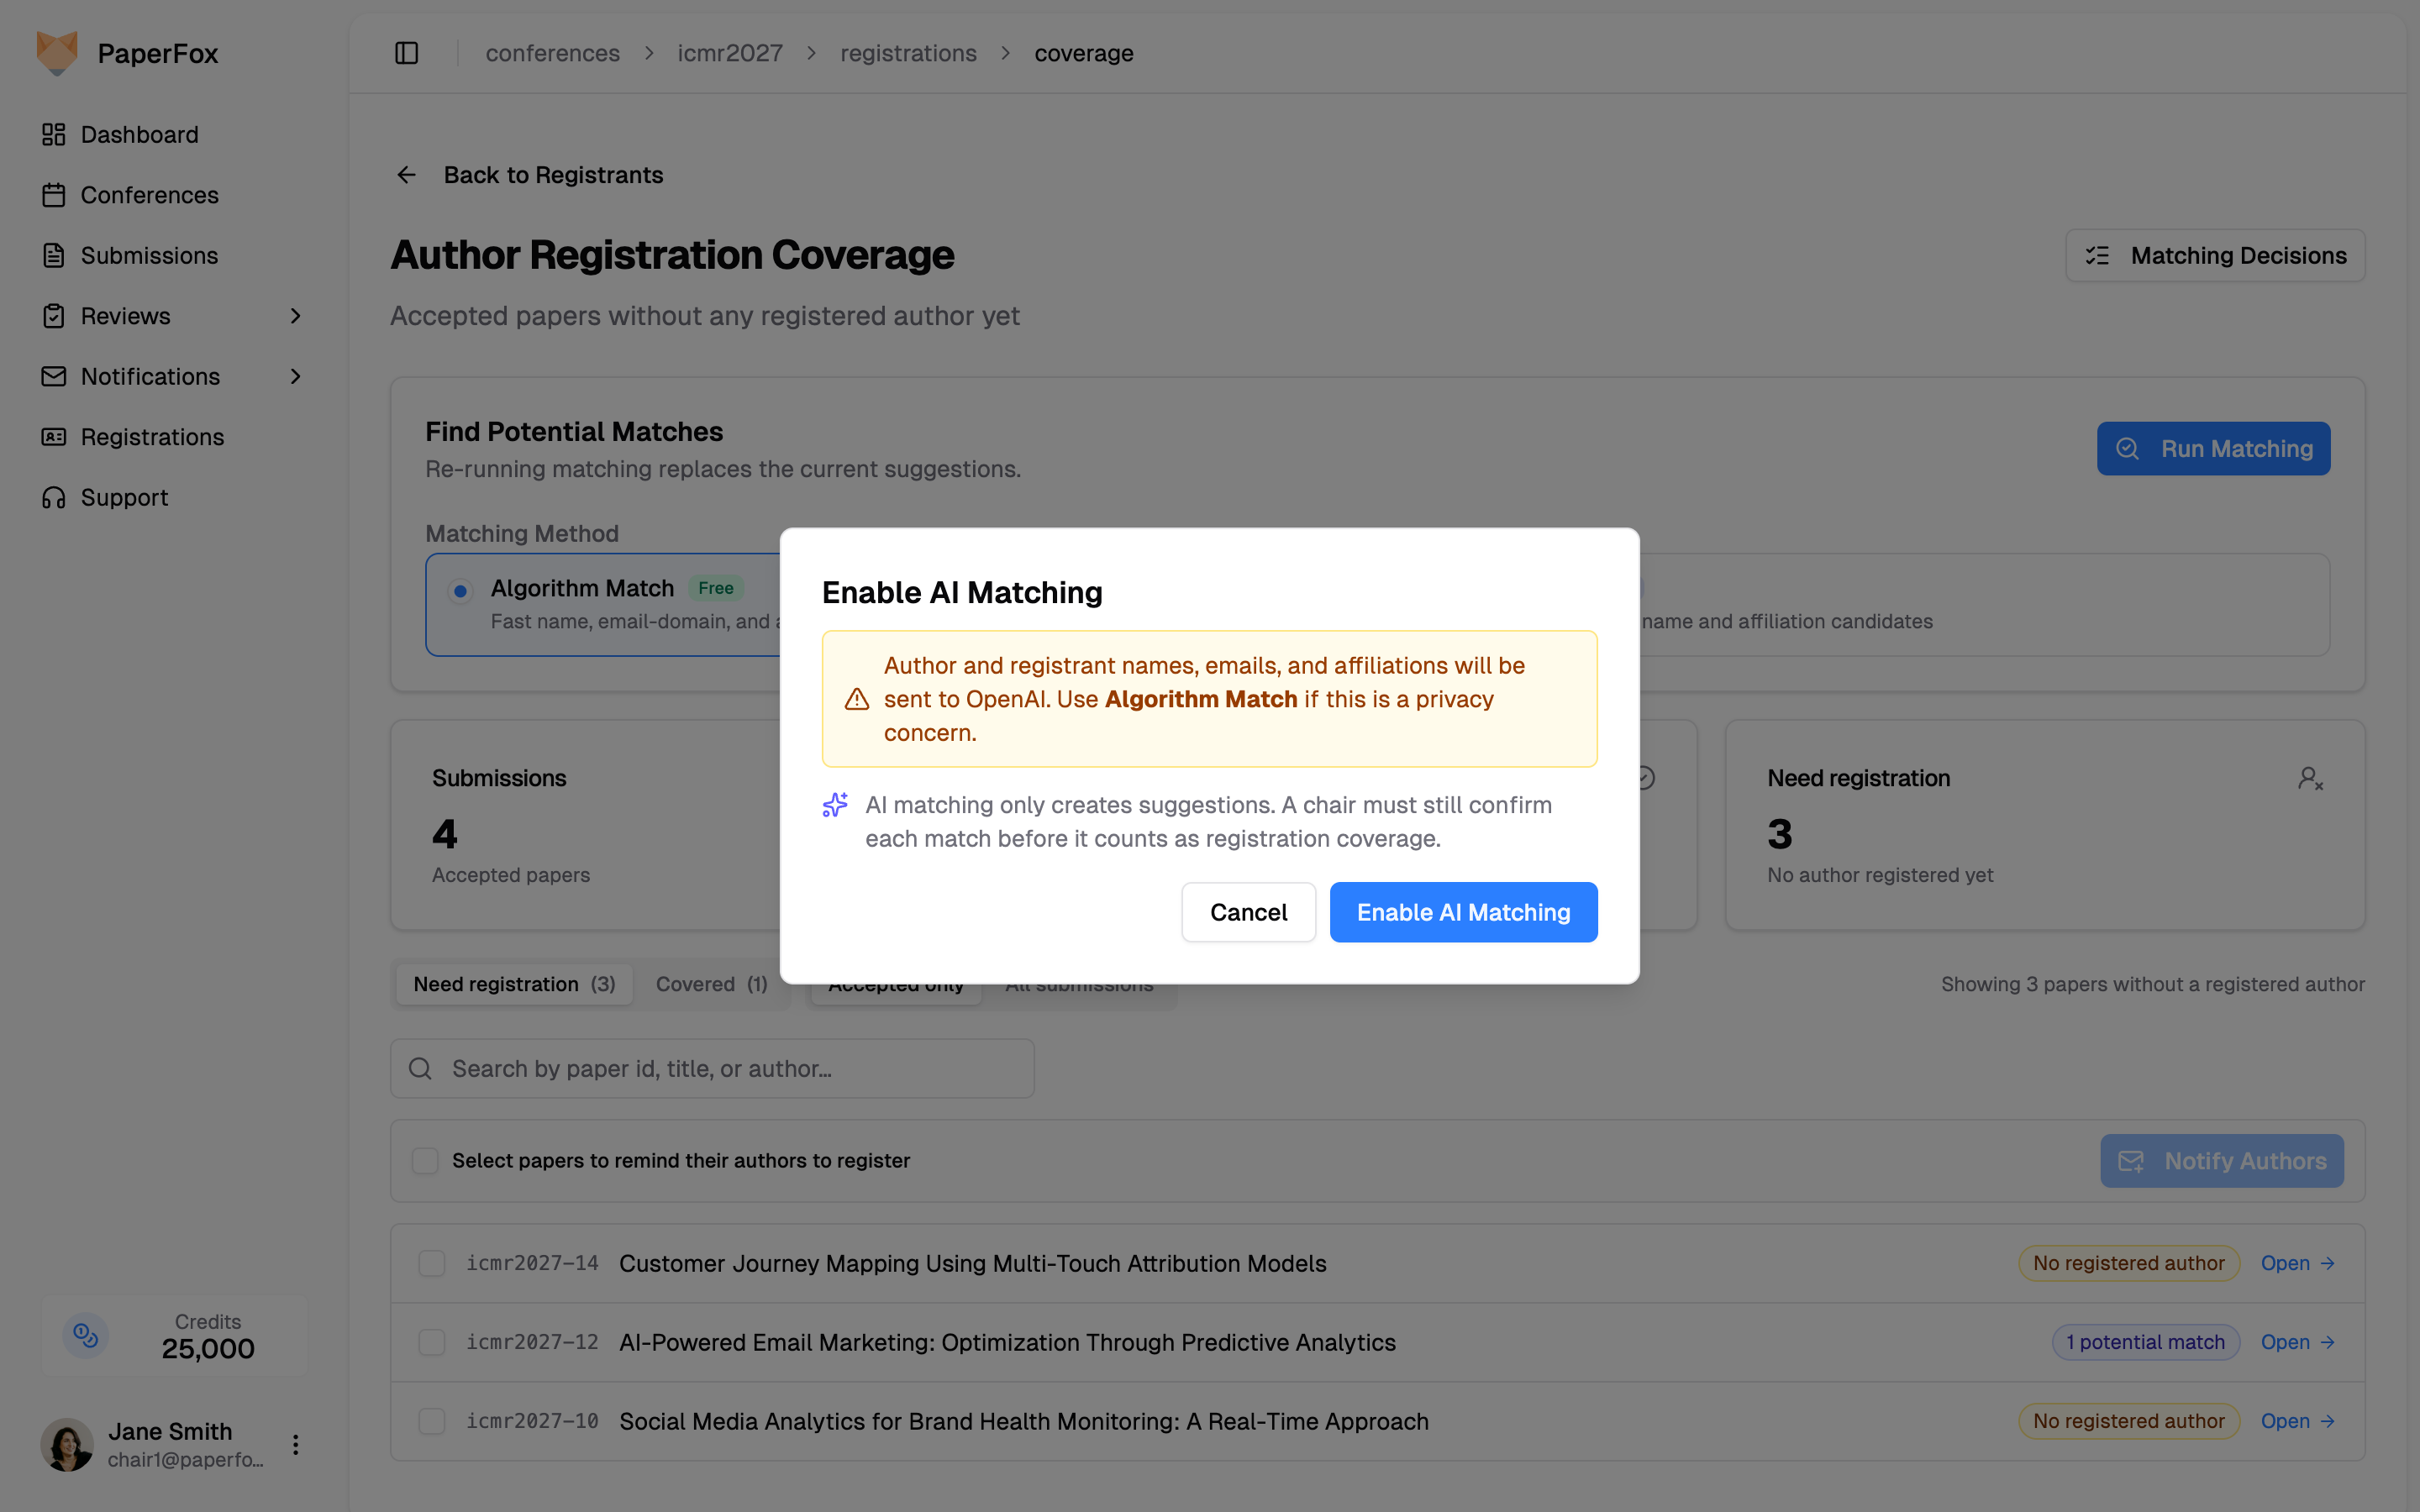 Author and registrant names, emails, and affiliations are sent to OpenAI when AI Match runs. If that's a privacy concern for your conference, stay on **Algorithm Match** — it never leaves PaperFox. AI matching only produces *suggestions*; a chair must still **Confirm match** before any submission flips to Covered.
## Confirm a Likely Match
Authors often register under a different email than the one on their submission (a personal email vs. their institutional address, an old account, a co-author submitting on their behalf). PaperFox flags these as **Potential matches** under the unmatched author so you don't have to chase them with a reminder when they're already in.
Rows with potential matches show an indigo **"N potential matches"** badge in the collapsed view. Expand any such row to see the suggestion.
Author and registrant names, emails, and affiliations are sent to OpenAI when AI Match runs. If that's a privacy concern for your conference, stay on **Algorithm Match** — it never leaves PaperFox. AI matching only produces *suggestions*; a chair must still **Confirm match** before any submission flips to Covered.
## Confirm a Likely Match
Authors often register under a different email than the one on their submission (a personal email vs. their institutional address, an old account, a co-author submitting on their behalf). PaperFox flags these as **Potential matches** under the unmatched author so you don't have to chase them with a reminder when they're already in.
Rows with potential matches show an indigo **"N potential matches"** badge in the collapsed view. Expand any such row to see the suggestion.
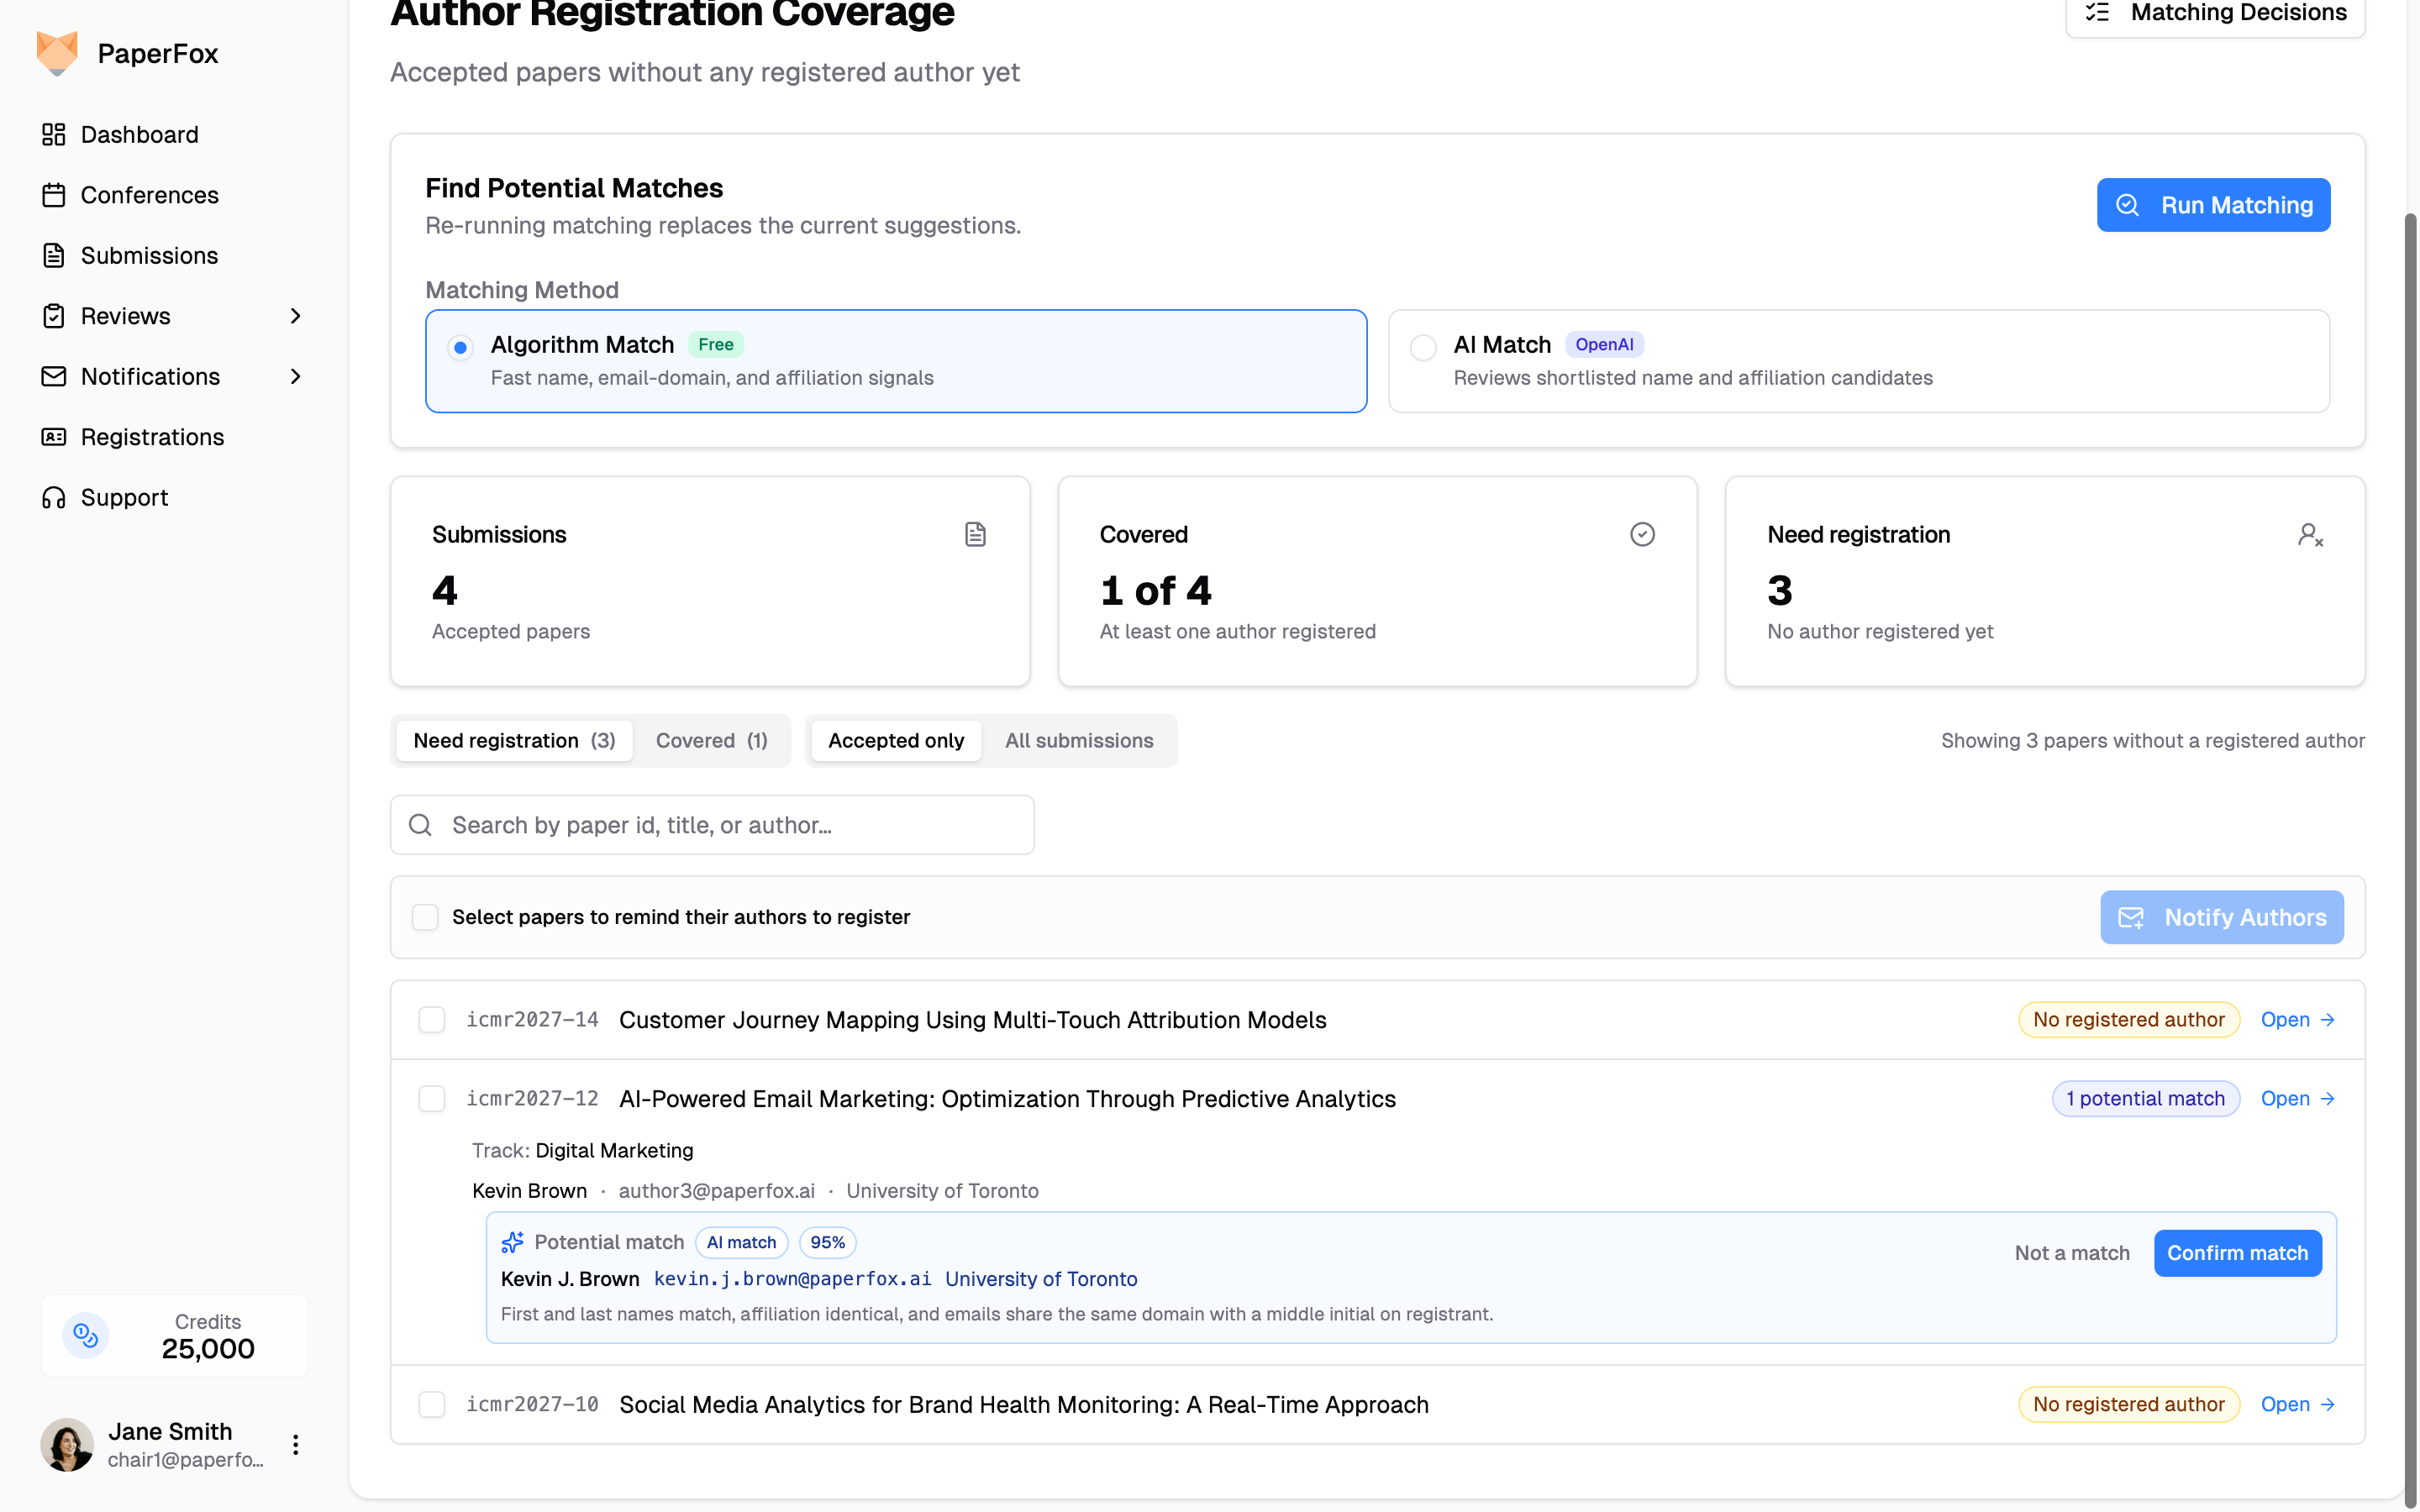 Each suggestion carries two badges so you know how it was generated and how confident the system is:
- A **method badge** — `Algorithm match` or `AI match` — telling you which engine produced this candidate.
- A **confidence percentage** — strong overlap on the matching signals shows in the high 90s; below ~65% no candidate is shown so you don't see noisy near-misses.
**Algorithm Match** needs **both** a shared identity signal (an institutional email domain — exact or shared base like `nyu.edu` ⊂ `stern.nyu.edu`; a ROR id; or at least one distinctive affiliation token like `Purdue` or `NYU`) **and** a high name similarity. Consumer email domains like `gmail.com`, `yahoo.com`, or `outlook.com` are intentionally not counted as a signal — sharing those domains says nothing about being the same person.
**AI Match** evaluates a shortlist of candidates and adds a short written **explanation** under the row (e.g. *"First and last names match, affiliation identical, and emails share the same domain with a middle initial on registrant"*) so you can see *why* it thinks they're the same person before confirming.
You have two actions on each suggestion:
- **Confirm match** records the link. The submission flips to **Covered** immediately. If the linked registrant is later refunded (internal) or deleted (external), the link is automatically reverted so the submission goes back on the chase list.
- **Not a match** dismisses the suggestion. The same candidate will never resurface for that author again — useful when names happen to overlap but the affiliations or context tell you it's a different person.
Each suggestion carries two badges so you know how it was generated and how confident the system is:
- A **method badge** — `Algorithm match` or `AI match` — telling you which engine produced this candidate.
- A **confidence percentage** — strong overlap on the matching signals shows in the high 90s; below ~65% no candidate is shown so you don't see noisy near-misses.
**Algorithm Match** needs **both** a shared identity signal (an institutional email domain — exact or shared base like `nyu.edu` ⊂ `stern.nyu.edu`; a ROR id; or at least one distinctive affiliation token like `Purdue` or `NYU`) **and** a high name similarity. Consumer email domains like `gmail.com`, `yahoo.com`, or `outlook.com` are intentionally not counted as a signal — sharing those domains says nothing about being the same person.
**AI Match** evaluates a shortlist of candidates and adds a short written **explanation** under the row (e.g. *"First and last names match, affiliation identical, and emails share the same domain with a middle initial on registrant"*) so you can see *why* it thinks they're the same person before confirming.
You have two actions on each suggestion:
- **Confirm match** records the link. The submission flips to **Covered** immediately. If the linked registrant is later refunded (internal) or deleted (external), the link is automatically reverted so the submission goes back on the chase list.
- **Not a match** dismisses the suggestion. The same candidate will never resurface for that author again — useful when names happen to overlap but the affiliations or context tell you it's a different person.
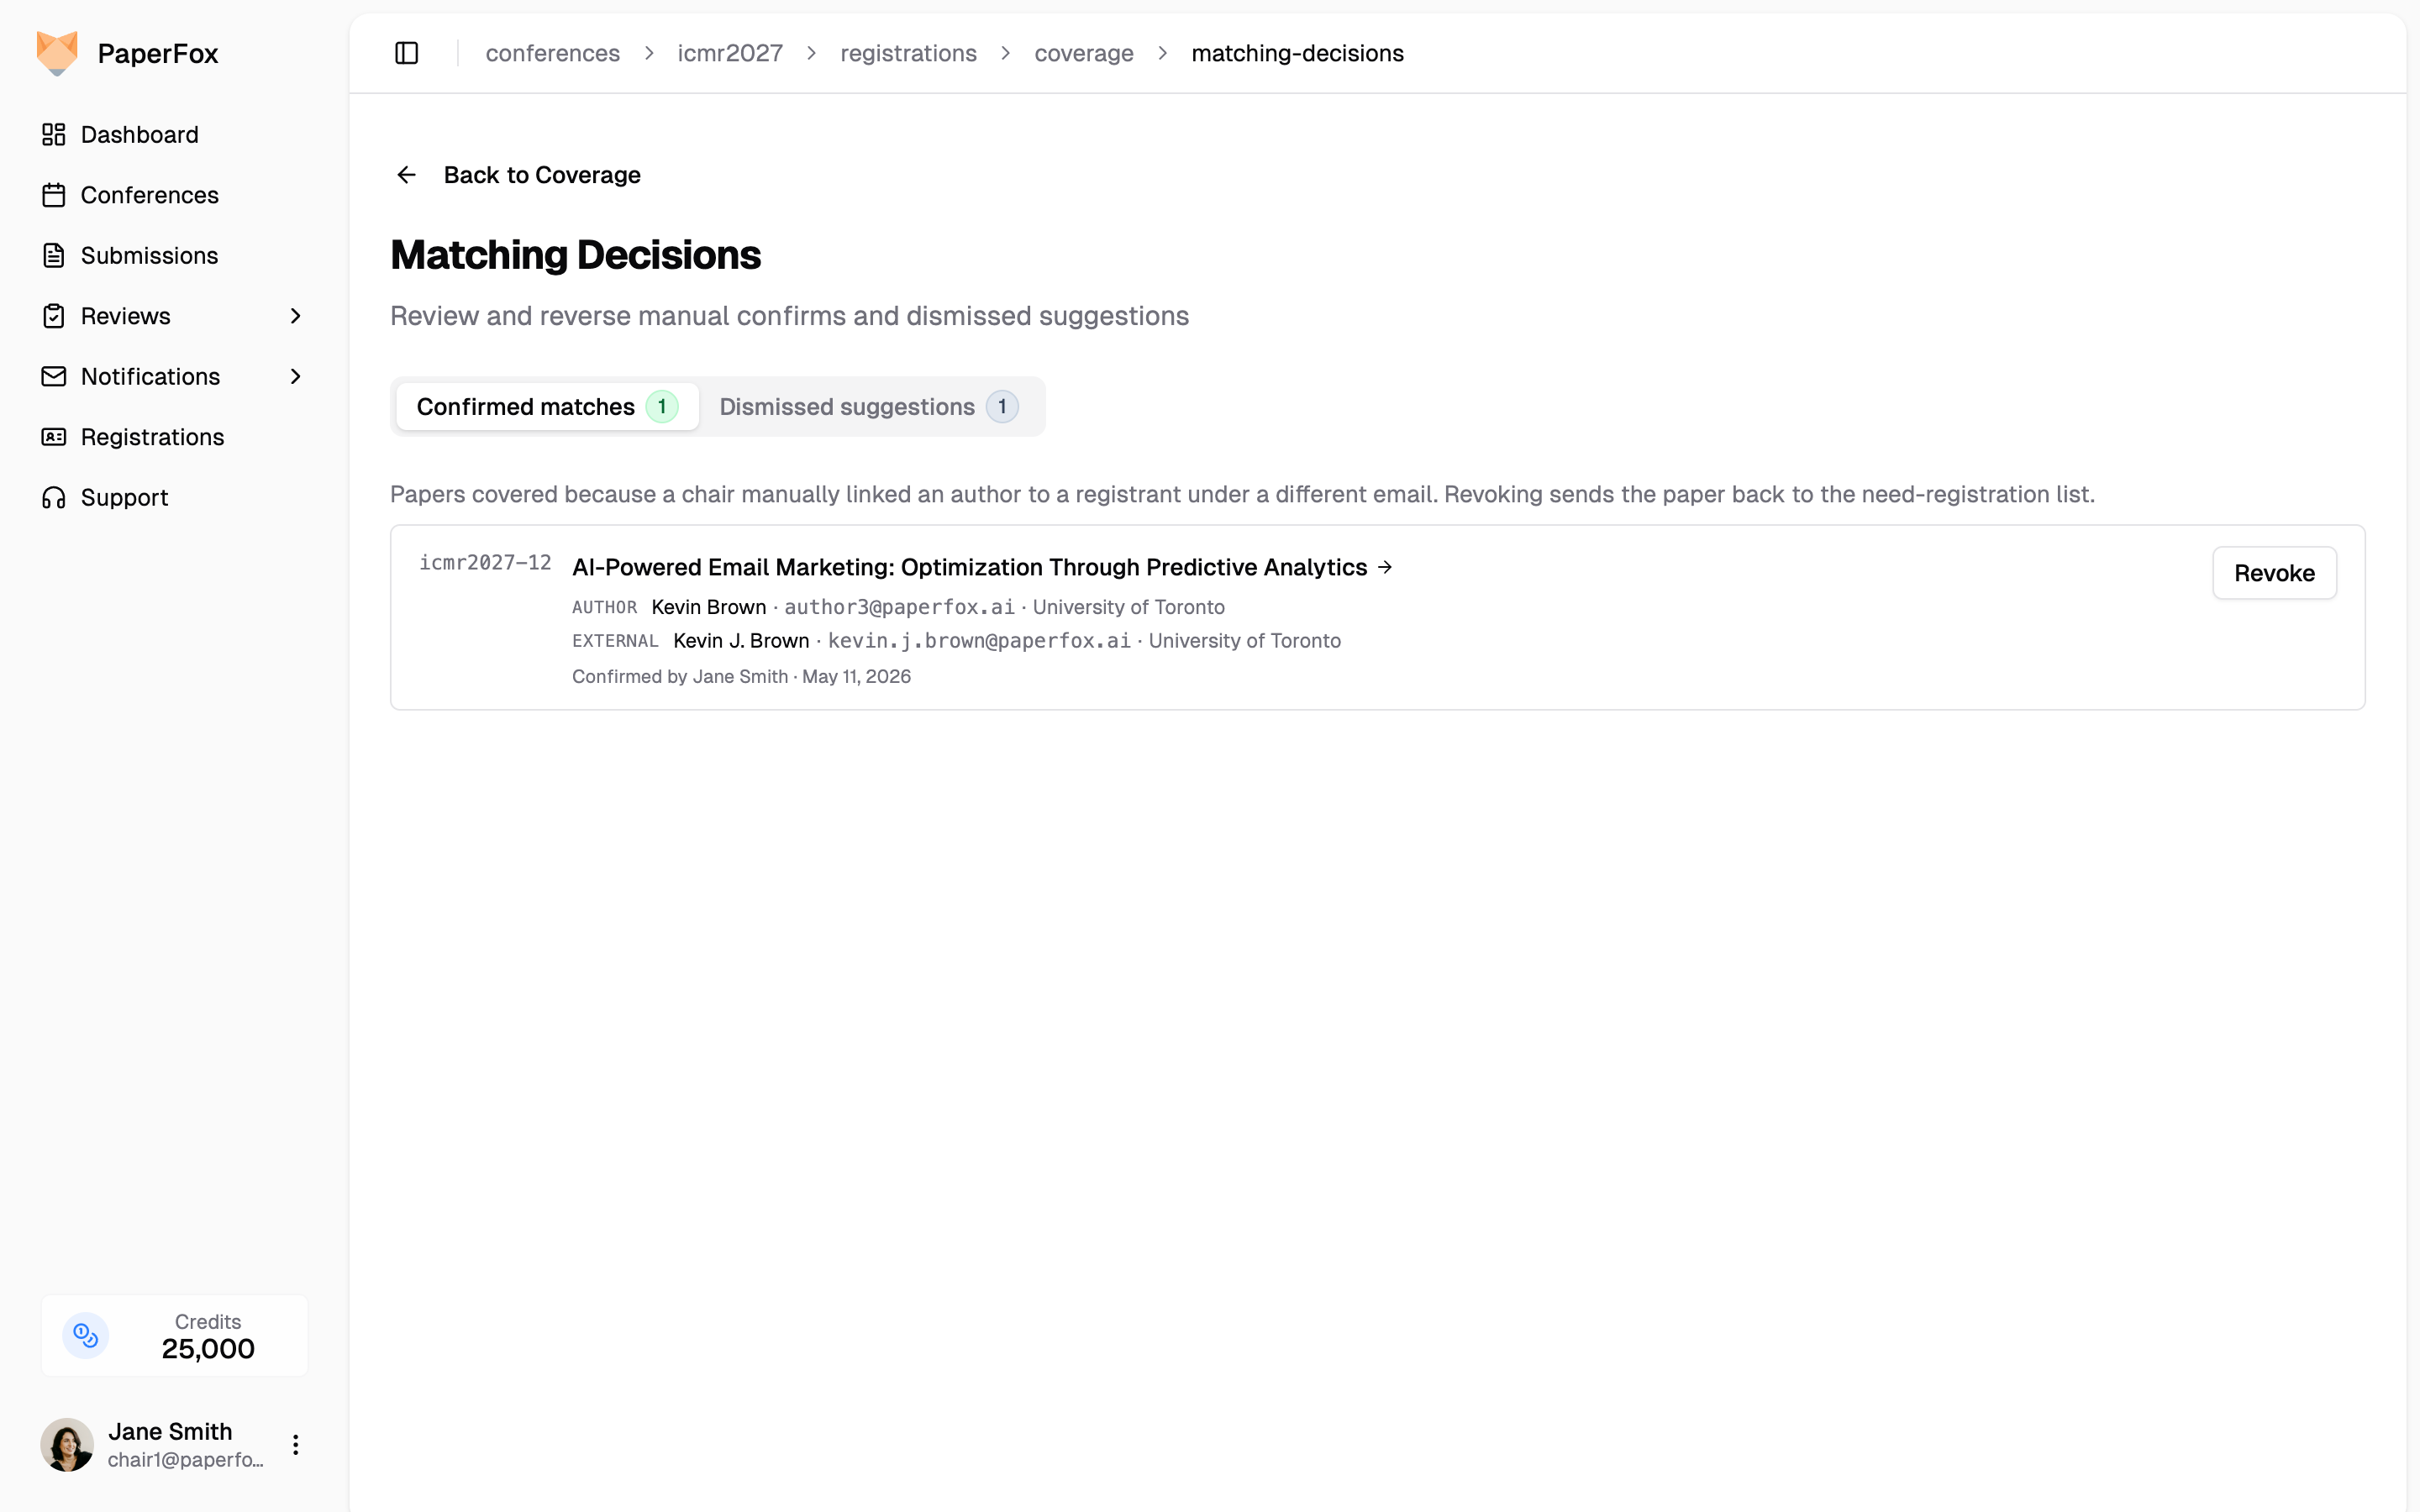 Two tabs:
- **Confirmed matches** — every submission covered because a chair manually linked an author to a registrant under a different email. **Revoke** sends the submission back to the need-registration list and the candidate suggestion resurfaces on the coverage page.
- **Dismissed suggestions** — every fuzzy candidate a chair has marked “Not a match.” **Restore** clears the dismissal and lets the suggestion appear again on the coverage page next time you visit.
Each row shows the author on the submission, the registrant they were linked to or dismissed against, and who made the decision when. Both actions are idempotent — revoking an already-revoked match or restoring an already-restored suggestion is a no-op, so you can't accidentally double-action.
## Send Reminders
From the **Need registration** view:
1. Tick the checkboxes next to each submission whose authors you want to email. Use the top-row checkbox to select all.
2. Click **"Notify Authors"**.
PaperFox routes you to the **Notification Composer** with the **Registration Reminder** template pre-loaded and recipients restricted to the authors of the submissions you selected. You can:
- Edit the subject and body (Mustache placeholders like `{{authorName}}` and `{{paperTitle}}` are filled in per-recipient).
- Preview before sending.
- Send when ready.
After the email goes out, refresh the report. As authors register, submissions move from **Need registration** to **Covered** automatically — both sources count: paid PaperFox registrations and your [external imports](/docs/chairs/import-external-registrants), plus any **Confirm match** links you've added manually.
## Verify Coverage
Switch to the **Covered** view to audit who's actually in. Each row shows the submission, a green badge of how many authors have registered (`1 of 2 registered`), and the names and emails of the registered authors when you expand the row.
Two tabs:
- **Confirmed matches** — every submission covered because a chair manually linked an author to a registrant under a different email. **Revoke** sends the submission back to the need-registration list and the candidate suggestion resurfaces on the coverage page.
- **Dismissed suggestions** — every fuzzy candidate a chair has marked “Not a match.” **Restore** clears the dismissal and lets the suggestion appear again on the coverage page next time you visit.
Each row shows the author on the submission, the registrant they were linked to or dismissed against, and who made the decision when. Both actions are idempotent — revoking an already-revoked match or restoring an already-restored suggestion is a no-op, so you can't accidentally double-action.
## Send Reminders
From the **Need registration** view:
1. Tick the checkboxes next to each submission whose authors you want to email. Use the top-row checkbox to select all.
2. Click **"Notify Authors"**.
PaperFox routes you to the **Notification Composer** with the **Registration Reminder** template pre-loaded and recipients restricted to the authors of the submissions you selected. You can:
- Edit the subject and body (Mustache placeholders like `{{authorName}}` and `{{paperTitle}}` are filled in per-recipient).
- Preview before sending.
- Send when ready.
After the email goes out, refresh the report. As authors register, submissions move from **Need registration** to **Covered** automatically — both sources count: paid PaperFox registrations and your [external imports](/docs/chairs/import-external-registrants), plus any **Confirm match** links you've added manually.
## Verify Coverage
Switch to the **Covered** view to audit who's actually in. Each row shows the submission, a green badge of how many authors have registered (`1 of 2 registered`), and the names and emails of the registered authors when you expand the row.
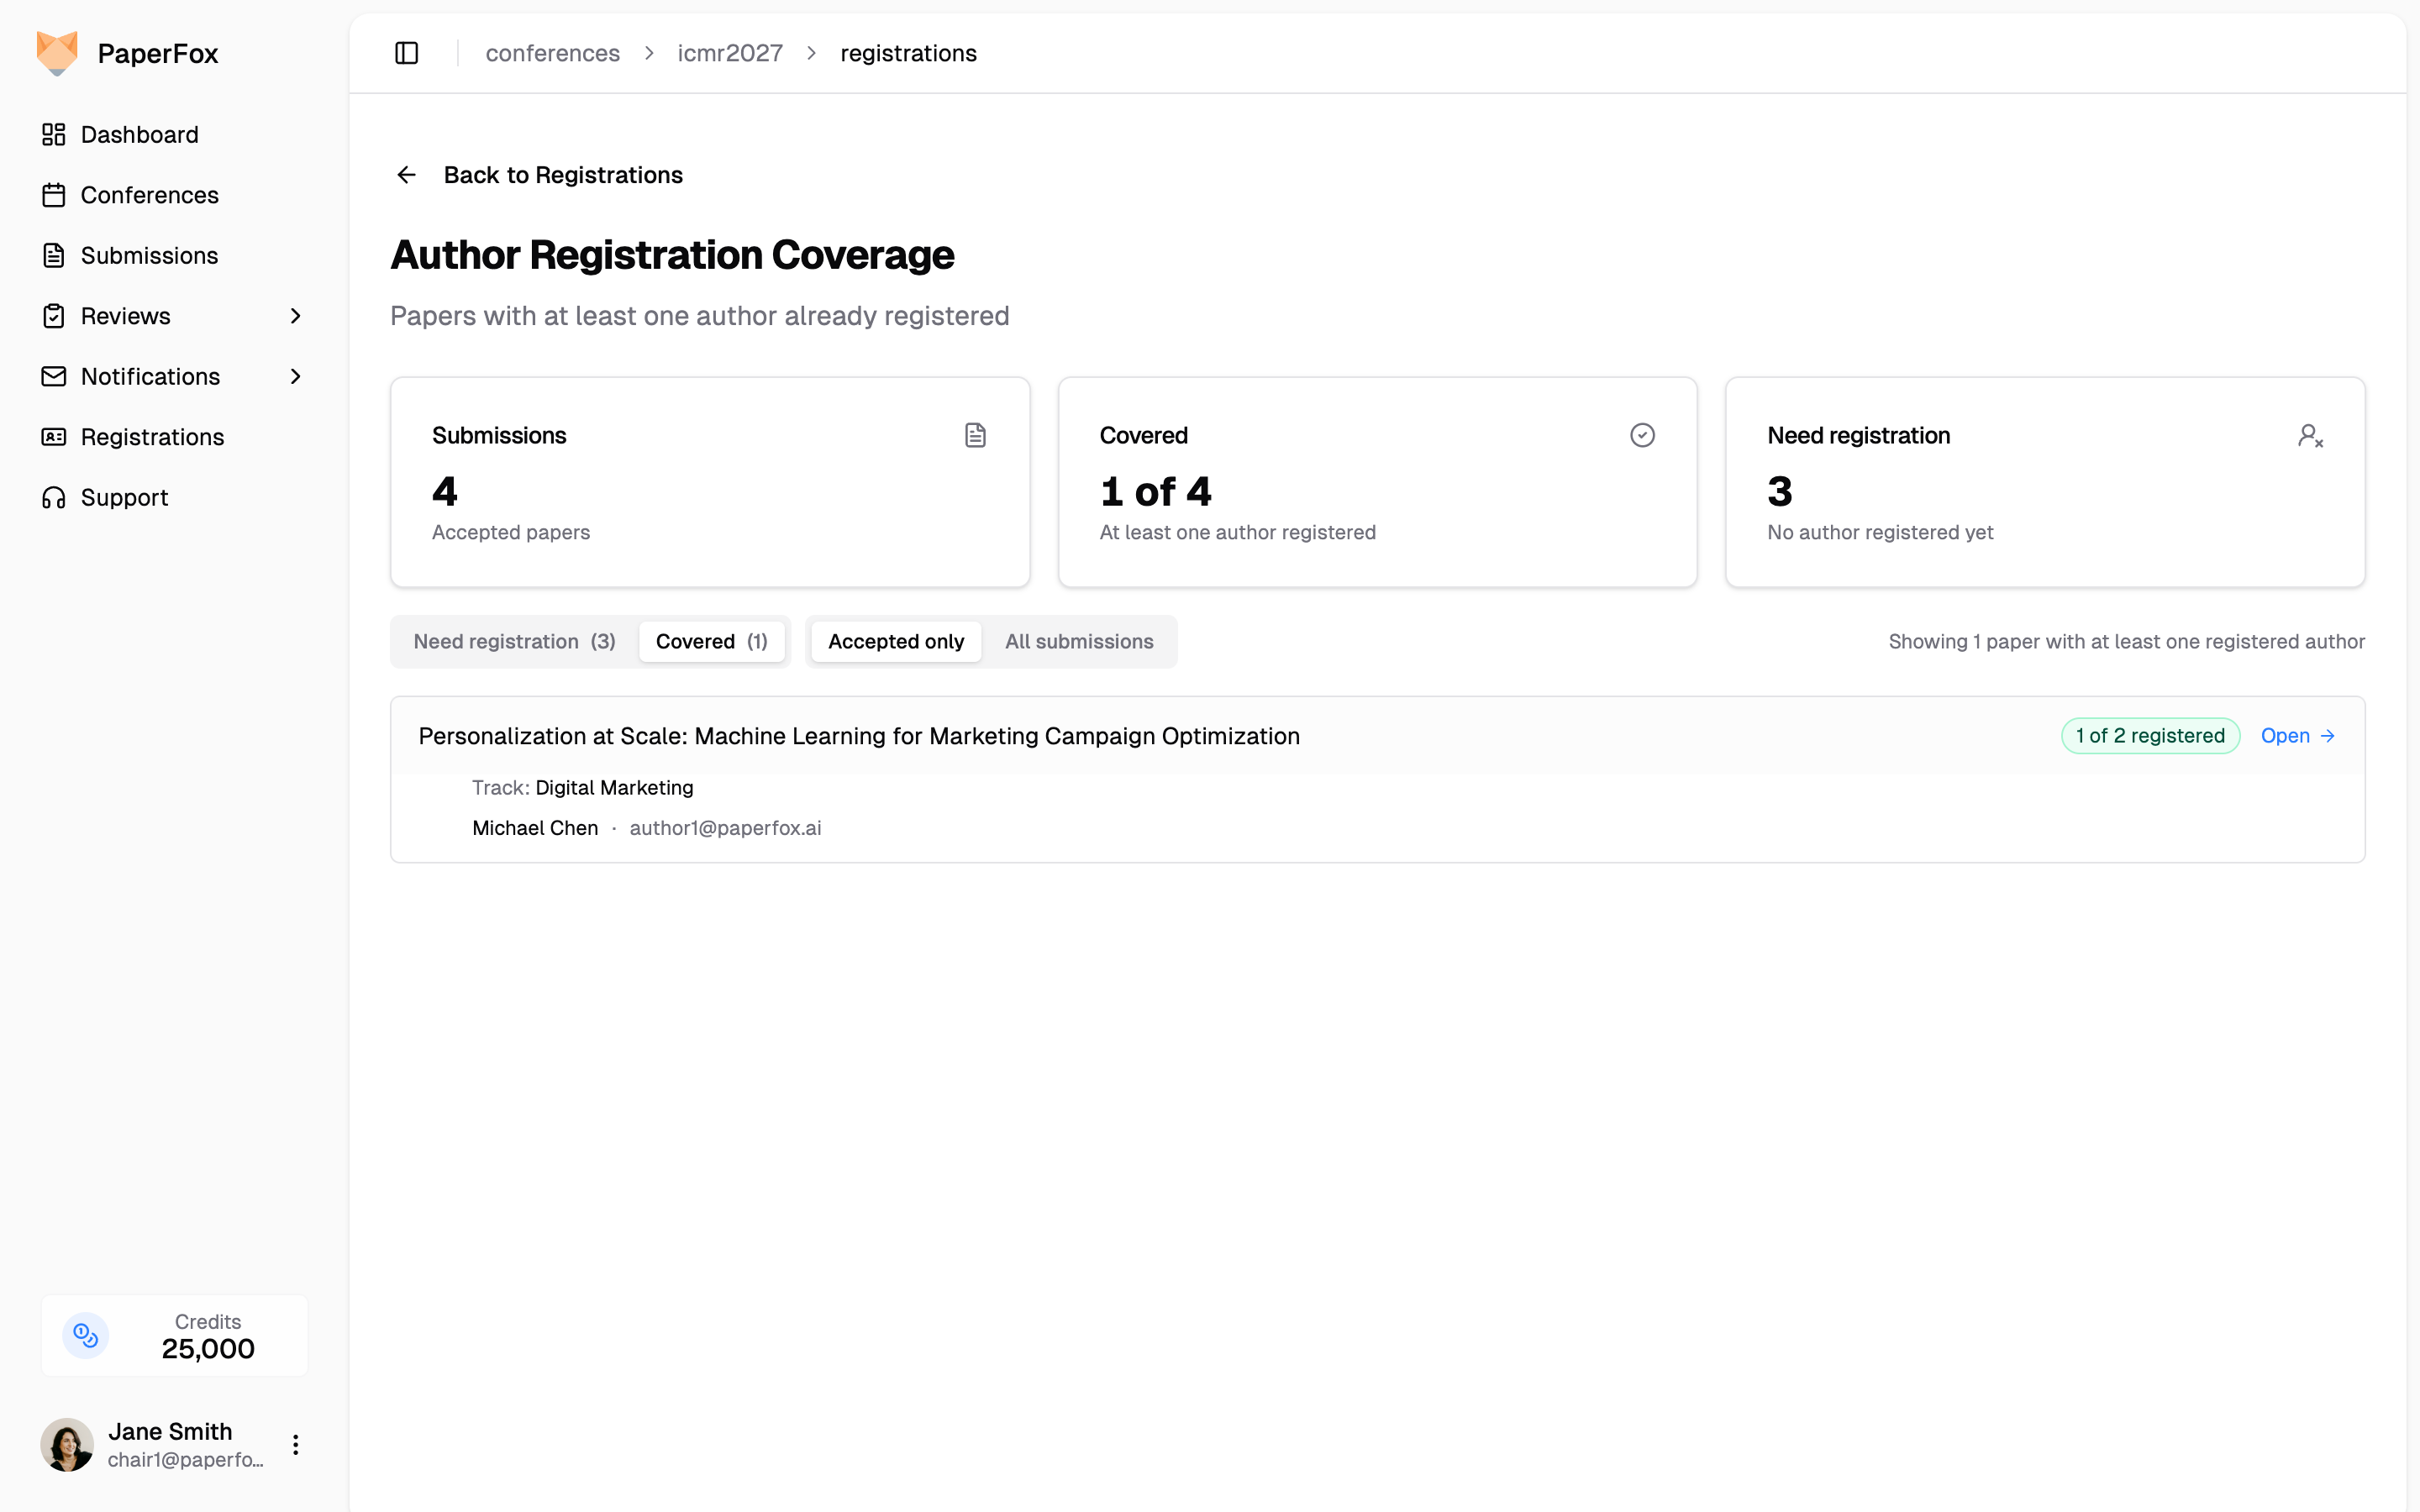 This view is read-only — no checkboxes, no Notify button — because there's nothing to chase. It's there so you can spot edge cases (e.g., a student registered while the senior author hasn't) before locking the program.
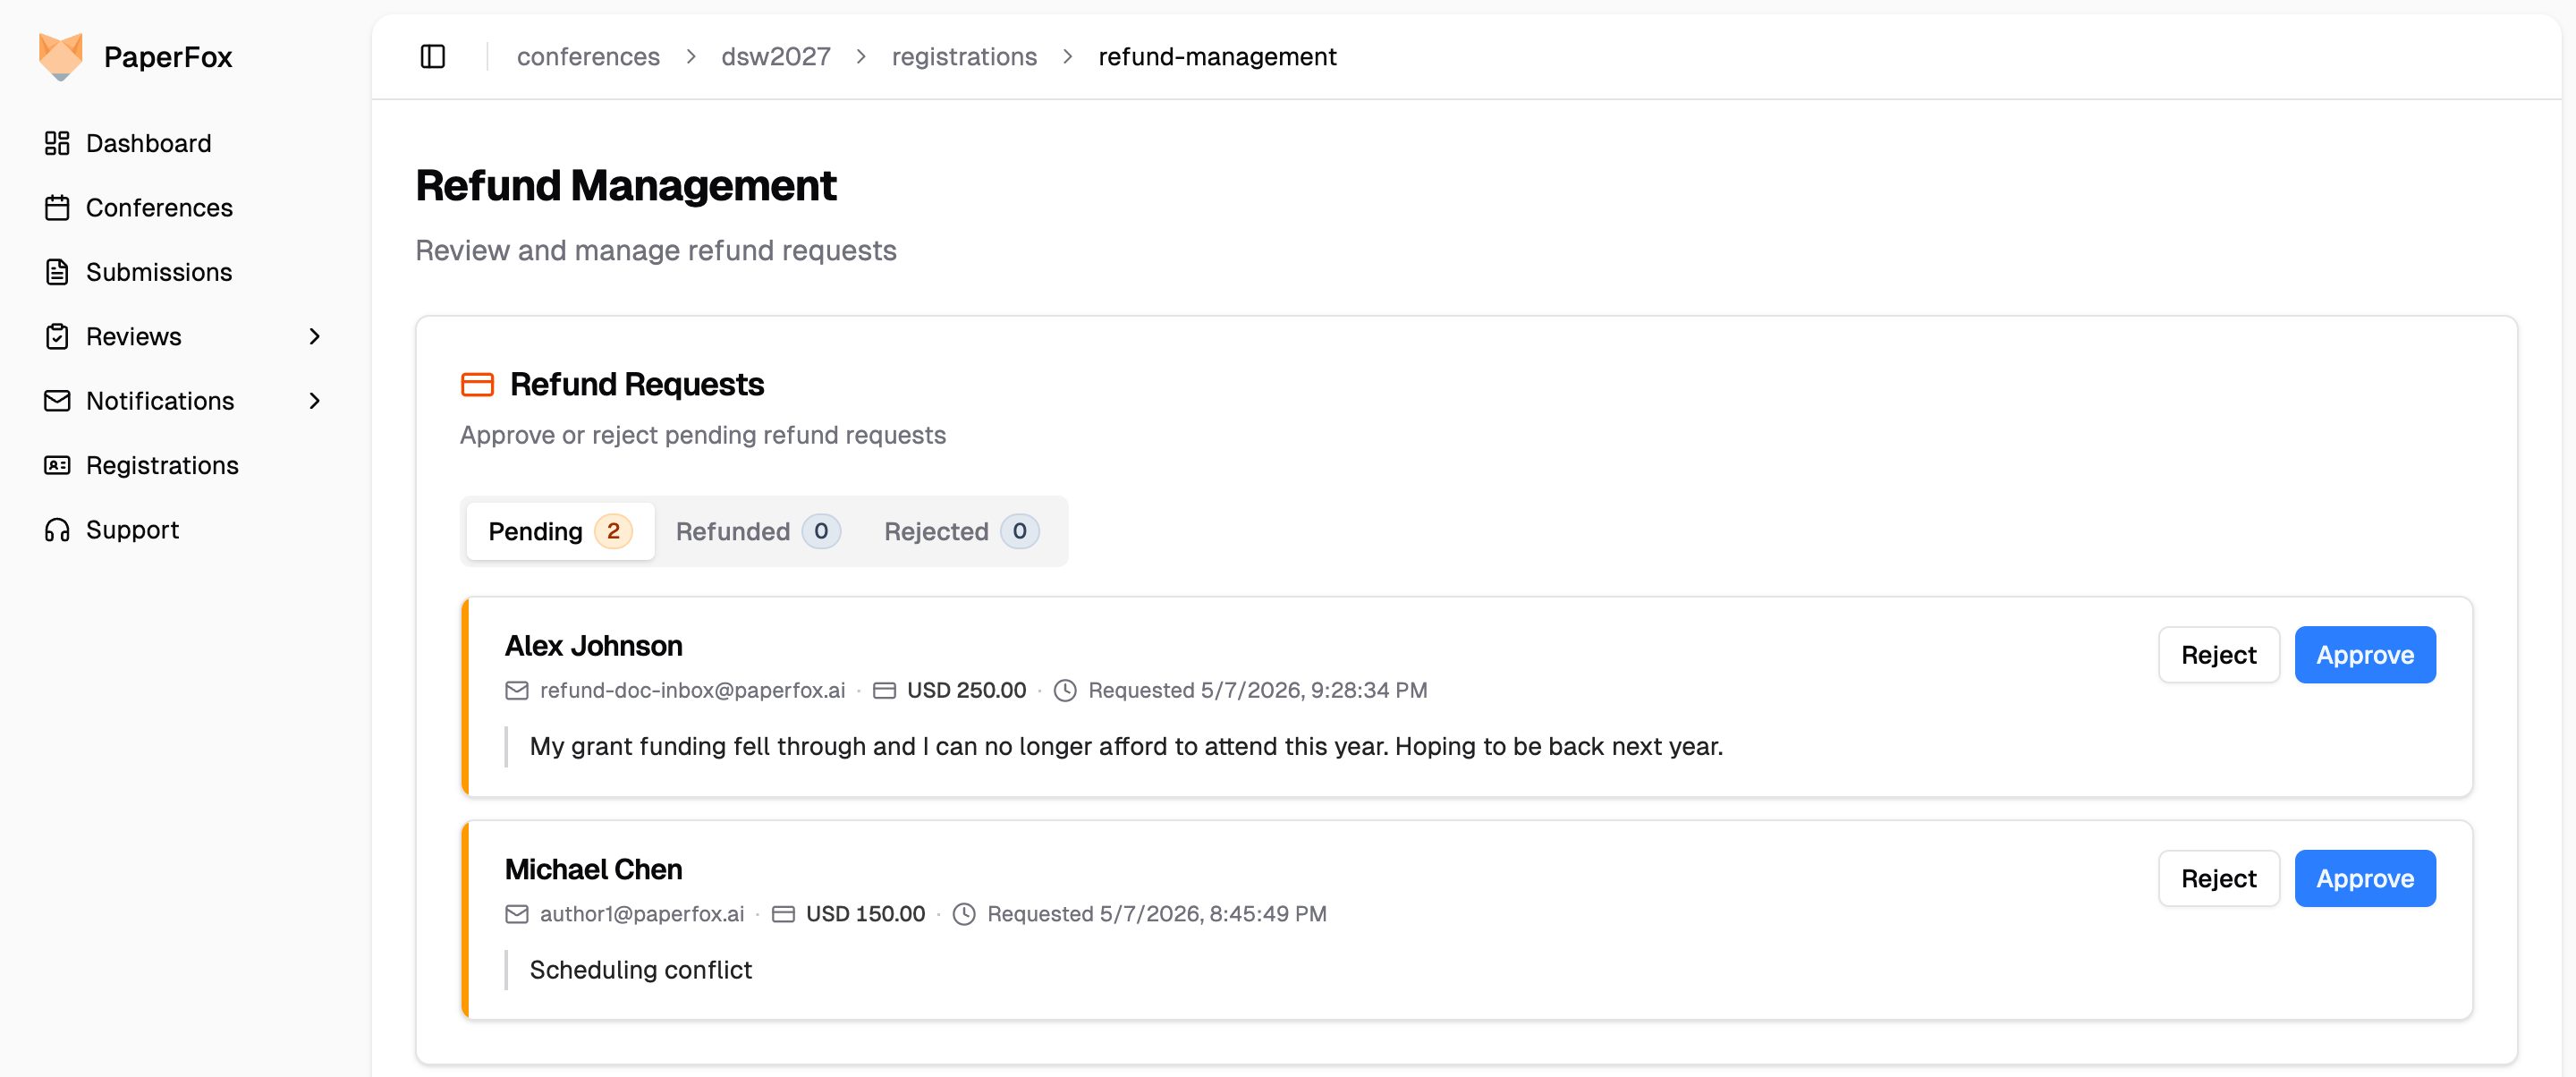 Each pending request appears as a card with an amber accent strip on the left edge. The registrant's reason is shown verbatim. Approved refunds switch to an emerald strip with a tinted footer summarizing the verdict; rejected ones get a rose strip.
2. Find the refund request and click **"Approve"**
3. Review the breakdown — the administrative fee is sourced from your refund policy
4. Click **"Approve Refund"** to process
Each pending request appears as a card with an amber accent strip on the left edge. The registrant's reason is shown verbatim. Approved refunds switch to an emerald strip with a tinted footer summarizing the verdict; rejected ones get a rose strip.
2. Find the refund request and click **"Approve"**
3. Review the breakdown — the administrative fee is sourced from your refund policy
4. Click **"Approve Refund"** to process
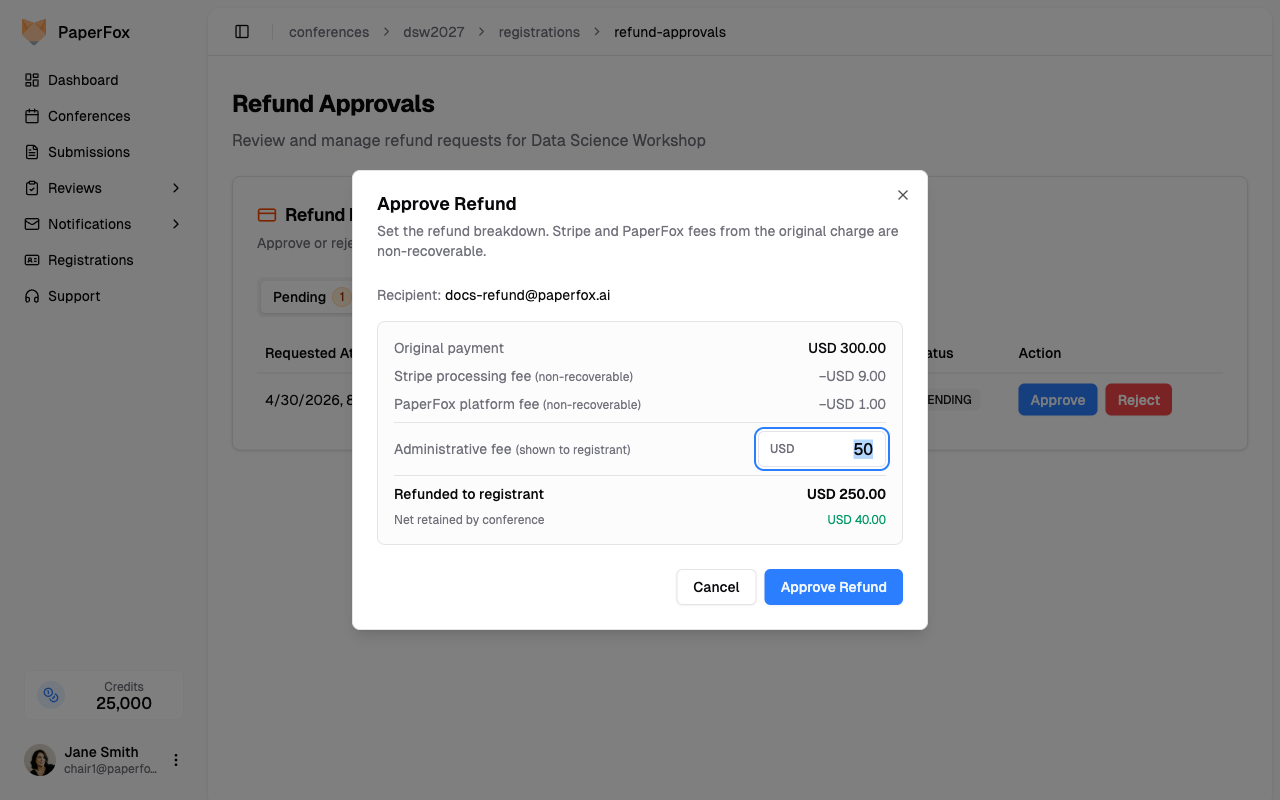 The dialog shows you the full economics of the refund:
| Line | Meaning |
|------|---------|
| **Original payment** | What the registrant paid |
| **Stripe processing fee** | Stripe's 2.9% + $0.30 — Stripe keeps this on partial refunds |
| **PaperFox platform fee** | The $1 PaperFox fee from the original charge |
| **Administrative fee** | From your refund policy — registrant saw this when requesting |
| **Refunded to registrant** | Original payment minus the admin fee |
| **Net retained by conference** | What you actually keep after Stripe and PaperFox fees |
The registrant receives the refund automatically and gets an email showing the breakdown plus a link to their Stripe receipt — the same charge receipt they received at purchase, now updated to reflect the refund.
### Administrative Fee
The administrative fee is a flat amount deducted from every refund, set once on the **Registration Types** page. It's **shown to the registrant in the refund-request dialog before they submit** — so the chair and registrant agree on the number up front, and the chair doesn't decide it per-case.
To change the policy, go to **Registration Types** and edit the **Refund Policy** card. See [Refund Policy](/docs/chairs/setup-registration#refund-policy) for the setup walkthrough. The fee can be set anywhere from **$0 to $10,000**.
The dialog shows you the full economics of the refund:
| Line | Meaning |
|------|---------|
| **Original payment** | What the registrant paid |
| **Stripe processing fee** | Stripe's 2.9% + $0.30 — Stripe keeps this on partial refunds |
| **PaperFox platform fee** | The $1 PaperFox fee from the original charge |
| **Administrative fee** | From your refund policy — registrant saw this when requesting |
| **Refunded to registrant** | Original payment minus the admin fee |
| **Net retained by conference** | What you actually keep after Stripe and PaperFox fees |
The registrant receives the refund automatically and gets an email showing the breakdown plus a link to their Stripe receipt — the same charge receipt they received at purchase, now updated to reflect the refund.
### Administrative Fee
The administrative fee is a flat amount deducted from every refund, set once on the **Registration Types** page. It's **shown to the registrant in the refund-request dialog before they submit** — so the chair and registrant agree on the number up front, and the chair doesn't decide it per-case.
To change the policy, go to **Registration Types** and edit the **Refund Policy** card. See [Refund Policy](/docs/chairs/setup-registration#refund-policy) for the setup walkthrough. The fee can be set anywhere from **$0 to $10,000**.
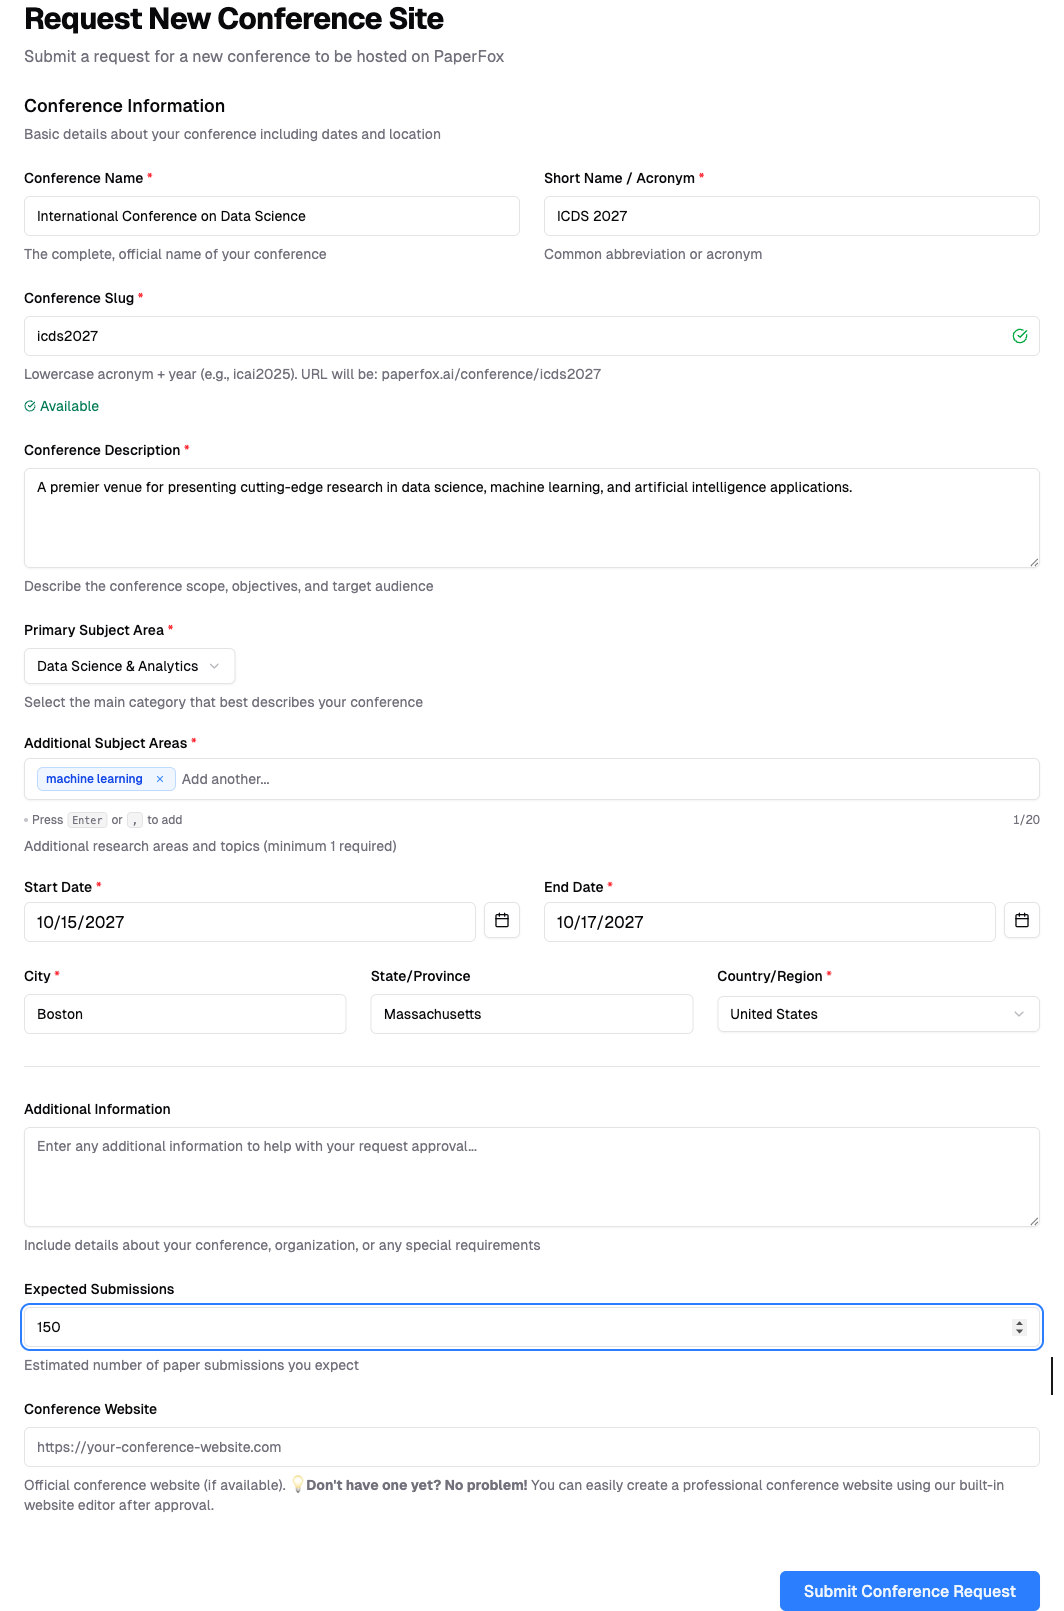
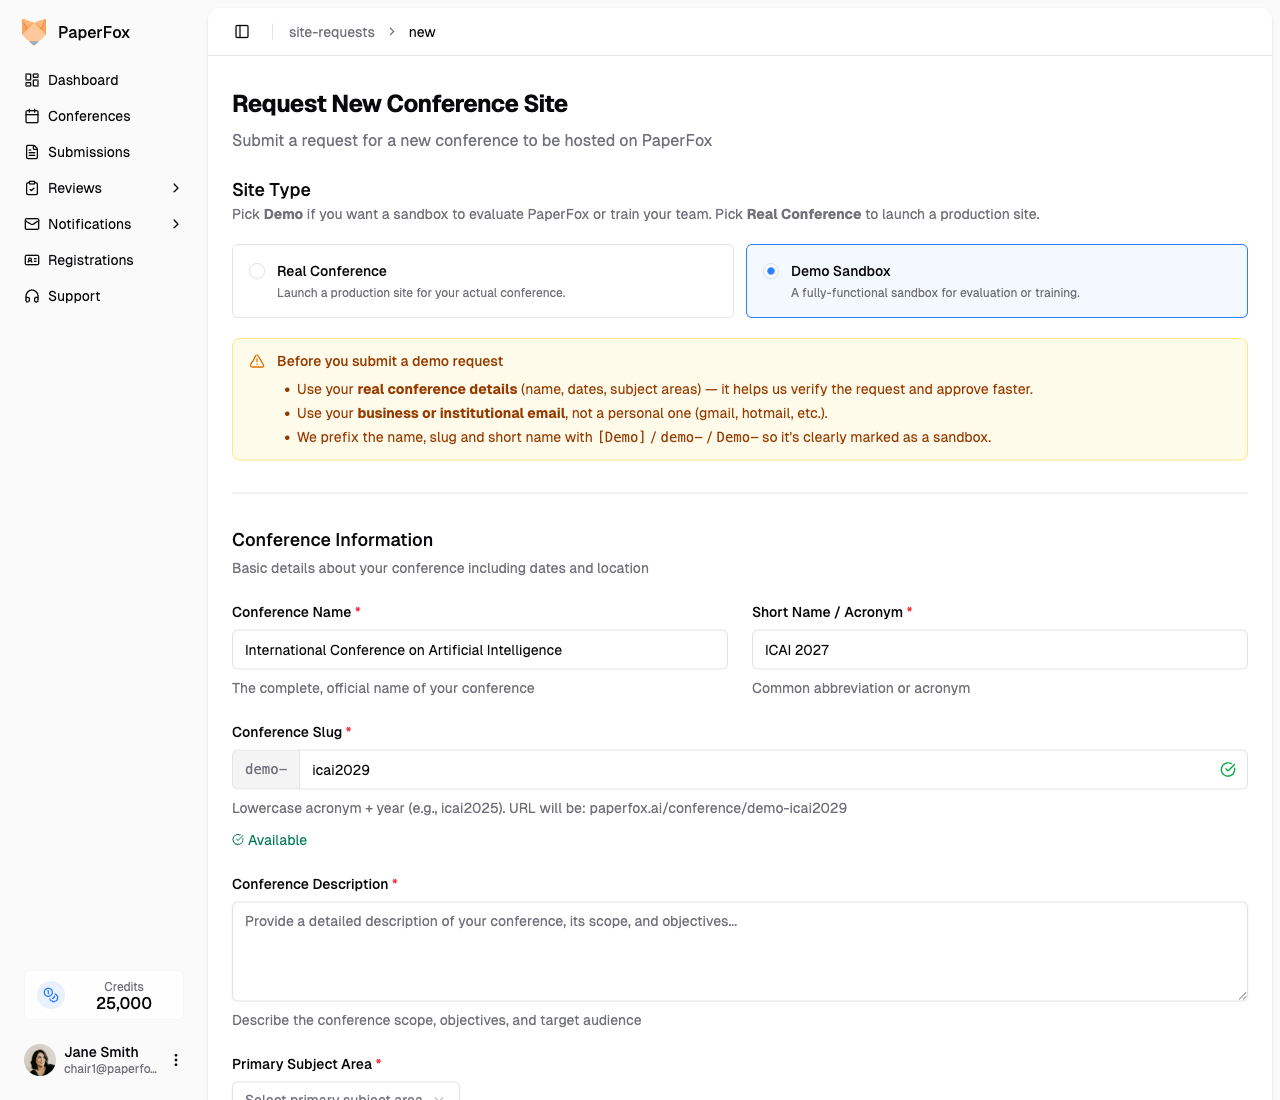 Still fill out the form with **your real conference details** (name, dates, subject areas) — vague or placeholder submissions get held up. Describe the evaluation scenario in the **Additional Information** field (e.g., "Evaluating PaperFox for our 2027 conference", "Training reviewers before go-live").
Demo prefixes are applied automatically so the conference is clearly identifiable as a sandbox:
| Field | What you entered | Demo conference |
|-------|------------------|-----------------|
| Name | International Conference on AI | **[Demo]** International Conference on AI |
| Short name | ICAI 2027 | **Demo-**ICAI 2027 |
| Slug (URL) | `icai2027` | **`demo-`**`icai2027` |
The demo is a fully-functional conference — you can create tracks, invite reviewers, submit test submissions, and run the review cycle end to end.
Still fill out the form with **your real conference details** (name, dates, subject areas) — vague or placeholder submissions get held up. Describe the evaluation scenario in the **Additional Information** field (e.g., "Evaluating PaperFox for our 2027 conference", "Training reviewers before go-live").
Demo prefixes are applied automatically so the conference is clearly identifiable as a sandbox:
| Field | What you entered | Demo conference |
|-------|------------------|-----------------|
| Name | International Conference on AI | **[Demo]** International Conference on AI |
| Short name | ICAI 2027 | **Demo-**ICAI 2027 |
| Slug (URL) | `icai2027` | **`demo-`**`icai2027` |
The demo is a fully-functional conference — you can create tracks, invite reviewers, submit test submissions, and run the review cycle end to end.
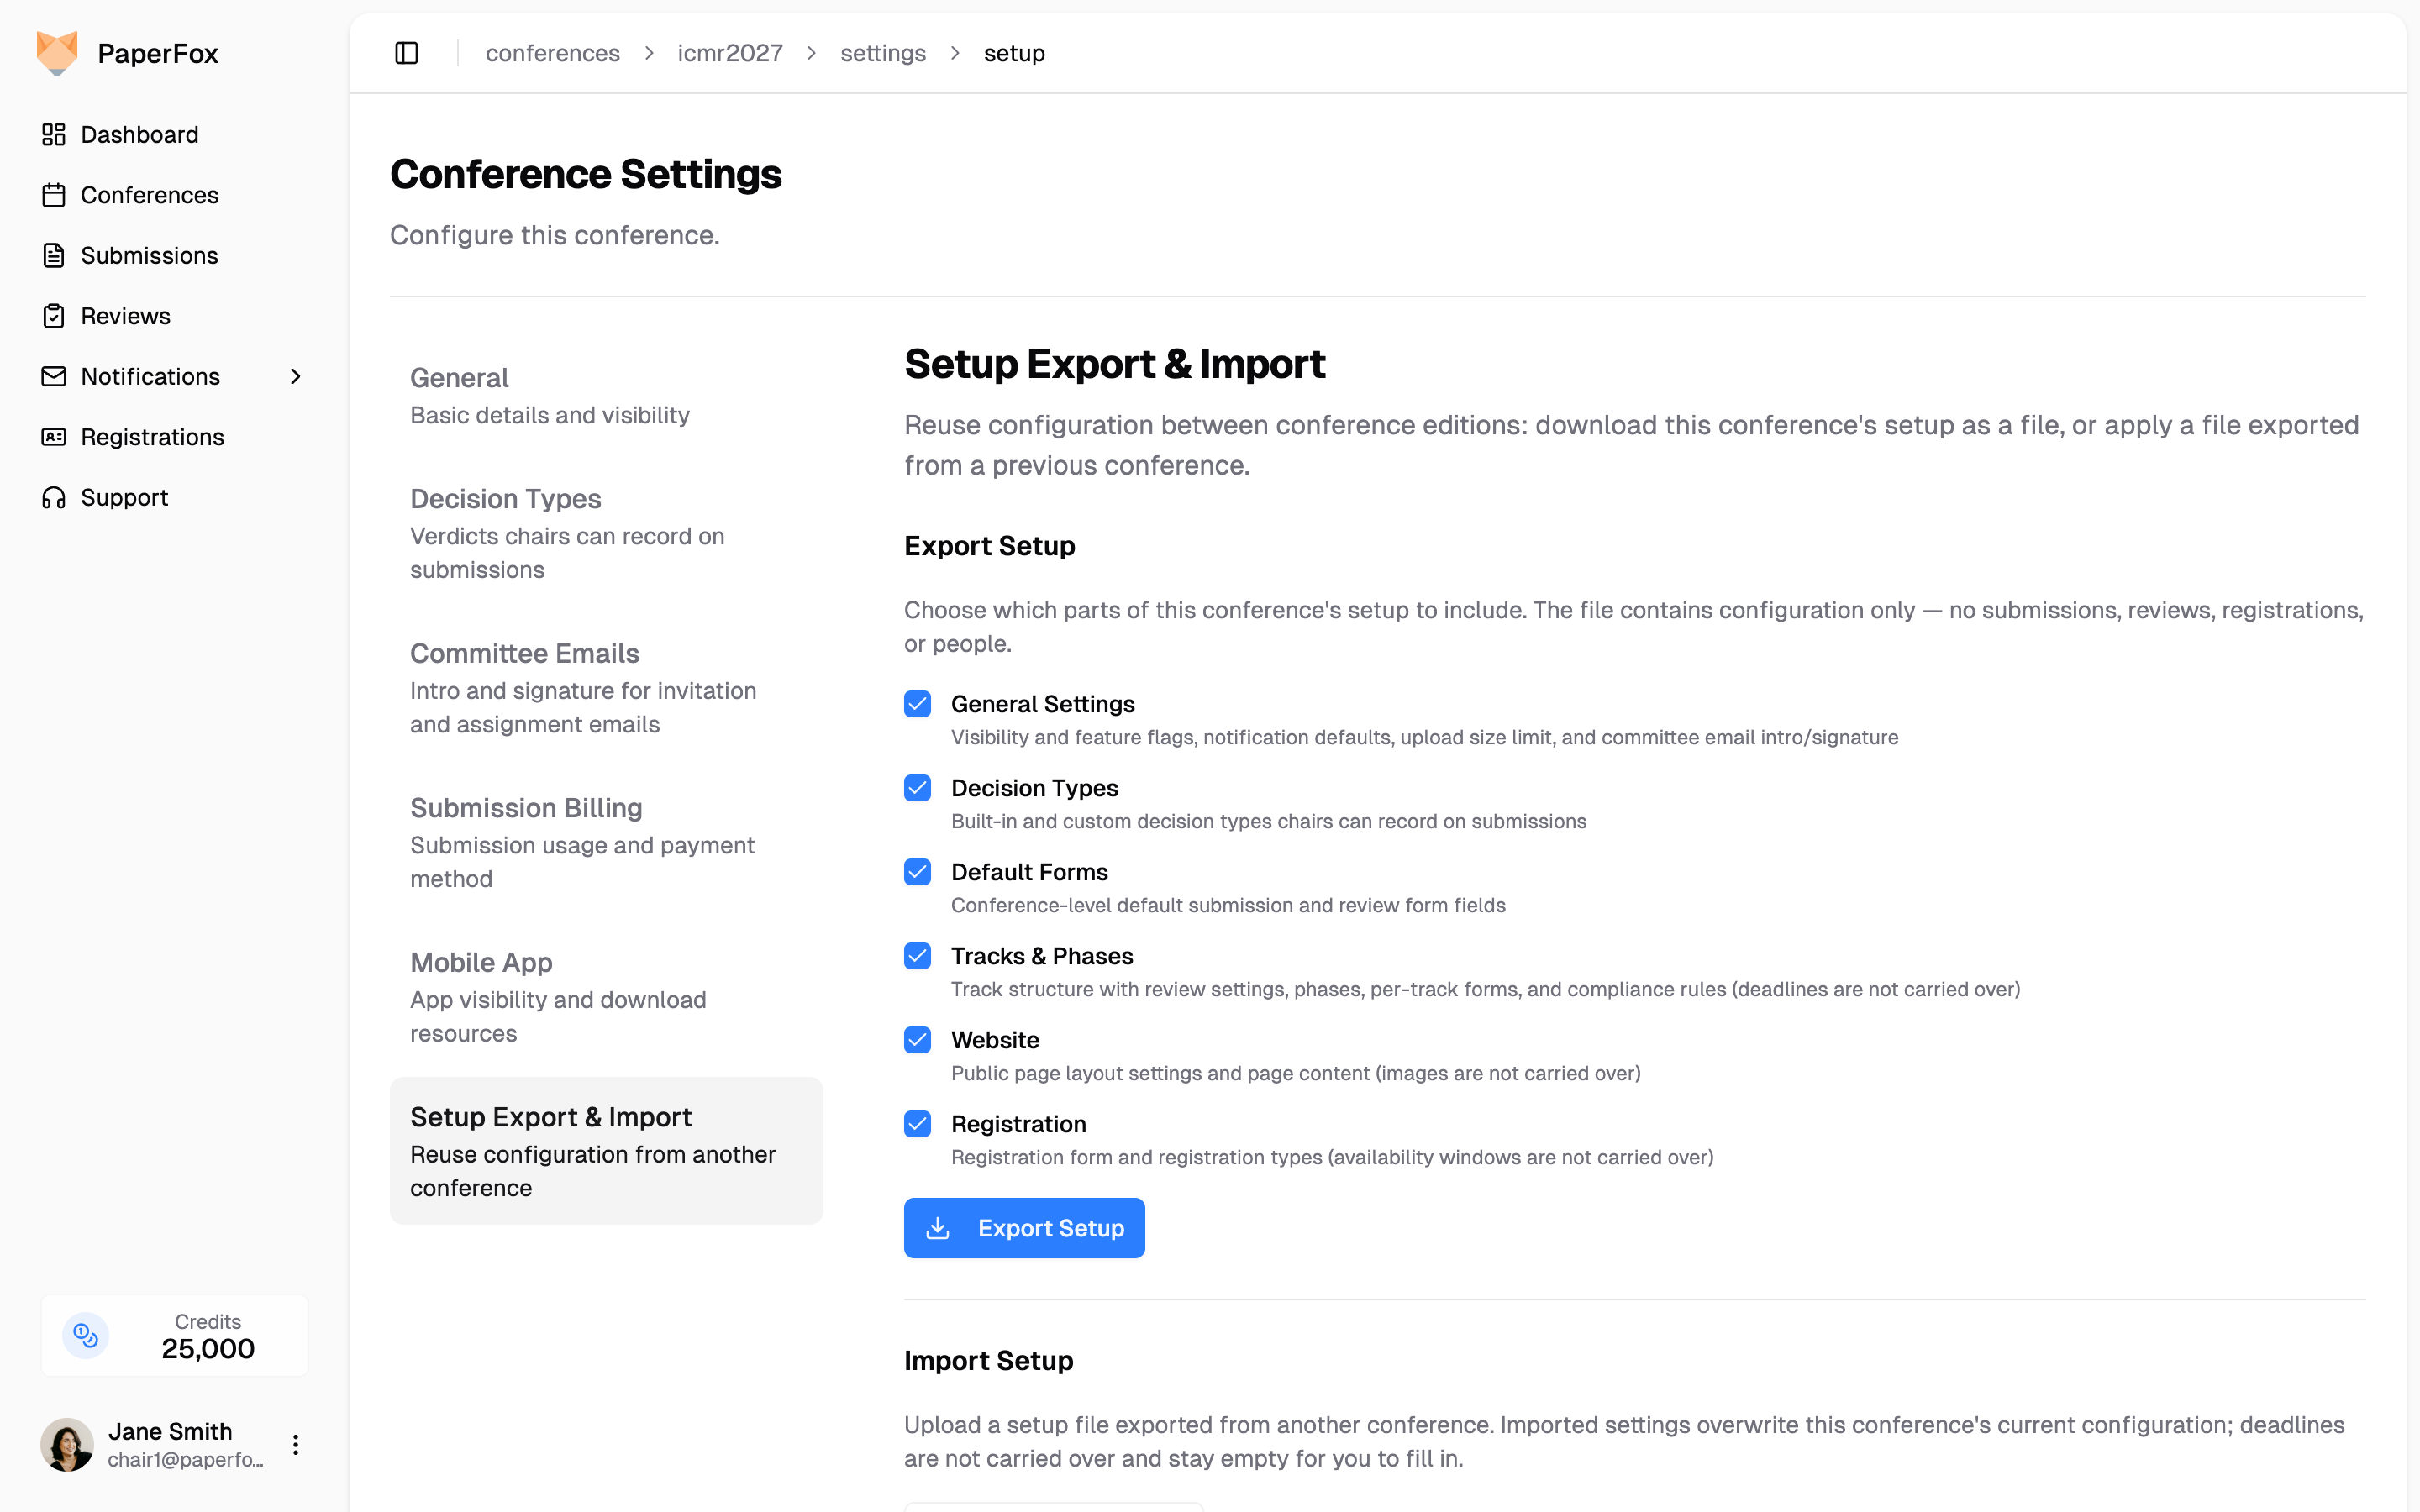 ## Import Into the New Conference
1. In the new conference, go to **Conference Settings → Setup Export & Import**
2. Click **"Choose Setup File"** and select the exported `.json` file
3. A preview shows which conference the file came from and which sections it contains — untick anything you don't want to apply
## Import Into the New Conference
1. In the new conference, go to **Conference Settings → Setup Export & Import**
2. Click **"Choose Setup File"** and select the exported `.json` file
3. A preview shows which conference the file came from and which sections it contains — untick anything you don't want to apply
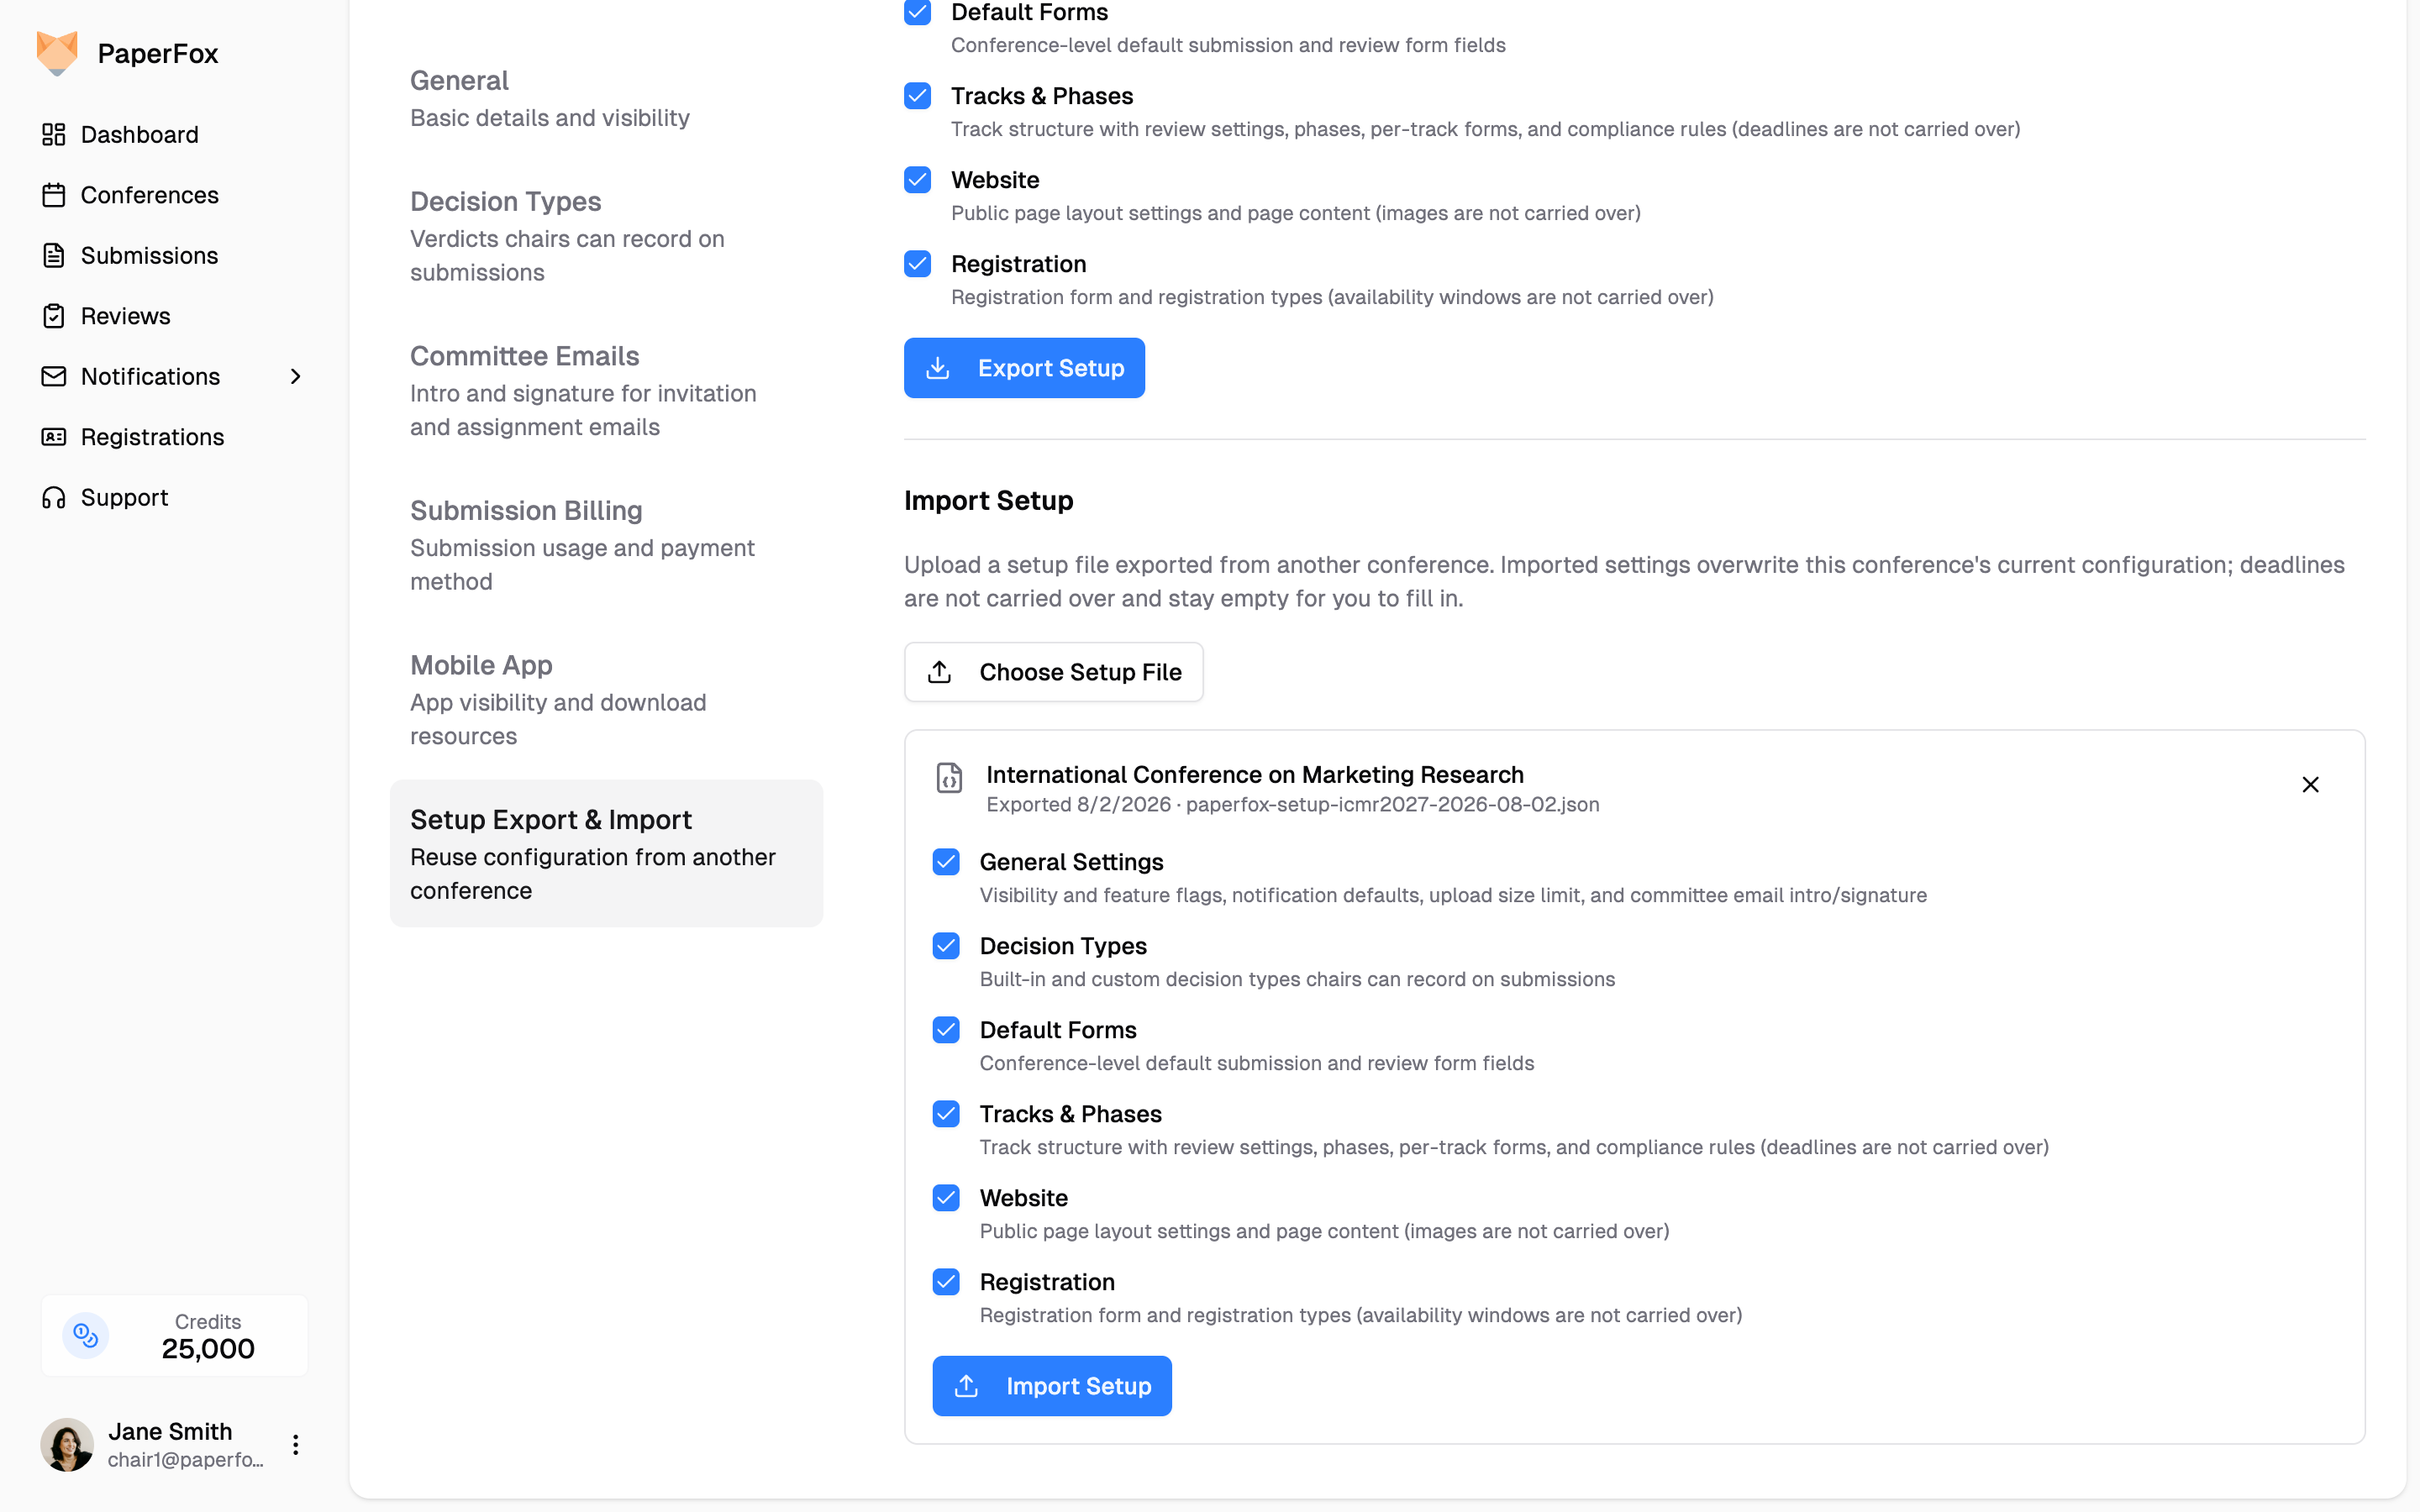 4. Click **"Import Setup"** and confirm
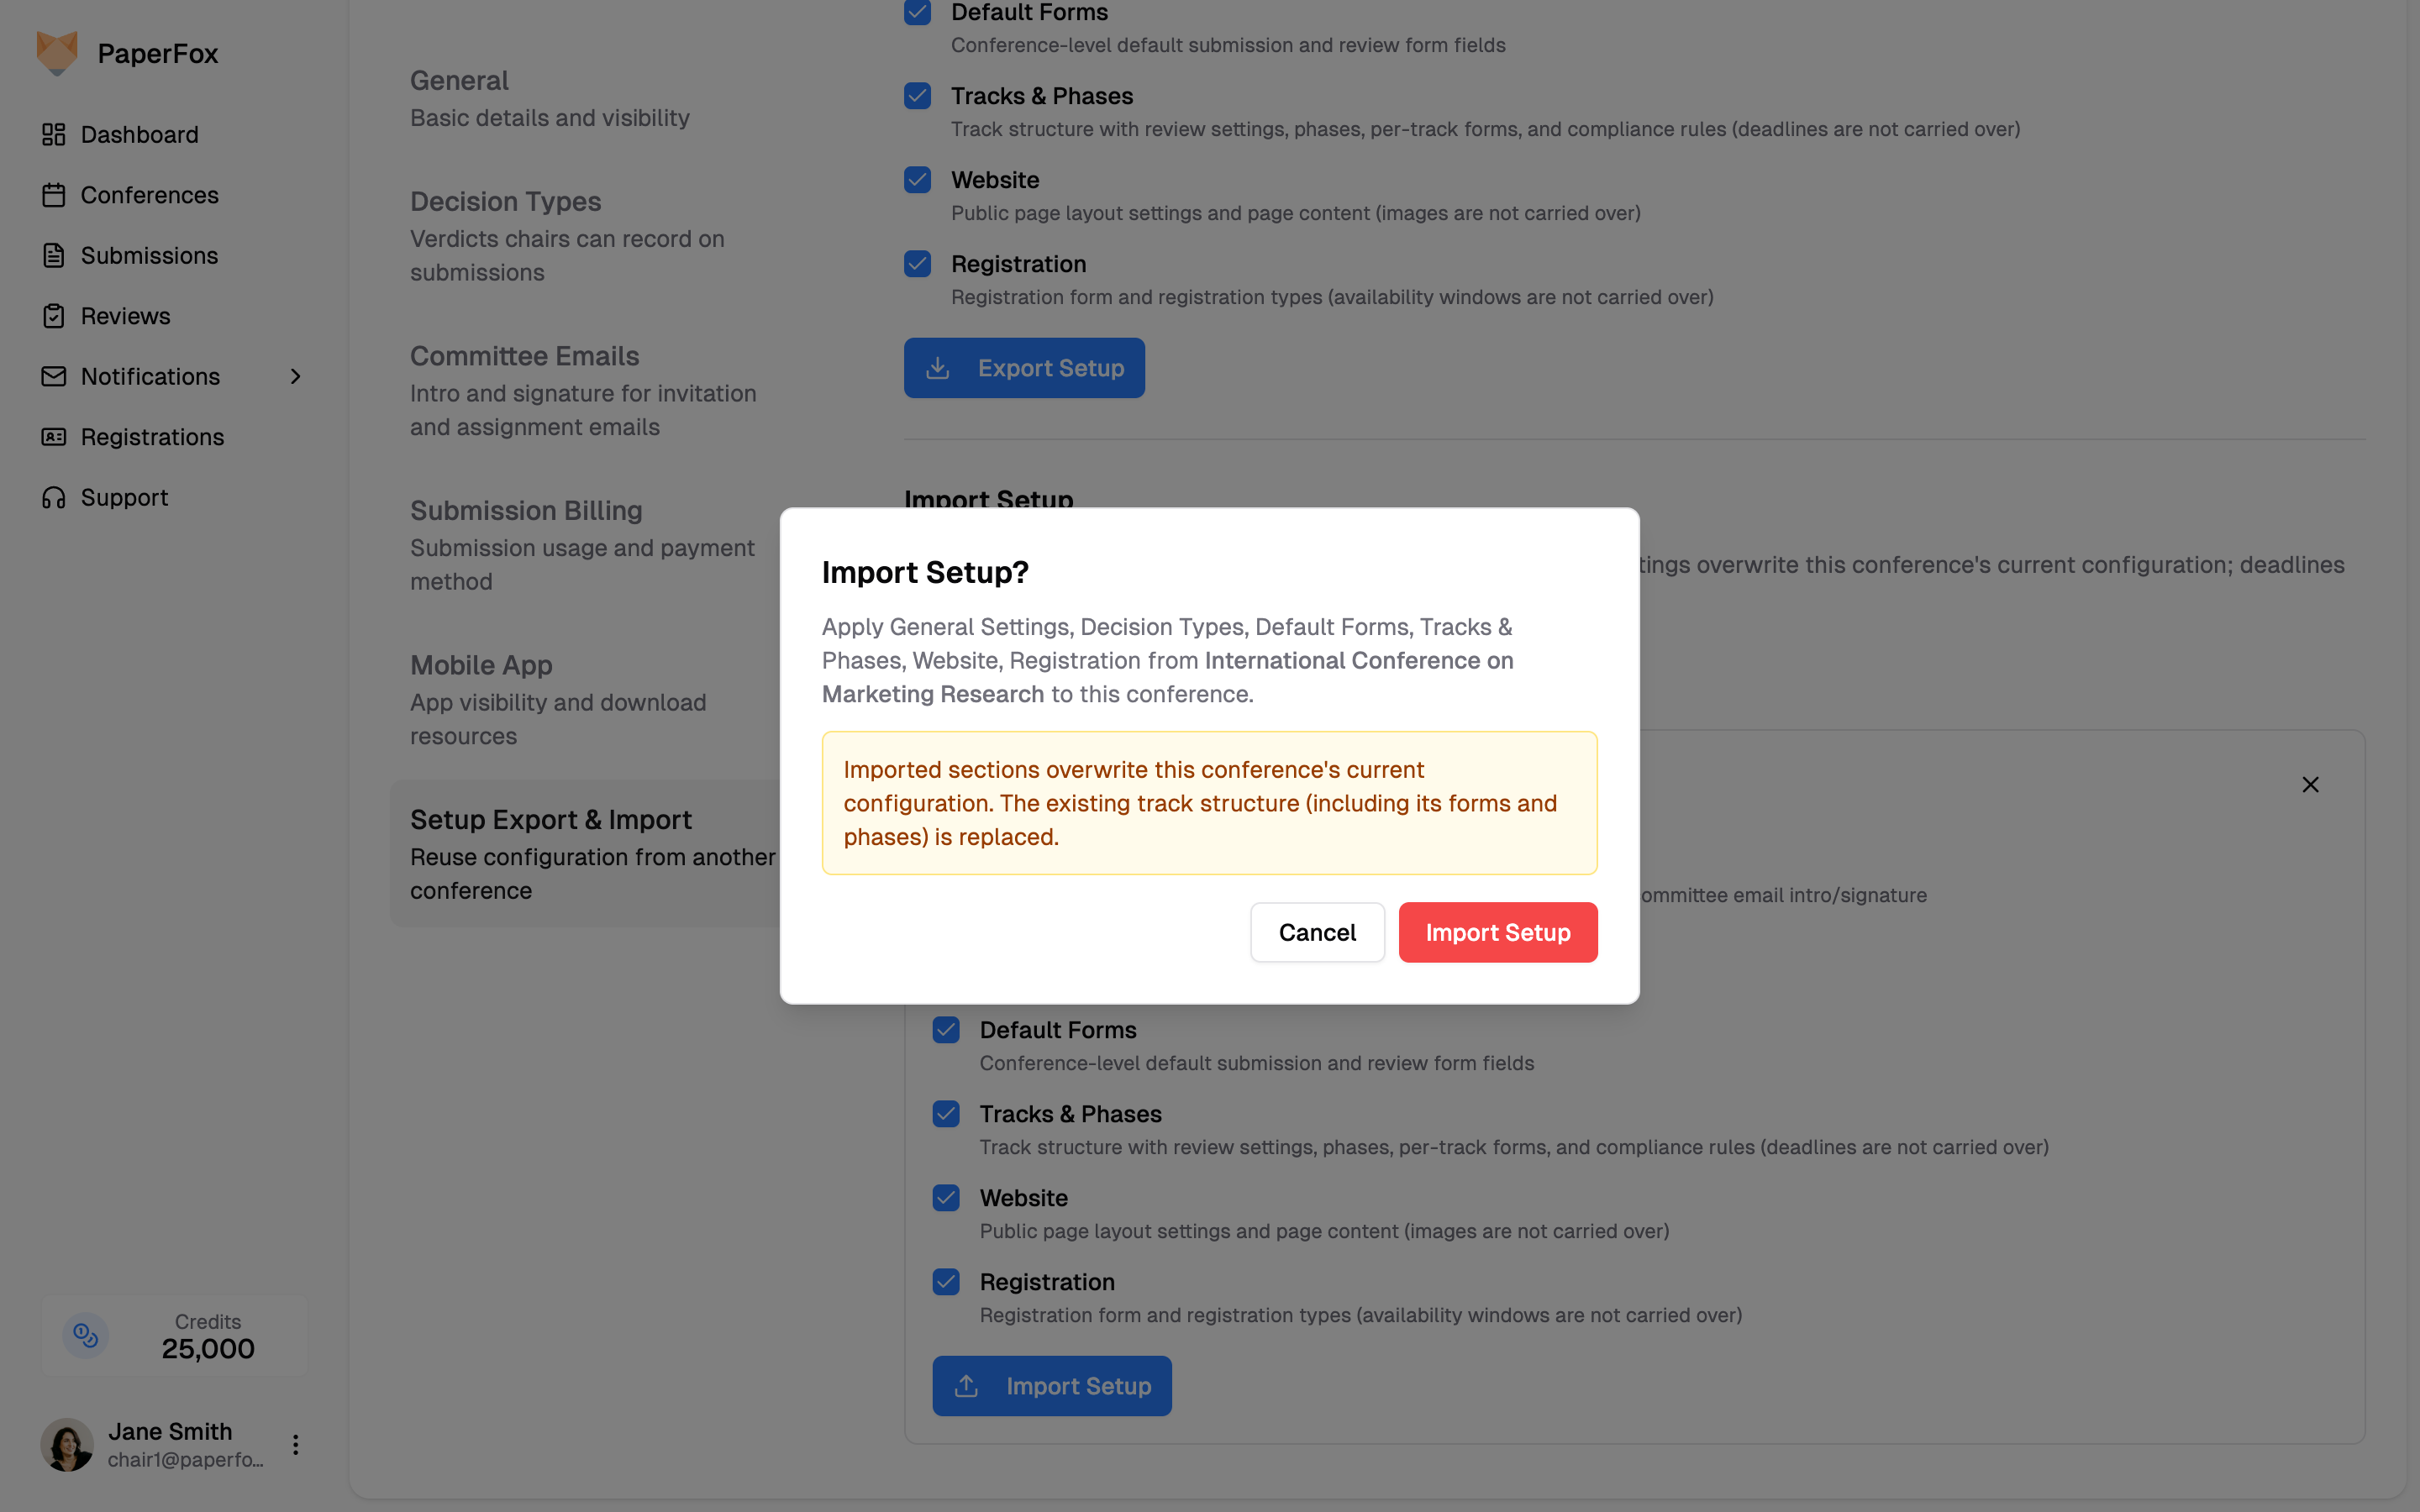
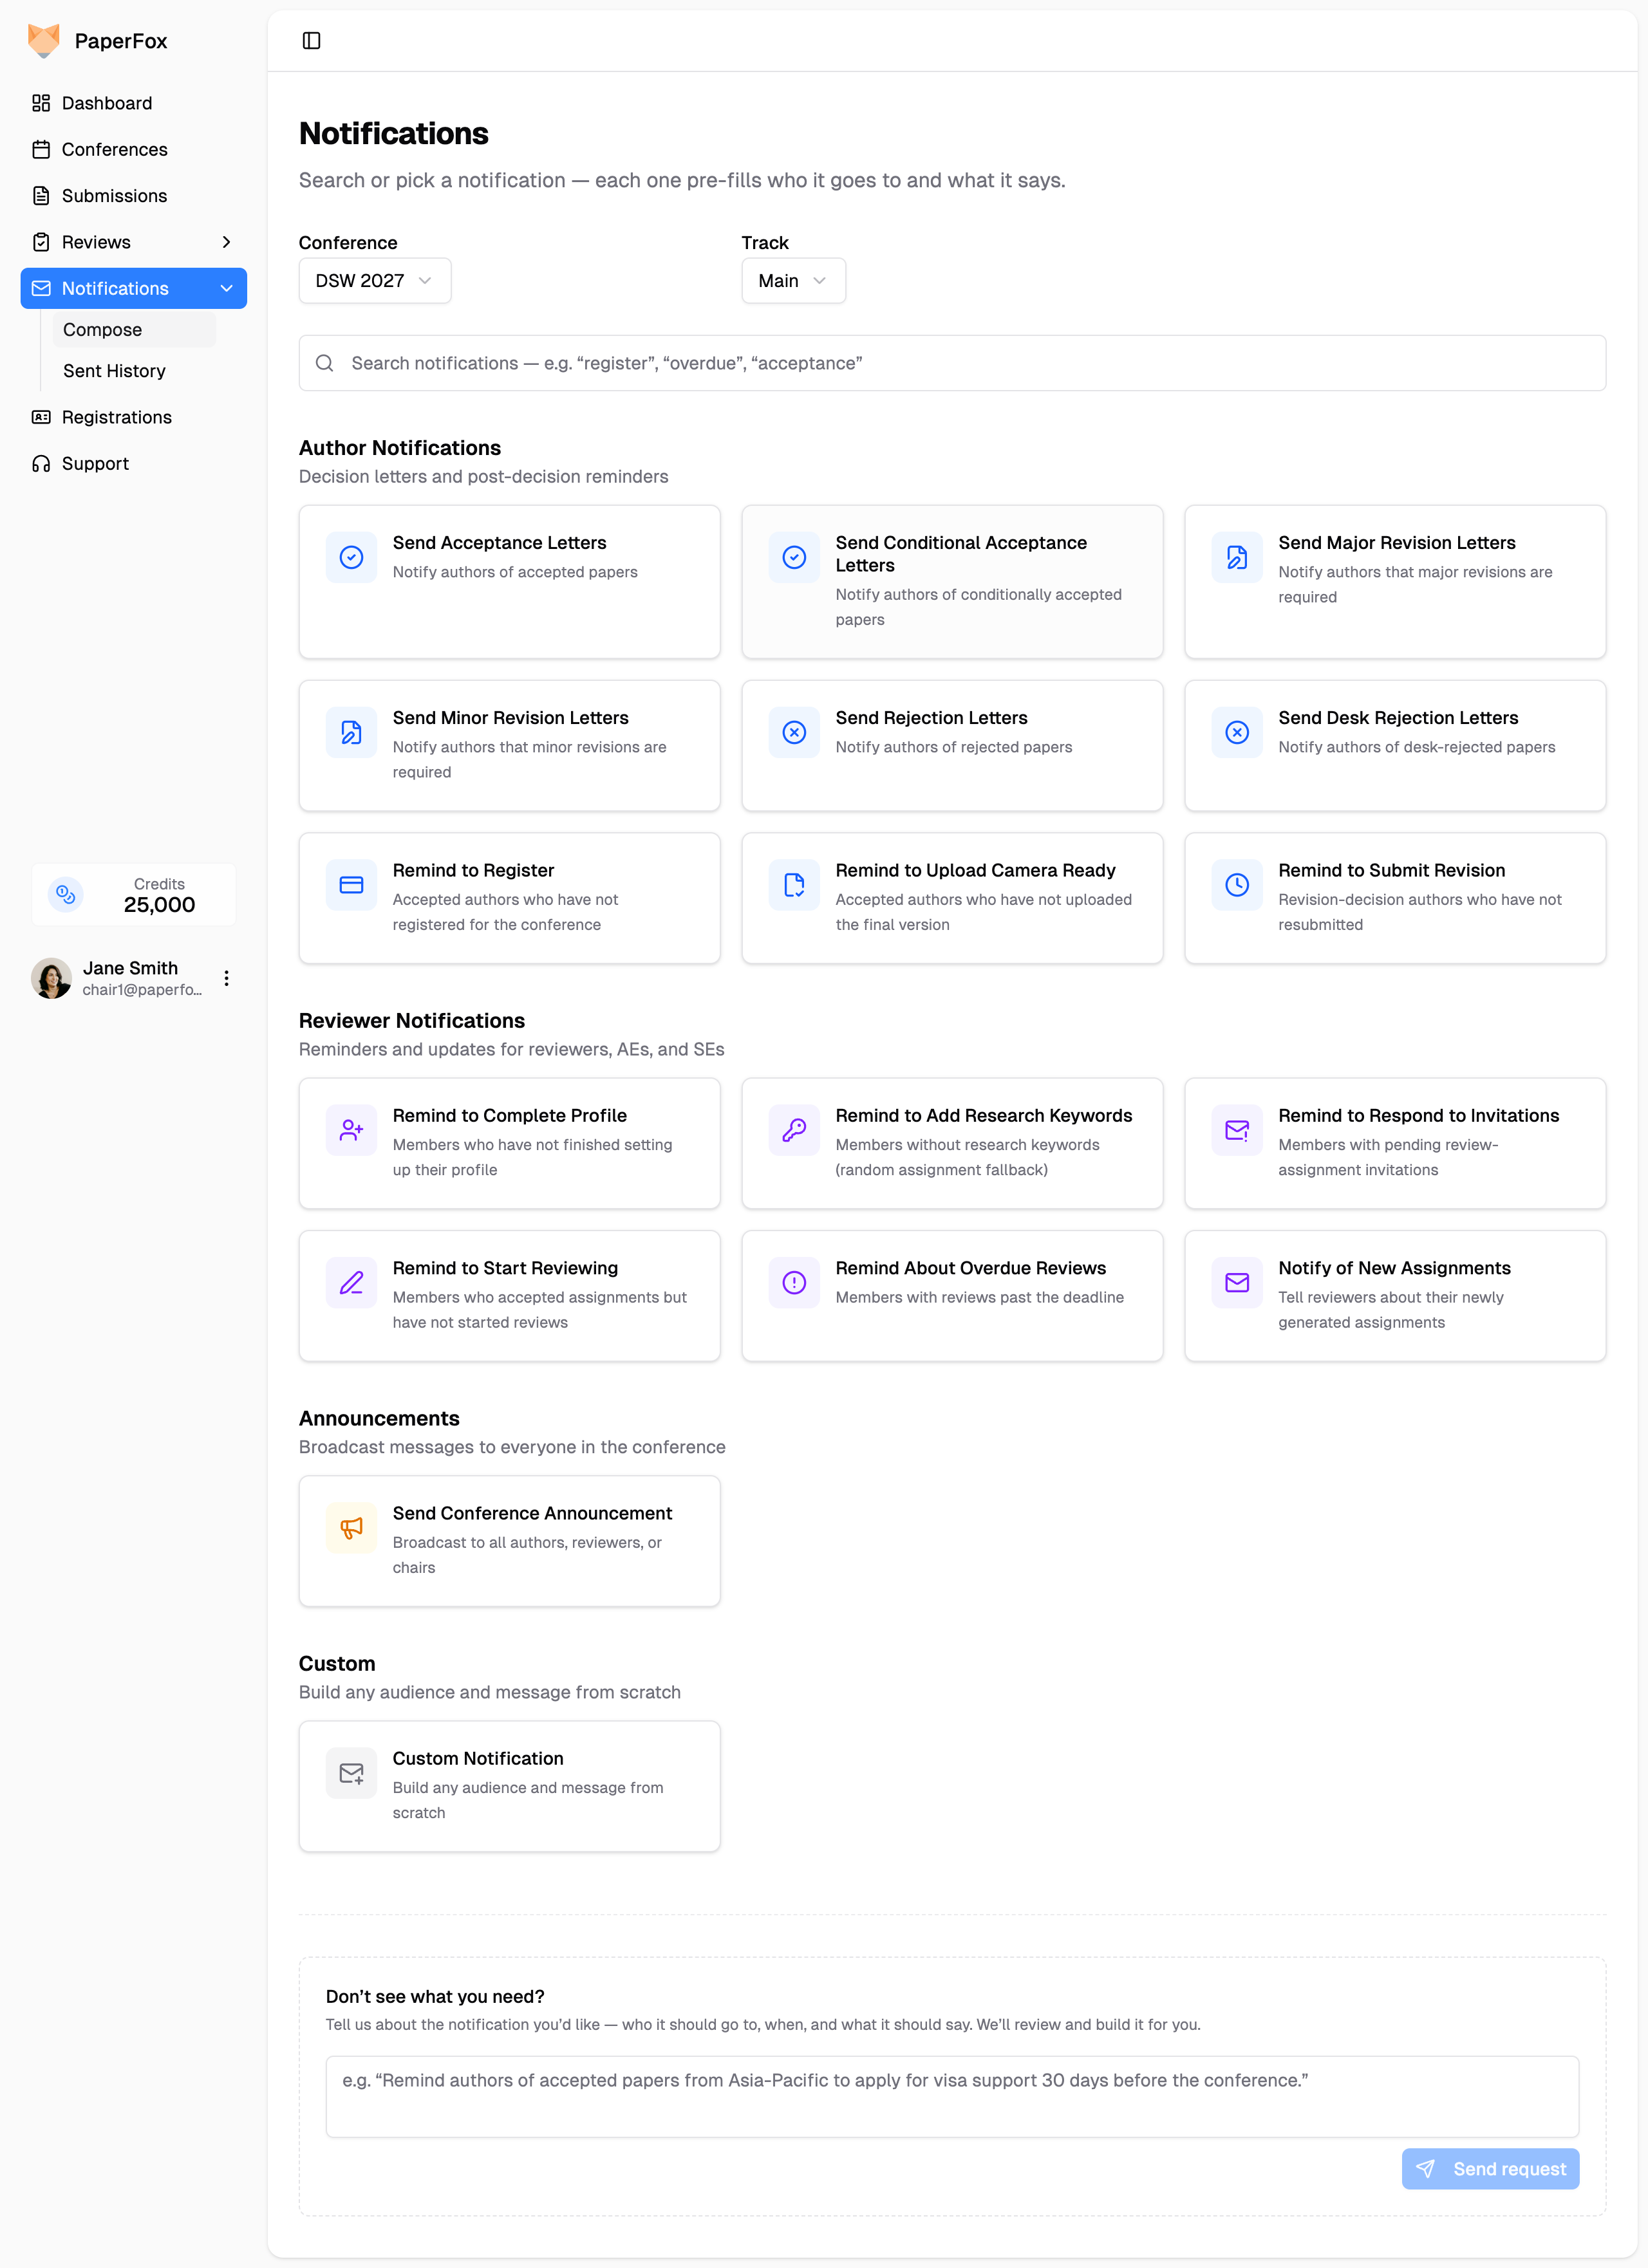 The hub groups presets by category:
| Category | Examples |
|----------|----------|
| **Author Notifications** | Send Acceptance / Conditional Acceptance / Major Revision / Minor Revision / Rejection / Desk Rejection Letters, Remind to Register, Remind to Upload Camera Ready, Remind to Submit Revision |
| **Reviewer Notifications** | Reminders and thank-yous for reviewers, AEs, and SEs — profile prompts, invitation and assignment chasers, review reminders, and more. [Full list below.](#email-reviewers-from-the-committee-page) |
| **Announcements** | Send Conference Announcement (broadcast to authors / reviewers / chairs), [Notify All Registrants](/docs/chairs/notify-all-registrants) (logistics & arrival info to everyone registered, including registrants you imported) |
| **Custom** | Custom Notification — the freeform composer if no preset fits |
| **Context-Aware** | Email Selected Authors / Reviewers / Associate Editors / Senior Editors / Track Chairs, Notify Authors of Compliance Issues, Remind Authors to Register — these open the relevant list page so you can pick recipients, then notify only the rows you selected |
The hub groups presets by category:
| Category | Examples |
|----------|----------|
| **Author Notifications** | Send Acceptance / Conditional Acceptance / Major Revision / Minor Revision / Rejection / Desk Rejection Letters, Remind to Register, Remind to Upload Camera Ready, Remind to Submit Revision |
| **Reviewer Notifications** | Reminders and thank-yous for reviewers, AEs, and SEs — profile prompts, invitation and assignment chasers, review reminders, and more. [Full list below.](#email-reviewers-from-the-committee-page) |
| **Announcements** | Send Conference Announcement (broadcast to authors / reviewers / chairs), [Notify All Registrants](/docs/chairs/notify-all-registrants) (logistics & arrival info to everyone registered, including registrants you imported) |
| **Custom** | Custom Notification — the freeform composer if no preset fits |
| **Context-Aware** | Email Selected Authors / Reviewers / Associate Editors / Senior Editors / Track Chairs, Notify Authors of Compliance Issues, Remind Authors to Register — these open the relevant list page so you can pick recipients, then notify only the rows you selected |
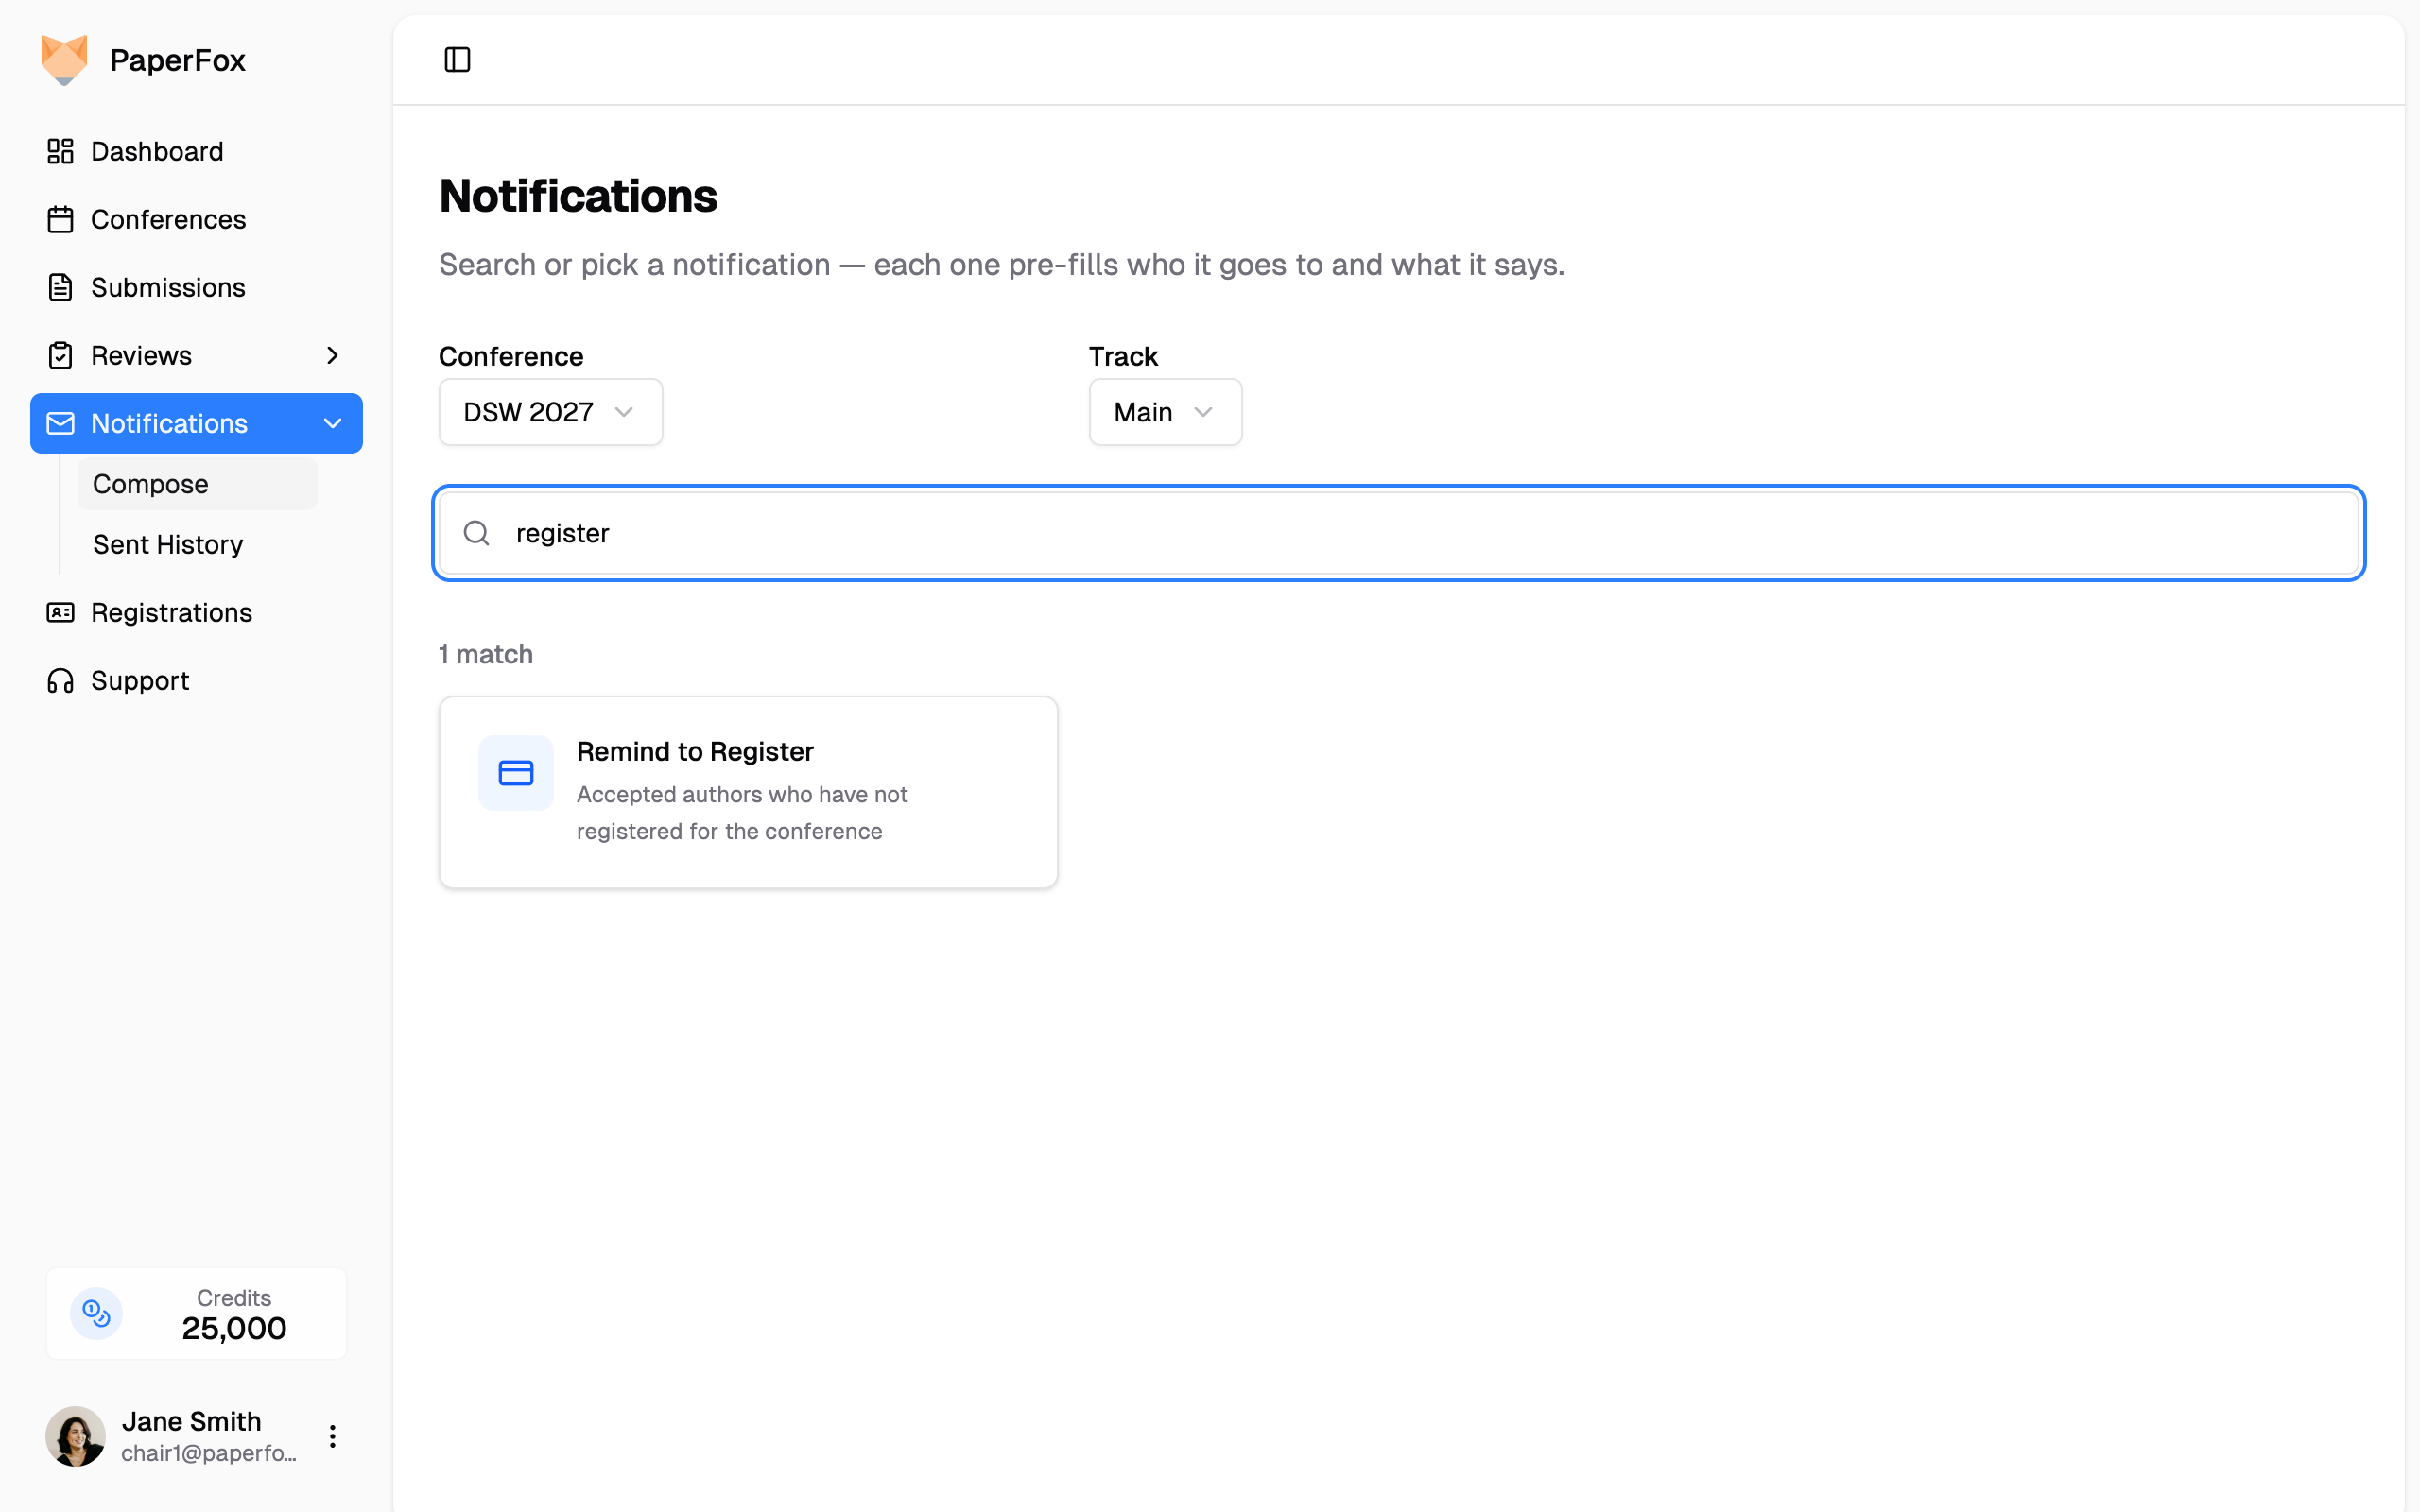 4. Click a preset card. The composer opens with **everything pre-filled** — recipients, subject, message body, and a **Back to Notifications** button to return:
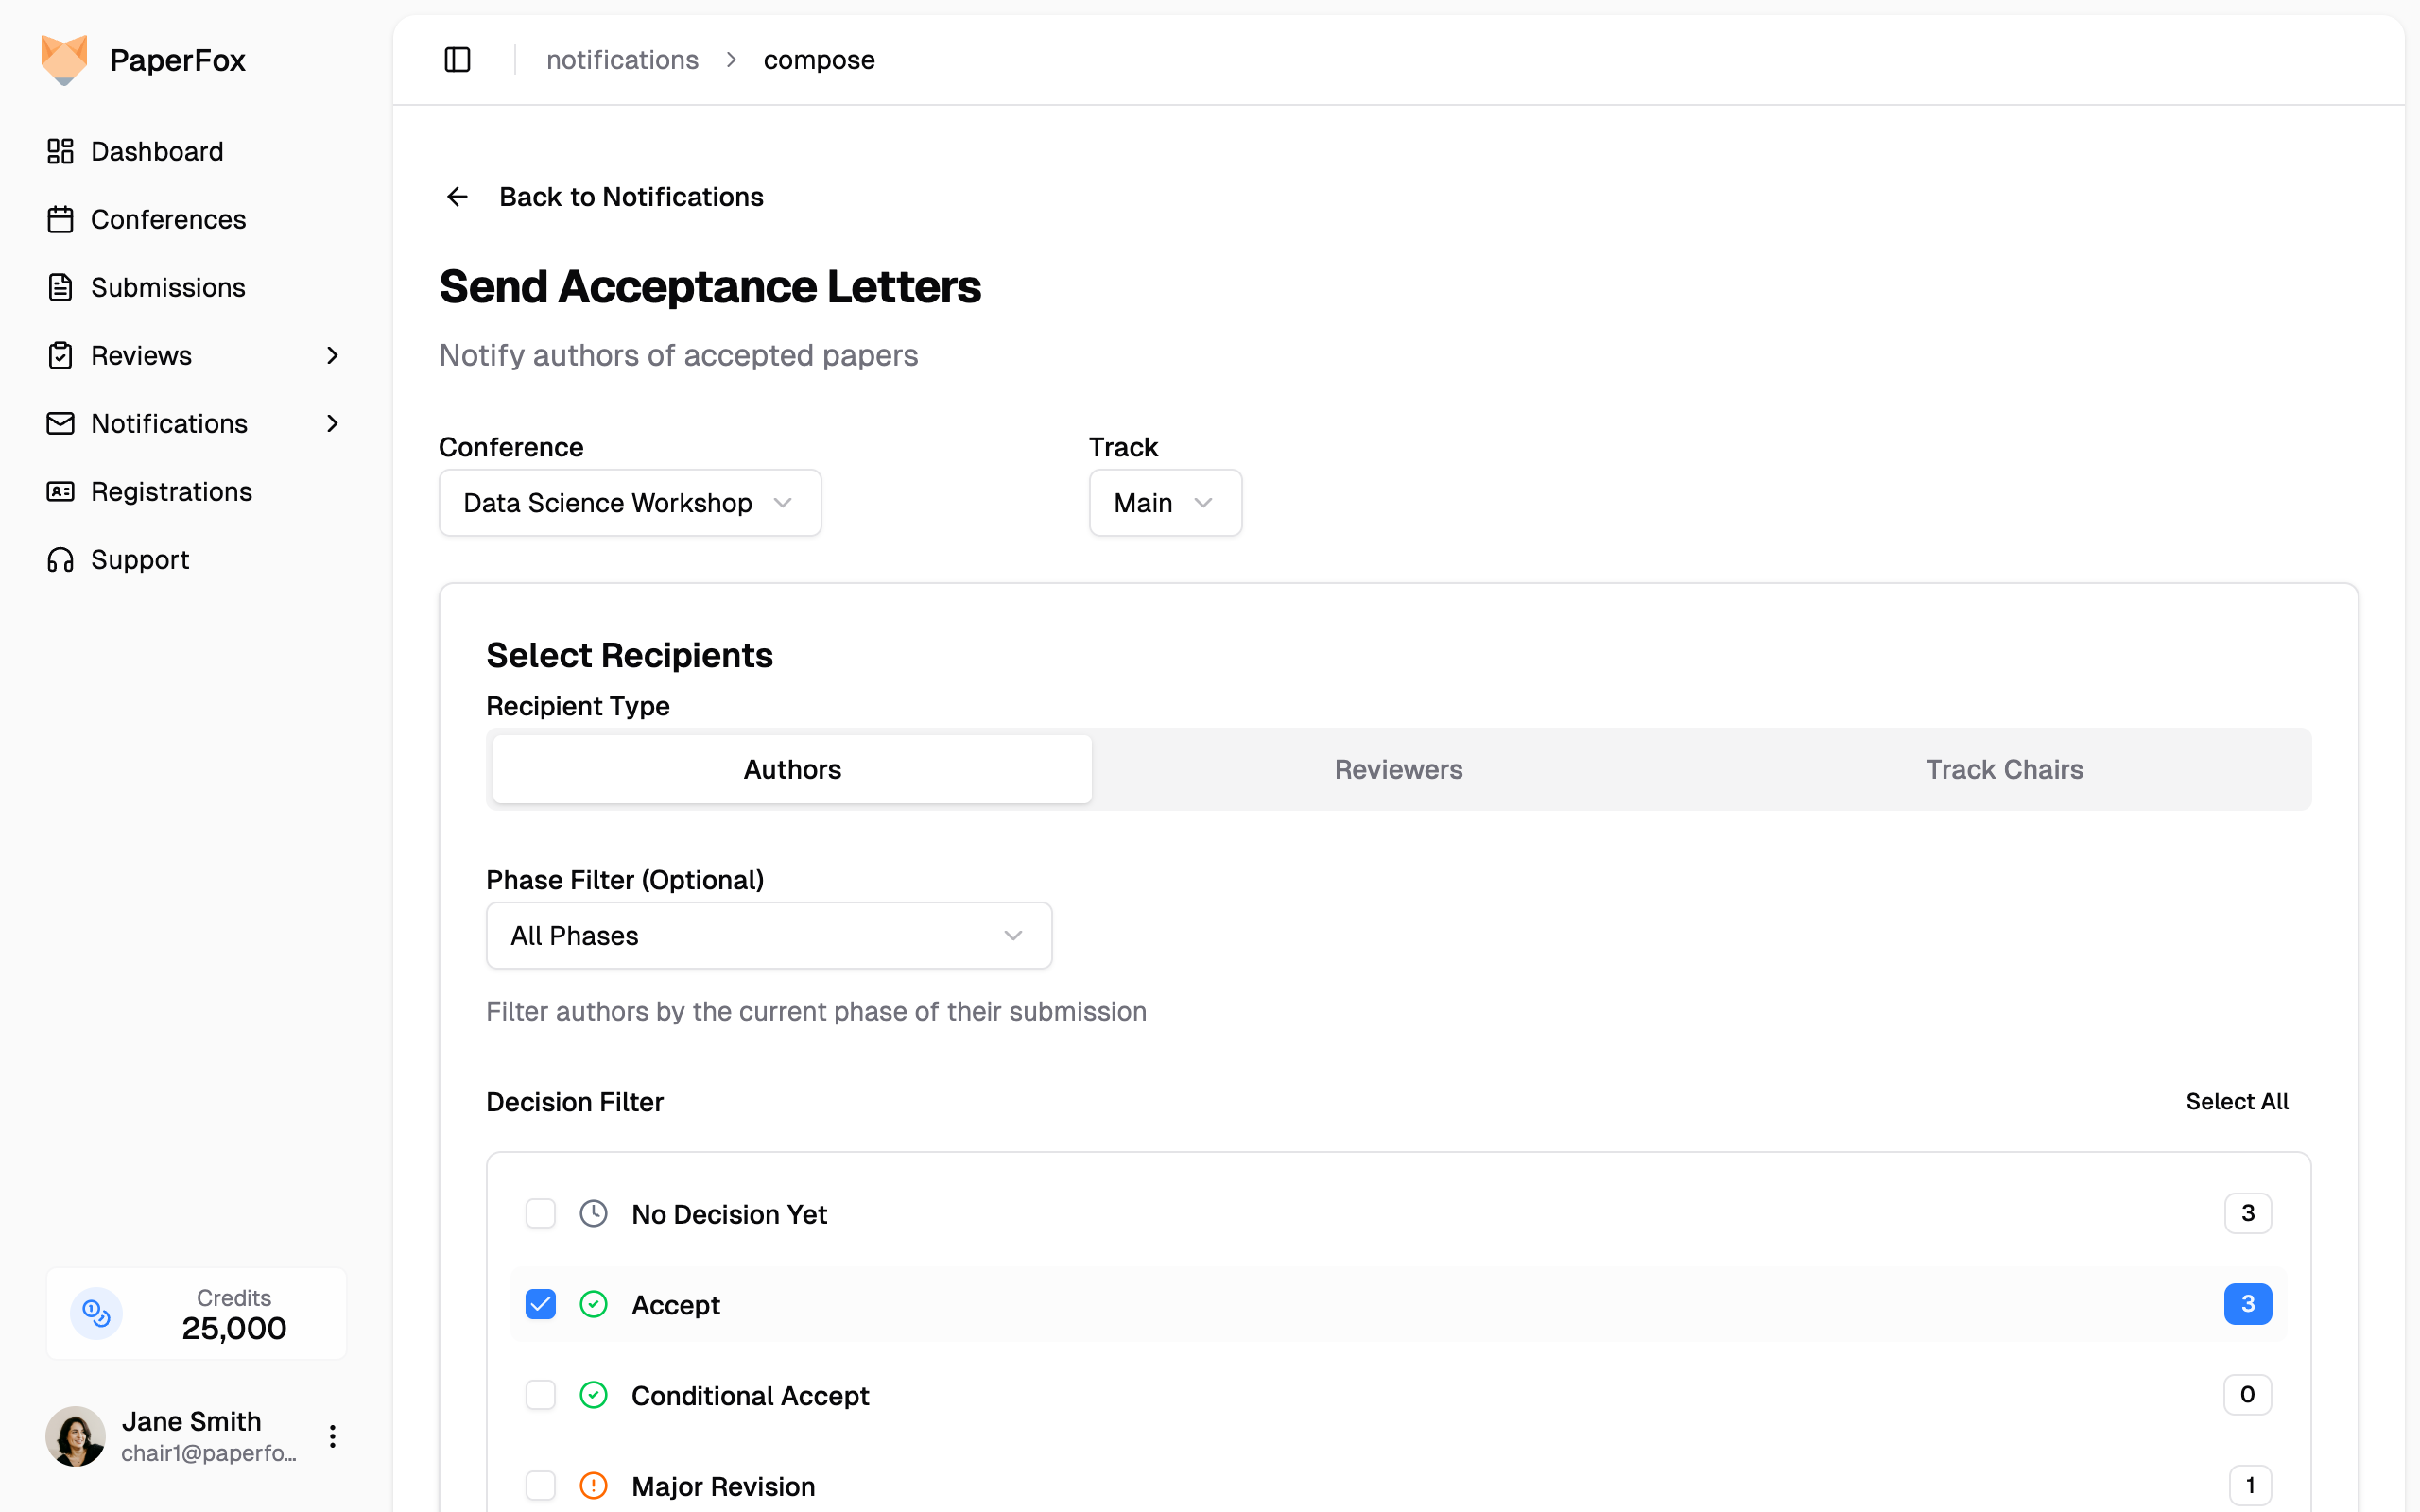 5. Edit the subject or body if you want to add conference-specific context, then click **Send Notification**.
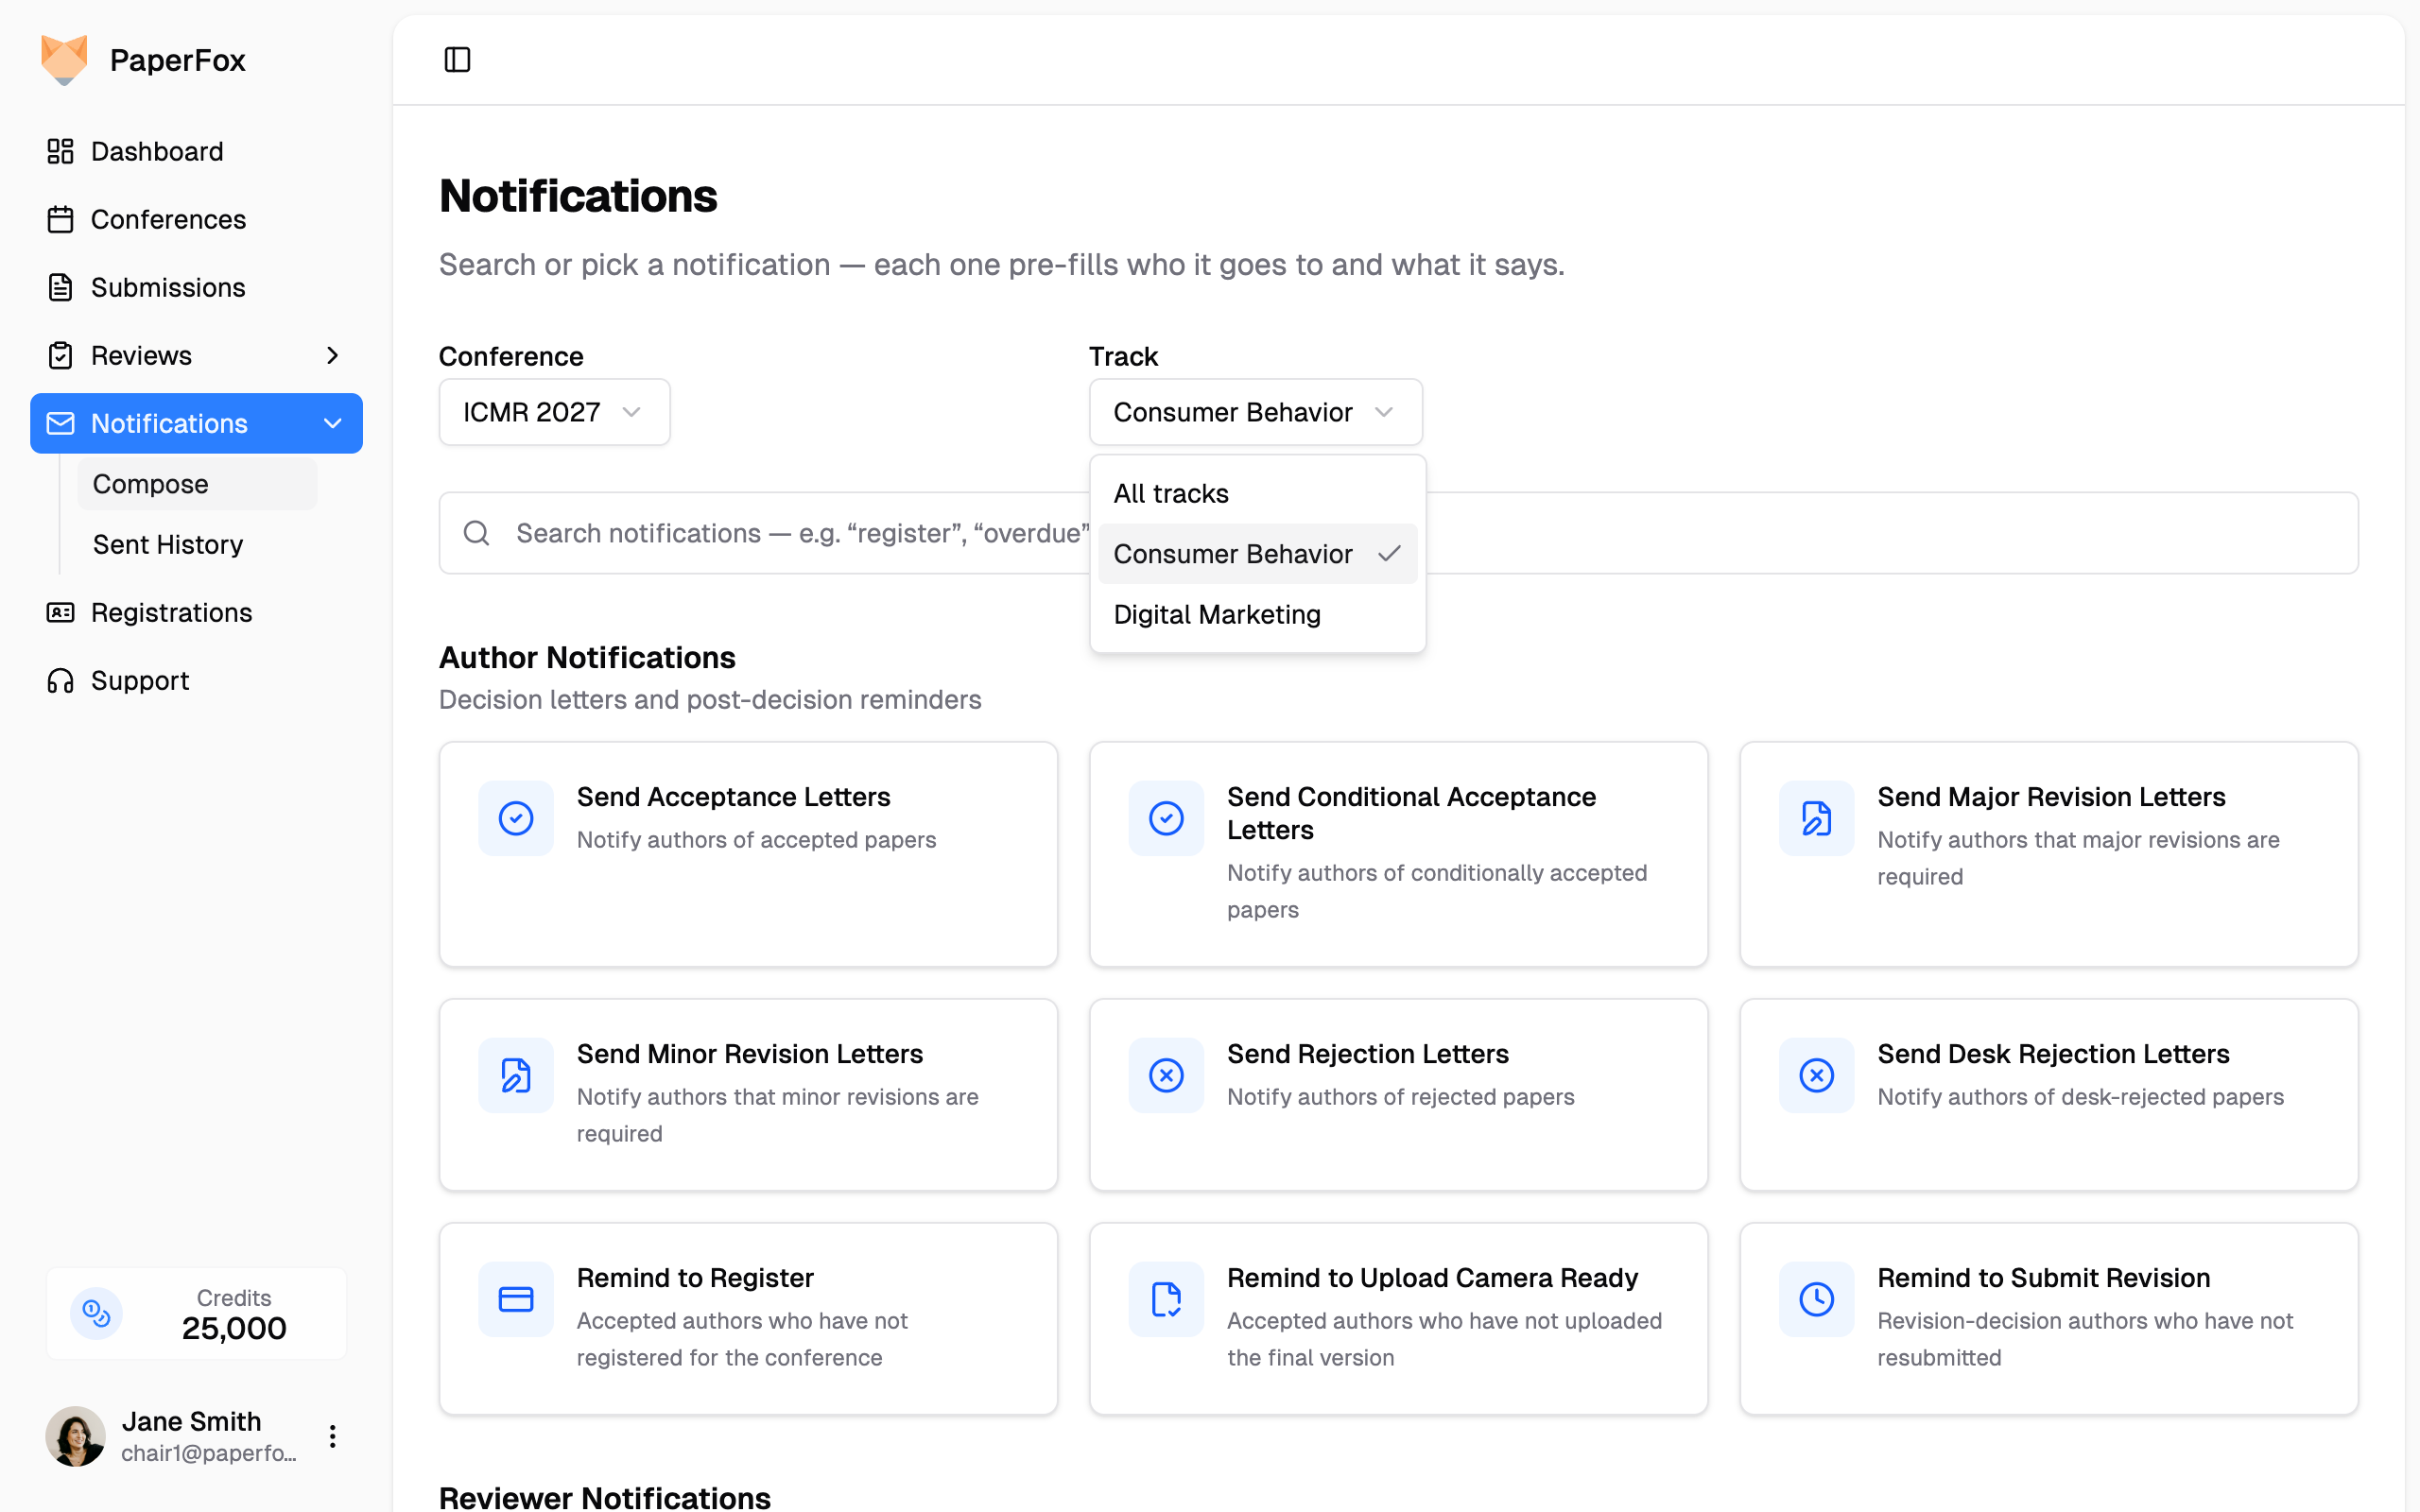 The "All tracks" option only appears in conferences where you manage 2 or more tracks. In a single-track conference there's nothing to combine.
For reviewer, associate editor, and senior editor sends, an all-tracks composer targets a review phase by **number** — "Phase 2" reaches phase 2 of every track at once (for example, emailing every reviewer with final-draft assignments across all tracks in one send). Tracks without that phase are simply skipped, and the recipient count updates as you switch phases.
The "All tracks" option only appears in conferences where you manage 2 or more tracks. In a single-track conference there's nothing to combine.
For reviewer, associate editor, and senior editor sends, an all-tracks composer targets a review phase by **number** — "Phase 2" reaches phase 2 of every track at once (for example, emailing every reviewer with final-draft assignments across all tracks in one send). Tracks without that phase are simply skipped, and the recipient count updates as you switch phases.
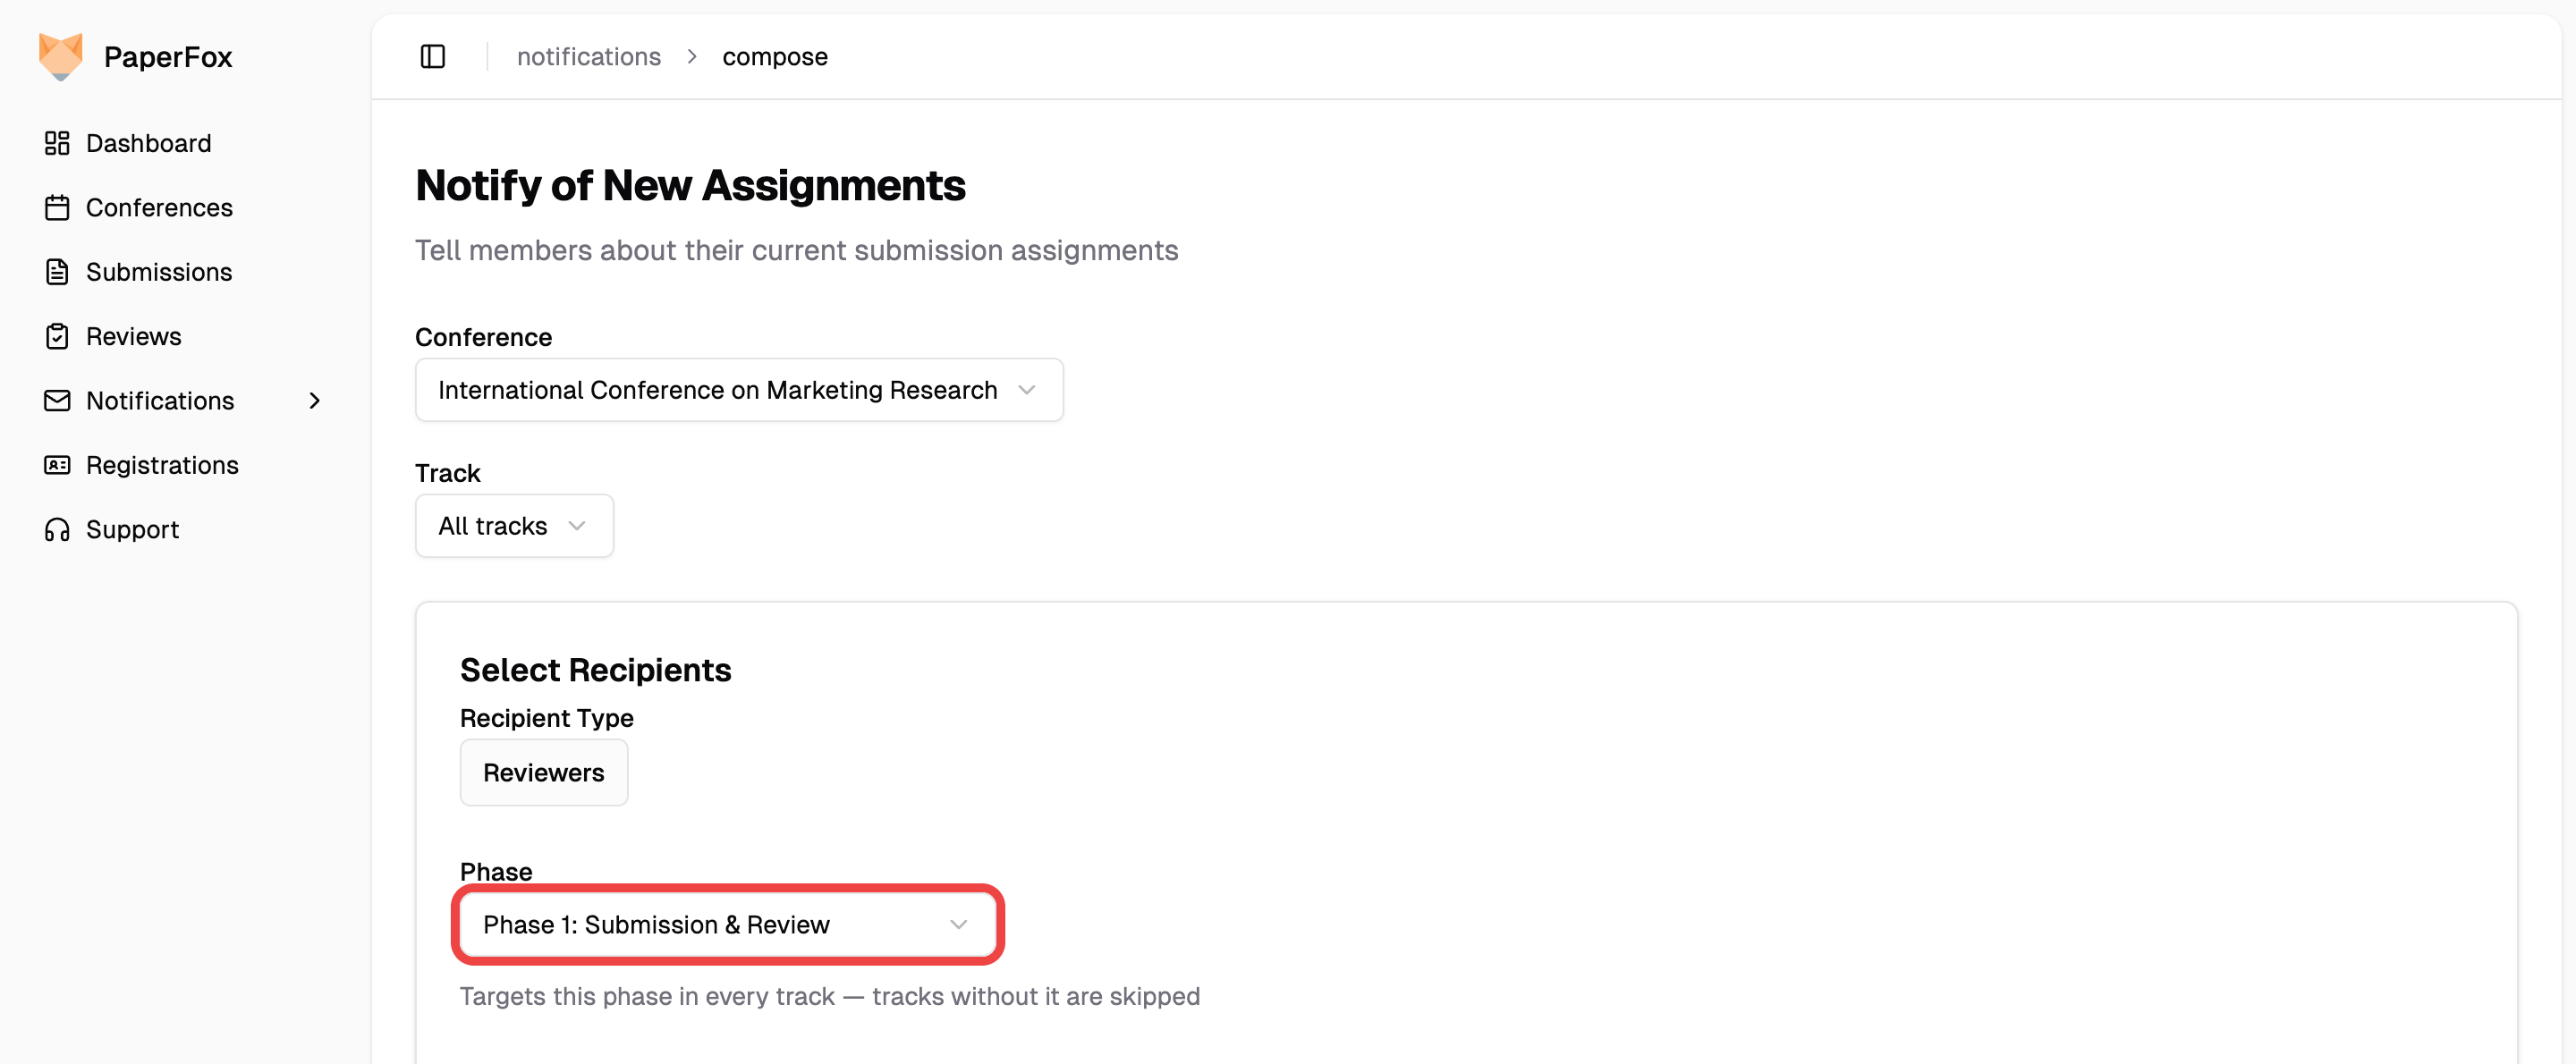 The picker names the phase when every track agrees on it; where tracks use different names for the same phase number it reads **"Phase 2 (names vary by track)"**. It only appears when your tracks have more than one phase.
---
## Email a Submission's Authors
You can email the authors of a specific submission directly from the submission detail page.
1. Open a submission in your track
2. Next to the **Authors** heading, click **"Email Authors"**
The picker names the phase when every track agrees on it; where tracks use different names for the same phase number it reads **"Phase 2 (names vary by track)"**. It only appears when your tracks have more than one phase.
---
## Email a Submission's Authors
You can email the authors of a specific submission directly from the submission detail page.
1. Open a submission in your track
2. Next to the **Authors** heading, click **"Email Authors"**
 This opens the composer pre-filled with the submission's details:
- **Recipients** are pre-loaded from the submission's author list, each with a checkbox you can toggle individually
- **Subject** is pre-filled with the submission slug (e.g., `[ICAI2027-5]`)
- Quick-filter buttons above the list reset the selection: **Select All**, **Corresponding Only** (when there's a corresponding author), **Submitter Only** (when the submitter is one of the authors), and **Unselect All**
Compose your message and click **"Send Notification"**. (The picker UI is the same as the bulk-select flow shown in [Email Authors of Selected Submissions](#email-authors-of-selected-submissions) below.)
This opens the composer pre-filled with the submission's details:
- **Recipients** are pre-loaded from the submission's author list, each with a checkbox you can toggle individually
- **Subject** is pre-filled with the submission slug (e.g., `[ICAI2027-5]`)
- Quick-filter buttons above the list reset the selection: **Select All**, **Corresponding Only** (when there's a corresponding author), **Submitter Only** (when the submitter is one of the authors), and **Unselect All**
Compose your message and click **"Send Notification"**. (The picker UI is the same as the bulk-select flow shown in [Email Authors of Selected Submissions](#email-authors-of-selected-submissions) below.)
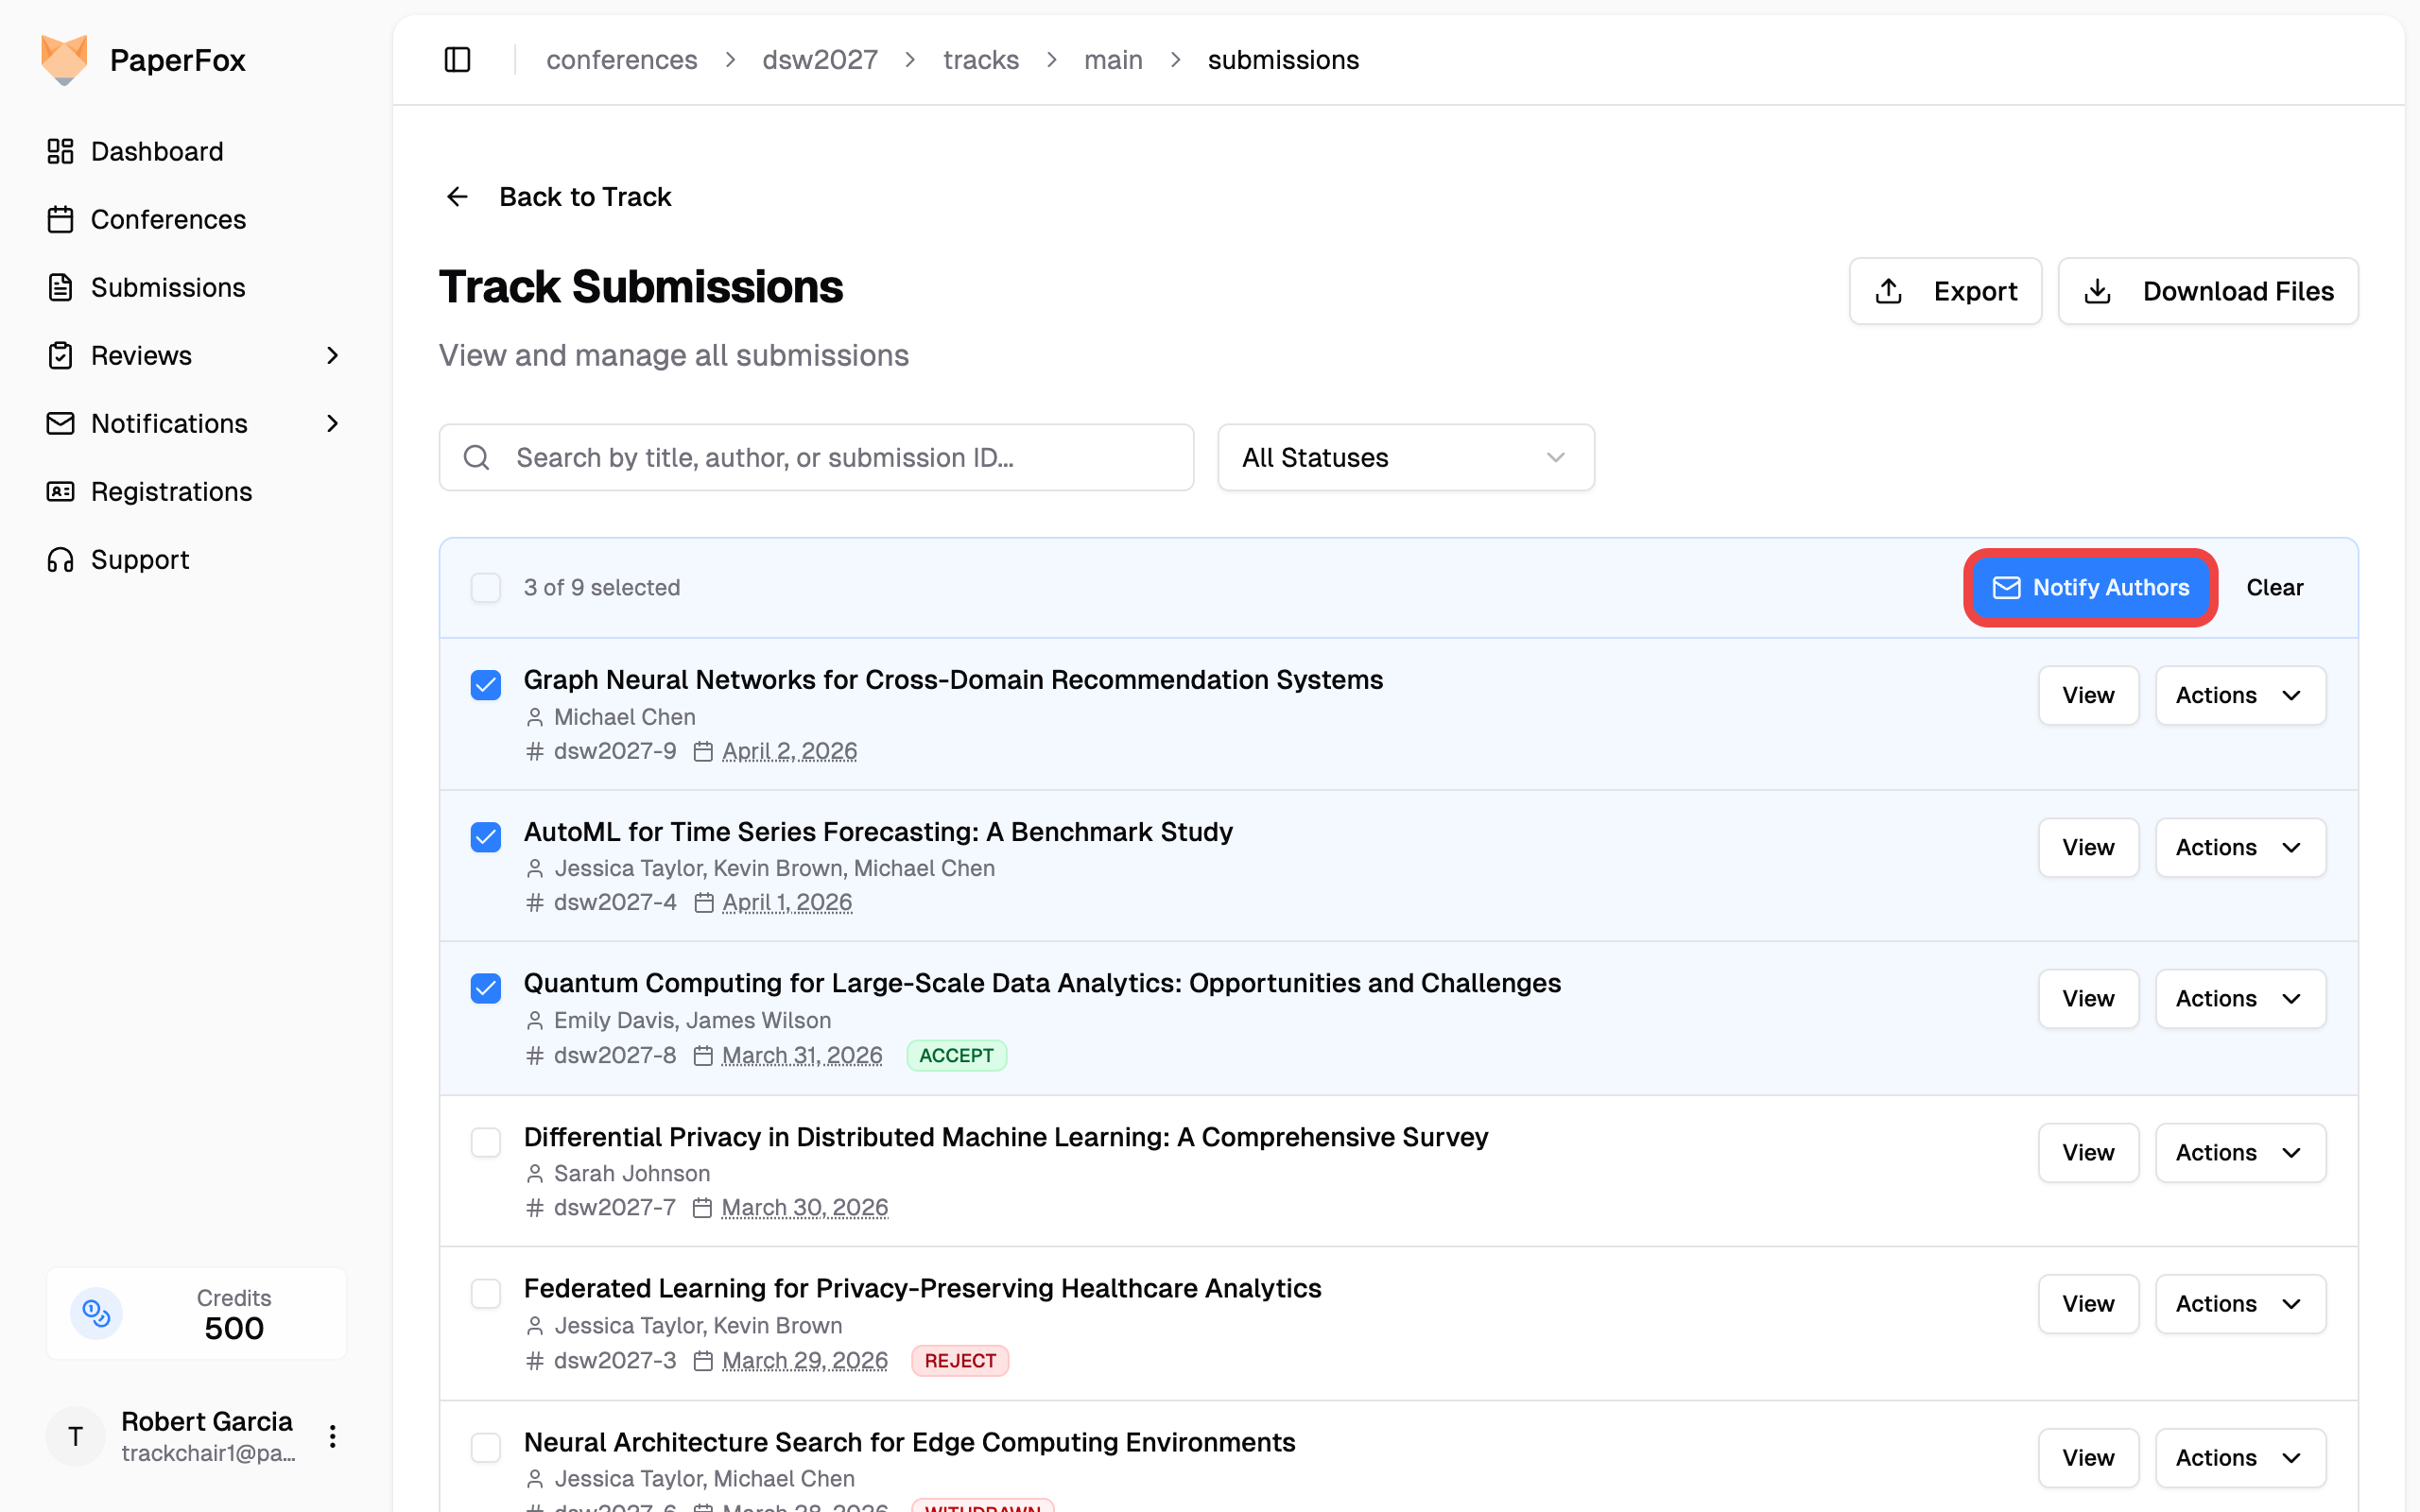 The composer opens with all selected submissions pre-loaded:
- The **Recipients** card shows the count of selected submissions and a deduplicated checkbox list of every author across them
- Use the quick filters (**Select All**, **Corresponding Only**, **Submitter Only**, **Unselect All**) or toggle individual checkboxes to pick exactly who should receive the email — co-authors who appear on multiple selected submissions receive only one email
- Compose your message and click **"Send Notification"**
The composer opens with all selected submissions pre-loaded:
- The **Recipients** card shows the count of selected submissions and a deduplicated checkbox list of every author across them
- Use the quick filters (**Select All**, **Corresponding Only**, **Submitter Only**, **Unselect All**) or toggle individual checkboxes to pick exactly who should receive the email — co-authors who appear on multiple selected submissions receive only one email
- Compose your message and click **"Send Notification"**
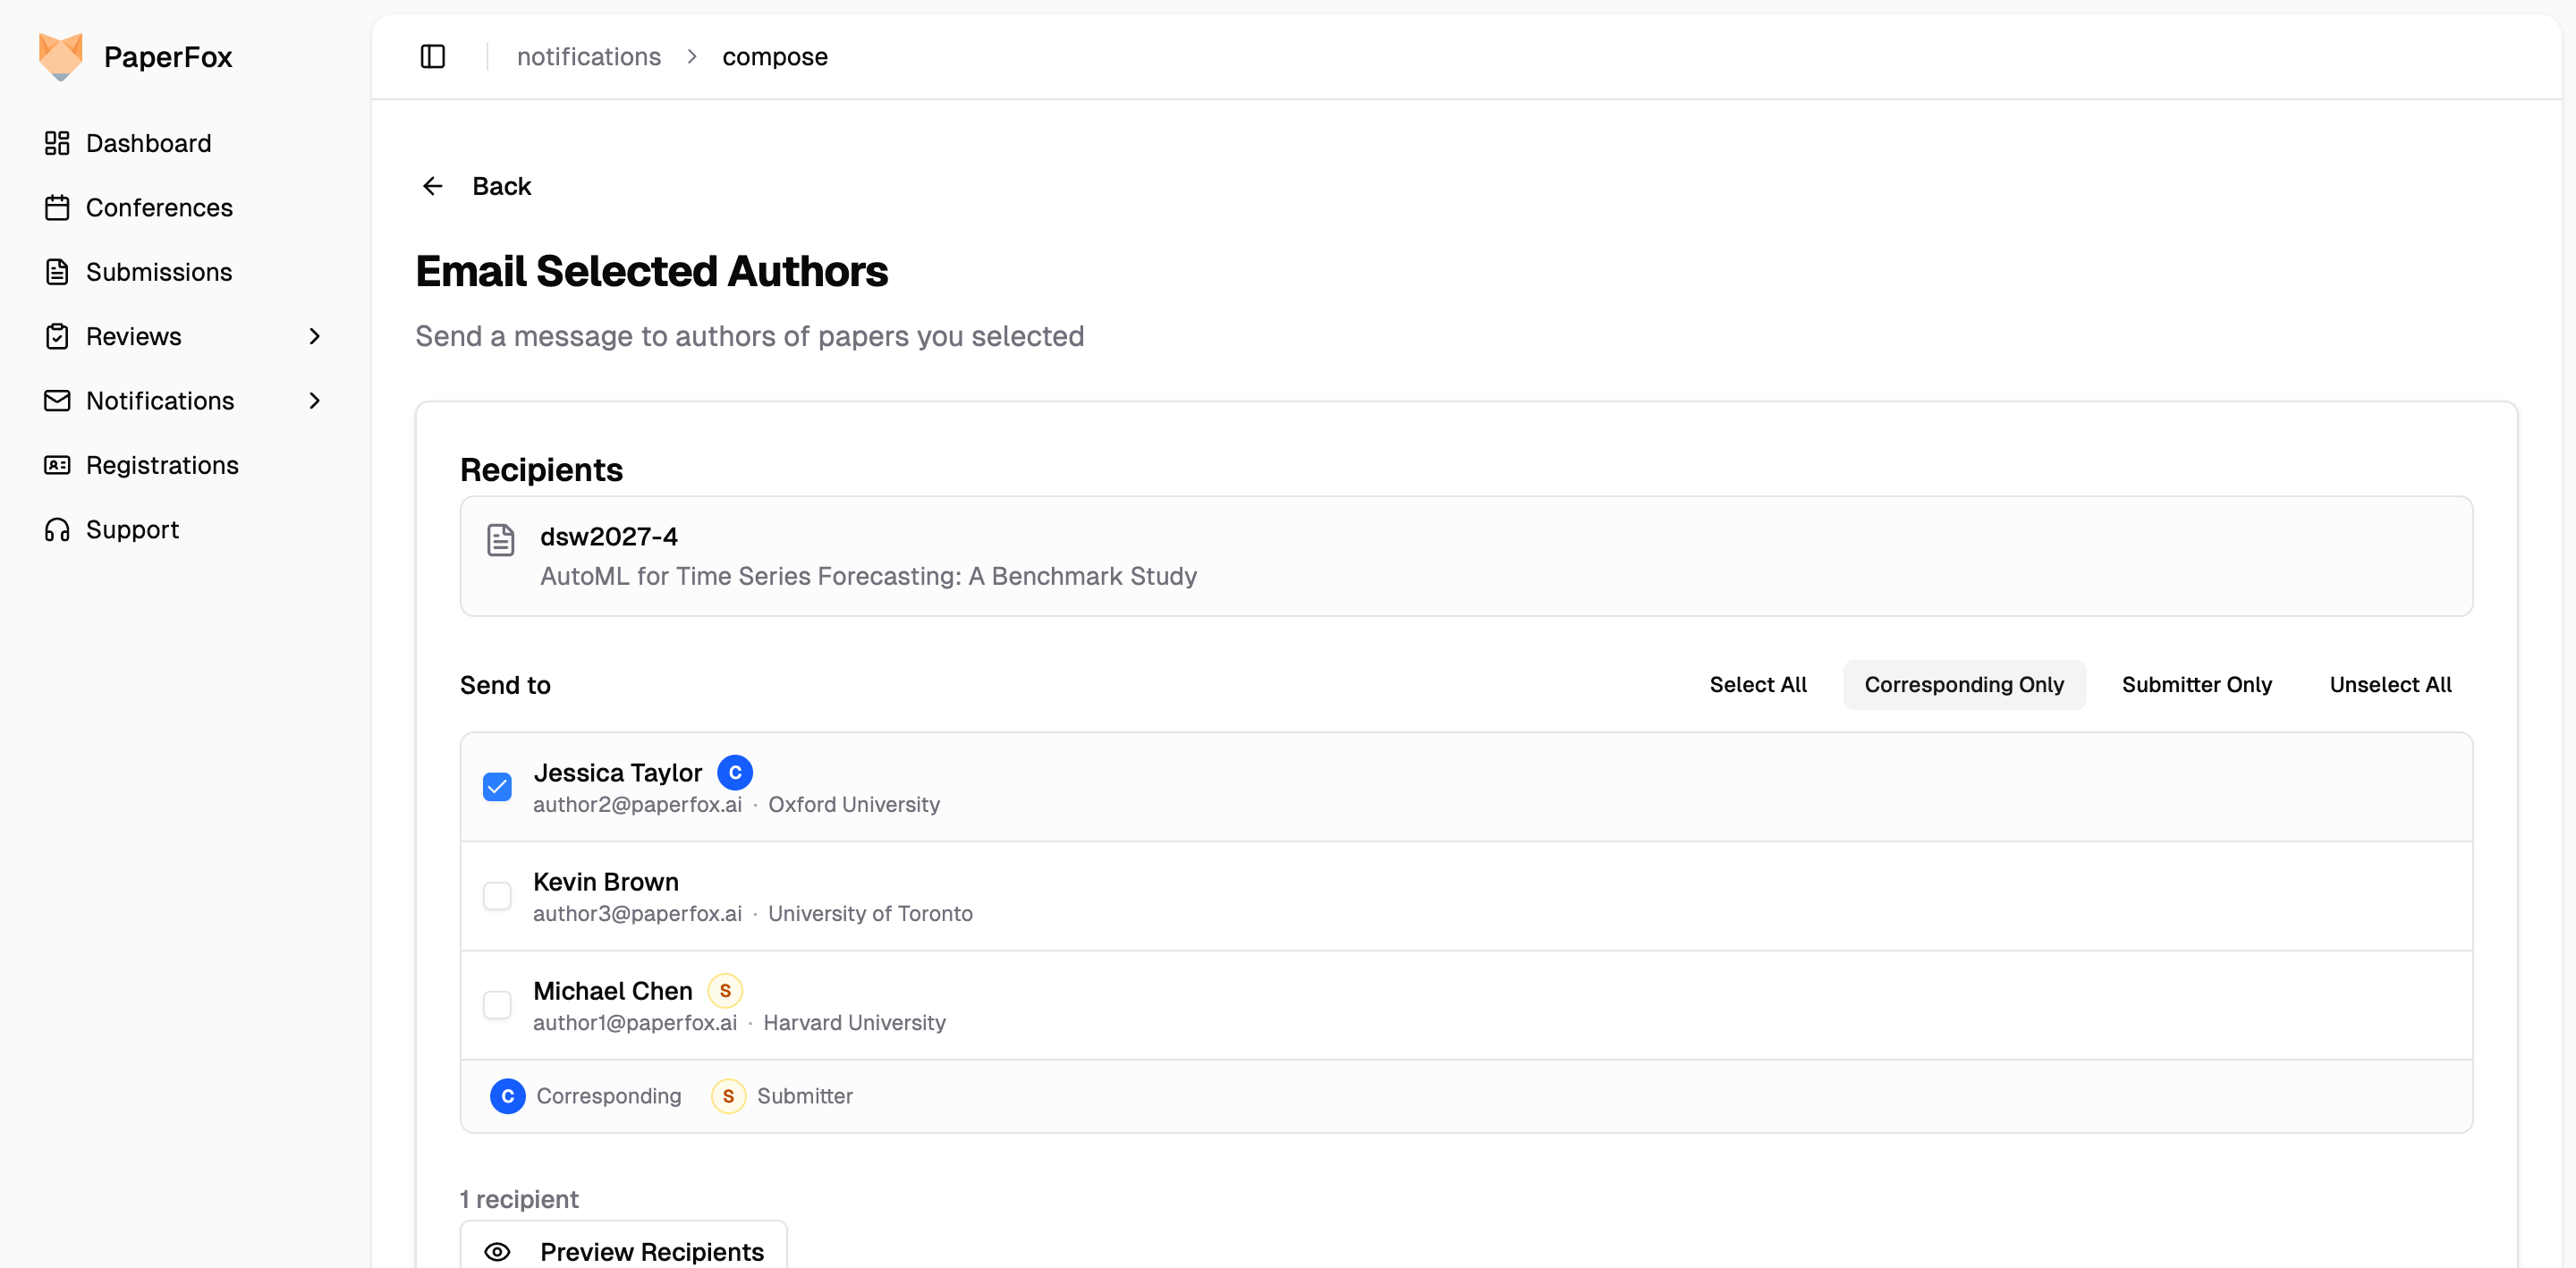 The **C** badge marks the corresponding author; the **S** badge marks the user who actually submitted the submission. They can be the same person or different.
The same select-and-notify affordance is available in the toolbar on the **Track → Decisions** page — useful right after making decisions, when you want to email authors by decision outcome without leaving the review workflow.
---
## Email Reviewers from the Committee Page
From the Reviewer Management page, you can jump to the Notifications hub pre-scoped to your conference and track — no need to re-pick them when you arrive.
1. Open your track and click **"Manage Reviewers"** (or navigate to **Track → Reviewers**)
2. Click the **"Notify"** button in the Reviewers toolbar
The **C** badge marks the corresponding author; the **S** badge marks the user who actually submitted the submission. They can be the same person or different.
The same select-and-notify affordance is available in the toolbar on the **Track → Decisions** page — useful right after making decisions, when you want to email authors by decision outcome without leaving the review workflow.
---
## Email Reviewers from the Committee Page
From the Reviewer Management page, you can jump to the Notifications hub pre-scoped to your conference and track — no need to re-pick them when you arrive.
1. Open your track and click **"Manage Reviewers"** (or navigate to **Track → Reviewers**)
2. Click the **"Notify"** button in the Reviewers toolbar
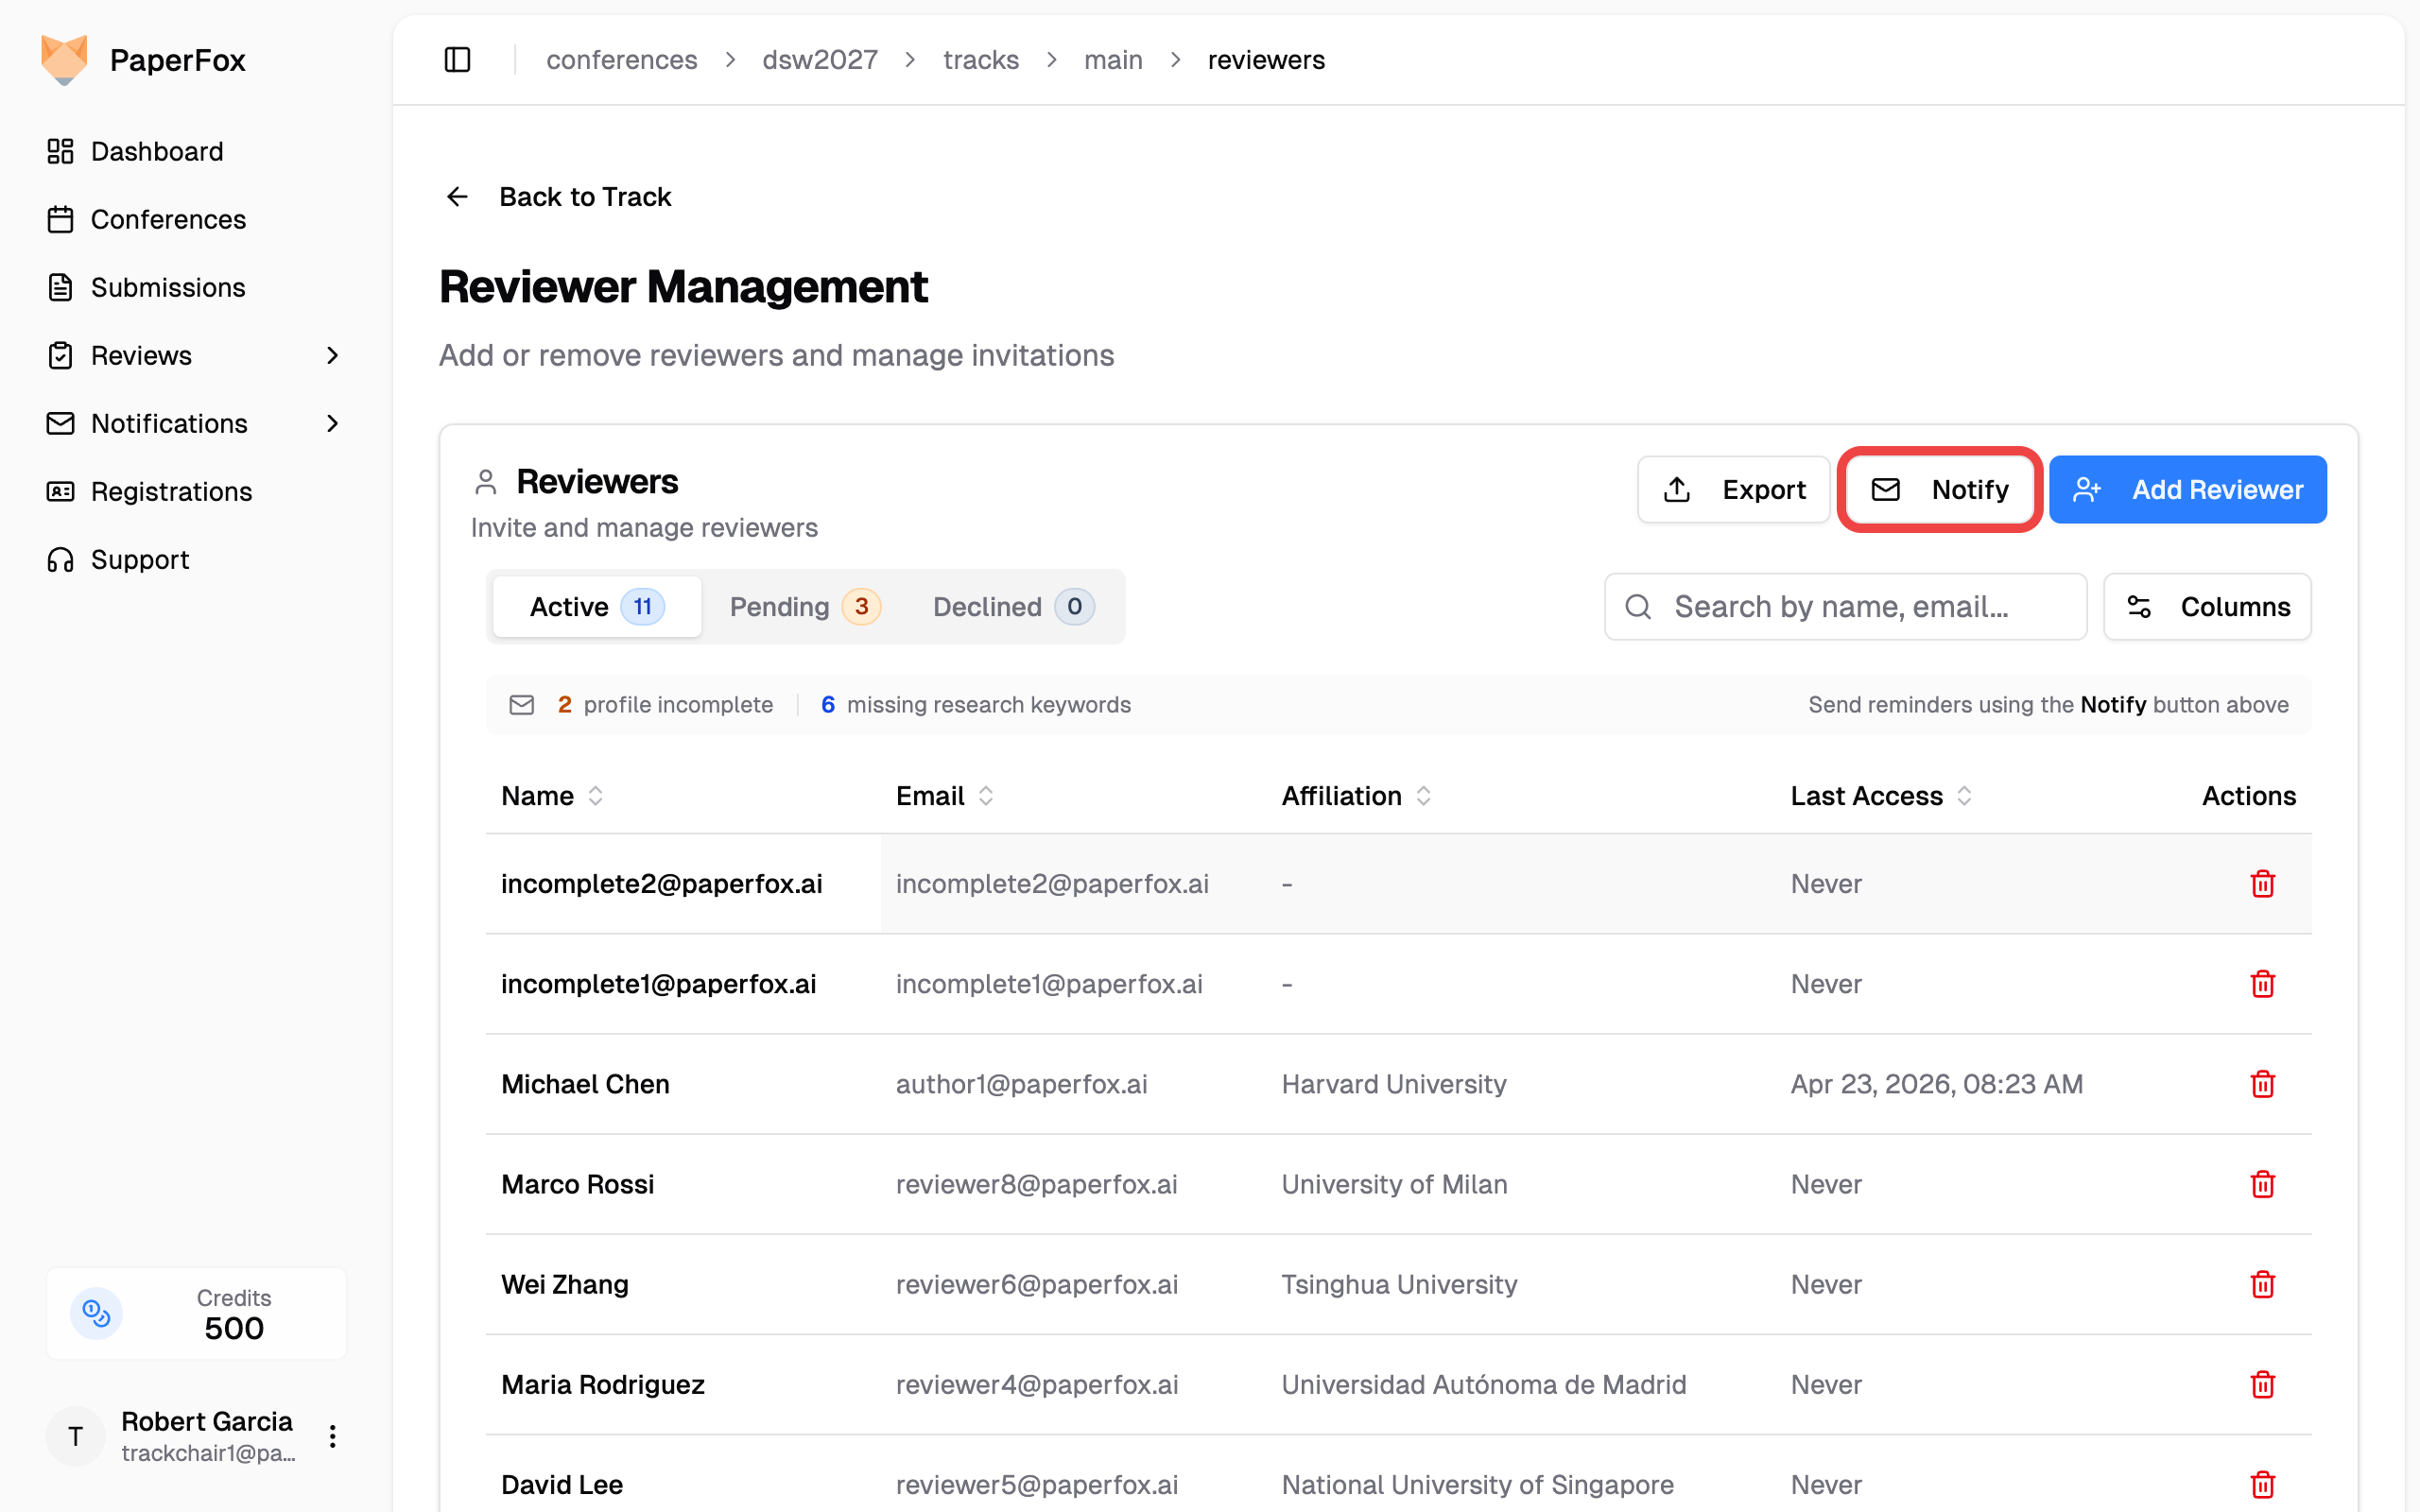 3. The hub opens with your conference and track already selected. Pick the preset that fits — typically one of:
| Preset | When to use it |
|--------|----------------|
| **Remind to Complete Profile** | Reviewers who accepted their invitation but haven't filled in name, affiliation, etc. |
| **Remind: Empty Research Profile** | Reviewers whose profile is otherwise complete but who haven't added research keywords — they get random-assignment fallbacks instead of expertise-matched submissions |
| **Remind to Answer Committee Invitation** | Invited people who haven't joined the committee yet |
| **Remind to Answer Submission Assignments** | Reviewers already on the committee who haven't accepted or declined the submissions you assigned them |
| **Remind to Submit Reviews** | Reviewers with at least one review still unsubmitted — includes those part-way through, not just those who never started |
| **Remind About Overdue Reviews** | Reviewers with at least one review past the deadline |
| **Thank Members Who Finished** | Reviewers who submitted *every* review assigned to them |
| **Follow Up on Declined Assignments** | Reviewers who declined at least one submission — offer them different submissions or a lighter load |
| **Notify of Assignments** | Members with pending assignments no email has told them about yet — safe to click again after adding or replacing reviewers; it never re-emails people already notified |
| **Re-send Assignment List** | Everyone with current assignments, even if already emailed — for when the whole committee needs the email again (say the deadline moved) |
| **Custom Notification** | Anything else — opens the freeform composer |
3. The hub opens with your conference and track already selected. Pick the preset that fits — typically one of:
| Preset | When to use it |
|--------|----------------|
| **Remind to Complete Profile** | Reviewers who accepted their invitation but haven't filled in name, affiliation, etc. |
| **Remind: Empty Research Profile** | Reviewers whose profile is otherwise complete but who haven't added research keywords — they get random-assignment fallbacks instead of expertise-matched submissions |
| **Remind to Answer Committee Invitation** | Invited people who haven't joined the committee yet |
| **Remind to Answer Submission Assignments** | Reviewers already on the committee who haven't accepted or declined the submissions you assigned them |
| **Remind to Submit Reviews** | Reviewers with at least one review still unsubmitted — includes those part-way through, not just those who never started |
| **Remind About Overdue Reviews** | Reviewers with at least one review past the deadline |
| **Thank Members Who Finished** | Reviewers who submitted *every* review assigned to them |
| **Follow Up on Declined Assignments** | Reviewers who declined at least one submission — offer them different submissions or a lighter load |
| **Notify of Assignments** | Members with pending assignments no email has told them about yet — safe to click again after adding or replacing reviewers; it never re-emails people already notified |
| **Re-send Assignment List** | Everyone with current assignments, even if already emailed — for when the whole committee needs the email again (say the deadline moved) |
| **Custom Notification** | Anything else — opens the freeform composer |
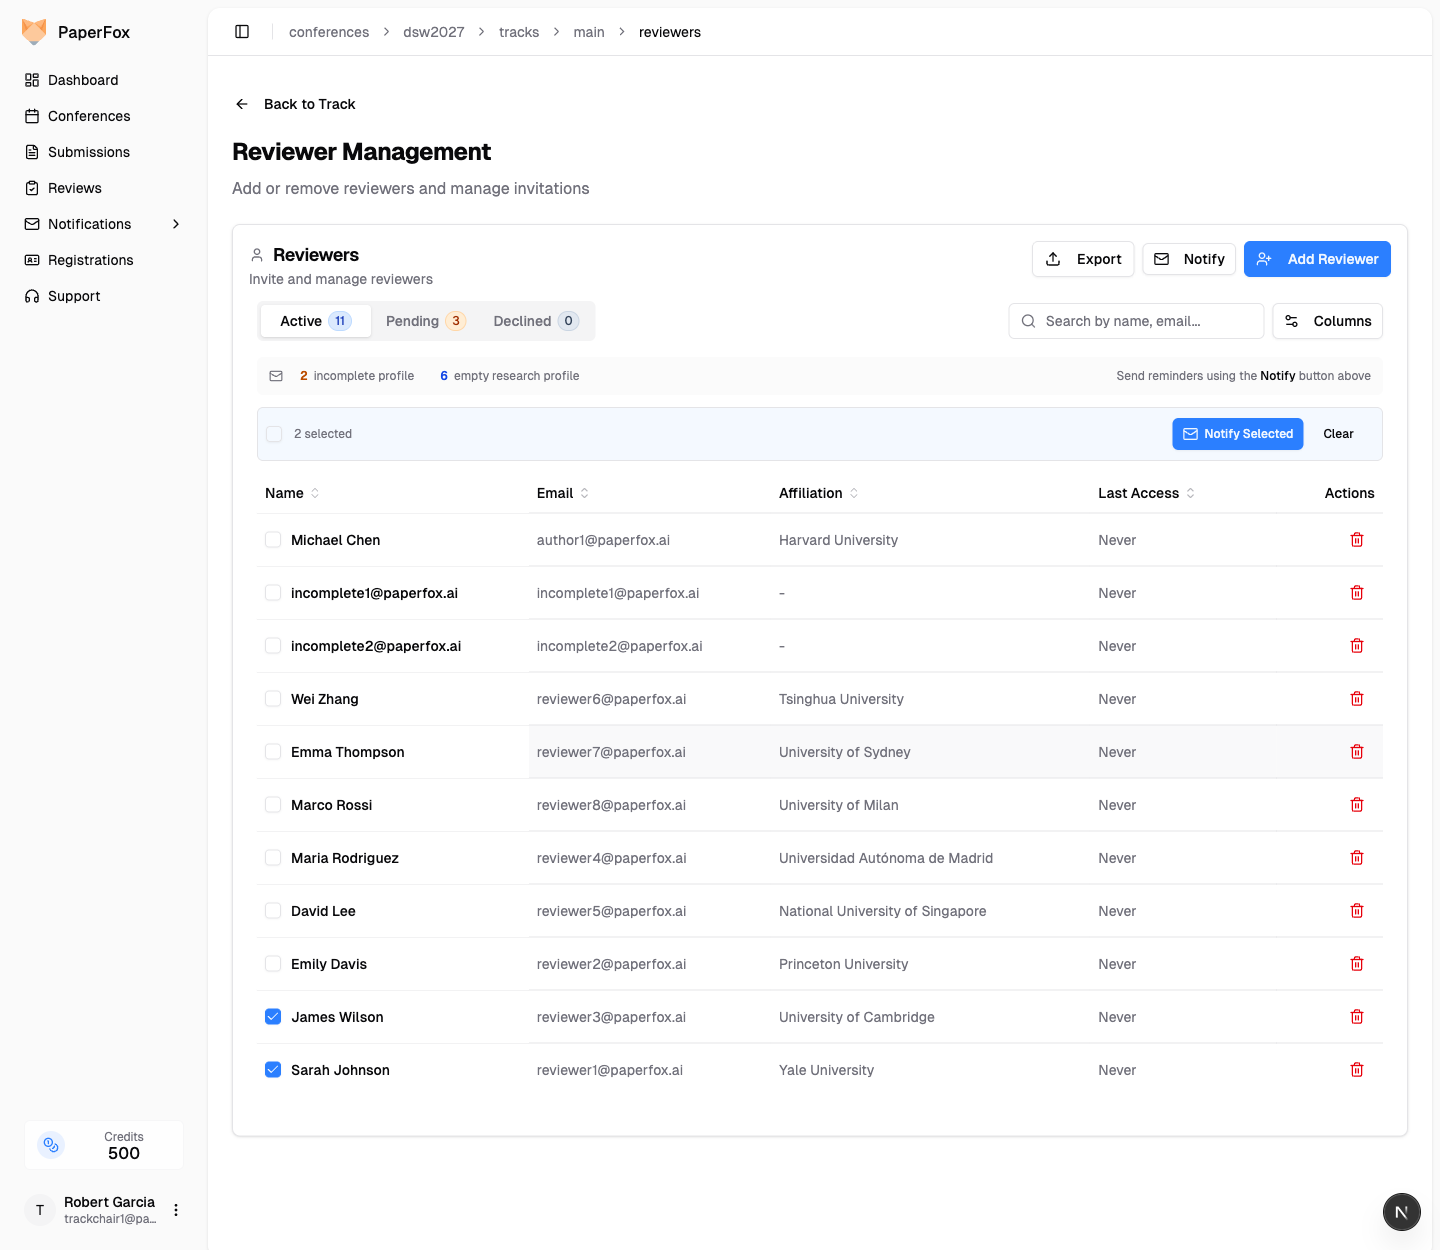 The composer opens with those people as a fixed recipient list — a read-only **Recipients** card instead of the usual audience picker — so you write the message once and it goes to exactly who you ticked. Click **Preview recipients** on that card to see the names before you send.
The same checkboxes are on the **Associate Editors**, **Senior Editors**, and **Track Chairs** pages, and behave identically.
You can also hand-pick reviewers without leaving the assignment work: on **Track → Review Assignments**, click **Notify Reviewers** and choose **Email Specific Reviewers…**. It opens the same fixed-recipient composer, and whoever is assigned to the submission you have open is ticked for you — the quickest way to write to a replacement you just assigned. See [Assign Reviewers](/docs/track-chairs/assign-reviewers).
The composer opens with those people as a fixed recipient list — a read-only **Recipients** card instead of the usual audience picker — so you write the message once and it goes to exactly who you ticked. Click **Preview recipients** on that card to see the names before you send.
The same checkboxes are on the **Associate Editors**, **Senior Editors**, and **Track Chairs** pages, and behave identically.
You can also hand-pick reviewers without leaving the assignment work: on **Track → Review Assignments**, click **Notify Reviewers** and choose **Email Specific Reviewers…**. It opens the same fixed-recipient composer, and whoever is assigned to the submission you have open is ticked for you — the quickest way to write to a replacement you just assigned. See [Assign Reviewers](/docs/track-chairs/assign-reviewers).
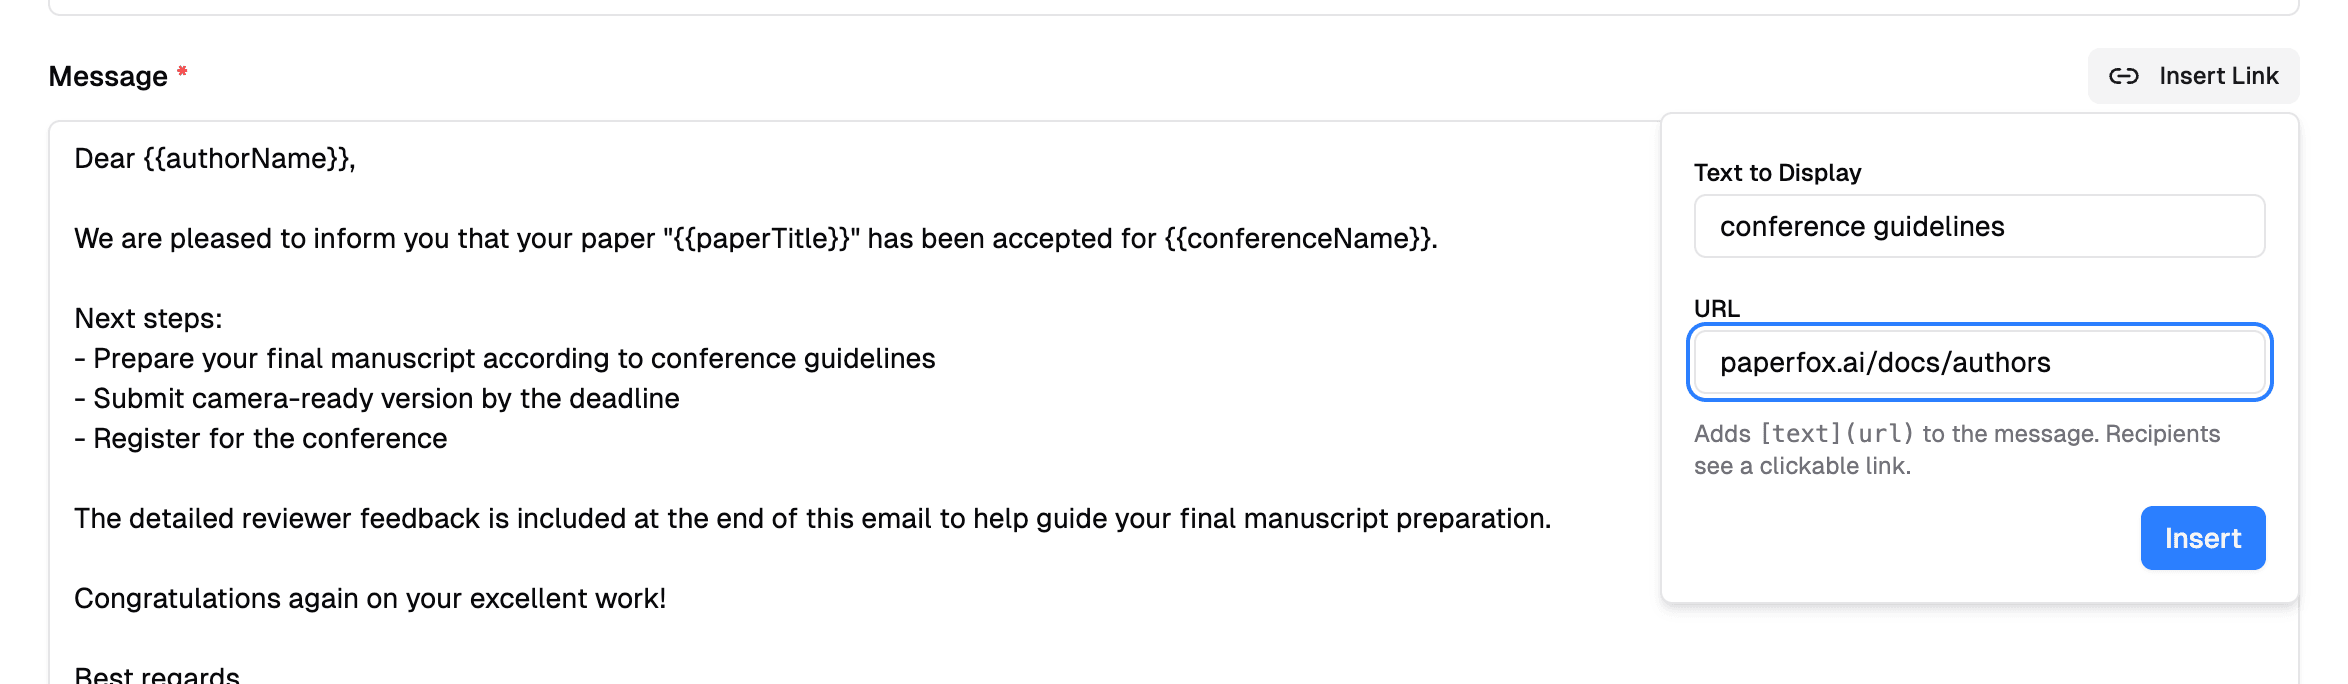 The link is added to your message as `[conference guidelines](https://paperfox.ai/docs/authors)`, and recipients see just **conference guidelines** as a link. You don't need to type `https://` — it's added for you, and an email address becomes a link that opens the reader's mail app.
You can also type links by hand in the same `[text](url)` form, or paste a web address on its own — any `https://` address in your message becomes clickable automatically. Click **"Preview Email"** to check your links before sending.
The link is added to your message as `[conference guidelines](https://paperfox.ai/docs/authors)`, and recipients see just **conference guidelines** as a link. You don't need to type `https://` — it's added for you, and an email address becomes a link that opens the reader's mail app.
You can also type links by hand in the same `[text](url)` form, or paste a web address on its own — any `https://` address in your message becomes clickable automatically. Click **"Preview Email"** to check your links before sending.
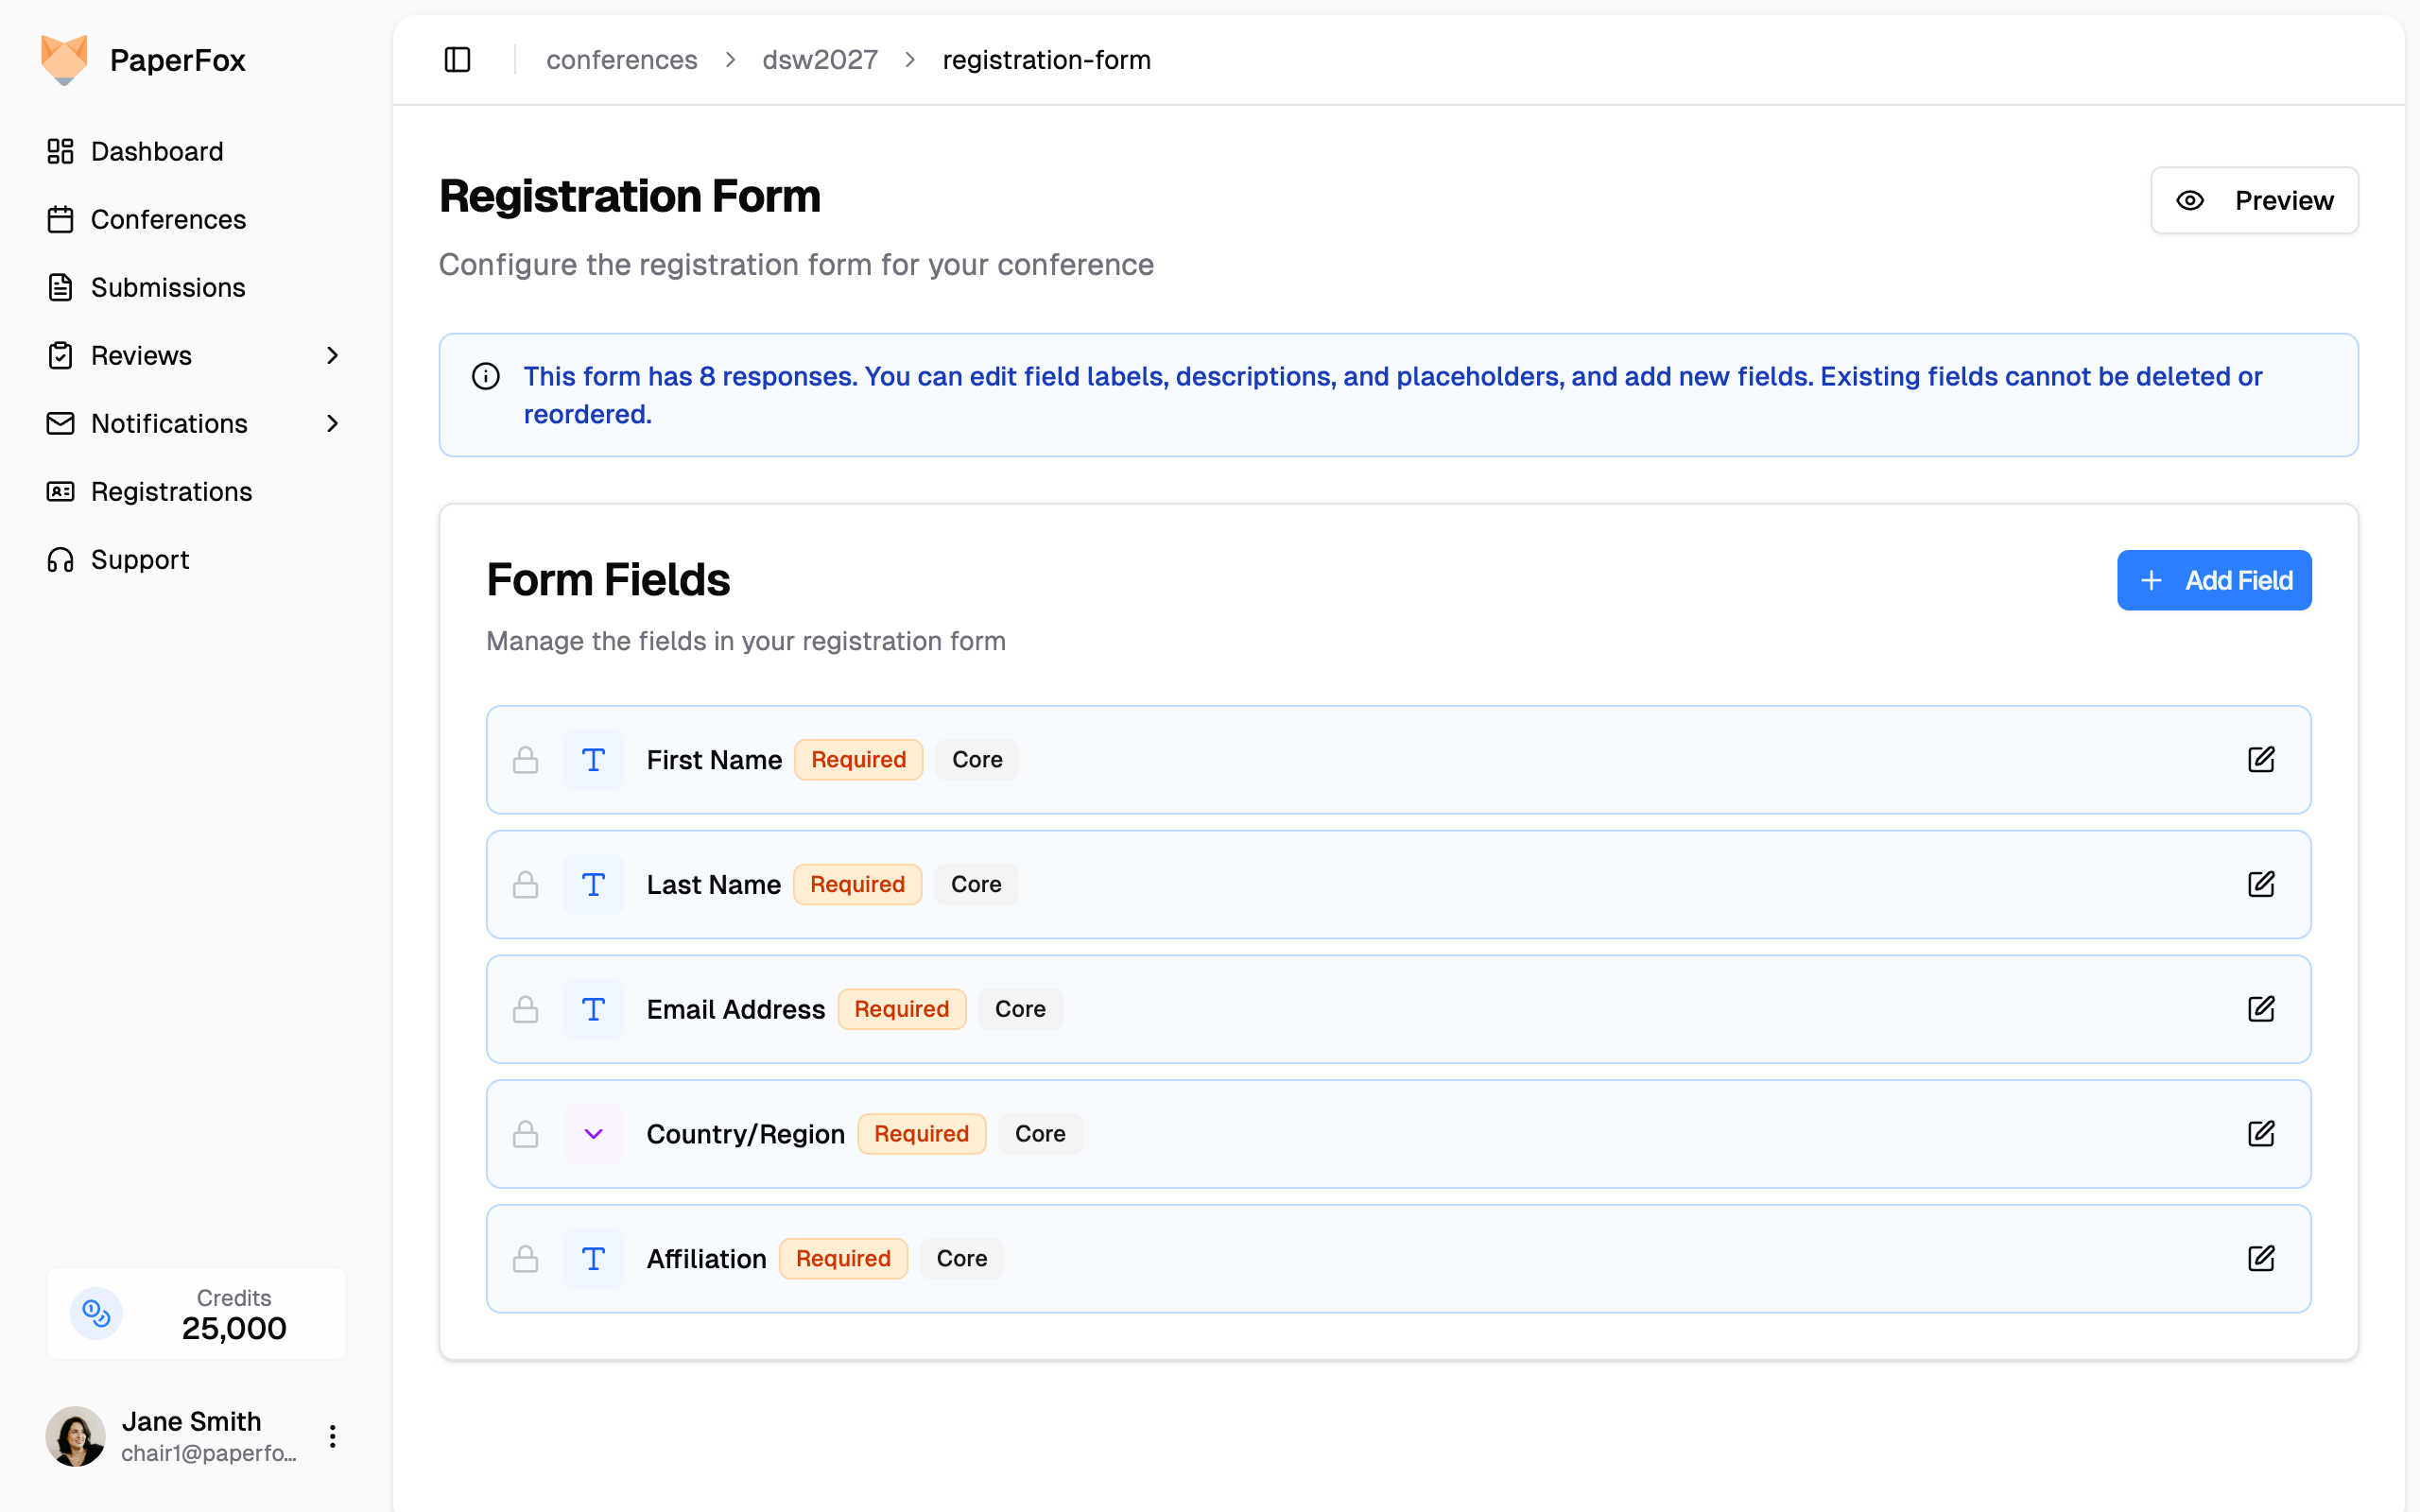 #### Editing Rules
| Action | Before any registration | After registrations exist |
|---|---|---|
| Edit field labels, descriptions, placeholders | ✅ Allowed | ✅ Allowed |
| Add new custom fields | ✅ Allowed | ✅ Allowed |
| Delete a custom field | ✅ Allowed | ✅ Allowed if no responses; otherwise blocked |
| Reorder fields | ✅ Allowed | ❌ Blocked (drag handles replaced by lock icons) |
| Delete a Core field | ❌ Blocked | ❌ Blocked |
| Change a Core field's **type** (e.g. text → dropdown) | ✅ Allowed | ❌ Blocked |
#### Editing Rules
| Action | Before any registration | After registrations exist |
|---|---|---|
| Edit field labels, descriptions, placeholders | ✅ Allowed | ✅ Allowed |
| Add new custom fields | ✅ Allowed | ✅ Allowed |
| Delete a custom field | ✅ Allowed | ✅ Allowed if no responses; otherwise blocked |
| Reorder fields | ✅ Allowed | ❌ Blocked (drag handles replaced by lock icons) |
| Delete a Core field | ❌ Blocked | ❌ Blocked |
| Change a Core field's **type** (e.g. text → dropdown) | ✅ Allowed | ❌ Blocked |
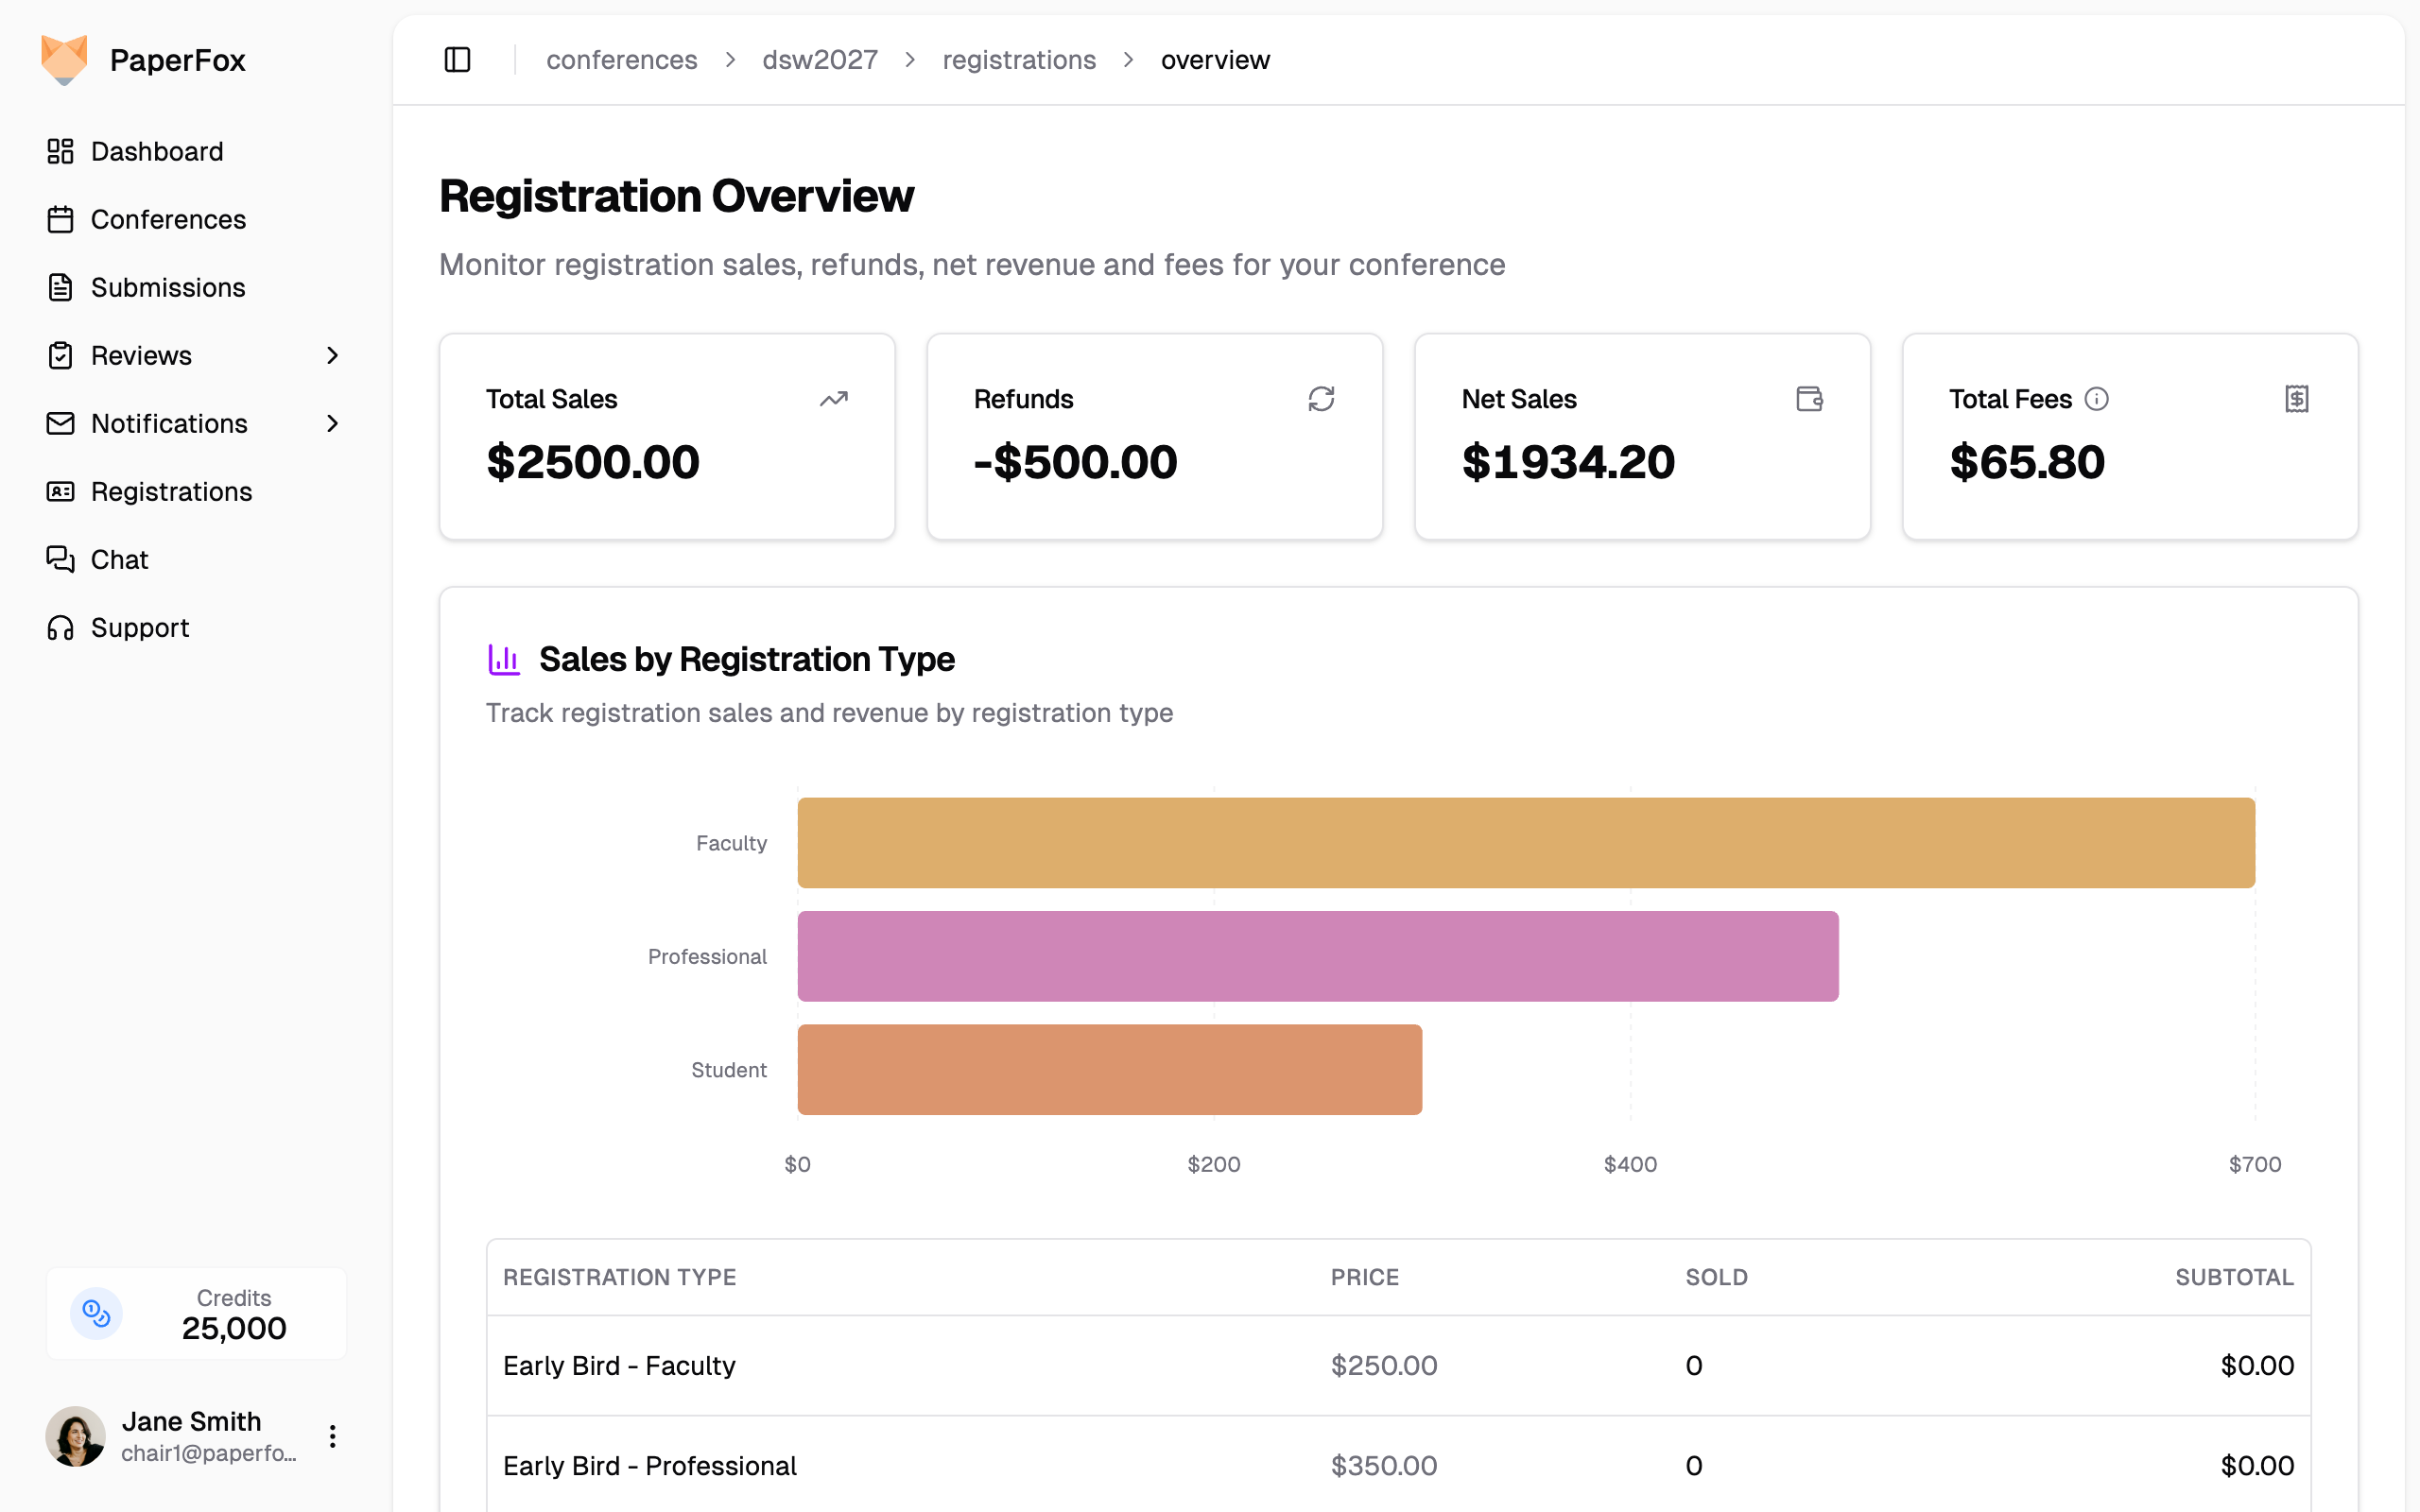 The overview page includes:
- **Revenue stats** — Total sales, refunds, net sales, and fee breakdown at a glance
- **Sales by Registration Type chart** — Visual bar chart showing revenue per registration type (only types with sales are charted). Hover over bars to see revenue and quantity sold. When no sales exist yet, a placeholder appears until the first registration is sold.
- **Sales table** — Detailed breakdown of all registration types with price, quantity sold, and subtotal
- **Recent orders** — Latest registration purchases with registrant info and payment status
### Registration Types Page
From the **Registration Types** page, you can:
- View all enabled and disabled types with their availability dates and capacity
- Click **"View Registration Page"** to preview the public registration page
- Add, edit, or delete registration types
- **Reorder types** by dragging the grip handle on the left of each row
#### Reordering Registration Types
Registration types are displayed to registrants in the order you set. To change the order:
1. Go to **Registration Management → Registration Types**
2. Grab the **drag handle** (the dotted grip icon on the left side of any row)
3. Drag the row up or down to the desired position
4. Release — the new order is saved automatically
The order you set here is the order registrants see on the public registration page. Both the **Enabled** and **Disabled** tabs support independent reordering.
### Refund Policy
Set a flat administrative fee that's deducted from every refund. You set this **once** here, registrants see the same amount when they request a refund, and you don't re-enter it for each approval.
1. Go to **Registration Management → Registration Types**
2. In the **Refund Policy** card at the top, enter the fee in the USD field (e.g. `30.00`)
3. Click **"Save"**
The overview page includes:
- **Revenue stats** — Total sales, refunds, net sales, and fee breakdown at a glance
- **Sales by Registration Type chart** — Visual bar chart showing revenue per registration type (only types with sales are charted). Hover over bars to see revenue and quantity sold. When no sales exist yet, a placeholder appears until the first registration is sold.
- **Sales table** — Detailed breakdown of all registration types with price, quantity sold, and subtotal
- **Recent orders** — Latest registration purchases with registrant info and payment status
### Registration Types Page
From the **Registration Types** page, you can:
- View all enabled and disabled types with their availability dates and capacity
- Click **"View Registration Page"** to preview the public registration page
- Add, edit, or delete registration types
- **Reorder types** by dragging the grip handle on the left of each row
#### Reordering Registration Types
Registration types are displayed to registrants in the order you set. To change the order:
1. Go to **Registration Management → Registration Types**
2. Grab the **drag handle** (the dotted grip icon on the left side of any row)
3. Drag the row up or down to the desired position
4. Release — the new order is saved automatically
The order you set here is the order registrants see on the public registration page. Both the **Enabled** and **Disabled** tabs support independent reordering.
### Refund Policy
Set a flat administrative fee that's deducted from every refund. You set this **once** here, registrants see the same amount when they request a refund, and you don't re-enter it for each approval.
1. Go to **Registration Management → Registration Types**
2. In the **Refund Policy** card at the top, enter the fee in the USD field (e.g. `30.00`)
3. Click **"Save"**
 Set the policy to **0** for full refunds. Authors see "You'll receive $X" in their refund-request dialog with this amount already deducted, so the policy is transparent before they submit.
The fee is a flat amount between **$0 and $10,000** — it's not a percentage. Keep it below your registration prices: a refund **can't be approved if the fee meets or exceeds what the registrant paid**. If that happens, the approval dialog prompts you to lower the fee on this page first (for example, a $50 fee can't be applied to a $40 ticket's refund).
Changing the policy applies to every refund approved from that point on, including pending requests submitted under the old policy — so avoid raising it after registrants have already submitted their refund requests. See [Handling Refunds](/docs/chairs/registration-payments#handling-refunds) for the approval workflow.
### Refund Management
Handle refund requests through **Refund Management**:
- Review refund requests from registrants
- Approve or deny requests
- Communicate with requesters
### Form Modifications After Registration Opens
Once registrants start registering, the builder shows a banner with the response count and switches into soft-lock mode. You can still:
- Edit any field's label, description, placeholder, and required flag
- Add new custom fields
- Delete custom fields that have no answers yet
What's locked once registrations exist:
- The five Core fields (First Name, Last Name, Email, Affiliation, Country) cannot be removed and their input type cannot change
- Existing fields cannot be reordered (drag handles are replaced with lock icons)
- Custom fields with answers cannot be deleted (delete button is disabled)
See [Configure Registration Form](#2-configure-registration-form) above for the full editing rules table.
---
# Submission Billing
URL: https://paperfox.ai/docs/chairs/submission-billing
Description: Set up payment to support submissions over the free limit
Each conference includes 20 free submissions. Without a payment method, authors can't submit once those 20 are used. Once a payment method is on file, submissions are never blocked — each one past 20 is simply billed after the conference ends.
Until a payment method is on file, chairs get an email when the conference has used 50% and 80% of its free submissions, and again when the limit is reached. From 80% on, a **Payment Method Required** card also appears on the dashboard.
## Opening the Submission Billing Page
Submission billing is **per-conference** — the payment method lives on the conference, not your personal account. Any conference chair can add or update it.
1. Go to **Conferences** in the sidebar and click your conference
2. Click **Settings** in the conference sidebar
3. Open **Submission Billing** from the settings navigation
This opens `/conferences/{your-conference}/settings/billing`.
Set the policy to **0** for full refunds. Authors see "You'll receive $X" in their refund-request dialog with this amount already deducted, so the policy is transparent before they submit.
The fee is a flat amount between **$0 and $10,000** — it's not a percentage. Keep it below your registration prices: a refund **can't be approved if the fee meets or exceeds what the registrant paid**. If that happens, the approval dialog prompts you to lower the fee on this page first (for example, a $50 fee can't be applied to a $40 ticket's refund).
Changing the policy applies to every refund approved from that point on, including pending requests submitted under the old policy — so avoid raising it after registrants have already submitted their refund requests. See [Handling Refunds](/docs/chairs/registration-payments#handling-refunds) for the approval workflow.
### Refund Management
Handle refund requests through **Refund Management**:
- Review refund requests from registrants
- Approve or deny requests
- Communicate with requesters
### Form Modifications After Registration Opens
Once registrants start registering, the builder shows a banner with the response count and switches into soft-lock mode. You can still:
- Edit any field's label, description, placeholder, and required flag
- Add new custom fields
- Delete custom fields that have no answers yet
What's locked once registrations exist:
- The five Core fields (First Name, Last Name, Email, Affiliation, Country) cannot be removed and their input type cannot change
- Existing fields cannot be reordered (drag handles are replaced with lock icons)
- Custom fields with answers cannot be deleted (delete button is disabled)
See [Configure Registration Form](#2-configure-registration-form) above for the full editing rules table.
---
# Submission Billing
URL: https://paperfox.ai/docs/chairs/submission-billing
Description: Set up payment to support submissions over the free limit
Each conference includes 20 free submissions. Without a payment method, authors can't submit once those 20 are used. Once a payment method is on file, submissions are never blocked — each one past 20 is simply billed after the conference ends.
Until a payment method is on file, chairs get an email when the conference has used 50% and 80% of its free submissions, and again when the limit is reached. From 80% on, a **Payment Method Required** card also appears on the dashboard.
## Opening the Submission Billing Page
Submission billing is **per-conference** — the payment method lives on the conference, not your personal account. Any conference chair can add or update it.
1. Go to **Conferences** in the sidebar and click your conference
2. Click **Settings** in the conference sidebar
3. Open **Submission Billing** from the settings navigation
This opens `/conferences/{your-conference}/settings/billing`.
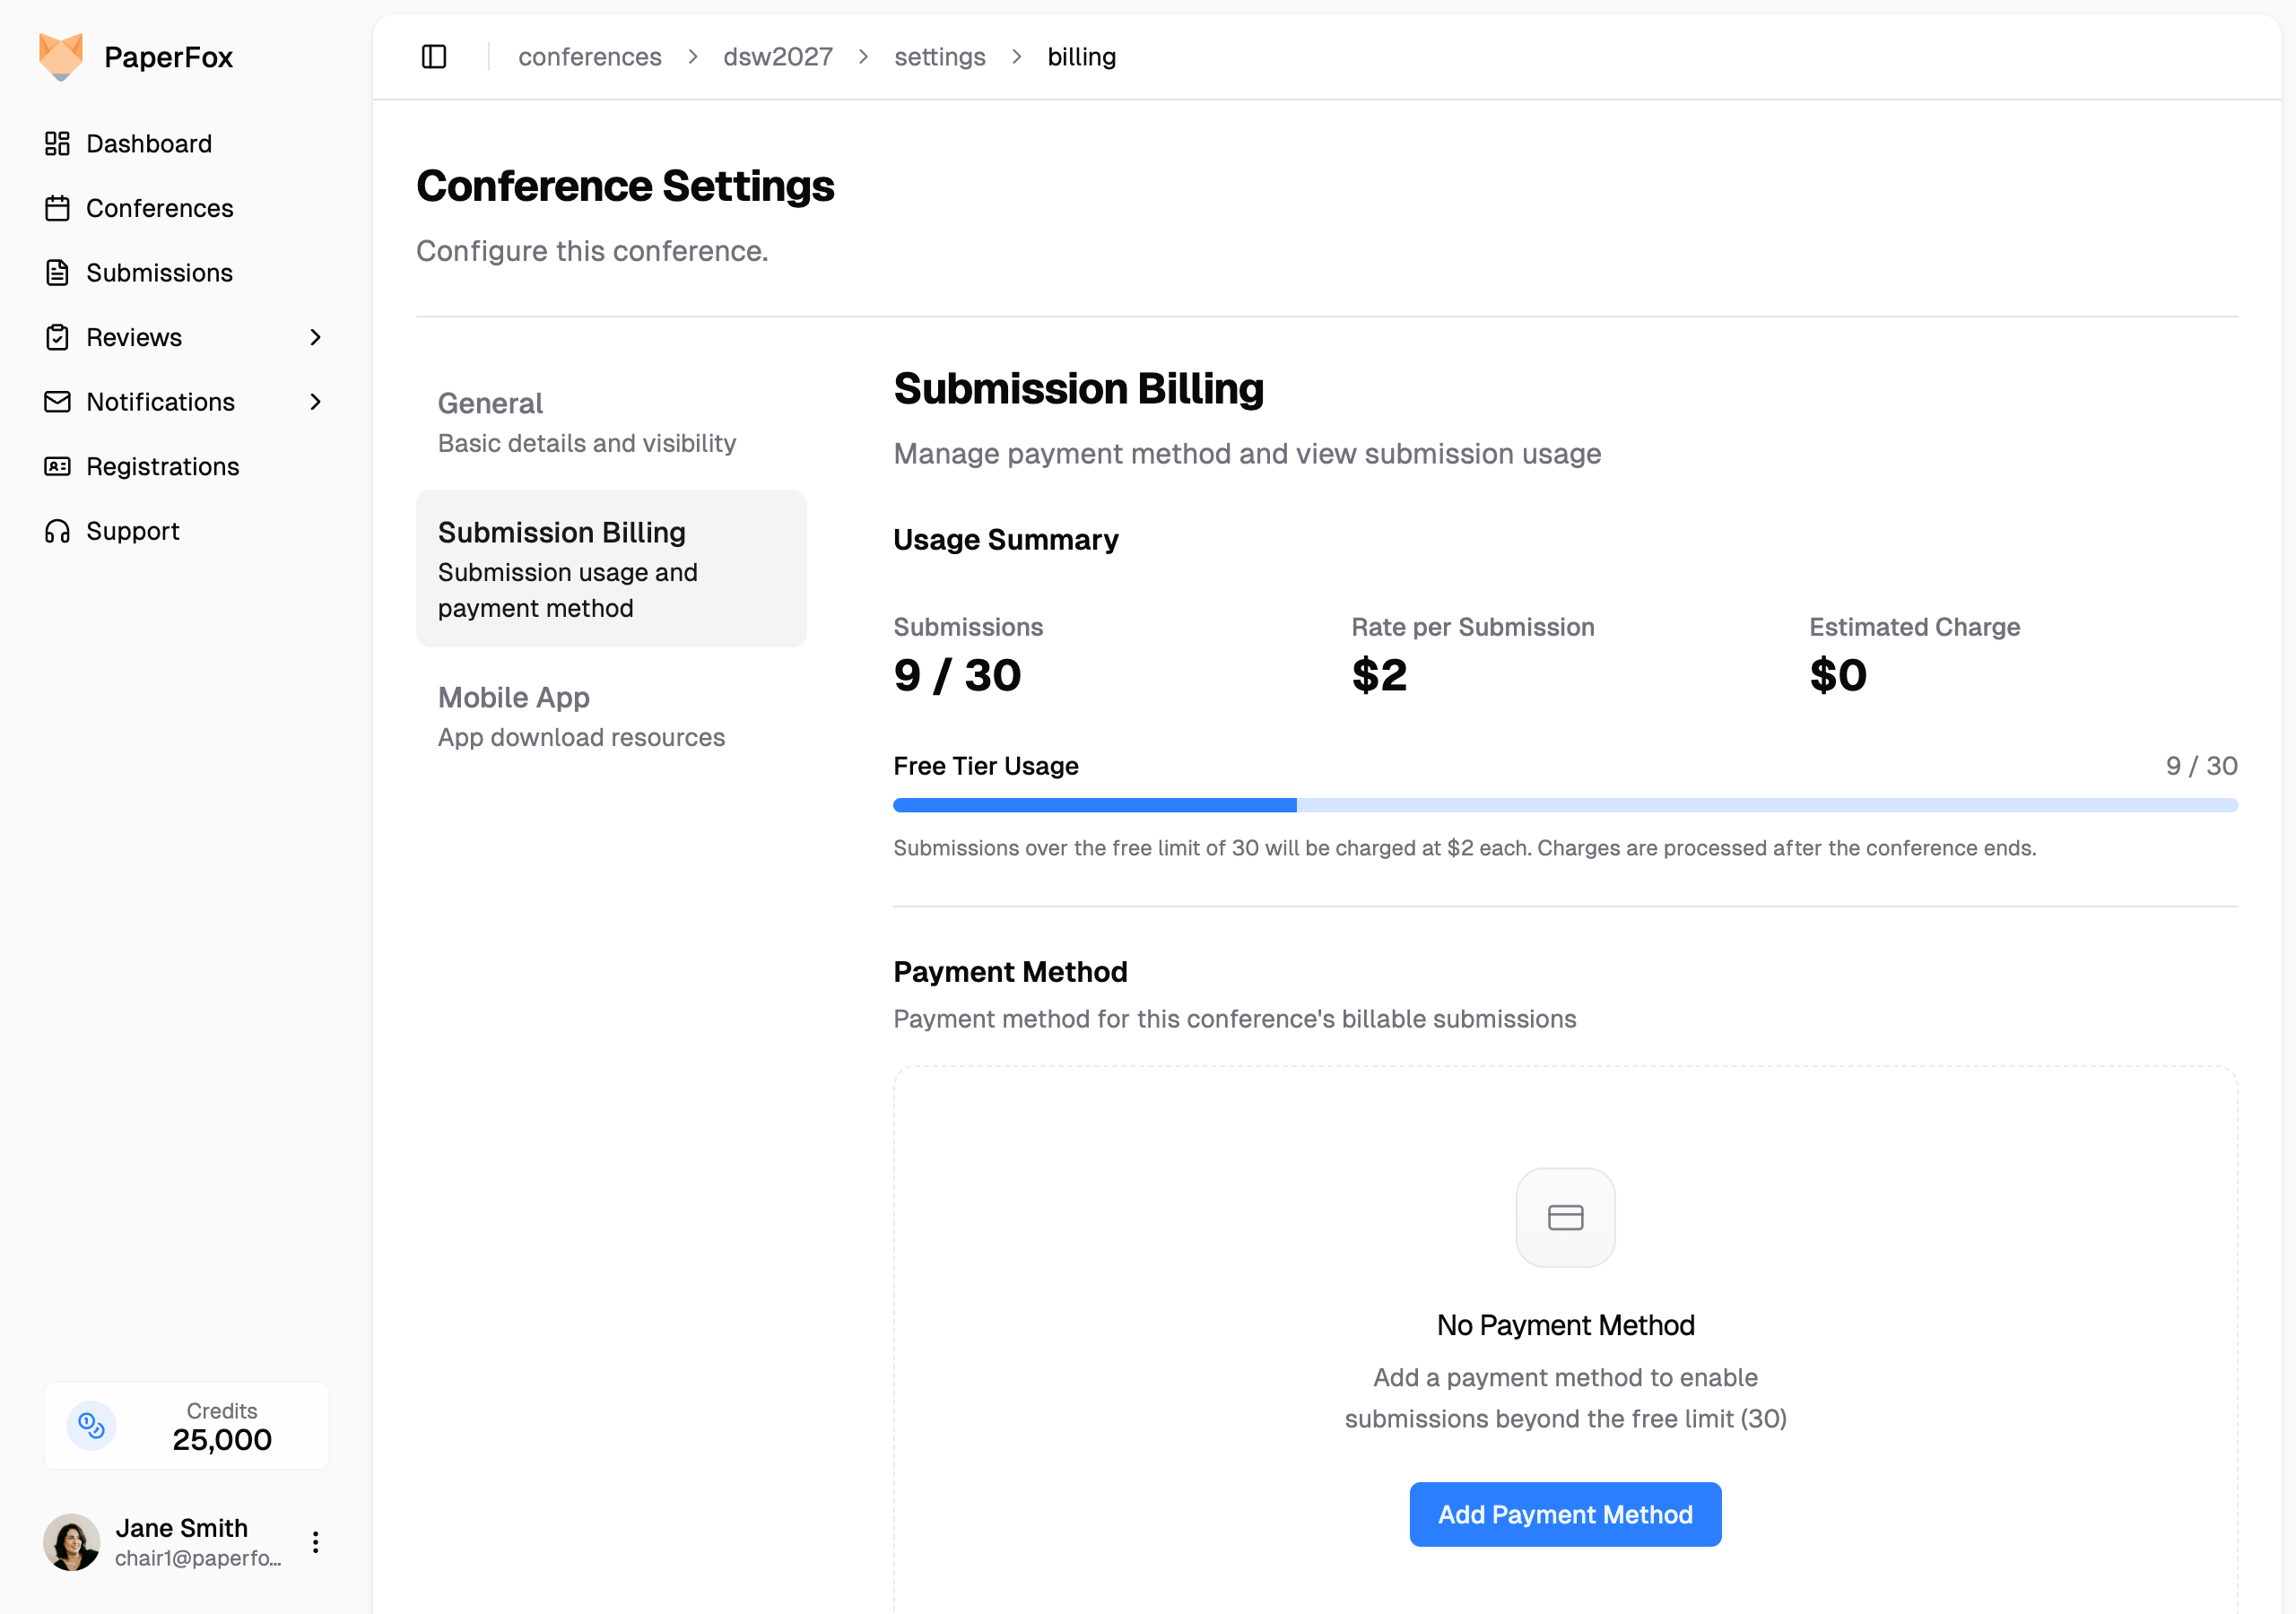 The page has two sections:
- **Usage Summary** — how many submissions you have, the per-submission rate, and your estimated charge. Without a card, a **Free Submissions** bar shows how close you are to the 20-submission limit. With a card on file there is no limit to watch, so it becomes a plain count of free and billable submissions.
- **Payment Method** — the saved card for this conference. Empty until you add one.
The page has two sections:
- **Usage Summary** — how many submissions you have, the per-submission rate, and your estimated charge. Without a card, a **Free Submissions** bar shows how close you are to the 20-submission limit. With a card on file there is no limit to watch, so it becomes a plain count of free and billable submissions.
- **Payment Method** — the saved card for this conference. Empty until you add one.
 Once the card is saved, the page confirms it: **Payment Method Active** — authors can keep submitting past the 20 free submissions, and each one after that is billed after the conference ends.
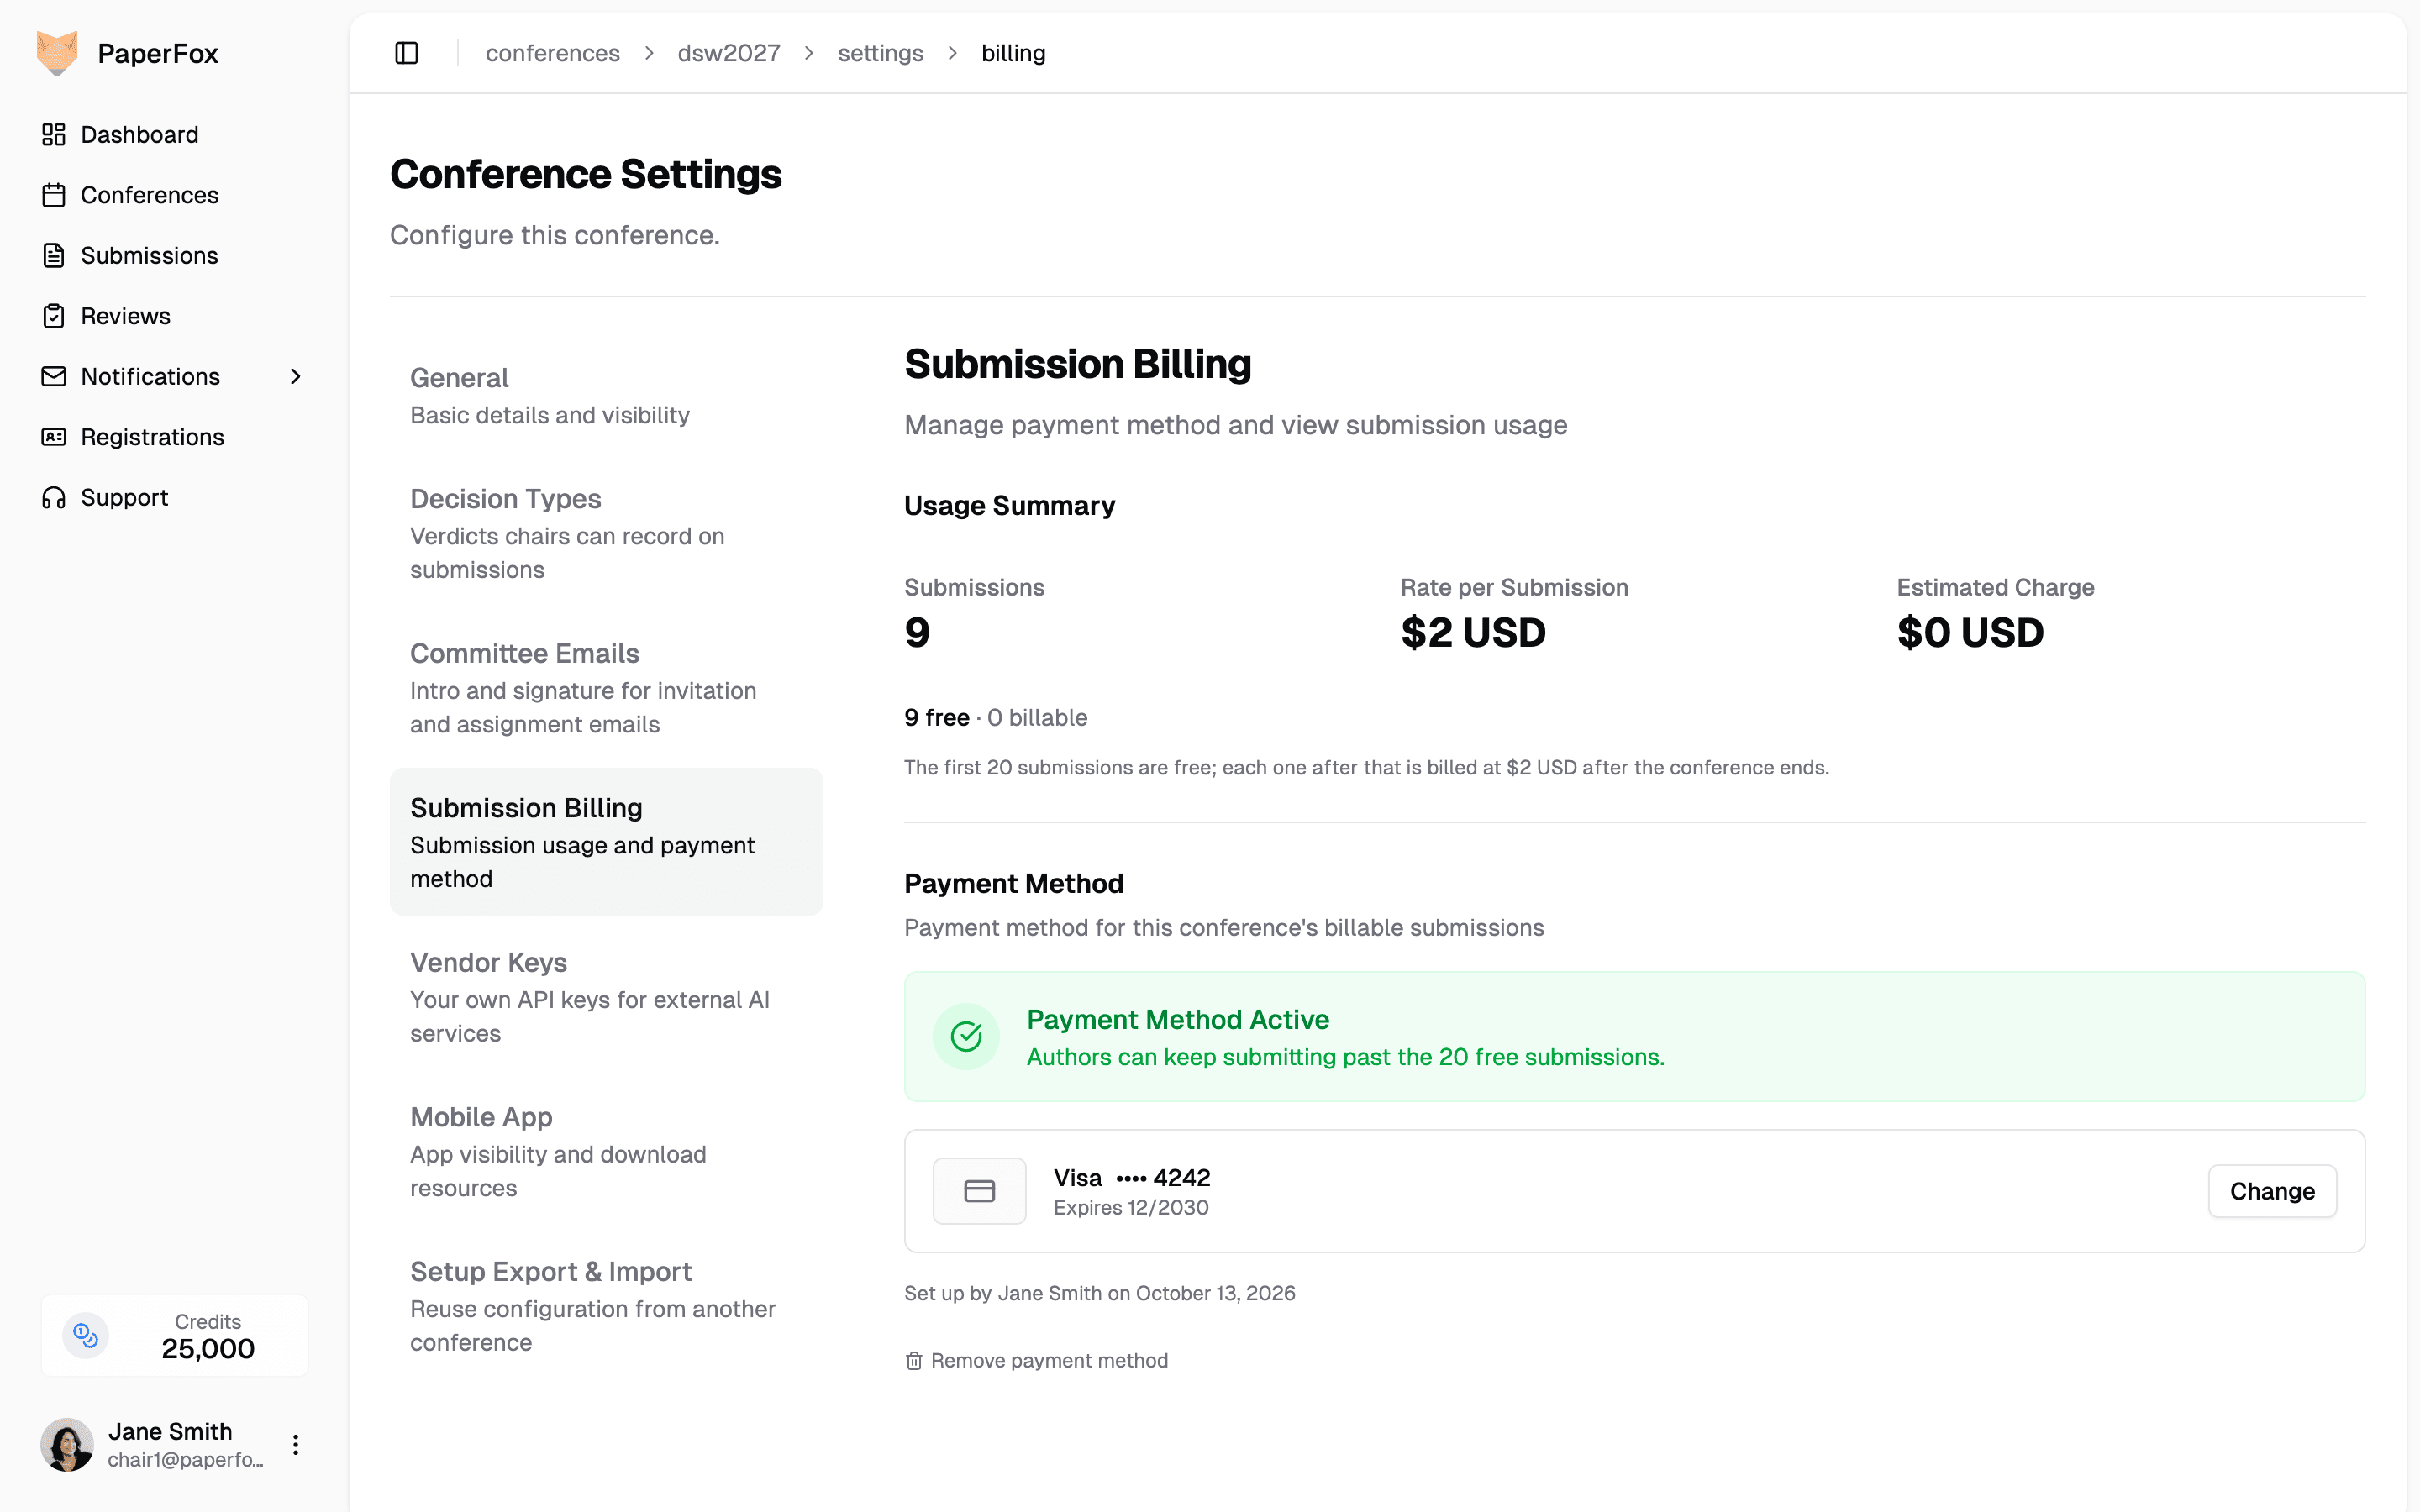 The card is attached to this conference's Stripe customer only — it is not a shared personal payment method. Removing it from this conference does not affect any other conference or your personal billing.
To **change** the card later, click **"Change"** in the saved-card panel and re-enter card details. To **remove** it, click the small **"Remove payment method"** link below the card; without a card, authors can't submit once the 20 free submissions are used.
---
## How Billing Works
### Automatic Billing Process
**During Conference:**
- First 20 submissions are free
- With a payment method on file, authors can keep submitting past 20 — submissions are never blocked
- Without one, authors can't submit once the 20 free submissions are used
- No charges occur during the conference
**After Conference Ends:**
- You receive an advance-notice billing email 7 days before the conference end date
- Final billing is charged 1 day after the conference end date
- Only charged for submissions beyond the free limit
### Reading the Charge Status
After the conference ends, the top of the Submission Billing page shows the latest charge's state. You'll see one of these banners — and only when there's something to know:
| Banner | What it means | What to do |
|--------|---------------|------------|
| **Charge Scheduled** (blue) | A charge is queued and will run within 24 hours. | Nothing — sit back. |
| **Charge Retrying** (blue) | A previous attempt failed; the next retry is scheduled for the date shown. | Optionally click **"Retry Now"** if you've fixed the underlying issue (e.g. updated the card). After 3 total attempts the row flips to **Charge Failed**. |
| **Charge Failed** (red) | All retry attempts exhausted. | Update the payment method below, then click **"Retry Now"** — we'll re-attempt within 24 hours. |
| **Charge Completed** (green) | Charge succeeded. The banner includes a **"View receipt"** link to Stripe's hosted invoice page. | Done. The same link is also in the email Stripe sends you. |
If no banner is shown, there's no charge state to surface yet — typically because the conference hasn't ended, or you stayed within the free tier.
### Receipts and Invoices
Unlike registration payments (where your conference is the seller), submission billing is invoiced directly by **PaperFox (DataMonet LLC)**. Each charge produces a full Stripe invoice — not just a simple receipt.
After a successful charge, the email you receive includes a **"View Receipt"** button that opens Stripe's hosted invoice page. From there you can:
- Download the invoice as a **PDF** (standard invoice with PaperFox business details, invoice number, tax info, line-item breakdown)
- Forward the PDF to your finance department for reimbursement
- Reference the invoice number on your institution's expense system
The invoice line item reads, for example: `AB4SC — 32 billable submissions × $2 USD (52/20 free)` so finance can see the exact pricing breakdown without needing additional documentation.
---
## Payment Security
**Secure Processing:**
- All payments processed through Stripe
- Your card information is encrypted and secure
- PaperFox never stores your full card details
- Industry-standard security practices
**Payment Method Management:**
- View, change, or remove the saved card from the Submission Billing page anytime
- Past charge receipts arrive by email and stay accessible at the Stripe invoice URL — there's no in-app charge history page today
---
# Transfer Credits to Participants
URL: https://paperfox.ai/docs/chairs/transfer-credits
Description: Transfer credits to conference participants individually or by role
Credits are used for AI-powered features such as profile discovery, conflict matching, and submission analysis. As a conference chair, you can transfer credits to participants to help them access these features.
1. Log in to your PaperFox account and go to your dashboard
2. Click the conference you want to manage
3. Navigate to **Credit Transfer** from the conference management menu
The card is attached to this conference's Stripe customer only — it is not a shared personal payment method. Removing it from this conference does not affect any other conference or your personal billing.
To **change** the card later, click **"Change"** in the saved-card panel and re-enter card details. To **remove** it, click the small **"Remove payment method"** link below the card; without a card, authors can't submit once the 20 free submissions are used.
---
## How Billing Works
### Automatic Billing Process
**During Conference:**
- First 20 submissions are free
- With a payment method on file, authors can keep submitting past 20 — submissions are never blocked
- Without one, authors can't submit once the 20 free submissions are used
- No charges occur during the conference
**After Conference Ends:**
- You receive an advance-notice billing email 7 days before the conference end date
- Final billing is charged 1 day after the conference end date
- Only charged for submissions beyond the free limit
### Reading the Charge Status
After the conference ends, the top of the Submission Billing page shows the latest charge's state. You'll see one of these banners — and only when there's something to know:
| Banner | What it means | What to do |
|--------|---------------|------------|
| **Charge Scheduled** (blue) | A charge is queued and will run within 24 hours. | Nothing — sit back. |
| **Charge Retrying** (blue) | A previous attempt failed; the next retry is scheduled for the date shown. | Optionally click **"Retry Now"** if you've fixed the underlying issue (e.g. updated the card). After 3 total attempts the row flips to **Charge Failed**. |
| **Charge Failed** (red) | All retry attempts exhausted. | Update the payment method below, then click **"Retry Now"** — we'll re-attempt within 24 hours. |
| **Charge Completed** (green) | Charge succeeded. The banner includes a **"View receipt"** link to Stripe's hosted invoice page. | Done. The same link is also in the email Stripe sends you. |
If no banner is shown, there's no charge state to surface yet — typically because the conference hasn't ended, or you stayed within the free tier.
### Receipts and Invoices
Unlike registration payments (where your conference is the seller), submission billing is invoiced directly by **PaperFox (DataMonet LLC)**. Each charge produces a full Stripe invoice — not just a simple receipt.
After a successful charge, the email you receive includes a **"View Receipt"** button that opens Stripe's hosted invoice page. From there you can:
- Download the invoice as a **PDF** (standard invoice with PaperFox business details, invoice number, tax info, line-item breakdown)
- Forward the PDF to your finance department for reimbursement
- Reference the invoice number on your institution's expense system
The invoice line item reads, for example: `AB4SC — 32 billable submissions × $2 USD (52/20 free)` so finance can see the exact pricing breakdown without needing additional documentation.
---
## Payment Security
**Secure Processing:**
- All payments processed through Stripe
- Your card information is encrypted and secure
- PaperFox never stores your full card details
- Industry-standard security practices
**Payment Method Management:**
- View, change, or remove the saved card from the Submission Billing page anytime
- Past charge receipts arrive by email and stay accessible at the Stripe invoice URL — there's no in-app charge history page today
---
# Transfer Credits to Participants
URL: https://paperfox.ai/docs/chairs/transfer-credits
Description: Transfer credits to conference participants individually or by role
Credits are used for AI-powered features such as profile discovery, conflict matching, and submission analysis. As a conference chair, you can transfer credits to participants to help them access these features.
1. Log in to your PaperFox account and go to your dashboard
2. Click the conference you want to manage
3. Navigate to **Credit Transfer** from the conference management menu
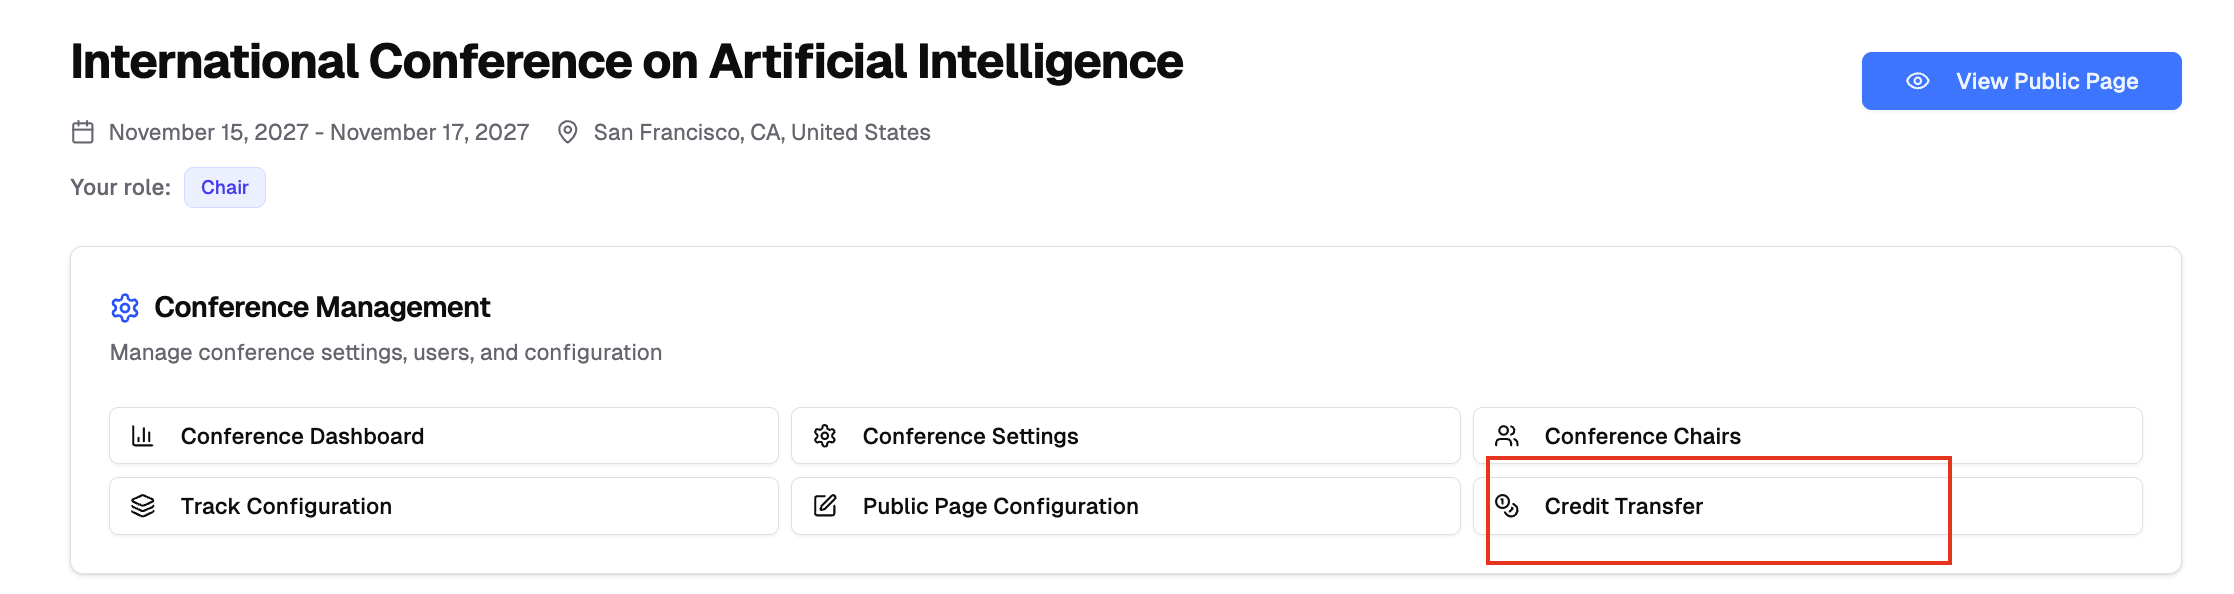 Your current credit balance is displayed at the top. Click **Buy More Credits** to purchase additional credits.
## Transfer by Role
Send the same amount of credits to all participants in a specific role.
1. Select a role:
- **All Chairs** - Conference chairs (excluding yourself)
- **All Track Chairs** - Track chairs in your conference
- **All Reviewers** - Reviewers across all tracks
- **All Authors** - Authors who submitted submissions
2. Enter the **Credits per Person** amount
3. Review the summary showing recipients, amount per person, and total required
4. Add optional notes
5. Click **Transfer to [number] [role]** and confirm
Your current credit balance is displayed at the top. Click **Buy More Credits** to purchase additional credits.
## Transfer by Role
Send the same amount of credits to all participants in a specific role.
1. Select a role:
- **All Chairs** - Conference chairs (excluding yourself)
- **All Track Chairs** - Track chairs in your conference
- **All Reviewers** - Reviewers across all tracks
- **All Authors** - Authors who submitted submissions
2. Enter the **Credits per Person** amount
3. Review the summary showing recipients, amount per person, and total required
4. Add optional notes
5. Click **Transfer to [number] [role]** and confirm
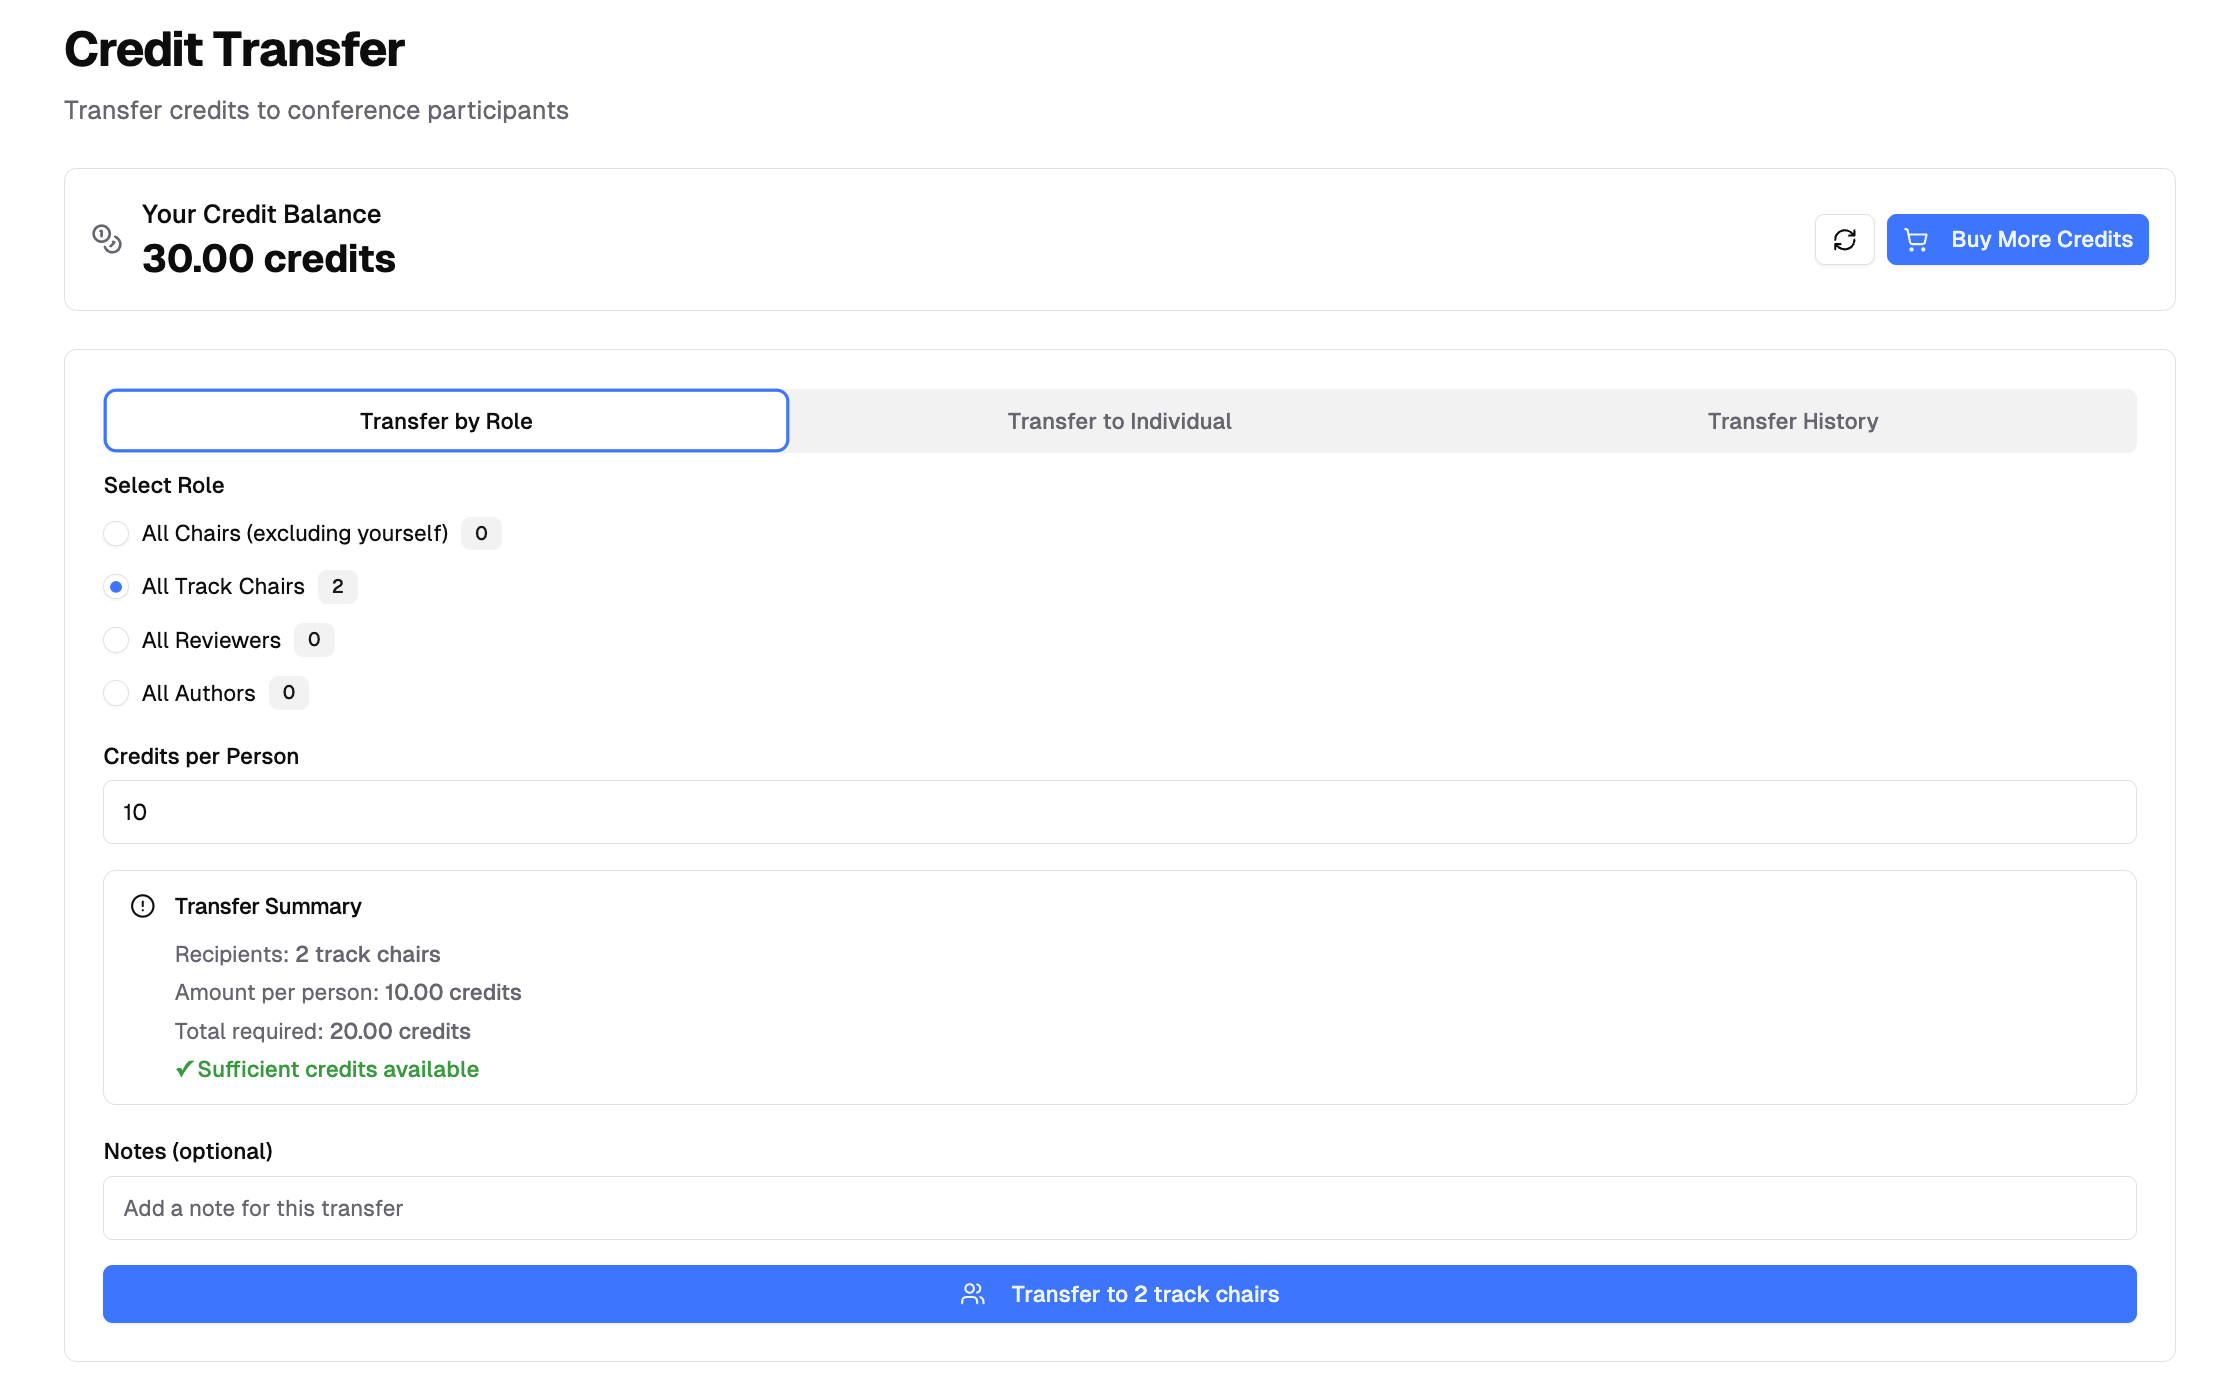 ## Transfer to Individual
Send credits to a specific participant.
1. Click the search field and search by name, email, or affiliation
2. Select the user from the results
3. Enter the **Credits to Transfer** amount
4. Review the summary
5. Add optional notes
6. Click **Transfer Credits** and confirm
## Transfer to Individual
Send credits to a specific participant.
1. Click the search field and search by name, email, or affiliation
2. Select the user from the results
3. Enter the **Credits to Transfer** amount
4. Review the summary
5. Add optional notes
6. Click **Transfer Credits** and confirm
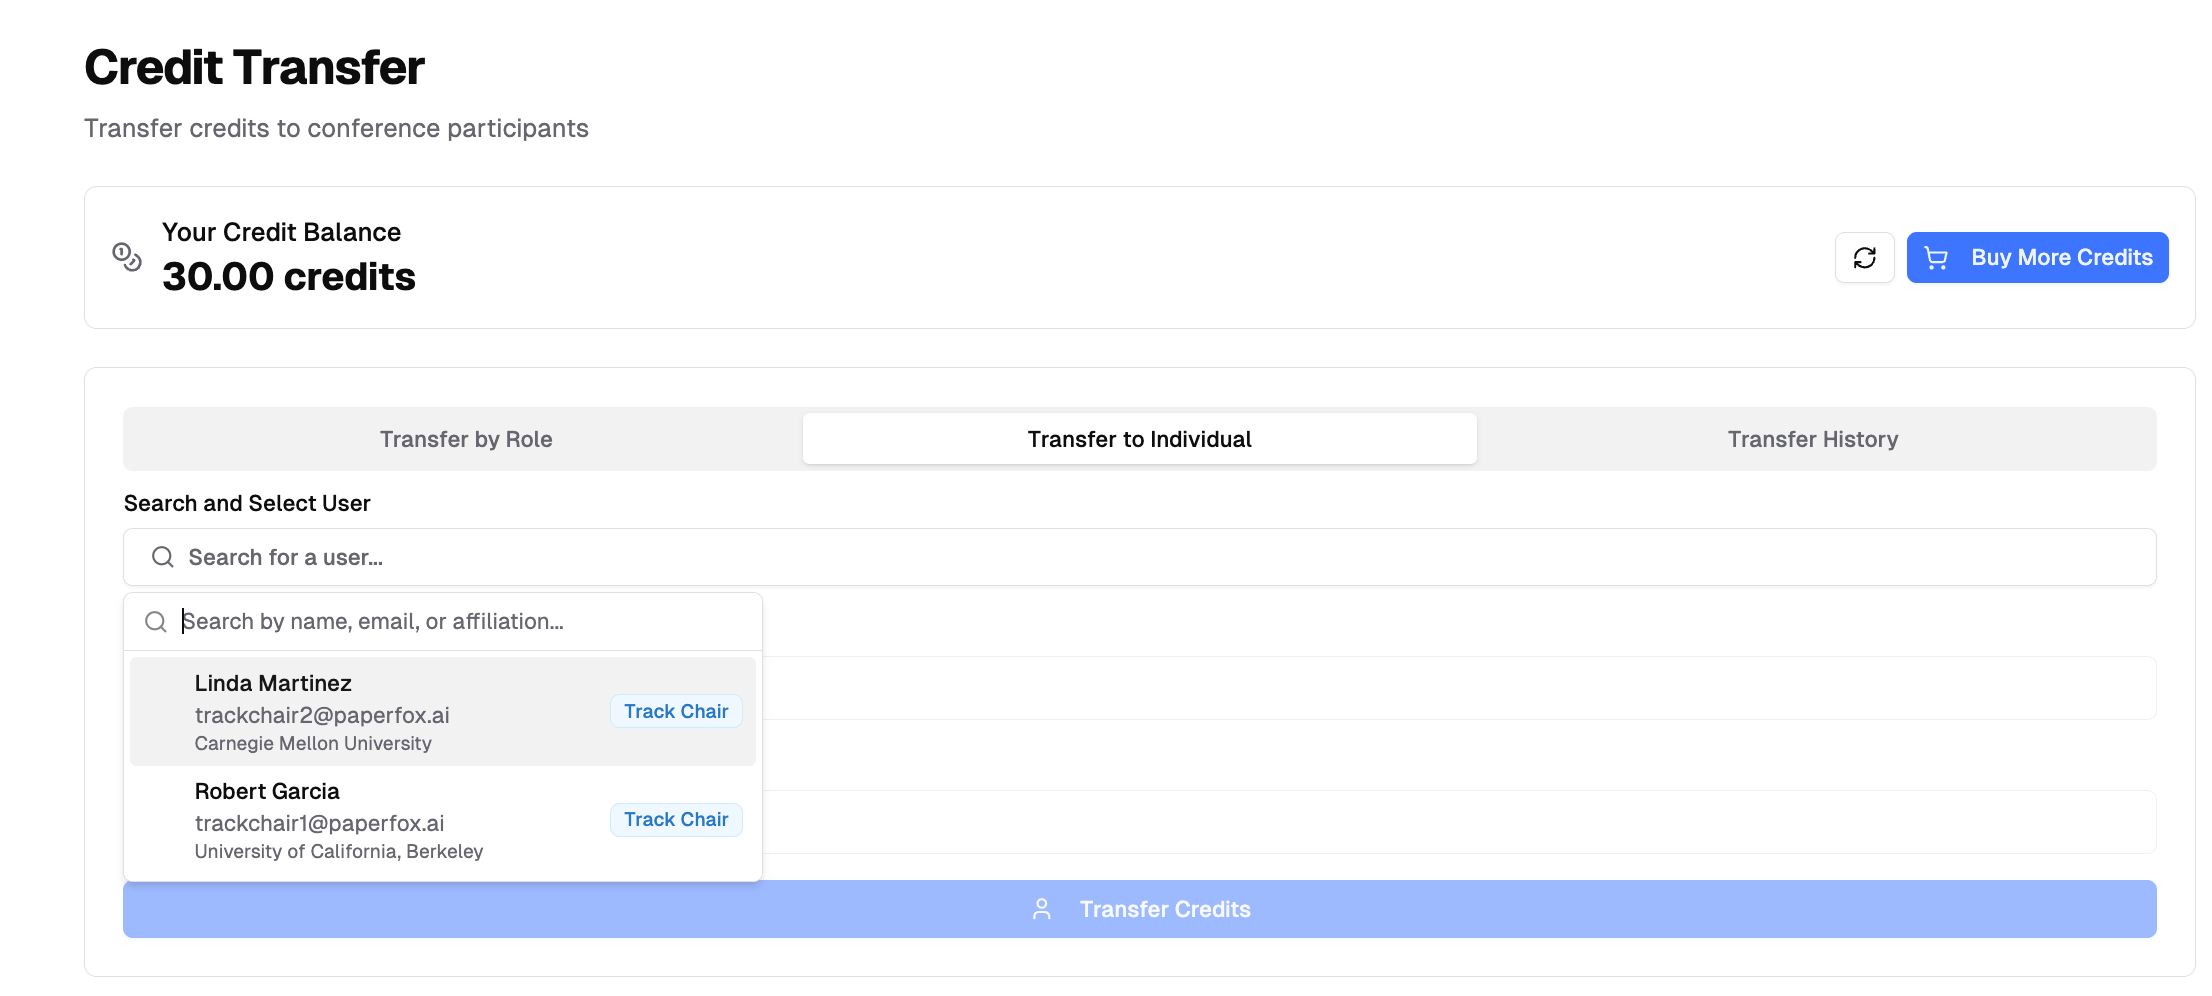 ## Transfer History
View your credit transfers in the **Transfer History** tab. Each entry shows the amount, recipient details, roles, date, and optional notes.
## Transfer History
View your credit transfers in the **Transfer History** tab. Each entry shows the amount, recipient details, roles, date, and optional notes.
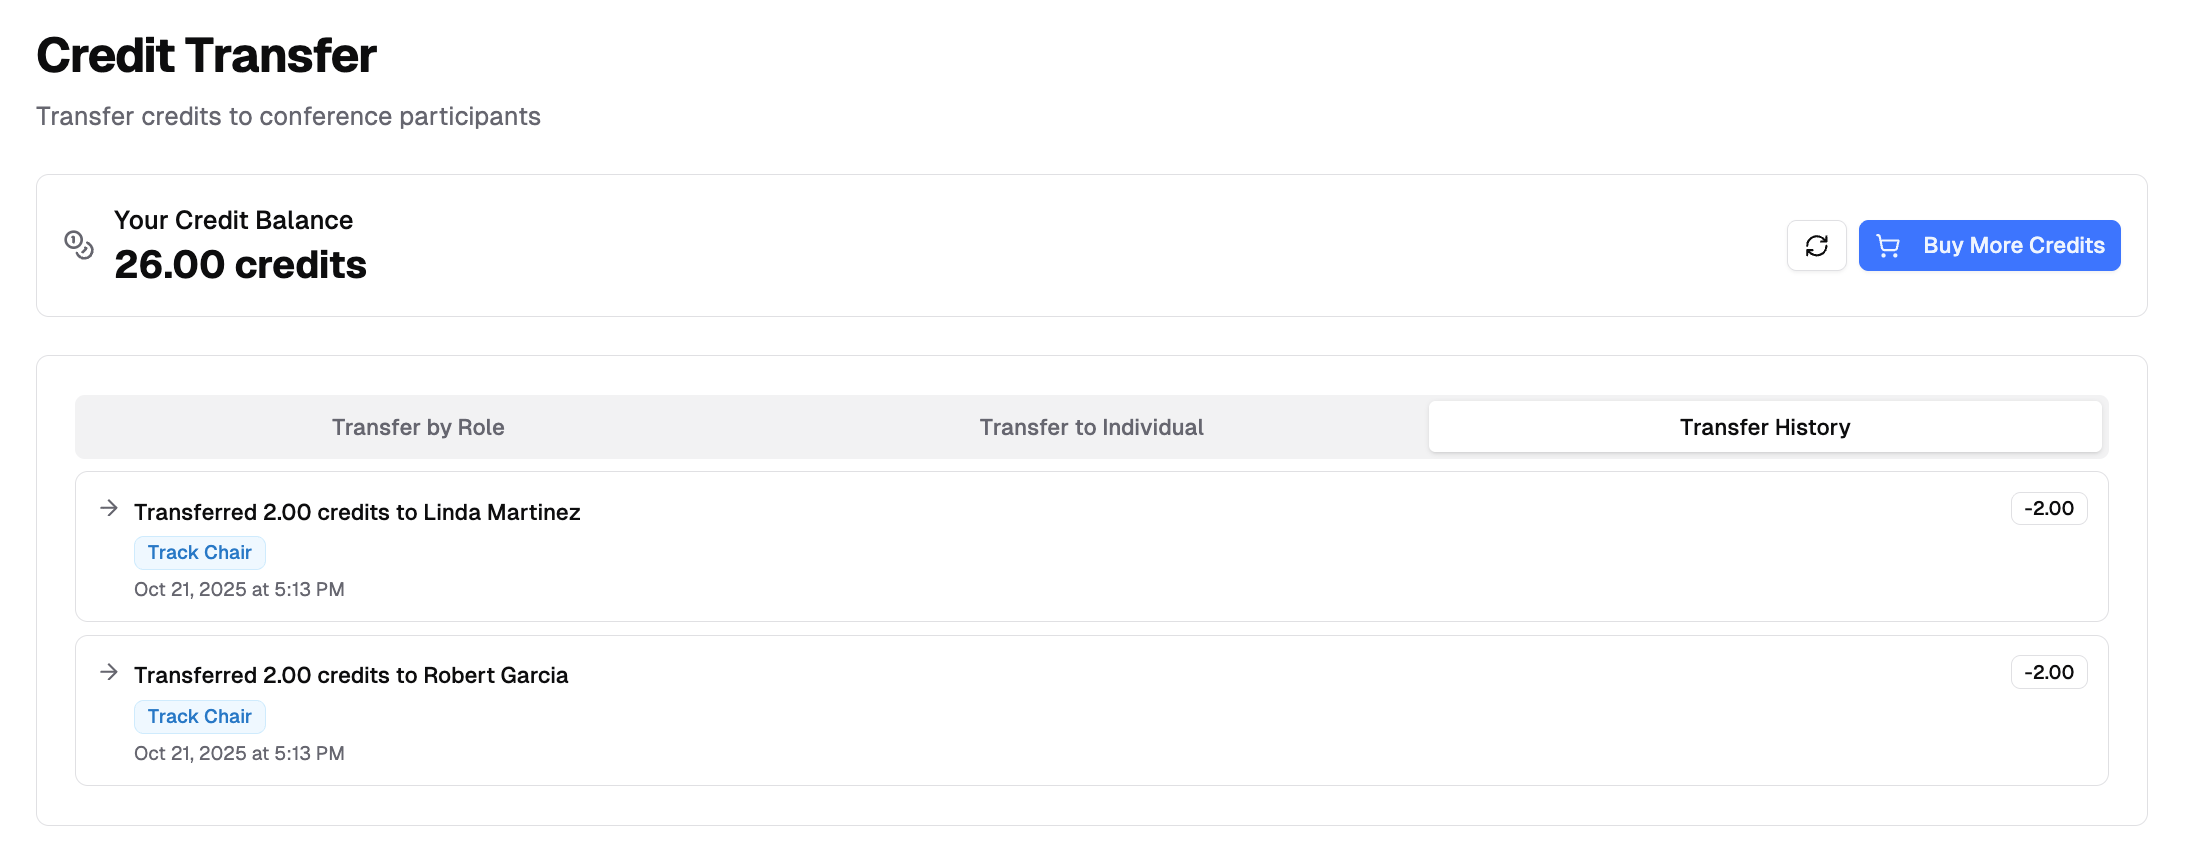 ---
# Senior Editor Workflow
URL: https://paperfox.ai/docs/senior-editors/senior-editor-workflow
Description: Guide for Senior Editors to manage submission assignments and distribute to Associate Editors
This guide outlines the workflow for Senior Editors who manage submission assignments in a hierarchical review structure.
## Senior Editor Workflow
### 1. Receive Submission Assignments
Track Chairs assign submissions to you through the SE Assignments page.
### 2. Find Your Assignments
1. Go to **Conferences** in the sidebar, then click on your conference
2. Find the **My Senior Editor Assignments** card, which lists each track you have submissions in
The card is always on the page while you hold the Senior Editor role — before anything is assigned to you it reads "No submissions assigned". If your conference renamed the role, the card uses that name instead.
---
# Senior Editor Workflow
URL: https://paperfox.ai/docs/senior-editors/senior-editor-workflow
Description: Guide for Senior Editors to manage submission assignments and distribute to Associate Editors
This guide outlines the workflow for Senior Editors who manage submission assignments in a hierarchical review structure.
## Senior Editor Workflow
### 1. Receive Submission Assignments
Track Chairs assign submissions to you through the SE Assignments page.
### 2. Find Your Assignments
1. Go to **Conferences** in the sidebar, then click on your conference
2. Find the **My Senior Editor Assignments** card, which lists each track you have submissions in
The card is always on the page while you hold the Senior Editor role — before anything is assigned to you it reads "No submissions assigned". If your conference renamed the role, the card uses that name instead.
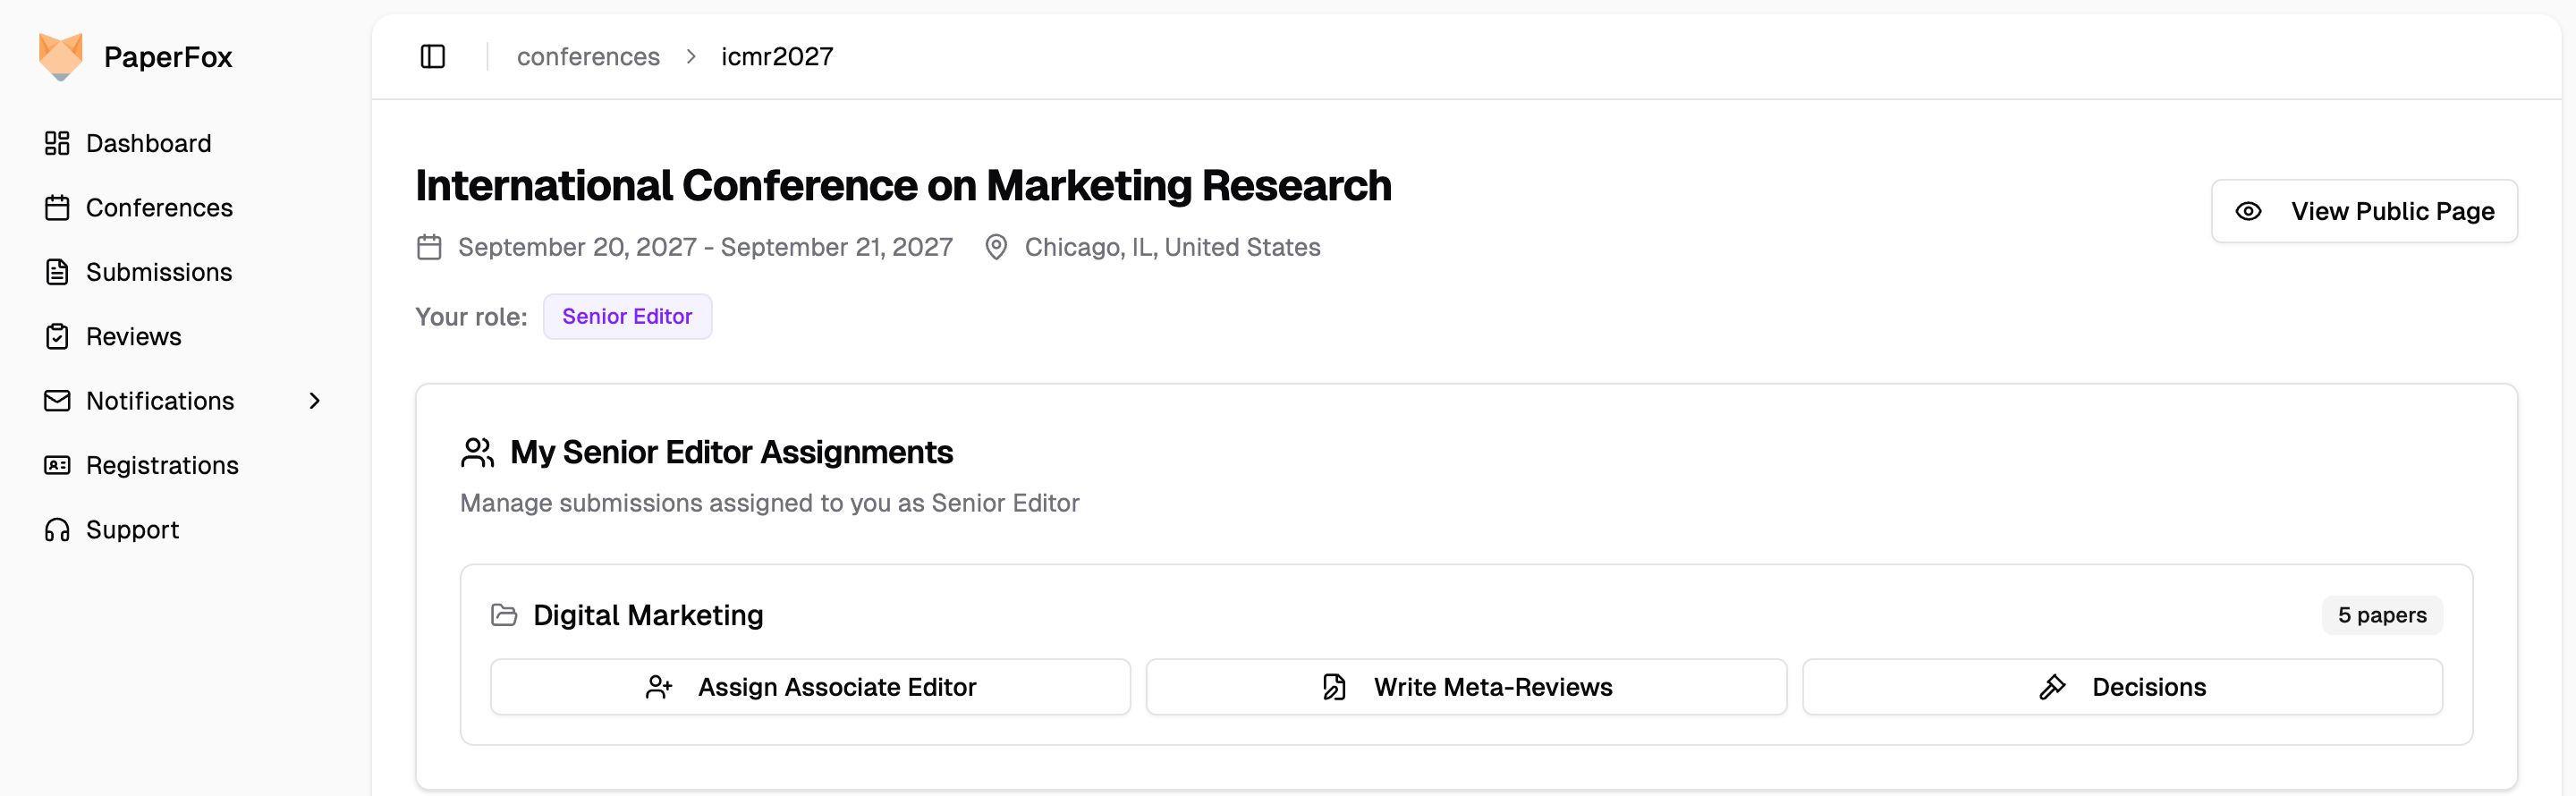 ### 3. Assign Submissions to Associate Editors
Click **"Assign Associate Editor"** on the track you want to work in.
- Select an Associate Editor from the dropdown for each submission
- The AE will then manage reviewer assignments for that submission
### 4. Monitor Review Progress
Track the status of submissions you've distributed.
- View review completion status for each submission
- See which AE is handling each submission
### 5. Write Meta Reviews
Provide summary evaluations for submissions after reviews are complete.
- Synthesize reviewer feedback into a consolidated assessment
- Make recommendations based on all reviews
---
# Delegate a Review to a Sub-Reviewer
URL: https://paperfox.ai/docs/reviewers/delegate-review
Description: How to delegate a review assignment to a sub-reviewer
If you're unable to complete a review, you can invite a sub-reviewer to handle it on your behalf. The sub-reviewer goes through the same assignment workflow as any other reviewer — they see it under **Awaiting Response** on their **Reviews** page, accept it, and write the review.
### 3. Assign Submissions to Associate Editors
Click **"Assign Associate Editor"** on the track you want to work in.
- Select an Associate Editor from the dropdown for each submission
- The AE will then manage reviewer assignments for that submission
### 4. Monitor Review Progress
Track the status of submissions you've distributed.
- View review completion status for each submission
- See which AE is handling each submission
### 5. Write Meta Reviews
Provide summary evaluations for submissions after reviews are complete.
- Synthesize reviewer feedback into a consolidated assessment
- Make recommendations based on all reviews
---
# Delegate a Review to a Sub-Reviewer
URL: https://paperfox.ai/docs/reviewers/delegate-review
Description: How to delegate a review assignment to a sub-reviewer
If you're unable to complete a review, you can invite a sub-reviewer to handle it on your behalf. The sub-reviewer goes through the same assignment workflow as any other reviewer — they see it under **Awaiting Response** on their **Reviews** page, accept it, and write the review.
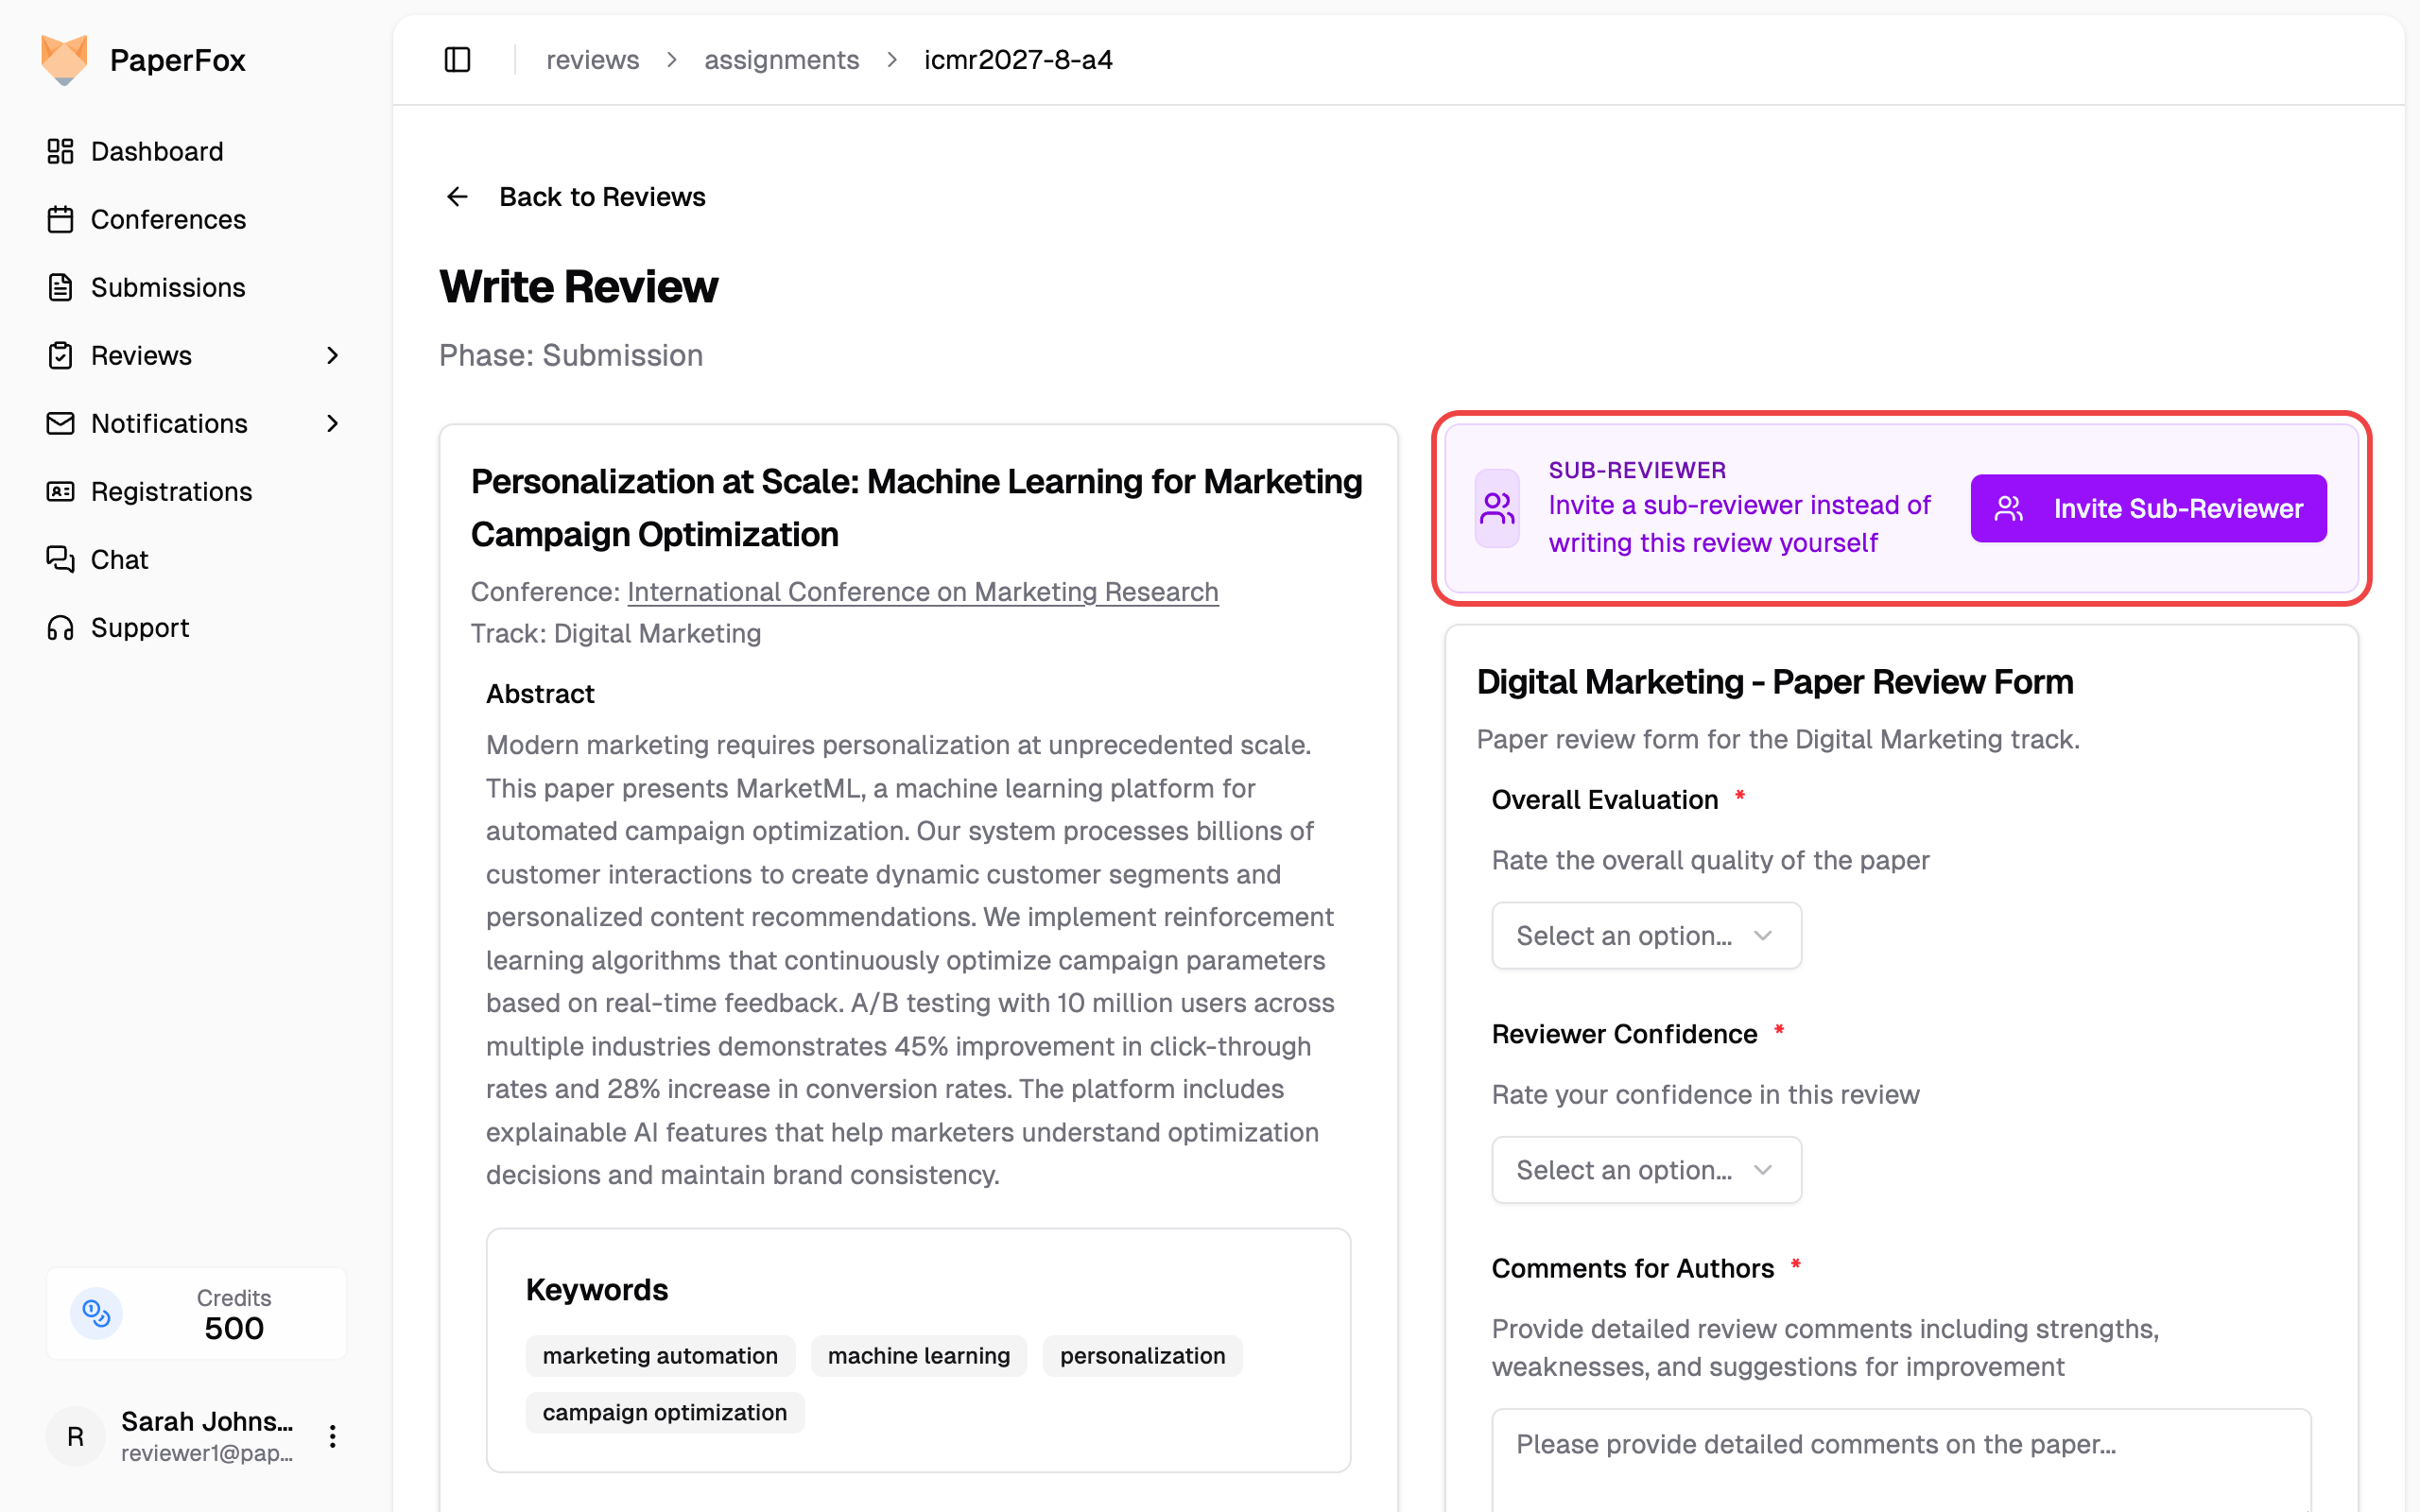 5. Enter the sub-reviewer's **email address** and an optional personal message
6. Click **"Send Invitation"**
5. Enter the sub-reviewer's **email address** and an optional personal message
6. Click **"Send Invitation"**
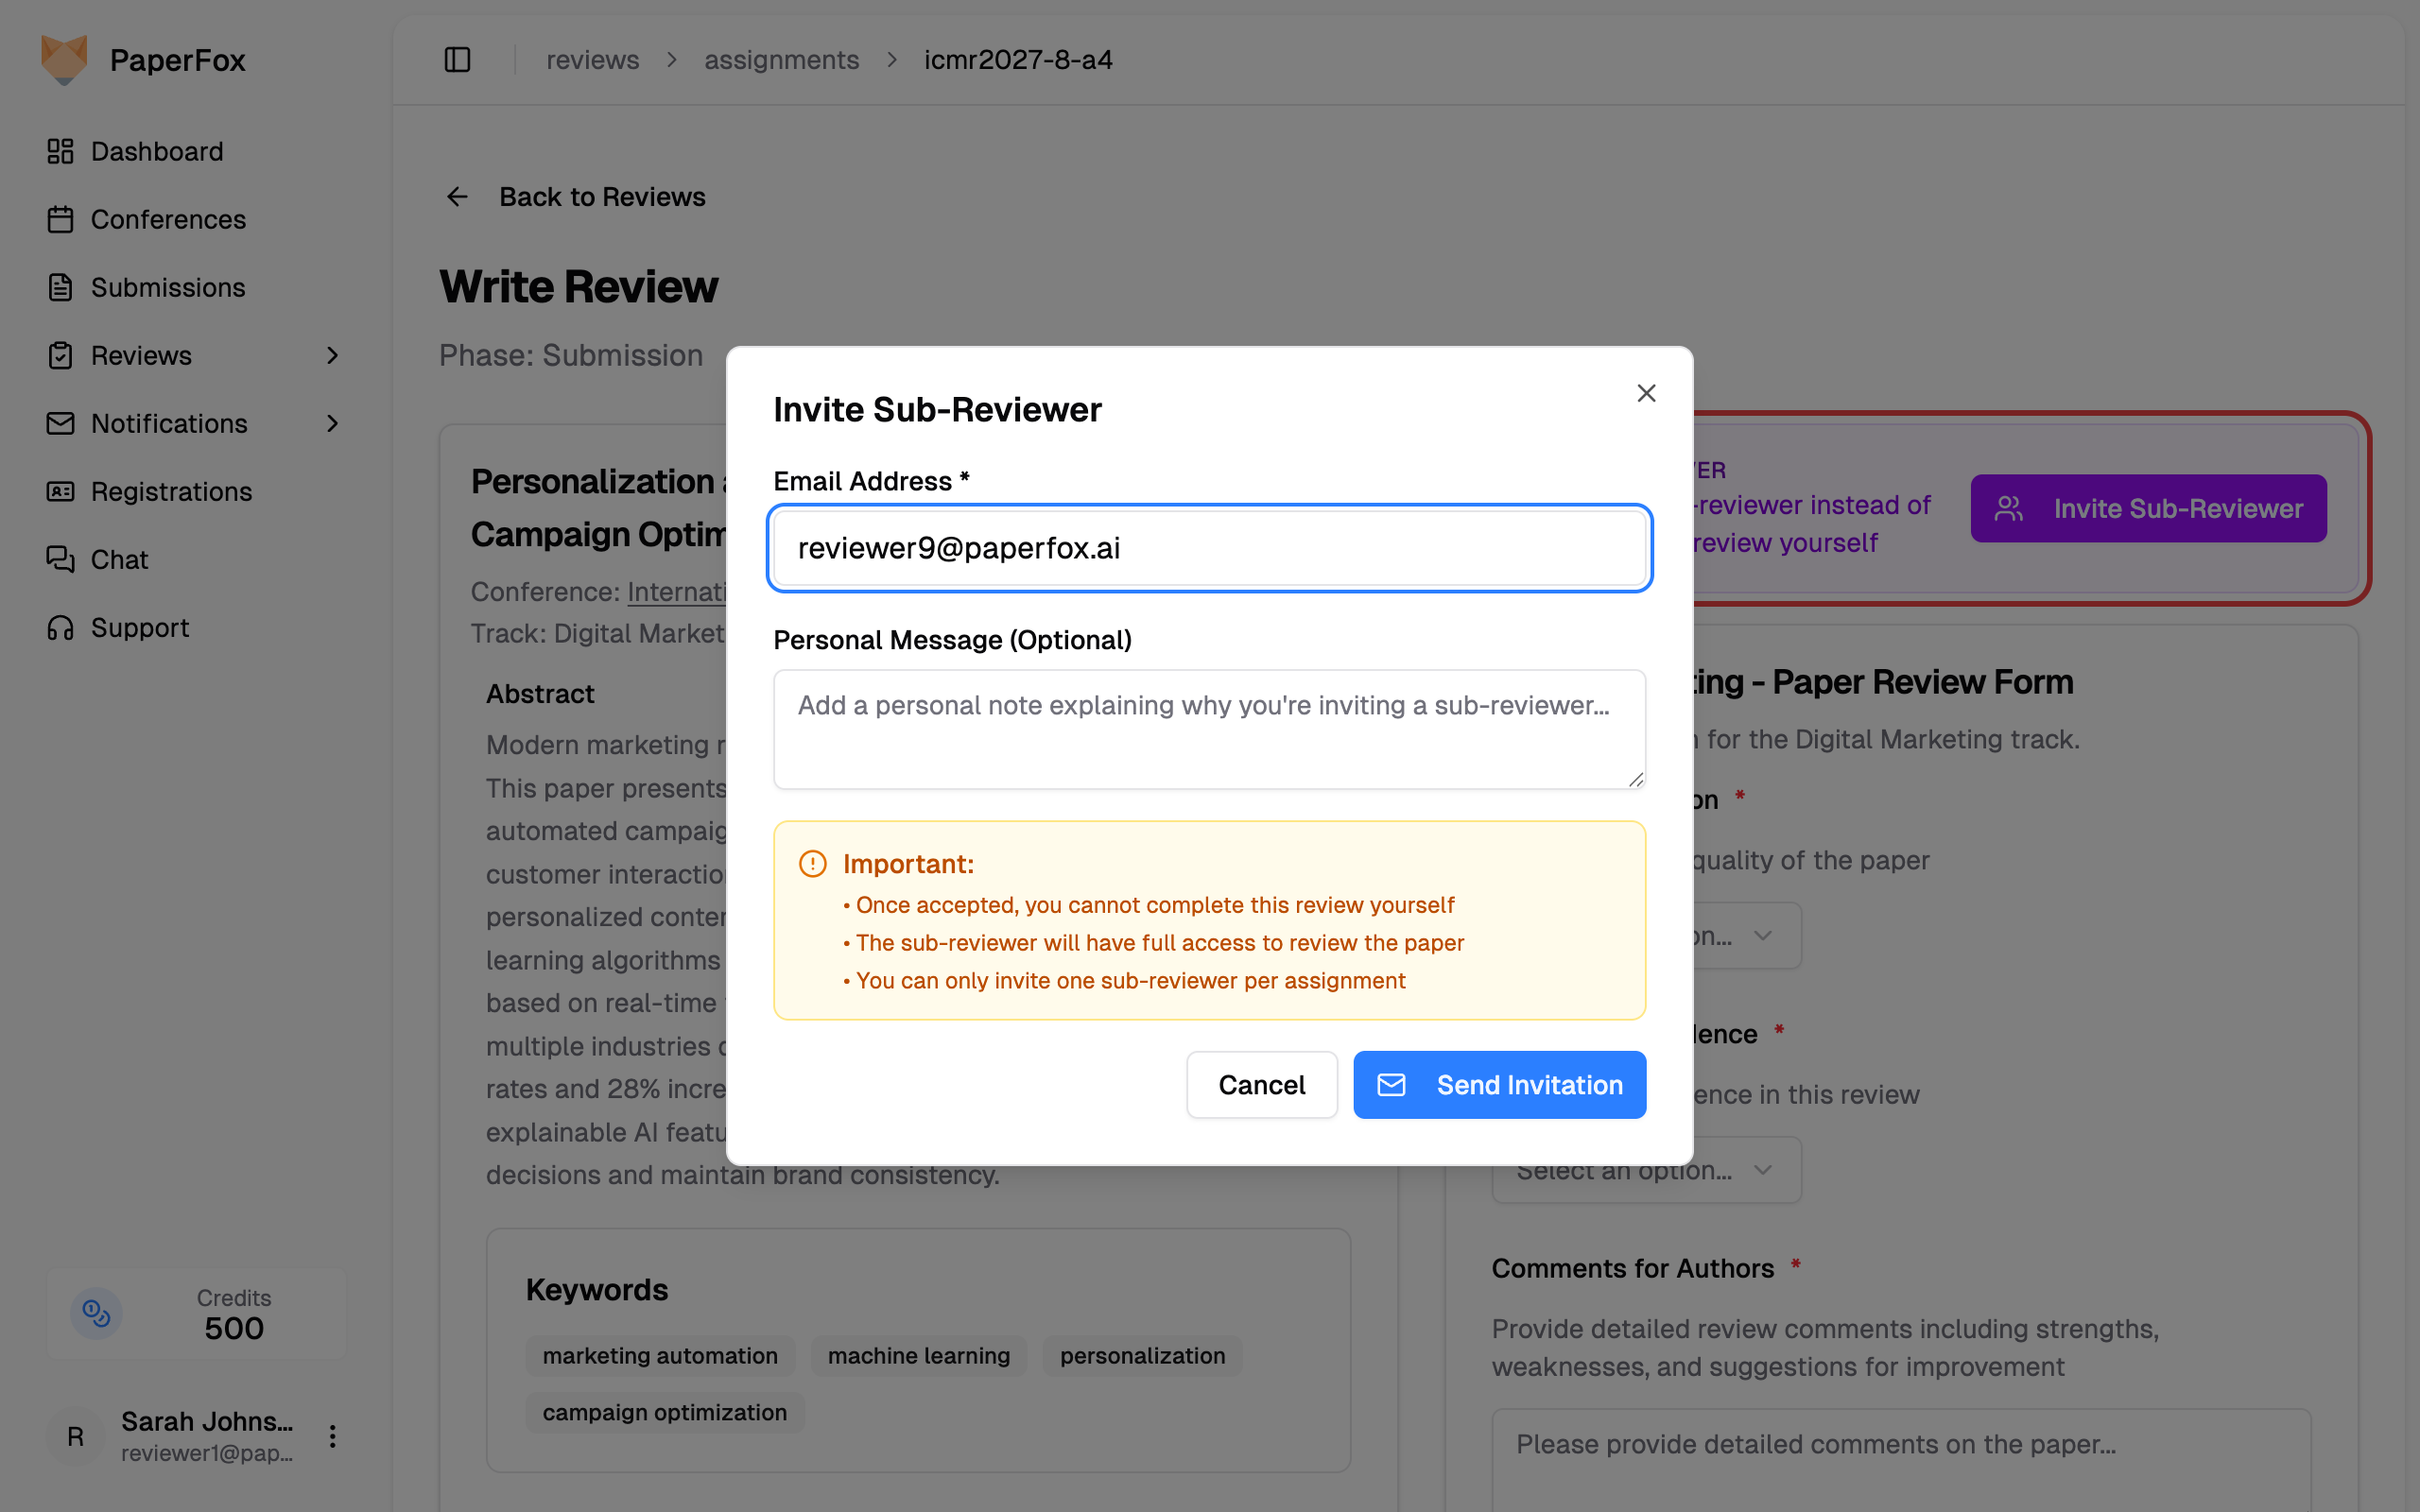 The sub-reviewer will receive an email notification. They will also see the invitation under **Awaiting Response** on their **Reviews** page with a **"Delegated by [your name]"** badge — so they can find it even if the email goes to junk.
## Track Your Delegation
After inviting, the invite card is replaced by a status card:
The sub-reviewer will receive an email notification. They will also see the invitation under **Awaiting Response** on their **Reviews** page with a **"Delegated by [your name]"** badge — so they can find it even if the email goes to junk.
## Track Your Delegation
After inviting, the invite card is replaced by a status card:
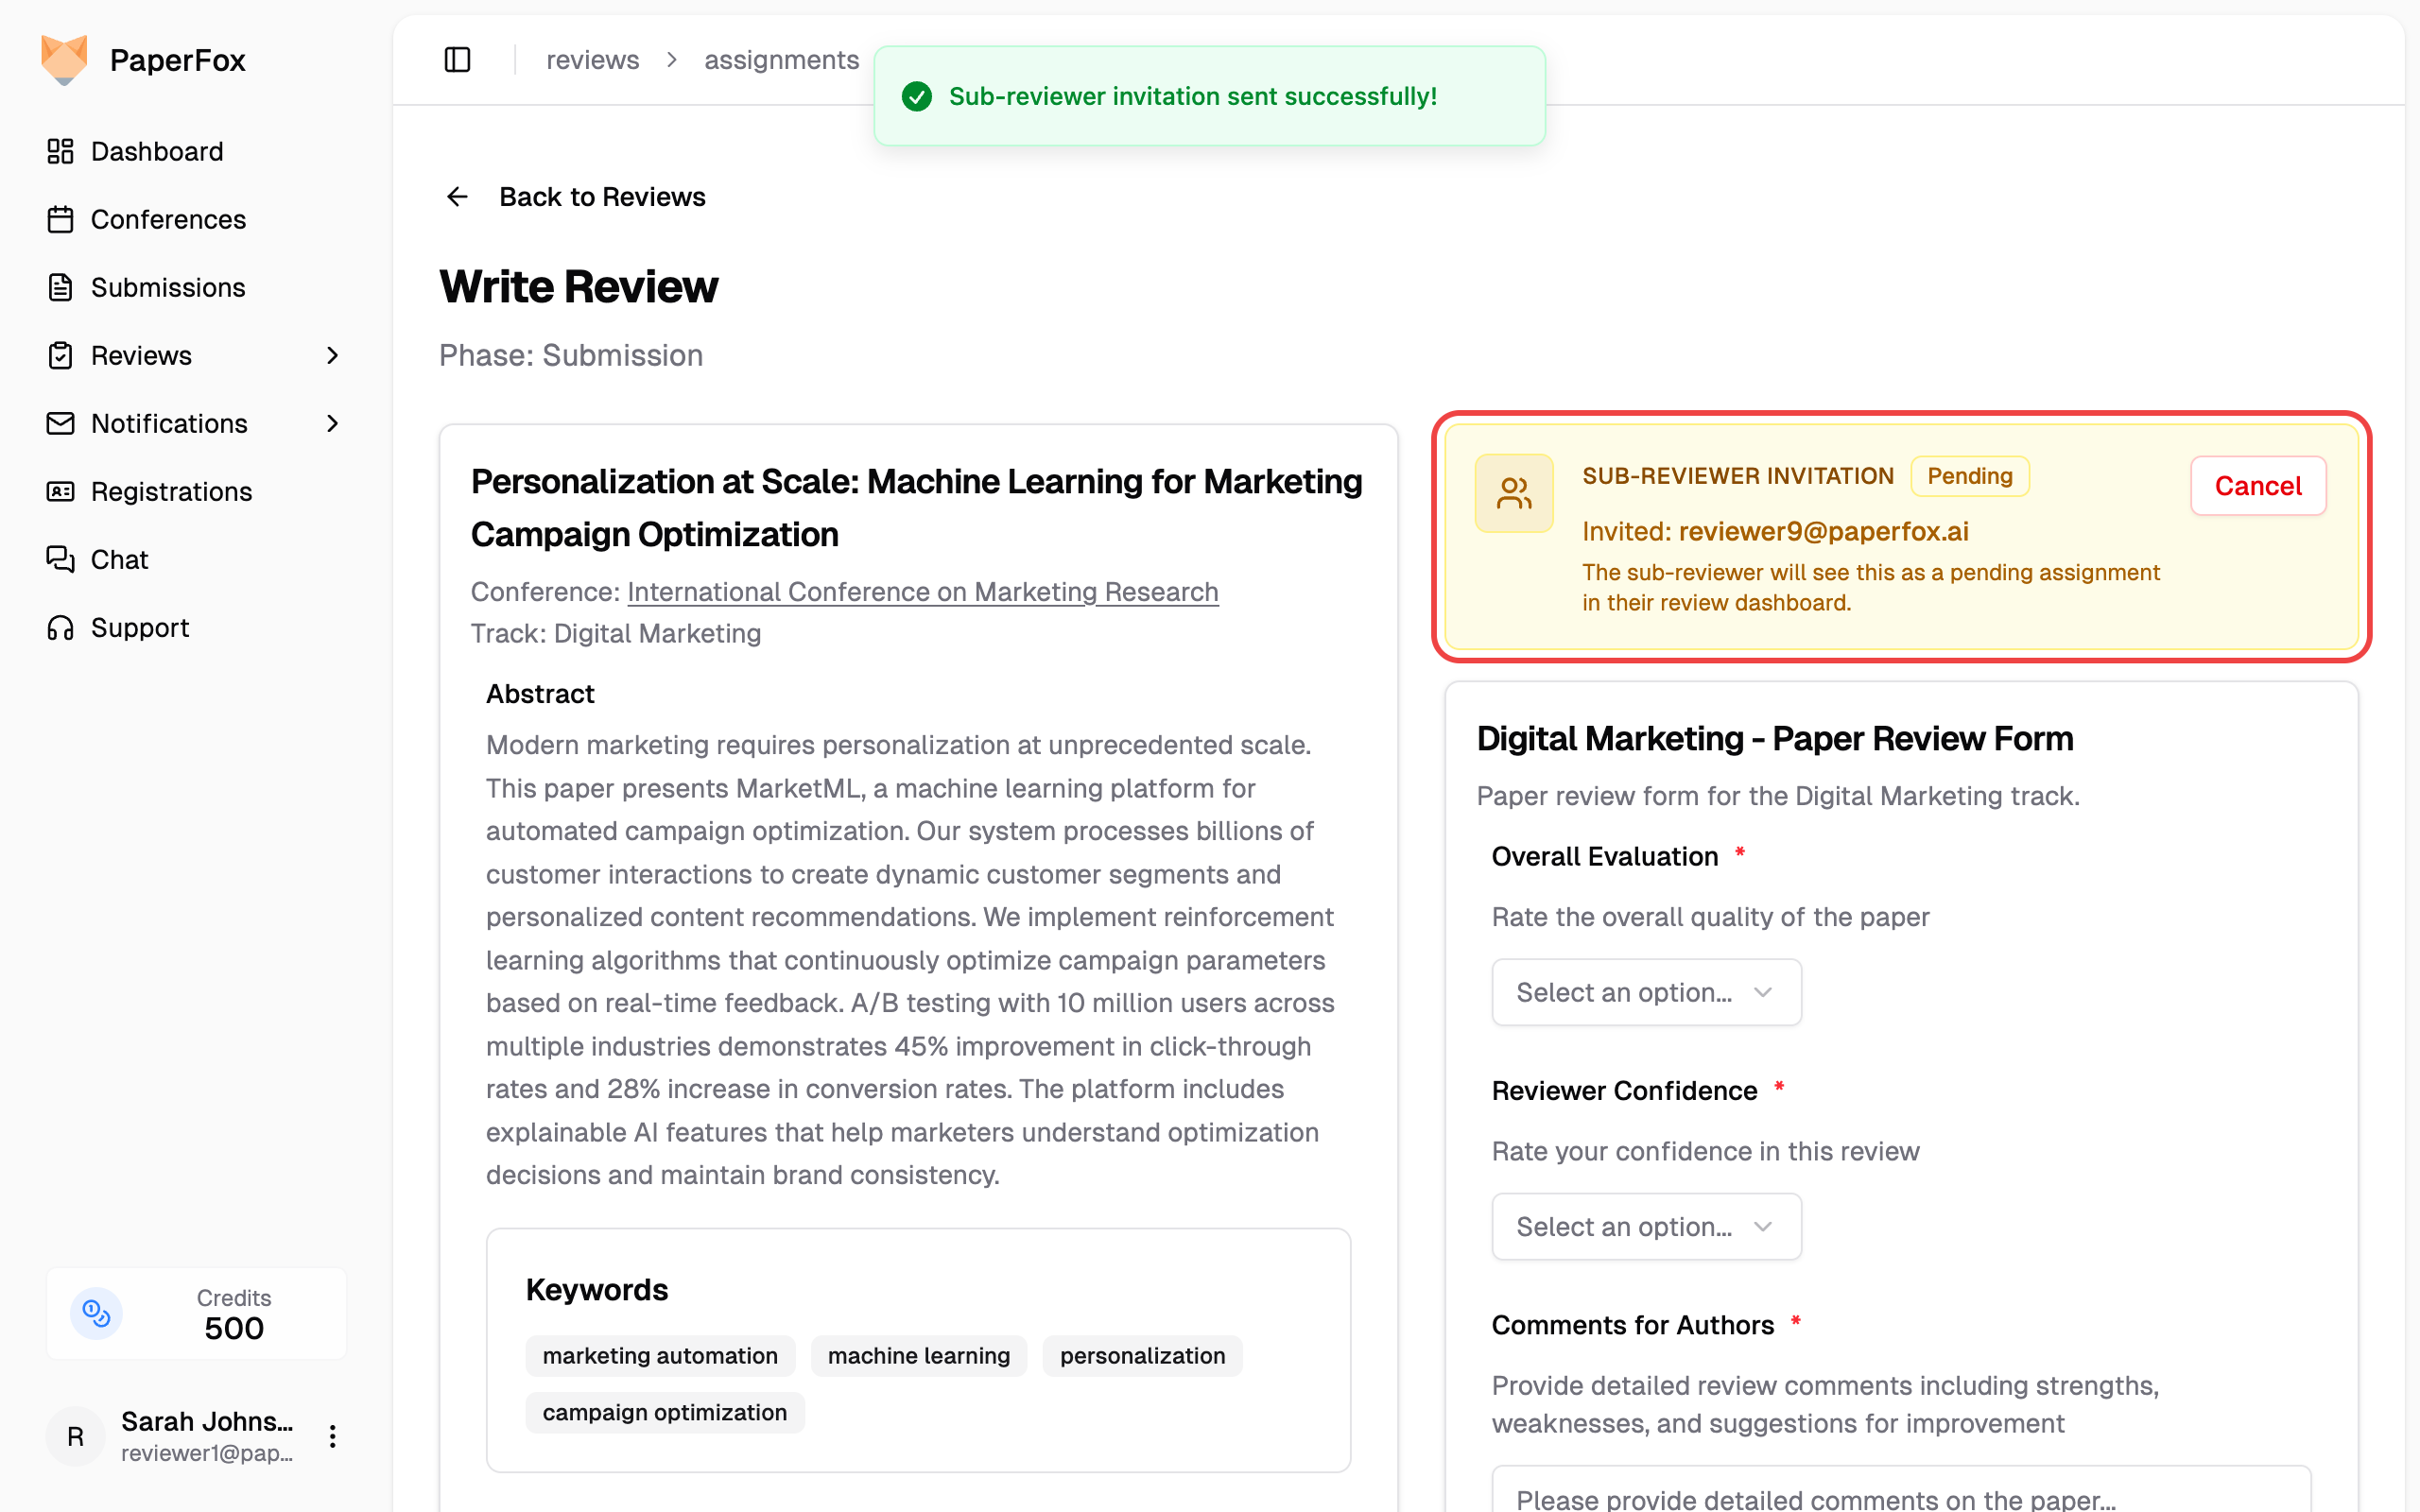 | Status | Meaning | Your Options |
|--------|---------|-------------|
| **Pending** | Sub-reviewer hasn't responded yet | Cancel the invitation |
| **Accepted** | Sub-reviewer is working on the review | Cancel (before they submit) |
| **Declined** | Sub-reviewer declined | Invite someone else, or write the review yourself |
## Cancel a Delegation
You can cancel the delegation **before the sub-reviewer starts writing their review**:
1. On the **Reviews** page, find the delegated review and click **"Manage"**
2. Click **"Cancel"** on the status card
3. Your assignment returns to **Accepted** status — you can write the review yourself or invite someone else
On the sub-reviewer's side, the assignment shows as **Cancelled** (not Declined) with a note that it was cancelled by the delegating reviewer — no action is needed from them, and it never counts as them having declined.
You can also **re-invite the same person later**: sending them a new invitation reactivates the cancelled assignment and they receive a fresh email to accept or decline.
| Status | Meaning | Your Options |
|--------|---------|-------------|
| **Pending** | Sub-reviewer hasn't responded yet | Cancel the invitation |
| **Accepted** | Sub-reviewer is working on the review | Cancel (before they submit) |
| **Declined** | Sub-reviewer declined | Invite someone else, or write the review yourself |
## Cancel a Delegation
You can cancel the delegation **before the sub-reviewer starts writing their review**:
1. On the **Reviews** page, find the delegated review and click **"Manage"**
2. Click **"Cancel"** on the status card
3. Your assignment returns to **Accepted** status — you can write the review yourself or invite someone else
On the sub-reviewer's side, the assignment shows as **Cancelled** (not Declined) with a note that it was cancelled by the delegating reviewer — no action is needed from them, and it never counts as them having declined.
You can also **re-invite the same person later**: sending them a new invitation reactivates the cancelled assignment and they receive a fresh email to accept or decline.
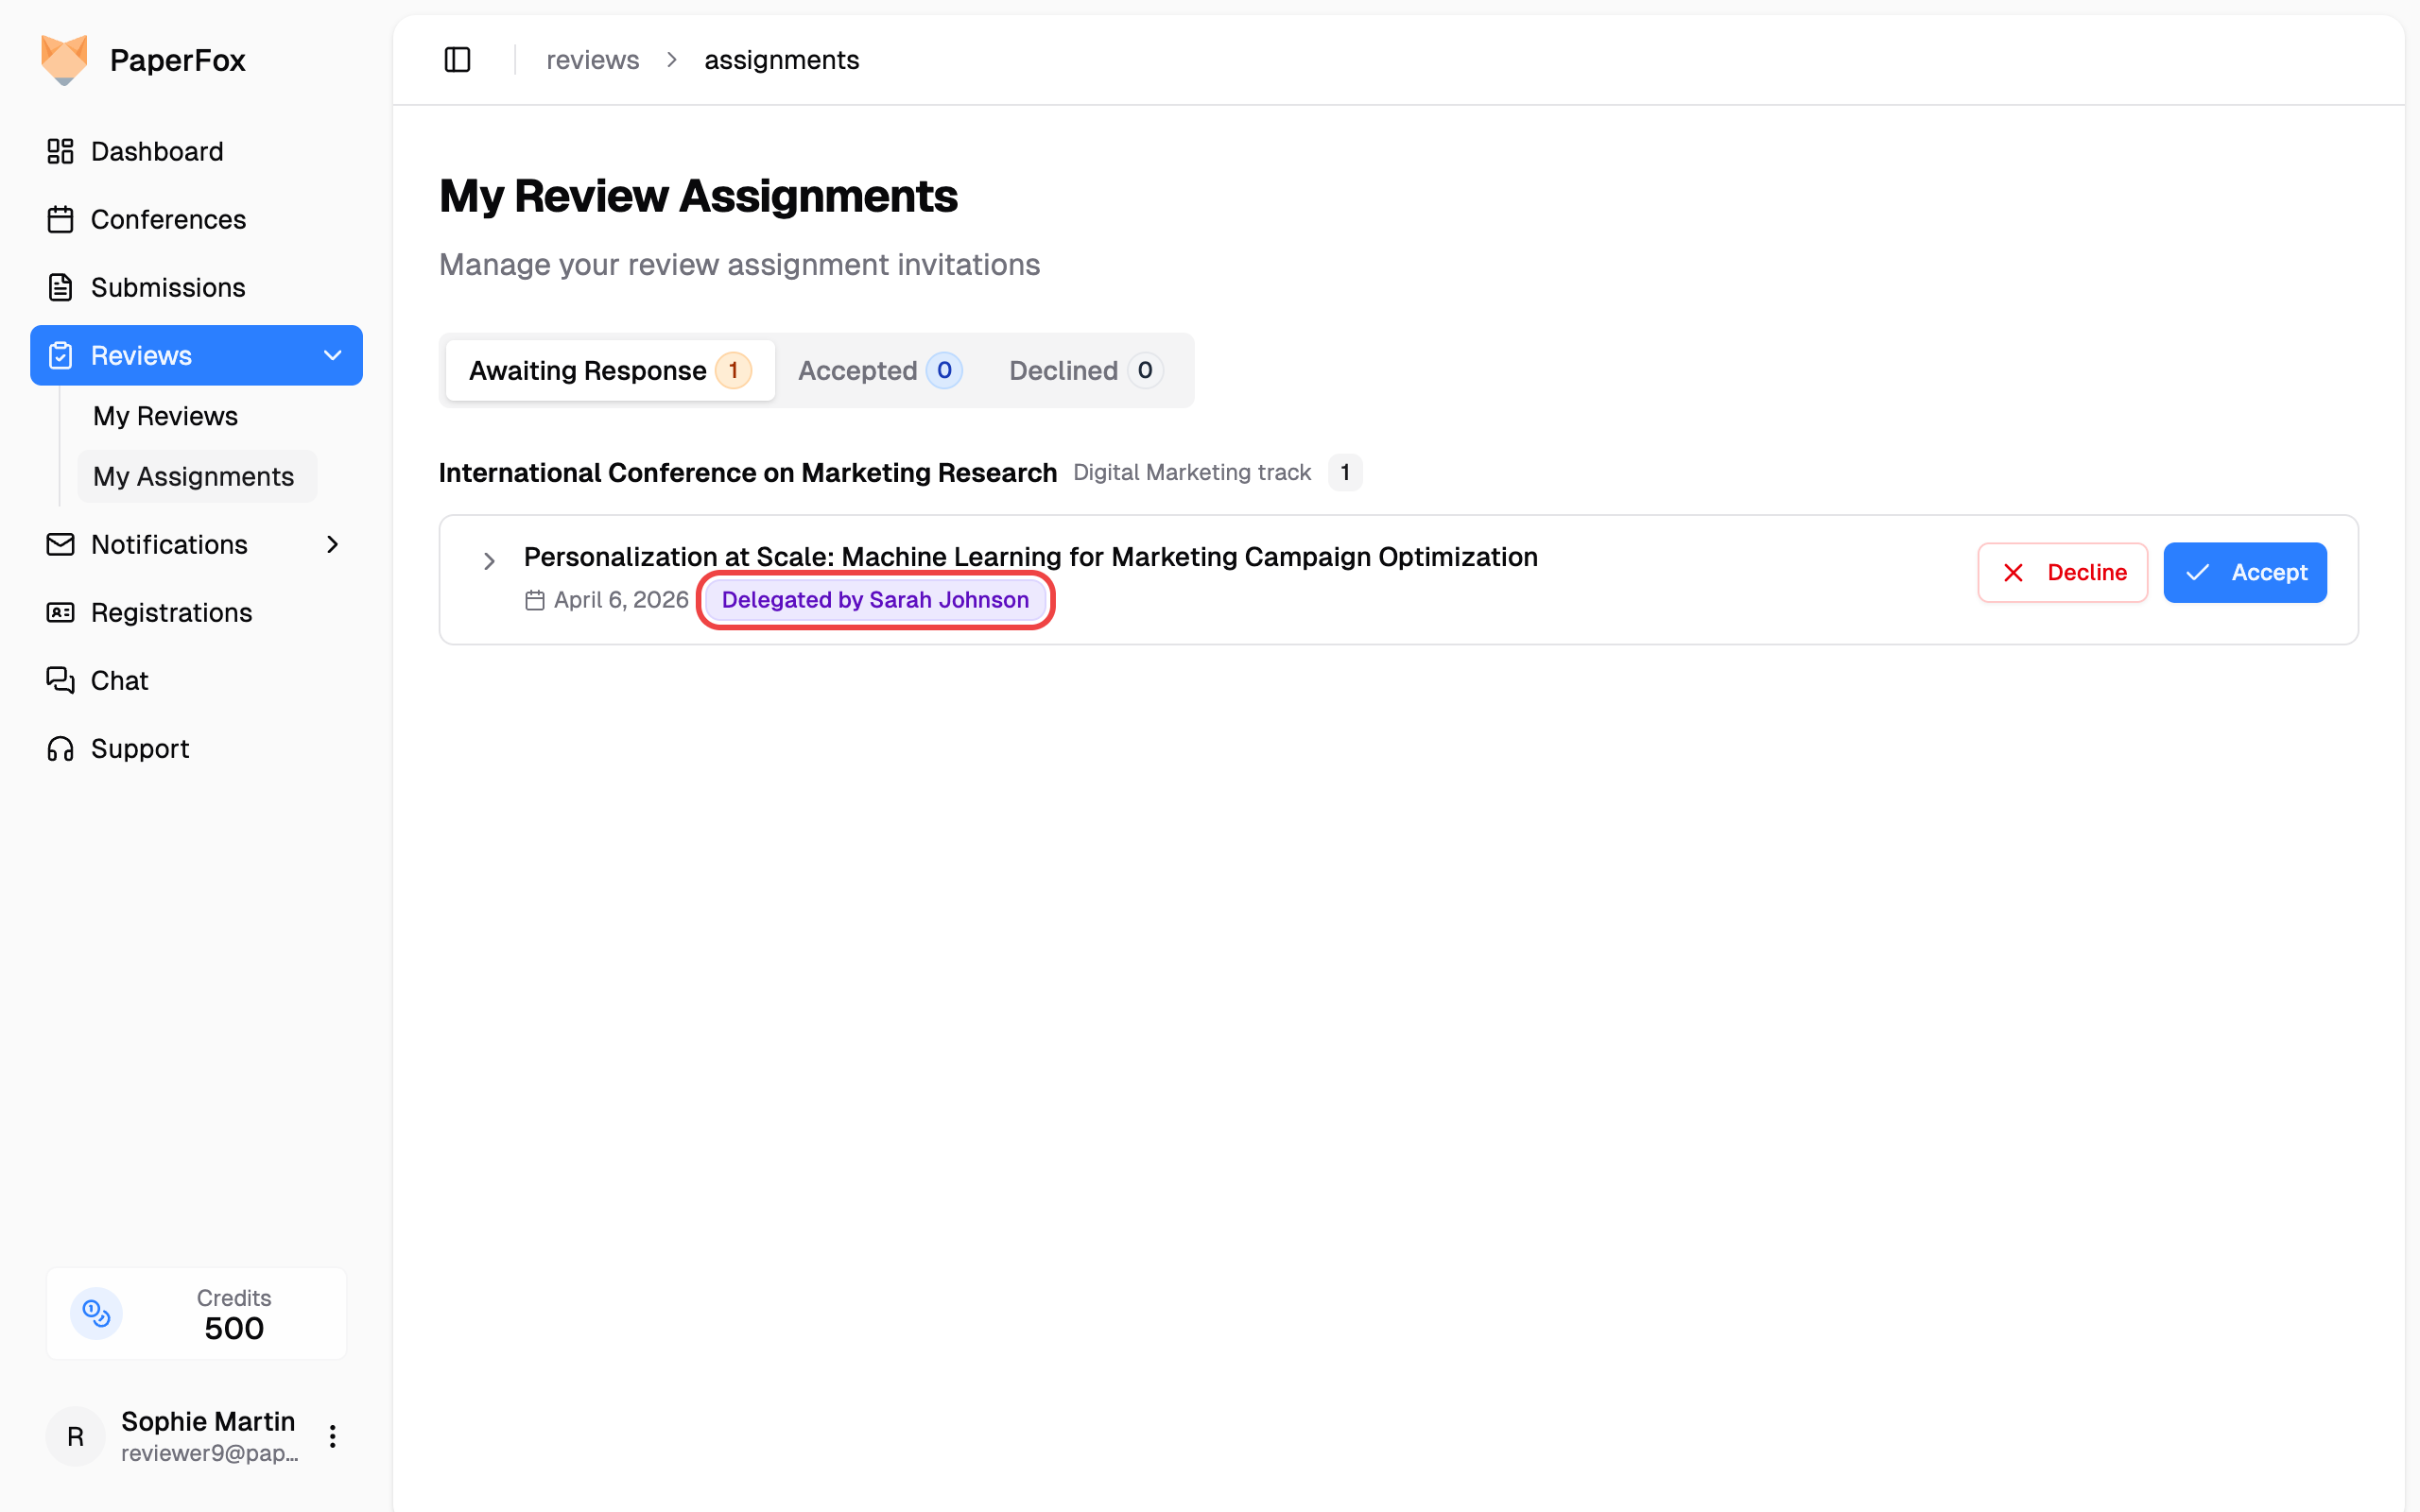 3. **Accept** or **Decline** the assignment as usual
4. If you accept, click **"Write Review"** and complete the review form
5. The review page and edit page show a notice: **"This review was delegated to you by [name]"**
6. Submit the review — the original reviewer will be notified
If the delegating reviewer cancels the invitation before you start writing, the assignment moves to your **Declined** tab labeled **"Cancelled by the delegating reviewer"** — nothing is required from you, and it is not recorded as a decline on your part.
## Important Notes
- You cannot invite yourself as a sub-reviewer
- Sub-reviewers are marked with a **"Sub-reviewer"** badge visible to track chairs
- The original reviewer is still responsible for ensuring the review is completed on time — track chairs contact the original reviewer, not the sub-reviewer, for reminders
---
# Manage Your Reviews
URL: https://paperfox.ai/docs/reviewers/manage-assignments
Description: Respond to invitations and write your reviews across all conferences
## Opening the Reviews Page
Everything you do as a reviewer lives on one page. Click **Reviews** in the sidebar, or from your **Dashboard** click **"View All"** under the **My Reviews** card.
3. **Accept** or **Decline** the assignment as usual
4. If you accept, click **"Write Review"** and complete the review form
5. The review page and edit page show a notice: **"This review was delegated to you by [name]"**
6. Submit the review — the original reviewer will be notified
If the delegating reviewer cancels the invitation before you start writing, the assignment moves to your **Declined** tab labeled **"Cancelled by the delegating reviewer"** — nothing is required from you, and it is not recorded as a decline on your part.
## Important Notes
- You cannot invite yourself as a sub-reviewer
- Sub-reviewers are marked with a **"Sub-reviewer"** badge visible to track chairs
- The original reviewer is still responsible for ensuring the review is completed on time — track chairs contact the original reviewer, not the sub-reviewer, for reminders
---
# Manage Your Reviews
URL: https://paperfox.ai/docs/reviewers/manage-assignments
Description: Respond to invitations and write your reviews across all conferences
## Opening the Reviews Page
Everything you do as a reviewer lives on one page. Click **Reviews** in the sidebar, or from your **Dashboard** click **"View All"** under the **My Reviews** card.
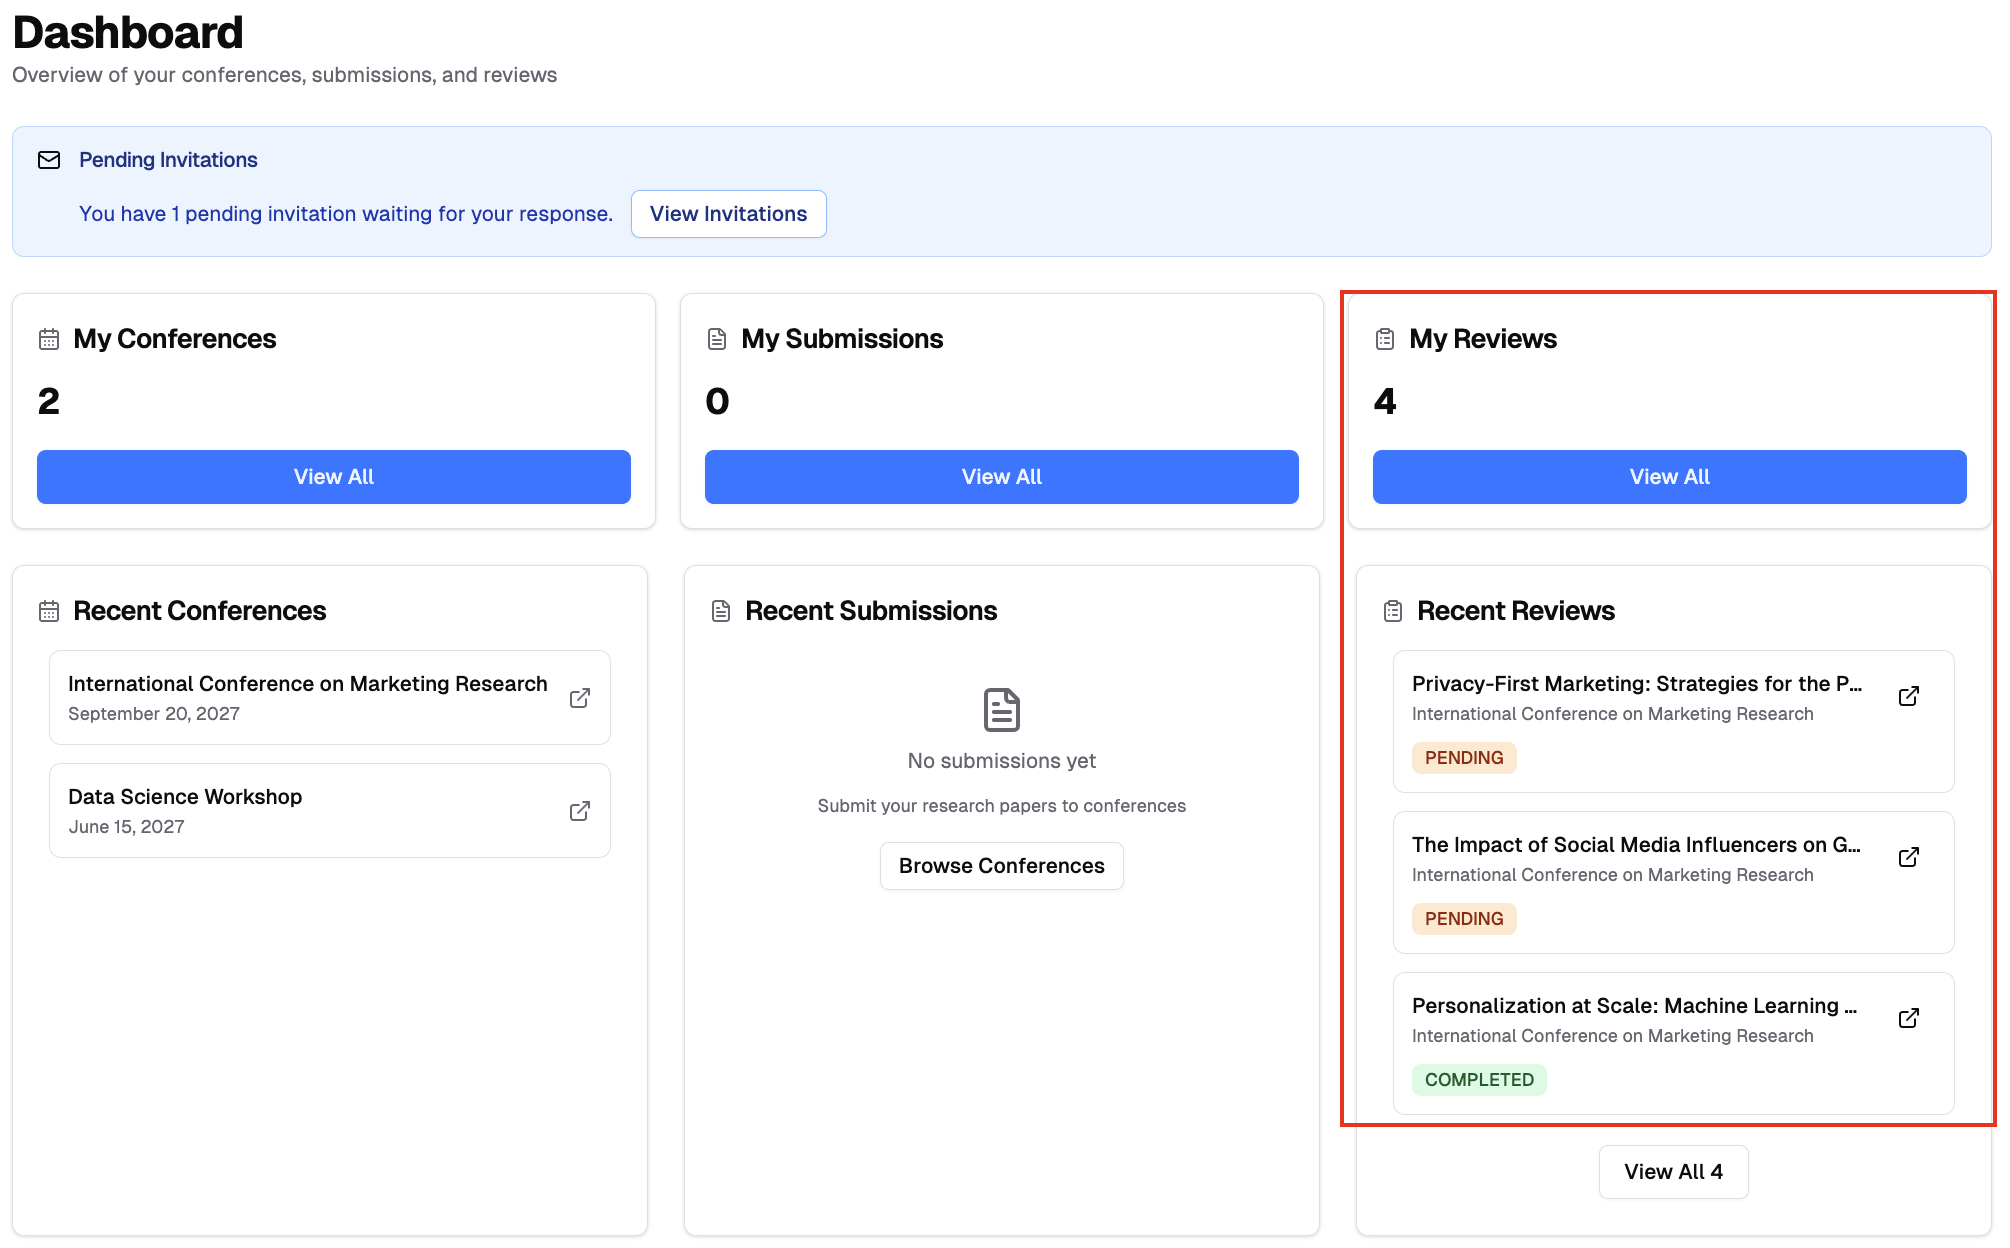 ## The Four Tabs
The **Reviews** page organizes your work by where each review is in its lifecycle:
- **Awaiting Response** — new invitations to accept or decline
- **To Review** — accepted reviews you still need to write
- **Completed** — reviews you've submitted
- **Declined** — invitations you passed on, plus any sub-review delegations that were **cancelled by the delegating reviewer** (marked "Cancelled" — these don't count as declines by you)
## The Four Tabs
The **Reviews** page organizes your work by where each review is in its lifecycle:
- **Awaiting Response** — new invitations to accept or decline
- **To Review** — accepted reviews you still need to write
- **Completed** — reviews you've submitted
- **Declined** — invitations you passed on, plus any sub-review delegations that were **cancelled by the delegating reviewer** (marked "Cancelled" — these don't count as declines by you)
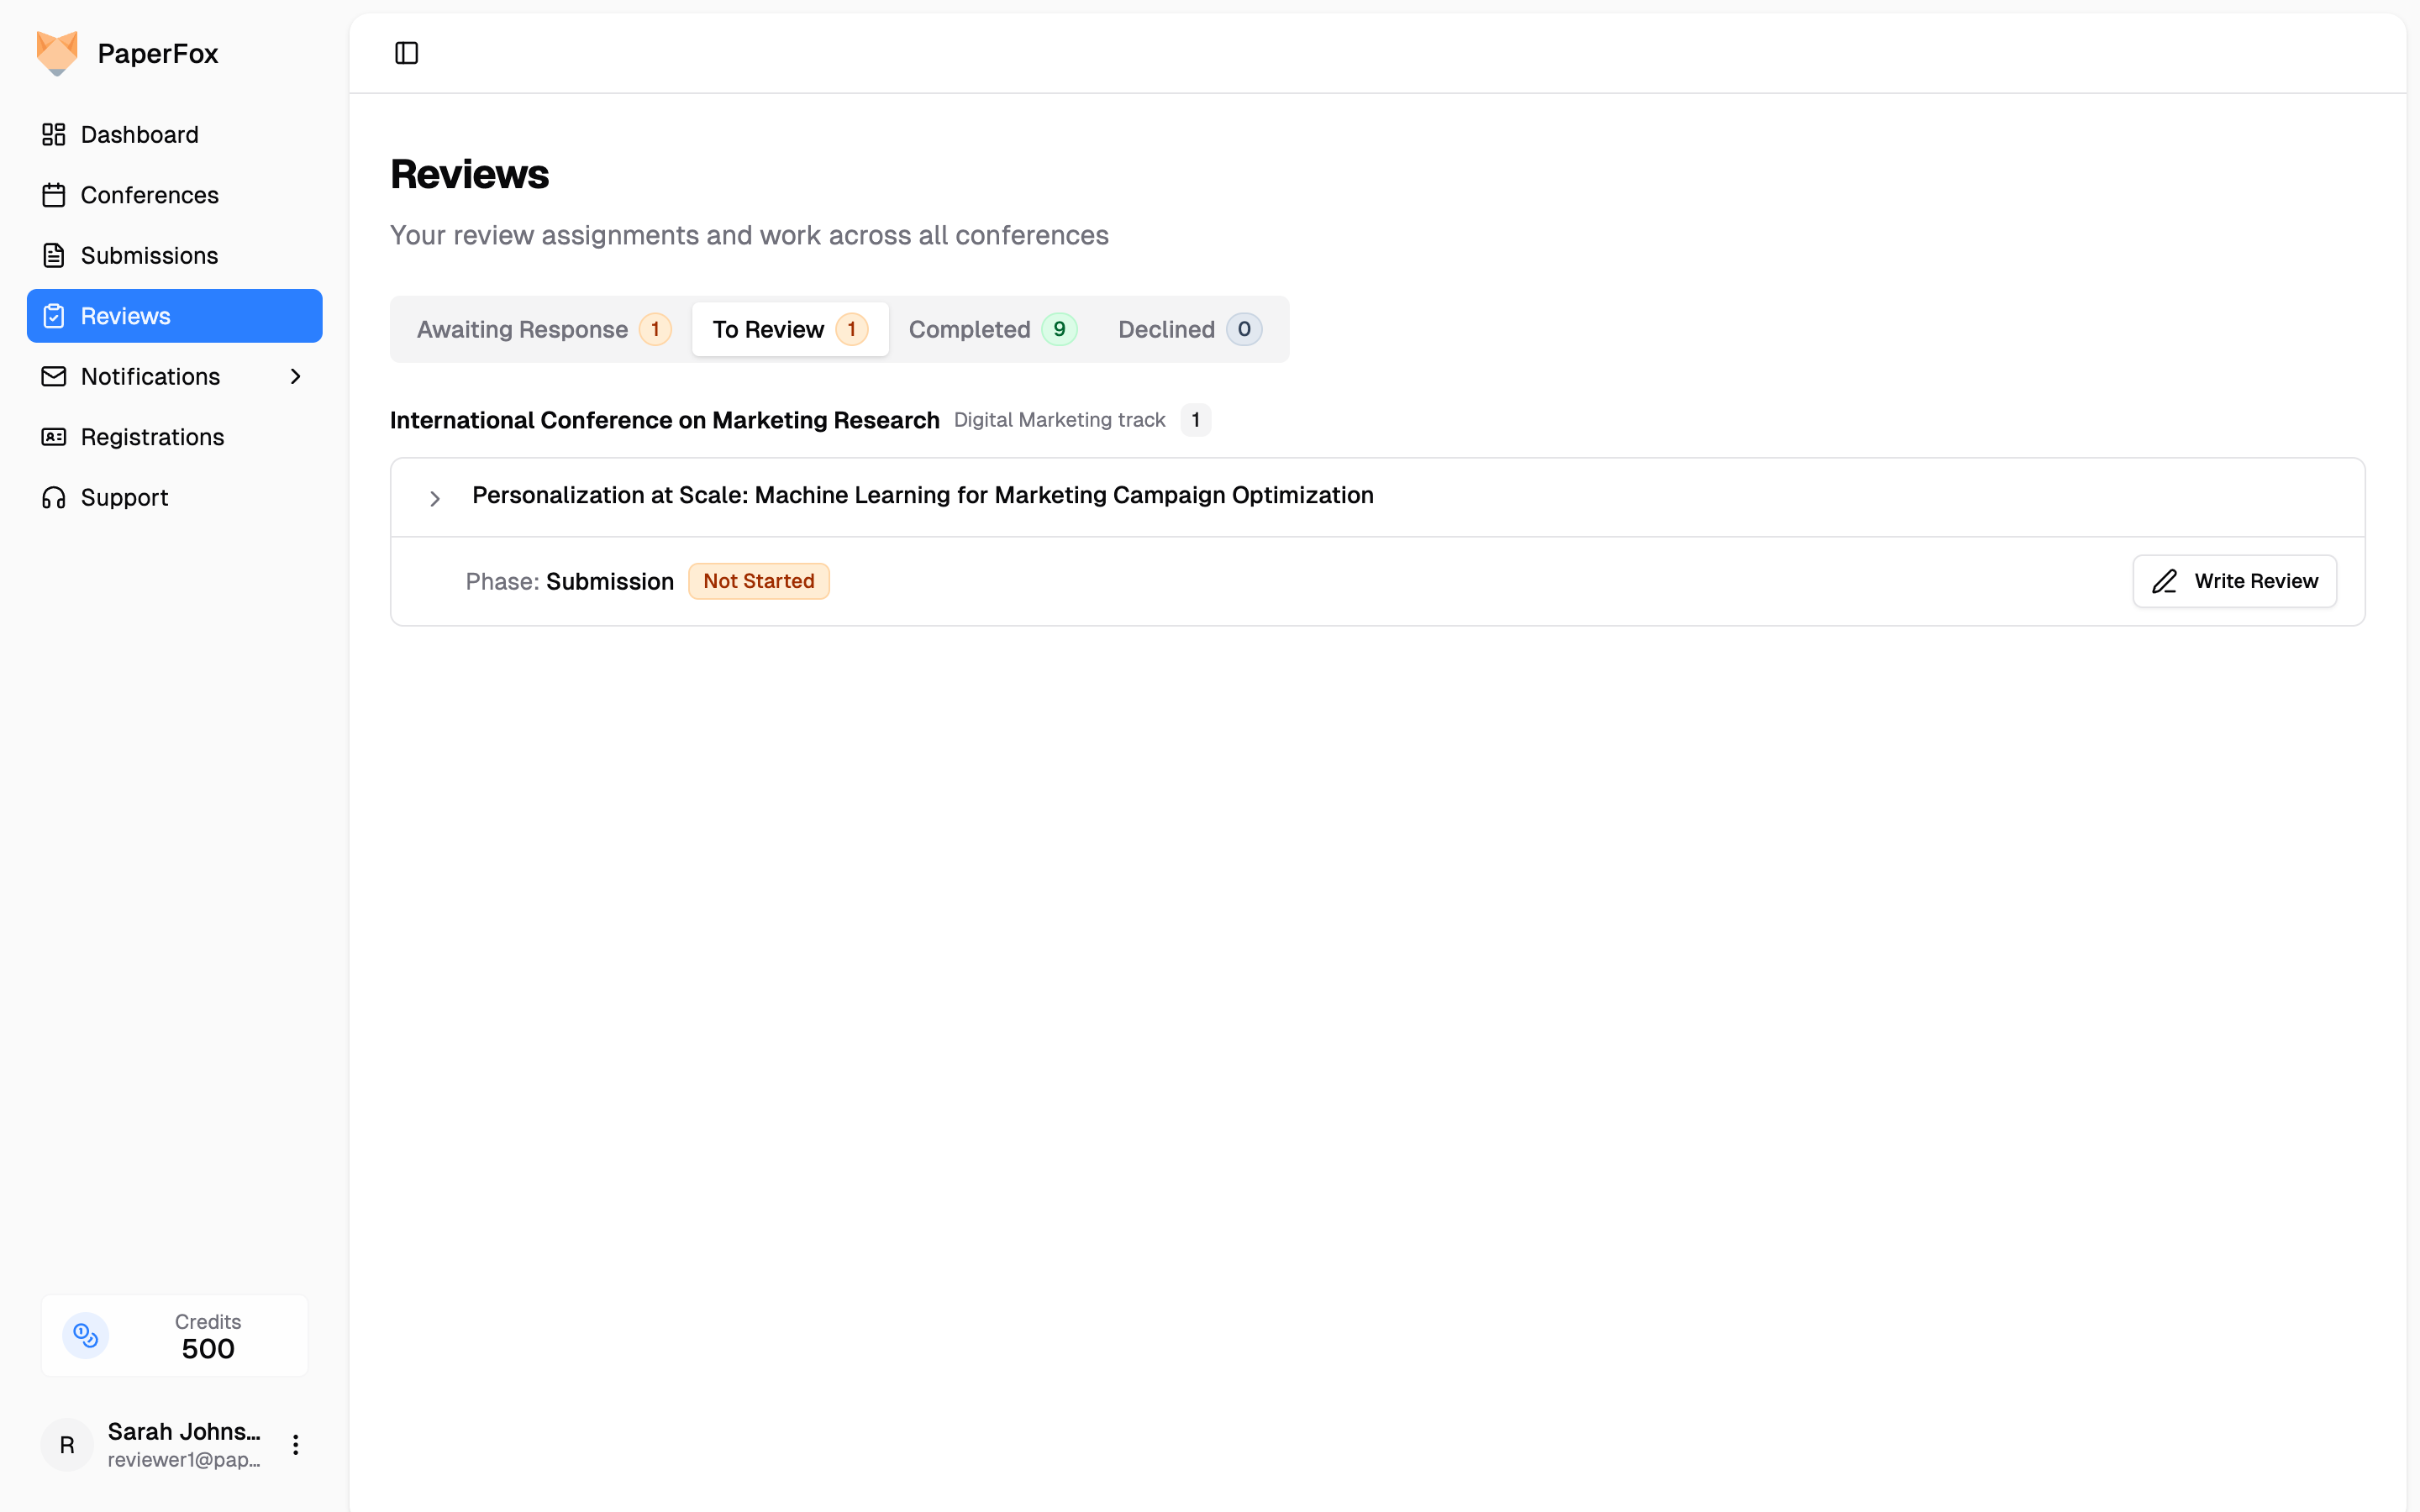 ### Responding to a New Invitation
New invitations appear under **Awaiting Response**:
1. Click the chevron (**›**) next to the title to read the abstract
2. Click **"Accept"** to commit to the review, or **"Decline"** to pass it on
Before you accept, you see the submission's **title and abstract** — the full submission, including the PDF, becomes available once you accept. This mirrors standard journal practice: the accept decision is about fit and time, and a reviewer who declines never had the manuscript in hand.
### Writing a Review
Accepted reviews you haven't submitted yet appear under **To Review**, grouped by submission. Each submission is listed once. If you review the same submission across multiple rounds, its rows are labeled positionally (**Latest review**, **Earlier review**) so you can tell them apart; a submission you review once carries no label. The **To Review** card shows only the reviews you still need to write — once you submit one it moves to the **Completed** tab, so each review lives under the tab that matches its status.
Each assignment shows the submission **as it was in that assignment's round**. If the authors later revise the submission for a newer round, your earlier review keeps showing the version you were asked to review — you'll only see the revision if the chair assigns you in the new round too.
1. Click **"Write Review"** (or **"Continue Draft"**) on the review you want to write
2. Read the abstract, keywords, and download the submission file in the **Submission** card on the left
3. Fill in the **My Review** form on the right — it stays in view while you scroll the submission — and submit before the deadline. If the deadline has already passed, the row shows a **Past due** marker and the review page explains [whether you can still submit](/docs/reviewers/write-review#missing-the-review-deadline)
### Responding to a New Invitation
New invitations appear under **Awaiting Response**:
1. Click the chevron (**›**) next to the title to read the abstract
2. Click **"Accept"** to commit to the review, or **"Decline"** to pass it on
Before you accept, you see the submission's **title and abstract** — the full submission, including the PDF, becomes available once you accept. This mirrors standard journal practice: the accept decision is about fit and time, and a reviewer who declines never had the manuscript in hand.
### Writing a Review
Accepted reviews you haven't submitted yet appear under **To Review**, grouped by submission. Each submission is listed once. If you review the same submission across multiple rounds, its rows are labeled positionally (**Latest review**, **Earlier review**) so you can tell them apart; a submission you review once carries no label. The **To Review** card shows only the reviews you still need to write — once you submit one it moves to the **Completed** tab, so each review lives under the tab that matches its status.
Each assignment shows the submission **as it was in that assignment's round**. If the authors later revise the submission for a newer round, your earlier review keeps showing the version you were asked to review — you'll only see the revision if the chair assigns you in the new round too.
1. Click **"Write Review"** (or **"Continue Draft"**) on the review you want to write
2. Read the abstract, keywords, and download the submission file in the **Submission** card on the left
3. Fill in the **My Review** form on the right — it stays in view while you scroll the submission — and submit before the deadline. If the deadline has already passed, the row shows a **Past due** marker and the review page explains [whether you can still submit](/docs/reviewers/write-review#missing-the-review-deadline)
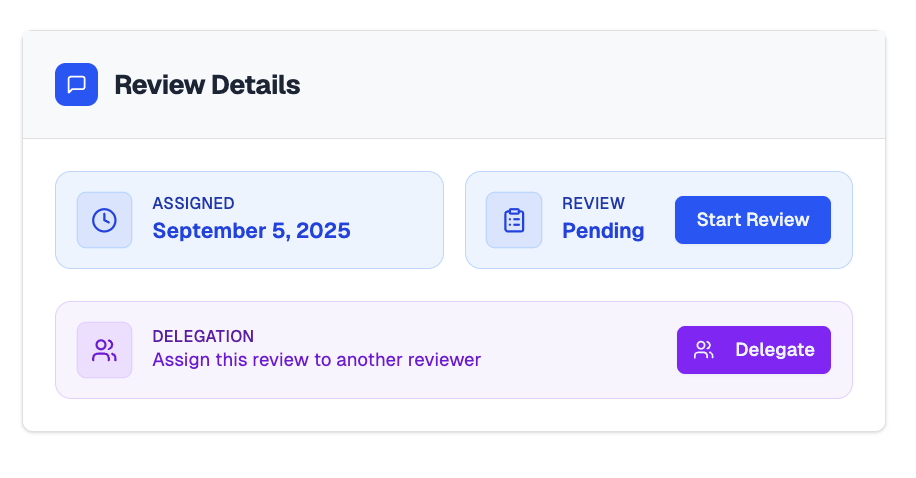 Once submitted, a review moves to the **Completed** tab, where you can reopen it with **"View Review"**.
---
## Delegating a Review
If you're unable to complete an assignment, you can delegate it to another qualified reviewer. See the [Delegate a Review](/docs/reviewers/delegate-review) guide for instructions.
---
# Reviewer Workflow
URL: https://paperfox.ai/docs/reviewers/reviewer-workflow
Description: The complete reviewer journey in PaperFox — from invitation to submitted review — plus guidelines for writing good reviews
This guide walks you through the reviewer experience end to end, with links to detailed how-tos for each step, and closes with guidelines for writing high-quality reviews.
## Workflow at a Glance
1. [Join the track](#1-join-the-track)
2. [Complete your research profile](#2-complete-your-research-profile)
3. [Accept or decline submission assignments](#3-respond-to-submission-assignments)
4. [Write and submit your reviews](#4-write-and-submit-your-reviews)
5. [Update a review or join the discussion](#5-update-a-review-or-join-the-discussion)
6. [Delegate to a sub-reviewer](#6-delegate-a-review-optional) (if enabled)
Everything happens on one page: click **Reviews** in the sidebar to see your invitations and reviews across all conferences, organized into **Awaiting Response**, **To Review**, **Completed**, and **Declined** tabs.
### 1. Join the Track
A track chair either **adds you directly** or **invites you** — the email tells you which, and only one of them needs a reply. See [Managing Invitations](/docs/users/managing-invitations) for both flows.
- **"Added as Reviewer"** — your access is already active; nothing to accept. If the address is new to PaperFox, create your account with it and the role activates automatically. The same email carries a **"Remove Me from This Role"** link if you'd rather not serve — it works for 30 days after you were added; after that, ask the chairs to remove you.
- **"Reviewer Invitation"** — click **Accept** or **Decline** (creating an account first if you don't have one). Respond promptly either way: a quick decline lets the chair find someone else. These links expire after 30 days.
Either way, check that the conference matches your expertise and that you have time for the review period. Joining the track doesn't commit you to any particular submission — you accept or decline each assignment separately (step 3).
### 2. Complete Your Research Profile
Add your expertise keywords in your [Research Profile](/docs/users/research-profile) — chairs use them to match submissions to you, so a complete profile means assignments you're actually qualified to review. Also [declare any conflicts of interest](/docs/users/conflicts) so conflicted submissions are never assigned to you.
### 3. Respond to Submission Assignments
When a chair assigns you a submission, it appears under **Awaiting Response** on the **Reviews** page (and you're notified by email). Expand the row to read the abstract, then **Accept** or **Decline**. Decline promptly if the submission is outside your expertise, you can't meet the deadline, or you have an undeclared conflict with the authors. See [Manage Your Reviews](/docs/reviewers/manage-assignments).
### 4. Write and Submit Your Reviews
Accepted submissions wait under **To Review**. Click **"Write Review"** to open the review editor: the submission and the PDF on the left, the **My Review** form card on the right — the form stays in view while you scroll the submission. The form's fields — ratings, comment boxes, optional file upload — are configured by the track chair.
Save your work as a **draft** anytime (drafts are private to you and sync across devices), and submit before the deadline. See [Write and Update Reviews](/docs/reviewers/write-review).
Whether you can see the authors' names depends on the track's review type: **double-blind** (identities hidden both ways), **single-blind** (you see authors; they don't see you), or **open** (both visible).
### 5. Update a Review or Join the Discussion
Submitted reviews move to **Completed** and can be revised until decisions are finalized — open the review, click **"Update Review"**, and optionally add a revision note for the chairs. Each update is versioned in the review history. Chairs may also contact you to clarify your review or discuss submissions where reviewers disagree — engage with other perspectives, explain your reasoning, and adjust your assessment if you're persuaded.
If the track enables author responses (rebuttal), the authors' response to **your** review appears in a **Responses** thread directly under **My Review** on your review page, and you can reply in the thread anytime — the response deadline binds only the authors:
Once submitted, a review moves to the **Completed** tab, where you can reopen it with **"View Review"**.
---
## Delegating a Review
If you're unable to complete an assignment, you can delegate it to another qualified reviewer. See the [Delegate a Review](/docs/reviewers/delegate-review) guide for instructions.
---
# Reviewer Workflow
URL: https://paperfox.ai/docs/reviewers/reviewer-workflow
Description: The complete reviewer journey in PaperFox — from invitation to submitted review — plus guidelines for writing good reviews
This guide walks you through the reviewer experience end to end, with links to detailed how-tos for each step, and closes with guidelines for writing high-quality reviews.
## Workflow at a Glance
1. [Join the track](#1-join-the-track)
2. [Complete your research profile](#2-complete-your-research-profile)
3. [Accept or decline submission assignments](#3-respond-to-submission-assignments)
4. [Write and submit your reviews](#4-write-and-submit-your-reviews)
5. [Update a review or join the discussion](#5-update-a-review-or-join-the-discussion)
6. [Delegate to a sub-reviewer](#6-delegate-a-review-optional) (if enabled)
Everything happens on one page: click **Reviews** in the sidebar to see your invitations and reviews across all conferences, organized into **Awaiting Response**, **To Review**, **Completed**, and **Declined** tabs.
### 1. Join the Track
A track chair either **adds you directly** or **invites you** — the email tells you which, and only one of them needs a reply. See [Managing Invitations](/docs/users/managing-invitations) for both flows.
- **"Added as Reviewer"** — your access is already active; nothing to accept. If the address is new to PaperFox, create your account with it and the role activates automatically. The same email carries a **"Remove Me from This Role"** link if you'd rather not serve — it works for 30 days after you were added; after that, ask the chairs to remove you.
- **"Reviewer Invitation"** — click **Accept** or **Decline** (creating an account first if you don't have one). Respond promptly either way: a quick decline lets the chair find someone else. These links expire after 30 days.
Either way, check that the conference matches your expertise and that you have time for the review period. Joining the track doesn't commit you to any particular submission — you accept or decline each assignment separately (step 3).
### 2. Complete Your Research Profile
Add your expertise keywords in your [Research Profile](/docs/users/research-profile) — chairs use them to match submissions to you, so a complete profile means assignments you're actually qualified to review. Also [declare any conflicts of interest](/docs/users/conflicts) so conflicted submissions are never assigned to you.
### 3. Respond to Submission Assignments
When a chair assigns you a submission, it appears under **Awaiting Response** on the **Reviews** page (and you're notified by email). Expand the row to read the abstract, then **Accept** or **Decline**. Decline promptly if the submission is outside your expertise, you can't meet the deadline, or you have an undeclared conflict with the authors. See [Manage Your Reviews](/docs/reviewers/manage-assignments).
### 4. Write and Submit Your Reviews
Accepted submissions wait under **To Review**. Click **"Write Review"** to open the review editor: the submission and the PDF on the left, the **My Review** form card on the right — the form stays in view while you scroll the submission. The form's fields — ratings, comment boxes, optional file upload — are configured by the track chair.
Save your work as a **draft** anytime (drafts are private to you and sync across devices), and submit before the deadline. See [Write and Update Reviews](/docs/reviewers/write-review).
Whether you can see the authors' names depends on the track's review type: **double-blind** (identities hidden both ways), **single-blind** (you see authors; they don't see you), or **open** (both visible).
### 5. Update a Review or Join the Discussion
Submitted reviews move to **Completed** and can be revised until decisions are finalized — open the review, click **"Update Review"**, and optionally add a revision note for the chairs. Each update is versioned in the review history. Chairs may also contact you to clarify your review or discuss submissions where reviewers disagree — engage with other perspectives, explain your reasoning, and adjust your assessment if you're persuaded.
If the track enables author responses (rebuttal), the authors' response to **your** review appears in a **Responses** thread directly under **My Review** on your review page, and you can reply in the thread anytime — the response deadline binds only the authors:
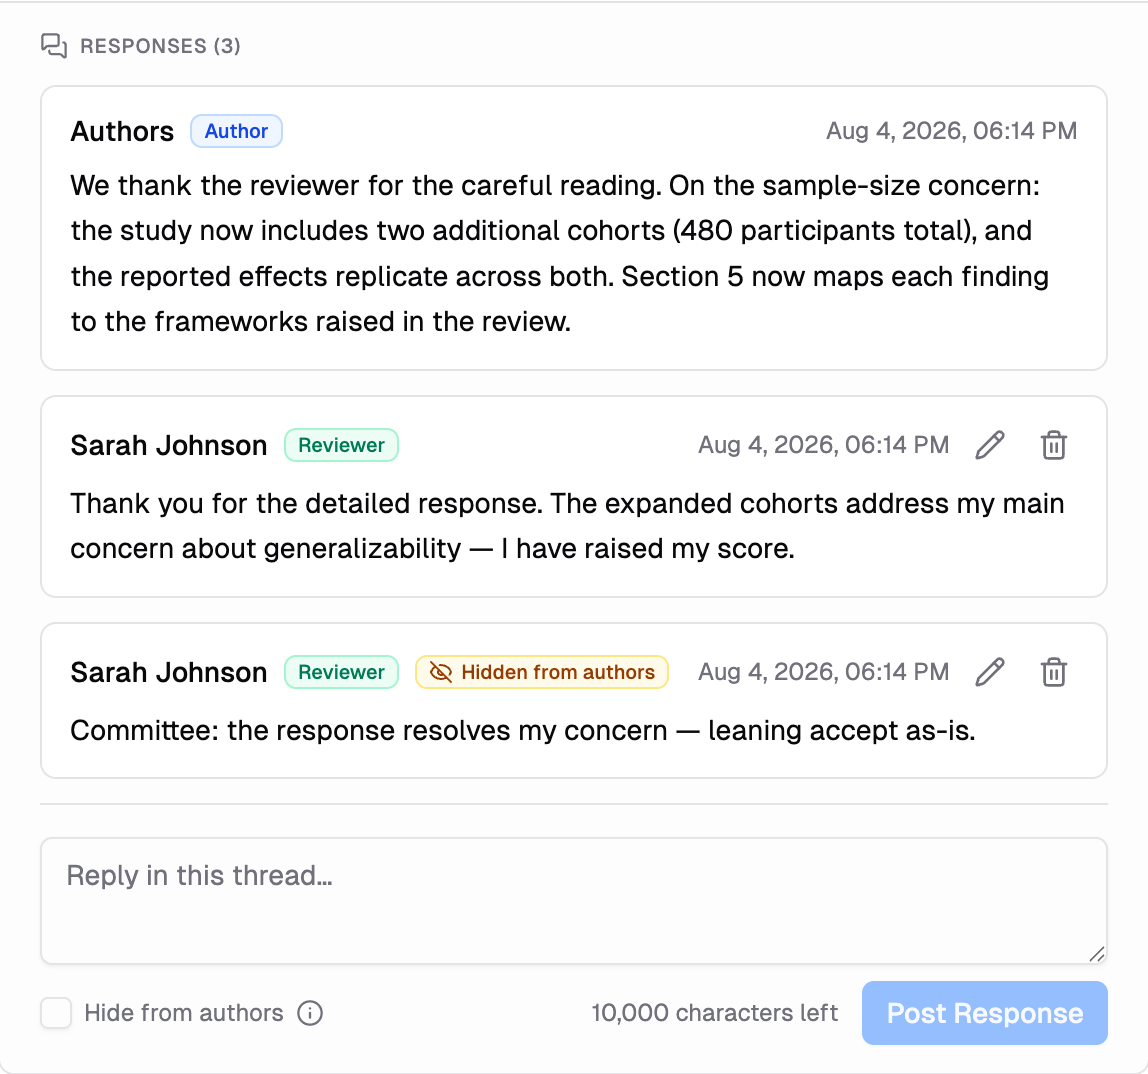 If the chairs released an AI review to you, it appears as an **AI Review** card with its own thread, where you can read the authors' reaction to the AI-raised points:
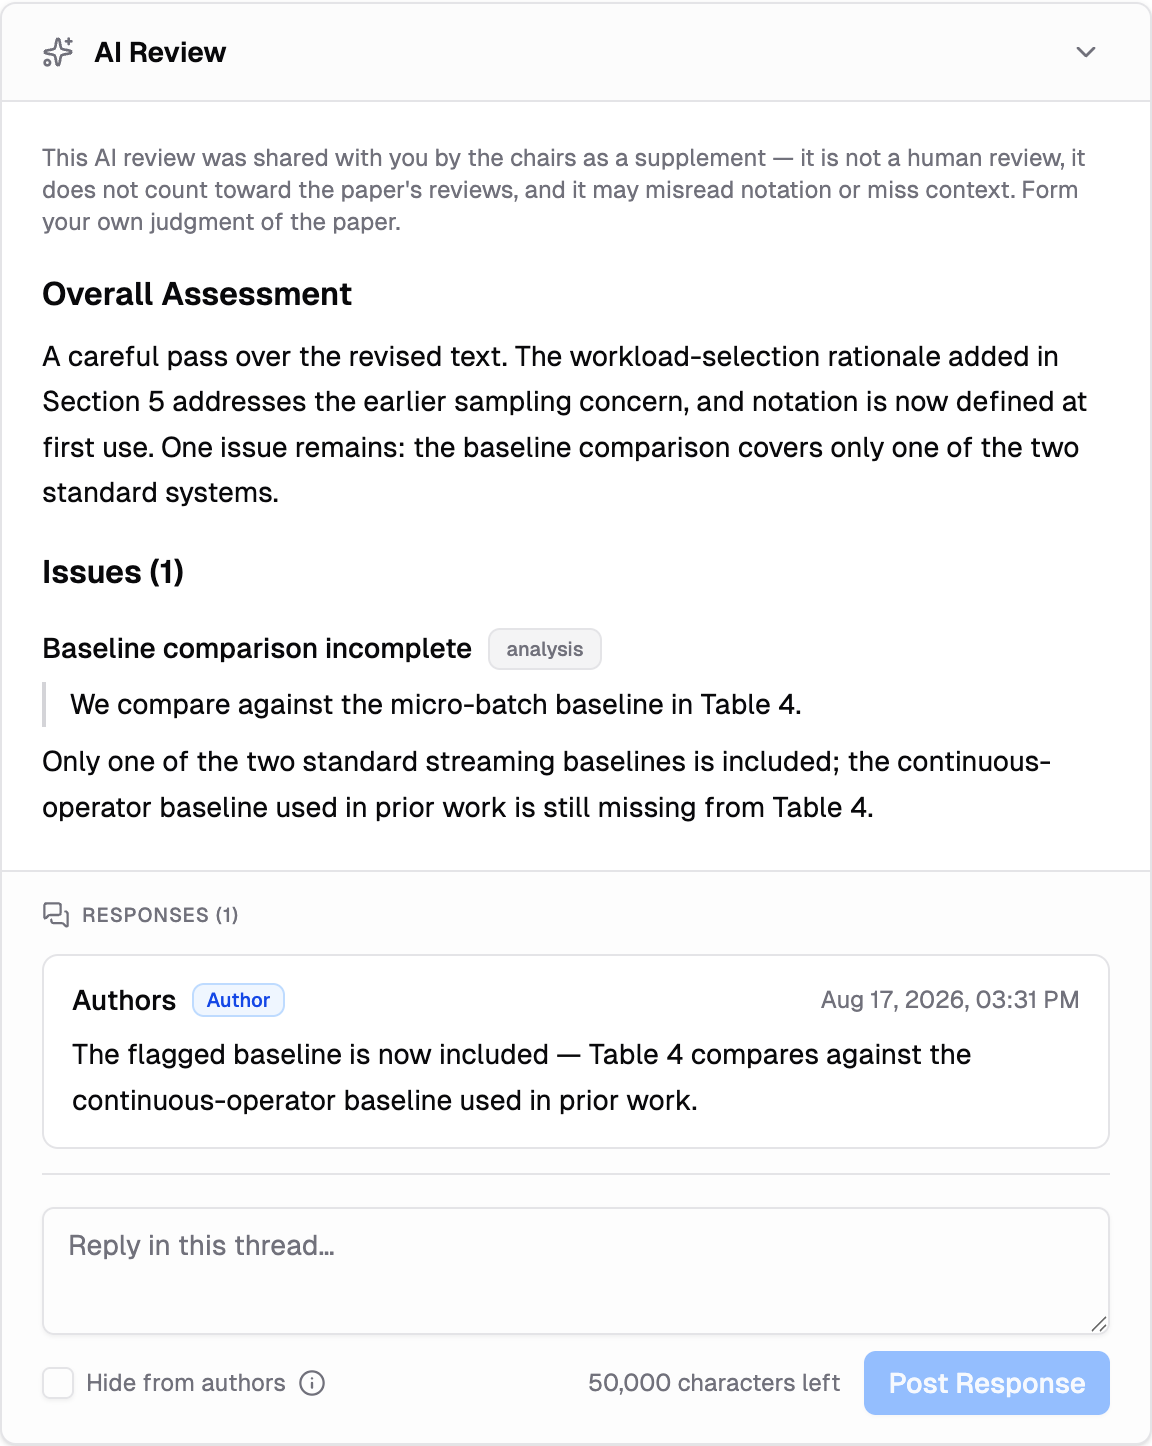 - On double-blind tracks, author responses appear as **"Authors"**, and authors see you as **"Reviewer #N"** — matching your review's number, so don't reveal your identity in a response.
- **"Hide from authors"** keeps a note between you, the editors, and the chairs. In the general **Discussion** section it is **on by default**, so committee notes stay private unless you clear it; in a response thread under a review it starts off, because that thread is your conversation with the authors. The **ⓘ** next to it explains exactly who sees the note.
- You can edit or delete your own responses: an edit shows an **"Edited"** marker (the committee can view earlier versions), and a deletion leaves a note in the thread.
- A **Discussion** section at the bottom of the reading column (under the submission) carries conversation that isn't about one review.
- The copy and download buttons in the page header save everything you can see — reviews, the AI review, and the threads — as one Markdown or plain-text document. See [Copy or Download Everything You See](/docs/reviewers/write-review#copy-or-download-everything-you-see).
- The typical loop: read the response, reply, then **update your review** if it changed your assessment.
### 6. Delegate a Review (Optional)
If the track allows sub-reviewers and you can't complete an assignment yourself, you can delegate it to a qualified colleague and stay responsible for the result. See [Delegate a Review](/docs/reviewers/delegate-review).
---
## Review Guidelines
### What to Evaluate
- **Technical quality** — Is the methodology sound? Are the conclusions supported by the evidence? Could the work be reproduced?
- **Novelty and significance** — What is new here, and how much does it advance the field?
- **Clarity** — Is the submission well-organized and understandable, with readable figures and tables?
- **Fit** — Does the work match the track's scope, and will the audience find it valuable?
### Writing a Good Review
Structure your comments as a brief **summary** of the contribution (showing you understood the work), followed by specific **strengths** and **weaknesses**, then detailed suggestions.
- **Be constructive** — focus on how to improve the work; suggest fixes, not just faults
- **Be specific** — point to sections, figures, or claims; explain the reasoning behind each criticism
- **Be balanced** — acknowledge what's good even in a submission you recommend rejecting
- **Be professional** — critique the work, never the authors; in double-blind review, don't reveal your identity in your comments
Allow a few focused hours per submission, and start early enough to submit before the deadline. If you're falling behind, tell the track chair rather than going silent.
### Ethics
- **Confidentiality** — never share or discuss a submission outside the review process, and don't use its ideas in your own work before publication
- **Conflicts of interest** — decline (or report to the chair) any submission by a recent collaborator, colleague at your institution, or anyone you can't judge objectively; see [Managing Conflicts of Interest](/docs/users/conflicts)
- **Fairness** — judge the work on its merits alone
---
*Ready to begin? Check [Reviews](https://www.paperfox.ai/reviews) for pending invitations and submissions waiting on your review.*
---
# Write and Update Reviews
URL: https://paperfox.ai/docs/reviewers/write-review
Description: How to write, submit, and revise your reviews in PaperFox
## Finding Your Reviews to Write
1. In the sidebar, click **Reviews**
2. The **To Review** tab shows accepted submissions waiting for your review, grouped by conference and track. On tracks with multiple review phases each row is labeled with its phase; on single-phase tracks the row simply reads **Review**
3. Click **"Write Review"** to open the review editor. If you've already saved a draft, the button shows **"Continue Draft"** instead
- On double-blind tracks, author responses appear as **"Authors"**, and authors see you as **"Reviewer #N"** — matching your review's number, so don't reveal your identity in a response.
- **"Hide from authors"** keeps a note between you, the editors, and the chairs. In the general **Discussion** section it is **on by default**, so committee notes stay private unless you clear it; in a response thread under a review it starts off, because that thread is your conversation with the authors. The **ⓘ** next to it explains exactly who sees the note.
- You can edit or delete your own responses: an edit shows an **"Edited"** marker (the committee can view earlier versions), and a deletion leaves a note in the thread.
- A **Discussion** section at the bottom of the reading column (under the submission) carries conversation that isn't about one review.
- The copy and download buttons in the page header save everything you can see — reviews, the AI review, and the threads — as one Markdown or plain-text document. See [Copy or Download Everything You See](/docs/reviewers/write-review#copy-or-download-everything-you-see).
- The typical loop: read the response, reply, then **update your review** if it changed your assessment.
### 6. Delegate a Review (Optional)
If the track allows sub-reviewers and you can't complete an assignment yourself, you can delegate it to a qualified colleague and stay responsible for the result. See [Delegate a Review](/docs/reviewers/delegate-review).
---
## Review Guidelines
### What to Evaluate
- **Technical quality** — Is the methodology sound? Are the conclusions supported by the evidence? Could the work be reproduced?
- **Novelty and significance** — What is new here, and how much does it advance the field?
- **Clarity** — Is the submission well-organized and understandable, with readable figures and tables?
- **Fit** — Does the work match the track's scope, and will the audience find it valuable?
### Writing a Good Review
Structure your comments as a brief **summary** of the contribution (showing you understood the work), followed by specific **strengths** and **weaknesses**, then detailed suggestions.
- **Be constructive** — focus on how to improve the work; suggest fixes, not just faults
- **Be specific** — point to sections, figures, or claims; explain the reasoning behind each criticism
- **Be balanced** — acknowledge what's good even in a submission you recommend rejecting
- **Be professional** — critique the work, never the authors; in double-blind review, don't reveal your identity in your comments
Allow a few focused hours per submission, and start early enough to submit before the deadline. If you're falling behind, tell the track chair rather than going silent.
### Ethics
- **Confidentiality** — never share or discuss a submission outside the review process, and don't use its ideas in your own work before publication
- **Conflicts of interest** — decline (or report to the chair) any submission by a recent collaborator, colleague at your institution, or anyone you can't judge objectively; see [Managing Conflicts of Interest](/docs/users/conflicts)
- **Fairness** — judge the work on its merits alone
---
*Ready to begin? Check [Reviews](https://www.paperfox.ai/reviews) for pending invitations and submissions waiting on your review.*
---
# Write and Update Reviews
URL: https://paperfox.ai/docs/reviewers/write-review
Description: How to write, submit, and revise your reviews in PaperFox
## Finding Your Reviews to Write
1. In the sidebar, click **Reviews**
2. The **To Review** tab shows accepted submissions waiting for your review, grouped by conference and track. On tracks with multiple review phases each row is labeled with its phase; on single-phase tracks the row simply reads **Review**
3. Click **"Write Review"** to open the review editor. If you've already saved a draft, the button shows **"Continue Draft"** instead
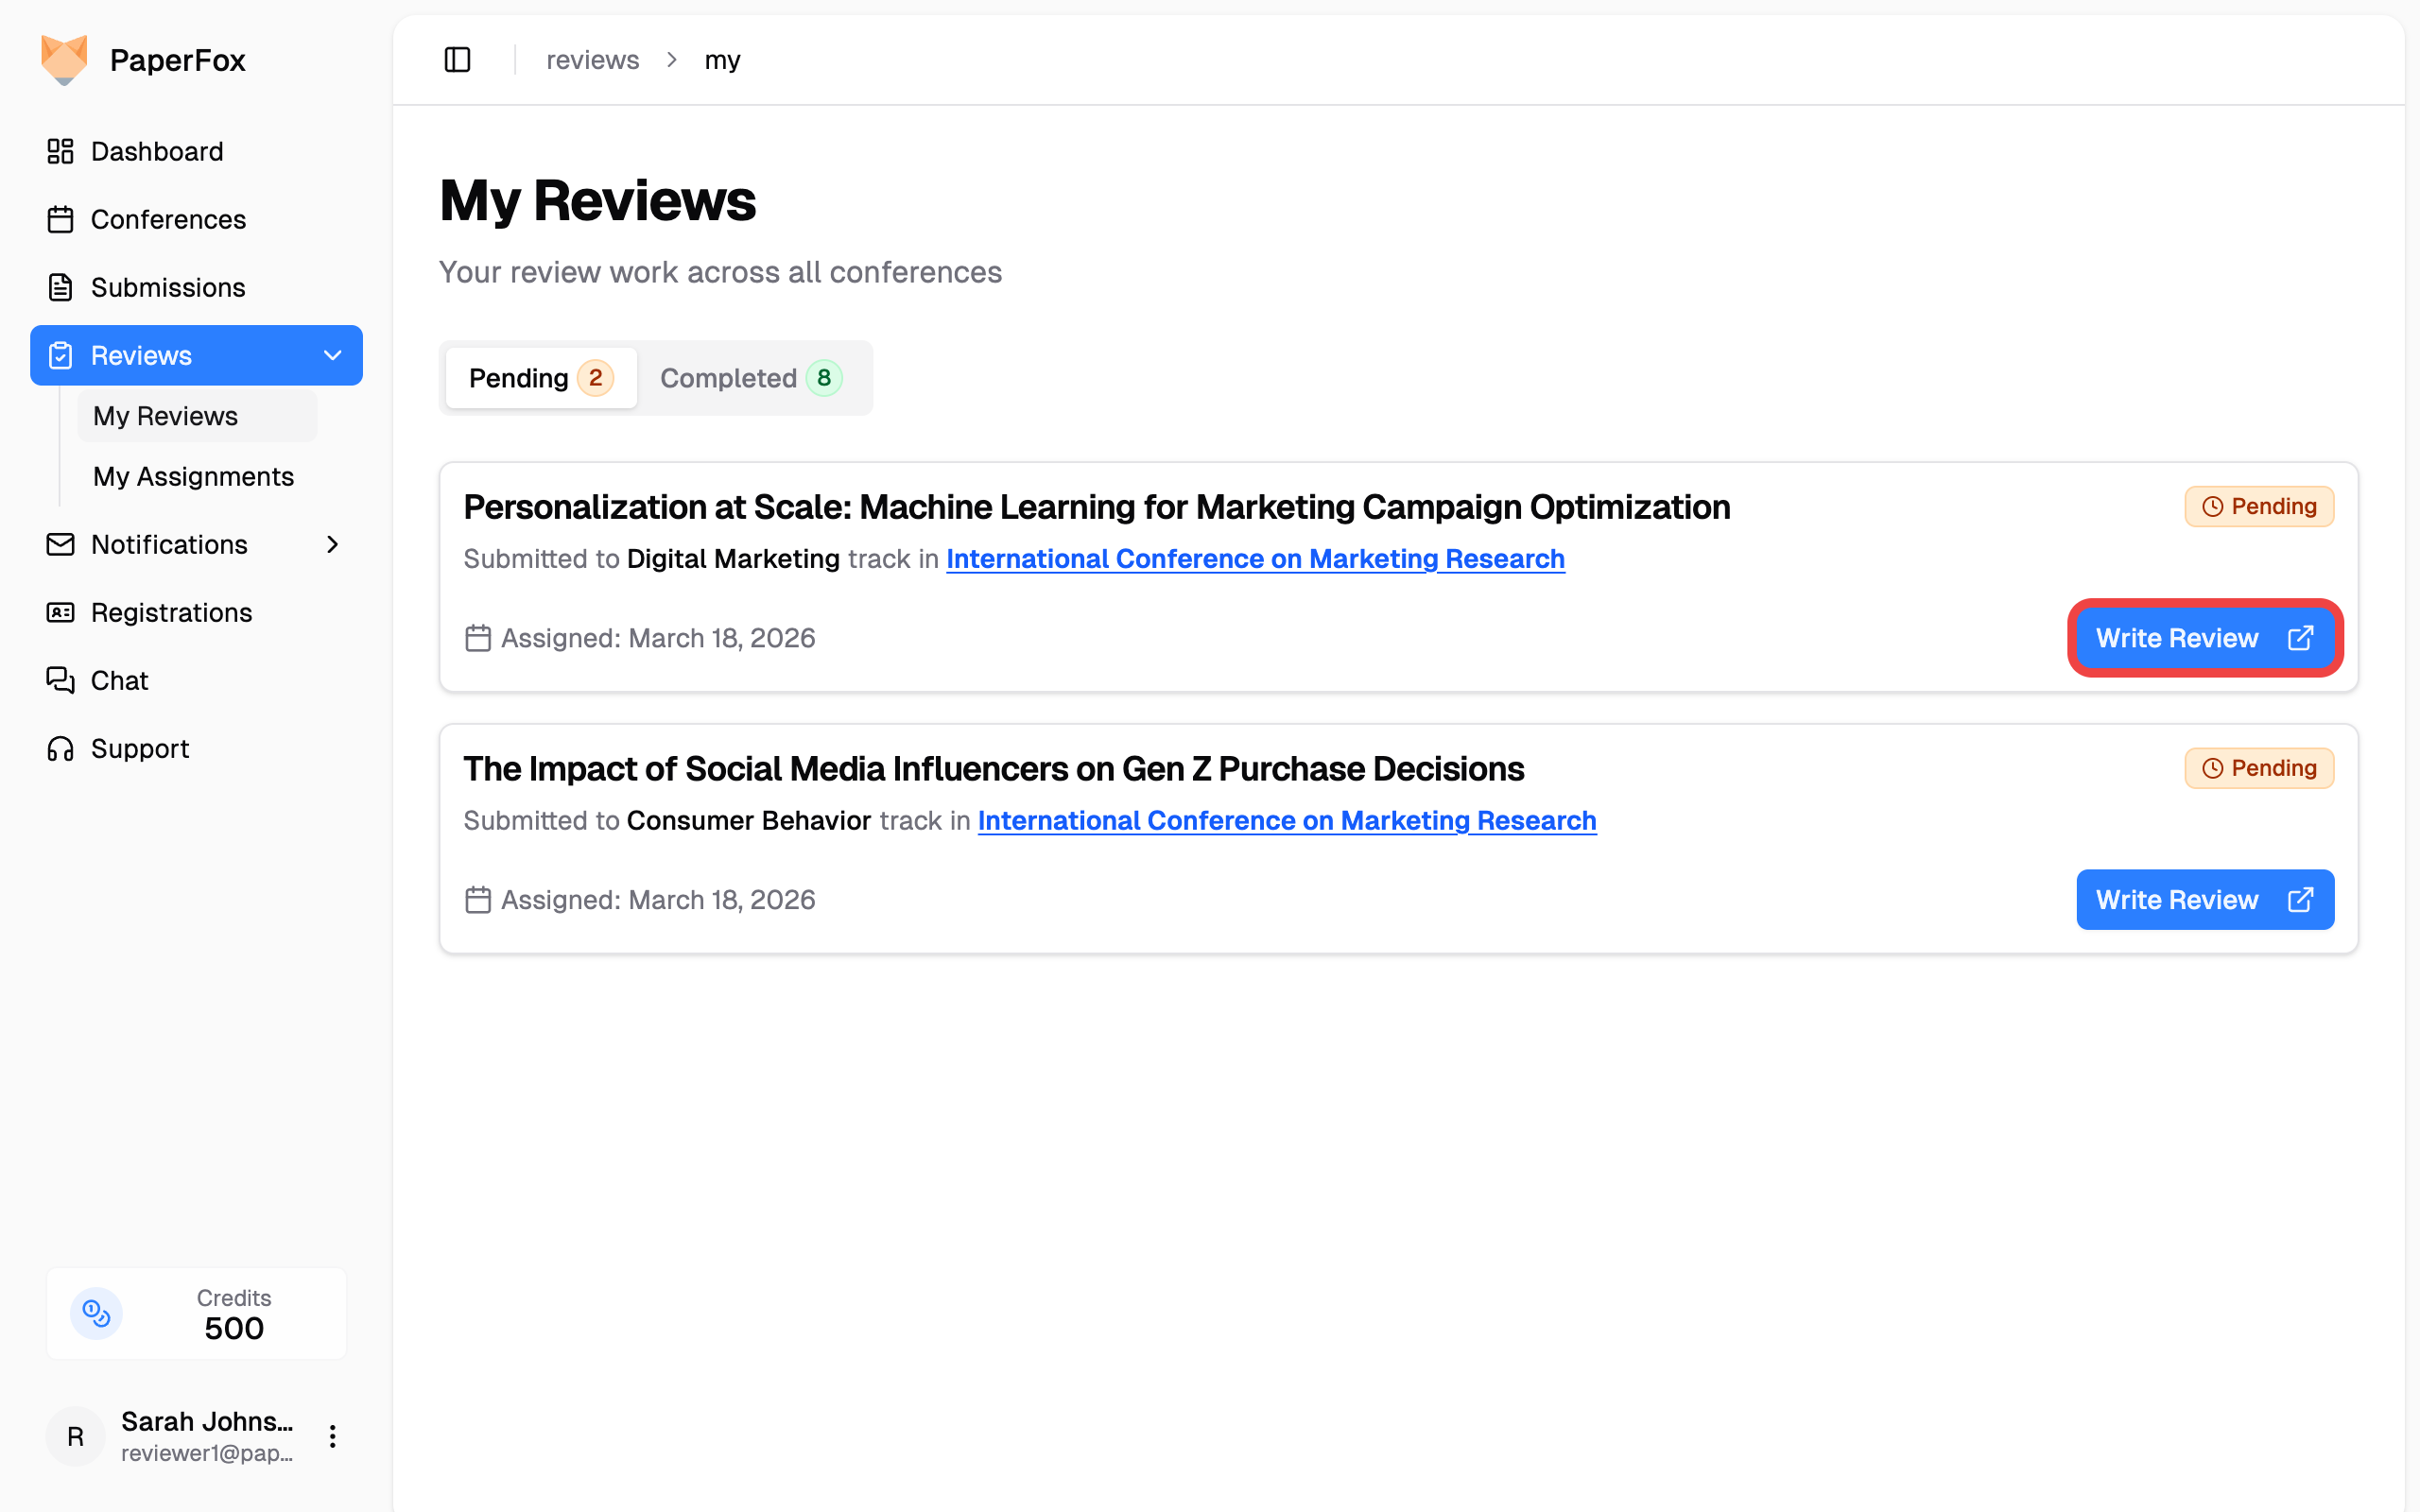 ---
## Writing a Review
The review page has a two-column layout:
- **Left column** — Everything you read: the **Submission** card (title, abstract, keywords, and the submitted PDF), plus — when the track uses them — the chair-shared **AI Review**, **Other Reviews**, and the **Discussion** thread
- **Right column** — The **My Review** card with the review form configured by the track chair. It stays in view while you scroll the reading column
Each card collapses to its header with the chevron on the right, and the panel toggle in the page header hides the whole reading column when you want the form at full width.
---
## Writing a Review
The review page has a two-column layout:
- **Left column** — Everything you read: the **Submission** card (title, abstract, keywords, and the submitted PDF), plus — when the track uses them — the chair-shared **AI Review**, **Other Reviews**, and the **Discussion** thread
- **Right column** — The **My Review** card with the review form configured by the track chair. It stays in view while you scroll the reading column
Each card collapses to its header with the chevron on the right, and the panel toggle in the page header hides the whole reading column when you want the form at full width.
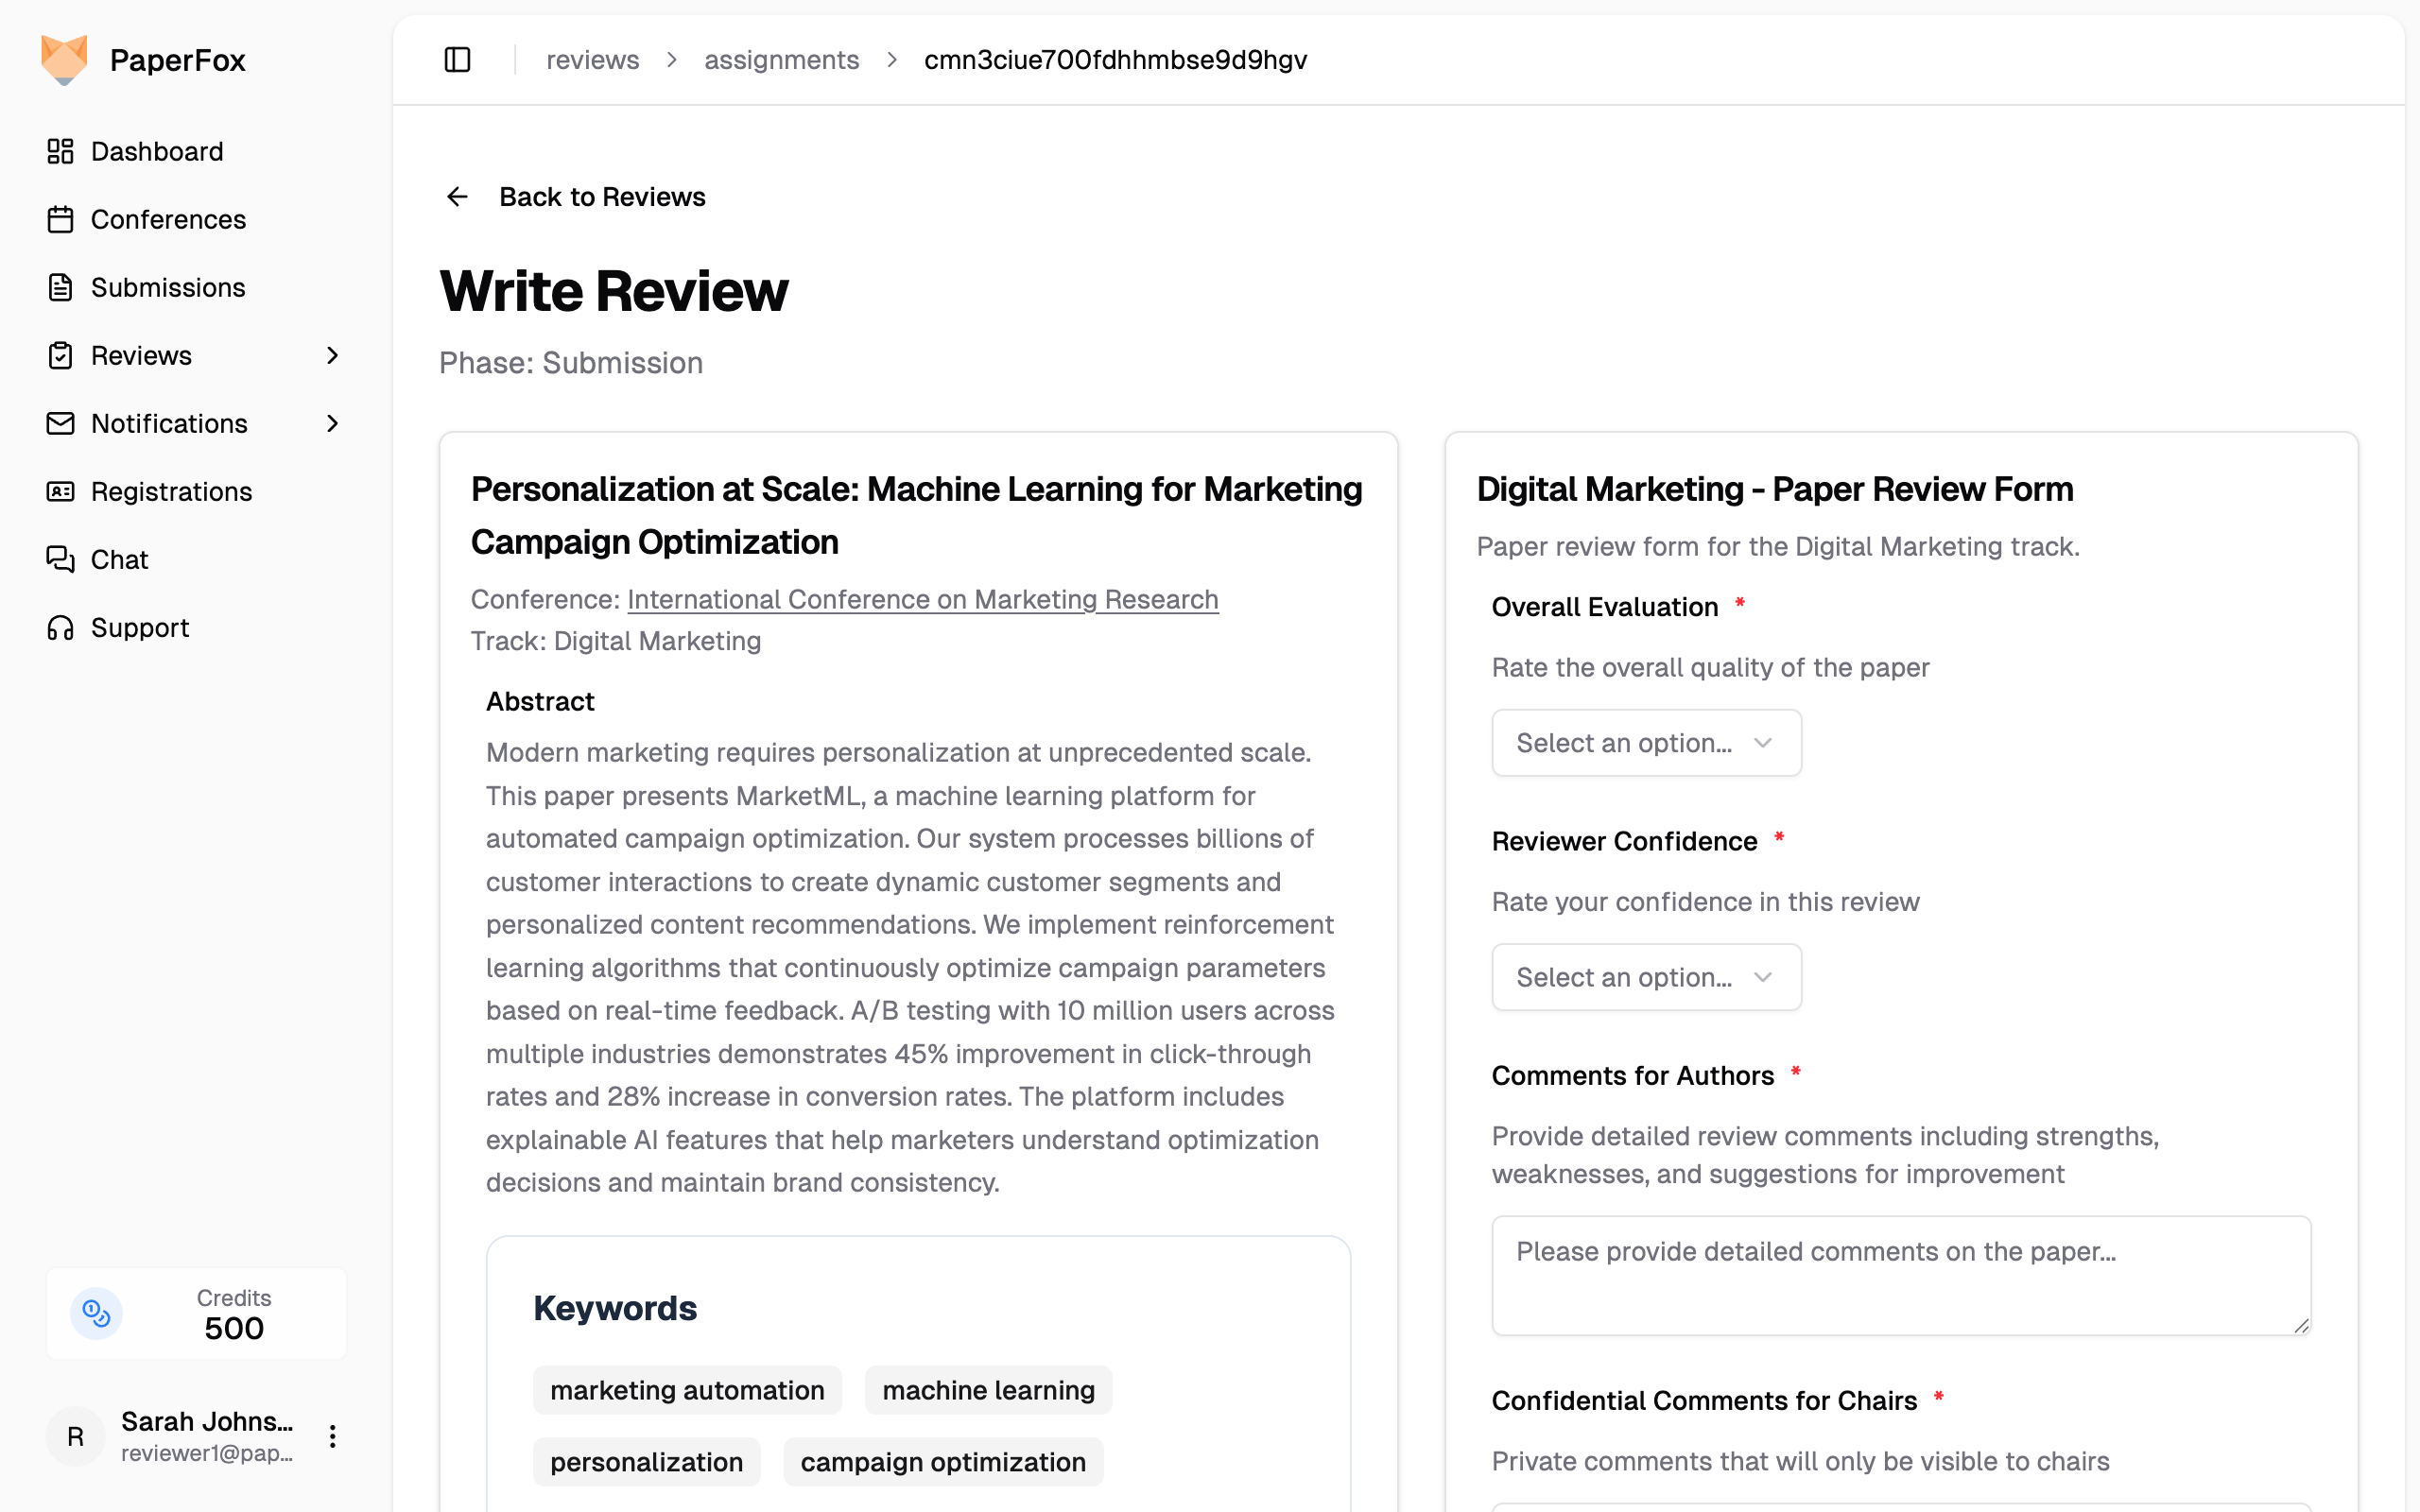 1. Read the submission by clicking **"View PDF"** in the submission details
2. Fill in all required fields (marked with a red asterisk):
- **Rating fields** — Select a value from each dropdown (e.g., Overall Evaluation, Reviewer Confidence)
- **Text fields** — Enter your comments (e.g., Comments for Authors, Confidential Comments for Chairs)
- **File upload** — Drag and drop a PDF or click **"Choose File"** (optional, depending on the form)
3. Click **"Submit Review"** at the bottom of the form
1. Read the submission by clicking **"View PDF"** in the submission details
2. Fill in all required fields (marked with a red asterisk):
- **Rating fields** — Select a value from each dropdown (e.g., Overall Evaluation, Reviewer Confidence)
- **Text fields** — Enter your comments (e.g., Comments for Authors, Confidential Comments for Chairs)
- **File upload** — Drag and drop a PDF or click **"Choose File"** (optional, depending on the form)
3. Click **"Submit Review"** at the bottom of the form
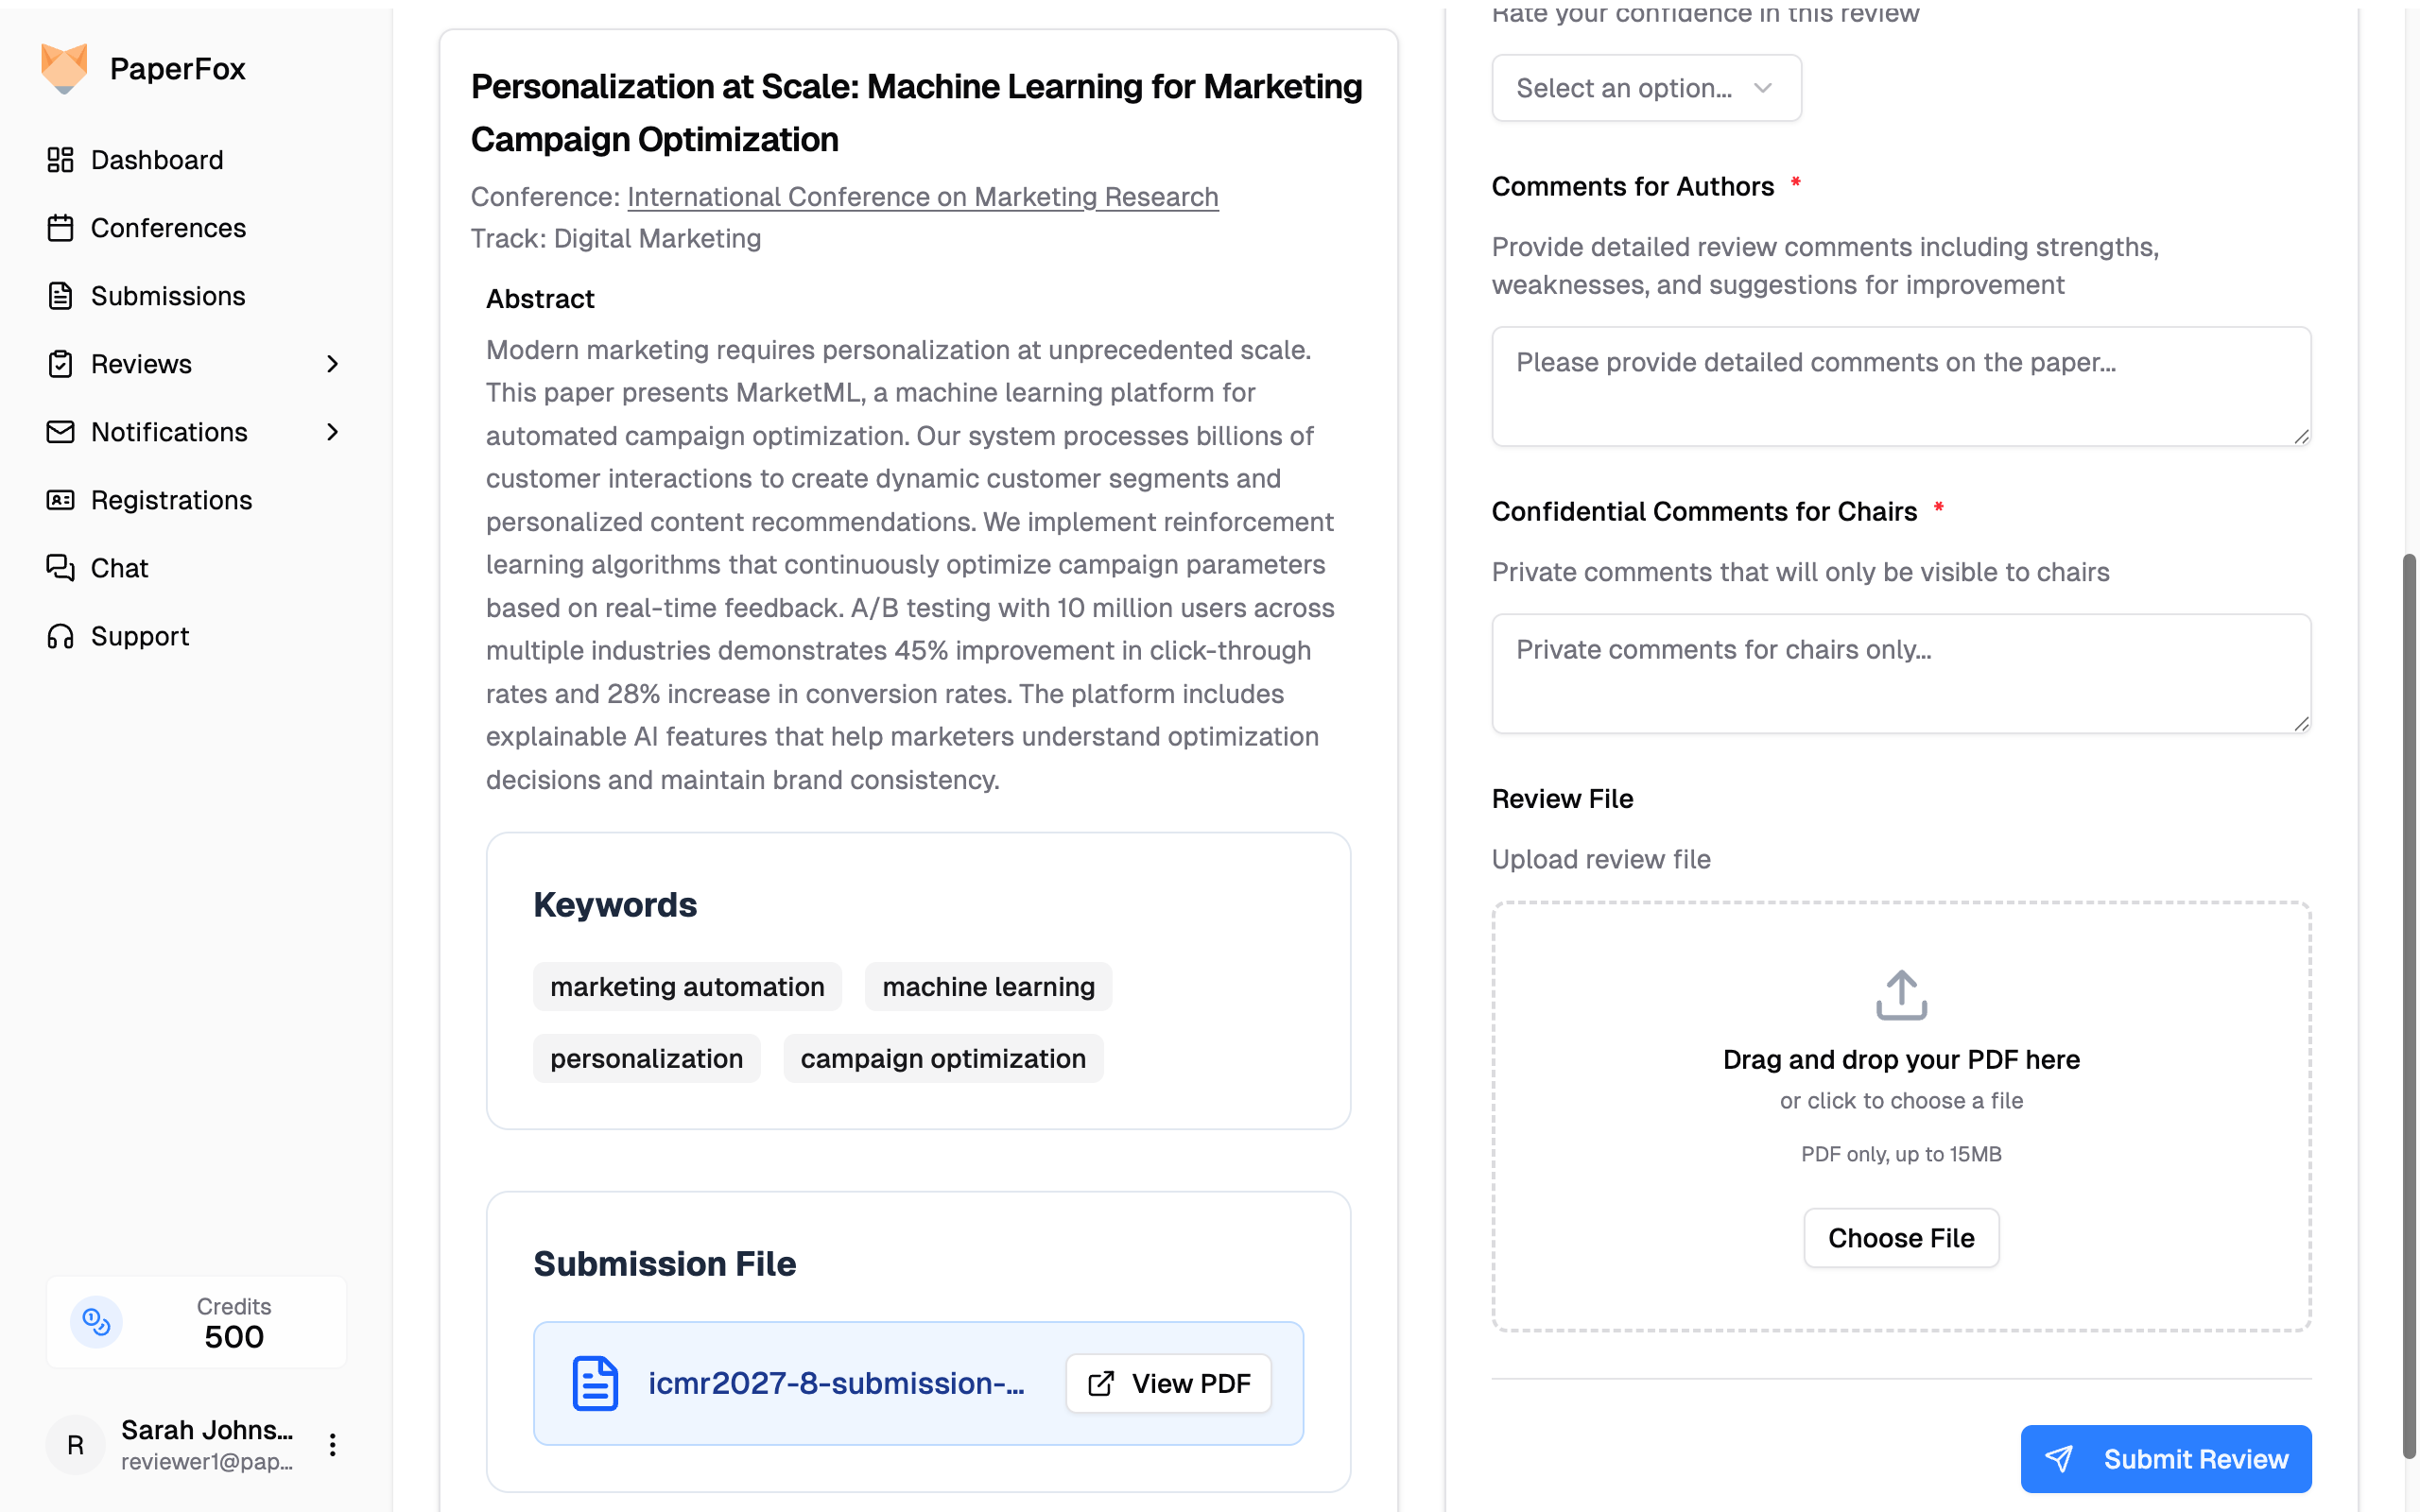
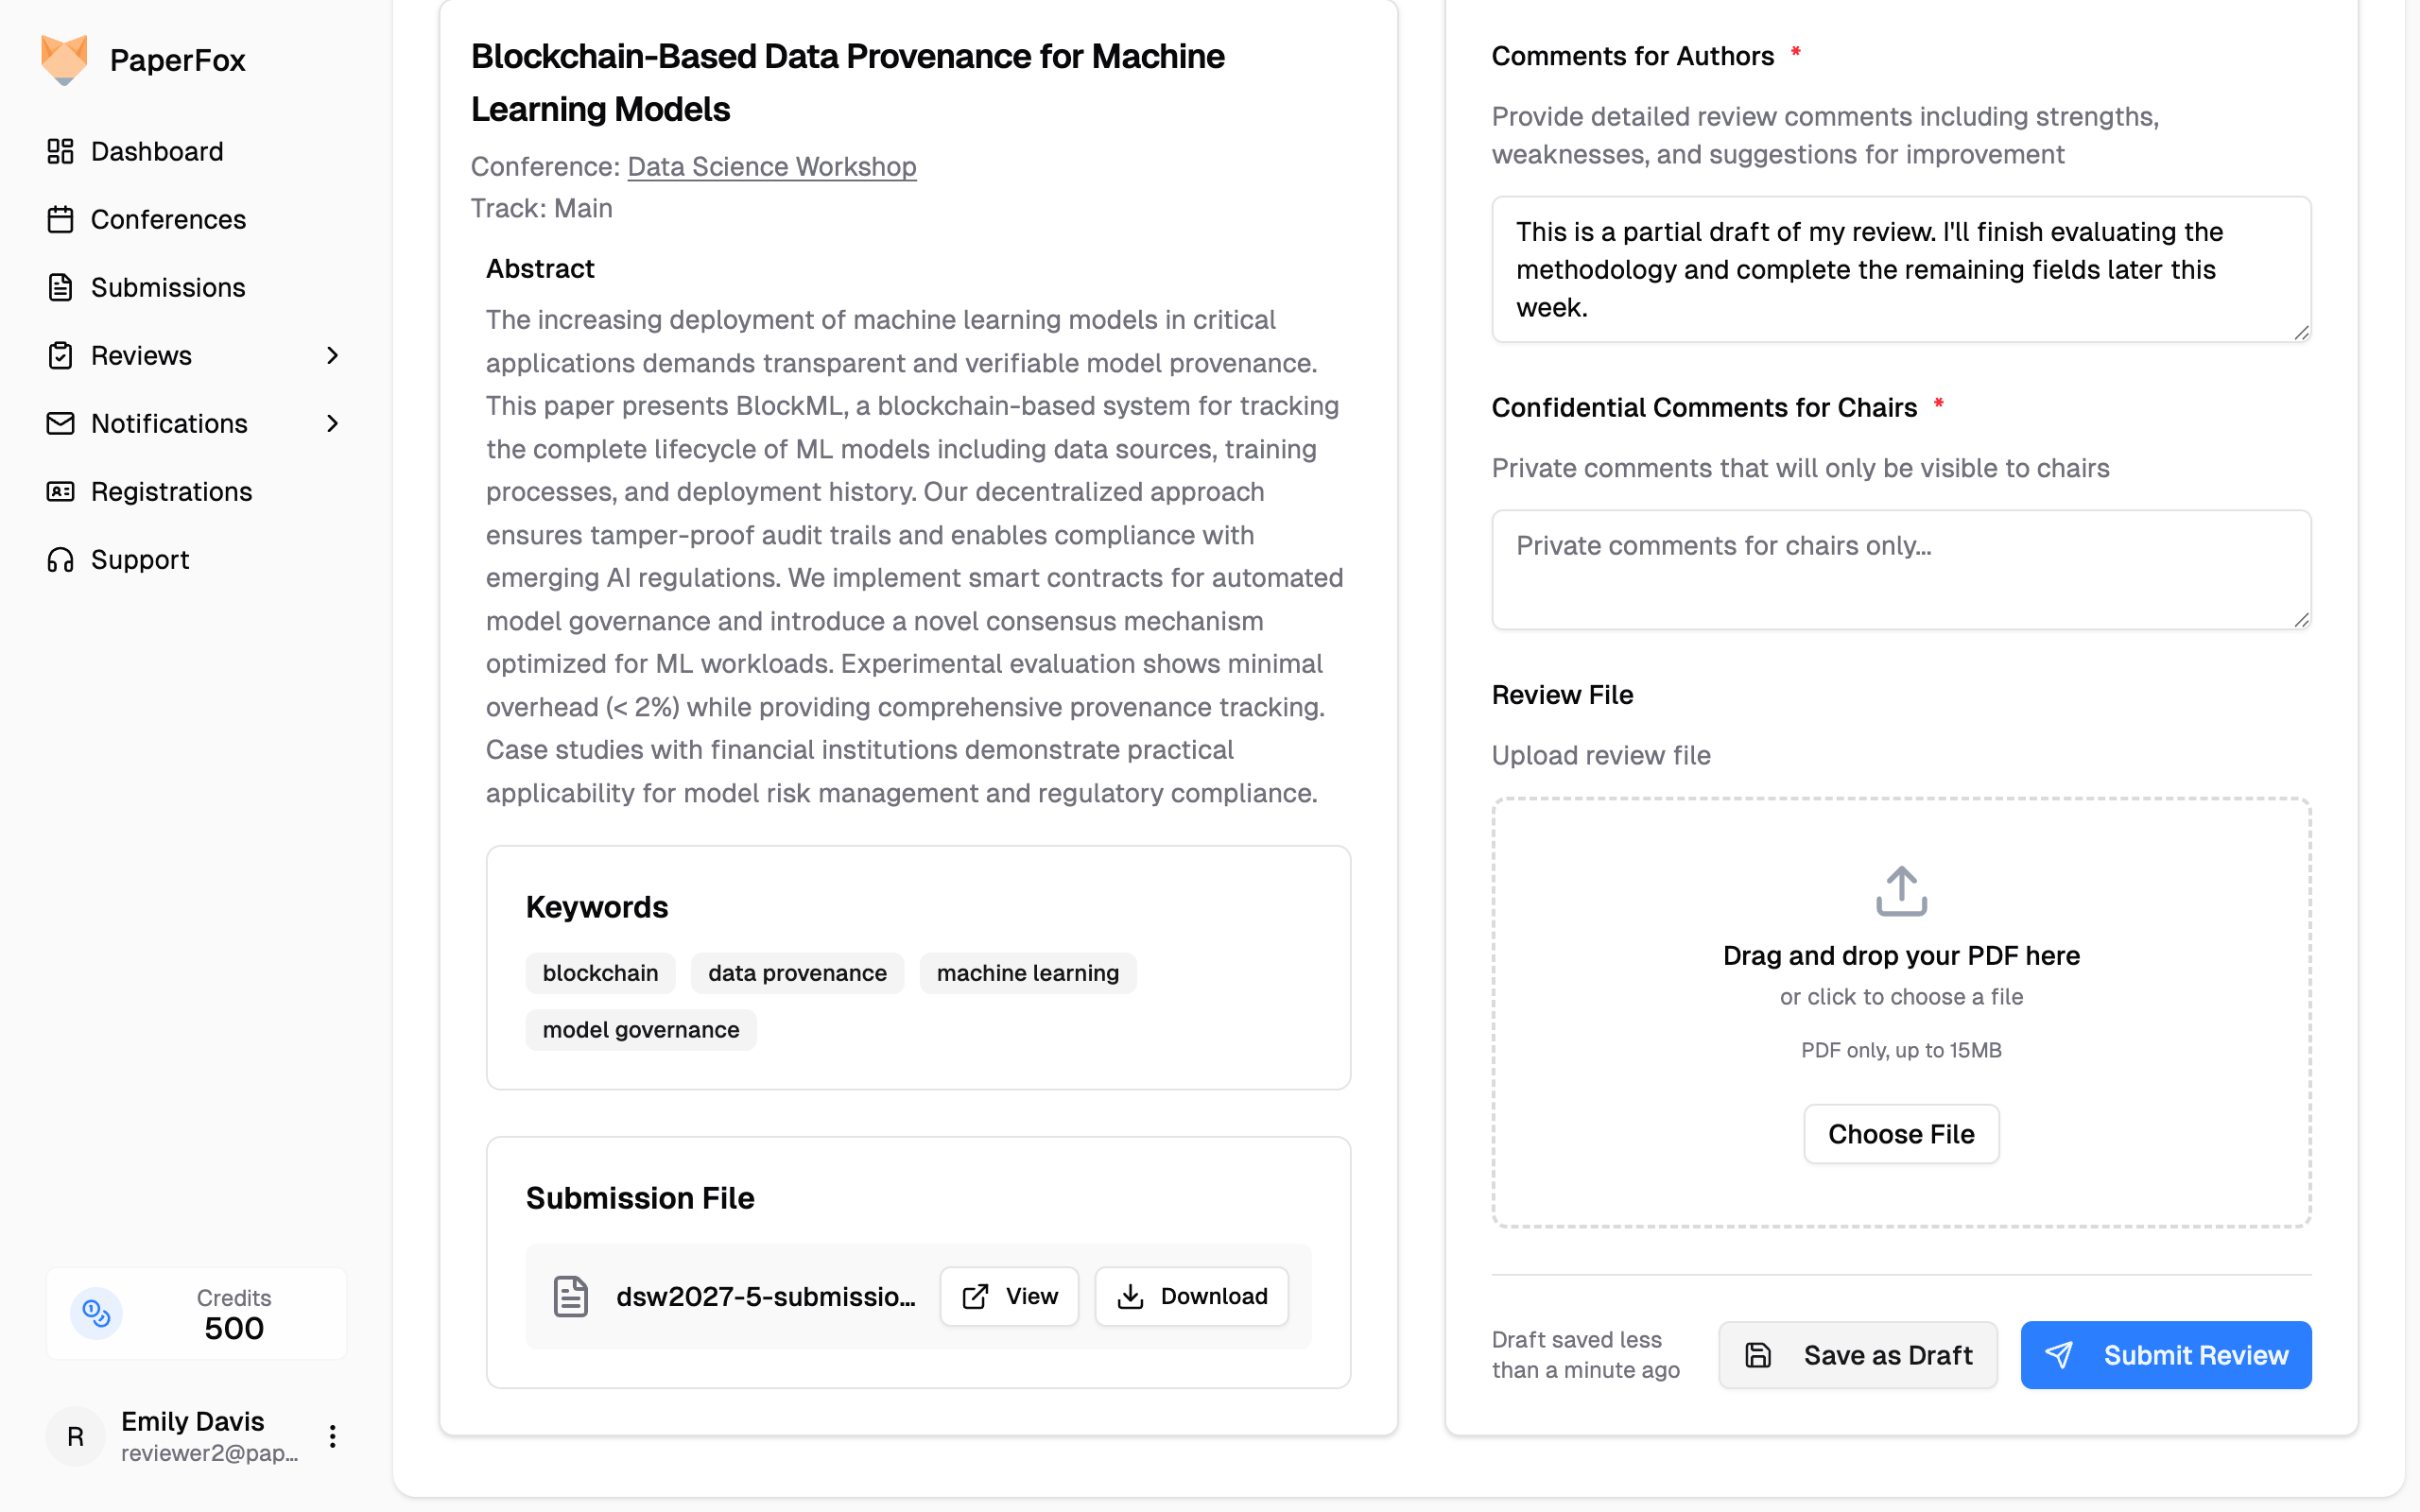 Drafts are private to you. Chairs and other reviewers cannot see draft content — only submitted reviews are visible to them.
**Resuming a draft:**
1. Go to **Reviews**, on the **To Review** tab
2. Submissions with a saved draft show a **"Continue Draft"** button
3. Click **"Continue Draft"** to reopen the form with your data restored
Drafts are private to you. Chairs and other reviewers cannot see draft content — only submitted reviews are visible to them.
**Resuming a draft:**
1. Go to **Reviews**, on the **To Review** tab
2. Submissions with a saved draft show a **"Continue Draft"** button
3. Click **"Continue Draft"** to reopen the form with your data restored
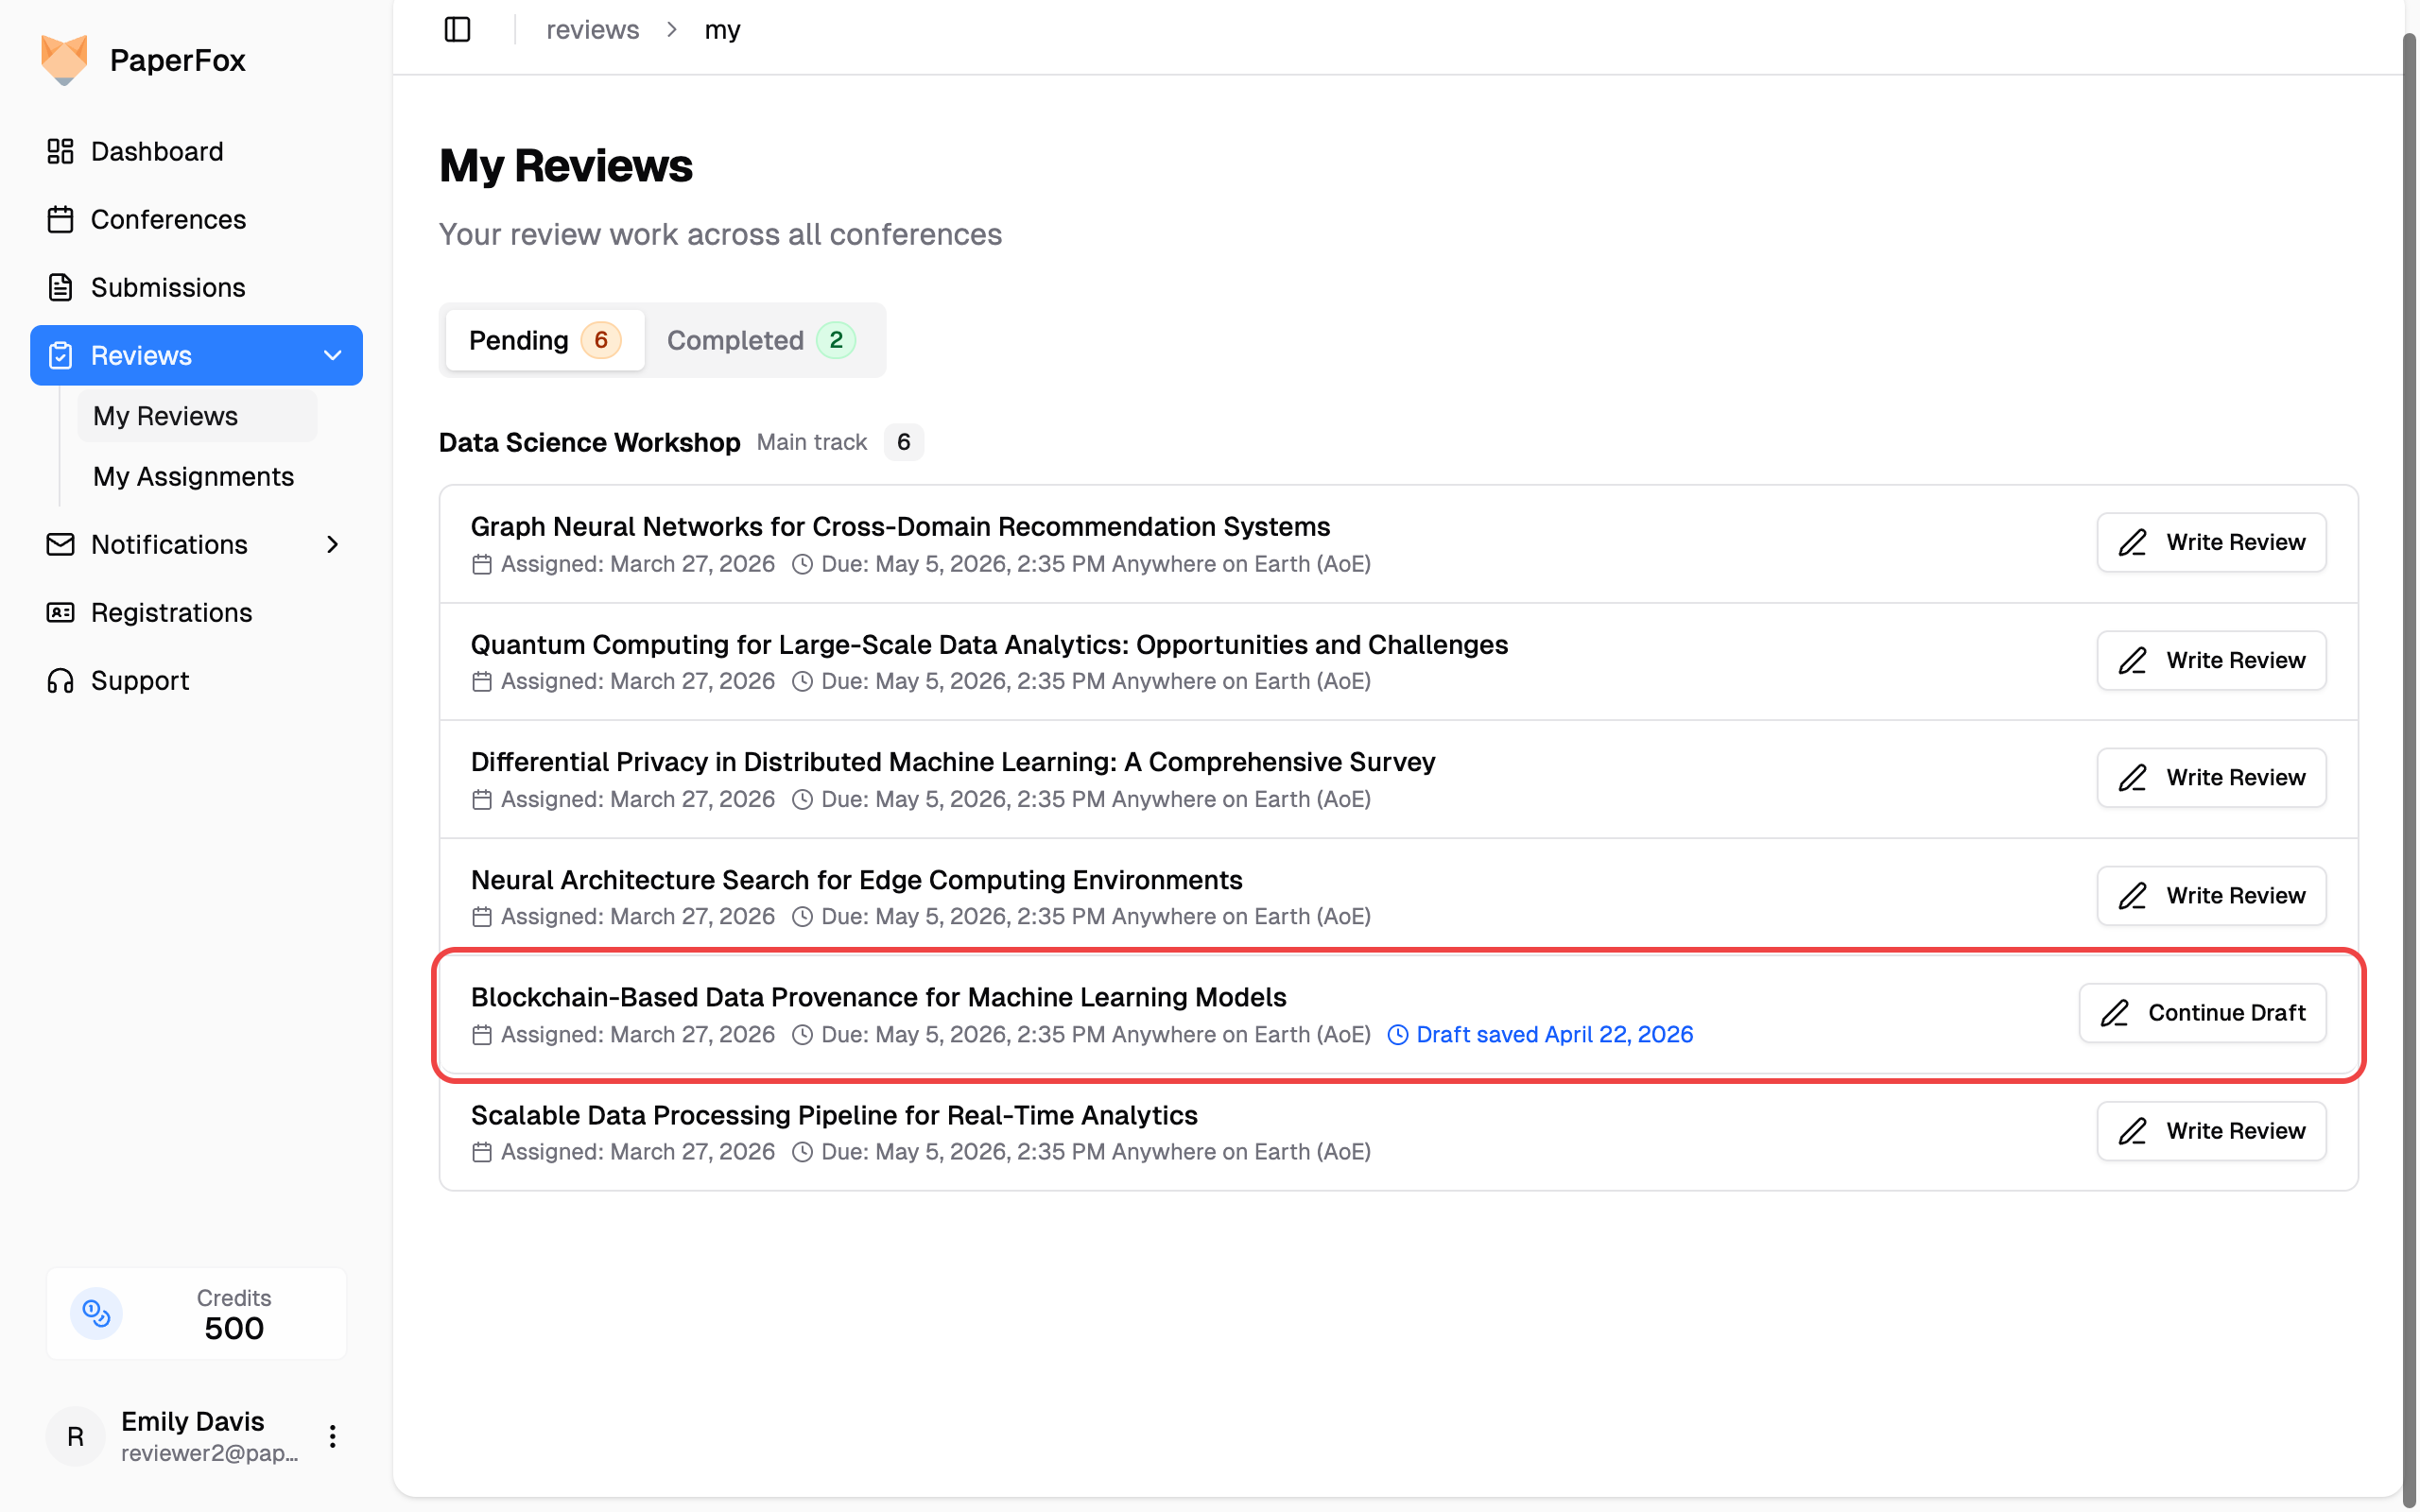 When you're done, click **"Submit Review"** to finalize. The draft becomes a submitted review and it moves to the **Completed** tab.
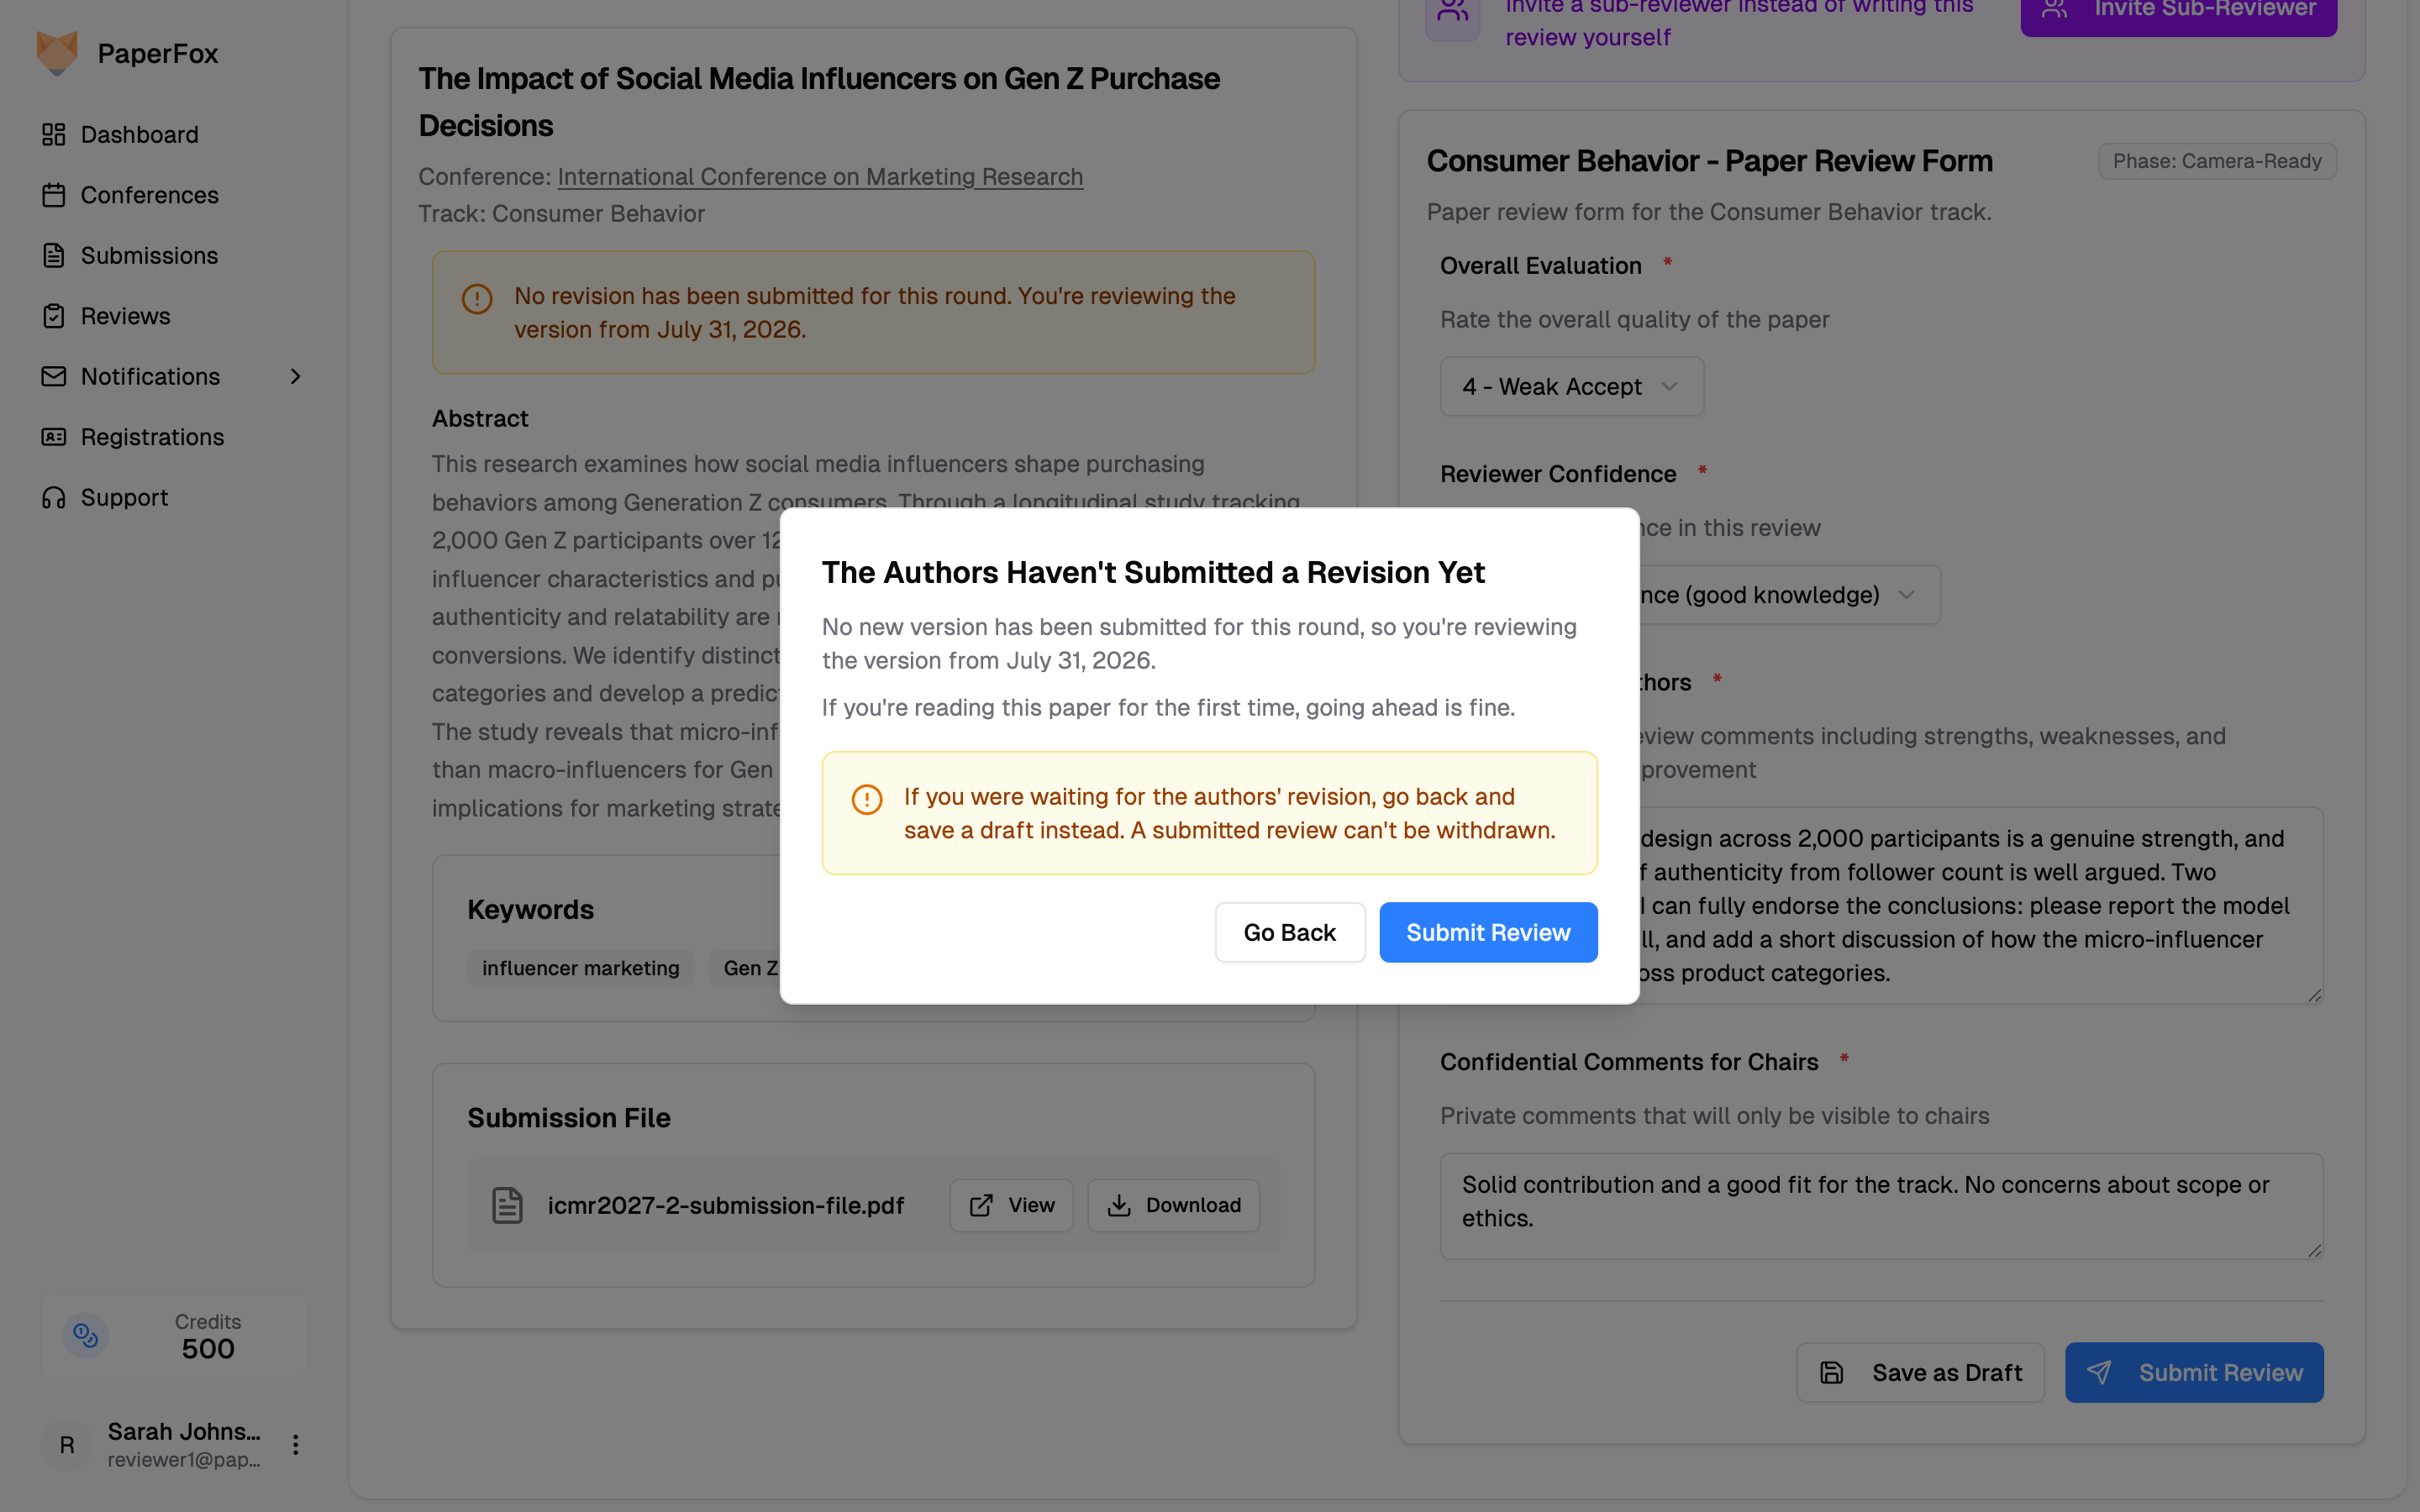 - **Reading the submission for the first time this round?** Click **"Submit Review"** — reviewing the current text is exactly what you were asked to do.
- **Waiting for the authors' revision?** Choose **"Go Back"** and click **"Save as Draft"** instead. You can finish once the new version arrives — a submitted review cannot be withdrawn.
Either way, the authors are never blocked from submitting their revision, even if reviews have already come in for the round.
---
## Missing the Review Deadline
If a review's deadline passes before you submit, the **To Review** row shows an amber **Past due** marker, and a banner at the top of the review page tells you where you stand:
- **"The review deadline passed ⟨date⟩ — you can still submit your review."** — the chairs accept late reviews for this phase; finish and submit as usual.
- **"Review submissions are closed for this phase."** — the chairs enforce the deadline, so **"Submit Review"** is disabled. Contact the chairs if you still need to submit; they can reopen it.
- **Reading the submission for the first time this round?** Click **"Submit Review"** — reviewing the current text is exactly what you were asked to do.
- **Waiting for the authors' revision?** Choose **"Go Back"** and click **"Save as Draft"** instead. You can finish once the new version arrives — a submitted review cannot be withdrawn.
Either way, the authors are never blocked from submitting their revision, even if reviews have already come in for the round.
---
## Missing the Review Deadline
If a review's deadline passes before you submit, the **To Review** row shows an amber **Past due** marker, and a banner at the top of the review page tells you where you stand:
- **"The review deadline passed ⟨date⟩ — you can still submit your review."** — the chairs accept late reviews for this phase; finish and submit as usual.
- **"Review submissions are closed for this phase."** — the chairs enforce the deadline, so **"Submit Review"** is disabled. Contact the chairs if you still need to submit; they can reopen it.
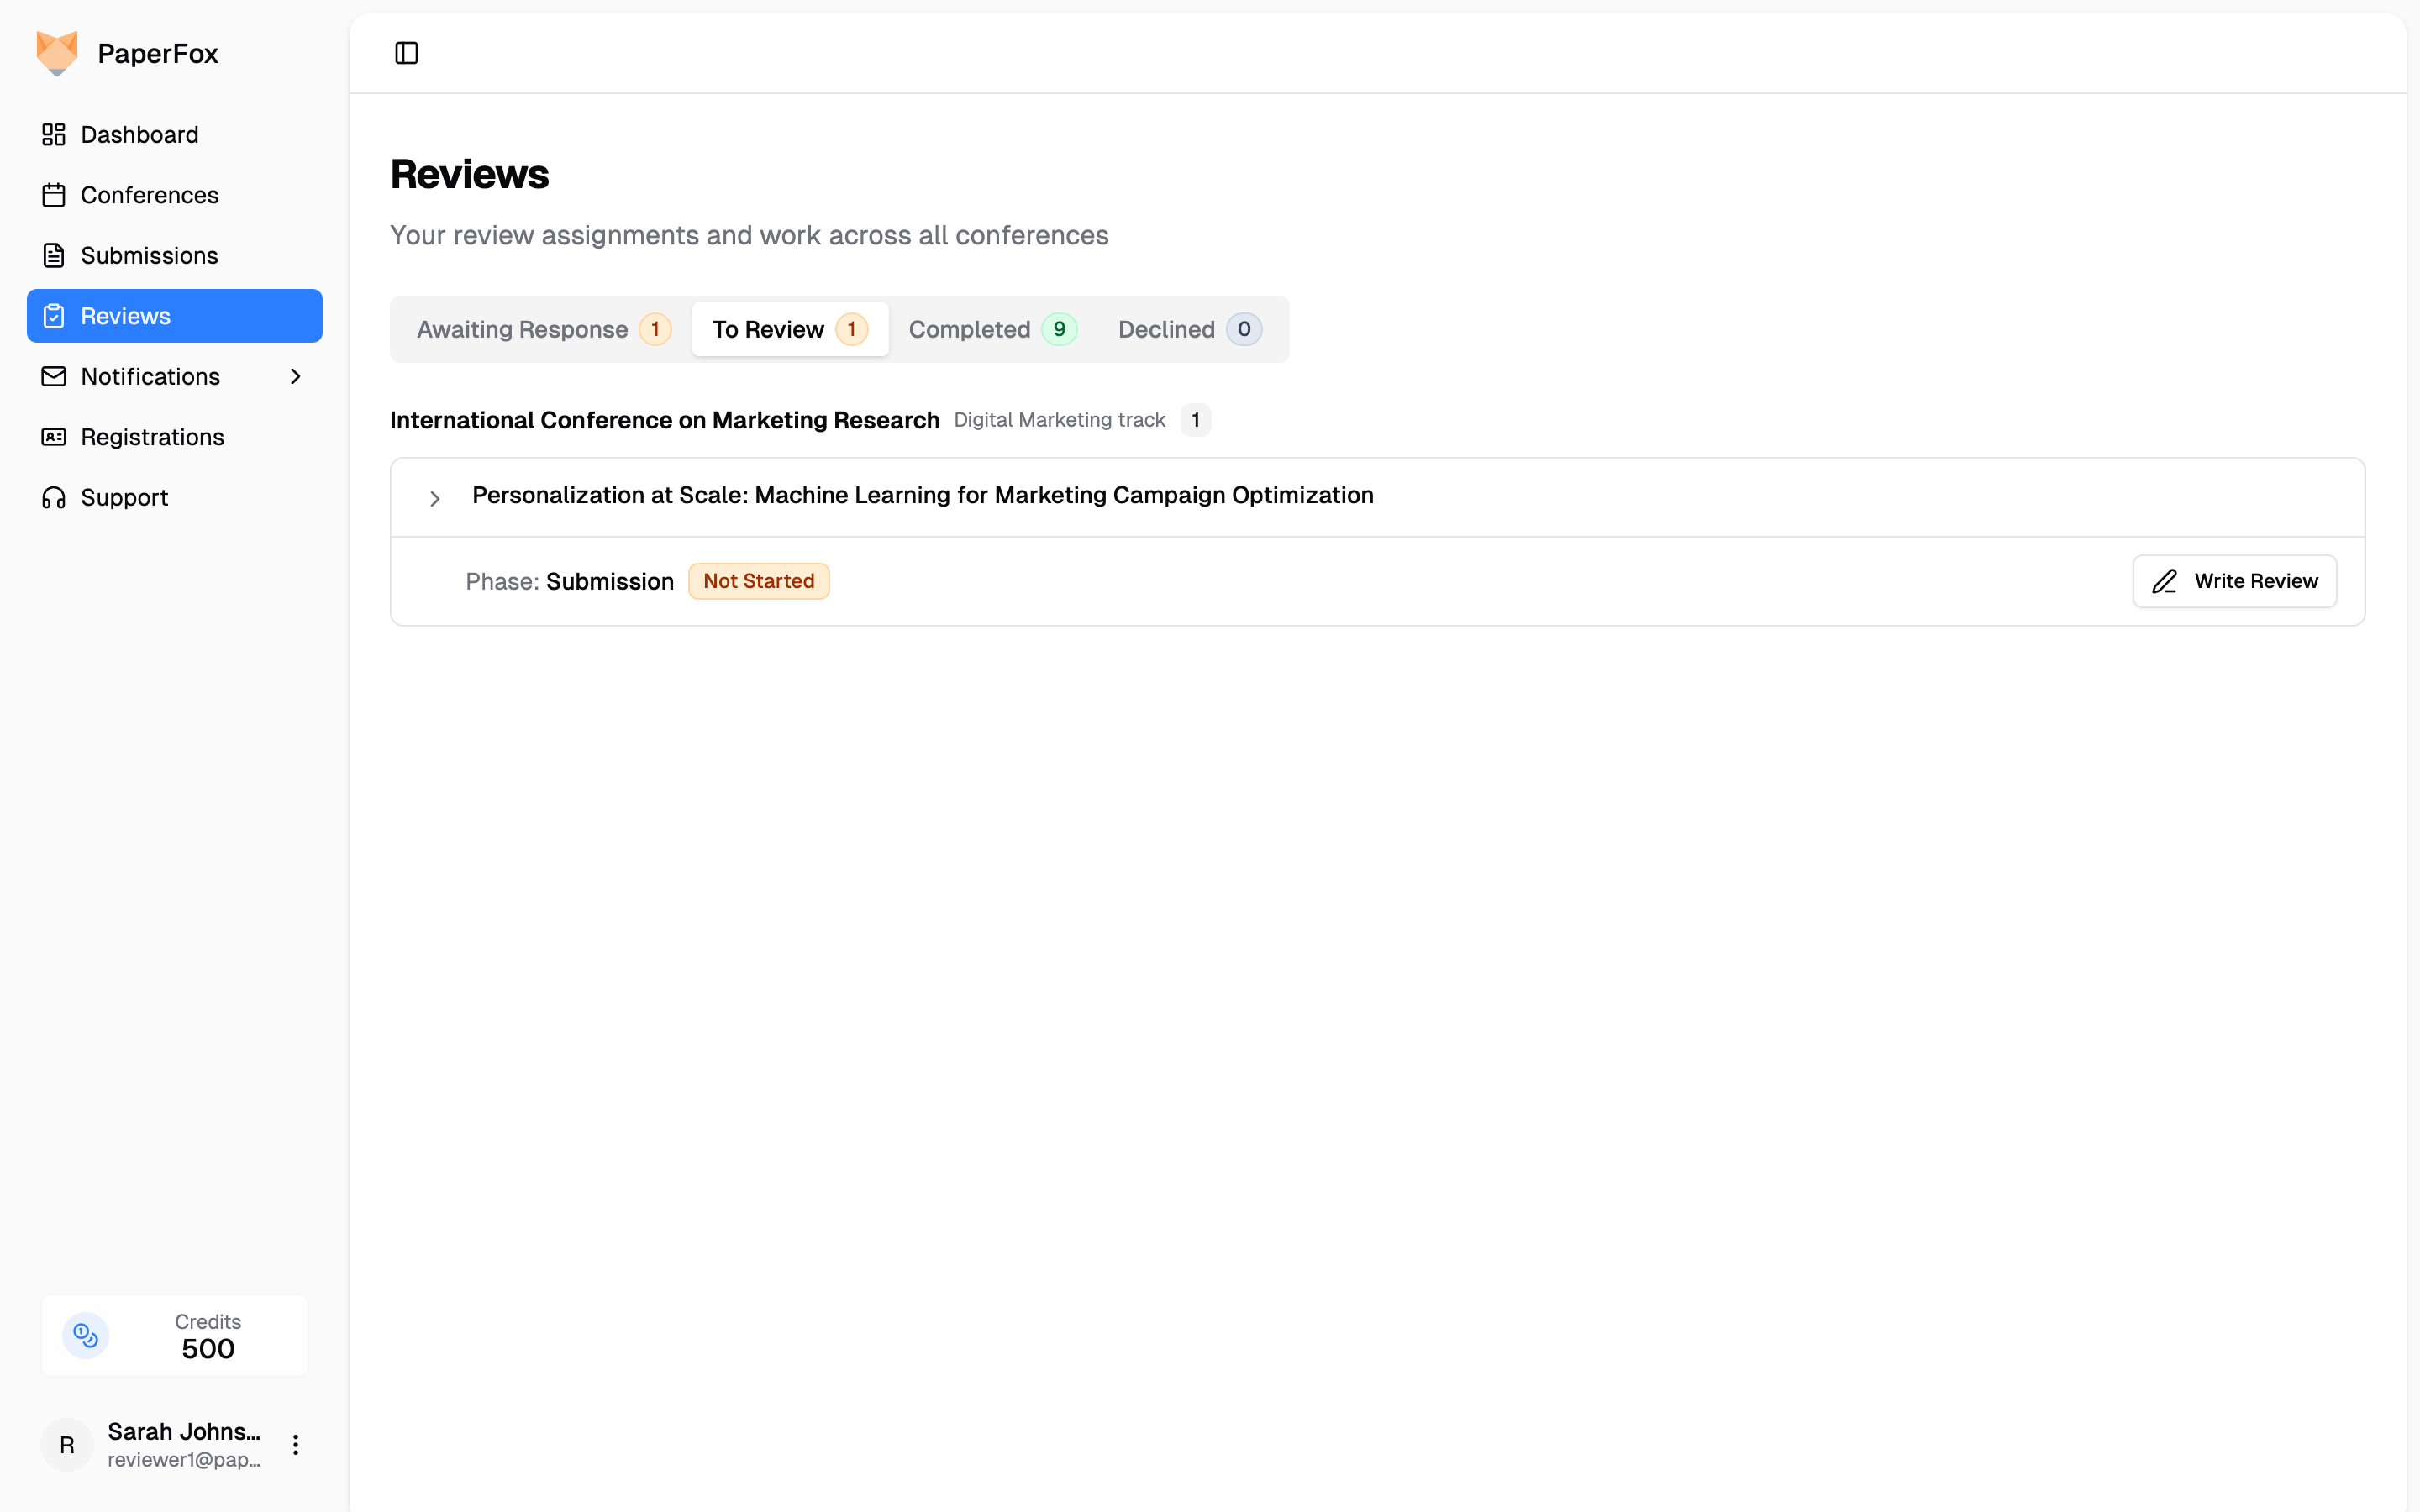 Either way, **"Save as Draft" always works** — a deadline never blocks saving, so work you've already typed is never lost.
---
## Viewing a Submitted Review
After submitting, you are redirected to the review view page. It mirrors the review editor's layout — the reading cards on the left, your review on the right:
- **Submission** — The submission details (authors are hidden in double-blind reviews)
- **My Review** — Your submitted ratings, comments, and status, with the **"Update Review"** button
- **AI Review** — If the chairs shared the submission's AI-generated review with you, it appears as its own card below the submission, led by an AI disclaimer; it is a supplement, not a human review
- **Other Reviews** — On tracks where the chairs share reviews between reviewers, the other reviewers' submitted reviews appear in the left column once your own review is in, labeled **"Reviewer #1"**, **"Reviewer #2"**, and so on
- **Review History** — Previous versions if you've updated your review
As in the editor, each card collapses to its header, and the panel toggle in the page header hides the reading column to give your review the full width.
Either way, **"Save as Draft" always works** — a deadline never blocks saving, so work you've already typed is never lost.
---
## Viewing a Submitted Review
After submitting, you are redirected to the review view page. It mirrors the review editor's layout — the reading cards on the left, your review on the right:
- **Submission** — The submission details (authors are hidden in double-blind reviews)
- **My Review** — Your submitted ratings, comments, and status, with the **"Update Review"** button
- **AI Review** — If the chairs shared the submission's AI-generated review with you, it appears as its own card below the submission, led by an AI disclaimer; it is a supplement, not a human review
- **Other Reviews** — On tracks where the chairs share reviews between reviewers, the other reviewers' submitted reviews appear in the left column once your own review is in, labeled **"Reviewer #1"**, **"Reviewer #2"**, and so on
- **Review History** — Previous versions if you've updated your review
As in the editor, each card collapses to its header, and the panel toggle in the page header hides the reading column to give your review the full width.
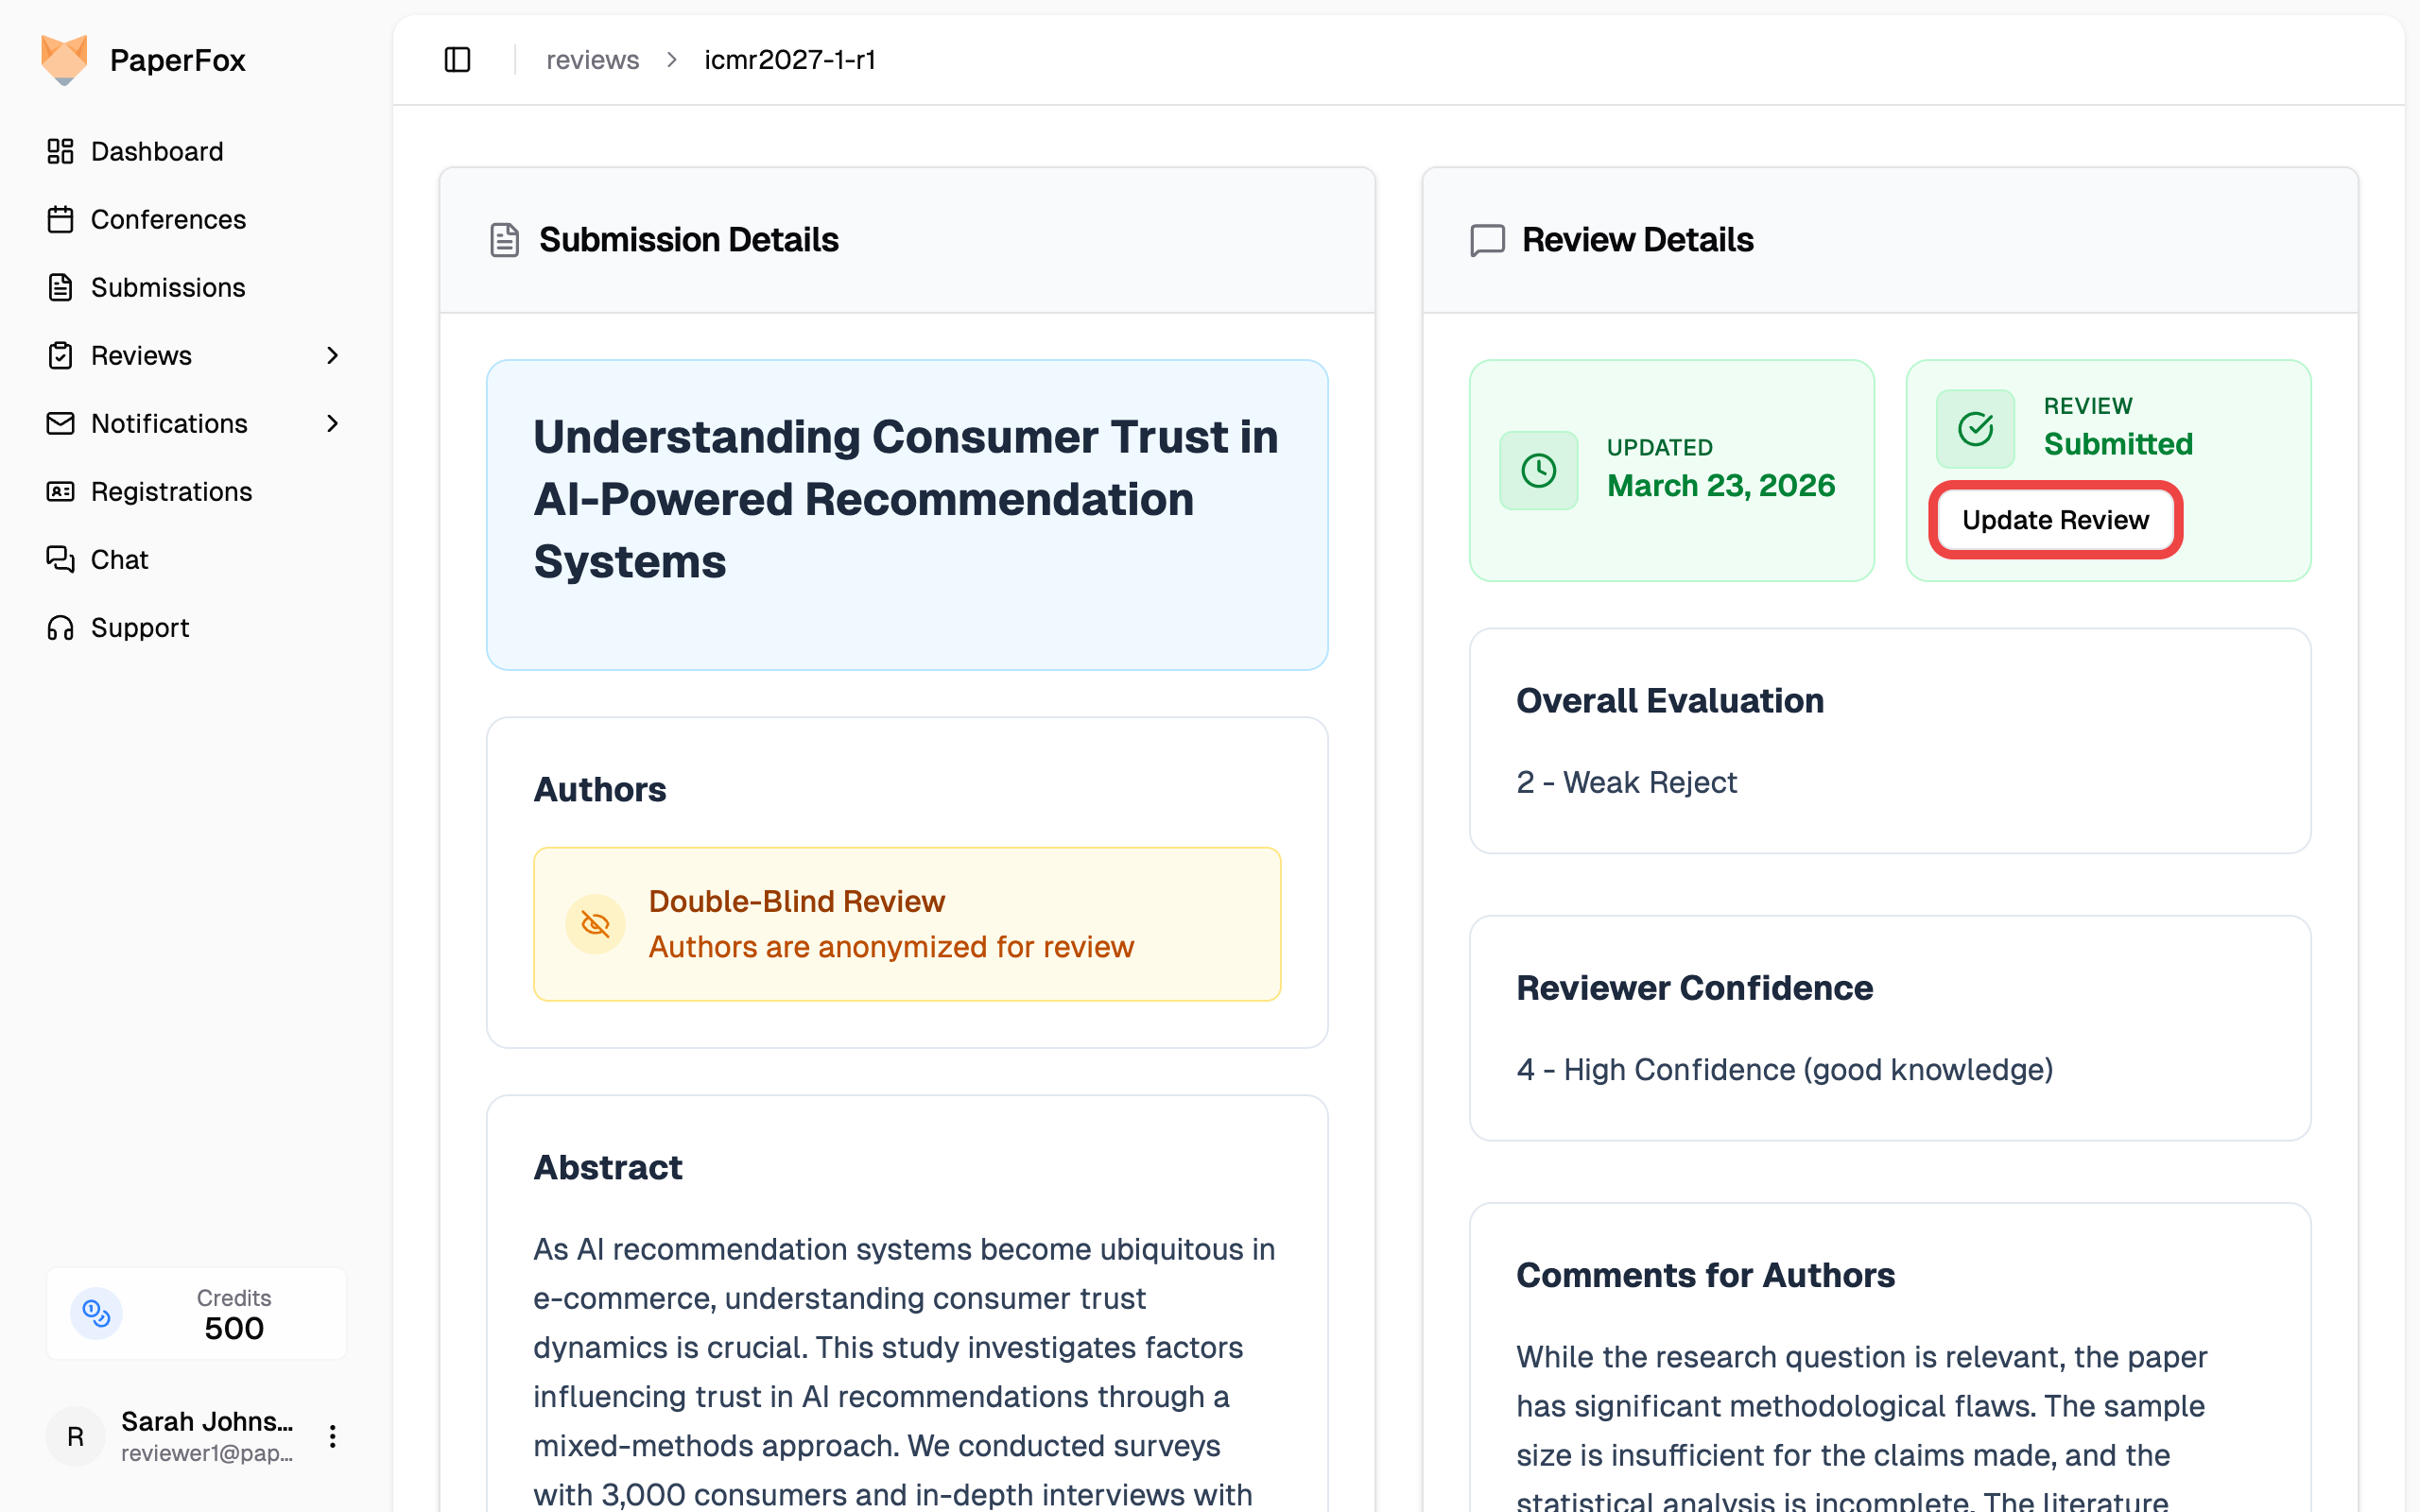 Scroll the left column to read everything the chairs have shared with you — the AI review, the other reviewers' reviews, and the discussion — while **My Review** stays in view on the right.
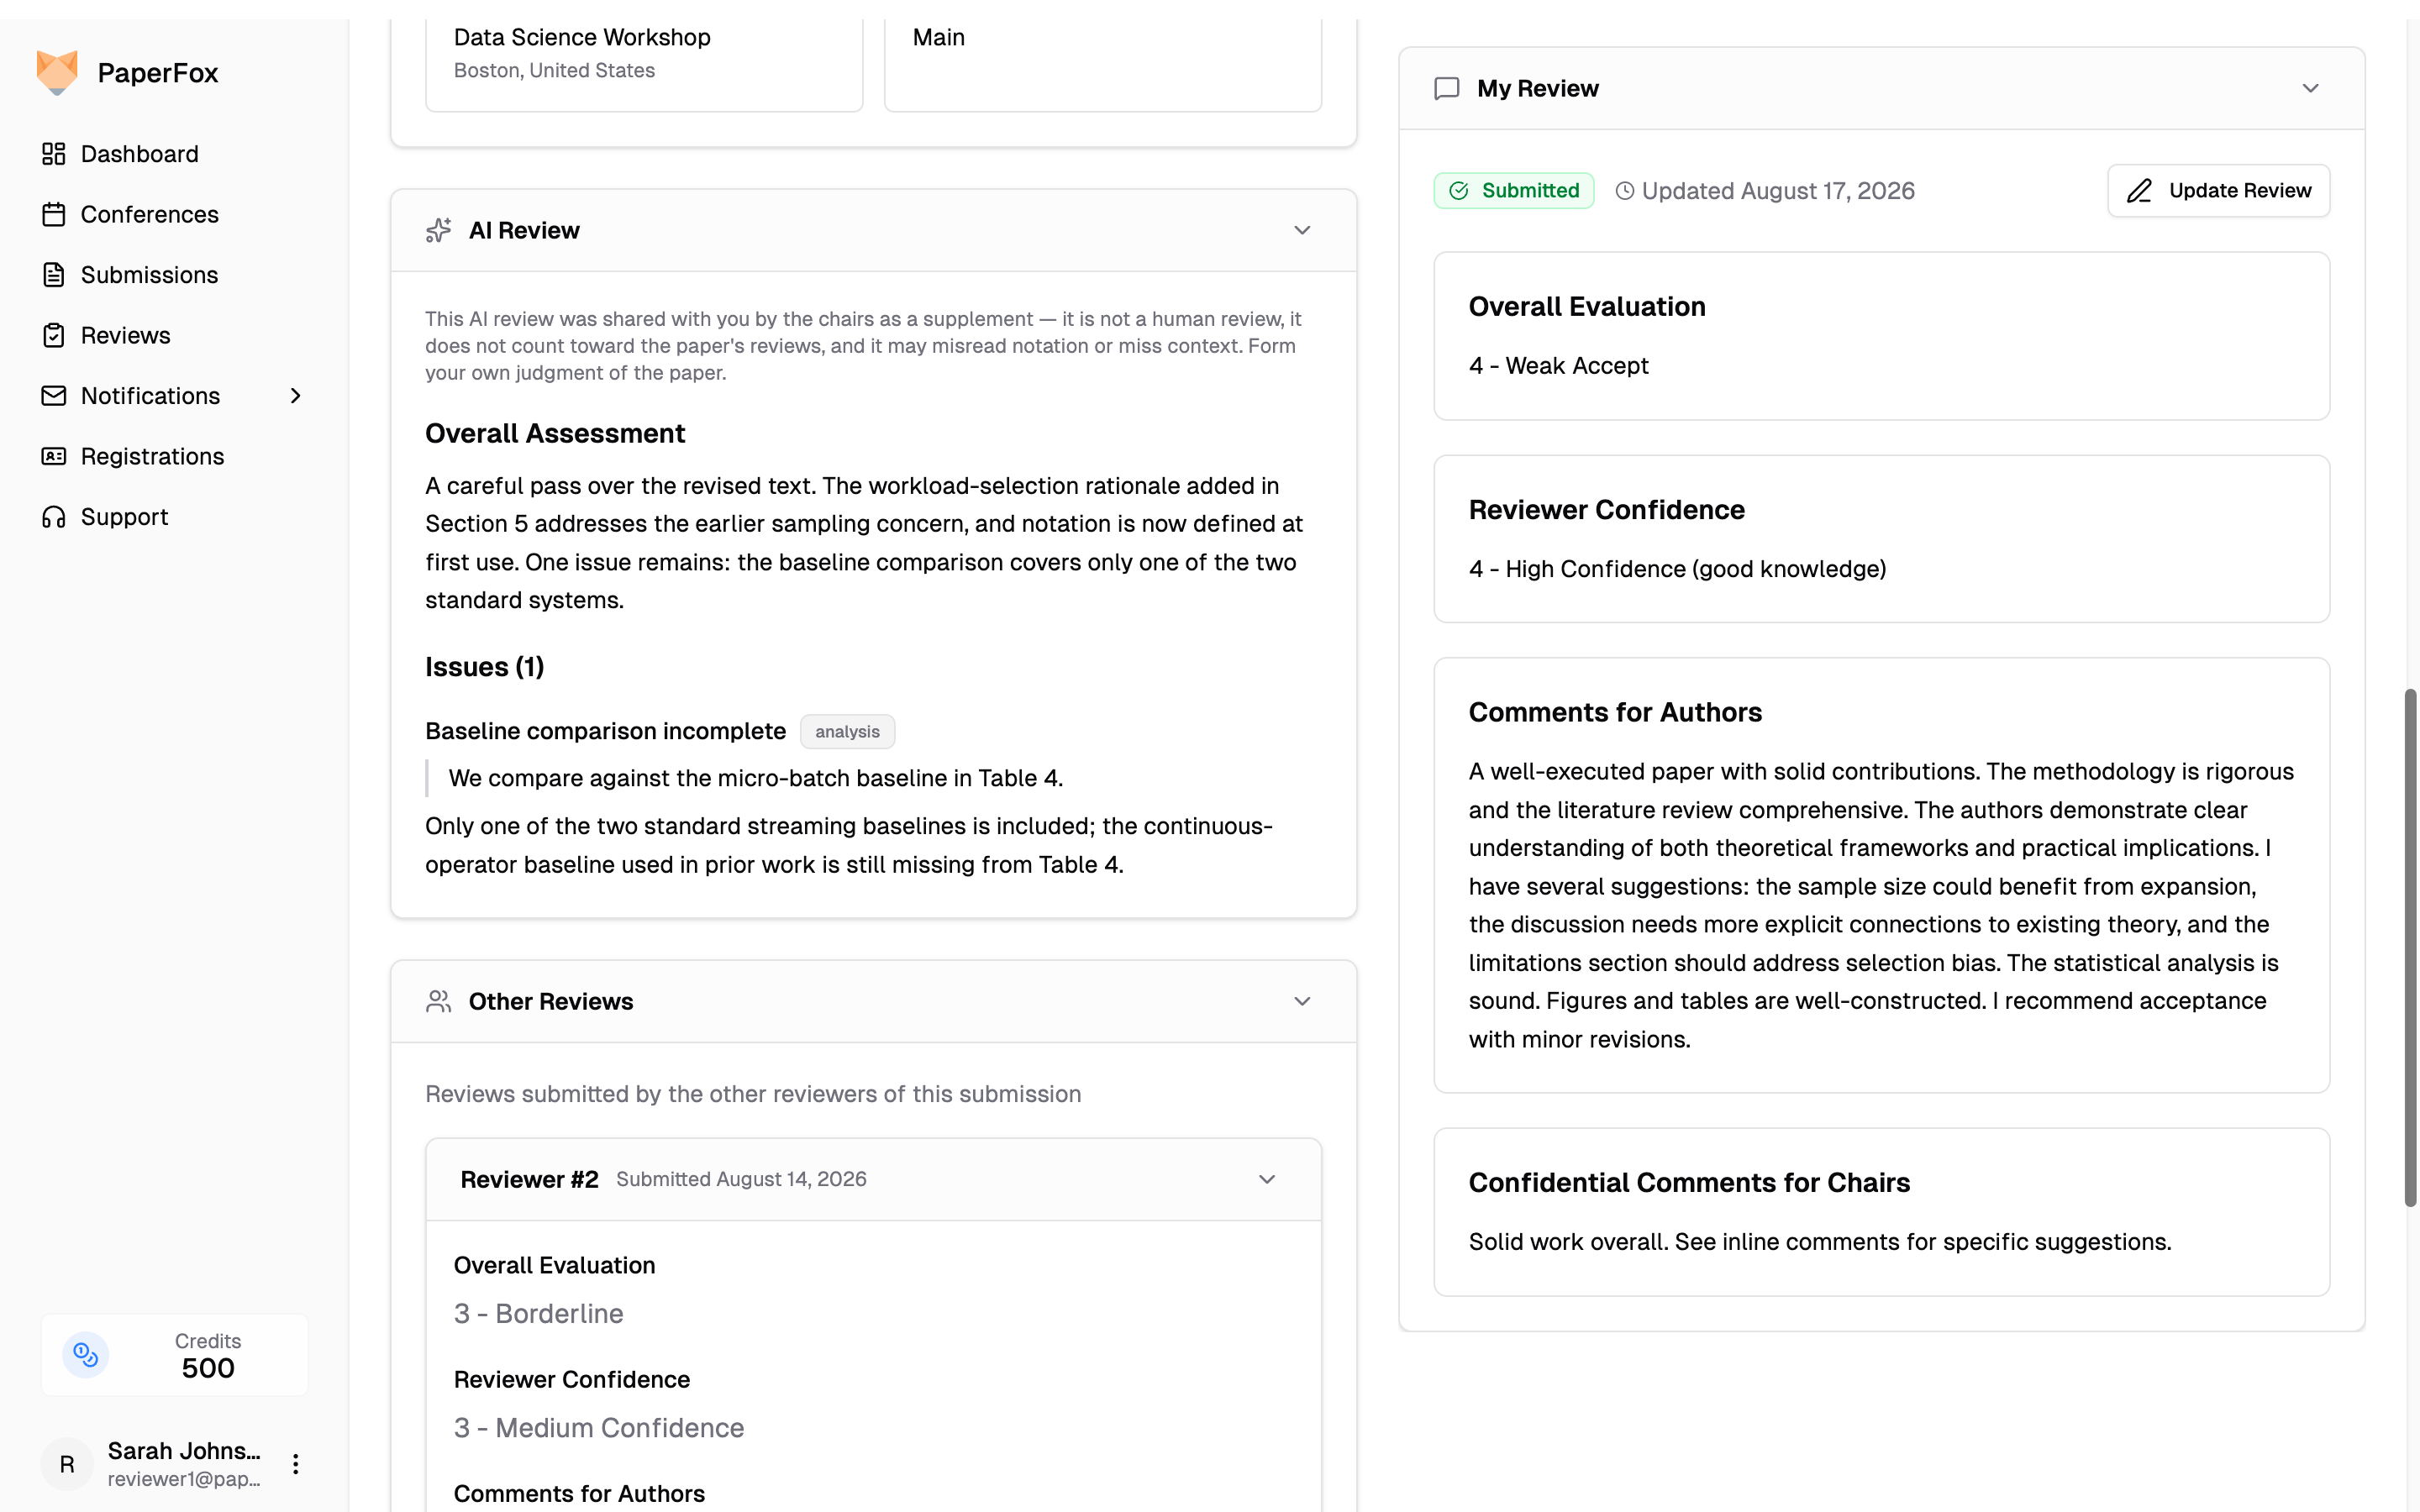 You can also reach this page from the **Completed** tab on **Reviews**.
### Copy or Download Everything You See
The two buttons in the page header (highlighted above) export the whole page as one document — your review, the other reviewers' reviews, the AI review, and every response thread and discussion comment you can see.
1. Click the **copy** icon to put the document on your clipboard, or the **download** icon to save it as a file
2. Choose **Markdown** or **Plain Text**
The document contains exactly what the page shows you and nothing more — a co-review you can't see yet isn't in it, and the AI review carries no chair-only details. Committee-only notes you're allowed to read are marked "hidden from authors" so you don't paste one somewhere the authors can see. The buttons only appear once there's something to export.
---
## Updating a Review
To revise a submitted review:
1. Open the review from the **Reviews → Completed** tab, or from the review view page
2. Click **"Update Review"**
3. Edit any fields you want to change
4. Optionally, add a **Revision Note** describing what changed — this helps track chairs understand the update
5. Click **"Update Review"** to save
You can also reach this page from the **Completed** tab on **Reviews**.
### Copy or Download Everything You See
The two buttons in the page header (highlighted above) export the whole page as one document — your review, the other reviewers' reviews, the AI review, and every response thread and discussion comment you can see.
1. Click the **copy** icon to put the document on your clipboard, or the **download** icon to save it as a file
2. Choose **Markdown** or **Plain Text**
The document contains exactly what the page shows you and nothing more — a co-review you can't see yet isn't in it, and the AI review carries no chair-only details. Committee-only notes you're allowed to read are marked "hidden from authors" so you don't paste one somewhere the authors can see. The buttons only appear once there's something to export.
---
## Updating a Review
To revise a submitted review:
1. Open the review from the **Reviews → Completed** tab, or from the review view page
2. Click **"Update Review"**
3. Edit any fields you want to change
4. Optionally, add a **Revision Note** describing what changed — this helps track chairs understand the update
5. Click **"Update Review"** to save
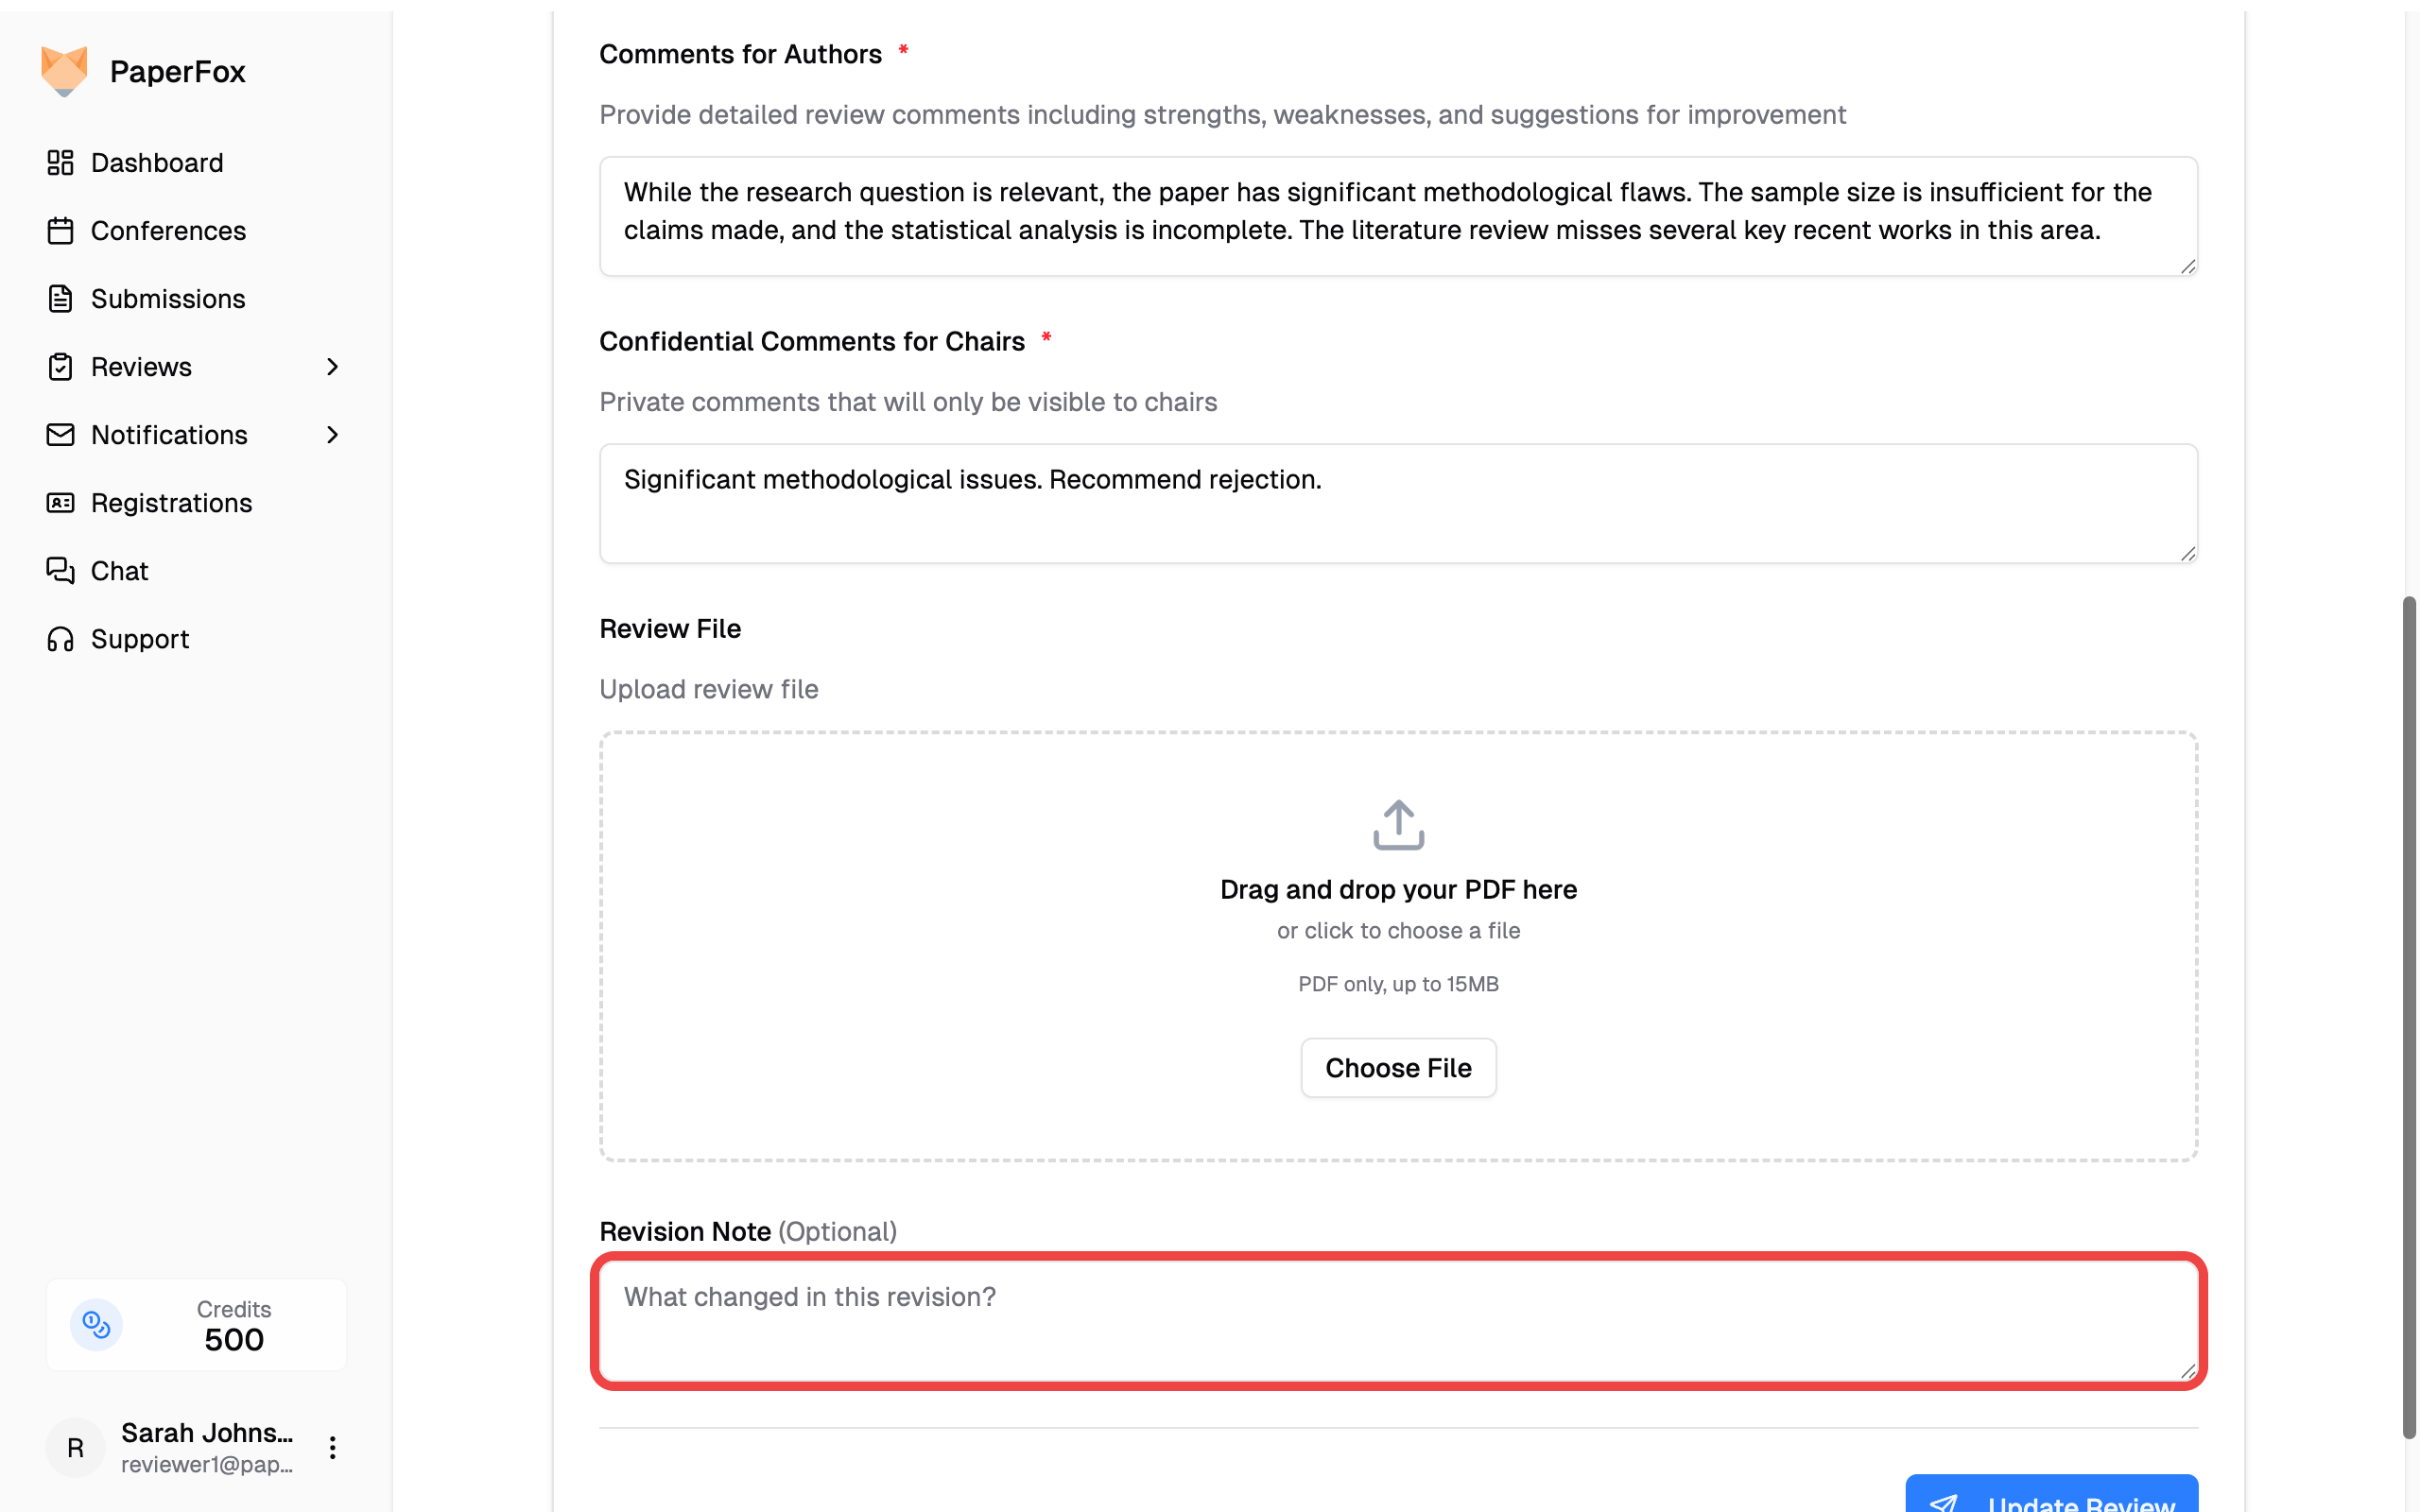 Each update creates a new version visible in the Review History section.
---
# Account Settings
URL: https://paperfox.ai/docs/users/account-settings
Description: Manage your PaperFox account settings
To access your account settings, click your name at the bottom-left of the sidebar and select **Settings**.
Each update creates a new version visible in the Review History section.
---
# Account Settings
URL: https://paperfox.ai/docs/users/account-settings
Description: Manage your PaperFox account settings
To access your account settings, click your name at the bottom-left of the sidebar and select **Settings**.
 ## Profile
First, you can update your personal information and profile picture.
## Profile
First, you can update your personal information and profile picture.
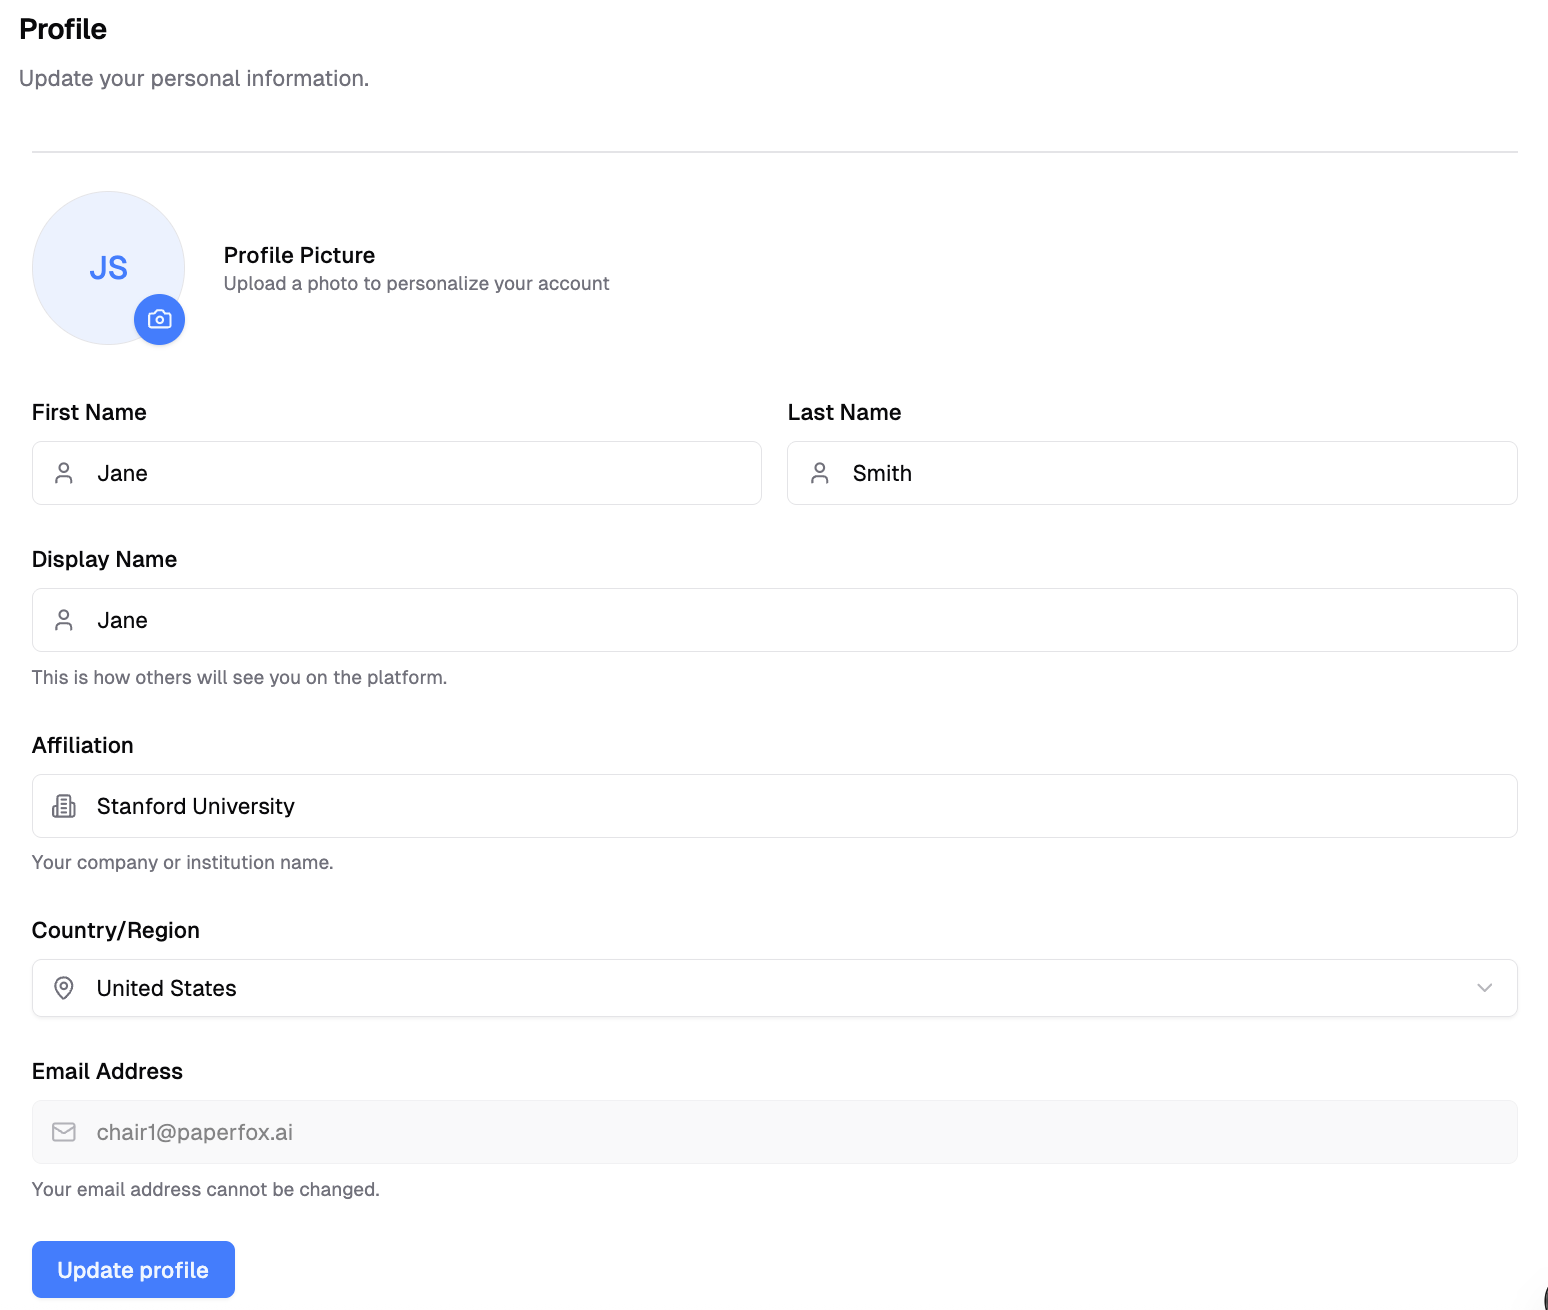 **What you can edit:**
- **Display Name** - Your public name shown across PaperFox
- **First Name** and **Last Name** - Your legal name
- **Affiliation** - Your organization or institution
- **Country** - Your location
- **Profile Picture** - Upload and crop your avatar
**To update your profile:**
1. Go to Settings → Profile
2. Edit the fields you want to change
3. Click **"Update profile"**
## Email Addresses
You can link multiple verified email addresses to one PaperFox account — useful when you want invitations sent to either your institutional or personal address to land on the same dashboard. Manage them at **Settings → Emails**.
See [Managing Your Email Addresses](/docs/users/email-addresses) for the full guide — adding, verifying, switching your primary, and how invitations resolve across all your addresses.
## Password
Next, you can change your account password to keep your account secure.
**To update your password:**
1. Go to Settings → Password
2. Enter your current password
3. Enter your new password
4. Confirm your new password
5. Click **Update Password**
## Billing & Payments
Additionally, you can manage your payment methods and view billing history. This section shows all your payments including conference fees (when you're a chair managing submissions over the free limit) and AI credit purchases.
**What you can edit:**
- **Display Name** - Your public name shown across PaperFox
- **First Name** and **Last Name** - Your legal name
- **Affiliation** - Your organization or institution
- **Country** - Your location
- **Profile Picture** - Upload and crop your avatar
**To update your profile:**
1. Go to Settings → Profile
2. Edit the fields you want to change
3. Click **"Update profile"**
## Email Addresses
You can link multiple verified email addresses to one PaperFox account — useful when you want invitations sent to either your institutional or personal address to land on the same dashboard. Manage them at **Settings → Emails**.
See [Managing Your Email Addresses](/docs/users/email-addresses) for the full guide — adding, verifying, switching your primary, and how invitations resolve across all your addresses.
## Password
Next, you can change your account password to keep your account secure.
**To update your password:**
1. Go to Settings → Password
2. Enter your current password
3. Enter your new password
4. Confirm your new password
5. Click **Update Password**
## Billing & Payments
Additionally, you can manage your payment methods and view billing history. This section shows all your payments including conference fees (when you're a chair managing submissions over the free limit) and AI credit purchases.
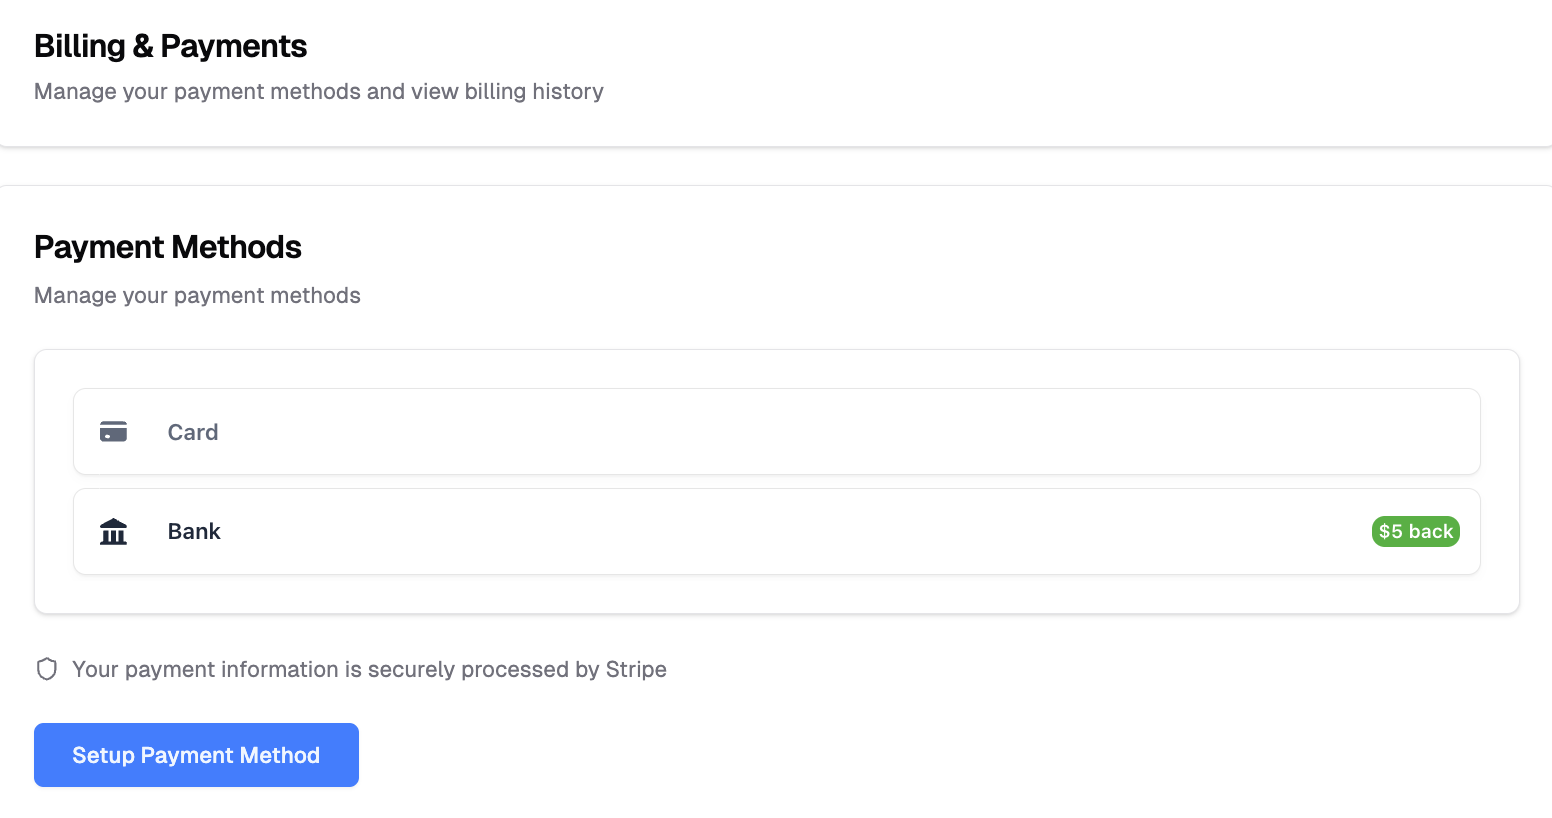 **What you can do:**
- Add or update payment methods
- View past invoices and transactions for all services
- Manage your subscription
- See charges for conference submissions (if you're a chair - [learn more about submission billing](/docs/chairs/submission-billing))
- View AI credit purchase history
## Credit History
Furthermore, you can view your credit balance and transaction history.
**What you can do:**
- Add or update payment methods
- View past invoices and transactions for all services
- Manage your subscription
- See charges for conference submissions (if you're a chair - [learn more about submission billing](/docs/chairs/submission-billing))
- View AI credit purchase history
## Credit History
Furthermore, you can view your credit balance and transaction history.
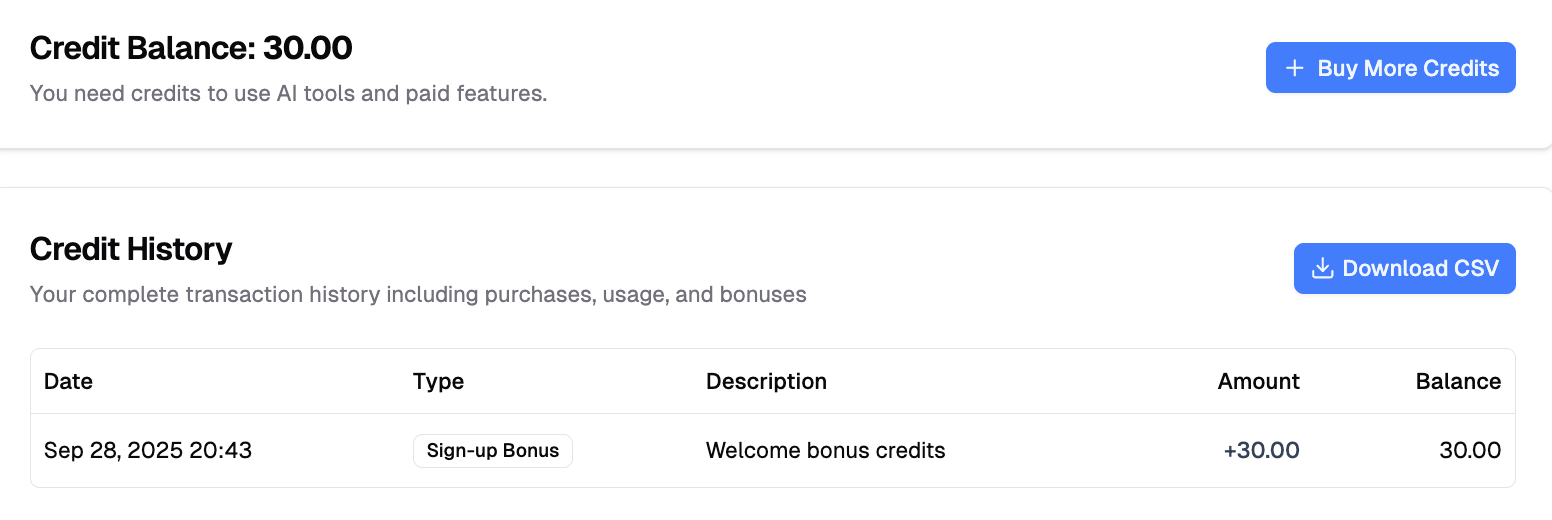 **What you can see:**
- Current credit balance
- Credit usage for each action (AI reviews, submissions, etc.)
- Credit purchase history
- Credit expiration dates
## Site Requests
If you need a custom conference site, you can request one for your organization. Learn more about [how to request a conference site](/docs/chairs/request-conference-site).
**What you can do:**
- Submit new site requests
- Track the status of your requests (pending, approved, or rejected)
- View approved sites
- Withdraw pending requests if your request is not approved yet
## Payouts
Finally, you can connect your bank account to receive payouts from conference fees.
---
# Managing Conflicts of Interest
URL: https://paperfox.ai/docs/users/conflicts
Description: Declare and view conflicts of interest to ensure fair review assignments
Your conflict of interest (COI) list ensures you won't be assigned to review submissions from collaborators, advisors, or co-authors.
Go to **Settings** in the sidebar, then click **Conflicts**.
## COI Rules
PaperFox checks these rules when assigning reviewers to submissions. Three **block** the assignment; one is a **warning** the chair can override:
| Rule | What It Checks | Effect |
|------|---------------|--------|
| **Self-conflict** | You are listed as an author on the submission | Blocks |
| **Co-author conflict** | You co-authored another submission with one of the authors in the last 3 years | Blocks |
| **Declared conflict** | You manually declared a conflict with one of the authors (see below) | Blocks |
| **Same institution** | You share an institution with one of the authors | Warns — the chair is notified but can still assign you |
The three blocking rules match on **name and email**; the same-institution warning matches on **affiliation** (see [How Matching Works](#how-matching-works)). Some tracks turn blocking off, in which case co-author and declared conflicts appear to the chair as warnings instead — but you are never assigned to your own submission.
**What you can see:**
- Current credit balance
- Credit usage for each action (AI reviews, submissions, etc.)
- Credit purchase history
- Credit expiration dates
## Site Requests
If you need a custom conference site, you can request one for your organization. Learn more about [how to request a conference site](/docs/chairs/request-conference-site).
**What you can do:**
- Submit new site requests
- Track the status of your requests (pending, approved, or rejected)
- View approved sites
- Withdraw pending requests if your request is not approved yet
## Payouts
Finally, you can connect your bank account to receive payouts from conference fees.
---
# Managing Conflicts of Interest
URL: https://paperfox.ai/docs/users/conflicts
Description: Declare and view conflicts of interest to ensure fair review assignments
Your conflict of interest (COI) list ensures you won't be assigned to review submissions from collaborators, advisors, or co-authors.
Go to **Settings** in the sidebar, then click **Conflicts**.
## COI Rules
PaperFox checks these rules when assigning reviewers to submissions. Three **block** the assignment; one is a **warning** the chair can override:
| Rule | What It Checks | Effect |
|------|---------------|--------|
| **Self-conflict** | You are listed as an author on the submission | Blocks |
| **Co-author conflict** | You co-authored another submission with one of the authors in the last 3 years | Blocks |
| **Declared conflict** | You manually declared a conflict with one of the authors (see below) | Blocks |
| **Same institution** | You share an institution with one of the authors | Warns — the chair is notified but can still assign you |
The three blocking rules match on **name and email**; the same-institution warning matches on **affiliation** (see [How Matching Works](#how-matching-works)). Some tracks turn blocking off, in which case co-author and declared conflicts appear to the chair as warnings instead — but you are never assigned to your own submission.
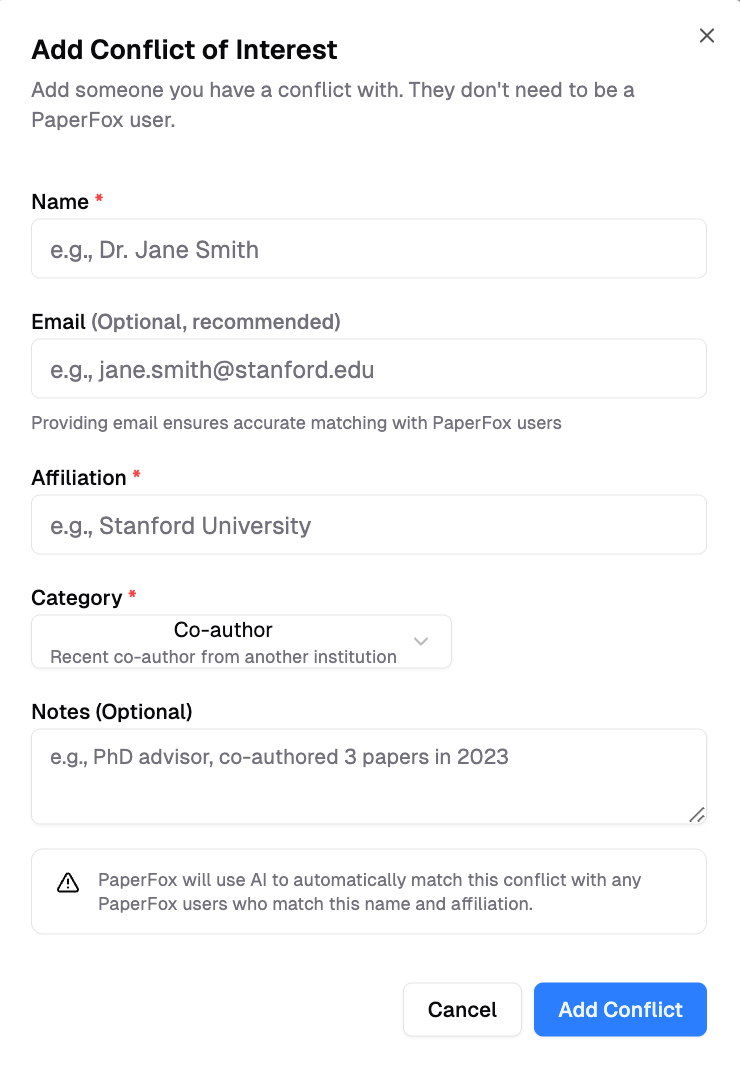 Type a name to search existing PaperFox users. Selecting a user auto-fills their email and affiliation. You can also enter details manually for people not on PaperFox.
## System-Detected Co-author Conflicts
PaperFox automatically identifies your co-authors from submission submissions on the platform. These appear under **System-Detected Conflicts** and update whenever a submission listing you as co-author is submitted.
Type a name to search existing PaperFox users. Selecting a user auto-fills their email and affiliation. You can also enter details manually for people not on PaperFox.
## System-Detected Co-author Conflicts
PaperFox automatically identifies your co-authors from submission submissions on the platform. These appear under **System-Detected Conflicts** and update whenever a submission listing you as co-author is submitted.
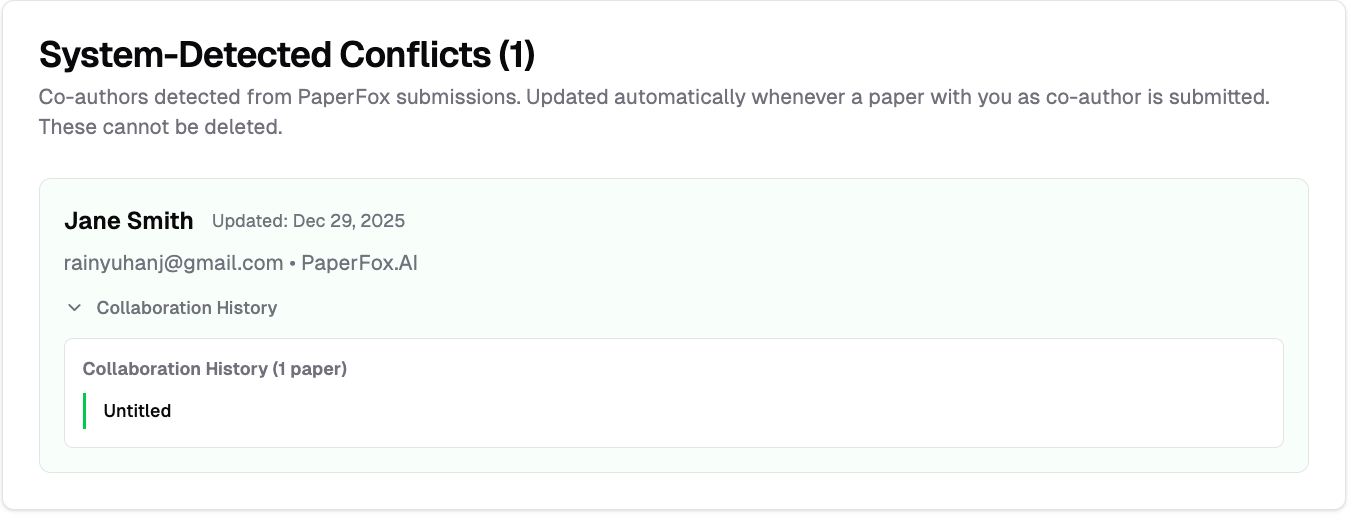 System-detected conflicts show the co-author's name, email, and affiliation. Click **Collaboration History** to see which submissions you co-authored together.
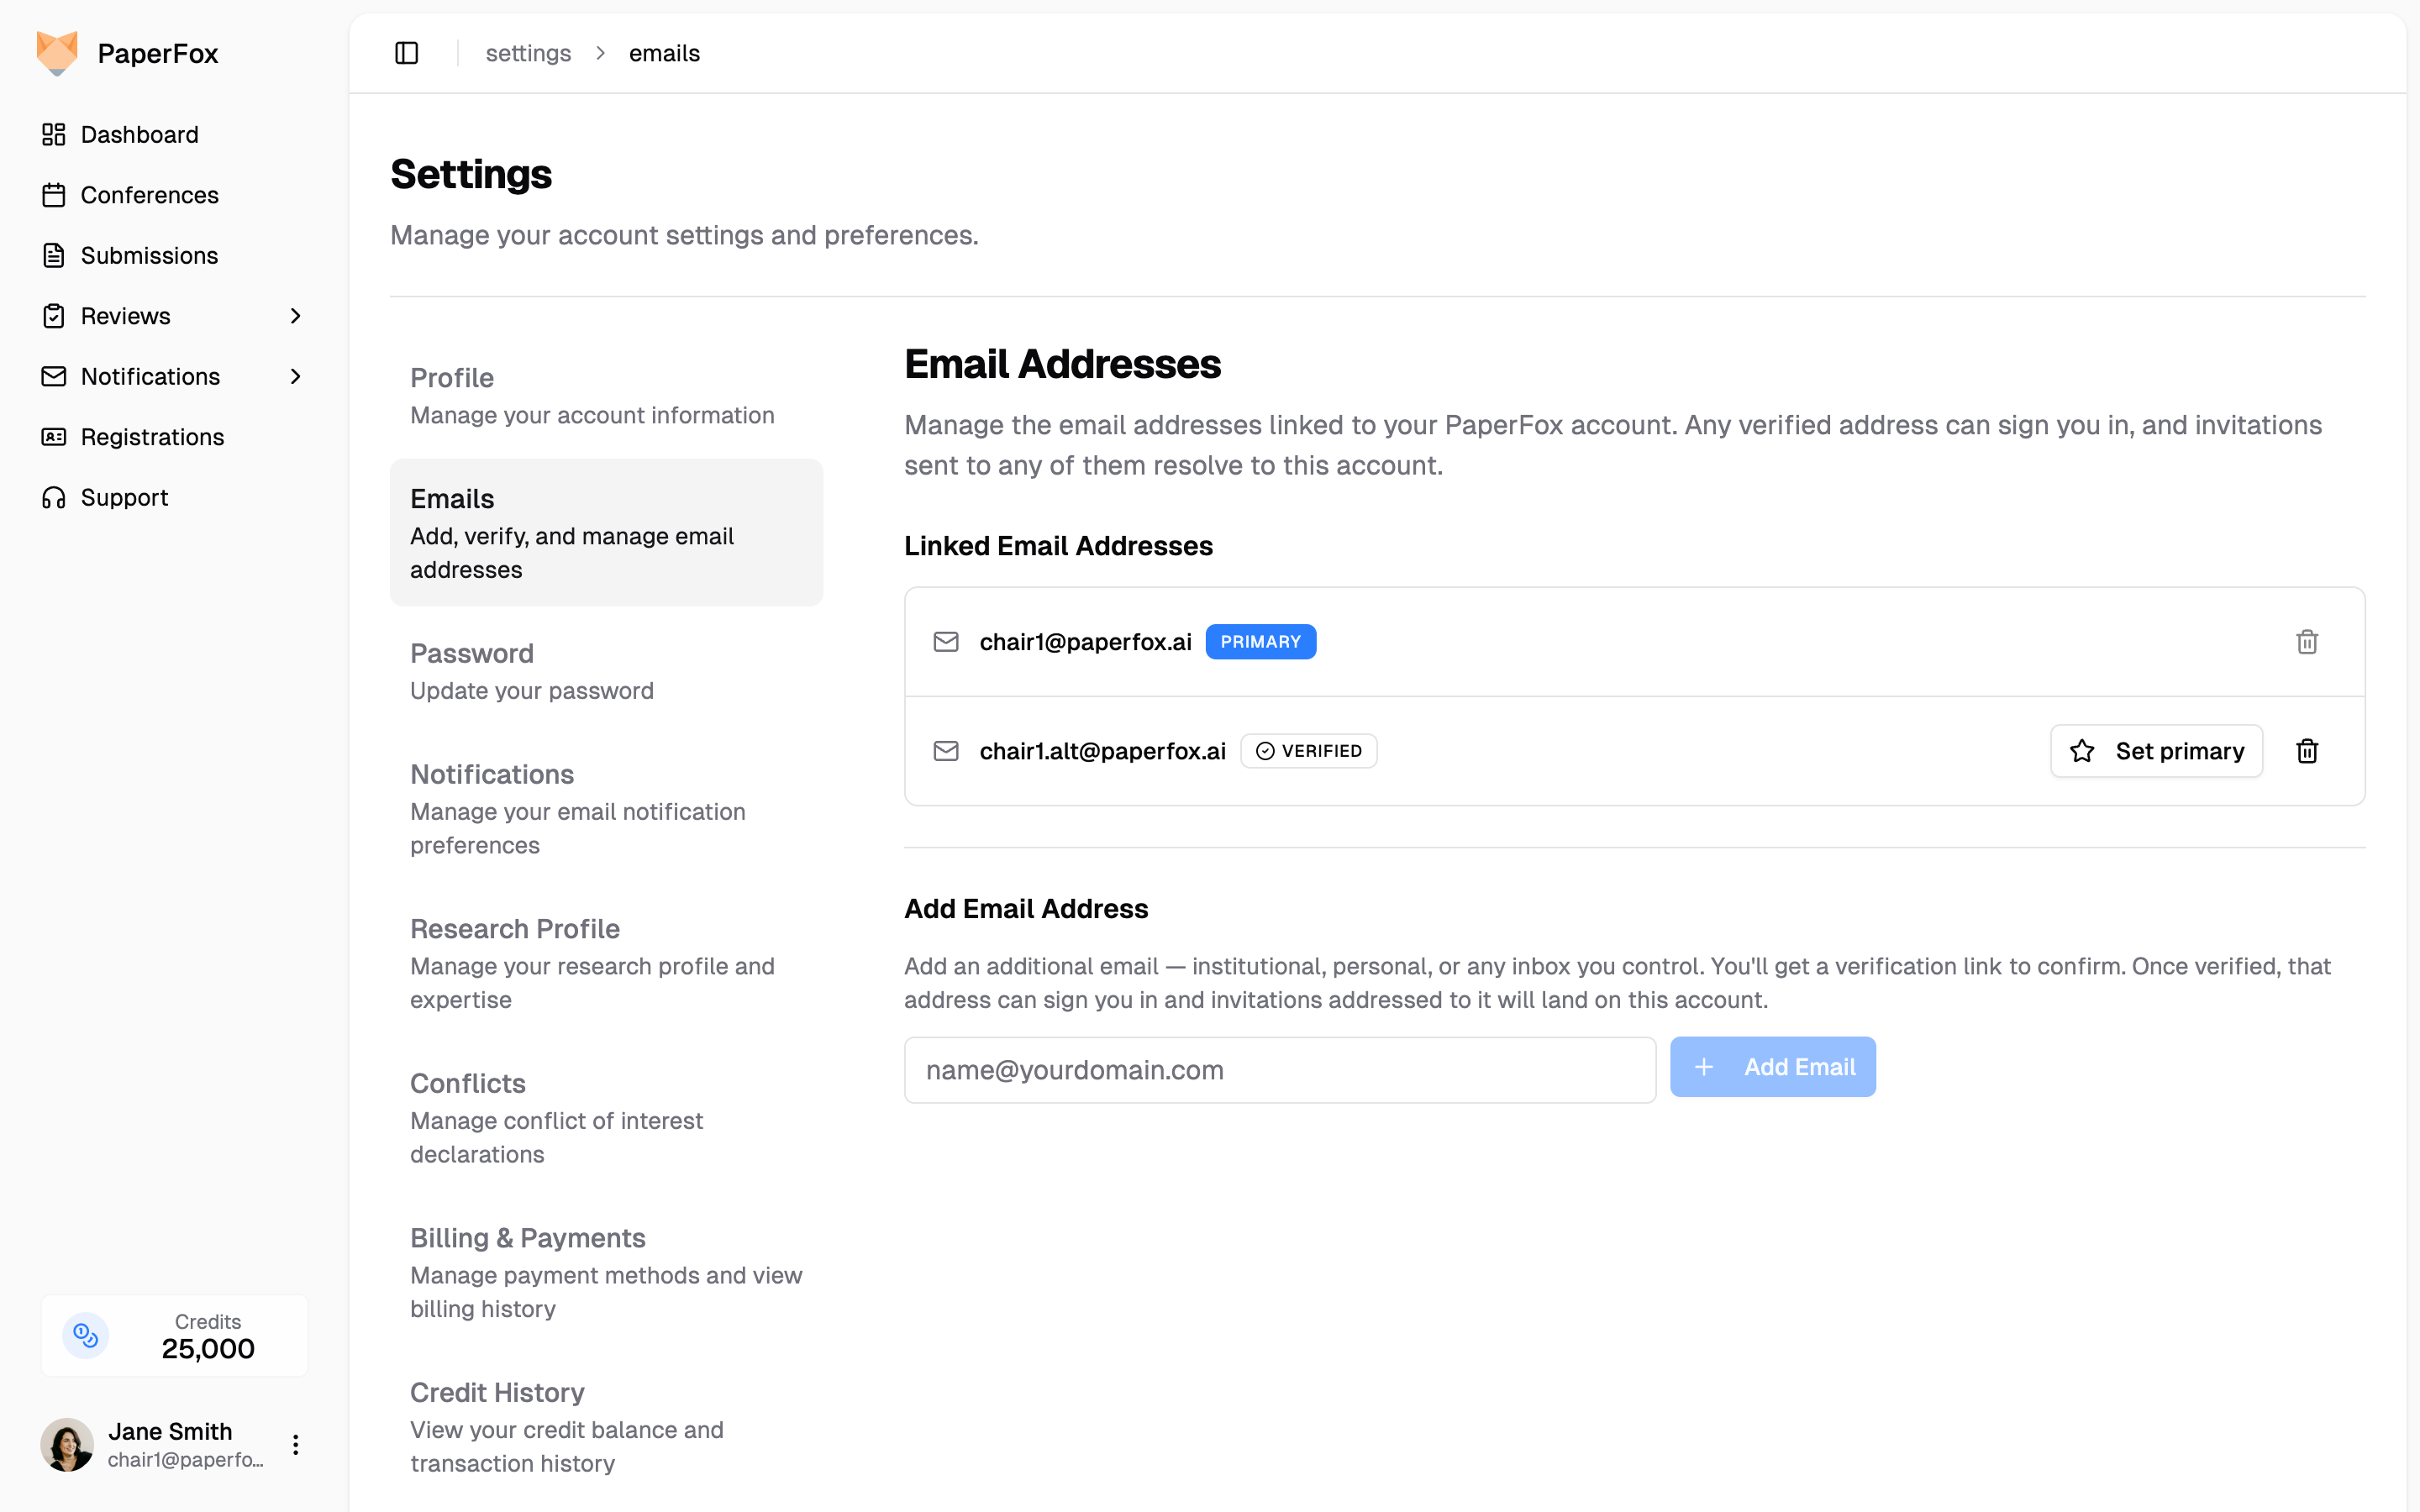 ## When You'd Want More Than One Email
- **Institutional + personal.** You sign up with your university email, but a colleague invites you to review under your gmail. Add both — either lands on this account.
- **Changing institutions.** You're moving from one university to another. Add the new address now, and any invitation chairs send under the old address still reaches you while you transition.
- **Multiple roles, multiple inboxes.** You're a chair under one address and a reviewer under another. One PaperFox account, two inboxes — no juggling separate logins.
- **You missed an invitation that went to the wrong inbox.** Add that address as an alias, and any future invitation to it (including ones still pending) resolves to this account.
## Adding an Email Address
1. Go to **Settings → Emails**
2. Type the new address into the **Add Email Address** field
3. Click **"Add Email"** — a verification link is sent to that inbox
The new address appears in your list immediately with a **Pending verification** badge:
## When You'd Want More Than One Email
- **Institutional + personal.** You sign up with your university email, but a colleague invites you to review under your gmail. Add both — either lands on this account.
- **Changing institutions.** You're moving from one university to another. Add the new address now, and any invitation chairs send under the old address still reaches you while you transition.
- **Multiple roles, multiple inboxes.** You're a chair under one address and a reviewer under another. One PaperFox account, two inboxes — no juggling separate logins.
- **You missed an invitation that went to the wrong inbox.** Add that address as an alias, and any future invitation to it (including ones still pending) resolves to this account.
## Adding an Email Address
1. Go to **Settings → Emails**
2. Type the new address into the **Add Email Address** field
3. Click **"Add Email"** — a verification link is sent to that inbox
The new address appears in your list immediately with a **Pending verification** badge:
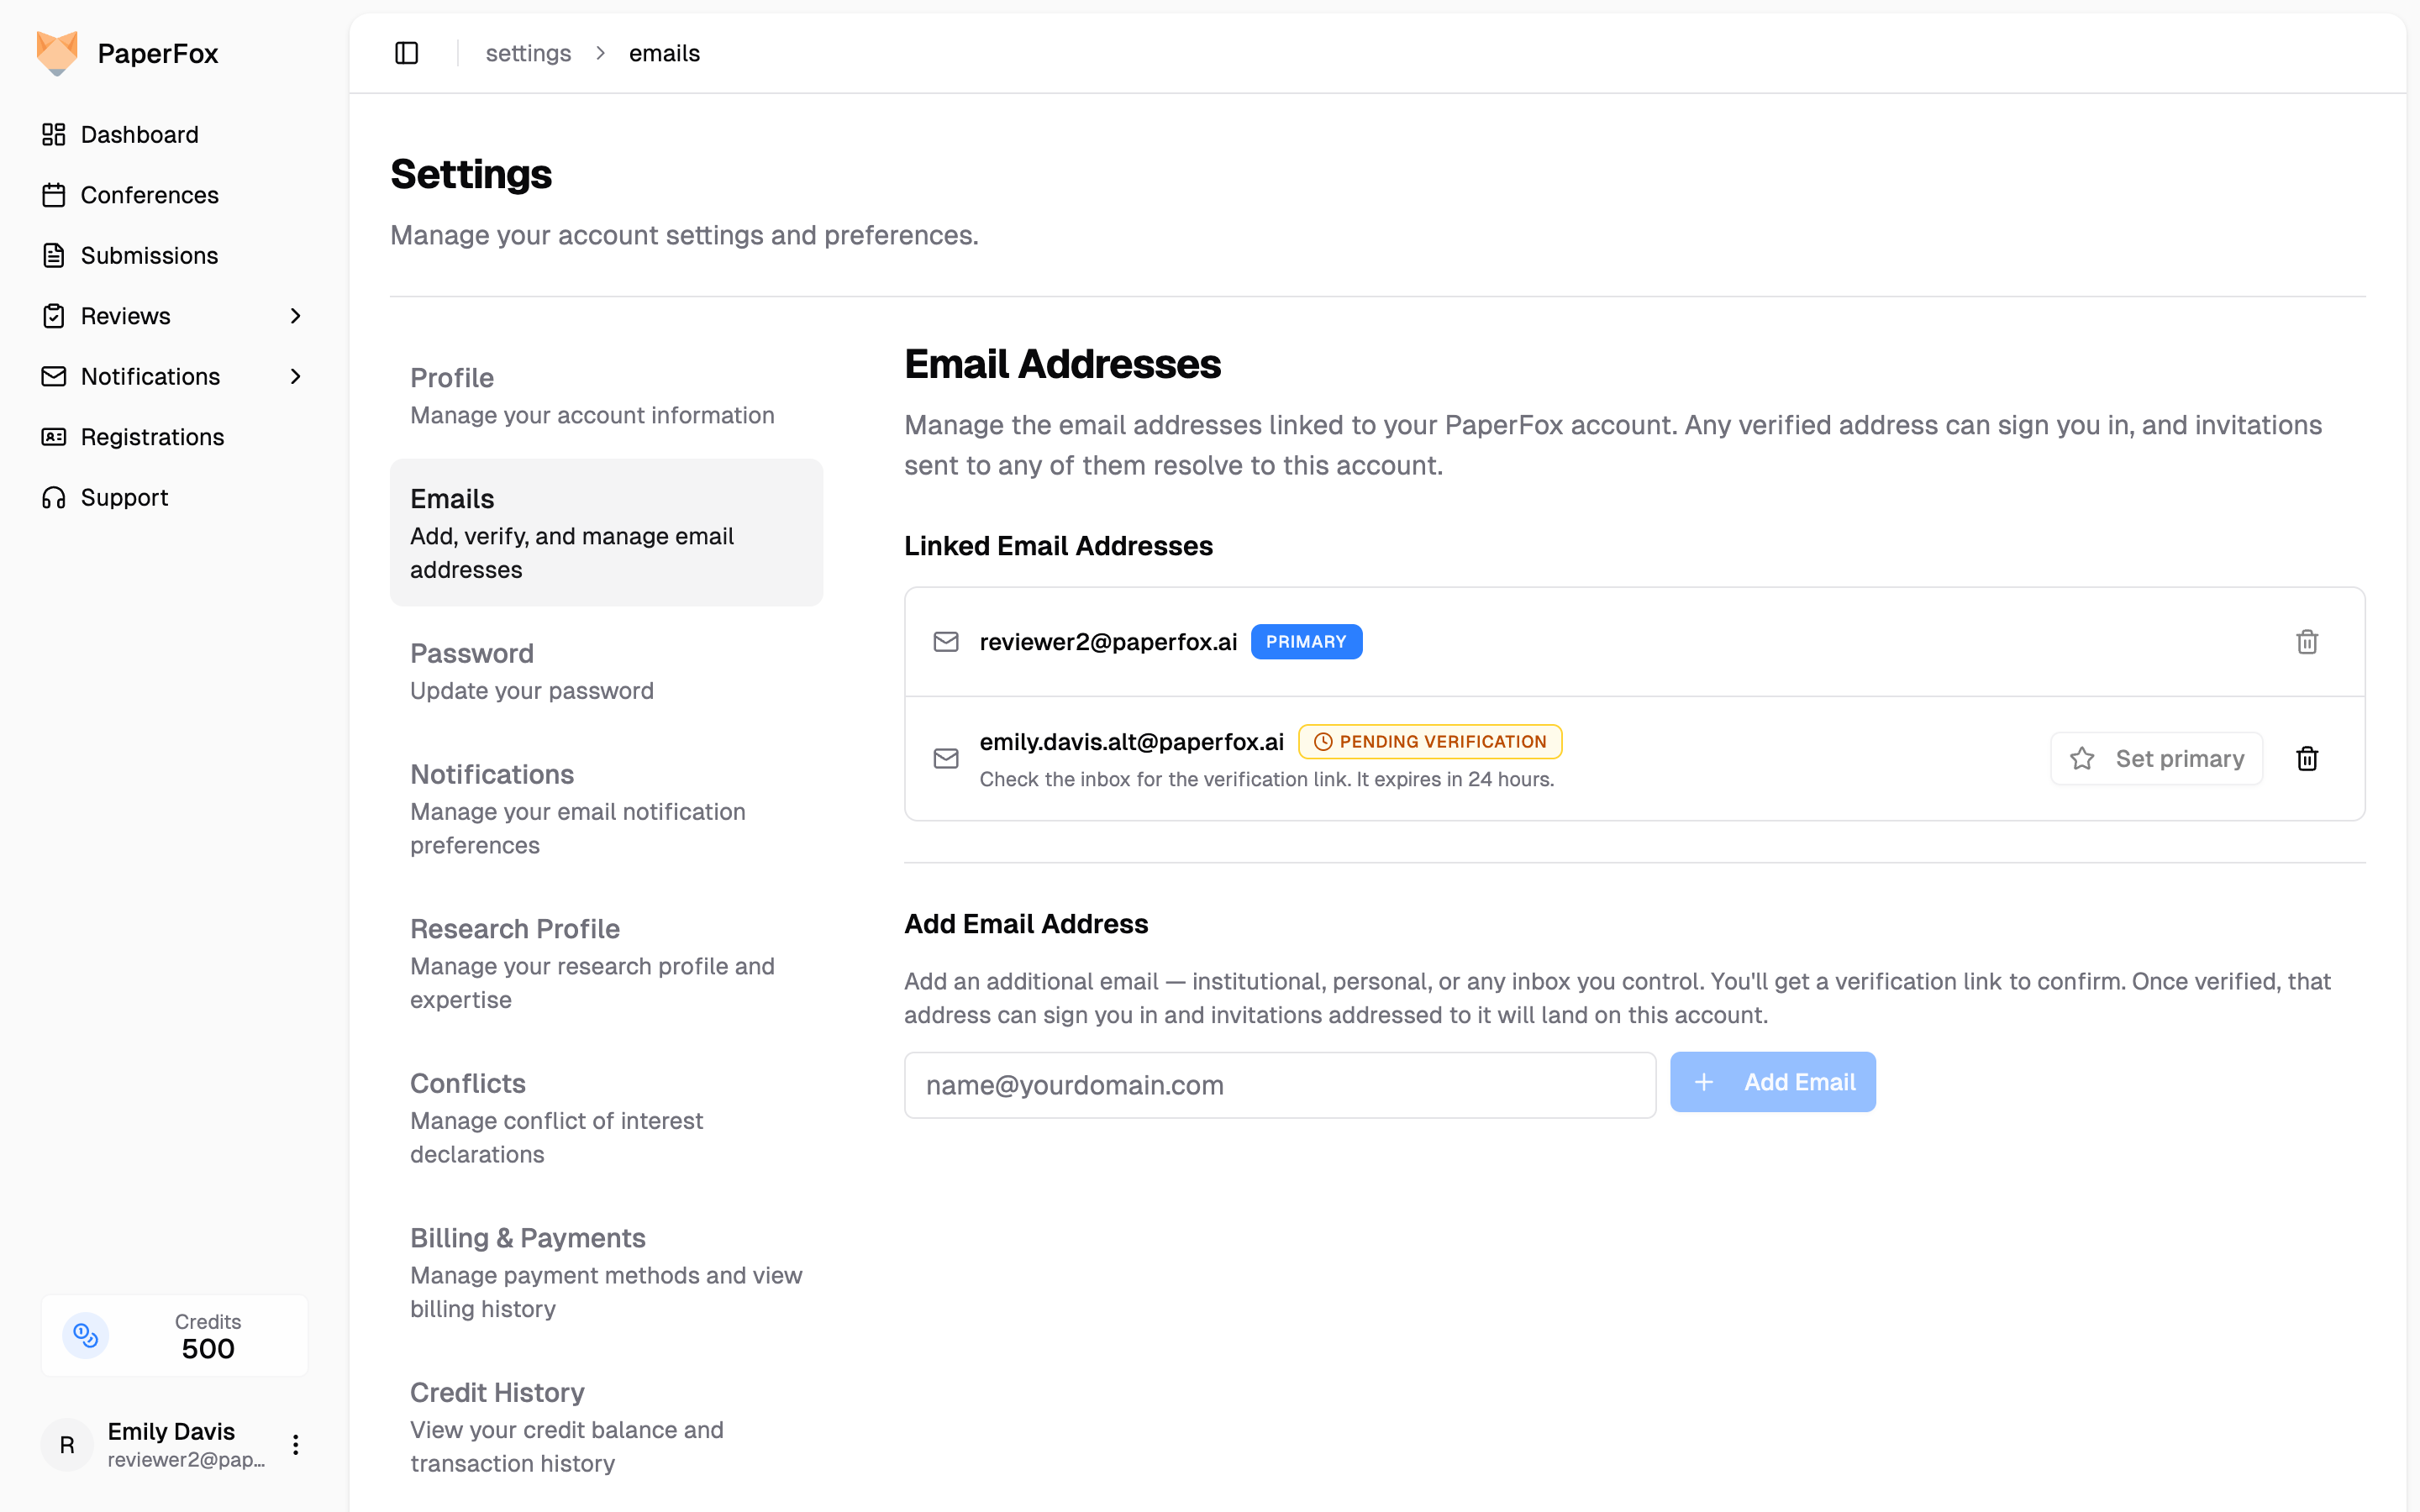 4. Open the verification email from the new inbox and click the link
5. The badge changes to **Verified** — the address can now sign you in
The verification link expires in 24 hours. If it expires, just add the address again from the same page to send a fresh link.
## Signing In with Any Verified Email
Once an address is verified, you can sign in with it on the **Sign In** page using your existing password — no separate account or password to remember. The session shows your **primary** email at the top of the sidebar regardless of which address you used to sign in.
## Invitations Land on Your Account No Matter Which Address
This is the core benefit. When a chair invites you to review, chair, or moderate, they invite by *email*. If they use any of your verified addresses, the invitation appears on your dashboard automatically.
You don't have to tell every chair which address you prefer — add your common addresses once, and PaperFox routes incoming invitations to the right account on its own.
## Setting Your Primary Email
Your **primary** email is the address shown on your profile and where PaperFox sends notifications (review reminders, decision letters, password resets, etc.). To switch:
1. Verify the address first (add it and click the verification link if you haven't already)
2. Click **"Set primary"** next to the verified address
Your previous primary stays on the account as a **verified secondary** so any pending invitations or co-authorship under that address still resolve to you. Past submissions, reviews, and registrations are unaffected — they're tied to your account, not to a specific address.
4. Open the verification email from the new inbox and click the link
5. The badge changes to **Verified** — the address can now sign you in
The verification link expires in 24 hours. If it expires, just add the address again from the same page to send a fresh link.
## Signing In with Any Verified Email
Once an address is verified, you can sign in with it on the **Sign In** page using your existing password — no separate account or password to remember. The session shows your **primary** email at the top of the sidebar regardless of which address you used to sign in.
## Invitations Land on Your Account No Matter Which Address
This is the core benefit. When a chair invites you to review, chair, or moderate, they invite by *email*. If they use any of your verified addresses, the invitation appears on your dashboard automatically.
You don't have to tell every chair which address you prefer — add your common addresses once, and PaperFox routes incoming invitations to the right account on its own.
## Setting Your Primary Email
Your **primary** email is the address shown on your profile and where PaperFox sends notifications (review reminders, decision letters, password resets, etc.). To switch:
1. Verify the address first (add it and click the verification link if you haven't already)
2. Click **"Set primary"** next to the verified address
Your previous primary stays on the account as a **verified secondary** so any pending invitations or co-authorship under that address still resolve to you. Past submissions, reviews, and registrations are unaffected — they're tied to your account, not to a specific address.
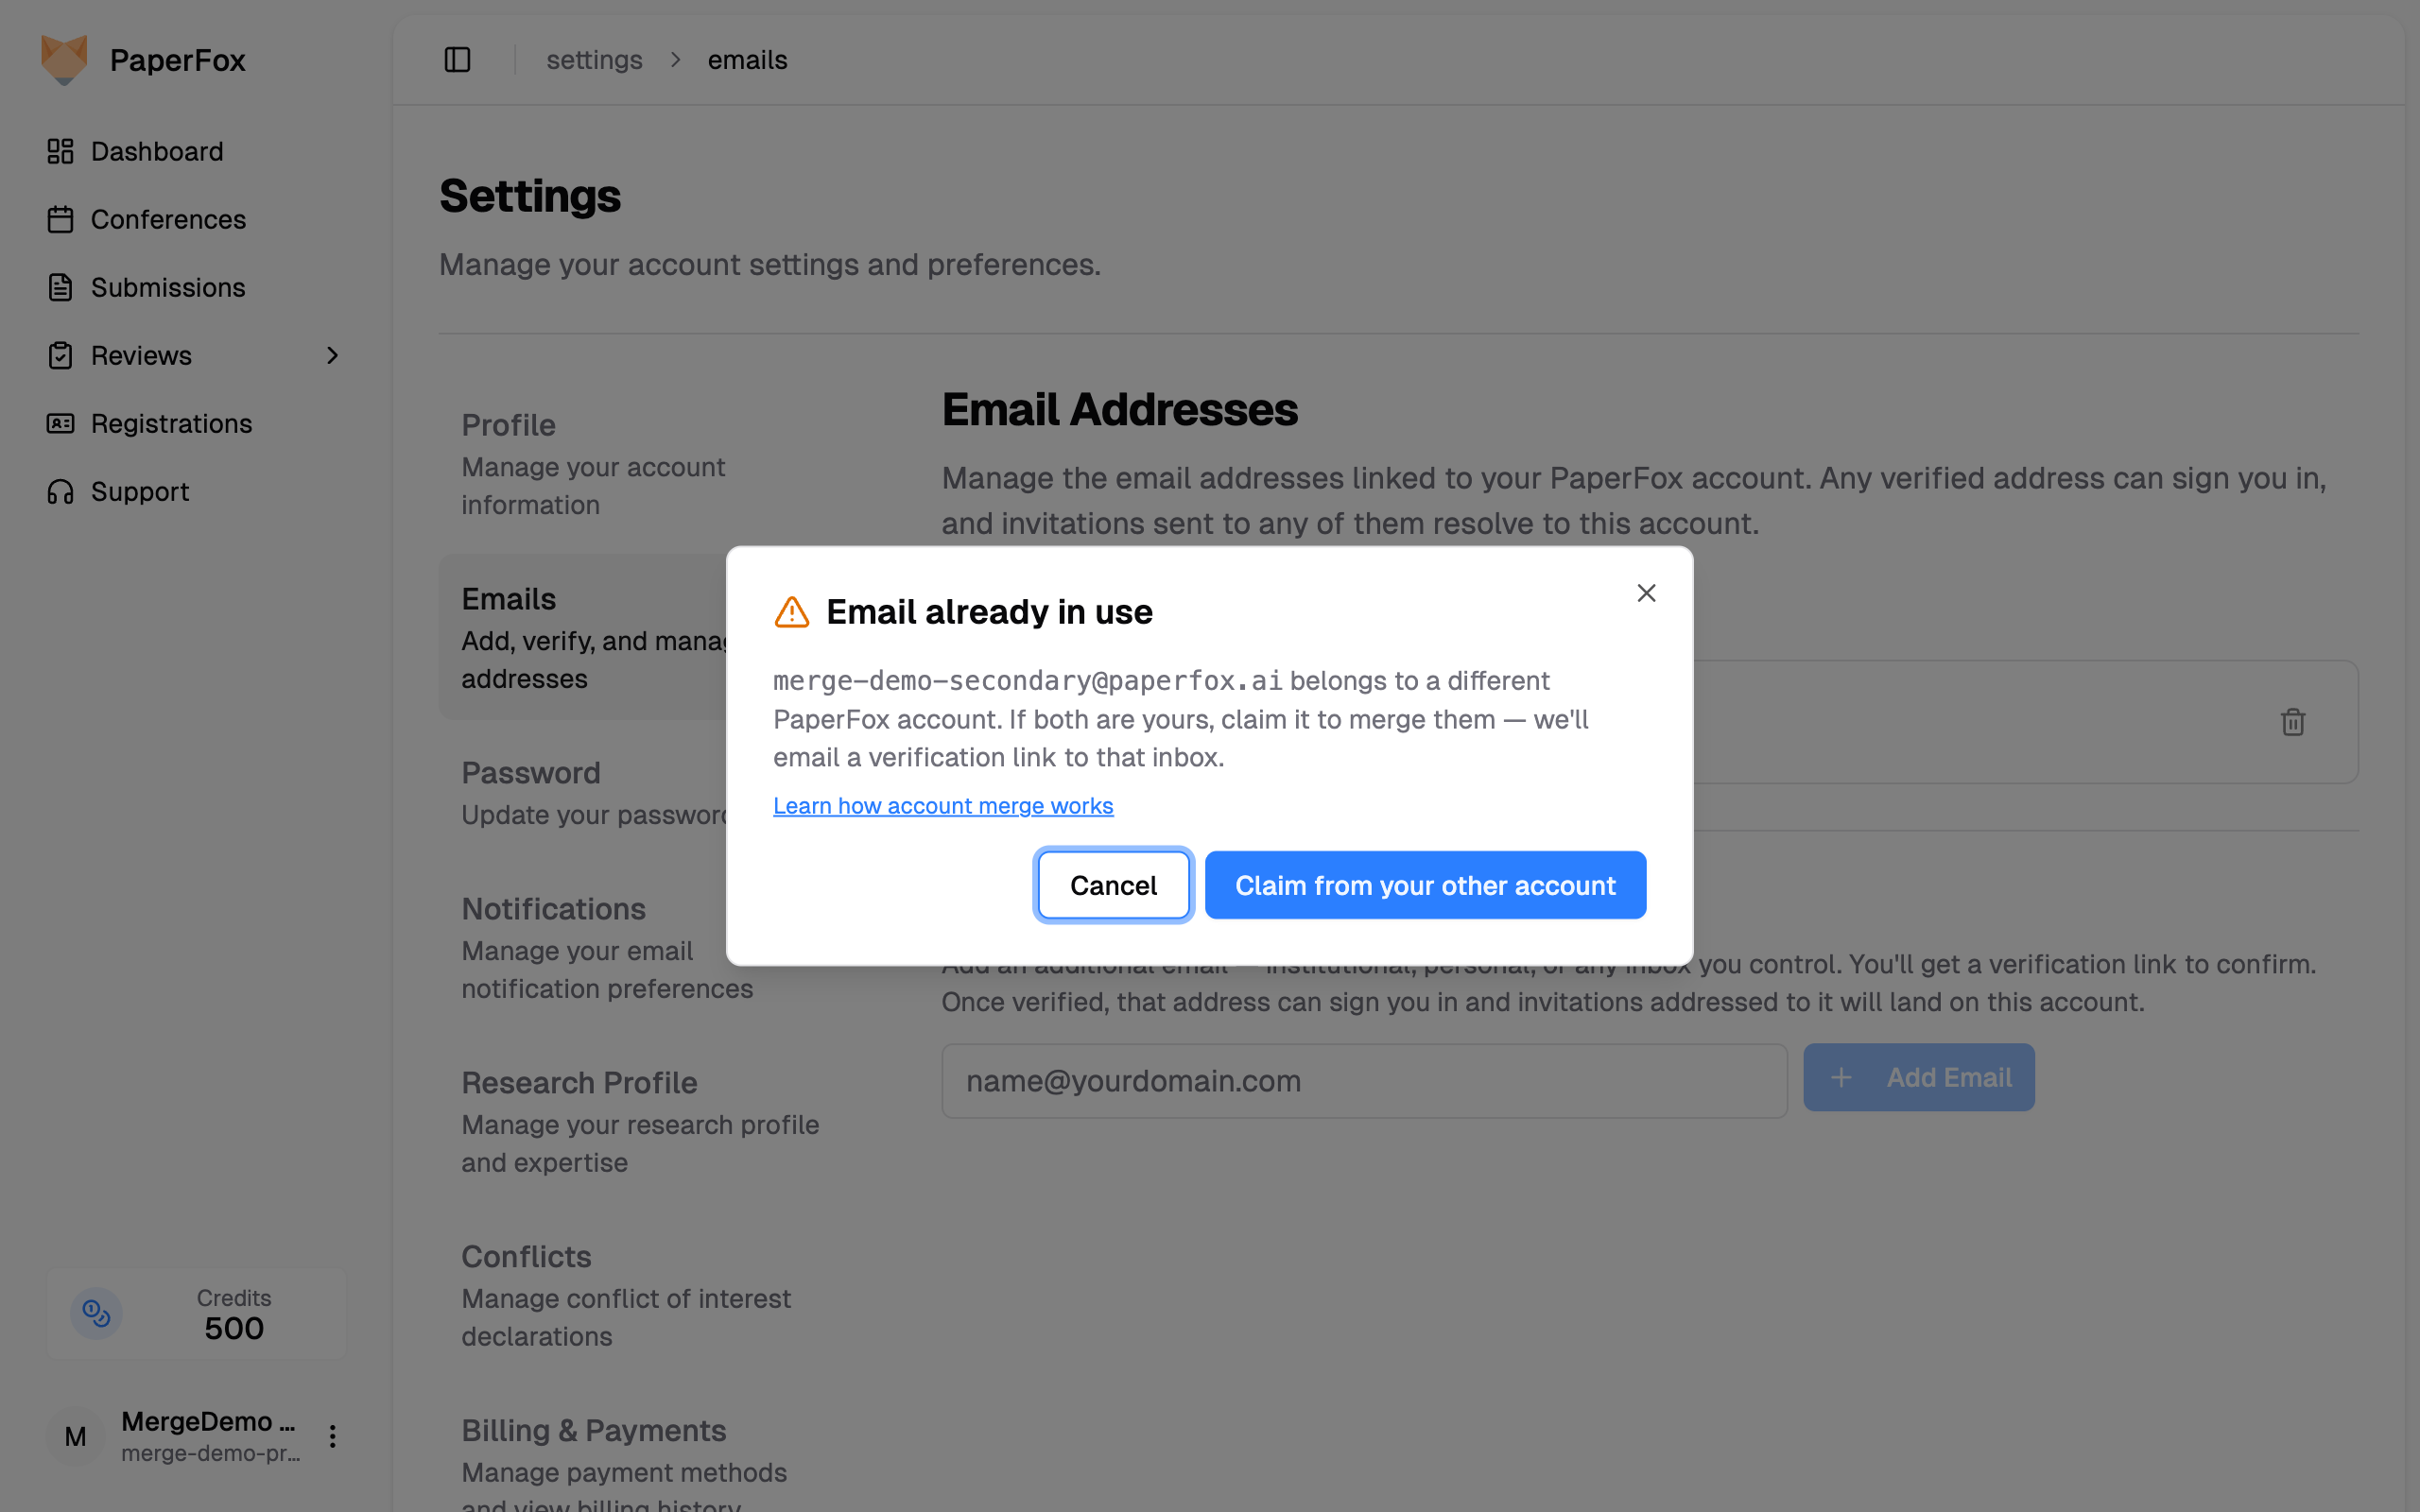 A verification email goes to the other address, and clicking the link in that inbox brings you to a confirmation page summarizing what will move:
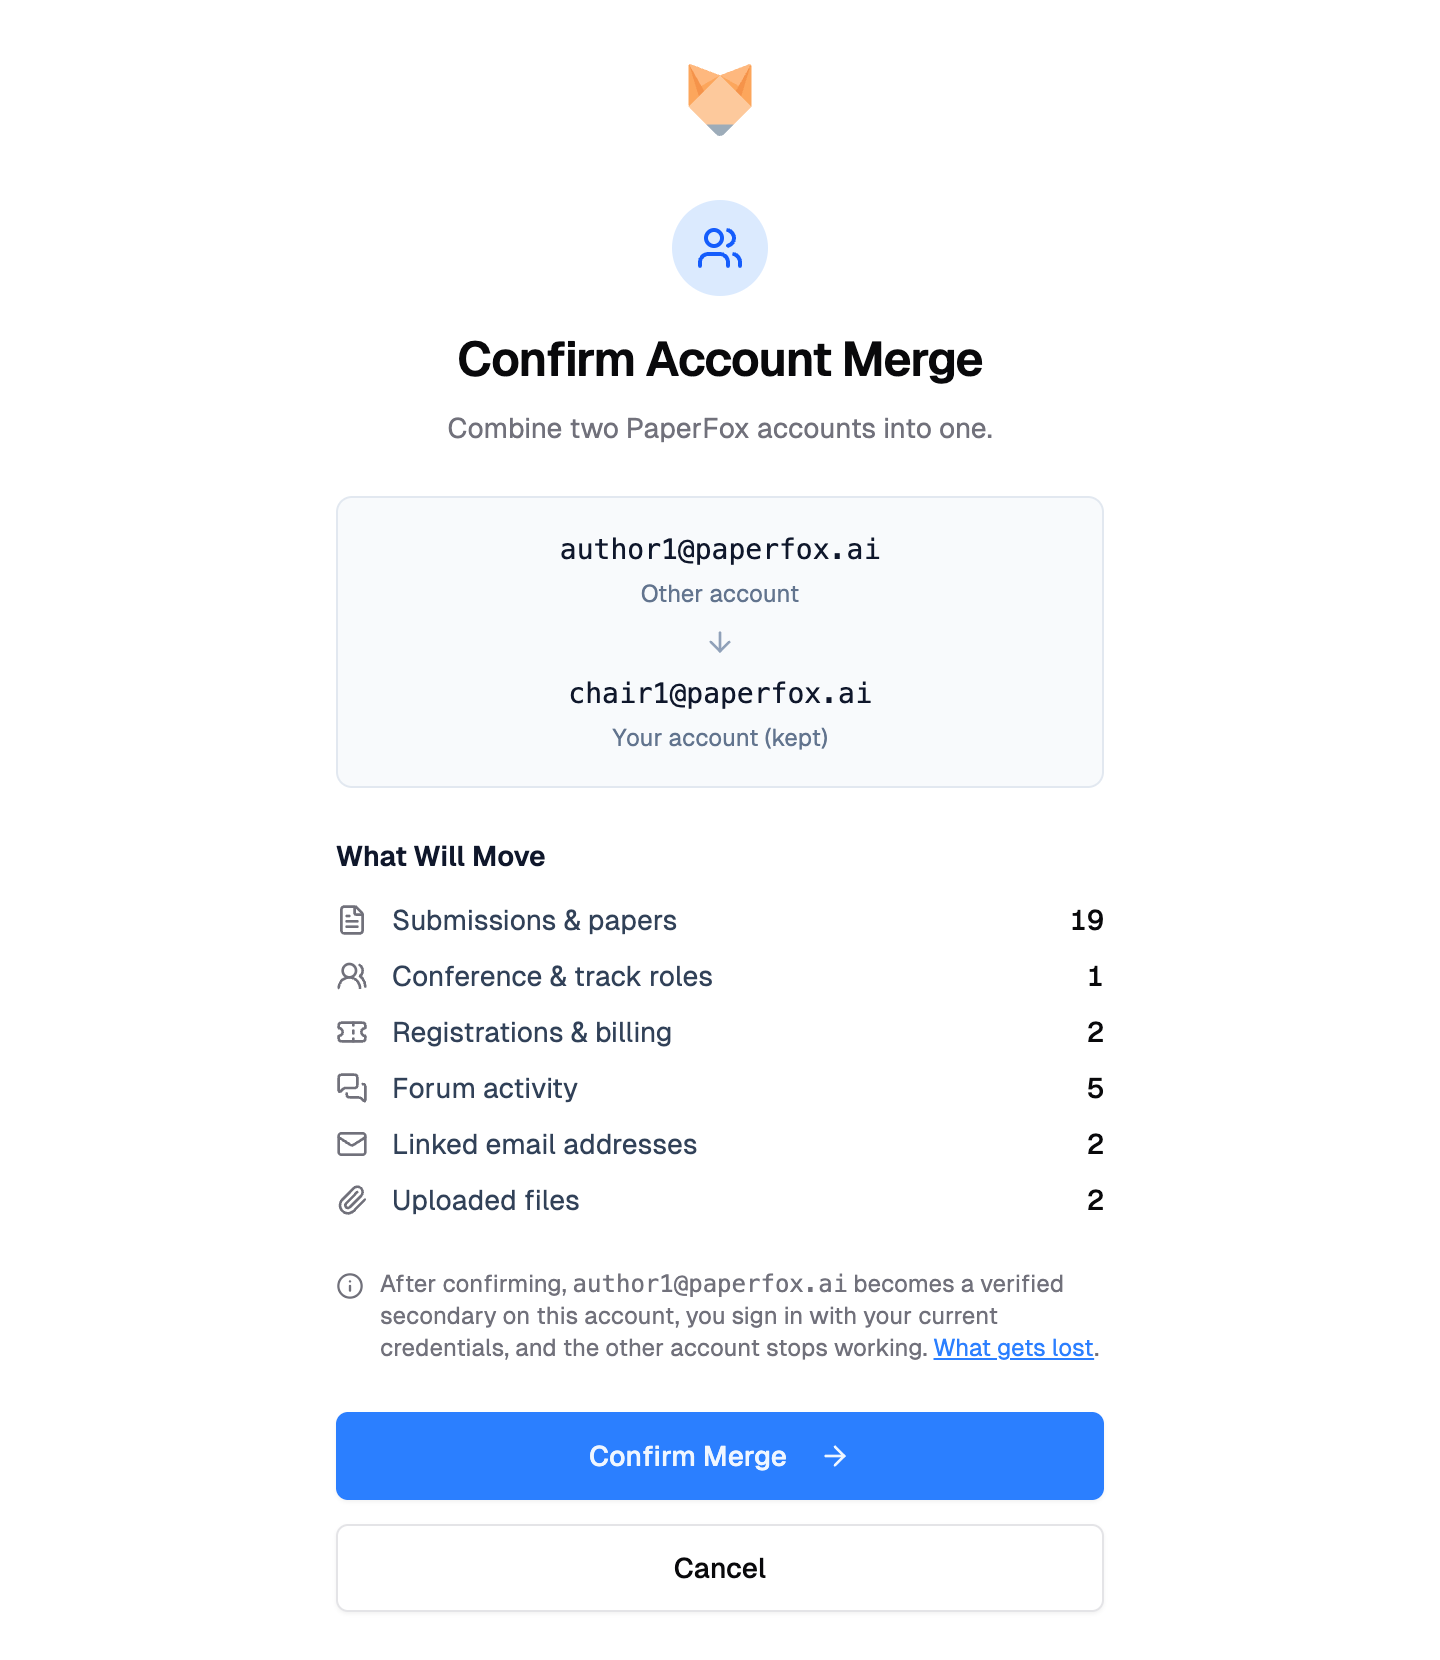 Click **"Confirm merge"** to run the merge — the other account is absorbed into your current one and its address is added as a verified secondary.
### What Moves to the Surviving Account
All of the absorbed account's PaperFox history follows you to the surviving account:
- Submissions you authored or submitted
- Reviews you wrote (and their version history)
- Conference, track, reviewer, AE, and SE memberships
- Registrations (except where they conflict — see below)
- Pending and accepted invitations
- Activity log entries and audit trail
- AI conversations and credit-history transactions
- All verified email addresses (added to the surviving account as aliases)
After the merge, the surviving account is your only account. You sign in with its credentials, and the absorbed account's addresses continue to receive new invitations on your behalf — same multi-email behavior as if you had added them as aliases all along.
### What Doesn't Carry Over
A few things from the absorbed account are dropped — the surviving account's versions are the canonical ones:
- **Profile fields** — name, affiliation, country, image. The surviving account's profile stays as-is. If you'd rather use the absorbed account's name or affiliation, update your profile after the merge.
- **Password from the absorbed account** — discarded. You sign in to the merged account with the surviving account's password (or magic link).
- **Credit balance from the absorbed account** — credit-history rows move over for audit, but the absorbed account's spendable balance does not add to the survivor's. If this matters, contact support before initiating the merge.
- **Active sessions and social logins on the absorbed account** — anyone signed in there is logged out. Google or other social sign-in bindings on the absorbed account are removed; you'd need to re-link them on the surviving account.
Click **"Confirm merge"** to run the merge — the other account is absorbed into your current one and its address is added as a verified secondary.
### What Moves to the Surviving Account
All of the absorbed account's PaperFox history follows you to the surviving account:
- Submissions you authored or submitted
- Reviews you wrote (and their version history)
- Conference, track, reviewer, AE, and SE memberships
- Registrations (except where they conflict — see below)
- Pending and accepted invitations
- Activity log entries and audit trail
- AI conversations and credit-history transactions
- All verified email addresses (added to the surviving account as aliases)
After the merge, the surviving account is your only account. You sign in with its credentials, and the absorbed account's addresses continue to receive new invitations on your behalf — same multi-email behavior as if you had added them as aliases all along.
### What Doesn't Carry Over
A few things from the absorbed account are dropped — the surviving account's versions are the canonical ones:
- **Profile fields** — name, affiliation, country, image. The surviving account's profile stays as-is. If you'd rather use the absorbed account's name or affiliation, update your profile after the merge.
- **Password from the absorbed account** — discarded. You sign in to the merged account with the surviving account's password (or magic link).
- **Credit balance from the absorbed account** — credit-history rows move over for audit, but the absorbed account's spendable balance does not add to the survivor's. If this matters, contact support before initiating the merge.
- **Active sessions and social logins on the absorbed account** — anyone signed in there is logged out. Google or other social sign-in bindings on the absorbed account are removed; you'd need to re-link them on the surviving account.
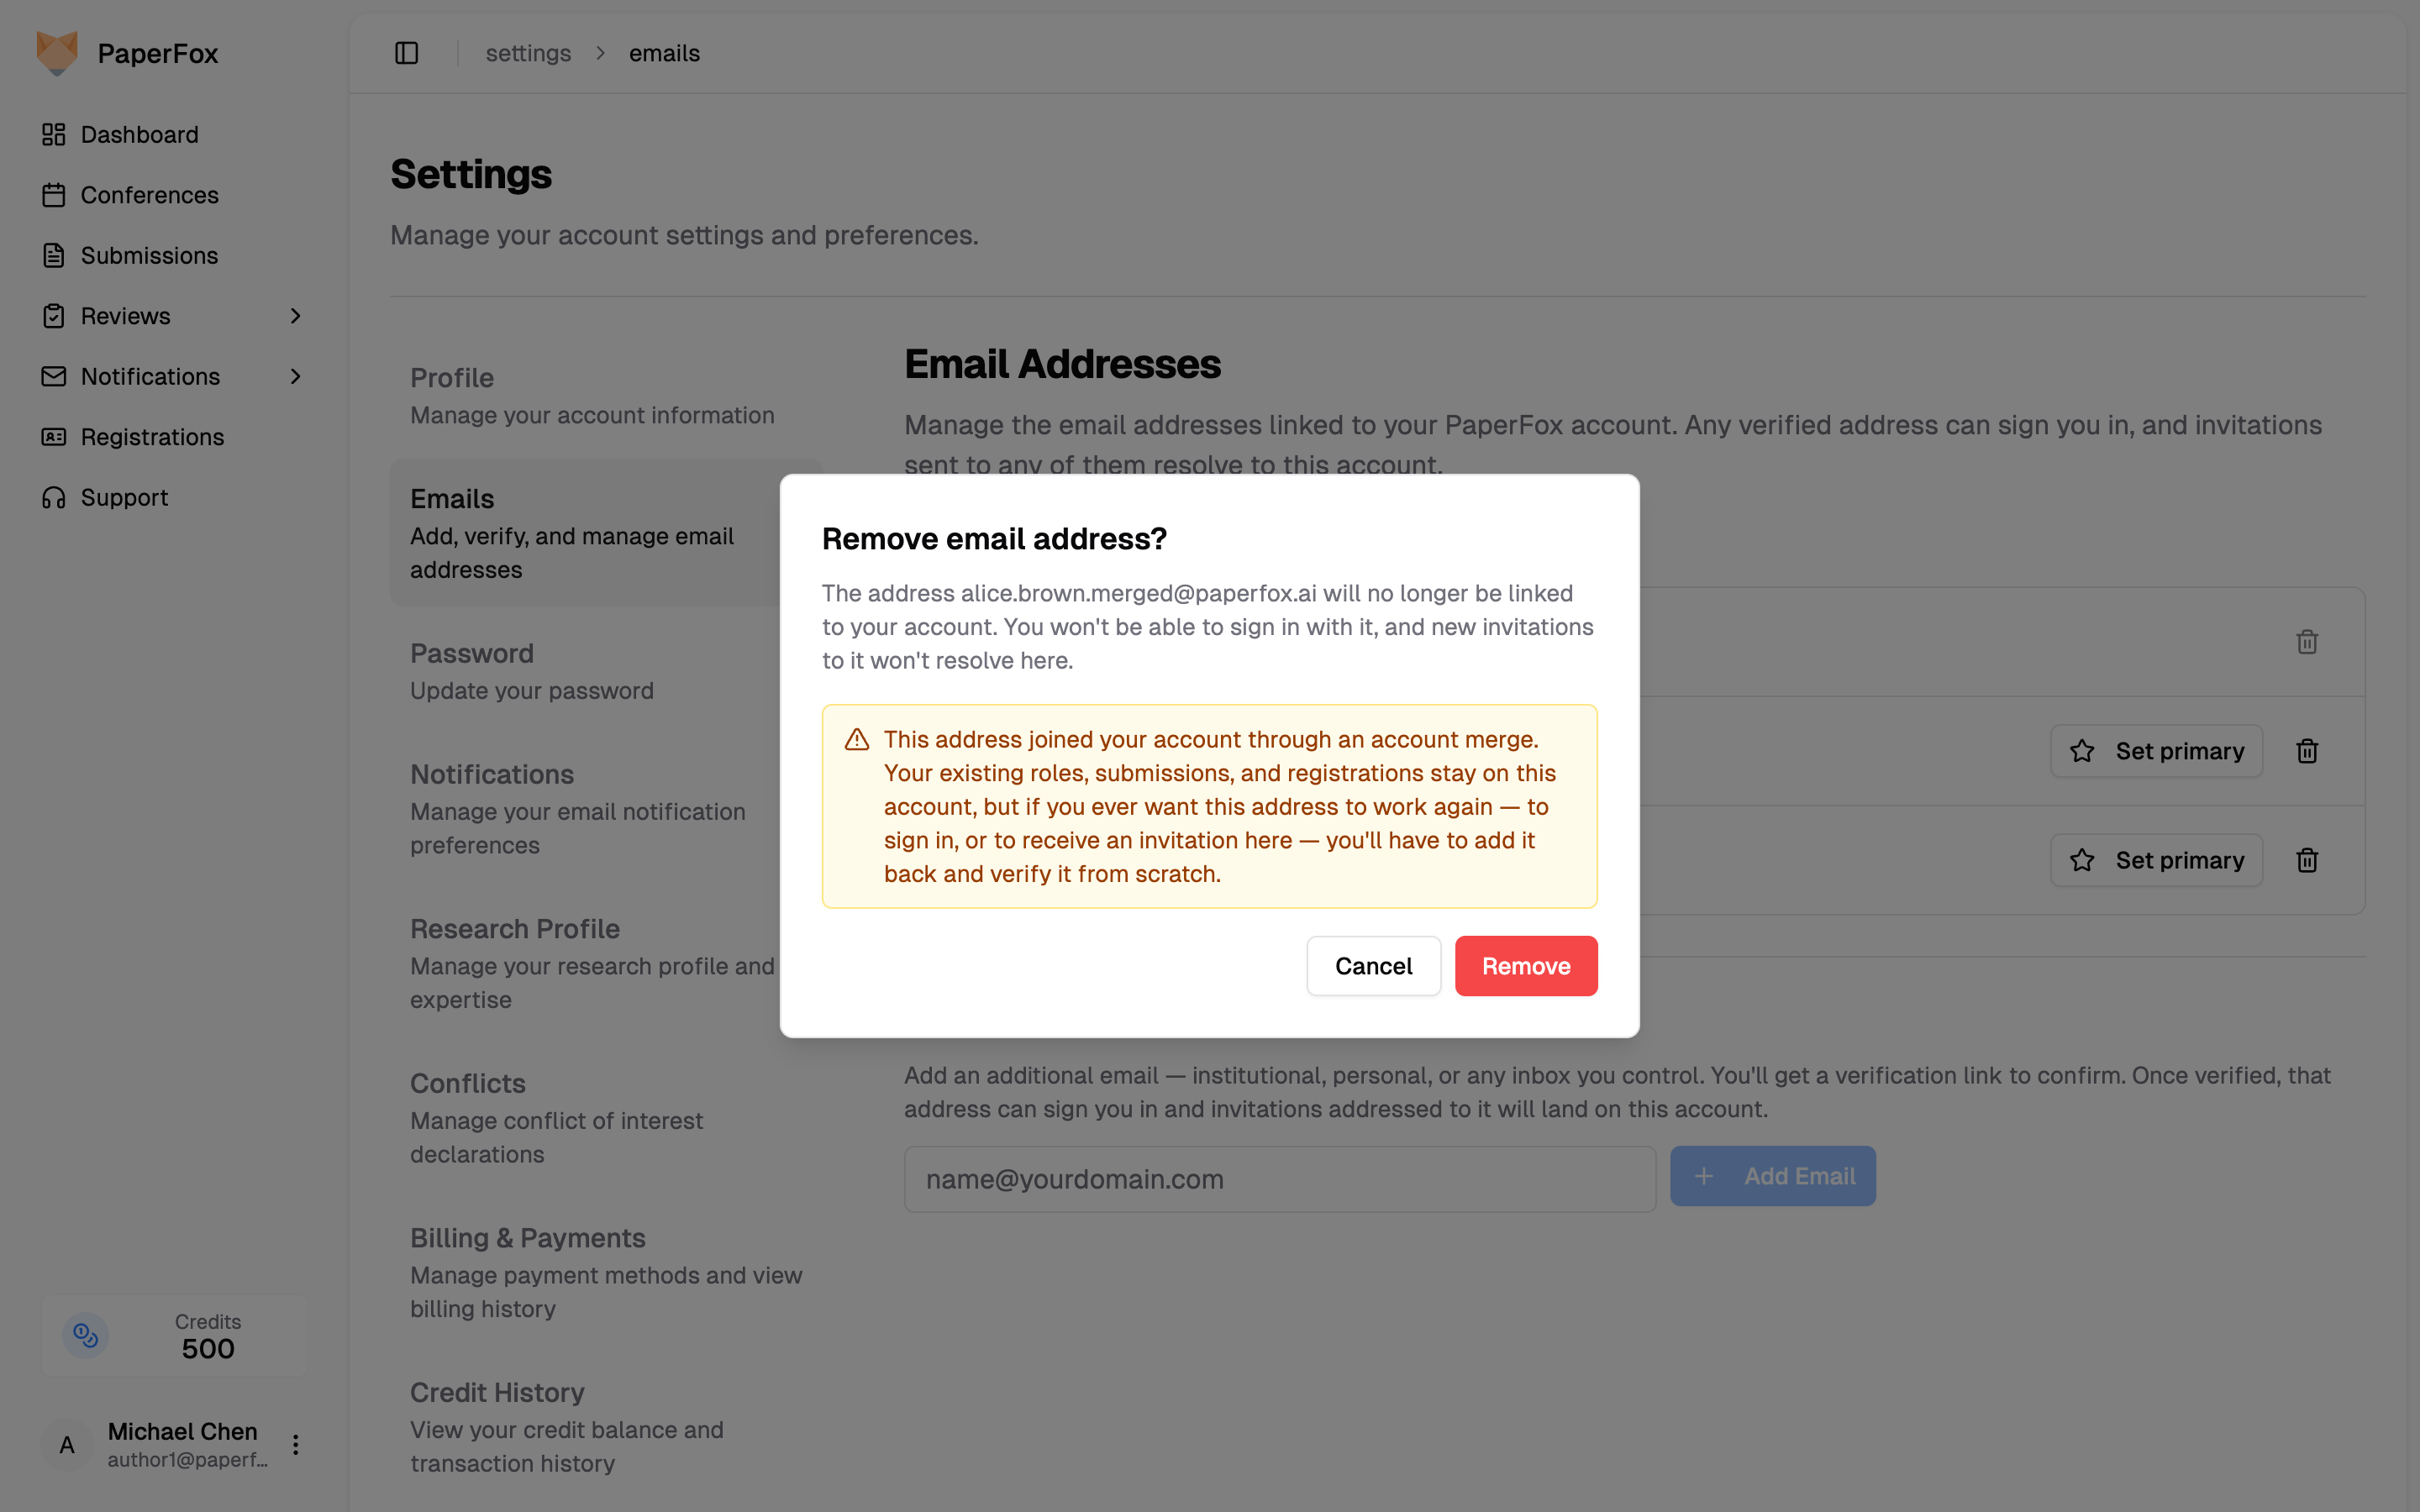 Here's what removal does and doesn't touch:
- **Your history stays put.** Roles, submissions, reviews, and registrations that came over in the merge are tied to your account identity, not to the email — they're unaffected.
- **The address stops working.** You can no longer sign in with it.
- **Future invitations to it won't find you.** Because nothing links the address to your account anymore, an invitation a chair later sends to it won't resolve here — it would spin up a brand-new, separate account, re-splitting the identity you just consolidated.
To use the address again, you'd have to add it back from the **Add Email Address** field and verify it from scratch.
## Privacy and Security
- Only **verified** addresses (those where you clicked the verification link) can sign you in or resolve invitations. An unverified pending address is inert until verified.
- Adding an email sends a verification link only to that new address — your existing inboxes aren't notified.
- We rate-limit verification-email sends to prevent abuse (currently 5 per hour per account).
- If you suspect someone added an email without your permission, sign in and remove it from **Settings → Emails**, then change your password.
---
# Managing Invitations
URL: https://paperfox.ai/docs/users/managing-invitations
Description: Understand being added to a conference role, and how to accept, decline, or remove yourself
## Two Ways You Join a Conference
Organizers can bring you onto a conference in one of two ways, and the email you receive tells you which:
| | **Added directly** | **Invited** |
|---|---|---|
| Email subject | "Added as …" | "… Invitation" |
| Do you have to do anything? | No — your access is already active | Yes — you join only after accepting |
| Buttons in the email | **Go to PaperFox** · **Remove Me from This Role** | **Accept Invitation** · **Decline Invitation** |
Any role can arrive either way — the organizer chooses per person. Direct adds are most common for reviewers, associate editors, and senior editors, usually because a chair already asked you by email and is now entering you into the system. Chair, track chair, and forum moderator roles usually arrive as invitations you accept.
---
## If You Were Added Directly
Here's what removal does and doesn't touch:
- **Your history stays put.** Roles, submissions, reviews, and registrations that came over in the merge are tied to your account identity, not to the email — they're unaffected.
- **The address stops working.** You can no longer sign in with it.
- **Future invitations to it won't find you.** Because nothing links the address to your account anymore, an invitation a chair later sends to it won't resolve here — it would spin up a brand-new, separate account, re-splitting the identity you just consolidated.
To use the address again, you'd have to add it back from the **Add Email Address** field and verify it from scratch.
## Privacy and Security
- Only **verified** addresses (those where you clicked the verification link) can sign you in or resolve invitations. An unverified pending address is inert until verified.
- Adding an email sends a verification link only to that new address — your existing inboxes aren't notified.
- We rate-limit verification-email sends to prevent abuse (currently 5 per hour per account).
- If you suspect someone added an email without your permission, sign in and remove it from **Settings → Emails**, then change your password.
---
# Managing Invitations
URL: https://paperfox.ai/docs/users/managing-invitations
Description: Understand being added to a conference role, and how to accept, decline, or remove yourself
## Two Ways You Join a Conference
Organizers can bring you onto a conference in one of two ways, and the email you receive tells you which:
| | **Added directly** | **Invited** |
|---|---|---|
| Email subject | "Added as …" | "… Invitation" |
| Do you have to do anything? | No — your access is already active | Yes — you join only after accepting |
| Buttons in the email | **Go to PaperFox** · **Remove Me from This Role** | **Accept Invitation** · **Decline Invitation** |
Any role can arrive either way — the organizer chooses per person. Direct adds are most common for reviewers, associate editors, and senior editors, usually because a chair already asked you by email and is now entering you into the system. Chair, track chair, and forum moderator roles usually arrive as invitations you accept.
---
## If You Were Added Directly
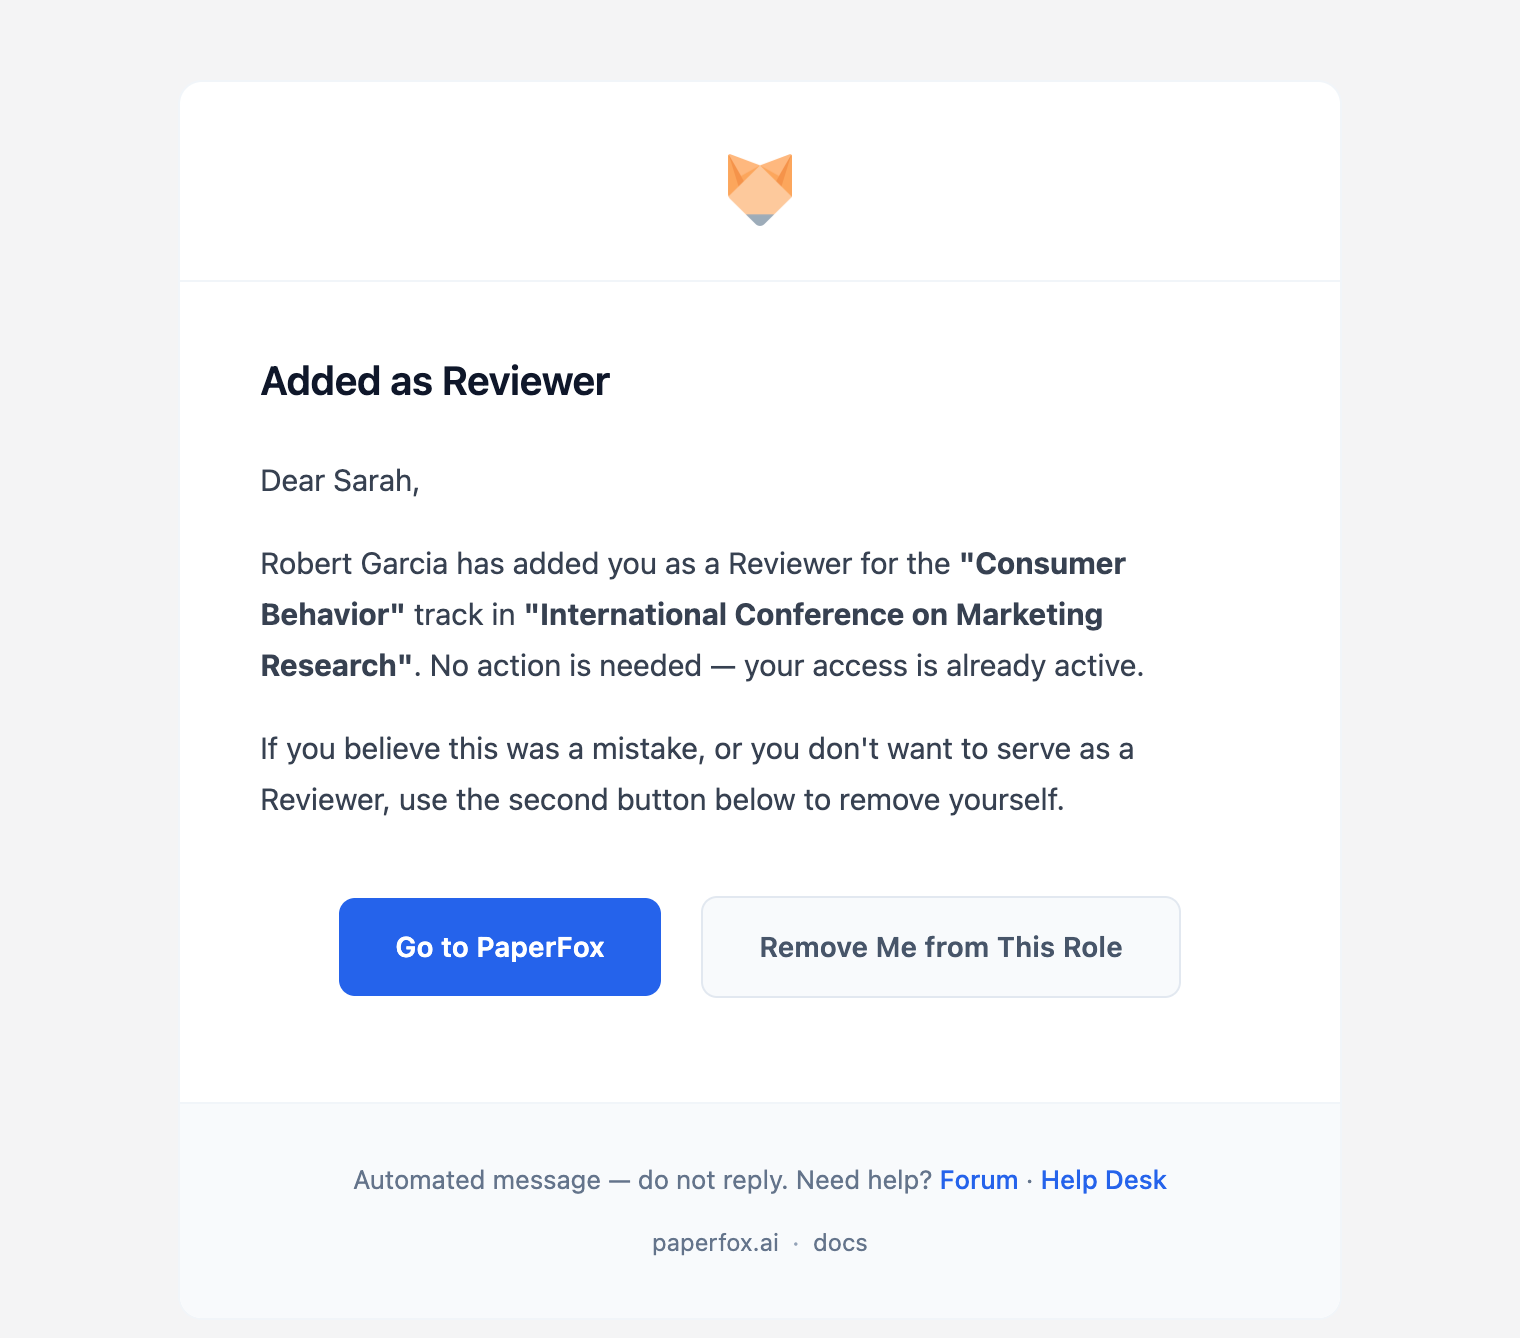 **If you already have a PaperFox account**, nothing is required — the role is live. Sign in and you'll find the conference under **Conferences**, with any review assignments under **Reviews**.
**If the address is new to PaperFox**, the email asks you to create an account first. The link opens this page:
**If you already have a PaperFox account**, nothing is required — the role is live. Sign in and you'll find the conference under **Conferences**, with any review assignments under **Reviews**.
**If the address is new to PaperFox**, the email asks you to create an account first. The link opens this page:
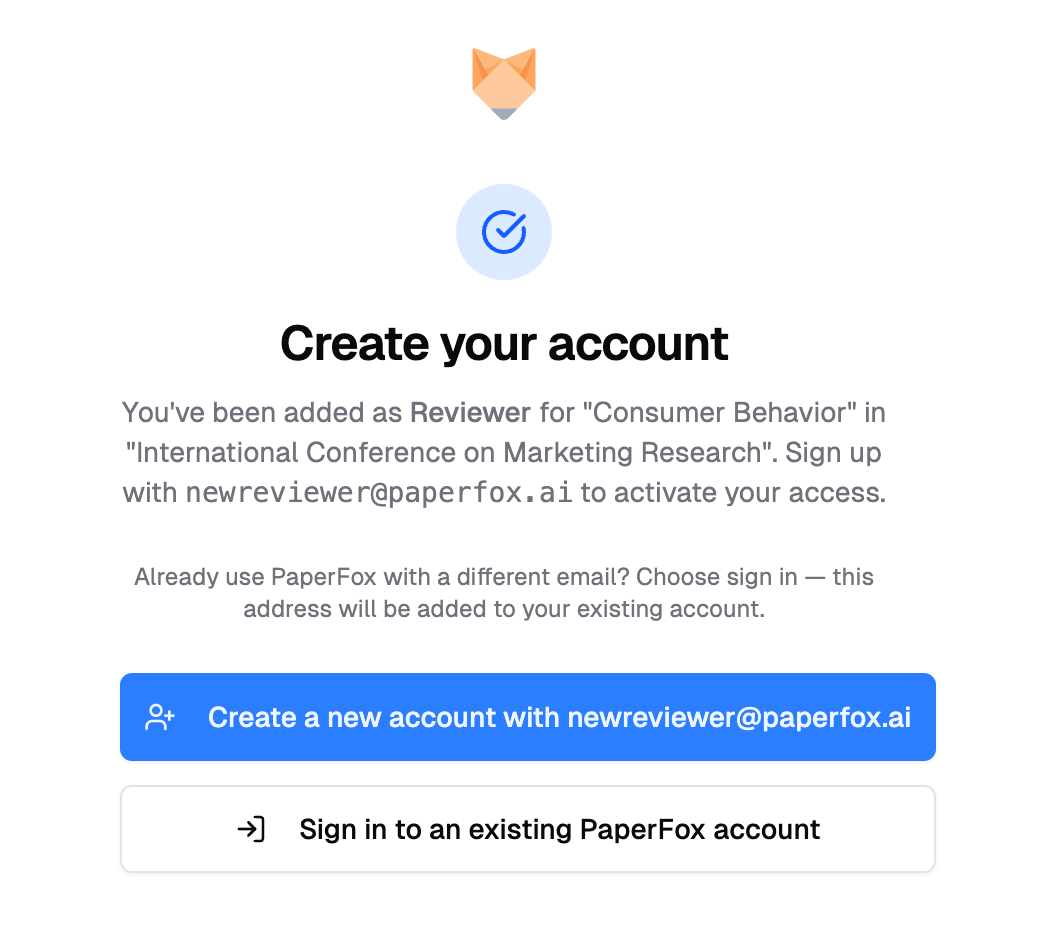 Sign up with the address the organizer used and click the link in the verification email — your role activates the moment the address is verified, with nothing to accept afterwards.
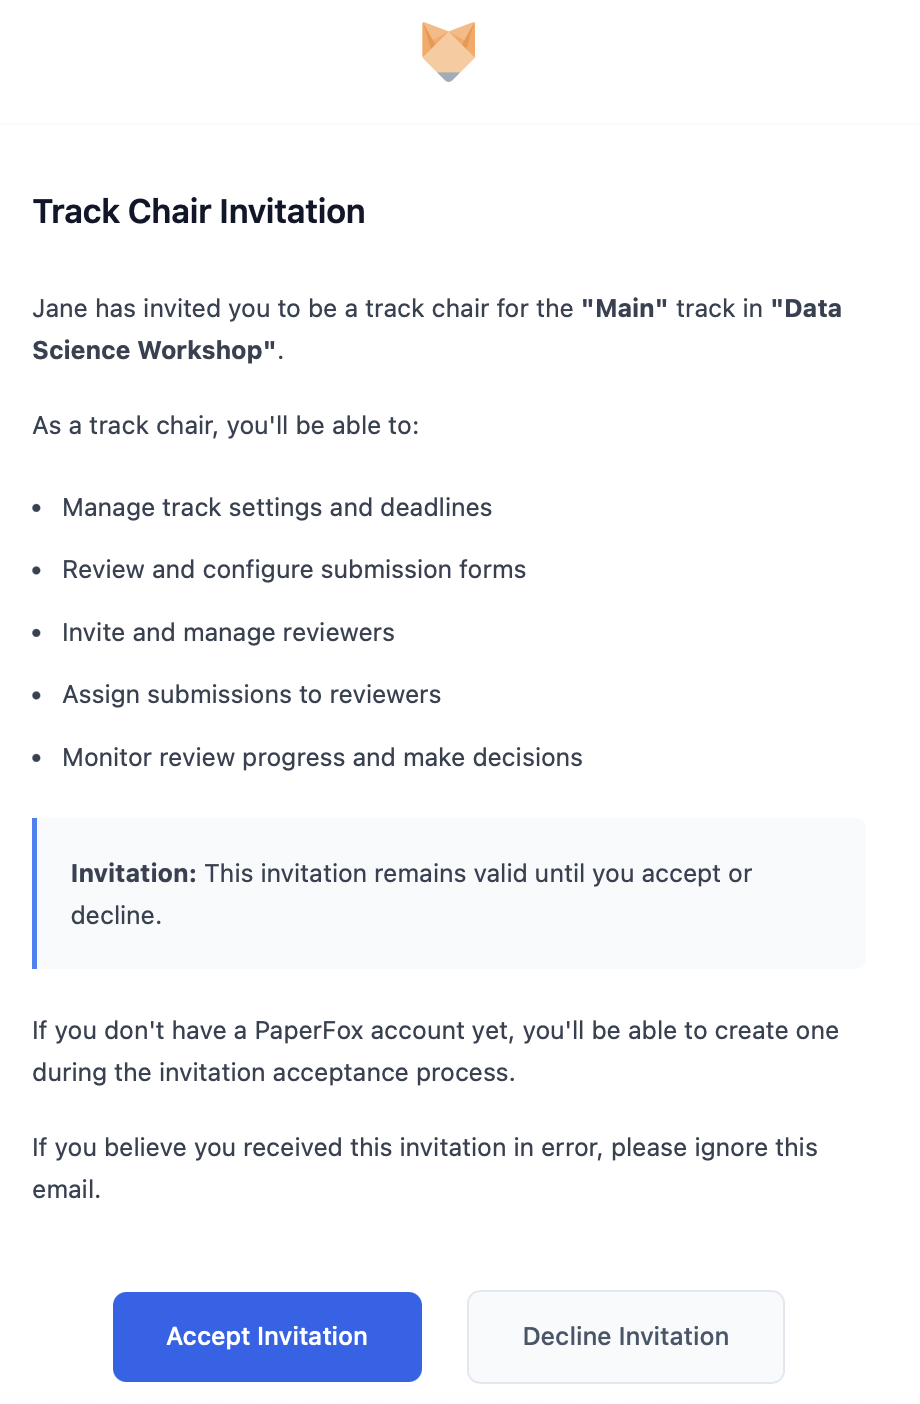 **To accept:** click **"Accept Invitation"**. You'll land on a confirmation page where you sign in first — or create a PaperFox account if you don't have one yet — and then confirm. If you're signed in under a different address than the invitation was sent to, the page offers to attach that address to your current account so you keep a single login.
**To decline:** click **"Decline Invitation"**. The invitation is marked declined and the organizers are notified. No account is created if you don't have one.
**To accept:** click **"Accept Invitation"**. You'll land on a confirmation page where you sign in first — or create a PaperFox account if you don't have one yet — and then confirm. If you're signed in under a different address than the invitation was sent to, the page offers to attach that address to your current account so you keep a single login.
**To decline:** click **"Decline Invitation"**. The invitation is marked declined and the organizers are notified. No account is created if you don't have one.
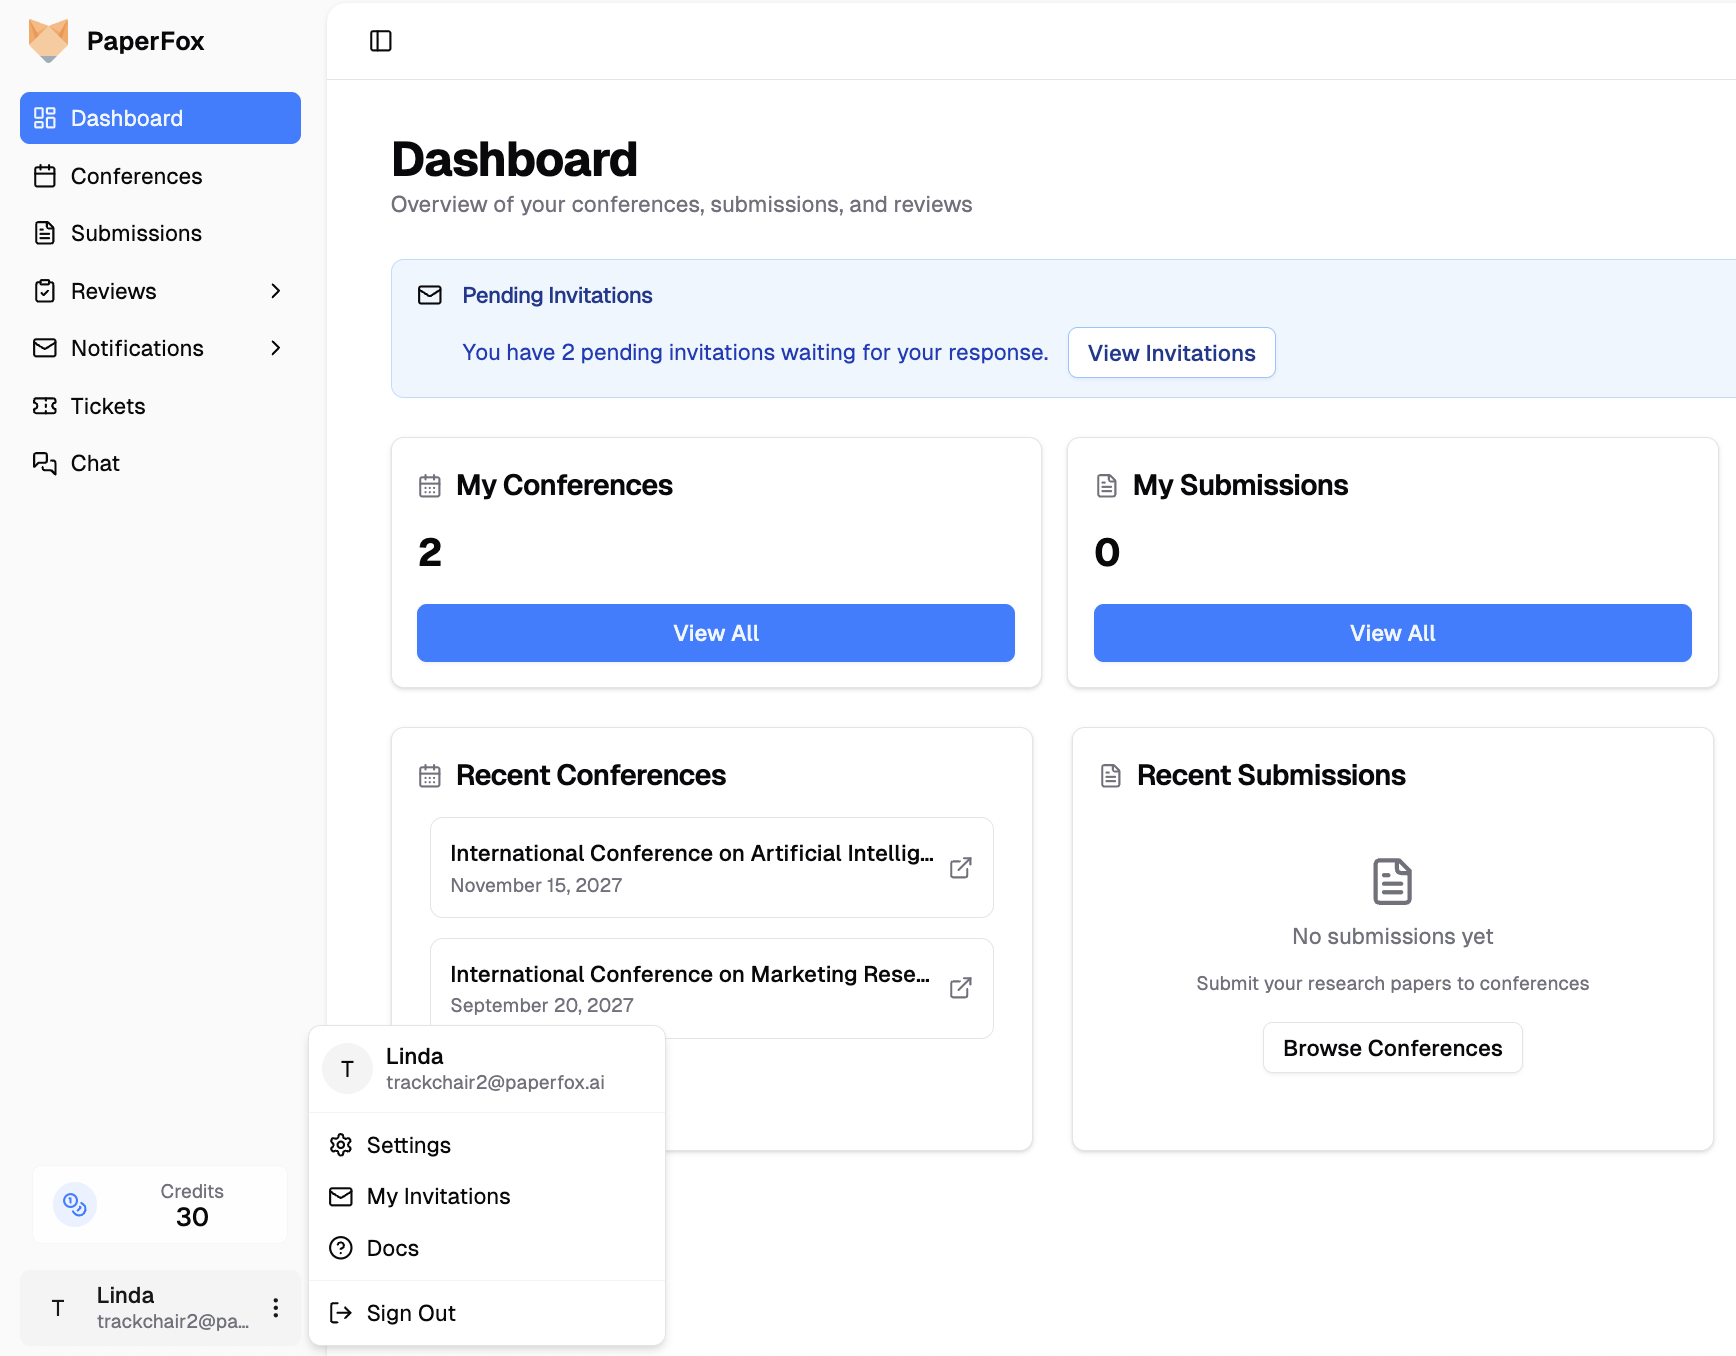 Each card shows the conference, the role, who invited you, and the date. Use **Accept** or **Decline** right there.
Roles you were added to directly don't appear here as pending — there's nothing to respond to. They show under **Accepted** once active.
## Invitation Status
| Status | What it means |
|--------|---------------|
| **Awaiting Response** | An invitation is waiting on your Accept or Decline |
| **Accepted** | You joined the conference in this role (direct adds land here too) |
| **Declined** | You declined, or removed yourself from a role you were added to |
All invitations stay in your history for reference — unless the conference or track itself is deleted, in which case its invitations are removed along with it.
---
# Research Profile
URL: https://paperfox.ai/docs/users/research-profile
Description: Manage your research profile and expertise keywords used for submission-reviewer matching
Your research profile helps track chairs match you with submissions that fit your expertise. It combines three types of keywords to build a complete picture of your research areas.
## How It Works
When you take on a conference role, PaperFox automatically runs **AI Profile Discovery** — it searches the web for your publications (Google Scholar, ORCID, Semantic Scholar, etc.) and extracts expertise keywords. You'll receive an email with the results: what it found the first time, and afterwards what changed, or that nothing did.
All your keywords are combined and used by the [Auto Assign Reviewers](/docs/track-chairs/auto-assign-reviewers) feature to match you with relevant submissions.
## Access Your Research Profile
1. Click your profile icon in the top right corner
2. Select **Settings**
3. Click **Research Profile** in the sidebar
Each card shows the conference, the role, who invited you, and the date. Use **Accept** or **Decline** right there.
Roles you were added to directly don't appear here as pending — there's nothing to respond to. They show under **Accepted** once active.
## Invitation Status
| Status | What it means |
|--------|---------------|
| **Awaiting Response** | An invitation is waiting on your Accept or Decline |
| **Accepted** | You joined the conference in this role (direct adds land here too) |
| **Declined** | You declined, or removed yourself from a role you were added to |
All invitations stay in your history for reference — unless the conference or track itself is deleted, in which case its invitations are removed along with it.
---
# Research Profile
URL: https://paperfox.ai/docs/users/research-profile
Description: Manage your research profile and expertise keywords used for submission-reviewer matching
Your research profile helps track chairs match you with submissions that fit your expertise. It combines three types of keywords to build a complete picture of your research areas.
## How It Works
When you take on a conference role, PaperFox automatically runs **AI Profile Discovery** — it searches the web for your publications (Google Scholar, ORCID, Semantic Scholar, etc.) and extracts expertise keywords. You'll receive an email with the results: what it found the first time, and afterwards what changed, or that nothing did.
All your keywords are combined and used by the [Auto Assign Reviewers](/docs/track-chairs/auto-assign-reviewers) feature to match you with relevant submissions.
## Access Your Research Profile
1. Click your profile icon in the top right corner
2. Select **Settings**
3. Click **Research Profile** in the sidebar
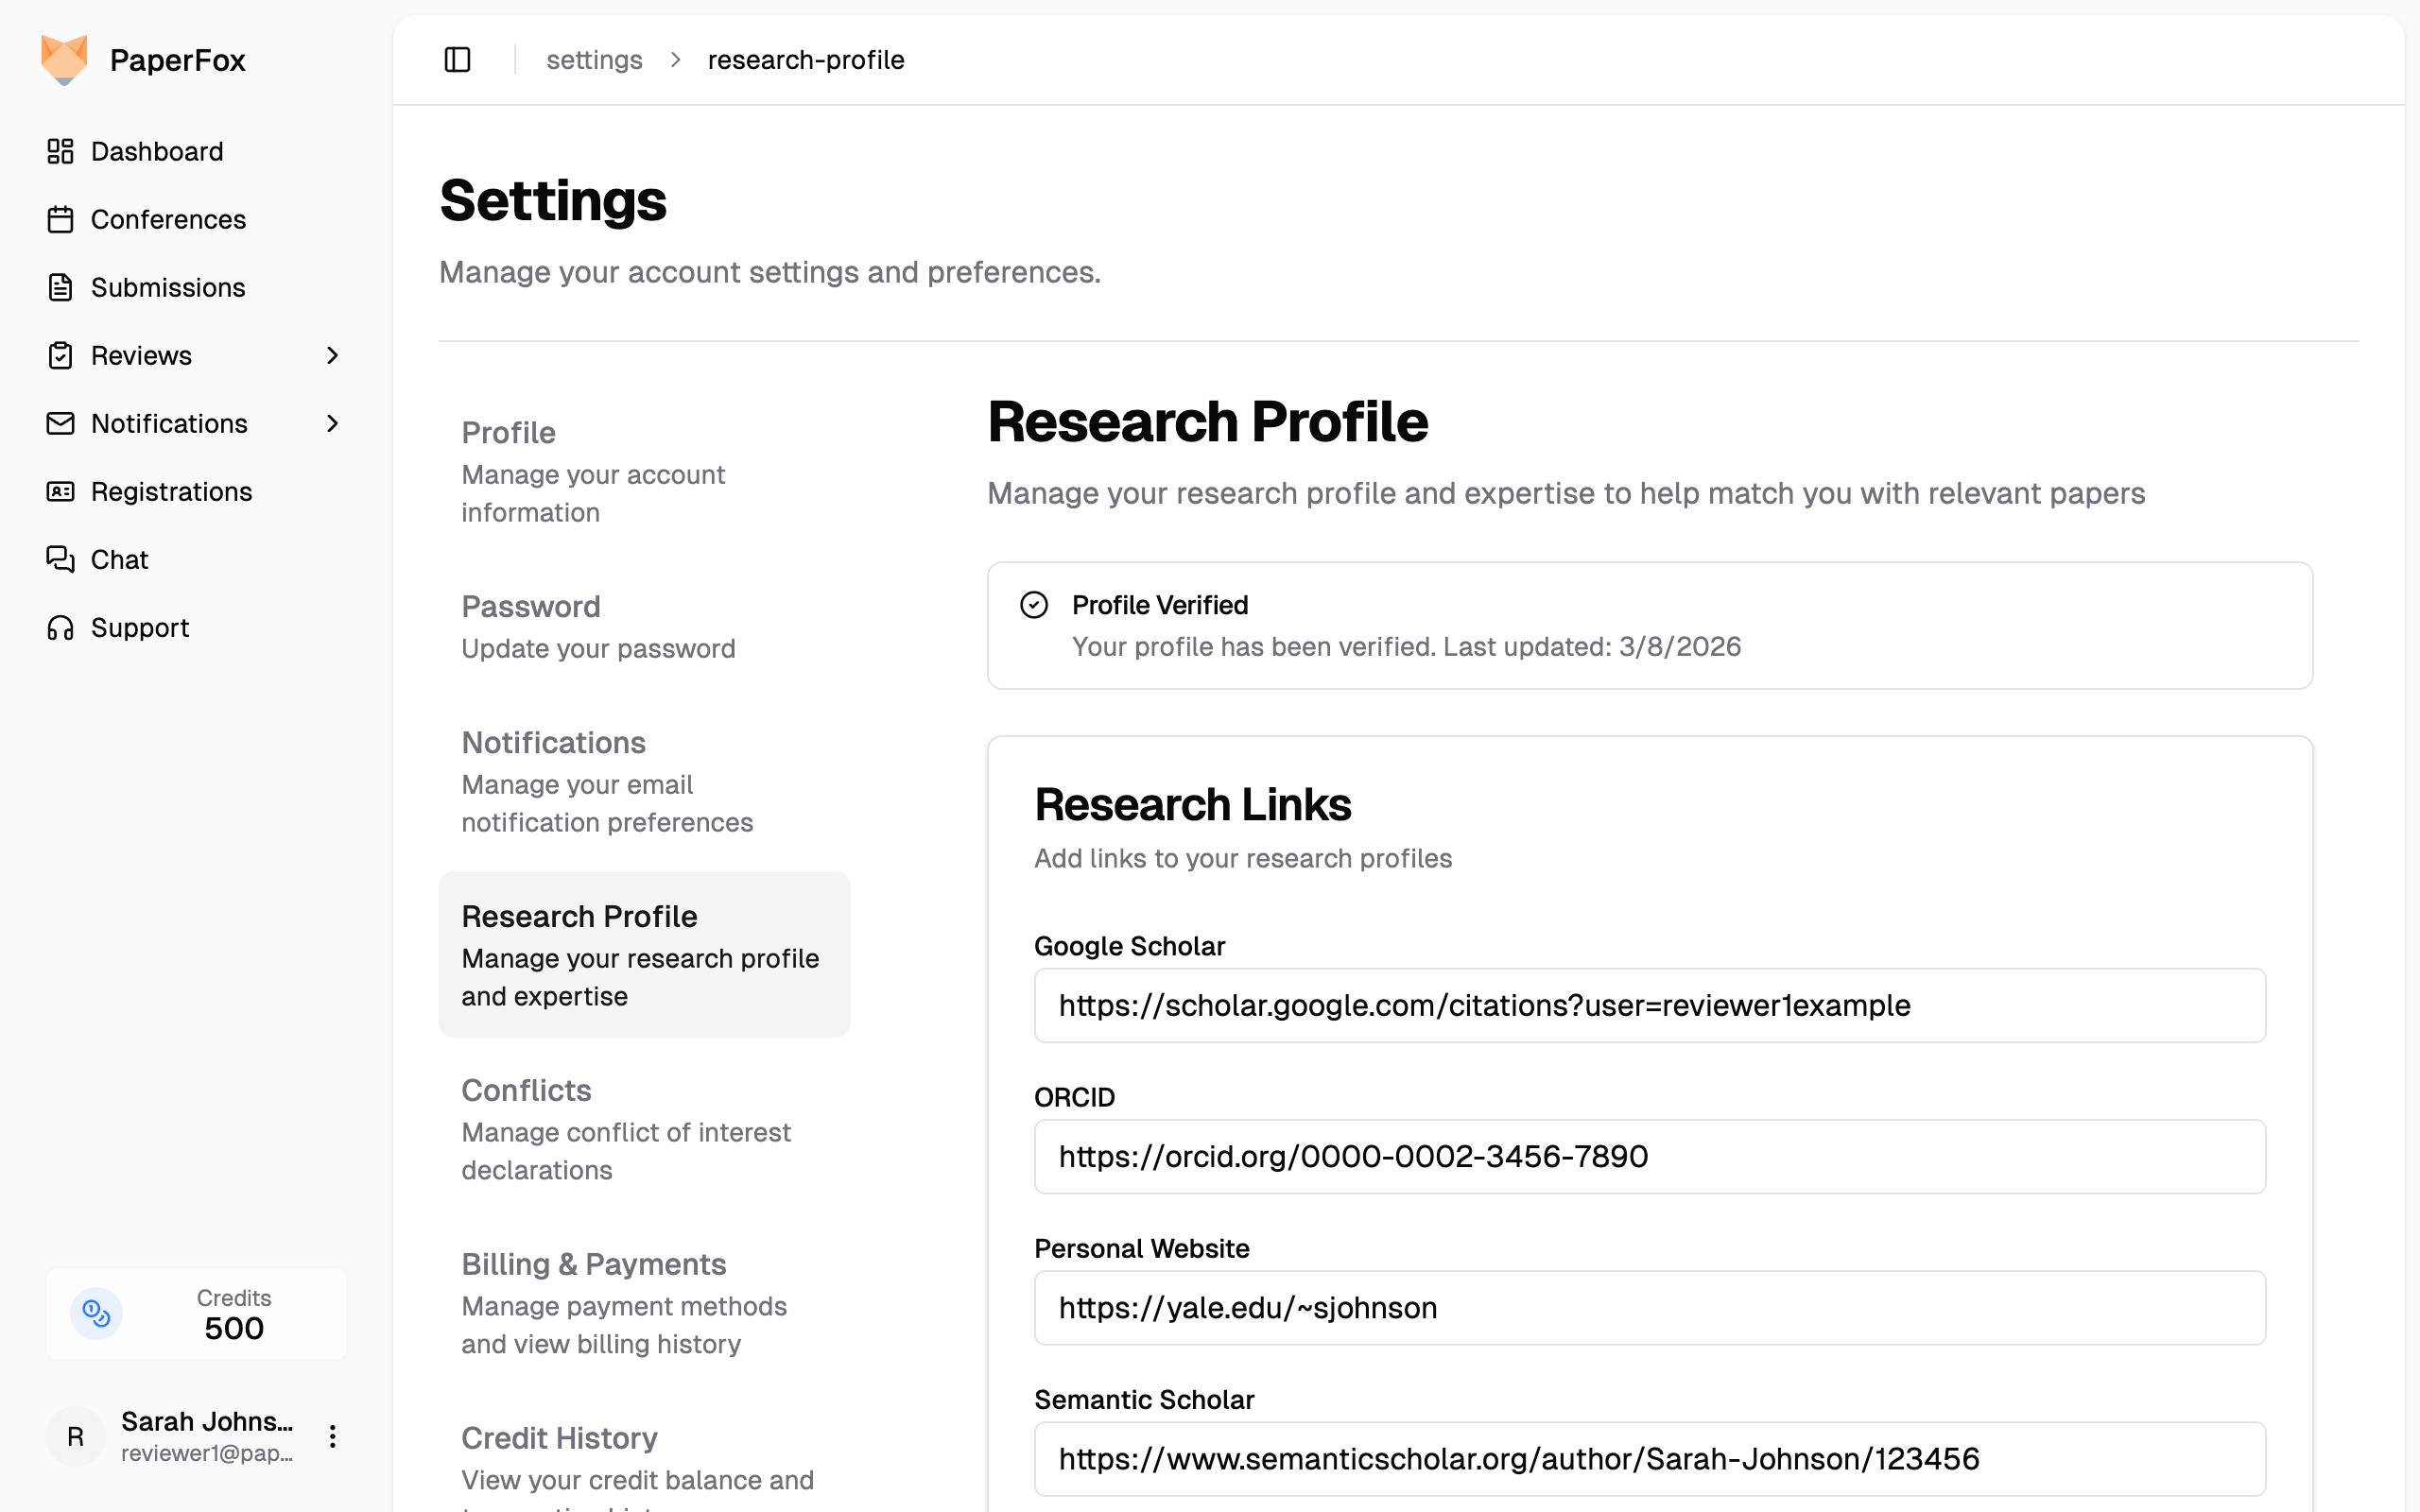 ---
## Research Links
Add URLs to your academic profiles so track chairs can verify your expertise:
- **Google Scholar** — Your citation profile
- **ORCID** — Your researcher identifier
- **Semantic Scholar** — Your publication profile
- **ResearchGate** — Your research network profile
- **Personal Website** — Your academic homepage
These links are also used by AI Profile Discovery to find your publications more accurately.
---
## Three Types of Keywords
Your profile uses three types of keywords, each with a different source and color:
---
## Research Links
Add URLs to your academic profiles so track chairs can verify your expertise:
- **Google Scholar** — Your citation profile
- **ORCID** — Your researcher identifier
- **Semantic Scholar** — Your publication profile
- **ResearchGate** — Your research network profile
- **Personal Website** — Your academic homepage
These links are also used by AI Profile Discovery to find your publications more accurately.
---
## Three Types of Keywords
Your profile uses three types of keywords, each with a different source and color:
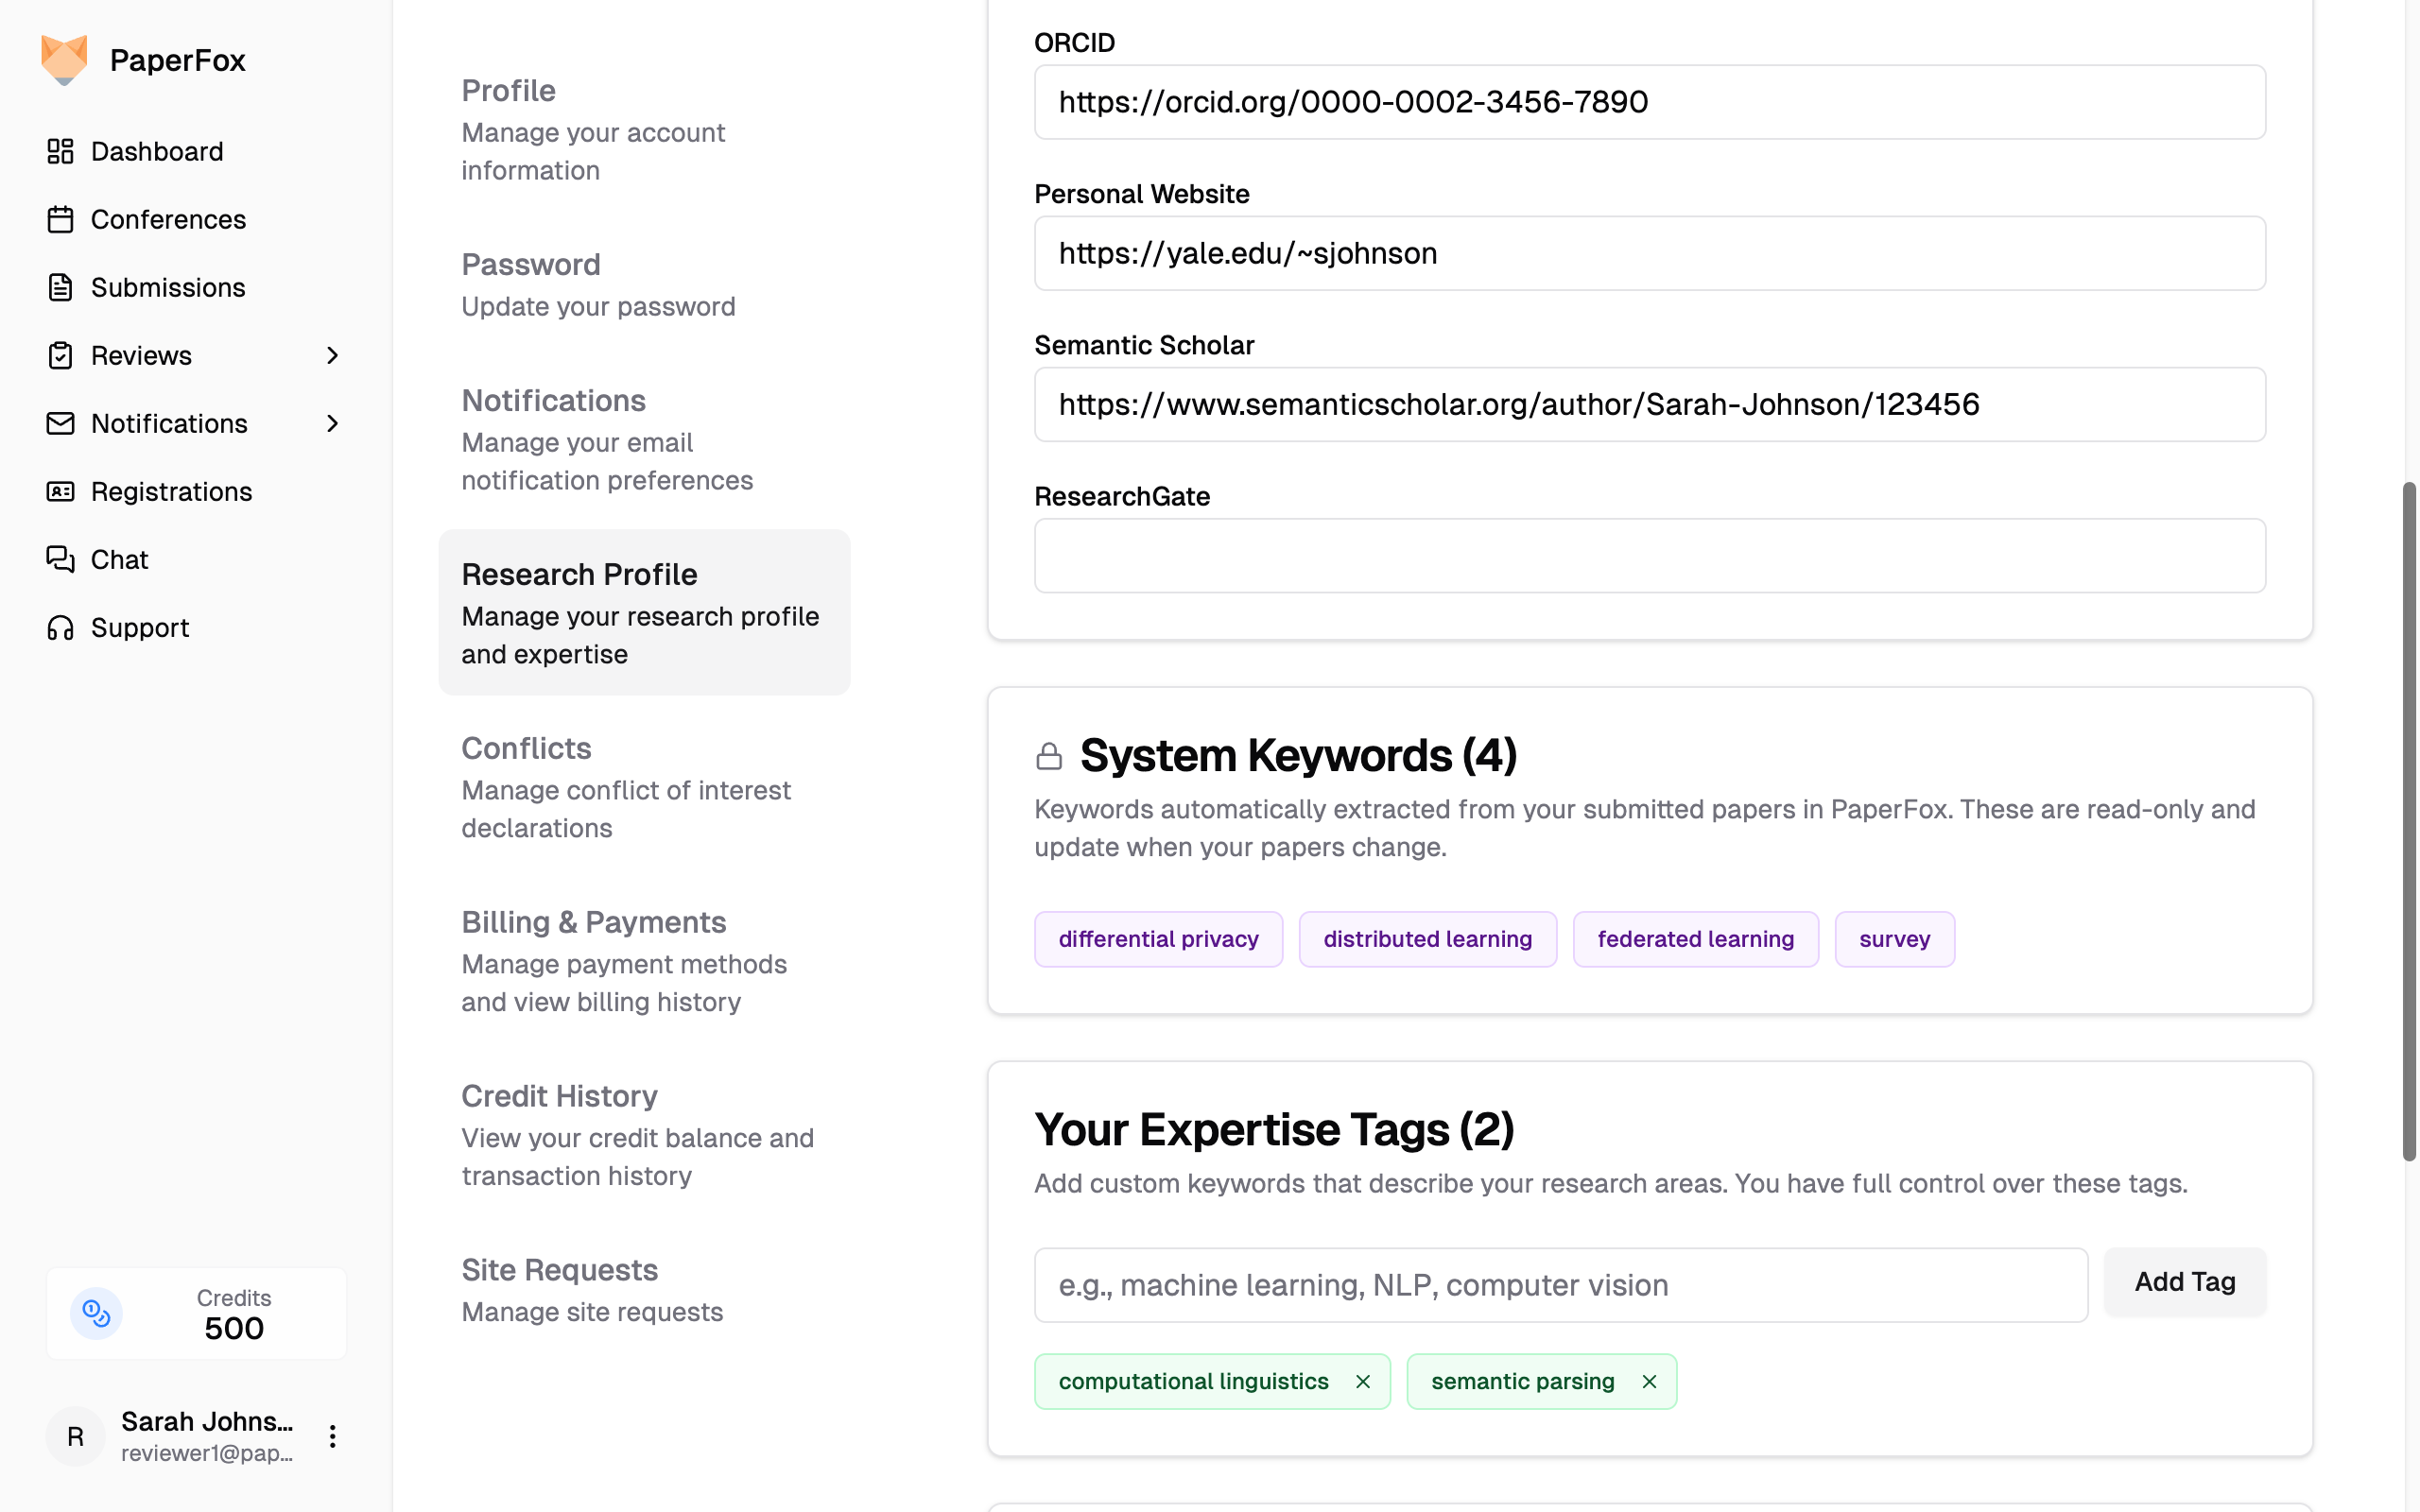 ### System Keywords (purple)
Automatically extracted from submissions you've submitted in PaperFox. These are **read-only** and update whenever your submissions change. You cannot edit them. This section only appears once you have submissions.
### Your Expertise Keywords (green)
Keywords you add manually. You have full control — add, edit, or remove these anytime.
1. Type a keyword (e.g., "machine learning", "NLP")
2. Press **Enter** or click **"Add Keyword"**
3. Click the **x** on any keyword to remove it
### AI-Discovered Keywords (blue)
Automatically discovered from your recent publications via web search. These are replaced each time you run AI Profile Discovery.
### System Keywords (purple)
Automatically extracted from submissions you've submitted in PaperFox. These are **read-only** and update whenever your submissions change. You cannot edit them. This section only appears once you have submissions.
### Your Expertise Keywords (green)
Keywords you add manually. You have full control — add, edit, or remove these anytime.
1. Type a keyword (e.g., "machine learning", "NLP")
2. Press **Enter** or click **"Add Keyword"**
3. Click the **x** on any keyword to remove it
### AI-Discovered Keywords (blue)
Automatically discovered from your recent publications via web search. These are replaced each time you run AI Profile Discovery.
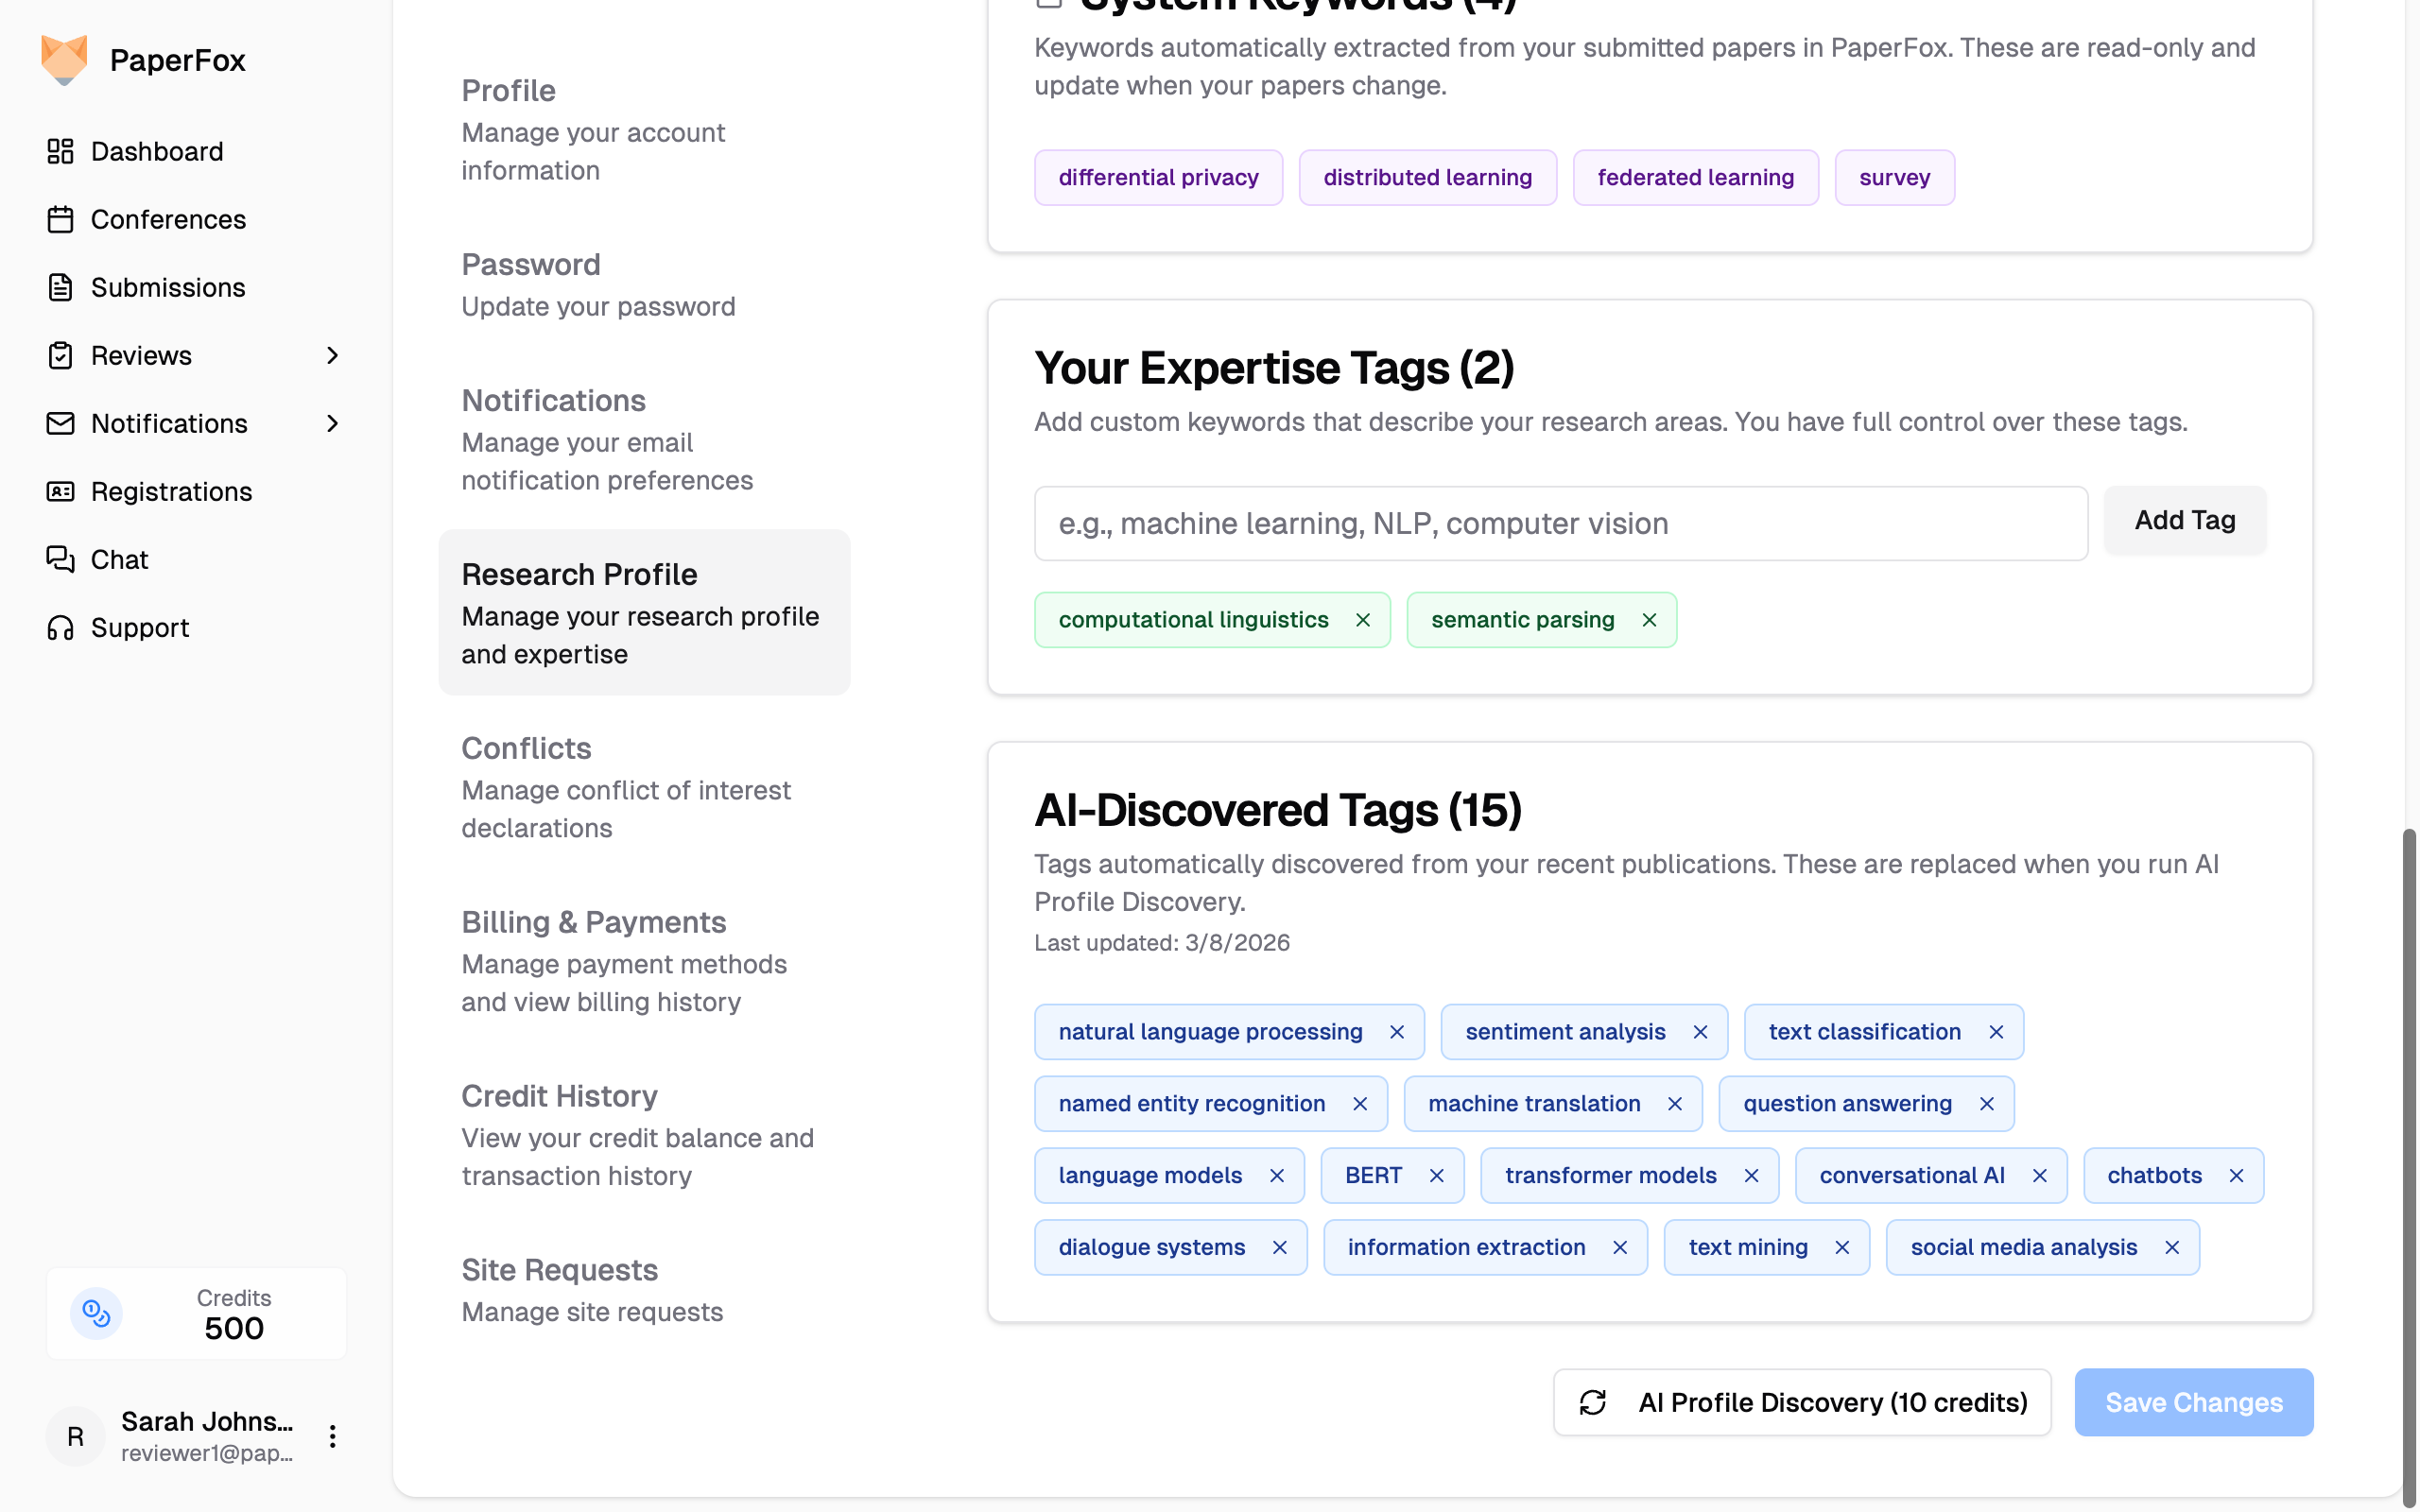 You can remove individual AI keywords by clicking the **x** on each one. Removed keywords won't reappear until the next discovery run.
---
## Running AI Profile Discovery
To discover or refresh your AI keywords:
1. Click **"AI Profile Discovery (20 credits)"** at the bottom of the page
2. Wait 30-90 seconds while the AI searches for your publications
3. Review the results and click **"Save Changes"**
You can remove individual AI keywords by clicking the **x** on each one. Removed keywords won't reappear until the next discovery run.
---
## Running AI Profile Discovery
To discover or refresh your AI keywords:
1. Click **"AI Profile Discovery (20 credits)"** at the bottom of the page
2. Wait 30-90 seconds while the AI searches for your publications
3. Review the results and click **"Save Changes"**
 ## Option 1: Password
1. Enter your **Email**
2. Enter your **Password** (click the eye icon to show what you typed)
3. Click **"Sign In with Password"**
You'll land on your dashboard.
## Option 2: Email Link (Passwordless)
If you'd rather not type a password — or you've forgotten it and don't want to reset right now — use the email link instead.
1. Click **"Sign In with Email Link"**
2. Enter your **Email**
3. Click **"Send Sign-In Link"**
4. Open the email PaperFox just sent and click the link inside
5. Click **"Sign In"** on the page that opens
The link expires in 24 hours, and each link works only once.
## If You Forgot Your Password
Click **"Forgot password?"** below the password field. PaperFox emails you a reset link; clicking it opens a page where you set a new password.
## If Your Email Isn't Verified Yet
If you try to sign in before verifying the email from your sign-up email, the form shows a red warning and a **Resend verification email** button. Open the verification email, click the link, then click **Verify Email** on the page that opens — you'll be taken back to the sign-in page to try again. (The extra click is deliberate: it keeps automated email scanners from acting on the link before you do.)
## Option 1: Password
1. Enter your **Email**
2. Enter your **Password** (click the eye icon to show what you typed)
3. Click **"Sign In with Password"**
You'll land on your dashboard.
## Option 2: Email Link (Passwordless)
If you'd rather not type a password — or you've forgotten it and don't want to reset right now — use the email link instead.
1. Click **"Sign In with Email Link"**
2. Enter your **Email**
3. Click **"Send Sign-In Link"**
4. Open the email PaperFox just sent and click the link inside
5. Click **"Sign In"** on the page that opens
The link expires in 24 hours, and each link works only once.
## If You Forgot Your Password
Click **"Forgot password?"** below the password field. PaperFox emails you a reset link; clicking it opens a page where you set a new password.
## If Your Email Isn't Verified Yet
If you try to sign in before verifying the email from your sign-up email, the form shows a red warning and a **Resend verification email** button. Open the verification email, click the link, then click **Verify Email** on the page that opens — you'll be taken back to the sign-in page to try again. (The extra click is deliberate: it keeps automated email scanners from acting on the link before you do.)
 Android APK:
 **Method 2: Search in App Store**
Search for "PaperFox.AI" in your app store:
**Method 2: Search in App Store**
Search for "PaperFox.AI" in your app store:
 **Method 3: Click Download Buttons**
Visit our website and click the download buttons:
https://www.paperfox.ai/
**Method 3: Click Download Buttons**
Visit our website and click the download buttons:
https://www.paperfox.ai/
 ## Sign In
Sign in to access your personalized dashboard, save conferences, and manage your schedule. You can browse public conferences without signing in.
## Sign In
Sign in to access your personalized dashboard, save conferences, and manage your schedule. You can browse public conferences without signing in.
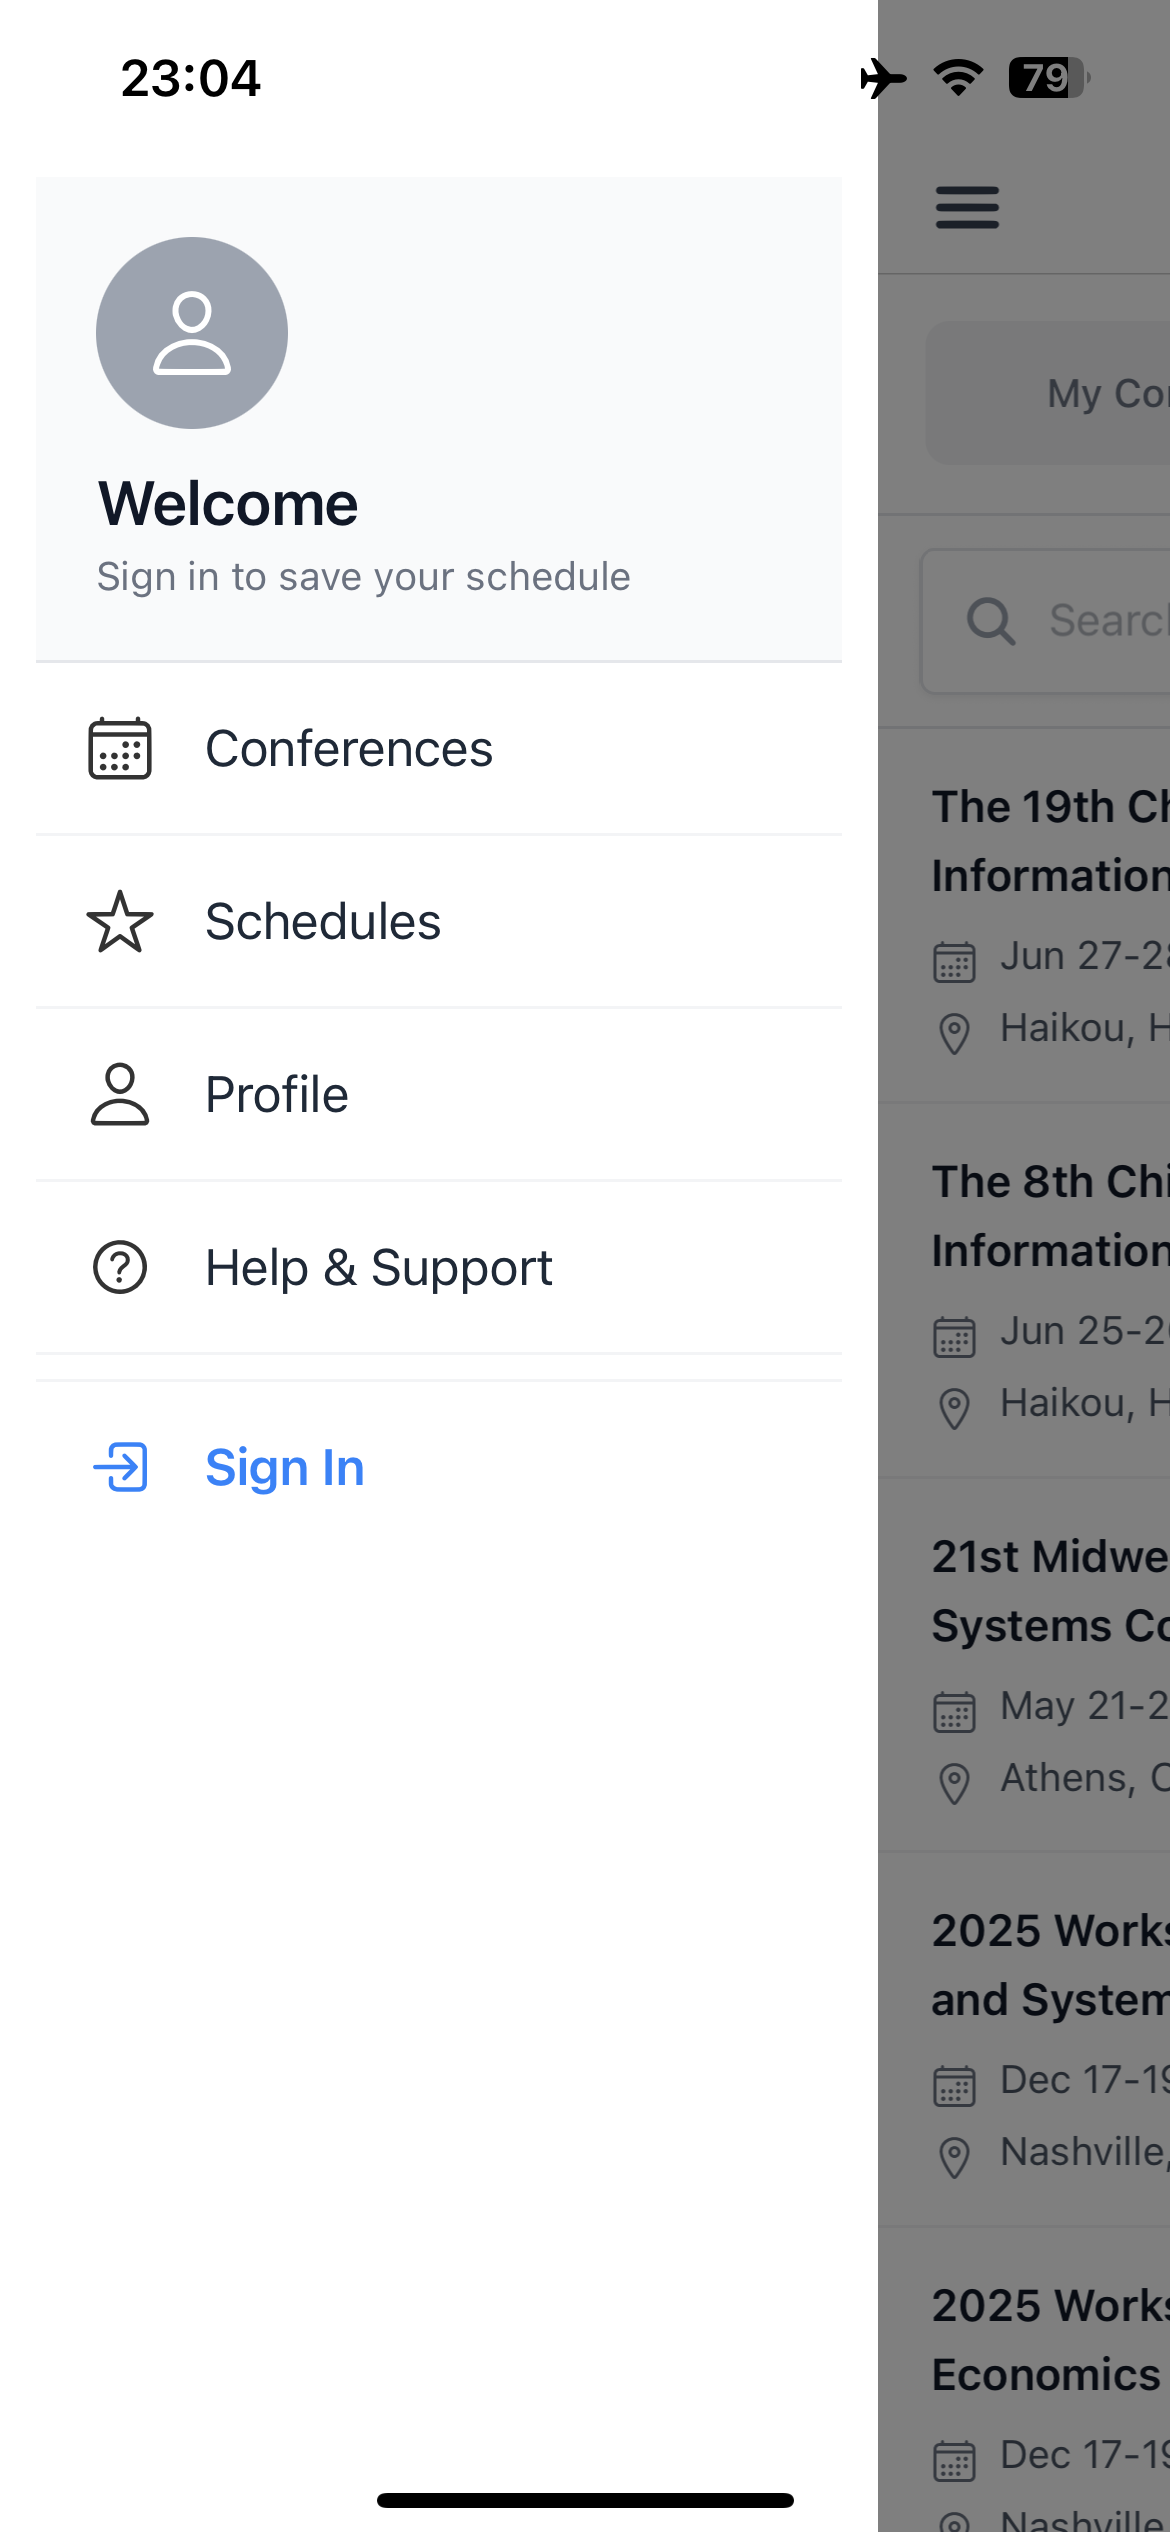 After signing in, you'll see your personalized dashboard:
 ## Browsing Conferences
Browse conferences without signing in, or sign in to save favorites and access additional features. The **All Conferences** tab shows conferences whose organizers have enabled mobile app listing — if you can't find a conference, ask its organizers to turn on [mobile app listing](/docs/chairs/list-in-mobile-app). Conferences where you have a role always appear under **My Conferences**, regardless of listing.
## Browsing Conferences
Browse conferences without signing in, or sign in to save favorites and access additional features. The **All Conferences** tab shows conferences whose organizers have enabled mobile app listing — if you can't find a conference, ask its organizers to turn on [mobile app listing](/docs/chairs/list-in-mobile-app). Conferences where you have a role always appear under **My Conferences**, regardless of listing.
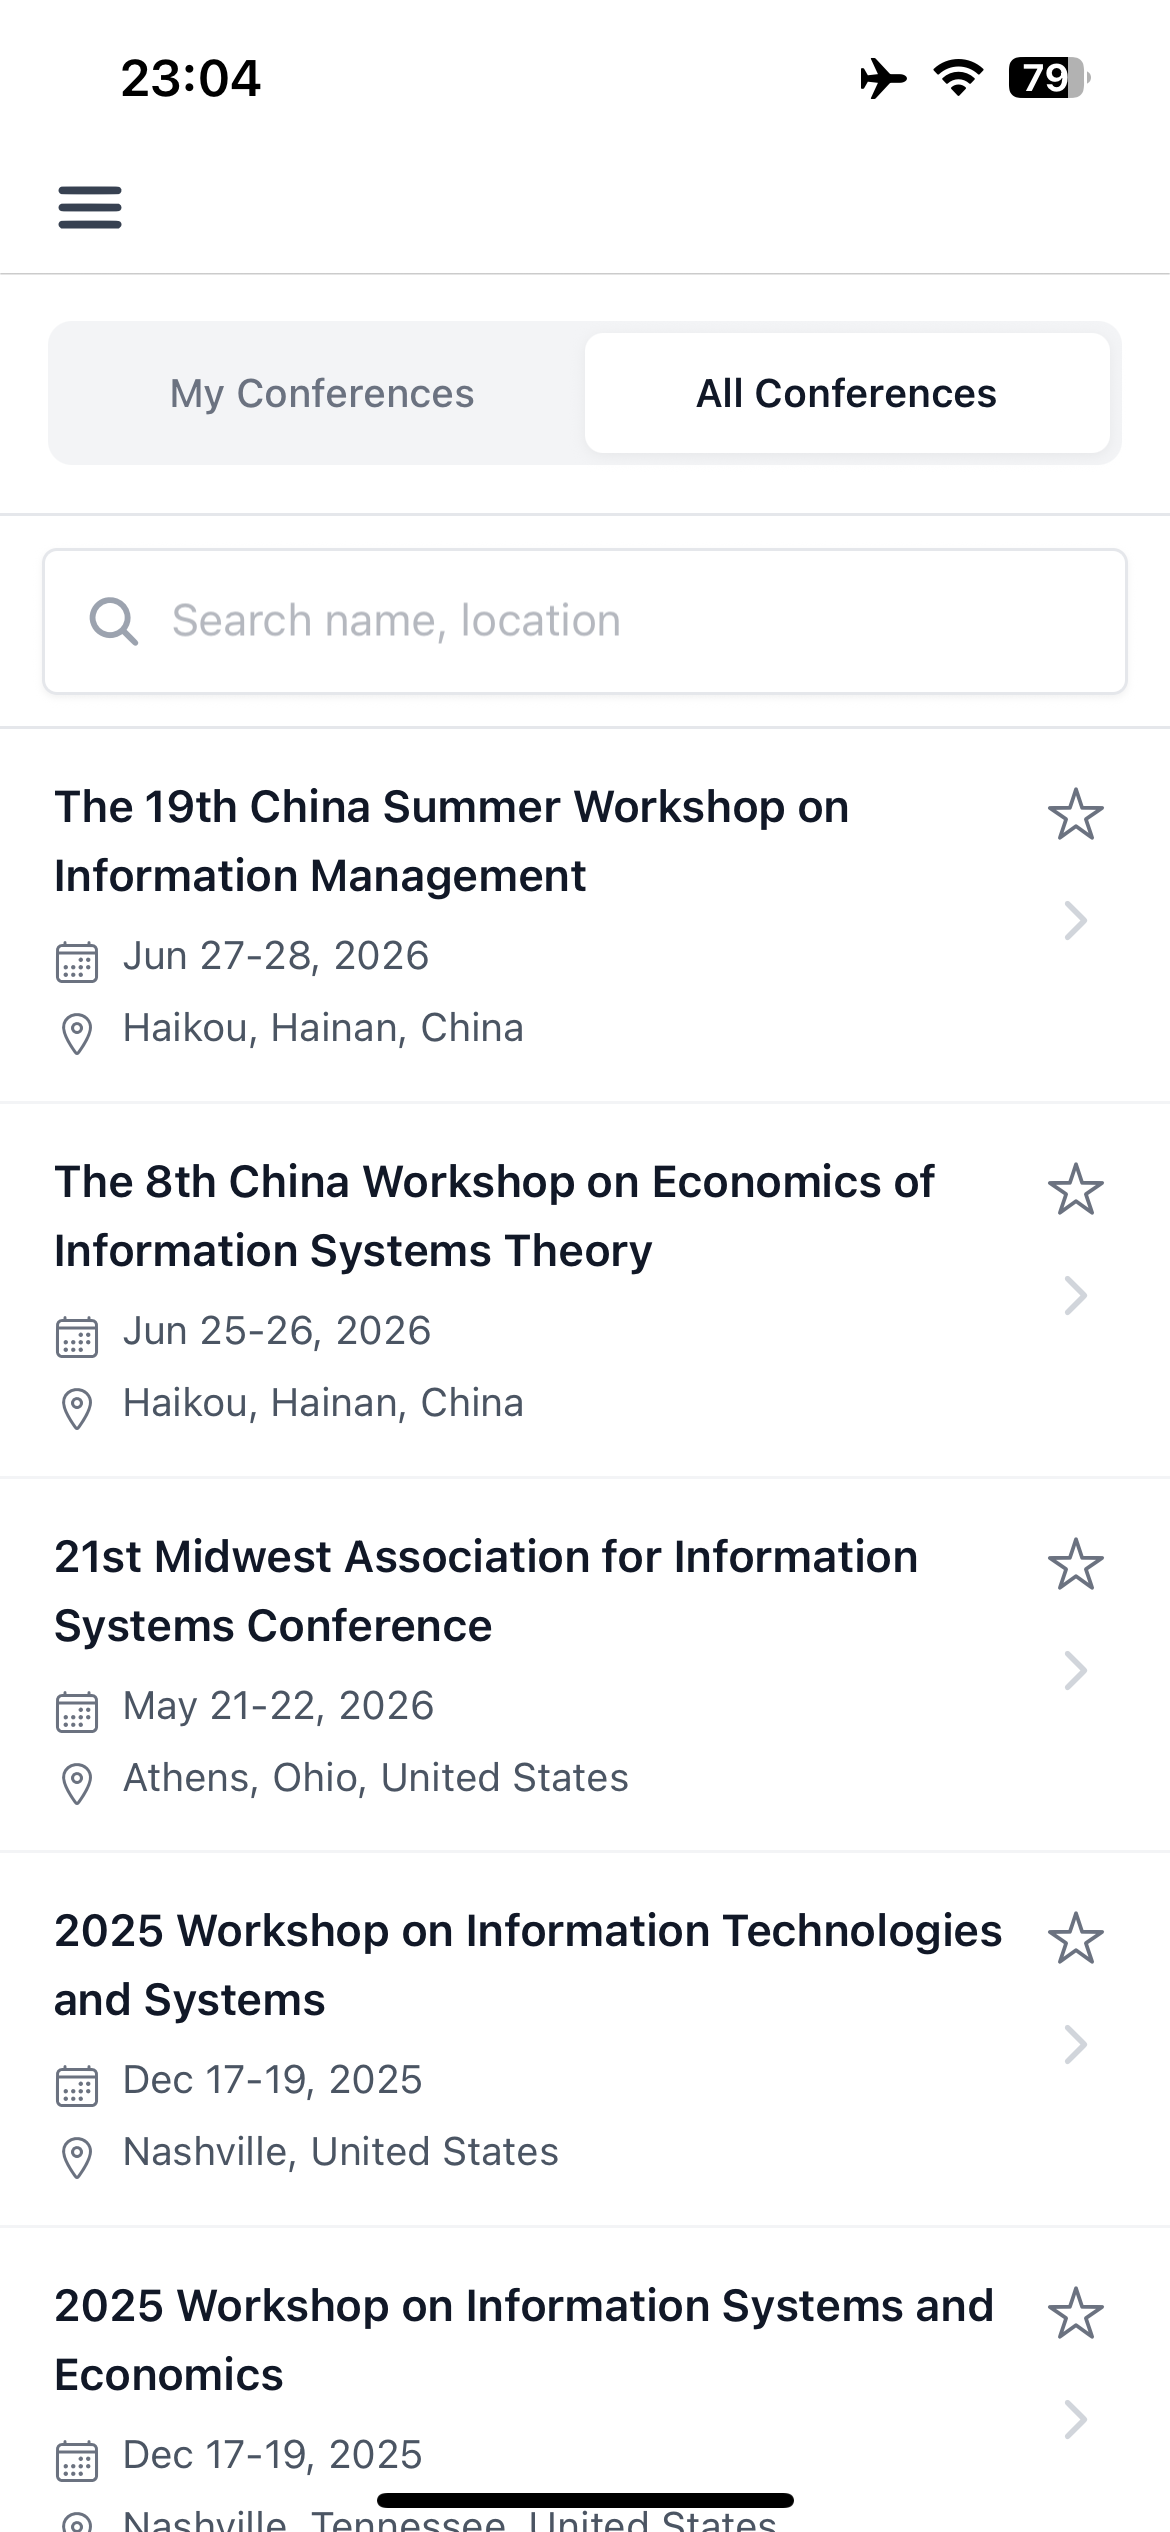 Access your conferences through two organized tabs:
**Involved**
- Conferences where you have a role (chair, track chair, reviewer, author)
**Saved**
- Click the star icon on any conference to save it
- Access saved conferences from this tab
- Click the star again to remove
Access your conferences through two organized tabs:
**Involved**
- Conferences where you have a role (chair, track chair, reviewer, author)
**Saved**
- Click the star icon on any conference to save it
- Access saved conferences from this tab
- Click the star again to remove

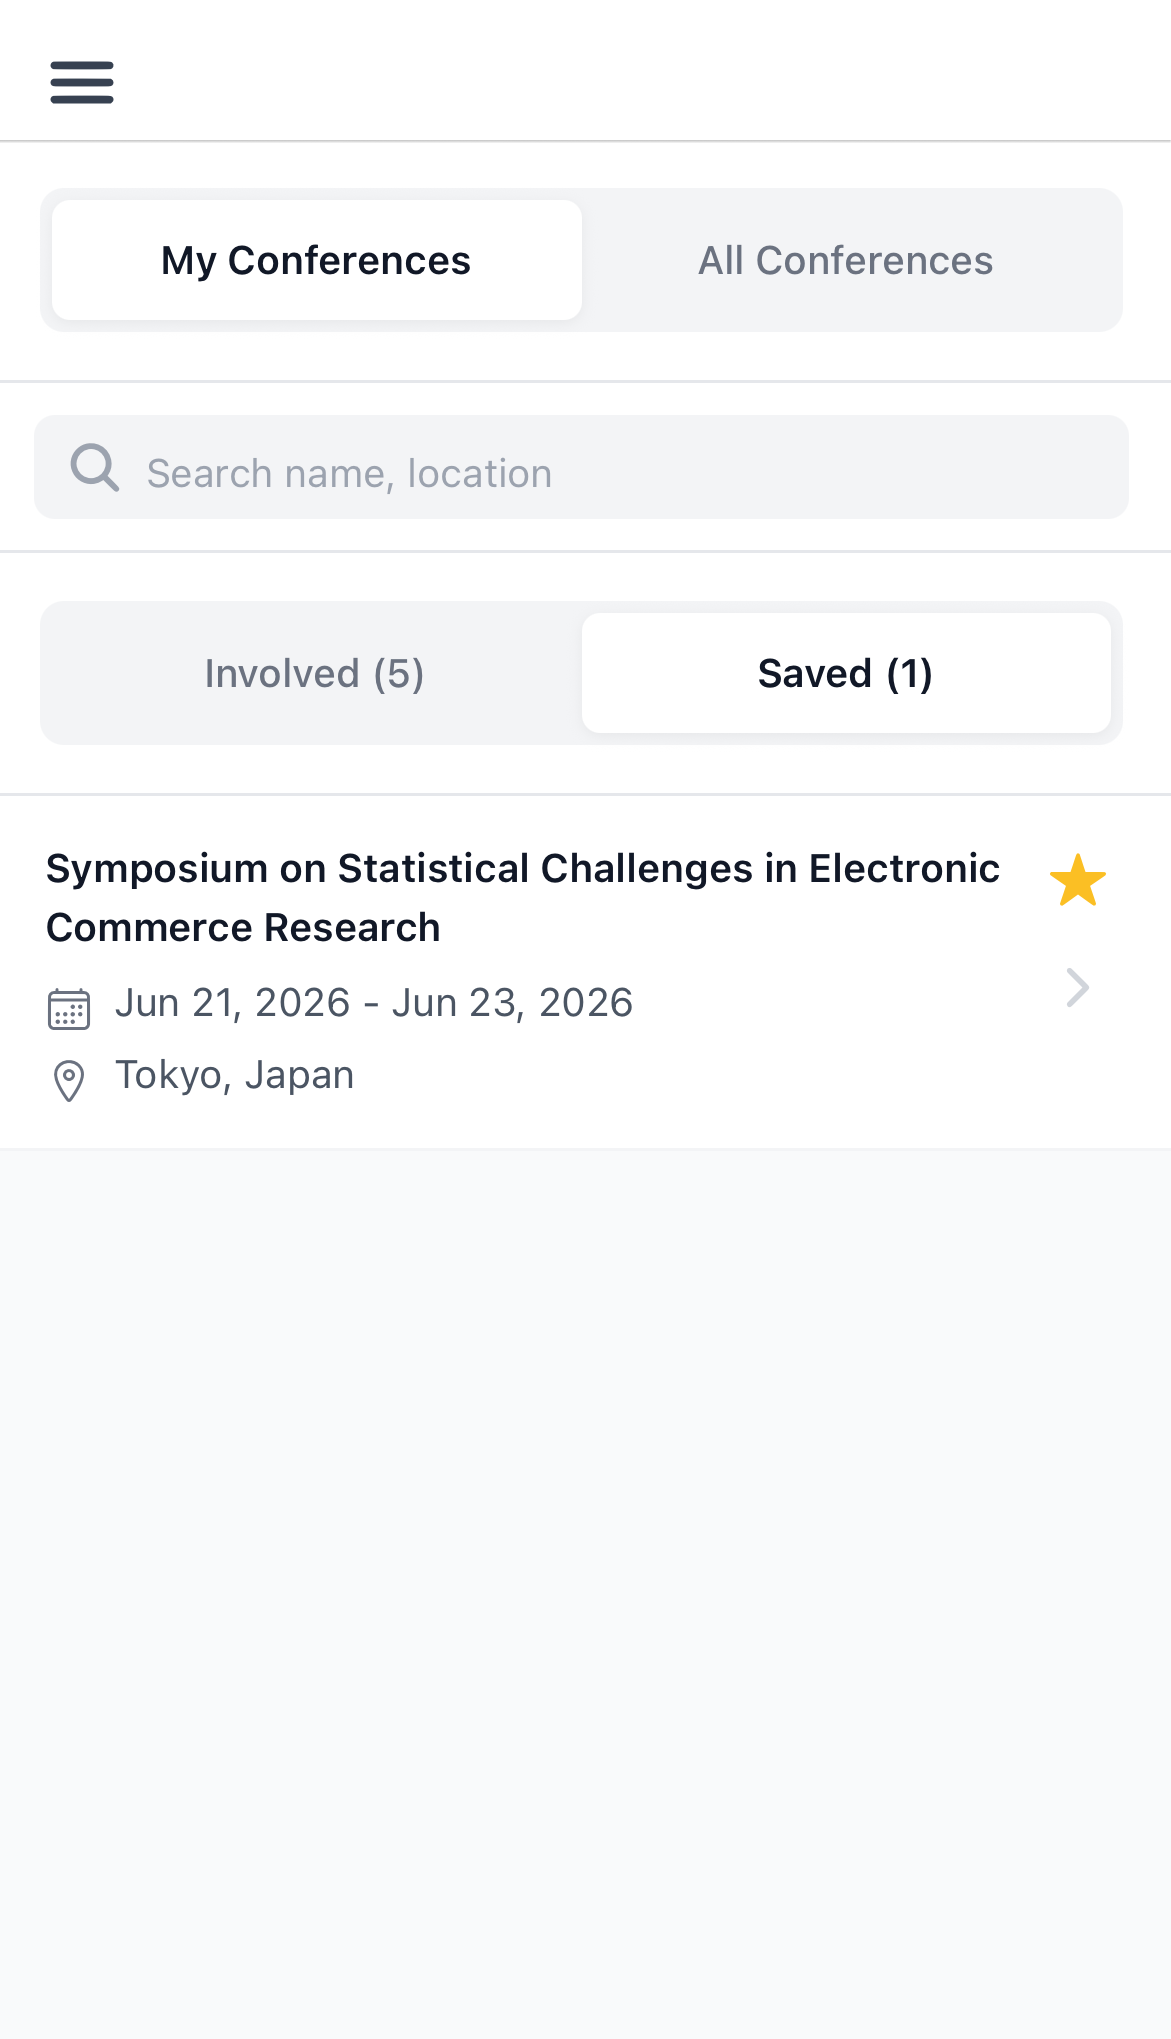 ## Conference Details
Each conference page displays:
- Basic information and dates
- Published program schedule
- Forum discussions (when enabled)
## Conference Details
Each conference page displays:
- Basic information and dates
- Published program schedule
- Forum discussions (when enabled)
 ## Conference Programs
View published schedules organized by day and session:
- Session times and locations
- Program items with presenters and authors
- Click the star icon to save items to your personal schedule
## Conference Programs
View published schedules organized by day and session:
- Session times and locations
- Program items with presenters and authors
- Click the star icon to save items to your personal schedule
 ## My Schedule
Build your personal conference schedule:
1. View any conference program
2. Click the star icon on sessions you want to attend
3. Access "My Schedule" to view all saved items
4. Toggle between "Upcoming" and "Past" conferences
5. Click the star again to remove items
## My Schedule
Build your personal conference schedule:
1. View any conference program
2. Click the star icon on sessions you want to attend
3. Access "My Schedule" to view all saved items
4. Toggle between "Upcoming" and "Past" conferences
5. Click the star again to remove items
 ## Forums
Participate in conference discussions when forums are enabled:
1. Navigate to the conference forum tab
2. Browse existing threads and pinned posts
3. Click "New Post" to start a discussion (requires sign-in)
4. Reply to posts using the text editor
## Forums
Participate in conference discussions when forums are enabled:
1. Navigate to the conference forum tab
2. Browse existing threads and pinned posts
3. Click "New Post" to start a discussion (requires sign-in)
4. Reply to posts using the text editor
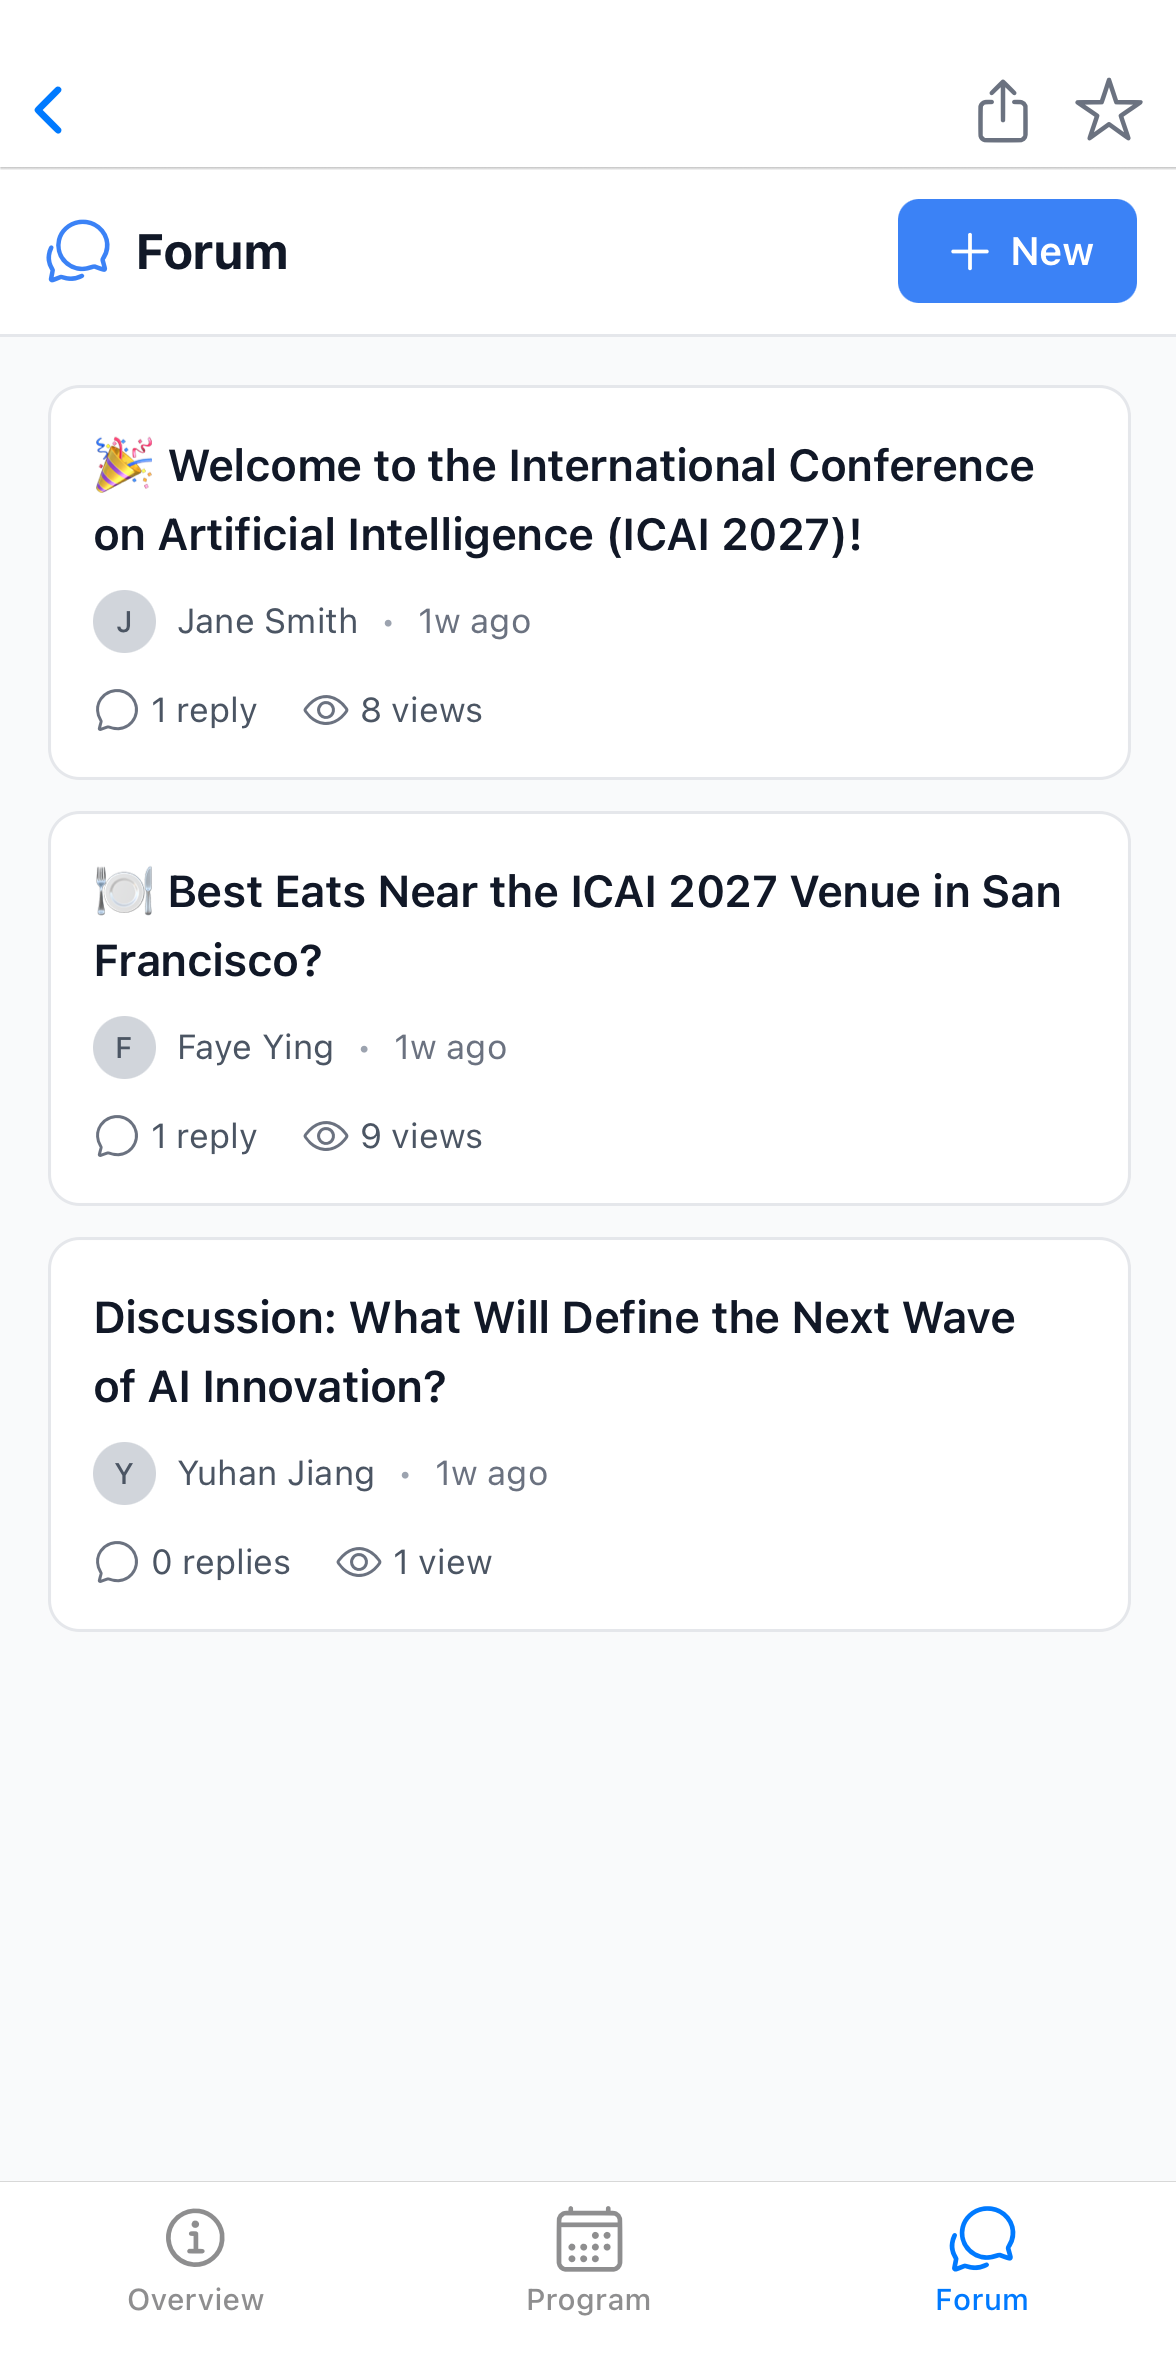 ---
# Run AI Content Detection
URL: https://paperfox.ai/docs/track-chairs/ai-content-detection
Description: Screen submissions for AI-generated text with external AI services, paid in credits
**AI Content Detection**, powered by **Pangram AI Detection**, scores how much of each submission's text looks AI-generated — a screening signal for a track's submissions. (Looking for AI-generated technical *reviews* of submissions instead? That's [AI Review](/docs/track-chairs/ai-review).)
---
# Run AI Content Detection
URL: https://paperfox.ai/docs/track-chairs/ai-content-detection
Description: Screen submissions for AI-generated text with external AI services, paid in credits
**AI Content Detection**, powered by **Pangram AI Detection**, scores how much of each submission's text looks AI-generated — a screening signal for a track's submissions. (Looking for AI-generated technical *reviews* of submissions instead? That's [AI Review](/docs/track-chairs/ai-review).)
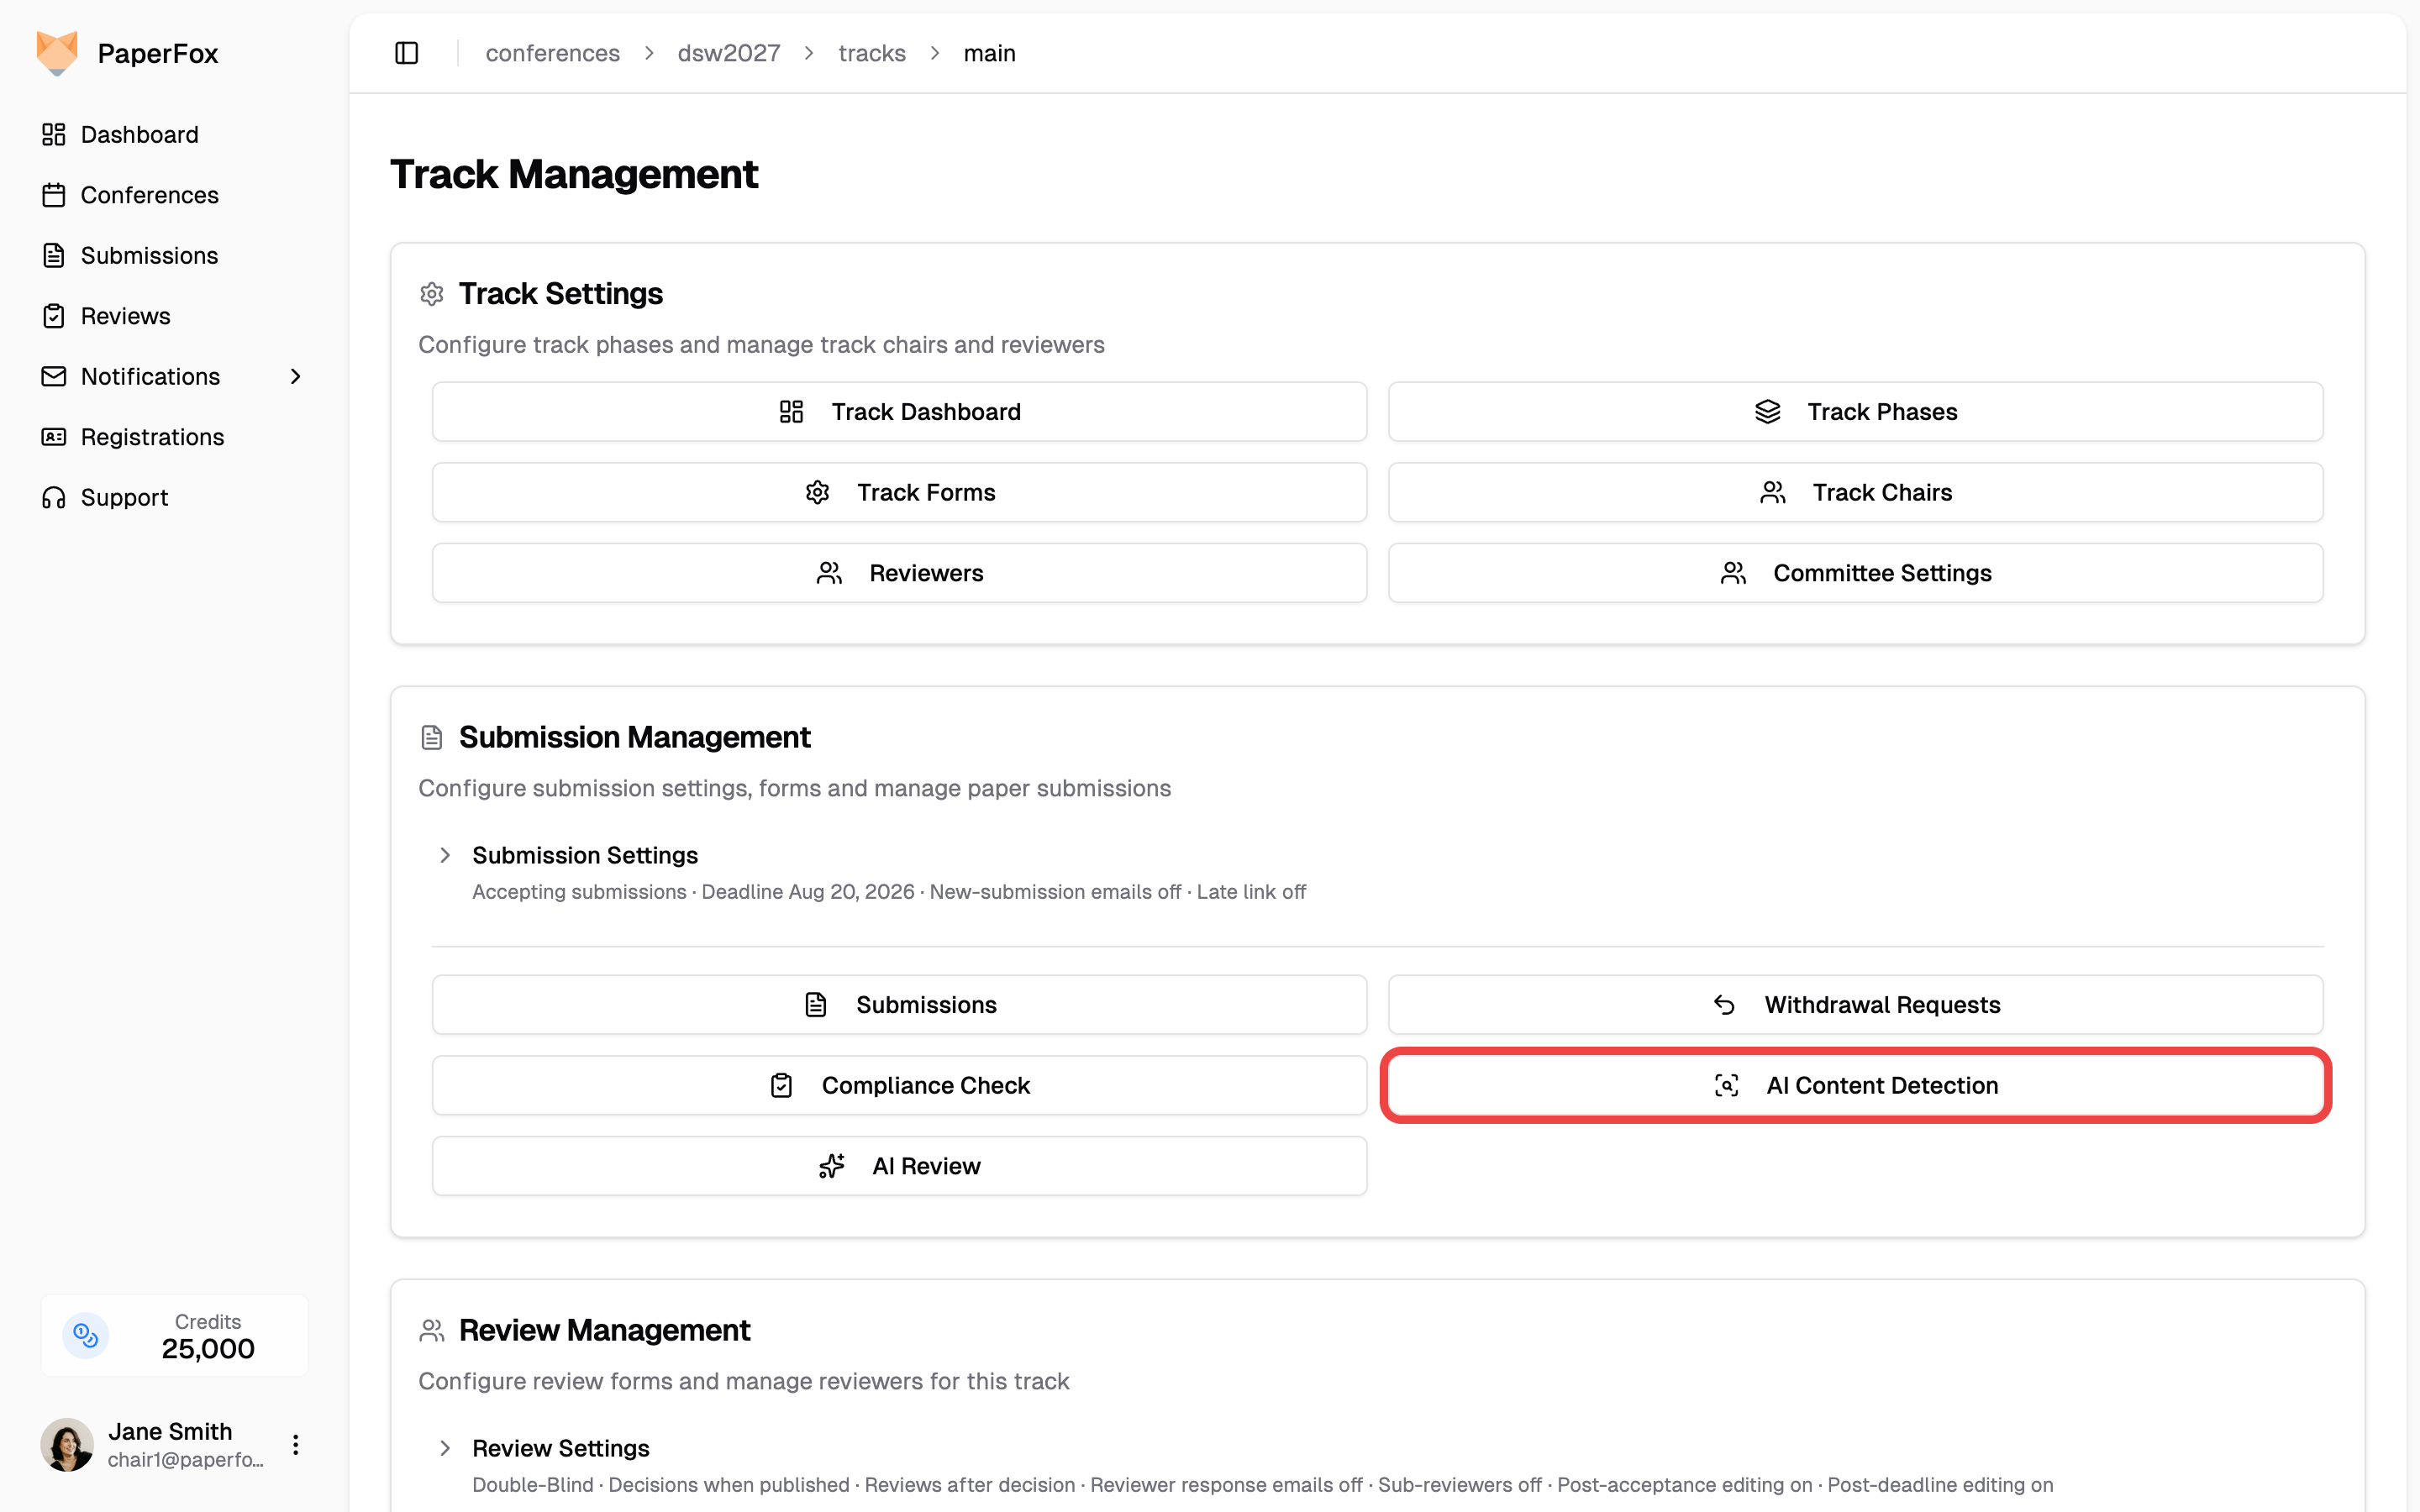 3. Click **"Run All"** on the service card — or click **"Run"** / **"Re-run"** on any individual submission's row to analyze just that submission
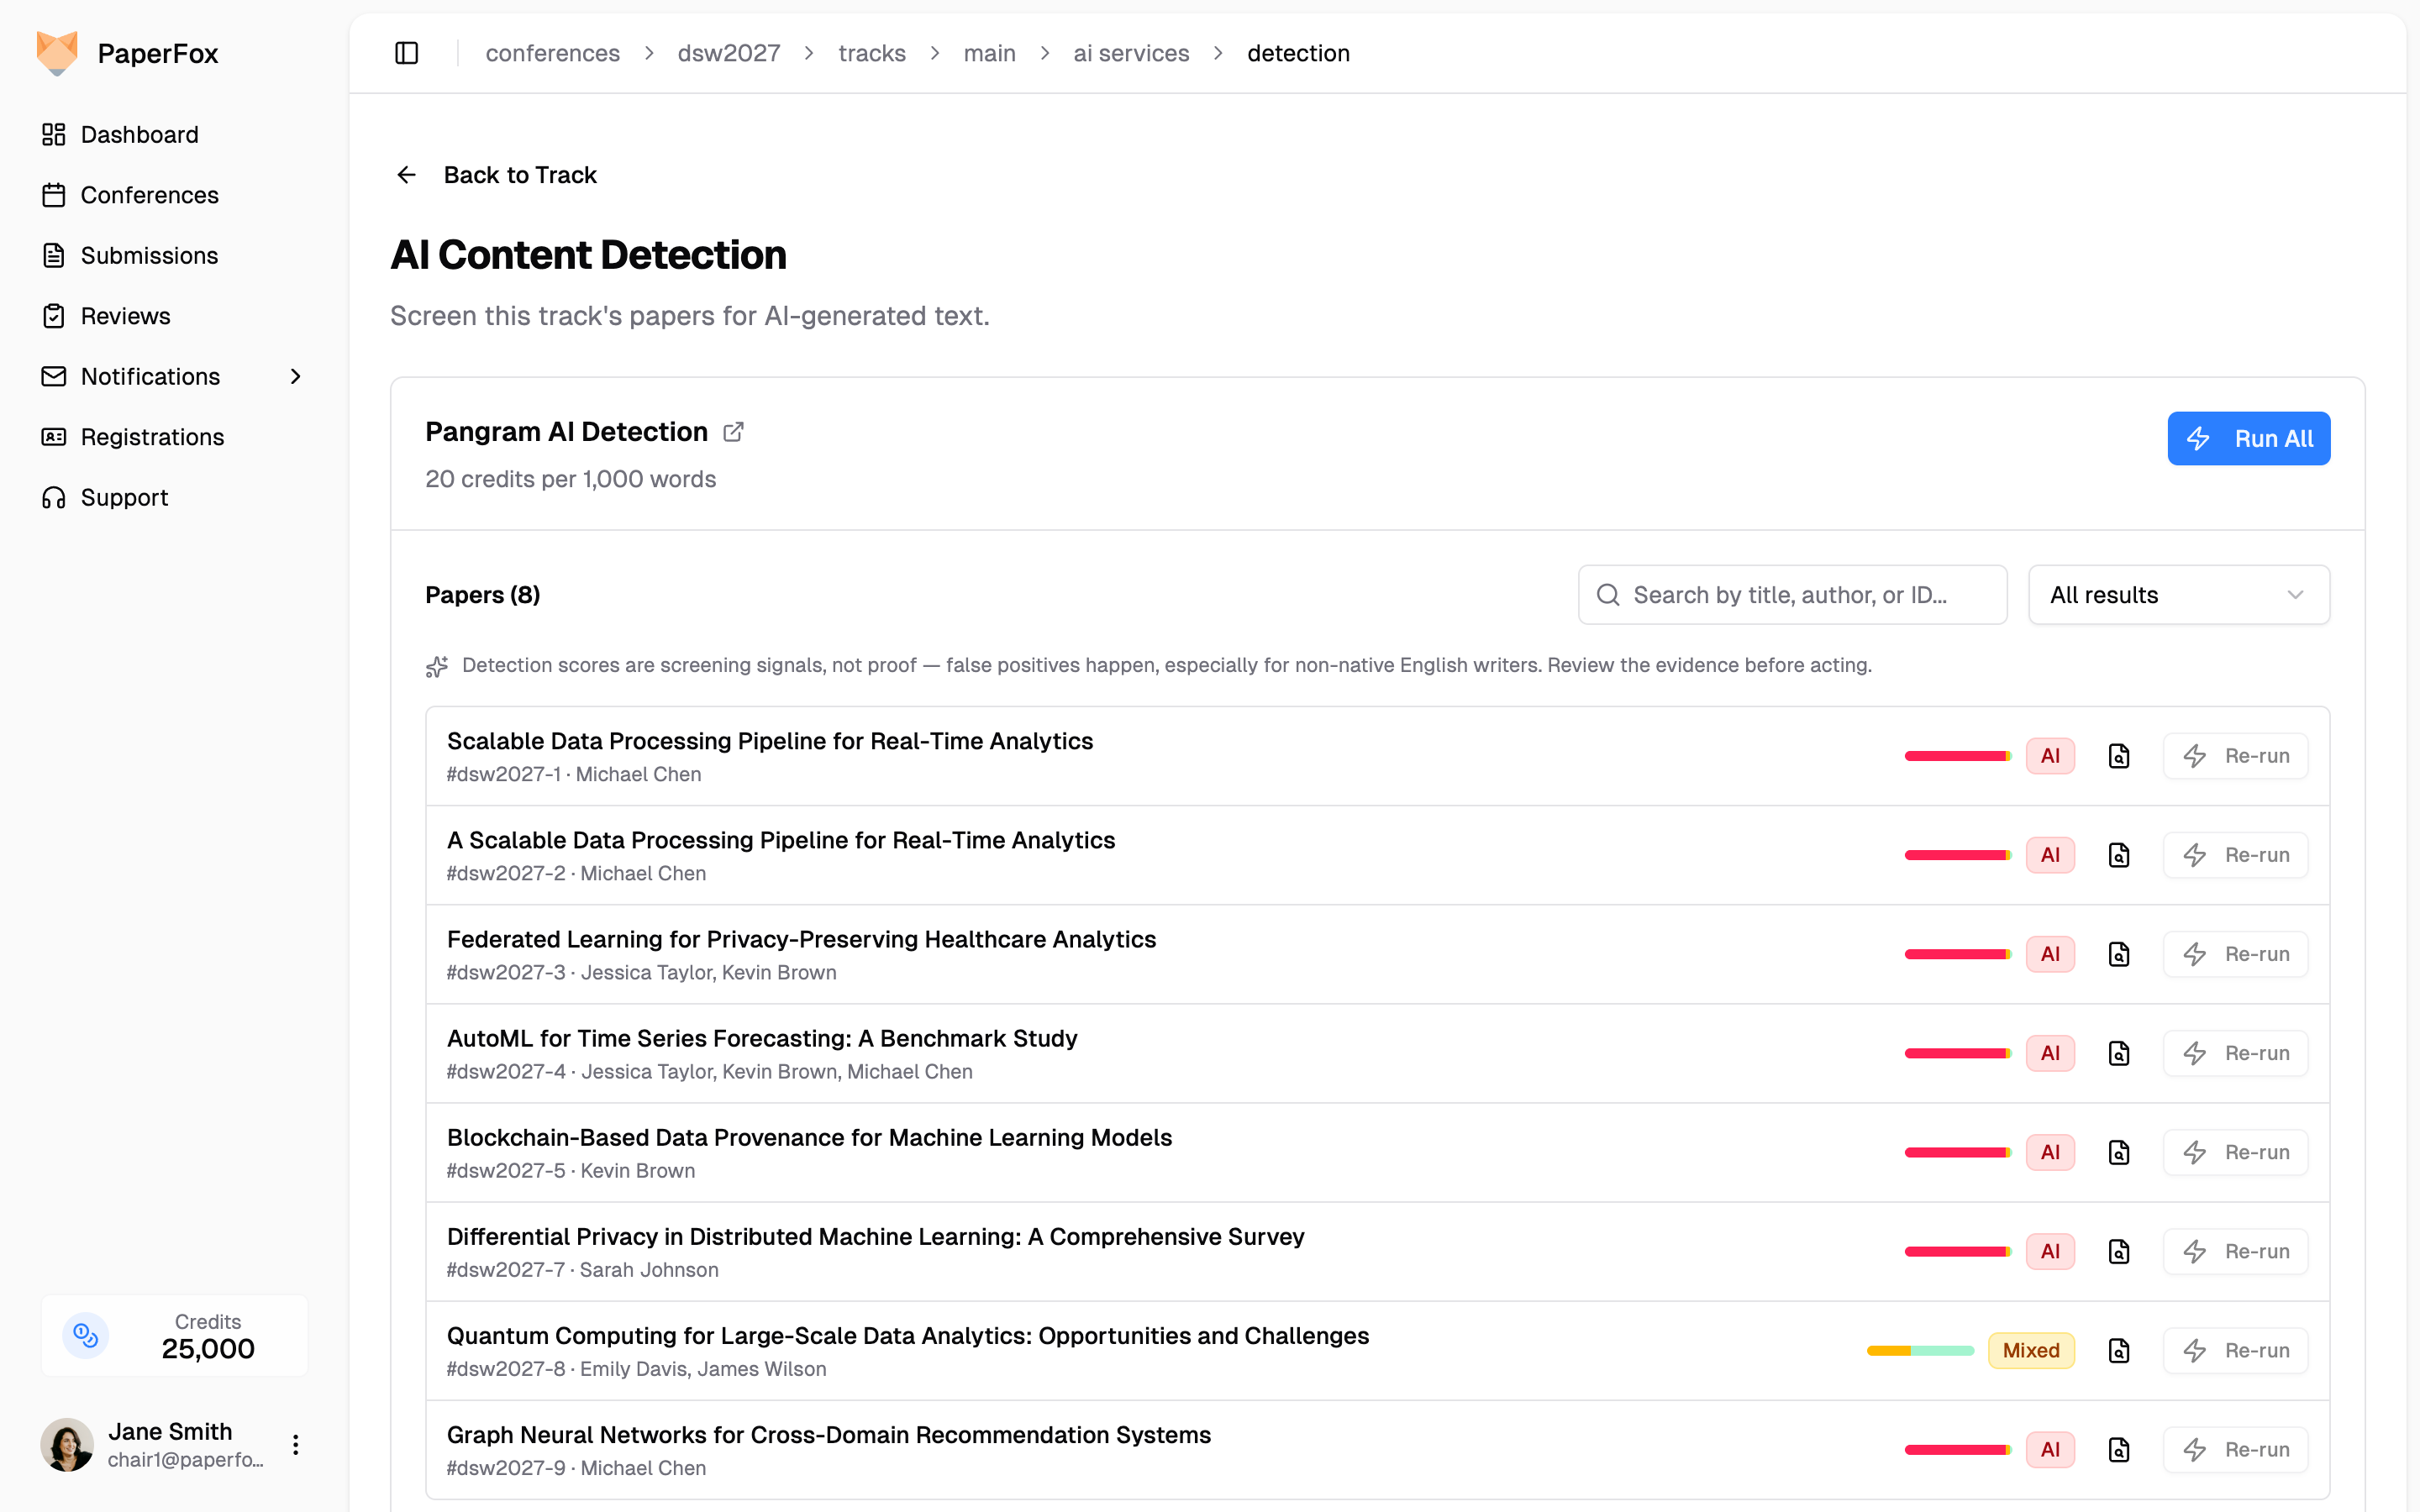 4. The confirmation dialog shows the estimated cost — an exact figure from the submission's measured word count for a single submission, an approximate total for Run All — and reminds you that submission text is sent to the external provider. Confirm to start
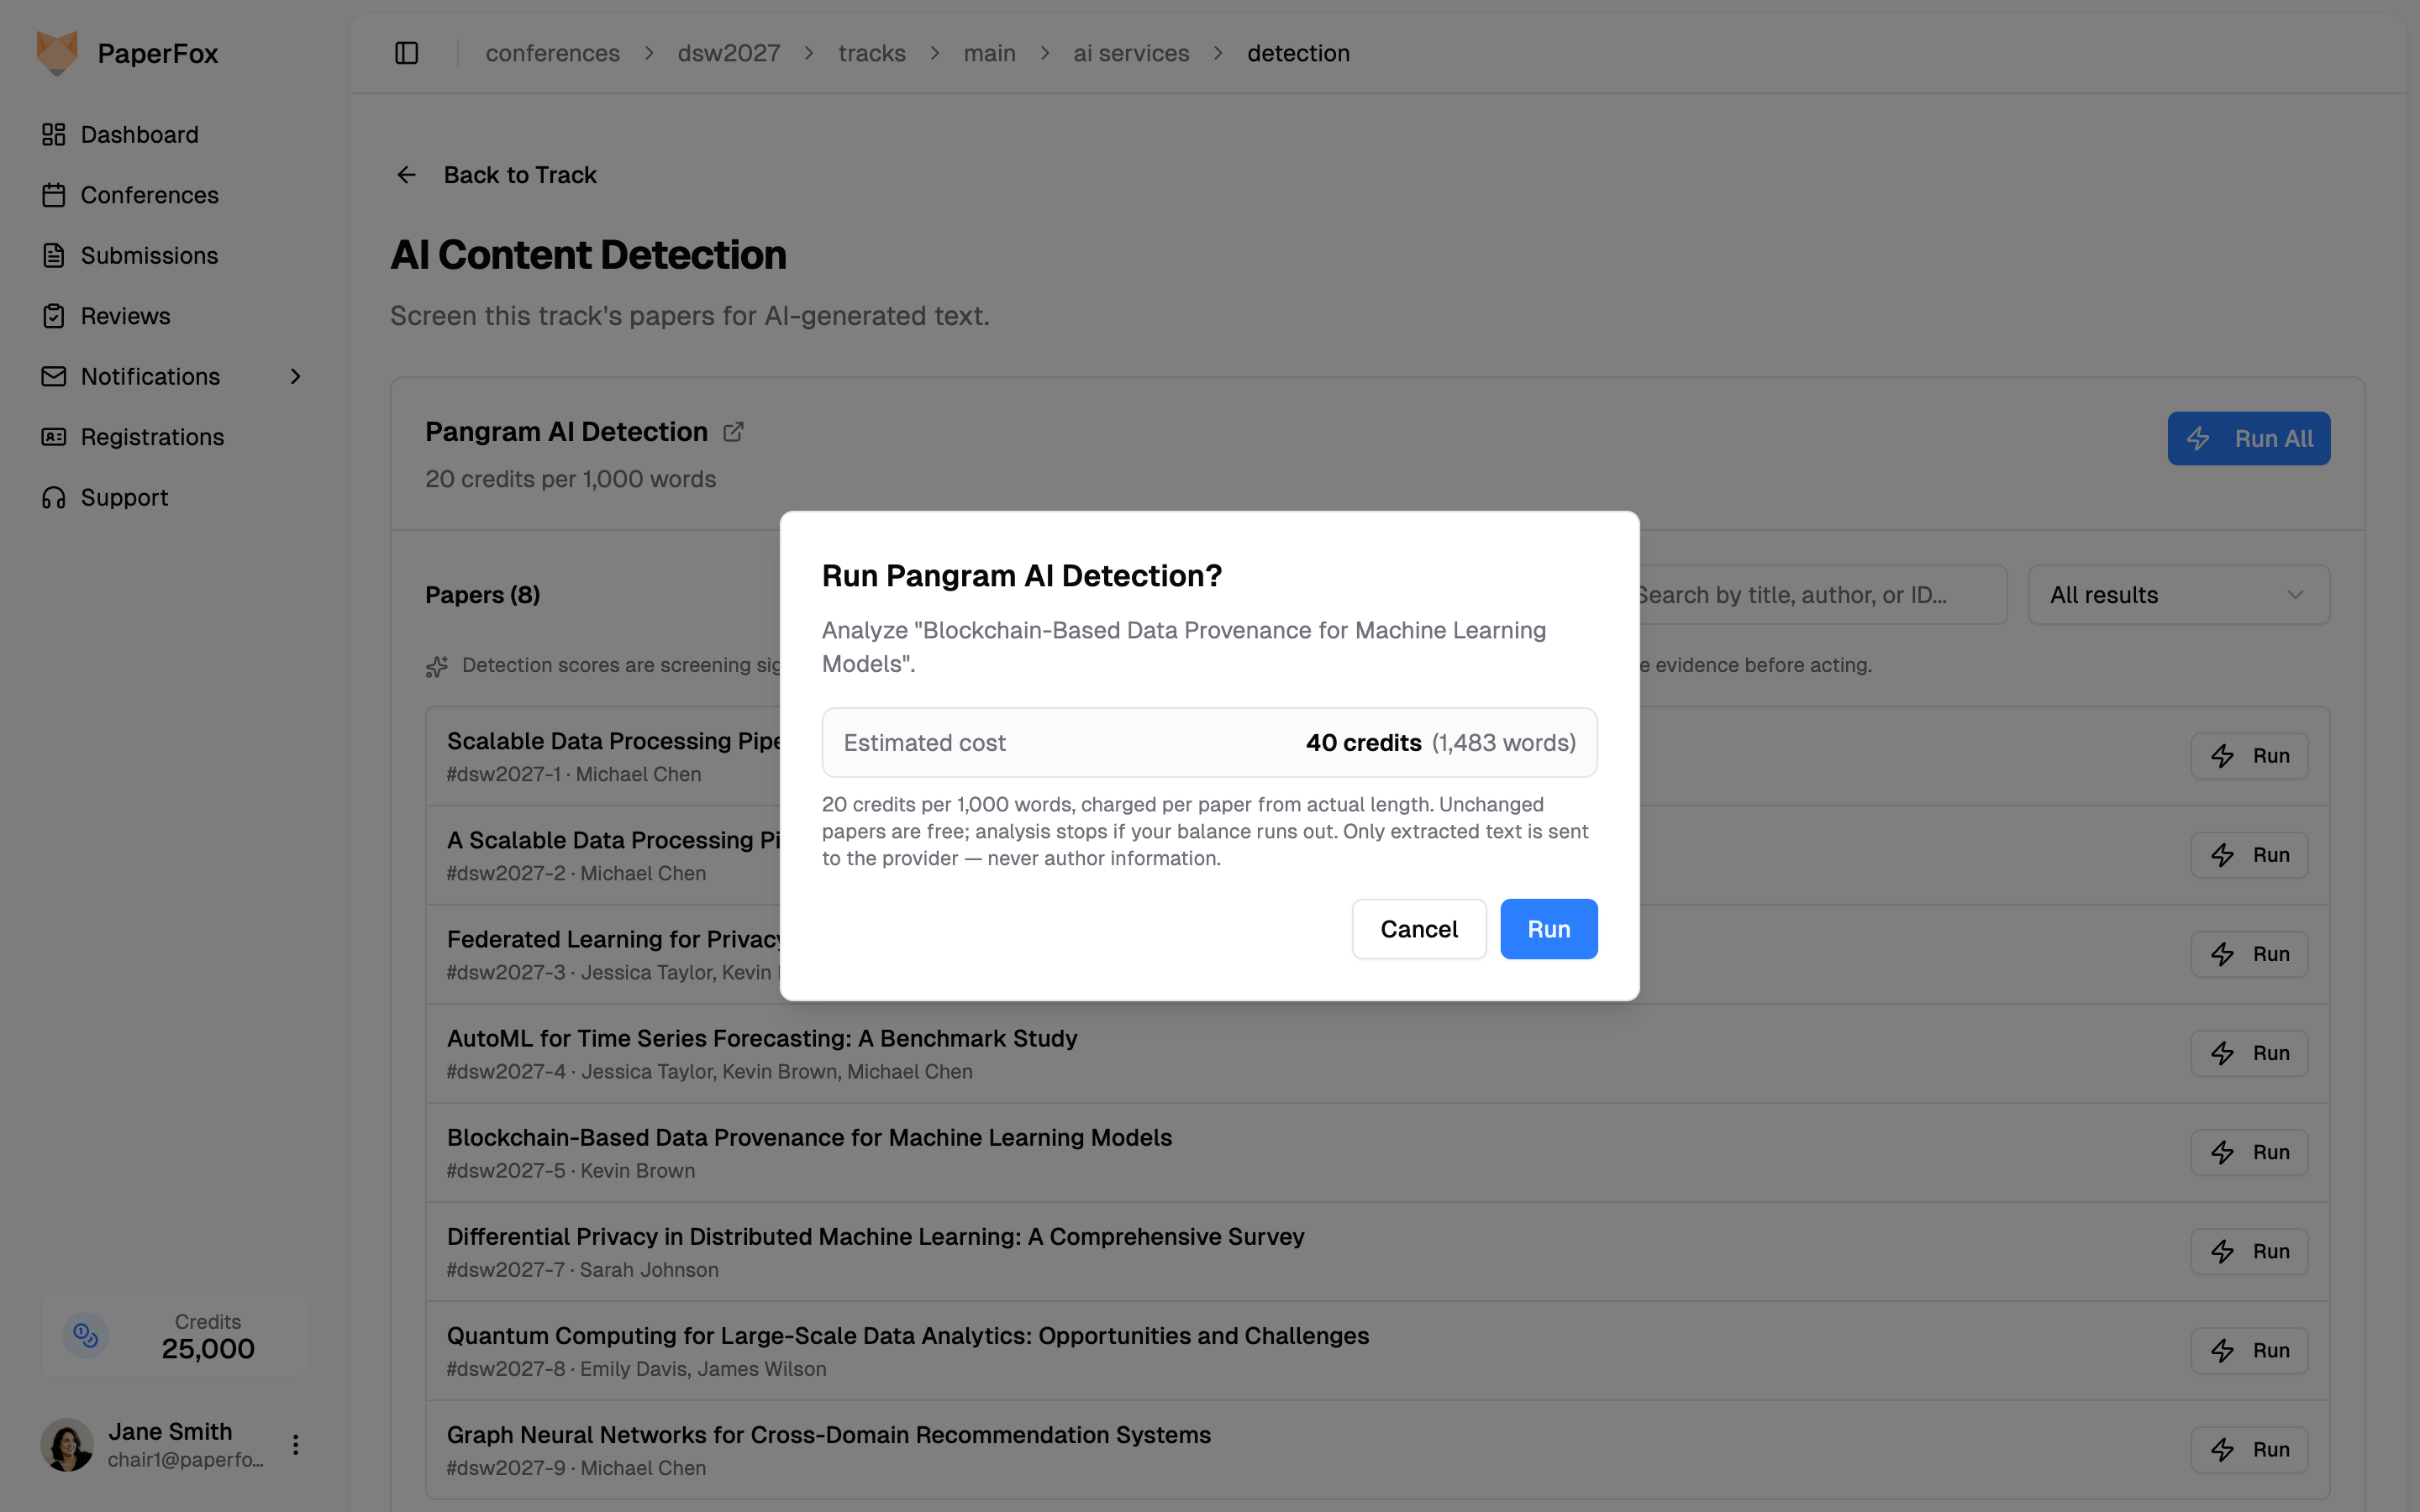 The analysis runs in the background with a progress bar — a typical track finishes in under a minute. You can keep working or cancel the run; cancelling refunds any submissions that weren't analyzed, while submissions that already finished keep their results and their charges.
### Multiple File Fields
If your submission form has more than one file upload field (for example a manuscript plus an appendix), a **Submission field** selector appears above the service cards — pick which field's upload gets analyzed. Submissions without an upload in the selected field are skipped, never billed. Forms with a single file field need no configuration.
### Which Version Is Analyzed
A run always analyzes each submission's **latest uploaded PDF** — there is no phase scoping. If a submission's PDF is replaced after a run, its row shows a **PDF updated** badge so you can re-run just that submission. Moving submissions between phases doesn't trigger the badge — only a new file does.
---
## Reviewing Results
The **Submissions** list on each service card shows every submission in scope with its latest result — single-submission re-runs simply refresh that submission's row. On large tracks, use the **search box** (title, author, or submission ID) and the **result filter** next to it (All / AI / Mixed / Human / Skipped / Not analyzed, with live counts) to narrow the list; the two combine. Verdicts:
| Verdict | Meaning |
|---------|---------|
| **AI** (red) | Most of the text looks AI-generated |
| **Mixed** / **AI-Assisted** (amber) | Parts of the text look AI-generated or AI-edited |
| **Human** (green) | The text looks human-written |
Each analyzed row also shows:
- **Composition bar** — how much of the text looks AI-generated (red), AI-assisted (amber), and human (green); hover for exact percentages
- **Evidence** — click the magnifier icon to see the full composition breakdown and the flagged passages
- **PDF updated badge** — if the submission's PDF was replaced after the run, an amber badge flags that the result may be outdated
- **Skipped / Failed** — submissions without a PDF, with unreadable files, or stopped by an empty balance; failed-after-charge submissions are refunded automatically
### Viewing Evidence
Click the magnifier icon on any analyzed row to see the submission's full composition and exactly which passages were flagged, each with its own label, score, and confidence level. Passages that look like AI text run through a "humanizer" tool carry an extra **Humanizer detected** badge. Long passages are collapsed — click **"Show full passage"** to expand:
The analysis runs in the background with a progress bar — a typical track finishes in under a minute. You can keep working or cancel the run; cancelling refunds any submissions that weren't analyzed, while submissions that already finished keep their results and their charges.
### Multiple File Fields
If your submission form has more than one file upload field (for example a manuscript plus an appendix), a **Submission field** selector appears above the service cards — pick which field's upload gets analyzed. Submissions without an upload in the selected field are skipped, never billed. Forms with a single file field need no configuration.
### Which Version Is Analyzed
A run always analyzes each submission's **latest uploaded PDF** — there is no phase scoping. If a submission's PDF is replaced after a run, its row shows a **PDF updated** badge so you can re-run just that submission. Moving submissions between phases doesn't trigger the badge — only a new file does.
---
## Reviewing Results
The **Submissions** list on each service card shows every submission in scope with its latest result — single-submission re-runs simply refresh that submission's row. On large tracks, use the **search box** (title, author, or submission ID) and the **result filter** next to it (All / AI / Mixed / Human / Skipped / Not analyzed, with live counts) to narrow the list; the two combine. Verdicts:
| Verdict | Meaning |
|---------|---------|
| **AI** (red) | Most of the text looks AI-generated |
| **Mixed** / **AI-Assisted** (amber) | Parts of the text look AI-generated or AI-edited |
| **Human** (green) | The text looks human-written |
Each analyzed row also shows:
- **Composition bar** — how much of the text looks AI-generated (red), AI-assisted (amber), and human (green); hover for exact percentages
- **Evidence** — click the magnifier icon to see the full composition breakdown and the flagged passages
- **PDF updated badge** — if the submission's PDF was replaced after the run, an amber badge flags that the result may be outdated
- **Skipped / Failed** — submissions without a PDF, with unreadable files, or stopped by an empty balance; failed-after-charge submissions are refunded automatically
### Viewing Evidence
Click the magnifier icon on any analyzed row to see the submission's full composition and exactly which passages were flagged, each with its own label, score, and confidence level. Passages that look like AI text run through a "humanizer" tool carry an extra **Humanizer detected** badge. Long passages are collapsed — click **"Show full passage"** to expand:
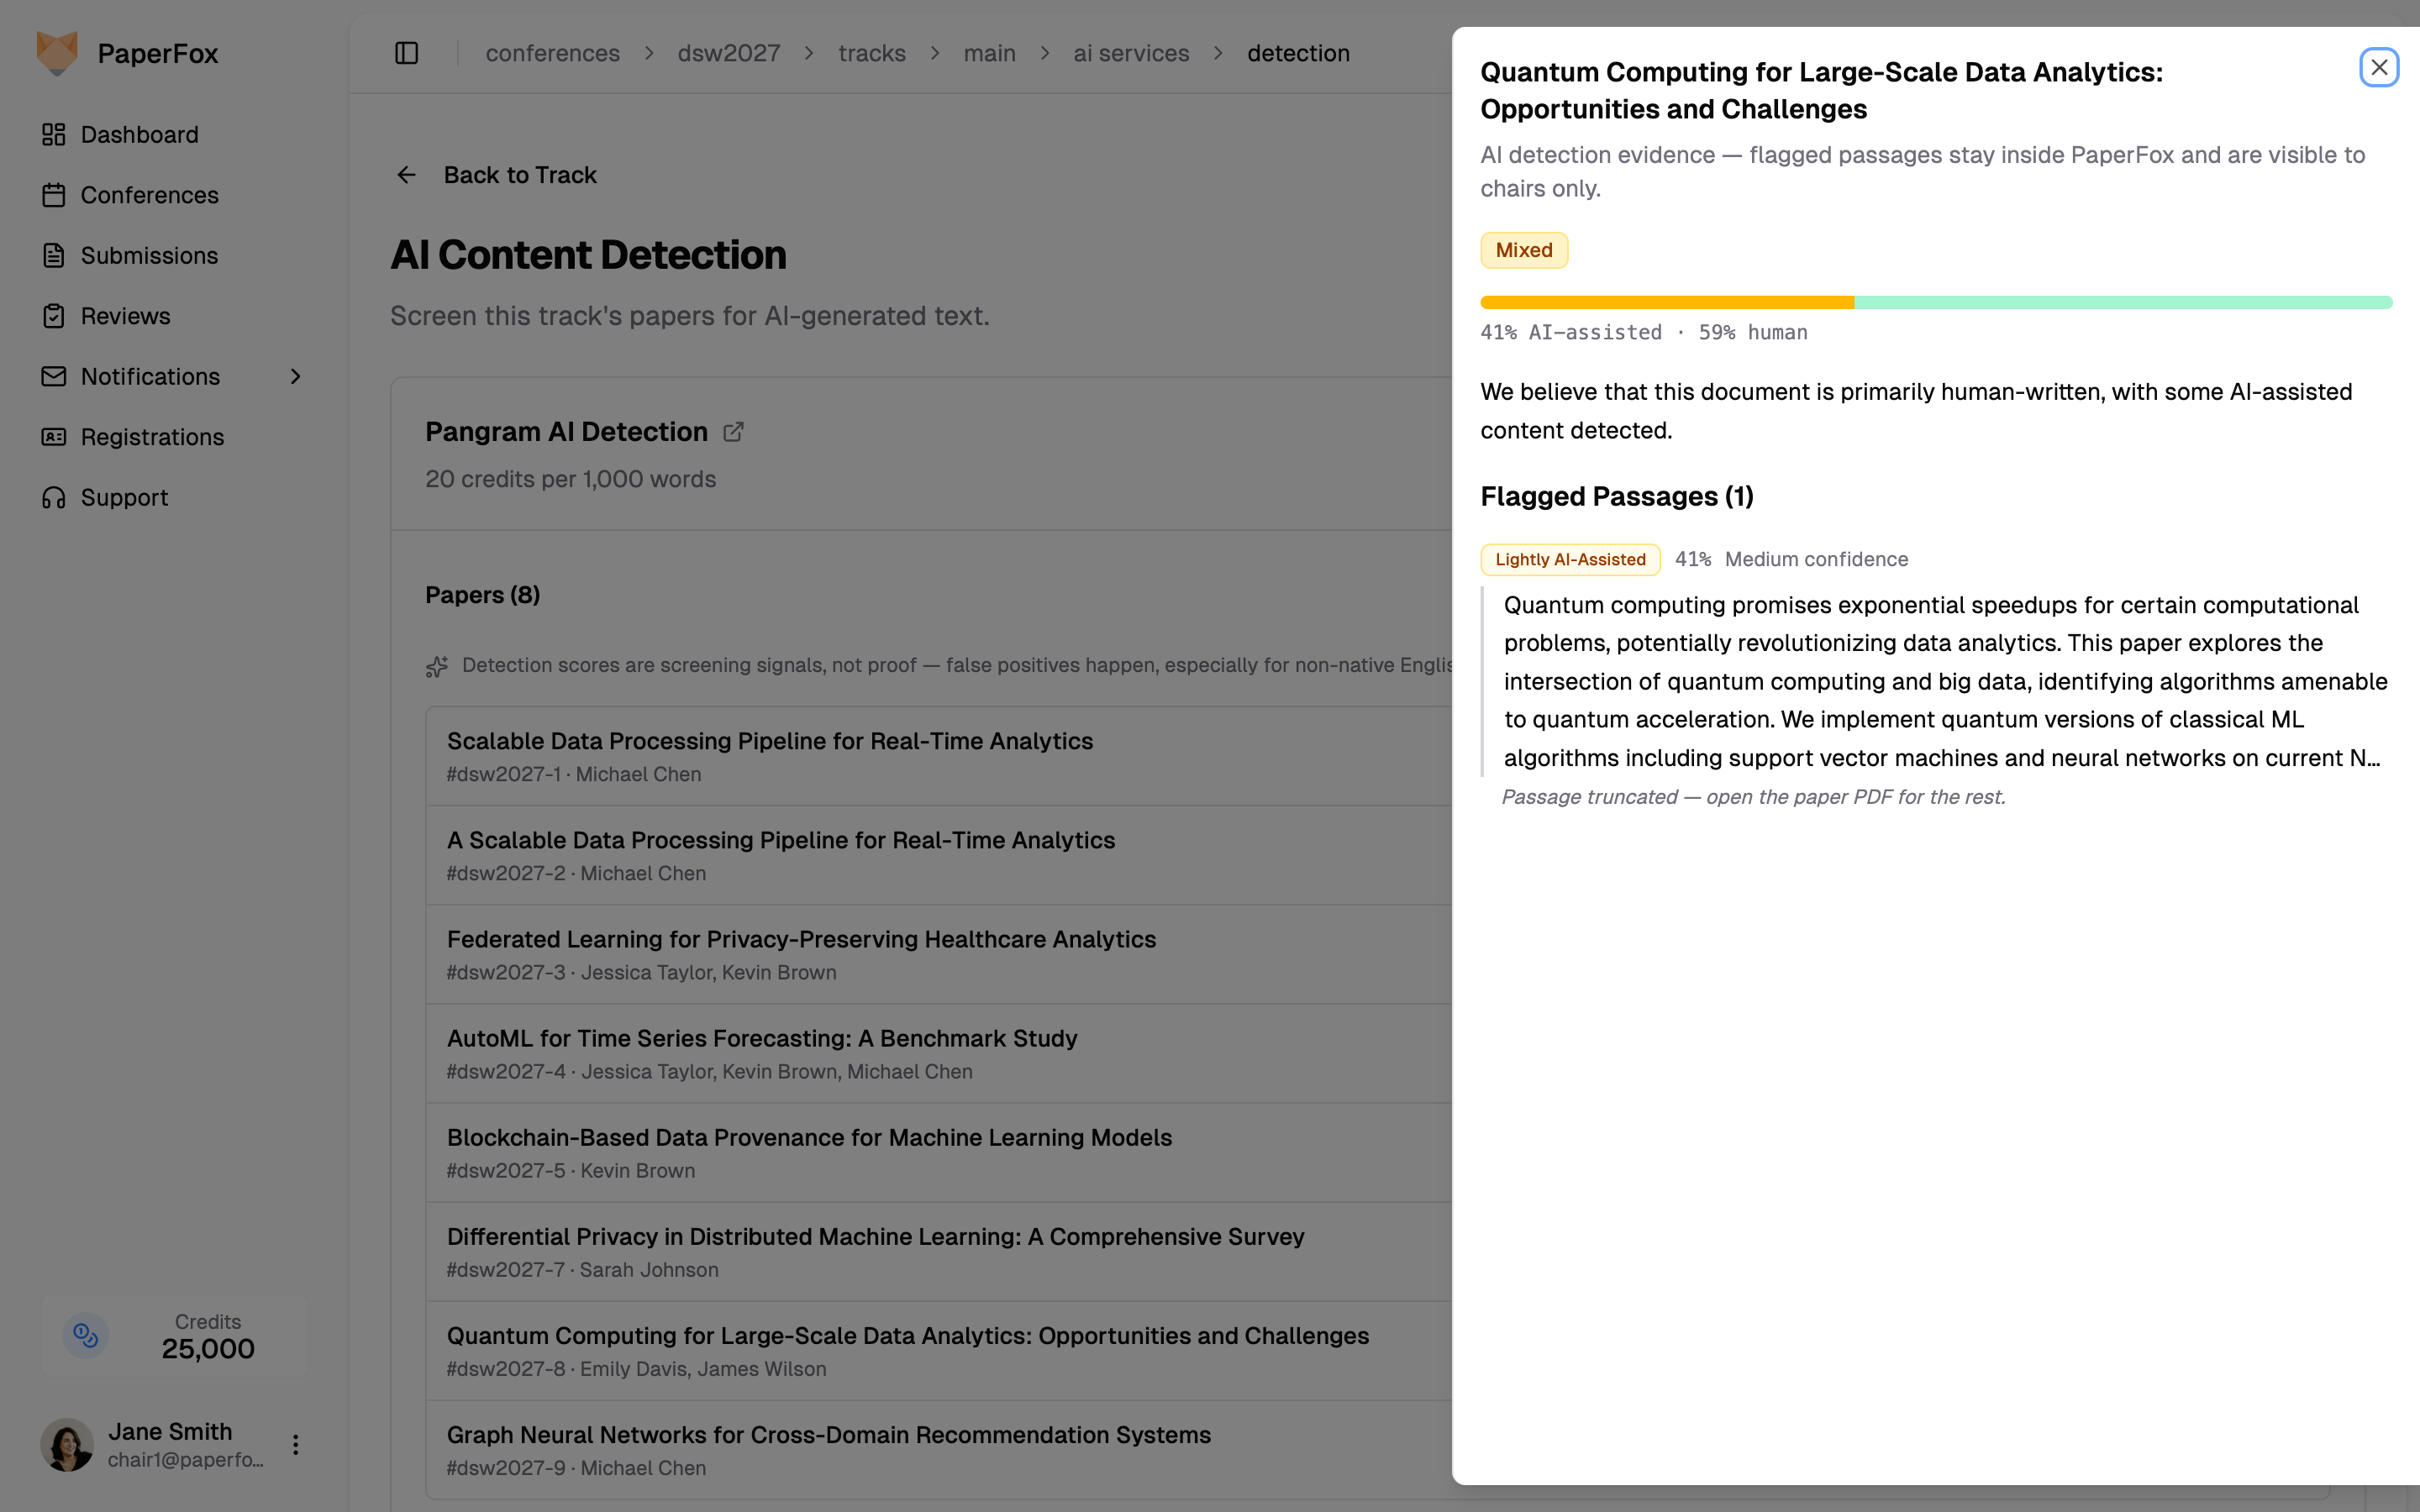 Submissions with a **Human** verdict have no flagged passages — the evidence panel simply confirms nothing was flagged.
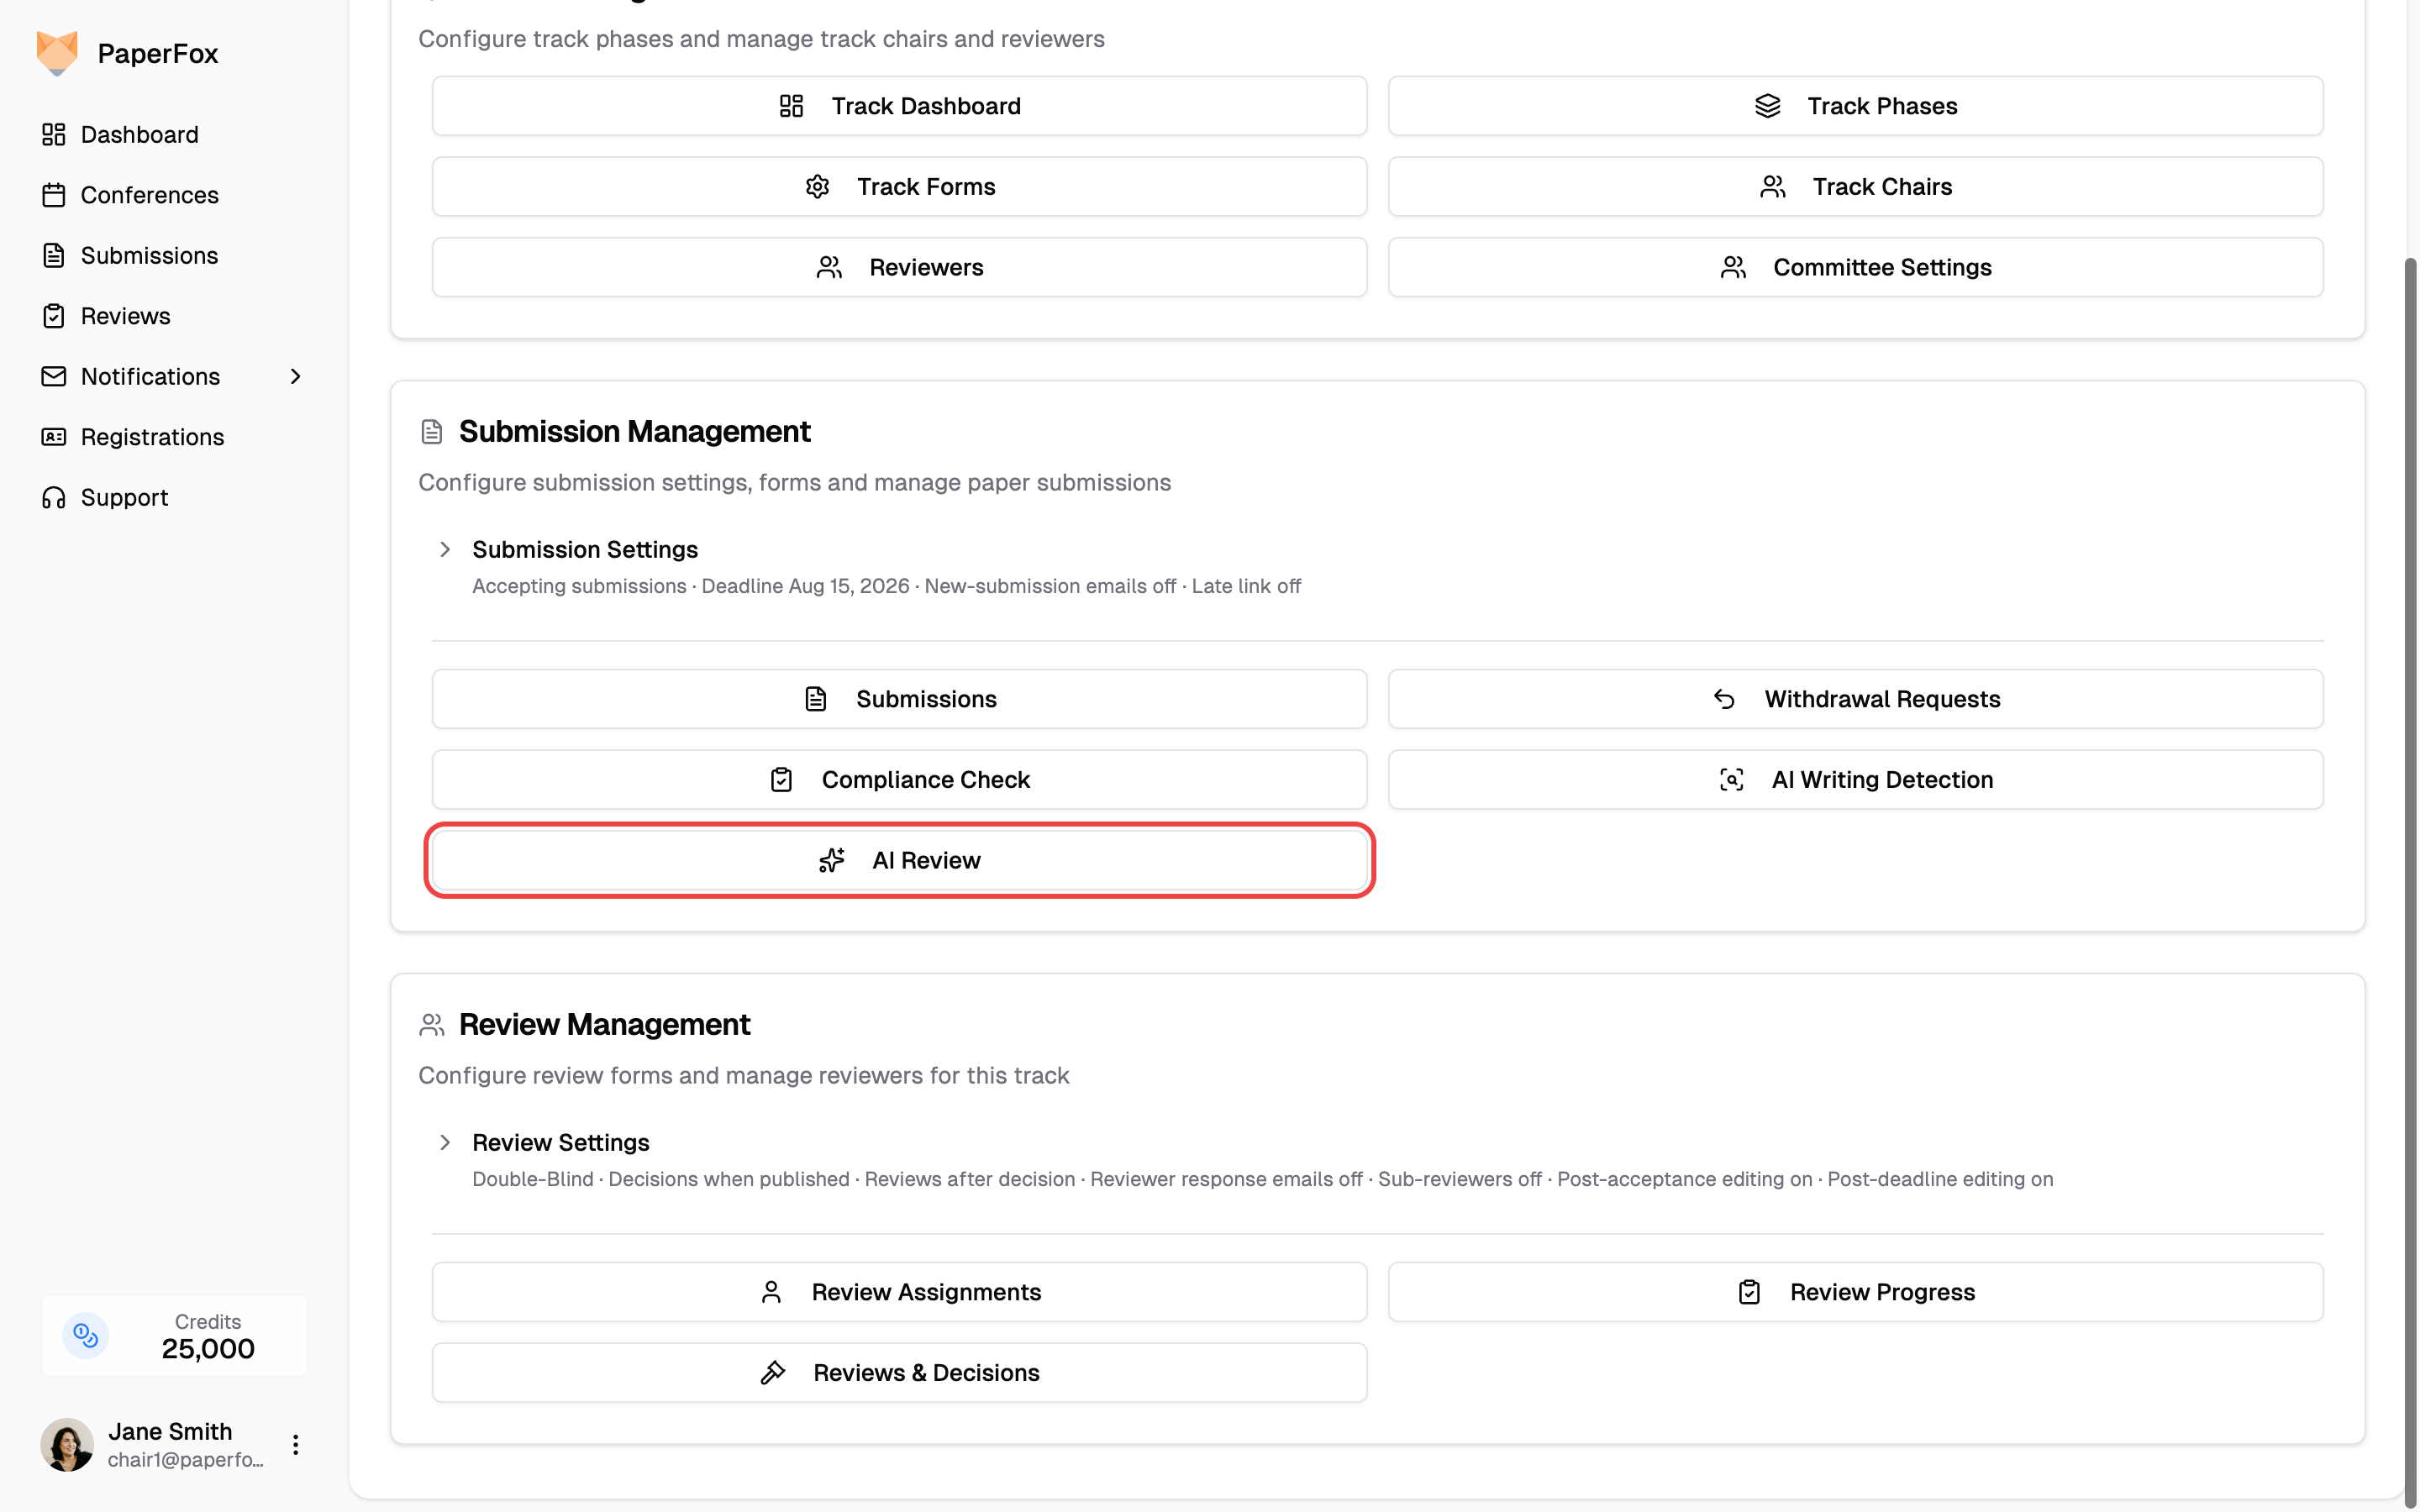 3. Pick a **Provider** from the dropdown — **Reviewer2 AI Review** or **Refine AI Review**. With Reviewer2 selected, a **Model** dropdown picks the OpenAI model (GPT-6 Luna, Sol, or Astra). The card below shows the selection's rate and submission list — click **"Run All"**, or **"Run"** on an individual submission's row to review just that submission
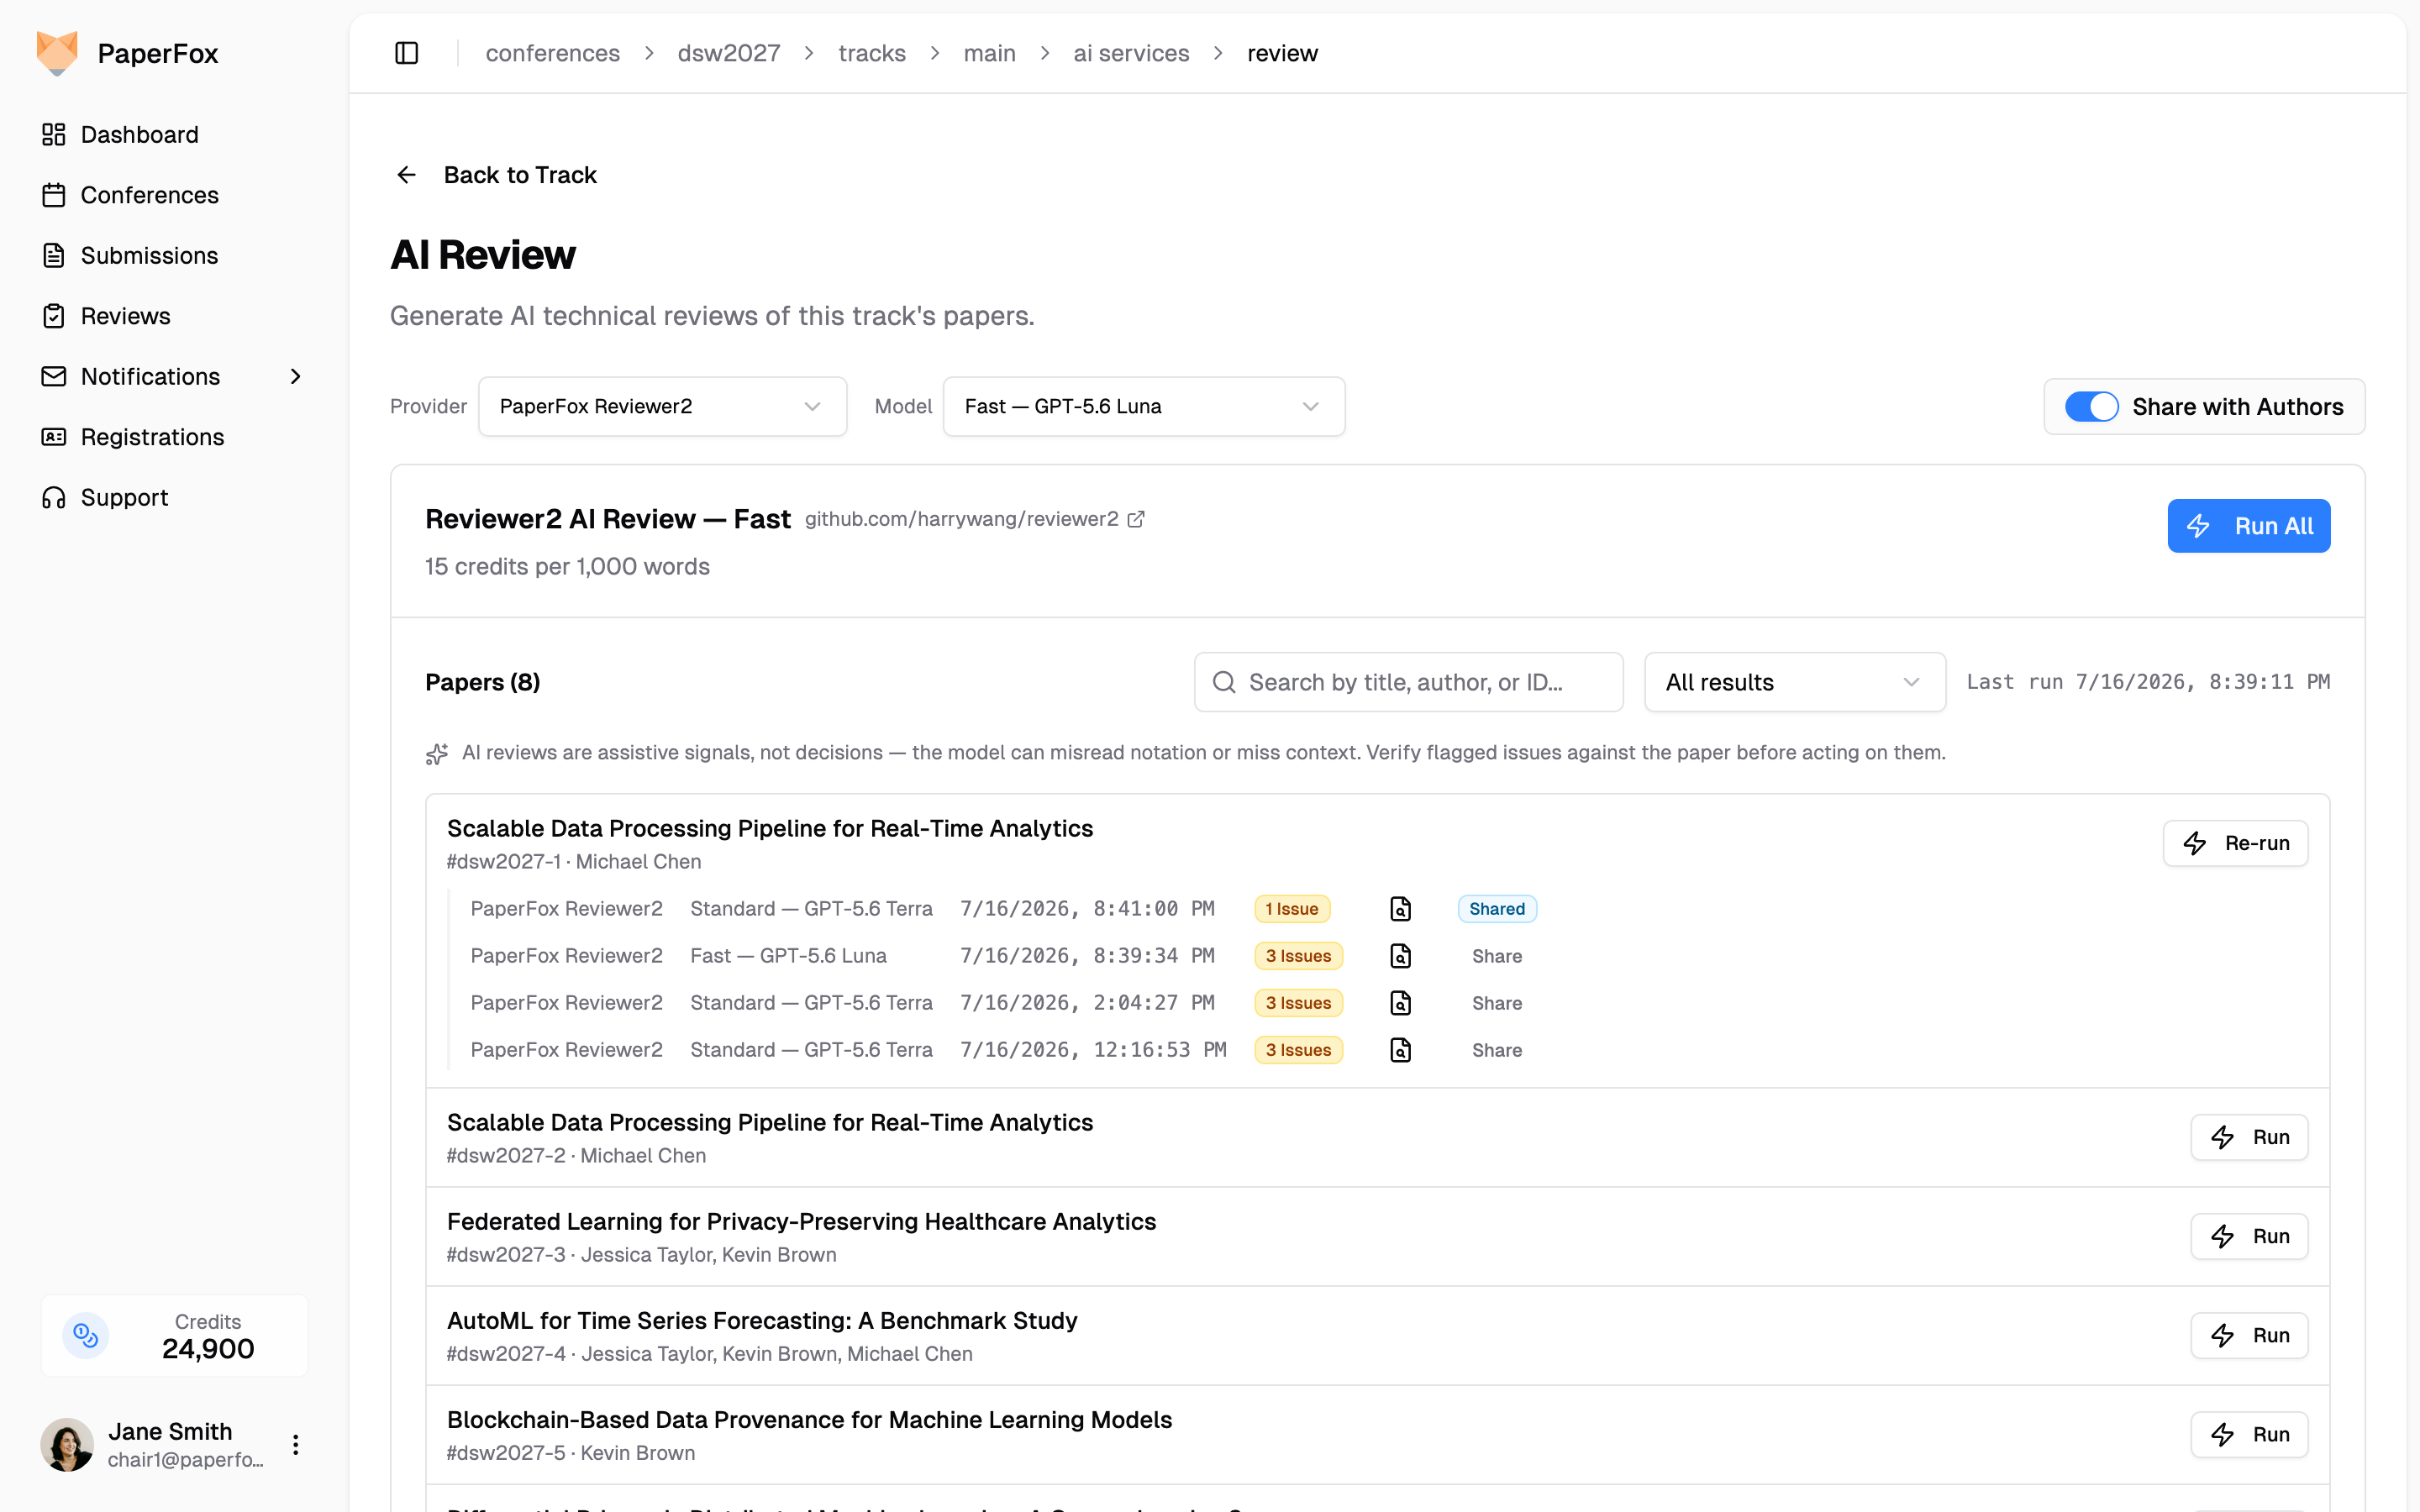 4. The confirmation dialog shows the estimated cost and the external-data disclosure. Confirm to start
A run always analyzes each submission's **latest uploaded version**. Forms with several file fields get the same **Submission field** selector as detection — see [AI Content Detection](/docs/track-chairs/ai-content-detection#multiple-file-fields).
---
## Reading the Report
Every run of a submission is listed under its row with the provider, model, date, and a verdict badge — the count of findings (amber, red at 10+), or green when there are none. Each provider's own word is used: Reviewer2 runs read **4 Issues** / **No Issues**, Refine.ink runs **4 Comments** / **No Comments**. The **Used for sharing** marker shows which run sharing would hand out (the latest, by default — nothing is disclosed until you share the submission); click **Use for Sharing** on another run to hand out that version instead — see [Sharing](#the-share-ai-reviews-page) below for who sees it. Click a run's magnifier icon to open its full report:
- **Overall Feedback** — a reviewer-style summary of the submission's strengths and weaknesses
- **Comments** — each with a title, the verbatim quote from the submission it refers to, and an explanation of what's wrong. Reviewer2 comments also carry a tag (**technical**, **logical**, or **reference** when [Reference Check](#reference-check) is on); Refine.ink comments are untagged and listed by relevance, as on Refine.ink
Reports render the vendor's formatting — LaTeX math, tables, and emphasis all display properly, including inside quoted passages. The **copy** and **download** icons at the top of the report export the report as Markdown or plain text.
4. The confirmation dialog shows the estimated cost and the external-data disclosure. Confirm to start
A run always analyzes each submission's **latest uploaded version**. Forms with several file fields get the same **Submission field** selector as detection — see [AI Content Detection](/docs/track-chairs/ai-content-detection#multiple-file-fields).
---
## Reading the Report
Every run of a submission is listed under its row with the provider, model, date, and a verdict badge — the count of findings (amber, red at 10+), or green when there are none. Each provider's own word is used: Reviewer2 runs read **4 Issues** / **No Issues**, Refine.ink runs **4 Comments** / **No Comments**. The **Used for sharing** marker shows which run sharing would hand out (the latest, by default — nothing is disclosed until you share the submission); click **Use for Sharing** on another run to hand out that version instead — see [Sharing](#the-share-ai-reviews-page) below for who sees it. Click a run's magnifier icon to open its full report:
- **Overall Feedback** — a reviewer-style summary of the submission's strengths and weaknesses
- **Comments** — each with a title, the verbatim quote from the submission it refers to, and an explanation of what's wrong. Reviewer2 comments also carry a tag (**technical**, **logical**, or **reference** when [Reference Check](#reference-check) is on); Refine.ink comments are untagged and listed by relevance, as on Refine.ink
Reports render the vendor's formatting — LaTeX math, tables, and emphasis all display properly, including inside quoted passages. The **copy** and **download** icons at the top of the report export the report as Markdown or plain text.
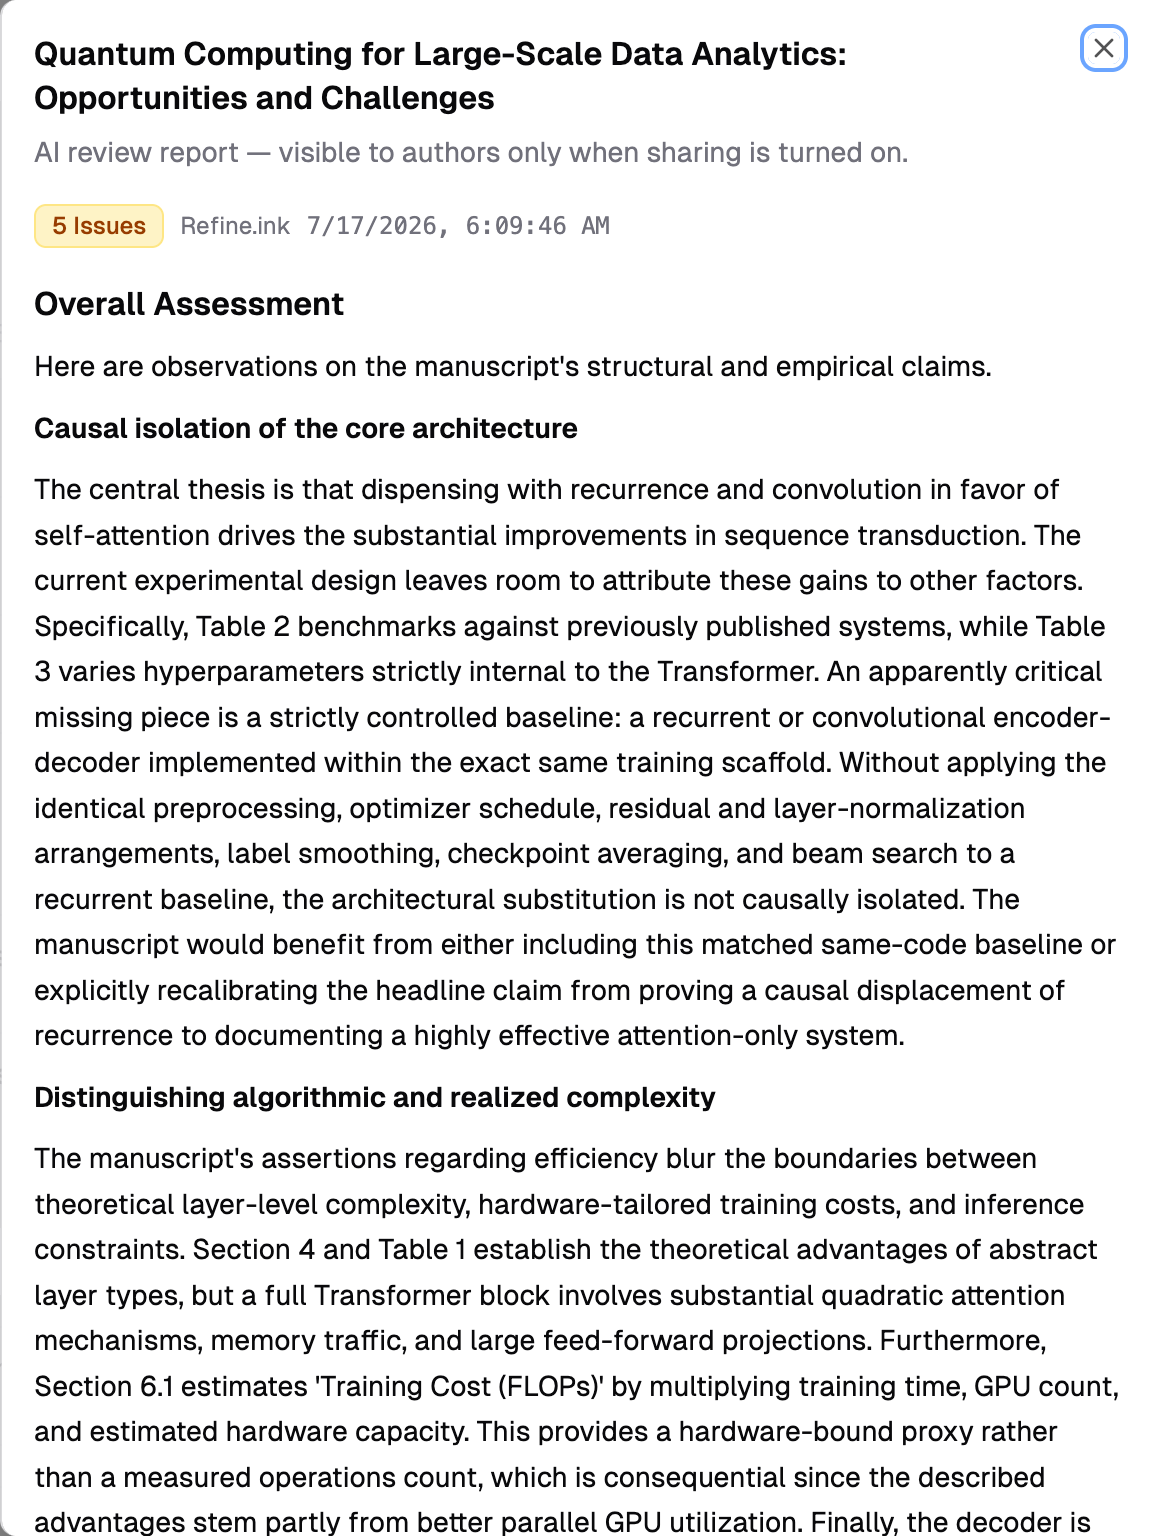 Use the **result filter** above the submission list to focus on submissions with findings (**Issues Found** for Reviewer2, **Comments Found** for Refine.ink), confirm the ones with none, or find submissions that were **Skipped / Failed**.
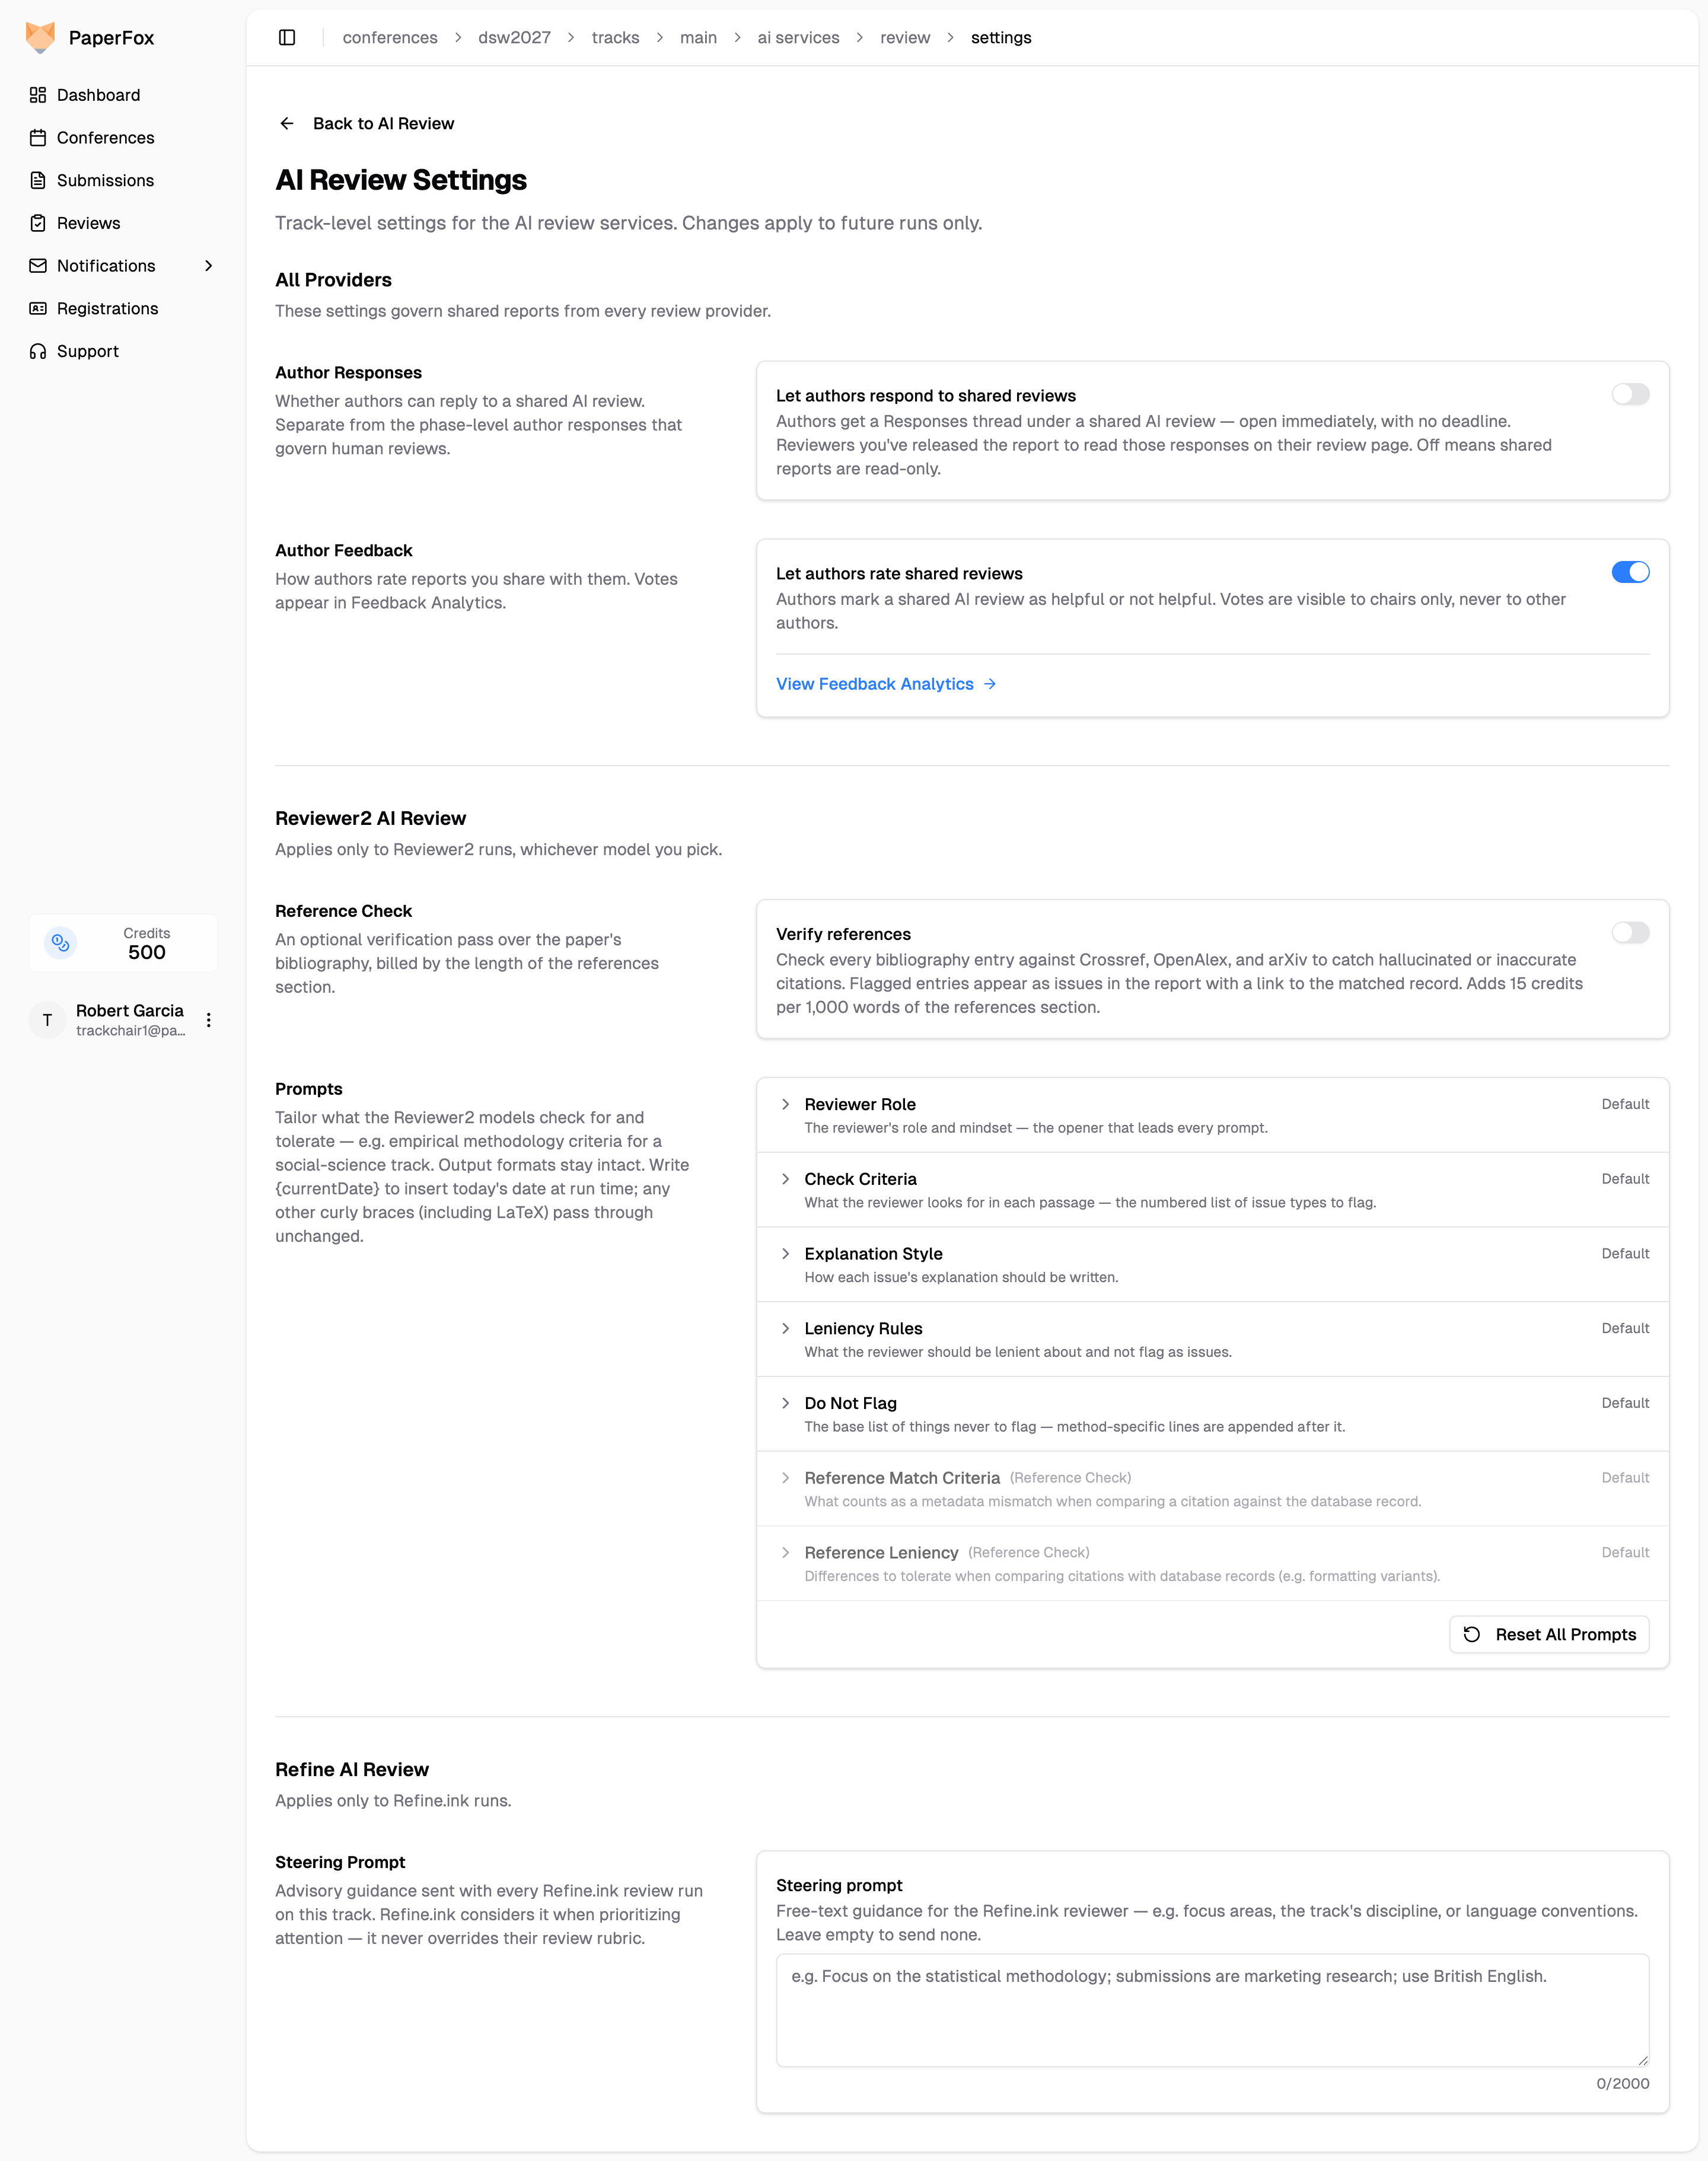 When enabled, every review additionally extracts the submission's reference list and looks each entry up by DOI, arXiv ID, or title search. The lookups are plain database queries — no AI involved — so a citation can never be "hallucinated as verified". Each entry gets a status:
| Status | Meaning |
|--------|---------|
| **Verified** | Matched a database record — the link jumps straight to it |
| **Mismatch** | A record was found, but the cited metadata disagrees (wrong year, venue, or authors) |
| **Not Found** | No matching record in any database — a possible hallucinated citation |
| **Unverifiable** | Books, websites, and theses the databases don't cover — never flagged |
| **Ambiguous** | Close candidates but no confident match — never flagged |
The report gains a **Reference Check** section with the verdict counts and the full per-entry breakdown, each verified or mismatched entry linking its matched record so confirming a citation is one click. **Mismatch** and **Not Found** entries also appear as issues with a **reference** tag, and a free extra check flags in-text citations like `[41]` that point past the end of the bibliography:
When enabled, every review additionally extracts the submission's reference list and looks each entry up by DOI, arXiv ID, or title search. The lookups are plain database queries — no AI involved — so a citation can never be "hallucinated as verified". Each entry gets a status:
| Status | Meaning |
|--------|---------|
| **Verified** | Matched a database record — the link jumps straight to it |
| **Mismatch** | A record was found, but the cited metadata disagrees (wrong year, venue, or authors) |
| **Not Found** | No matching record in any database — a possible hallucinated citation |
| **Unverifiable** | Books, websites, and theses the databases don't cover — never flagged |
| **Ambiguous** | Close candidates but no confident match — never flagged |
The report gains a **Reference Check** section with the verdict counts and the full per-entry breakdown, each verified or mismatched entry linking its matched record so confirming a citation is one click. **Mismatch** and **Not Found** entries also appear as issues with a **reference** tag, and a free extra check flags in-text citations like `[41]` that point past the end of the bibliography:
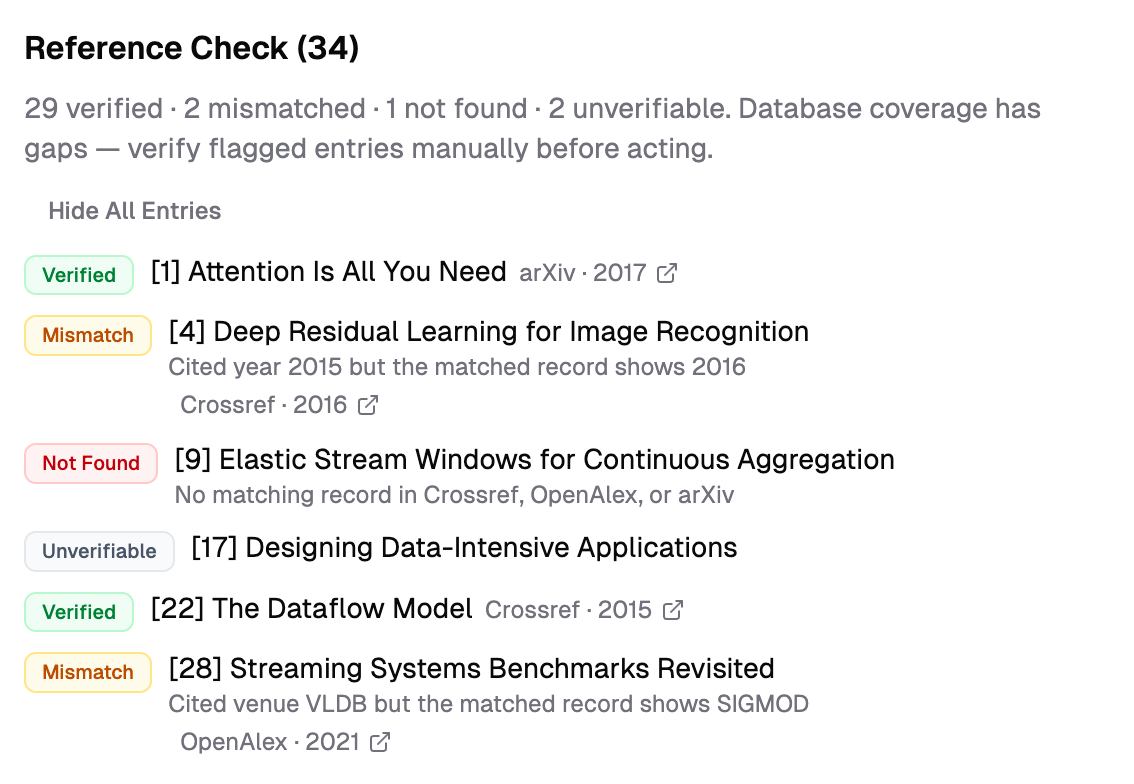 Reference Check adds **15 credits per 1,000 words of the references section** (a typical bibliography is 1–2 units, so ~15–30 credits per submission) — the exact amount is shown in the run confirmation dialog. With it enabled, bibliography metadata (titles, authors, DOIs) is queried against the public Crossref, OpenAlex, and arXiv databases in addition to the submission text going to OpenAI.
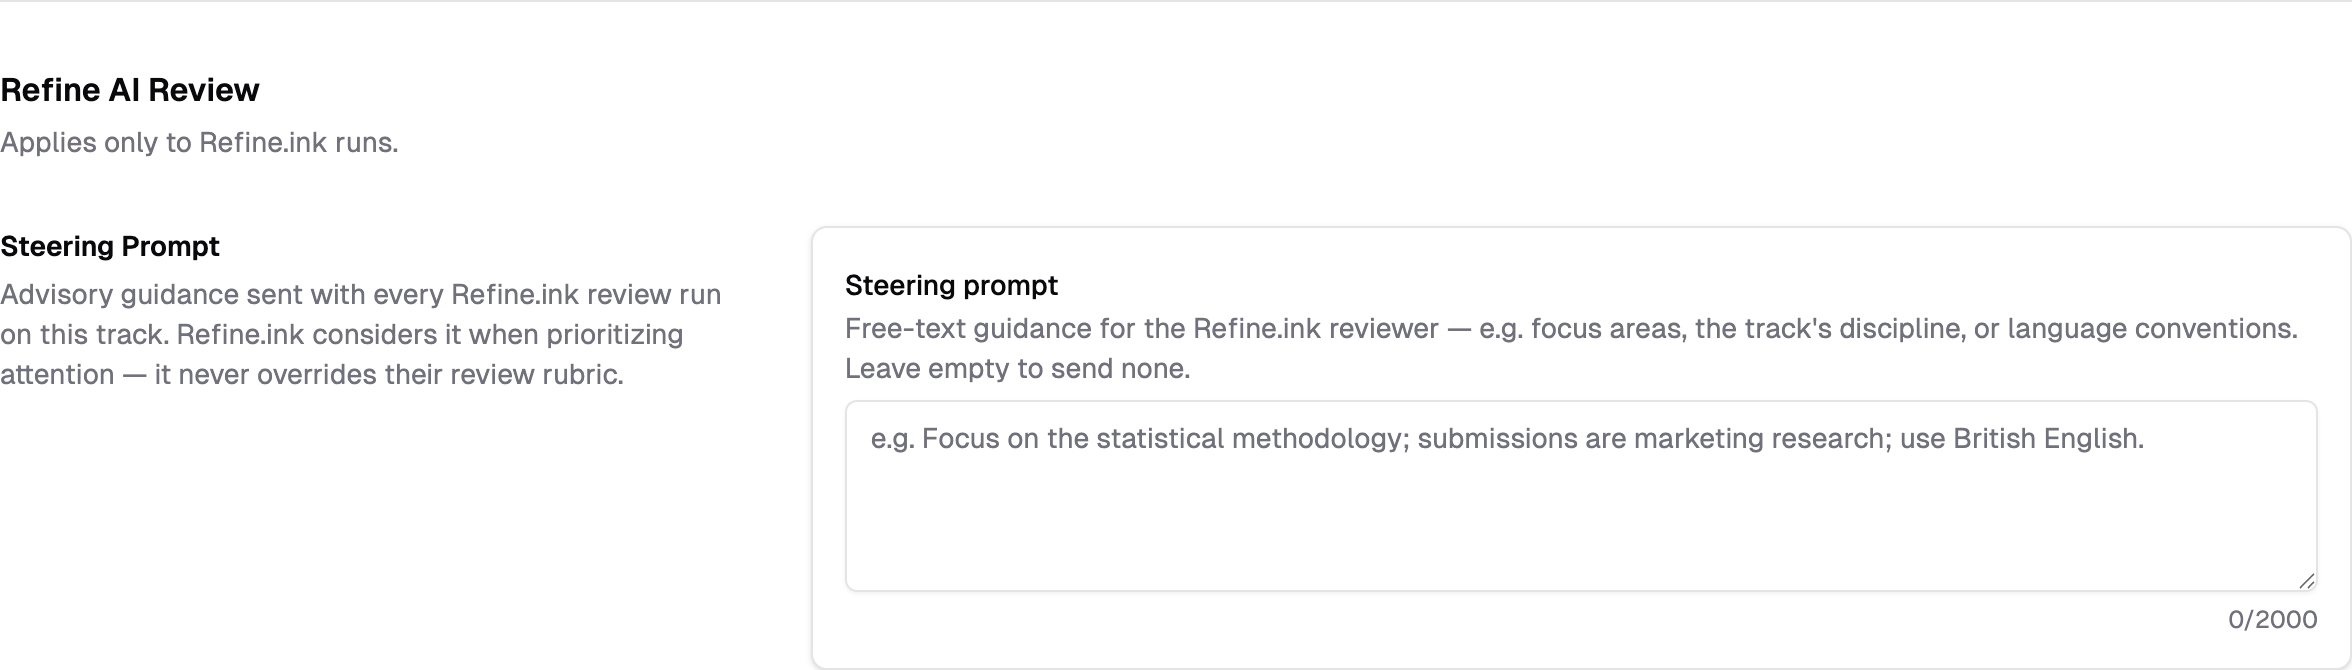 Like the Reviewer2 prompts, the steering prompt is per-track and applies to **future runs only**. Leave it empty to send nothing. To check what guided a Refine.ink report, click **Steering prompt** on its provider line: it shows the prompt Refine.ink says it received for that run, with a link to update the track's prompt. Only chairs see it; it's removed from the report authors and reviewers get.
---
## The Share AI Reviews Page
Generating AI reviews and deciding who sees them are separate jobs, so they live on separate pages. The AI Review page only runs and reads them; all sharing happens on the **Share AI Reviews** page — click **"Share AI Reviews"** in the AI Review page's header.
The page lists every submission **with an AI review** — one row per submission, one column per audience:
- **Authors** — a switch per submission, plus a track-wide **"Share with Authors"** switch in the header
- **Reviewers** — a per-reviewer switch list (below), plus the paired track-wide **"Share with Reviewers"** switch
*Which* run a submission shares is decided on the AI Review page's run history — **latest** by default (a re-run automatically becomes the shared one), or the run you marked **Use for Sharing**. One choice per submission; it drives what authors *and* released reviewers see.
Like the Reviewer2 prompts, the steering prompt is per-track and applies to **future runs only**. Leave it empty to send nothing. To check what guided a Refine.ink report, click **Steering prompt** on its provider line: it shows the prompt Refine.ink says it received for that run, with a link to update the track's prompt. Only chairs see it; it's removed from the report authors and reviewers get.
---
## The Share AI Reviews Page
Generating AI reviews and deciding who sees them are separate jobs, so they live on separate pages. The AI Review page only runs and reads them; all sharing happens on the **Share AI Reviews** page — click **"Share AI Reviews"** in the AI Review page's header.
The page lists every submission **with an AI review** — one row per submission, one column per audience:
- **Authors** — a switch per submission, plus a track-wide **"Share with Authors"** switch in the header
- **Reviewers** — a per-reviewer switch list (below), plus the paired track-wide **"Share with Reviewers"** switch
*Which* run a submission shares is decided on the AI Review page's run history — **latest** by default (a re-run automatically becomes the shared one), or the run you marked **Use for Sharing**. One choice per submission; it drives what authors *and* released reviewers see.
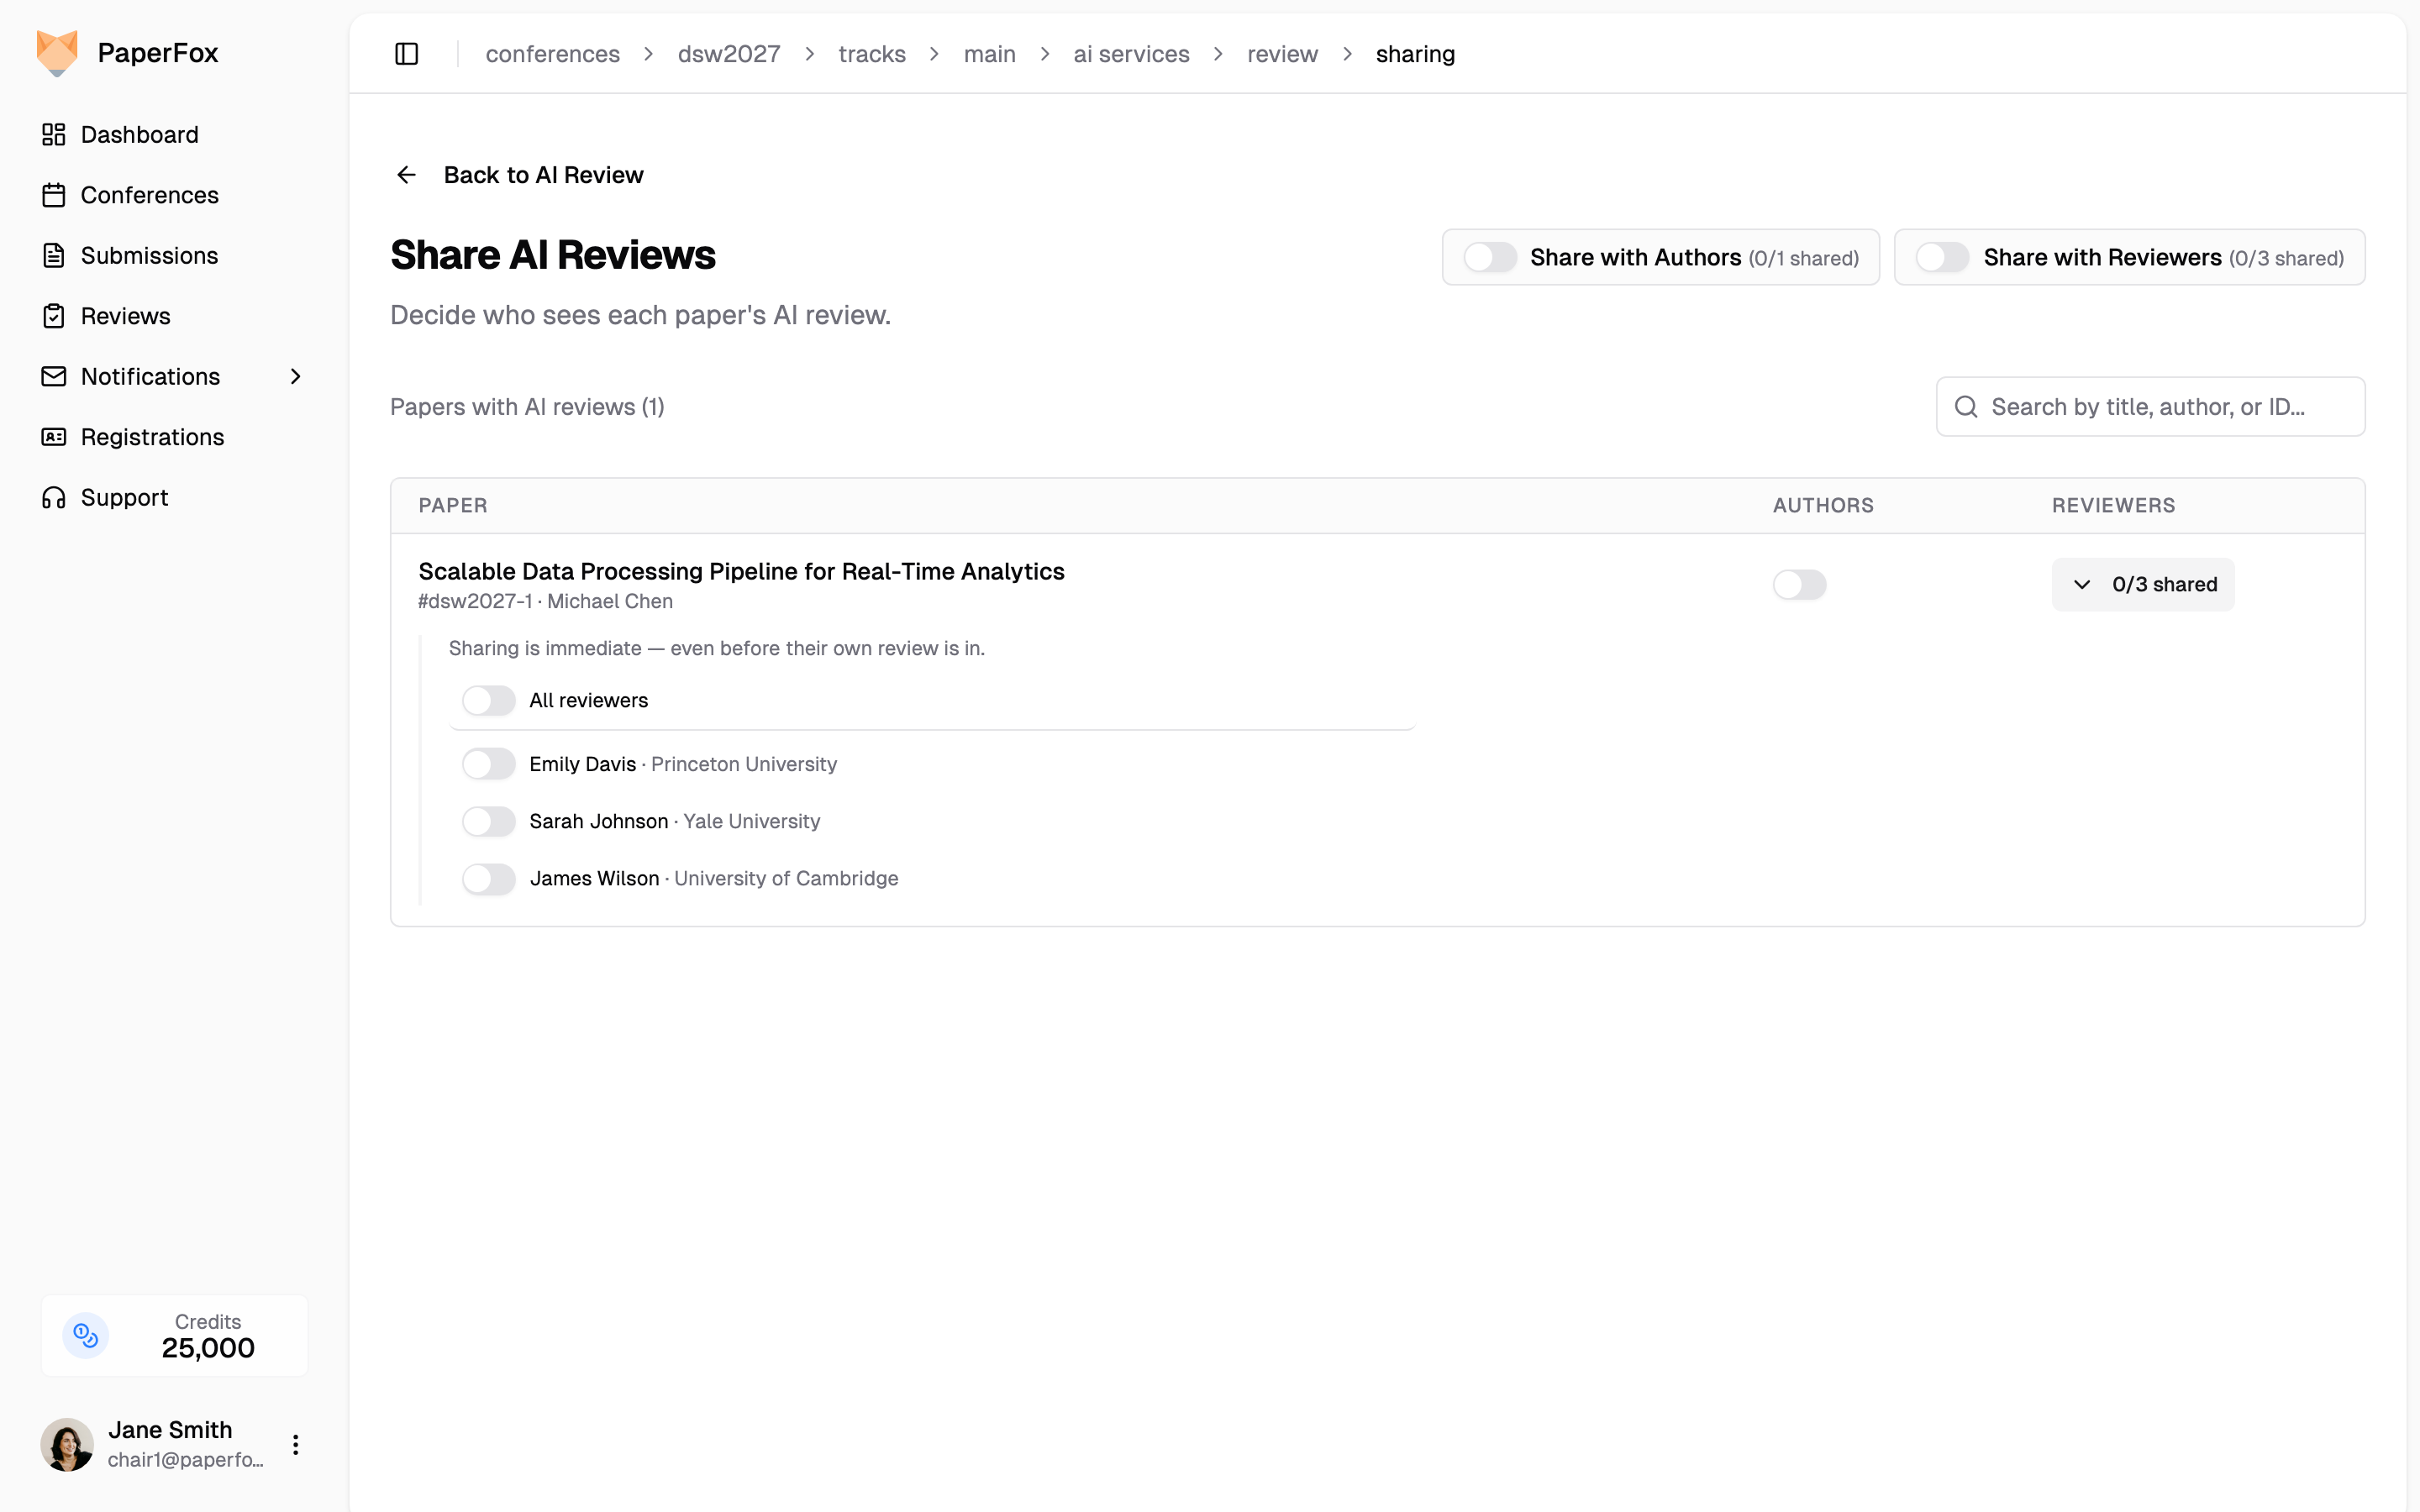 ## Sharing with Authors
**Sharing takes effect immediately.** Authors see the report on their submission's reviews page as soon as you share it — an AI review is a supplement you grant per submission, not a human review, so it does not wait on releasing the phase's decisions and reviews. Your track's release settings still govern human reviews exactly as before; the two are independent.
1. **"Share with Authors"** shares every submission that **has an AI review** — the count beside it is out of the submissions *with AI reviews*, not the whole track: a track of 8 submissions where only 5 have been reviewed reads **3/5 shared**, never 3/8. Submissions reviewed later are not shared automatically; share them individually or flip the switch again
2. Turning the switch **off** unshares **everything**; the switch is on whenever at least one submission is shared
3. Each submission's own **Authors** switch shares or unshares just that submission
Authors see the report on their submission's reviews page, opening with the AI-generated disclaimer and presented like a human review — the same overall assessment and issue list you see, but **without** the verdict badge, provider, model, or run date, which stay chair-only. From that page's **Reviews** header, authors can copy or download all of their reviews — the shared AI review included — as one document. Reviewers don't see AI reviews unless you share one with them (below).
If you turn on **"Let authors respond to shared reviews"** on the **AI Review Settings** page (off by default), the shared AI review card carries its own **Responses** thread — open the moment the review is shared, with no deadline. Authors can react to the AI-raised points there, and reviewers you've released the report to read those responses in the same thread on their review page. This switch is separate from the phase-level [author responses](/docs/track-chairs/author-responses) that govern human reviews. You monitor every AI-review thread from the submission's management reviews page.
**On your side, the report sits with the submission's human reviews.** A submission's management reviews page shows its current AI review as an **AI Review** card — with the verdict, provider, model and run date — whether or not you've shared it, tagged **Shared with authors** or **Visible to chairs only** so the disclosure state is never in doubt. Sharing decides who *else* sees the report, never whether you can. Its **Responses** thread is attached to the same card, once the report is shared with authors.
## Sharing with Authors
**Sharing takes effect immediately.** Authors see the report on their submission's reviews page as soon as you share it — an AI review is a supplement you grant per submission, not a human review, so it does not wait on releasing the phase's decisions and reviews. Your track's release settings still govern human reviews exactly as before; the two are independent.
1. **"Share with Authors"** shares every submission that **has an AI review** — the count beside it is out of the submissions *with AI reviews*, not the whole track: a track of 8 submissions where only 5 have been reviewed reads **3/5 shared**, never 3/8. Submissions reviewed later are not shared automatically; share them individually or flip the switch again
2. Turning the switch **off** unshares **everything**; the switch is on whenever at least one submission is shared
3. Each submission's own **Authors** switch shares or unshares just that submission
Authors see the report on their submission's reviews page, opening with the AI-generated disclaimer and presented like a human review — the same overall assessment and issue list you see, but **without** the verdict badge, provider, model, or run date, which stay chair-only. From that page's **Reviews** header, authors can copy or download all of their reviews — the shared AI review included — as one document. Reviewers don't see AI reviews unless you share one with them (below).
If you turn on **"Let authors respond to shared reviews"** on the **AI Review Settings** page (off by default), the shared AI review card carries its own **Responses** thread — open the moment the review is shared, with no deadline. Authors can react to the AI-raised points there, and reviewers you've released the report to read those responses in the same thread on their review page. This switch is separate from the phase-level [author responses](/docs/track-chairs/author-responses) that govern human reviews. You monitor every AI-review thread from the submission's management reviews page.
**On your side, the report sits with the submission's human reviews.** A submission's management reviews page shows its current AI review as an **AI Review** card — with the verdict, provider, model and run date — whether or not you've shared it, tagged **Shared with authors** or **Visible to chairs only** so the disclosure state is never in doubt. Sharing decides who *else* sees the report, never whether you can. Its **Responses** thread is attached to the same card, once the report is shared with authors.
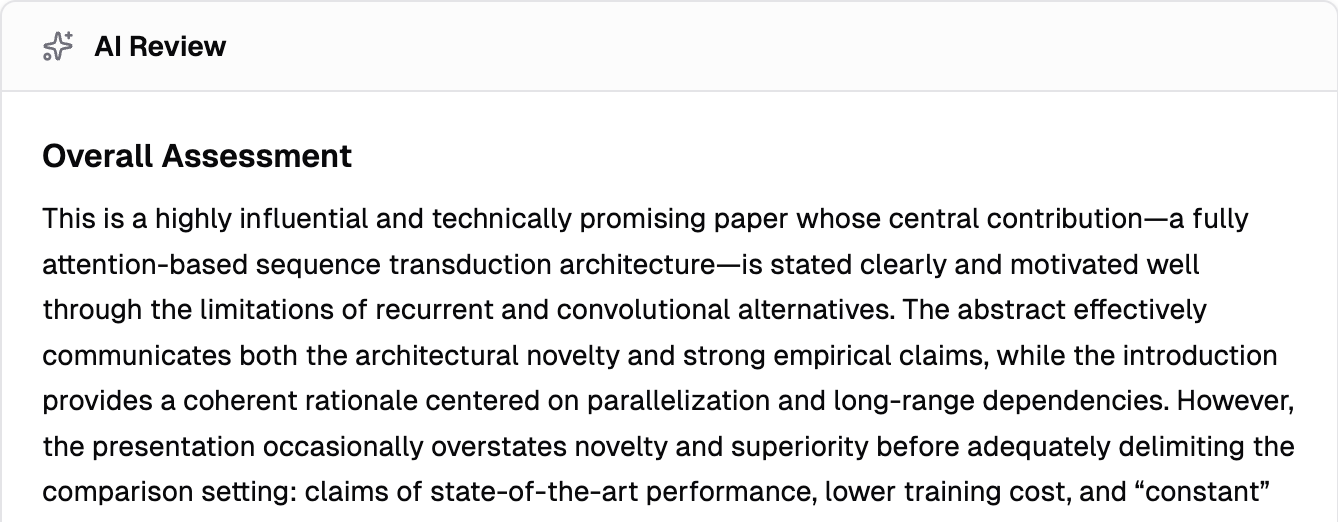 ---
## Sharing with Reviewers
You can also share a submission's AI review with its **reviewers** — all of them, or a specific one — for example as a supplementary opinion during discussion. The **Reviewers** column shows how many of each submission's reviewers the AI review is shared with:
1. Click the **"n/m shared"** count on the submission's row to expand its reviewer list
2. Toggle a reviewer on to share the AI review with just them, or **All reviewers** to cover the submission's whole panel; toggle off to take it back
3. **"Share with Reviewers"** in the header shares with every reviewer of every submission with an AI review at once; turning it off unshares everything
Two things to know before sharing with reviewers:
- **It's immediate**, like sharing with authors — a reviewer sees the AI review the moment you toggle them on, **even if they haven't submitted their own review yet**. If you're worried about anchoring, share only with reviewers whose reviews are already in.
- Reviewers see the same AI review authors would — the AI disclaimer and the issue list, without the chair-only verdict badge, provider, or model — as an **AI Review** card on their review page. It never counts toward the submission's reviews.
The shared AI review is the submission's **current** one: the run marked **Use for Sharing** if you chose one, otherwise the latest. Re-running the submission updates what reviewers see, exactly as it does for authors.
When a review is shared, authors can rate the whole report as helpful or not helpful, with optional reason tags on a downvote (**Inaccurate**, **Too generic**, **Not actionable**, **Other**). Ratings are **visible to chairs only**, never to other authors, so authors can be candid.
The **"Let authors rate shared reviews"** switch on the **AI Review Settings** page controls this per track (on by default) — one helpful/not-helpful rating per shared report.
Click **"View Feedback Analytics"** next to that switch (or open **Analytics → AI Review Feedback** from the track dashboard) to see how the reviews land:
- **Helpful rate and total votes** — every percentage shows its raw counts; treat rates from only a few votes as anecdotes, not scores
- **Participation** — how many shared reviews received at least one vote; a low rate means the helpful rate reflects a small, self-selected sample
- **Downvote reasons** — the "why" behind negative votes, and the signal for what to change in [the prompts](#customize-review-prompts)
---
## Sharing with Reviewers
You can also share a submission's AI review with its **reviewers** — all of them, or a specific one — for example as a supplementary opinion during discussion. The **Reviewers** column shows how many of each submission's reviewers the AI review is shared with:
1. Click the **"n/m shared"** count on the submission's row to expand its reviewer list
2. Toggle a reviewer on to share the AI review with just them, or **All reviewers** to cover the submission's whole panel; toggle off to take it back
3. **"Share with Reviewers"** in the header shares with every reviewer of every submission with an AI review at once; turning it off unshares everything
Two things to know before sharing with reviewers:
- **It's immediate**, like sharing with authors — a reviewer sees the AI review the moment you toggle them on, **even if they haven't submitted their own review yet**. If you're worried about anchoring, share only with reviewers whose reviews are already in.
- Reviewers see the same AI review authors would — the AI disclaimer and the issue list, without the chair-only verdict badge, provider, or model — as an **AI Review** card on their review page. It never counts toward the submission's reviews.
The shared AI review is the submission's **current** one: the run marked **Use for Sharing** if you chose one, otherwise the latest. Re-running the submission updates what reviewers see, exactly as it does for authors.
When a review is shared, authors can rate the whole report as helpful or not helpful, with optional reason tags on a downvote (**Inaccurate**, **Too generic**, **Not actionable**, **Other**). Ratings are **visible to chairs only**, never to other authors, so authors can be candid.
The **"Let authors rate shared reviews"** switch on the **AI Review Settings** page controls this per track (on by default) — one helpful/not-helpful rating per shared report.
Click **"View Feedback Analytics"** next to that switch (or open **Analytics → AI Review Feedback** from the track dashboard) to see how the reviews land:
- **Helpful rate and total votes** — every percentage shows its raw counts; treat rates from only a few votes as anecdotes, not scores
- **Participation** — how many shared reviews received at least one vote; a low rate means the helpful rate reflects a small, self-selected sample
- **Downvote reasons** — the "why" behind negative votes, and the signal for what to change in [the prompts](#customize-review-prompts)
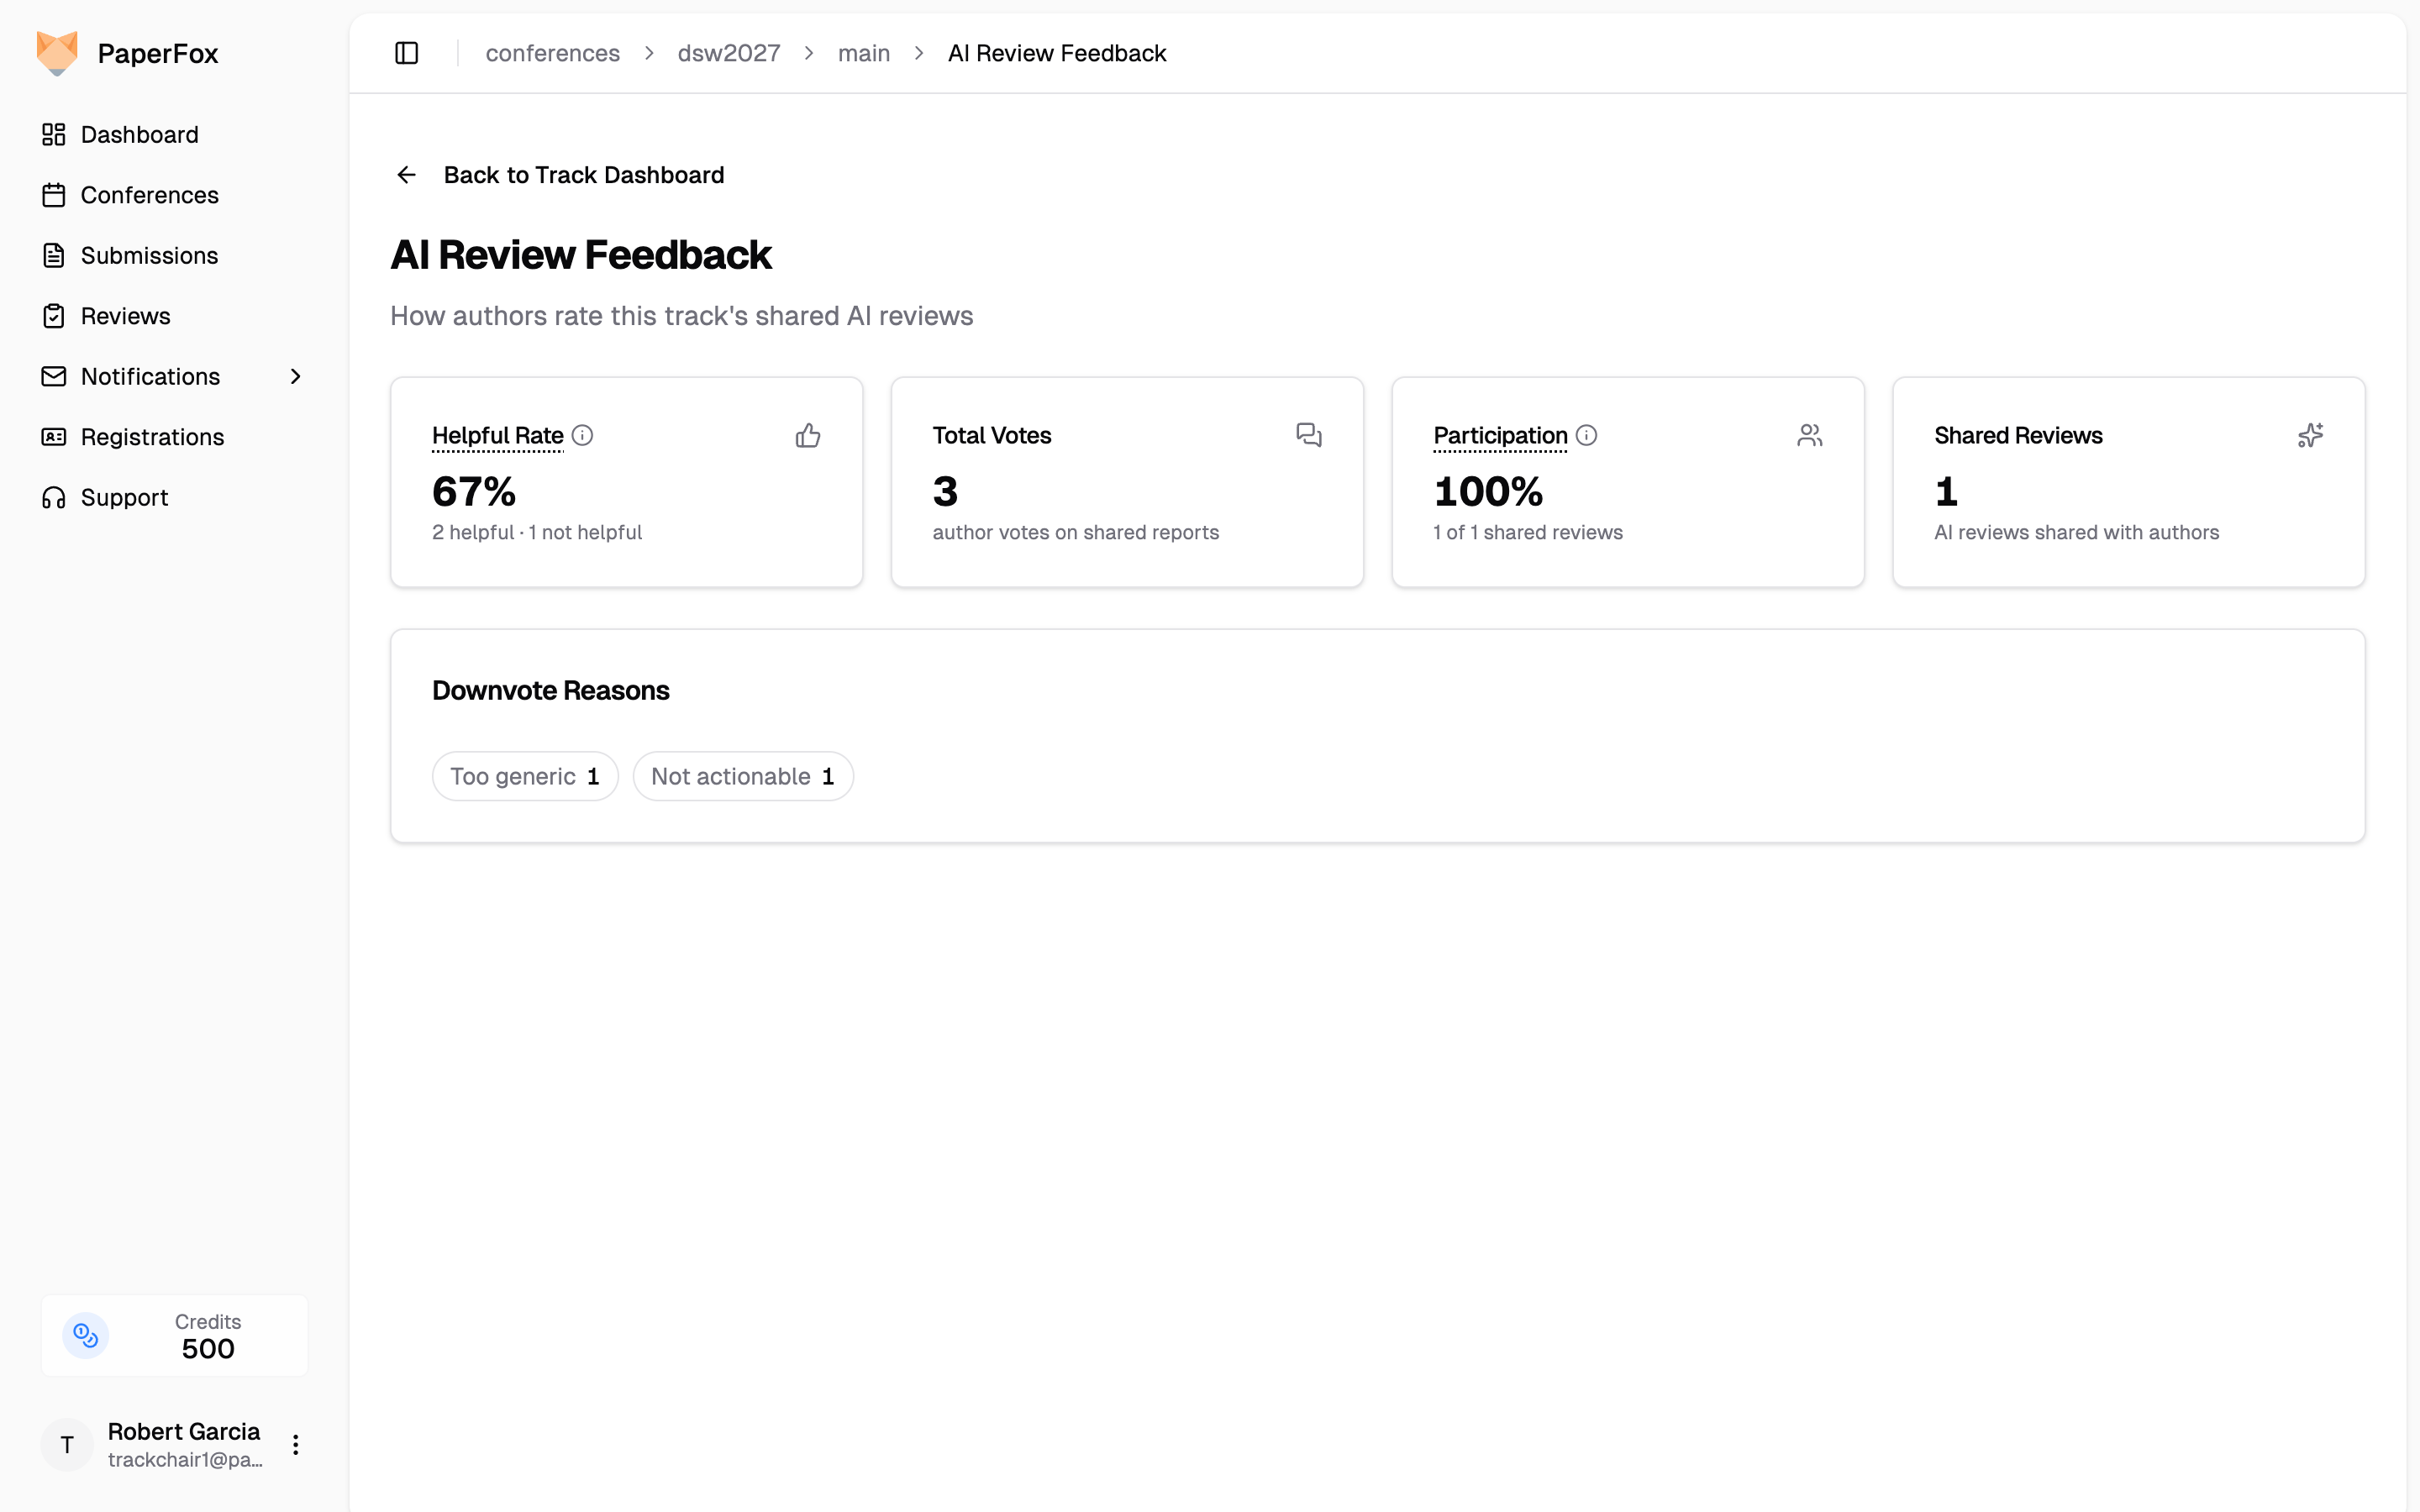 The conference-level view at **Analytics → AI Review Feedback** adds a per-track comparison, so multi-track conferences can see where AI reviews land well.
---
# Assign Submissions to Associate Editors
URL: https://paperfox.ai/docs/track-chairs/assign-associate-editors
Description: Guide for track chairs to assign submissions directly to Associate Editors
## Associate Editor Assignment
When your track uses Associate Editors without a Senior Editor level, you assign submissions directly to AEs who then manage reviewer assignments.
### Configure Committee Structure
1. Go to your conference dashboard
2. Navigate to your track
3. Under **Track Settings**, click **"Committee Settings"**
The conference-level view at **Analytics → AI Review Feedback** adds a per-track comparison, so multi-track conferences can see where AI reviews land well.
---
# Assign Submissions to Associate Editors
URL: https://paperfox.ai/docs/track-chairs/assign-associate-editors
Description: Guide for track chairs to assign submissions directly to Associate Editors
## Associate Editor Assignment
When your track uses Associate Editors without a Senior Editor level, you assign submissions directly to AEs who then manage reviewer assignments.
### Configure Committee Structure
1. Go to your conference dashboard
2. Navigate to your track
3. Under **Track Settings**, click **"Committee Settings"**
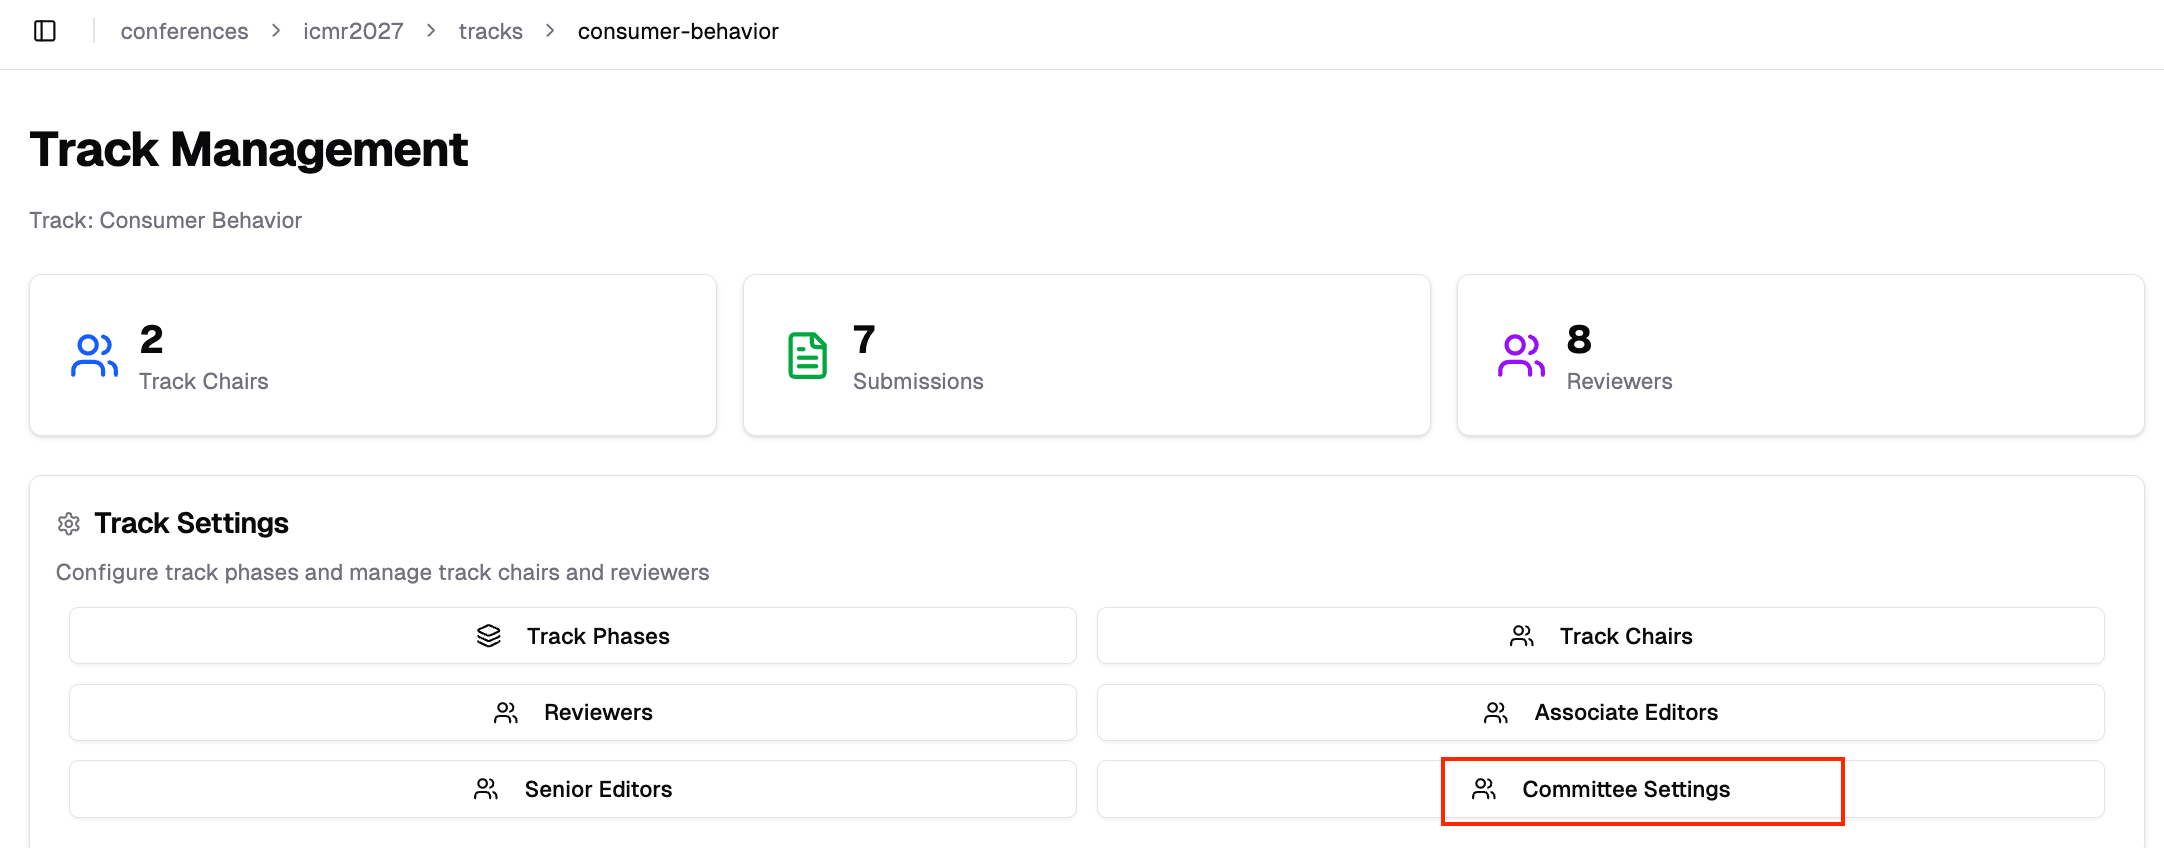 4. Under **Committee Structure**, select **Standard (with Associate Editors)**
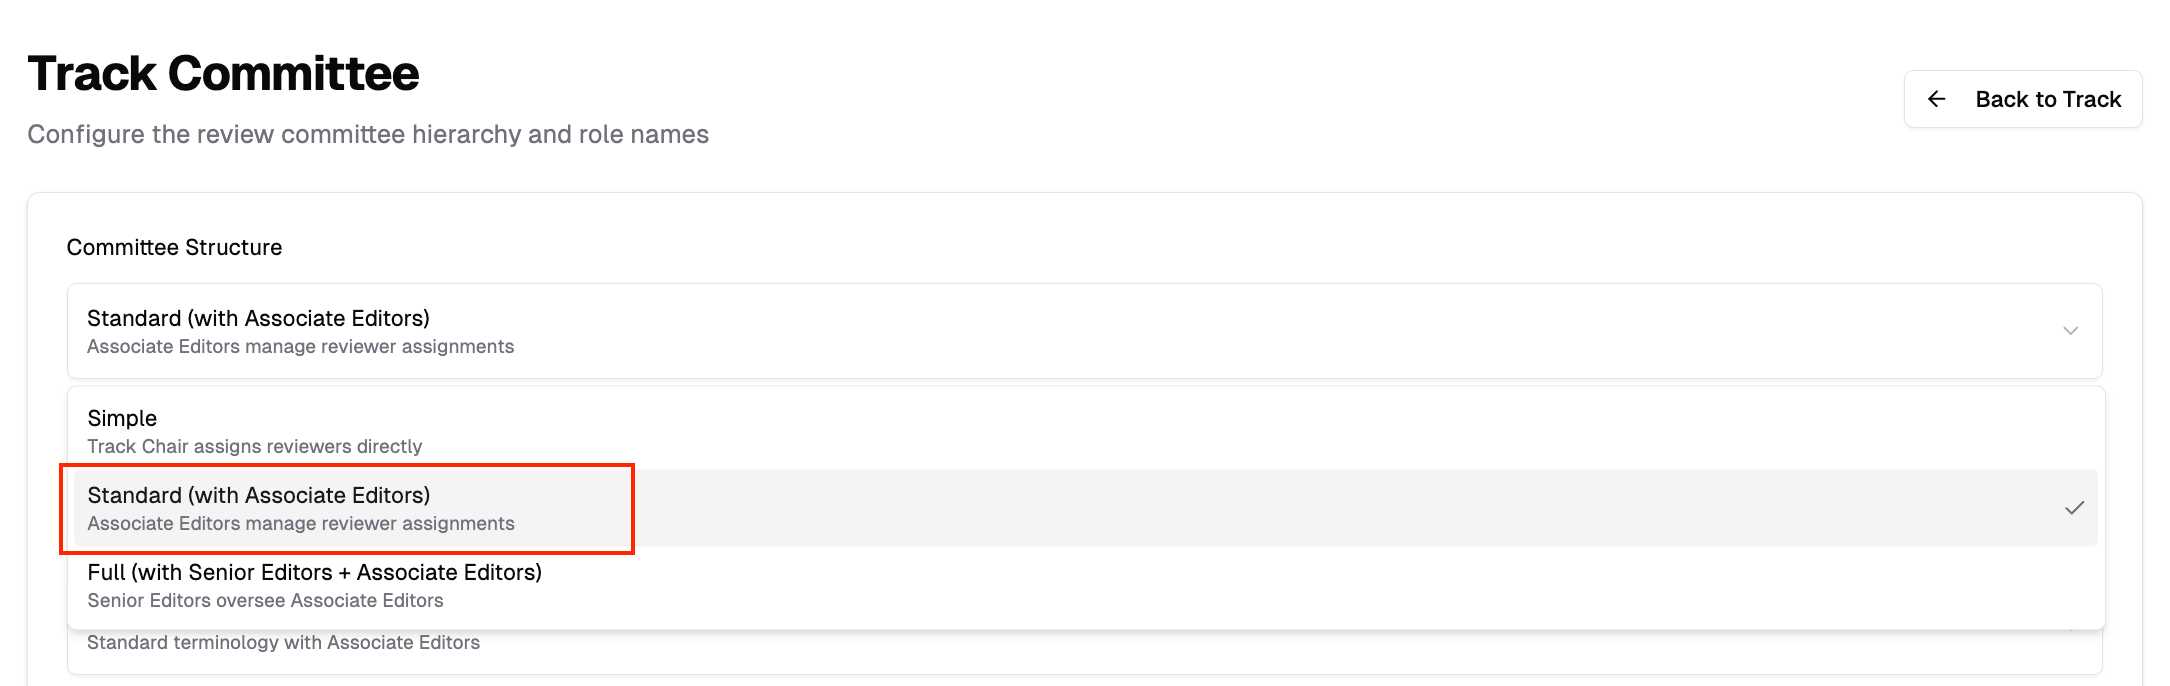 5. Optionally select a **Terminology Preset** or customize role names (e.g., "Meta-Reviewer" instead of "Associate Editor")
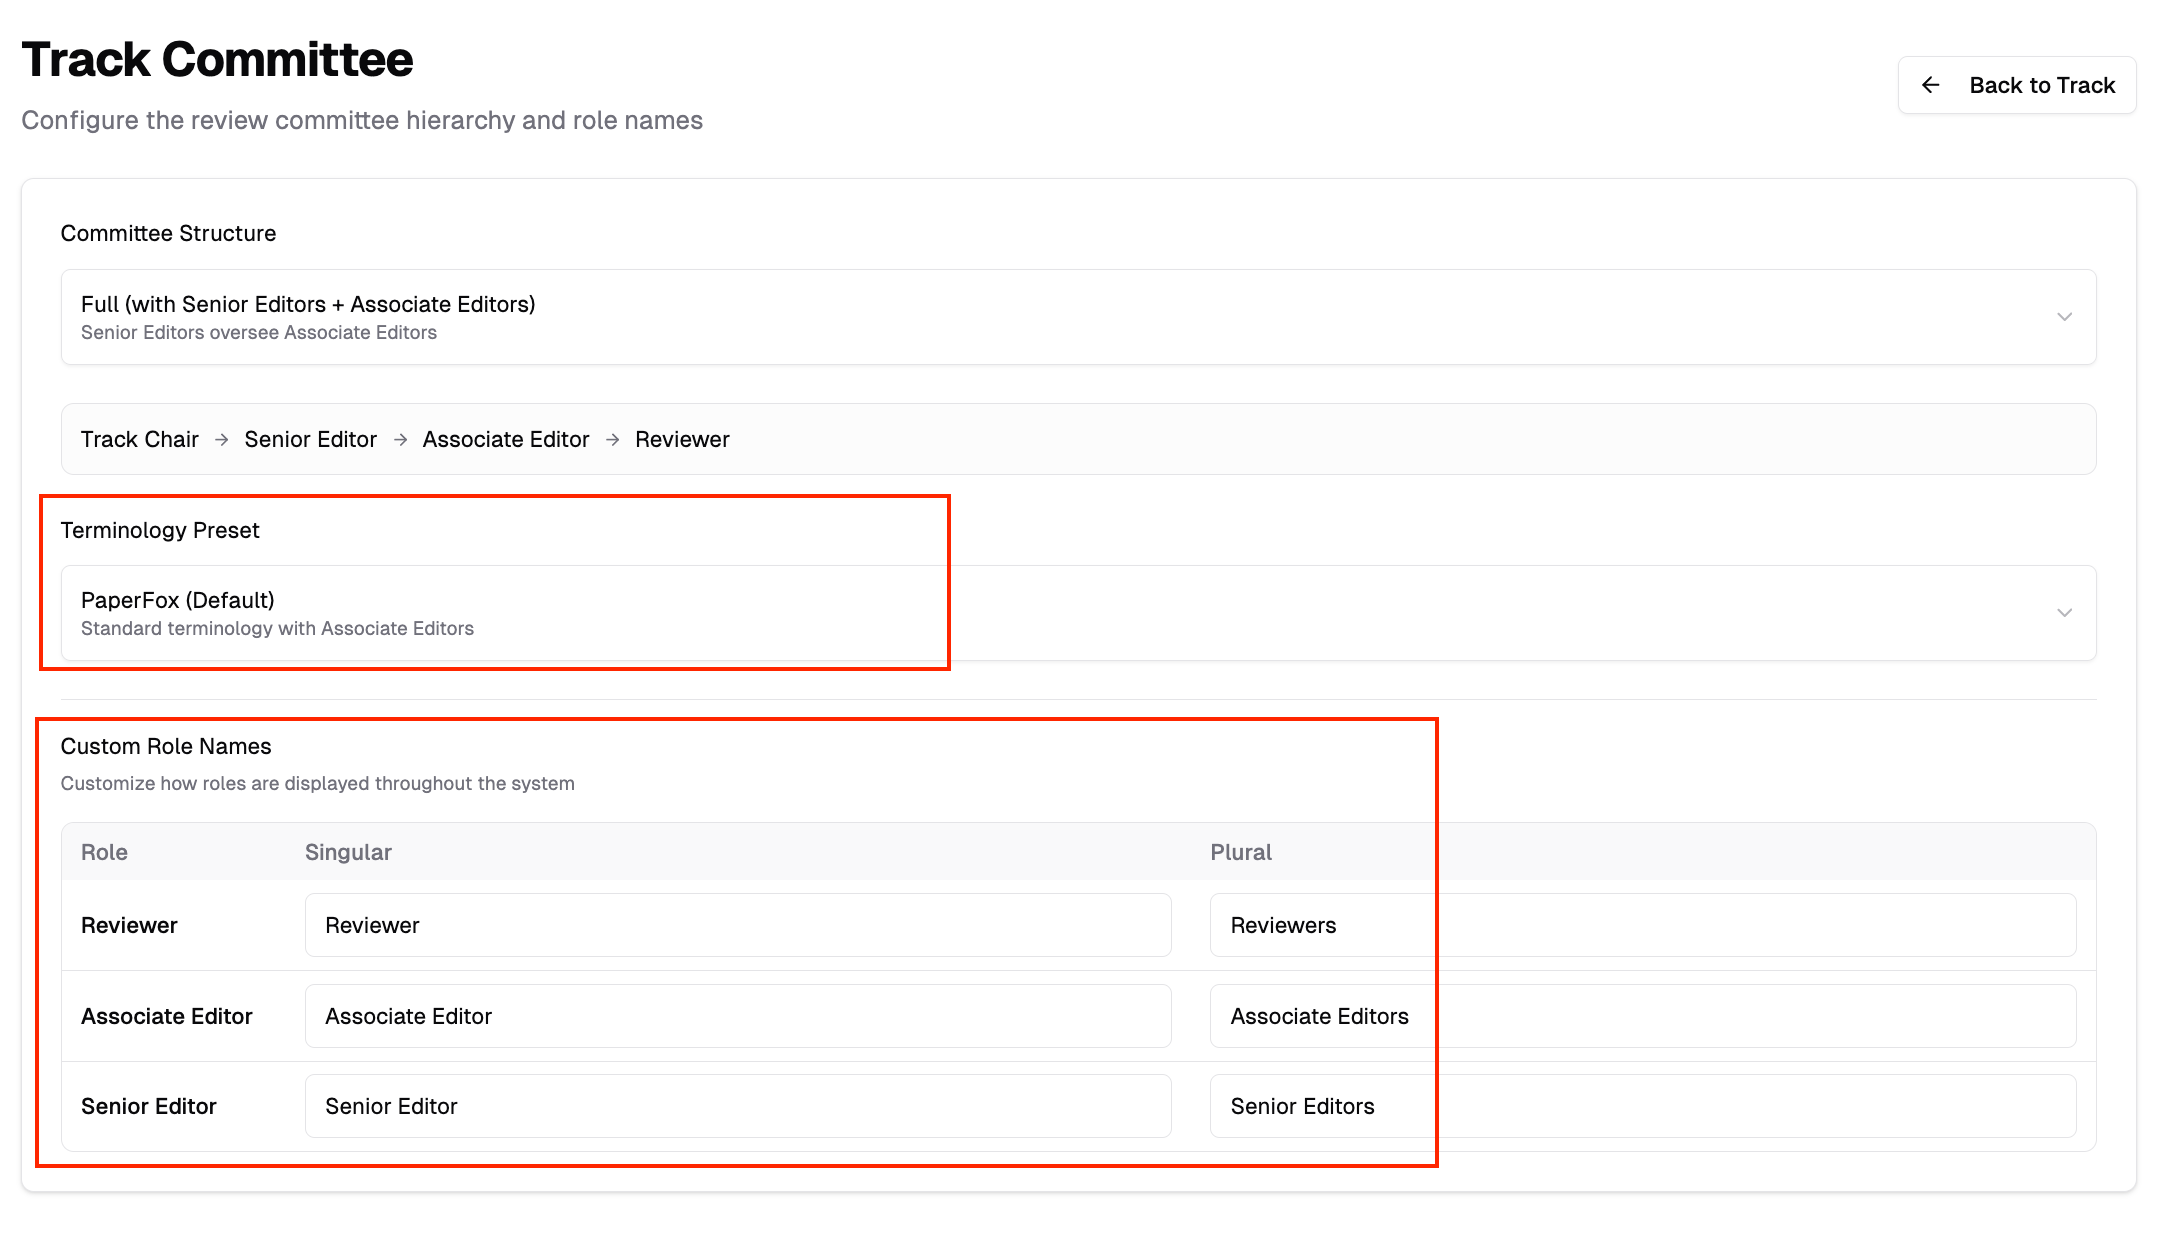 ### Invite Associate Editors
After enabling the AE level:
1. Go back to Track Management
2. Under **Track Settings**, click **"Associate Editors"** (or your custom name)
### Invite Associate Editors
After enabling the AE level:
1. Go back to Track Management
2. Under **Track Settings**, click **"Associate Editors"** (or your custom name)
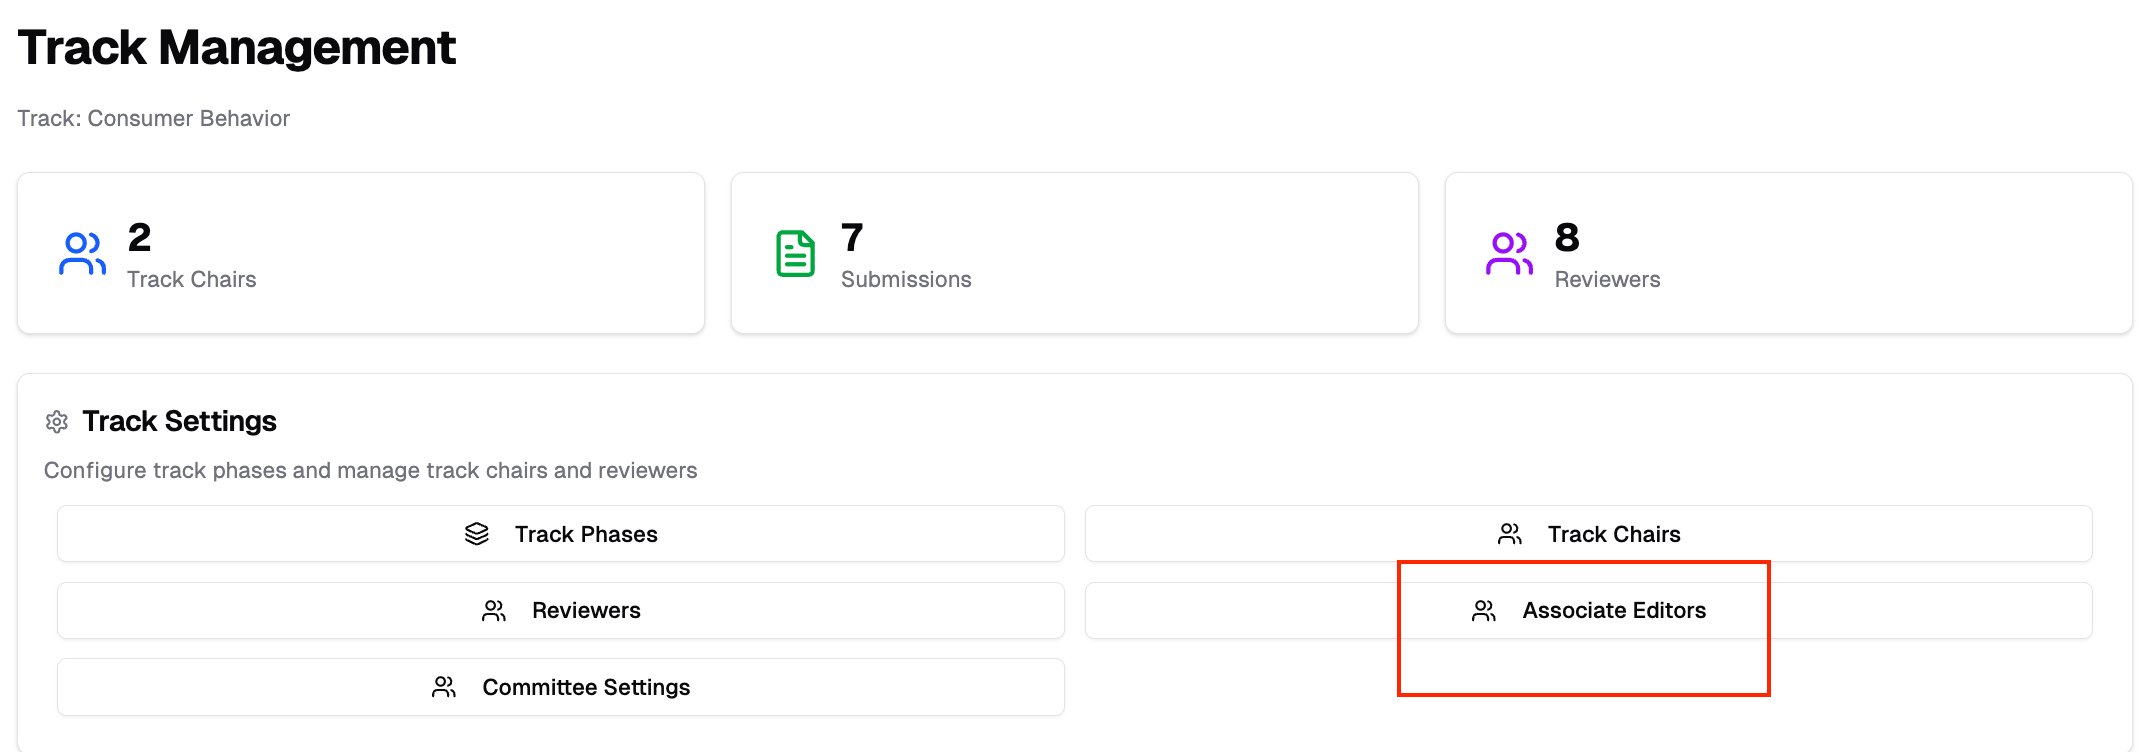 3. Click **"Add Associate Editor"** and invite users to serve as Associate Editors
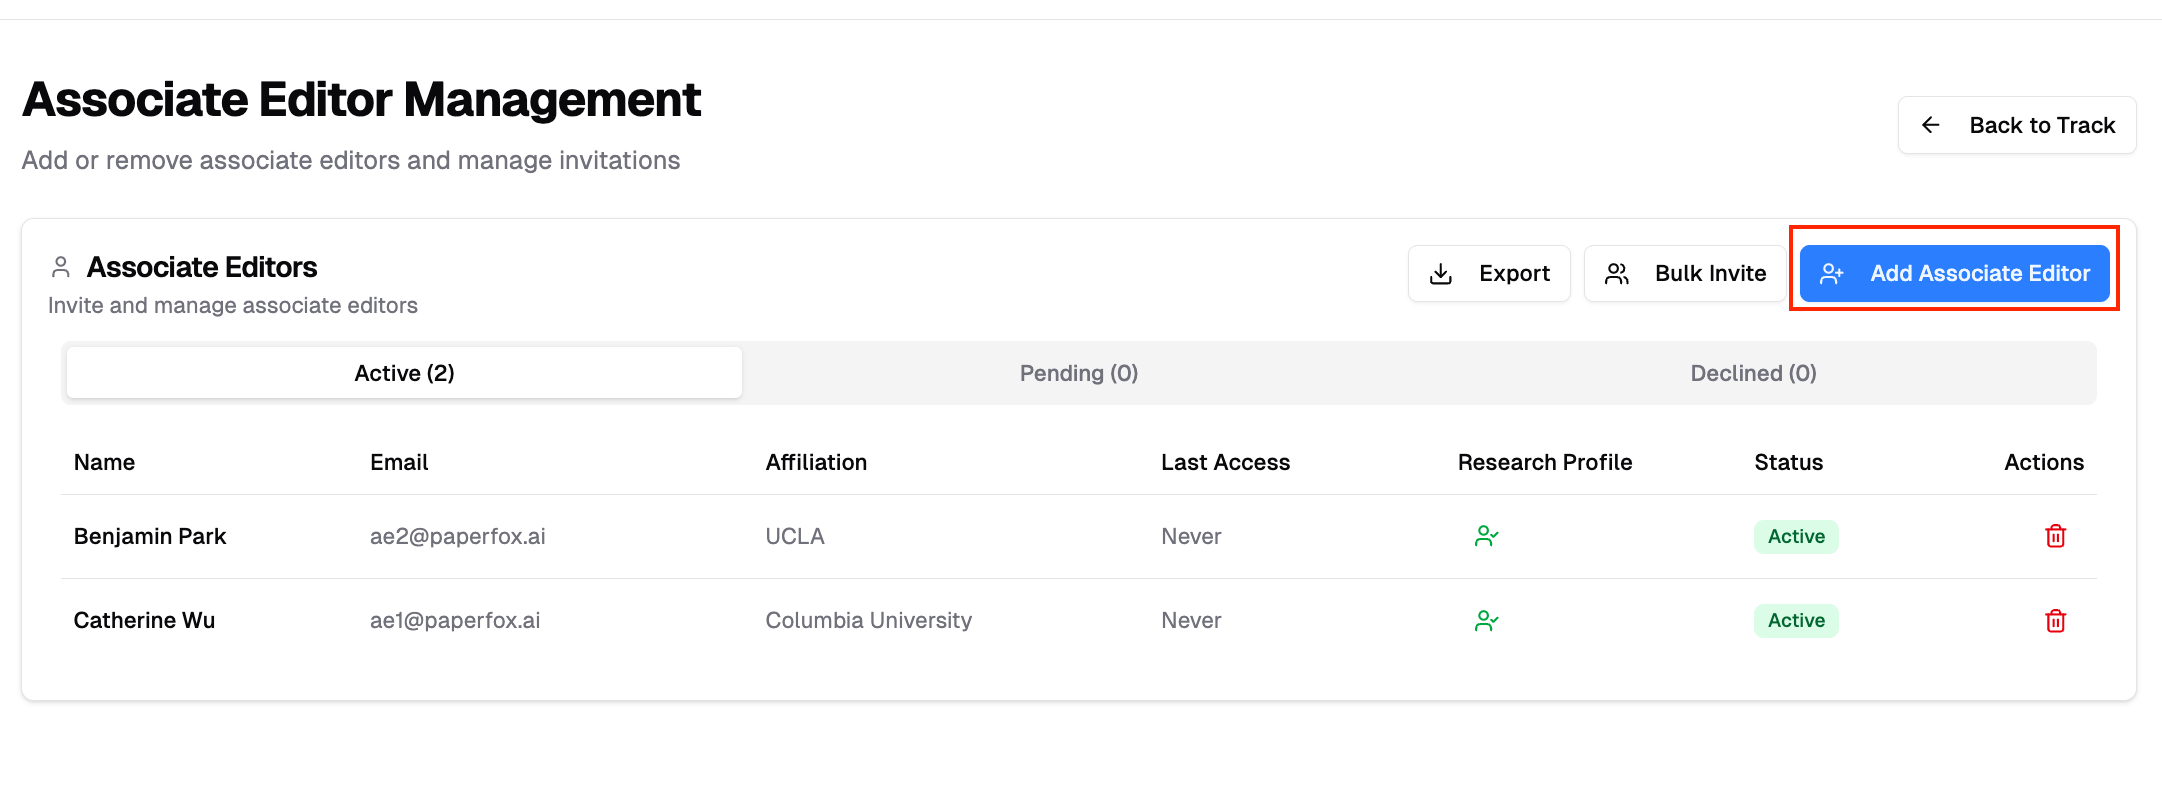 ### Accessing AE Assignments
1. Go to your track management page
2. Click **Associate Editor Assignments**
### Accessing AE Assignments
1. Go to your track management page
2. Click **Associate Editor Assignments**
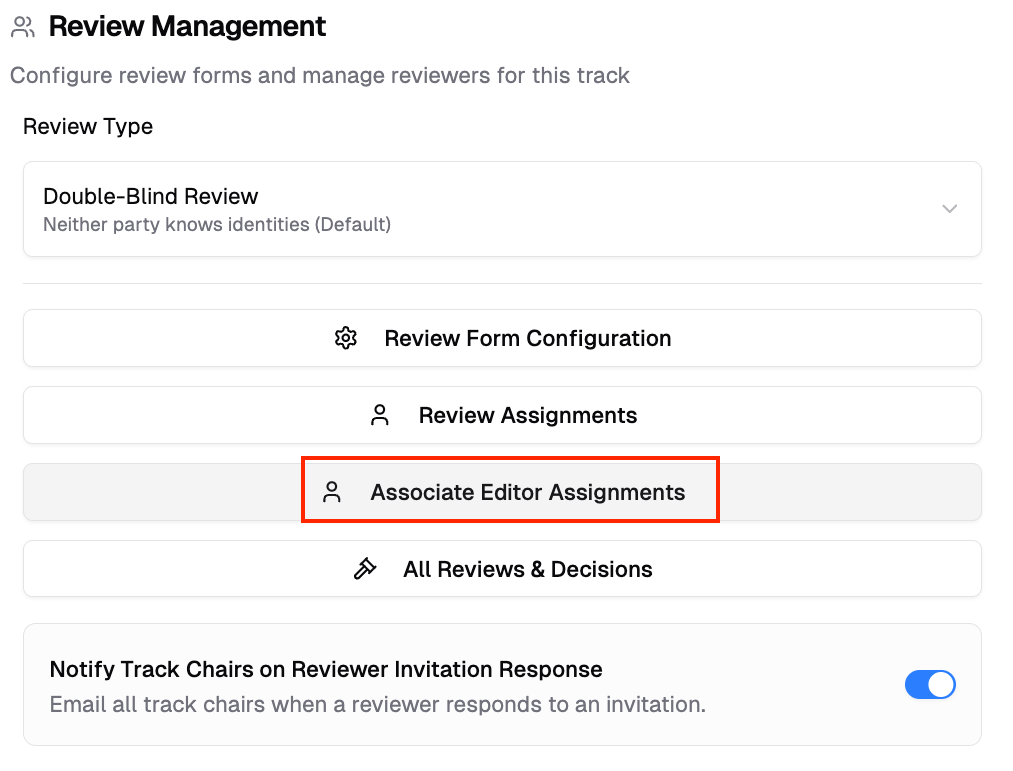 The AE Assignments page displays:
- All submissions in your track
- Available Associate Editors
- Current assignment status
### Assigning Submissions
1. Select a submission on the left
2. Tick the Associate Editor who should take it on the right — the capacity counter beside each name updates as you go
3. Click **"Save Changes"**, then **"Notify Associate Editors"** to email each person their list
Each submission can be assigned to one Associate Editor. The AE accepts the assignment from their **My Associate Editor Assignments** card, then assigns reviewers. An assignment you make to yourself is accepted automatically.
### Assignment Settings
Configure assignment limits:
- **Max submissions per associate editor** — Maximum submissions each Associate Editor can handle
- **Associate Editors per submission** — Typically set to 1
The AE Assignments page displays:
- All submissions in your track
- Available Associate Editors
- Current assignment status
### Assigning Submissions
1. Select a submission on the left
2. Tick the Associate Editor who should take it on the right — the capacity counter beside each name updates as you go
3. Click **"Save Changes"**, then **"Notify Associate Editors"** to email each person their list
Each submission can be assigned to one Associate Editor. The AE accepts the assignment from their **My Associate Editor Assignments** card, then assigns reviewers. An assignment you make to yourself is accepted automatically.
### Assignment Settings
Configure assignment limits:
- **Max submissions per associate editor** — Maximum submissions each Associate Editor can handle
- **Associate Editors per submission** — Typically set to 1
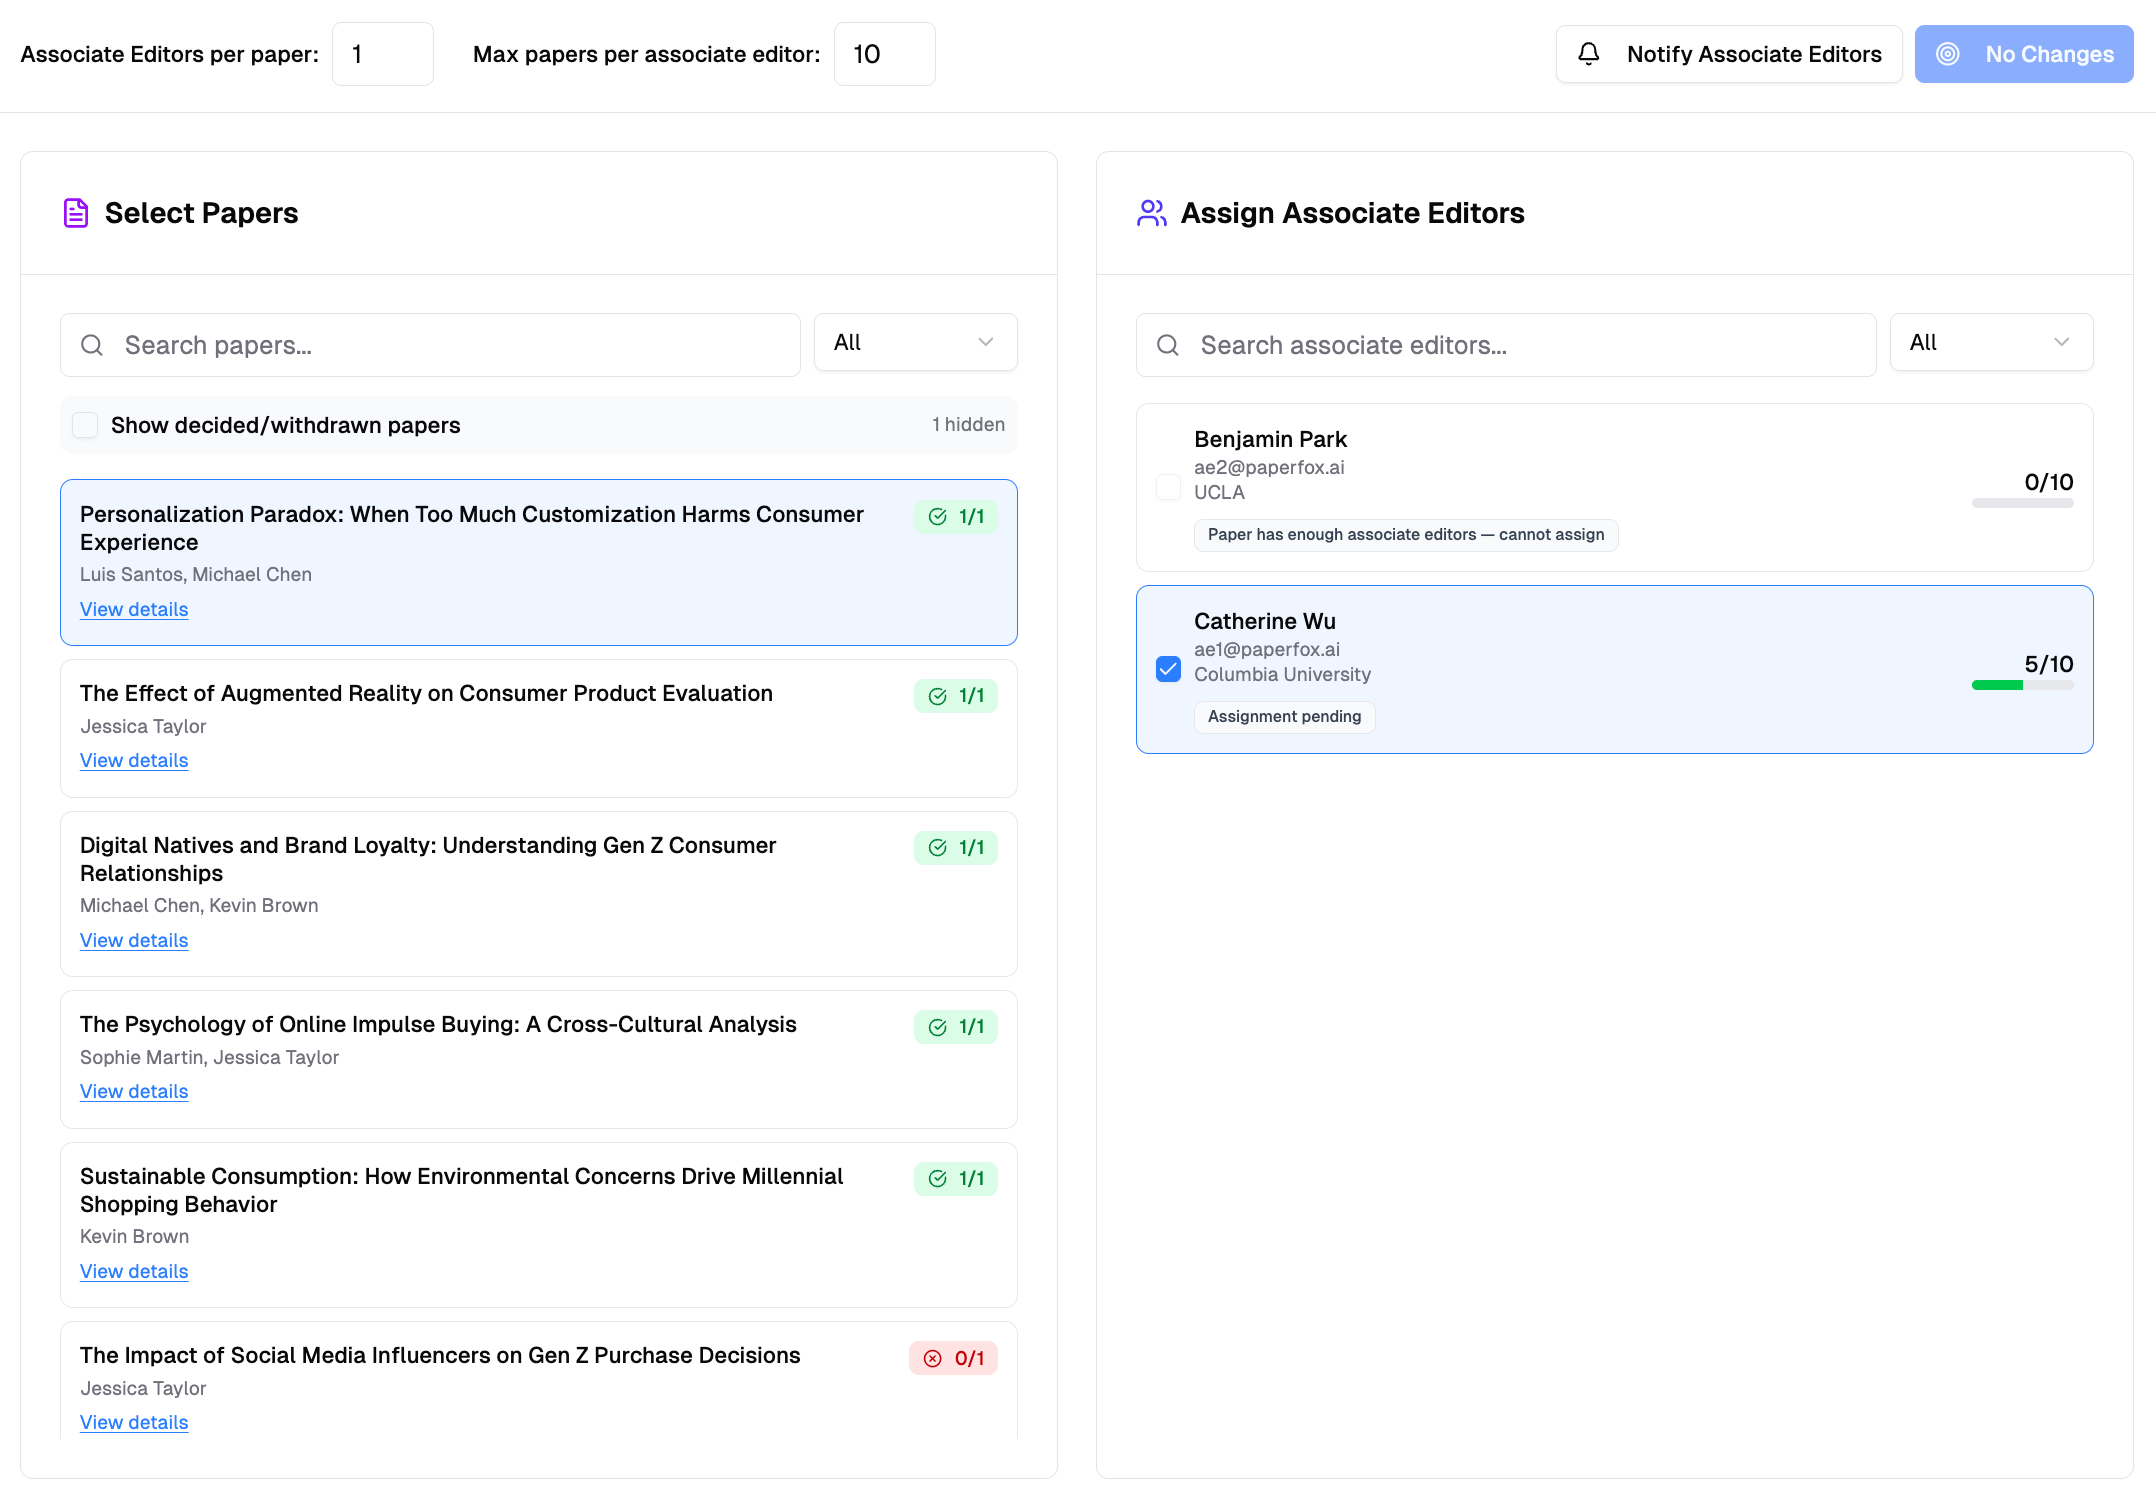 ### After Assignment
Once assigned:
- Associate Editors see submissions in their **My Associate Editor Assignments** card on the conference page
- AEs assign reviewers to their submissions
- AEs monitor review progress
---
## Splitting a Track Between Co-Chairs
When a track has several chairs who want to divide its submissions between themselves — "this one is mine, that one is yours" — use the same Associate Editor level. Each chair takes the Associate Editor role in addition to Track Chair, and the assignment records who owns what.
This divides the work, not the authority: every chair keeps full Track Chair access to the whole track and can still make decisions on any submission. Only their personal worklist narrows.
1. Enable the Associate Editor level as above. If "Associate Editor" isn't the term your committee uses, rename it under **Custom Role Names** — for example to "Handling Chair"
2. Under **Associate Editors**, add each co-chair
3. Under **Associate Editor Assignments**, split the submissions between them. Assignments you make to yourself are accepted automatically; the other chairs accept theirs from the **My Associate Editor Assignments** card
Every chair can then see who owns each submission from **Track Submissions**: each row names its Associate Editor, with **(you)** beside your own, and an **All Associate Editors** dropdown in the **"Filters"** panel narrows the list — **"Assigned to me"** shows just your set, **"Unassigned"** shows what still needs an owner, and each name shows that person's share.
### After Assignment
Once assigned:
- Associate Editors see submissions in their **My Associate Editor Assignments** card on the conference page
- AEs assign reviewers to their submissions
- AEs monitor review progress
---
## Splitting a Track Between Co-Chairs
When a track has several chairs who want to divide its submissions between themselves — "this one is mine, that one is yours" — use the same Associate Editor level. Each chair takes the Associate Editor role in addition to Track Chair, and the assignment records who owns what.
This divides the work, not the authority: every chair keeps full Track Chair access to the whole track and can still make decisions on any submission. Only their personal worklist narrows.
1. Enable the Associate Editor level as above. If "Associate Editor" isn't the term your committee uses, rename it under **Custom Role Names** — for example to "Handling Chair"
2. Under **Associate Editors**, add each co-chair
3. Under **Associate Editor Assignments**, split the submissions between them. Assignments you make to yourself are accepted automatically; the other chairs accept theirs from the **My Associate Editor Assignments** card
Every chair can then see who owns each submission from **Track Submissions**: each row names its Associate Editor, with **(you)** beside your own, and an **All Associate Editors** dropdown in the **"Filters"** panel narrows the list — **"Assigned to me"** shows just your set, **"Unassigned"** shows what still needs an owner, and each name shows that person's share.
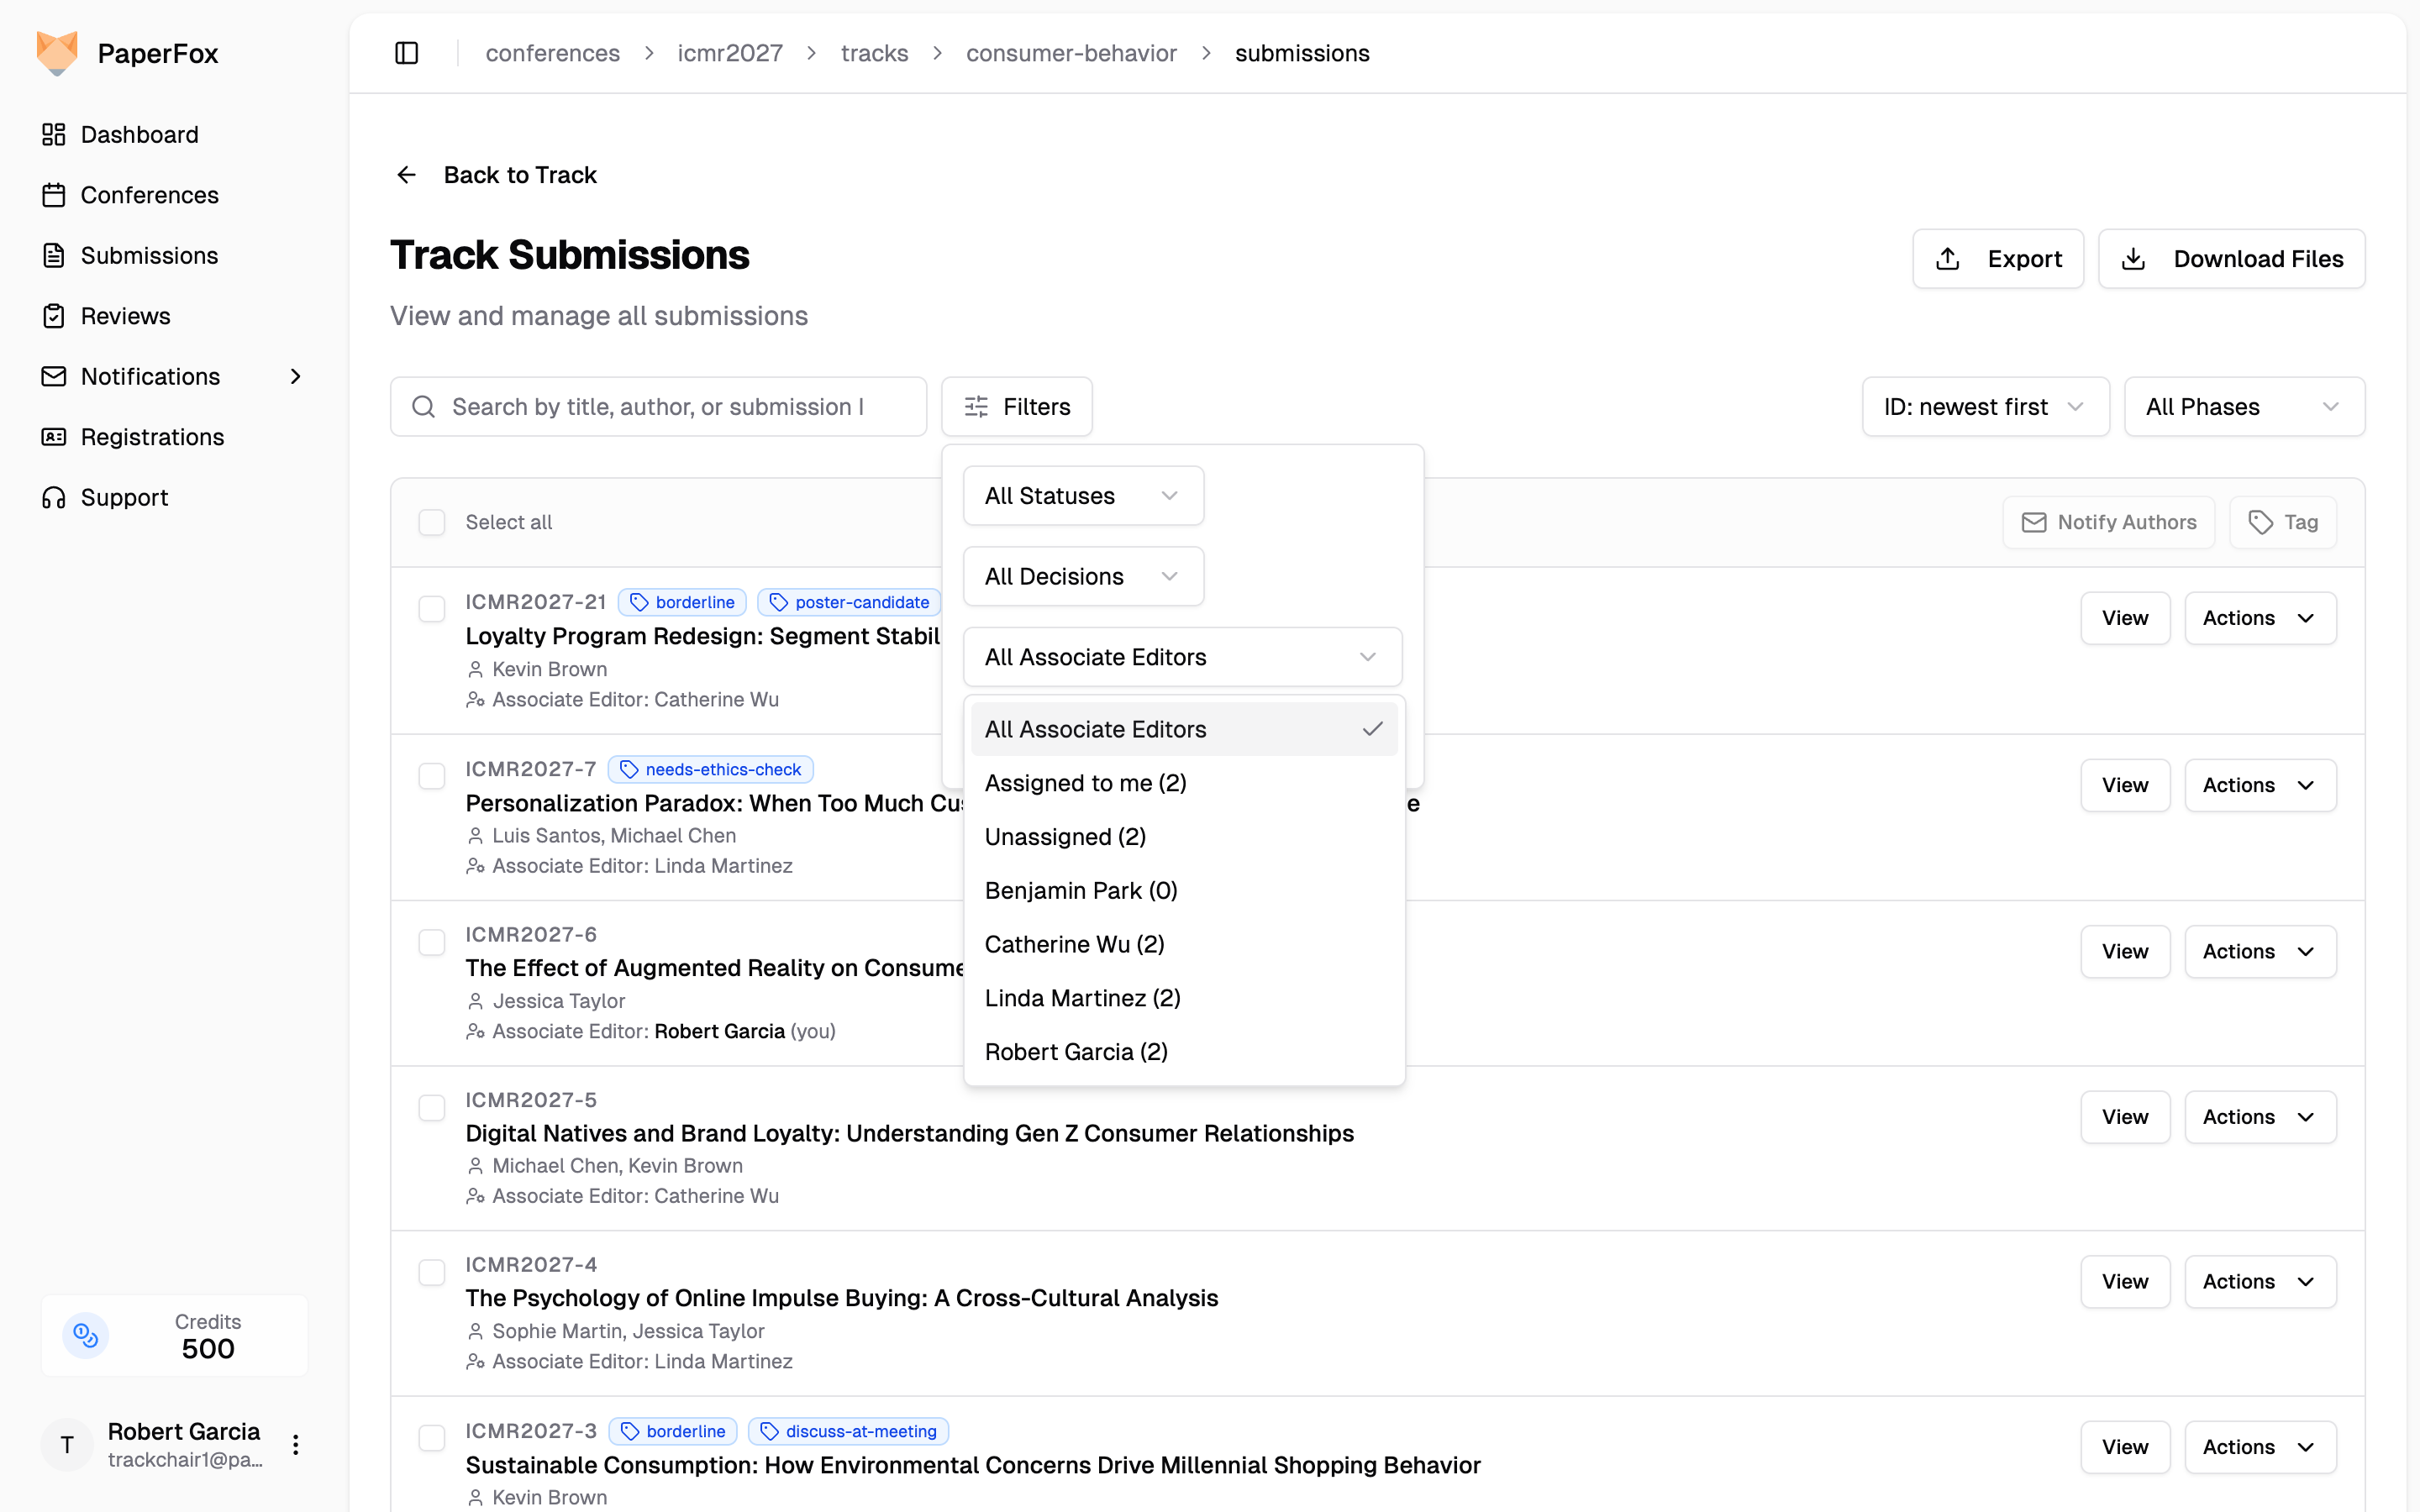 The owner line and the filter appear only on tracks with the Associate Editor level enabled.
---
# Manually Assign Reviewers
URL: https://paperfox.ai/docs/track-chairs/assign-reviewers
Description: Guide for track chairs to manually assign reviewers to submissions, set deadlines, and track progress
## Review Assignment Process
Track chairs are responsible for assigning submissions to reviewers to ensure thorough and fair evaluation of all submissions.
### 1. Accessing Review Assignments
1. Go to **Conferences** in the sidebar, then click on your conference
2. Under **Track Management**, select your track and click **"Manage Track"**
3. Under **Review Management**, click **"Review Assignments"**
The owner line and the filter appear only on tracks with the Associate Editor level enabled.
---
# Manually Assign Reviewers
URL: https://paperfox.ai/docs/track-chairs/assign-reviewers
Description: Guide for track chairs to manually assign reviewers to submissions, set deadlines, and track progress
## Review Assignment Process
Track chairs are responsible for assigning submissions to reviewers to ensure thorough and fair evaluation of all submissions.
### 1. Accessing Review Assignments
1. Go to **Conferences** in the sidebar, then click on your conference
2. Under **Track Management**, select your track and click **"Manage Track"**
3. Under **Review Management**, click **"Review Assignments"**
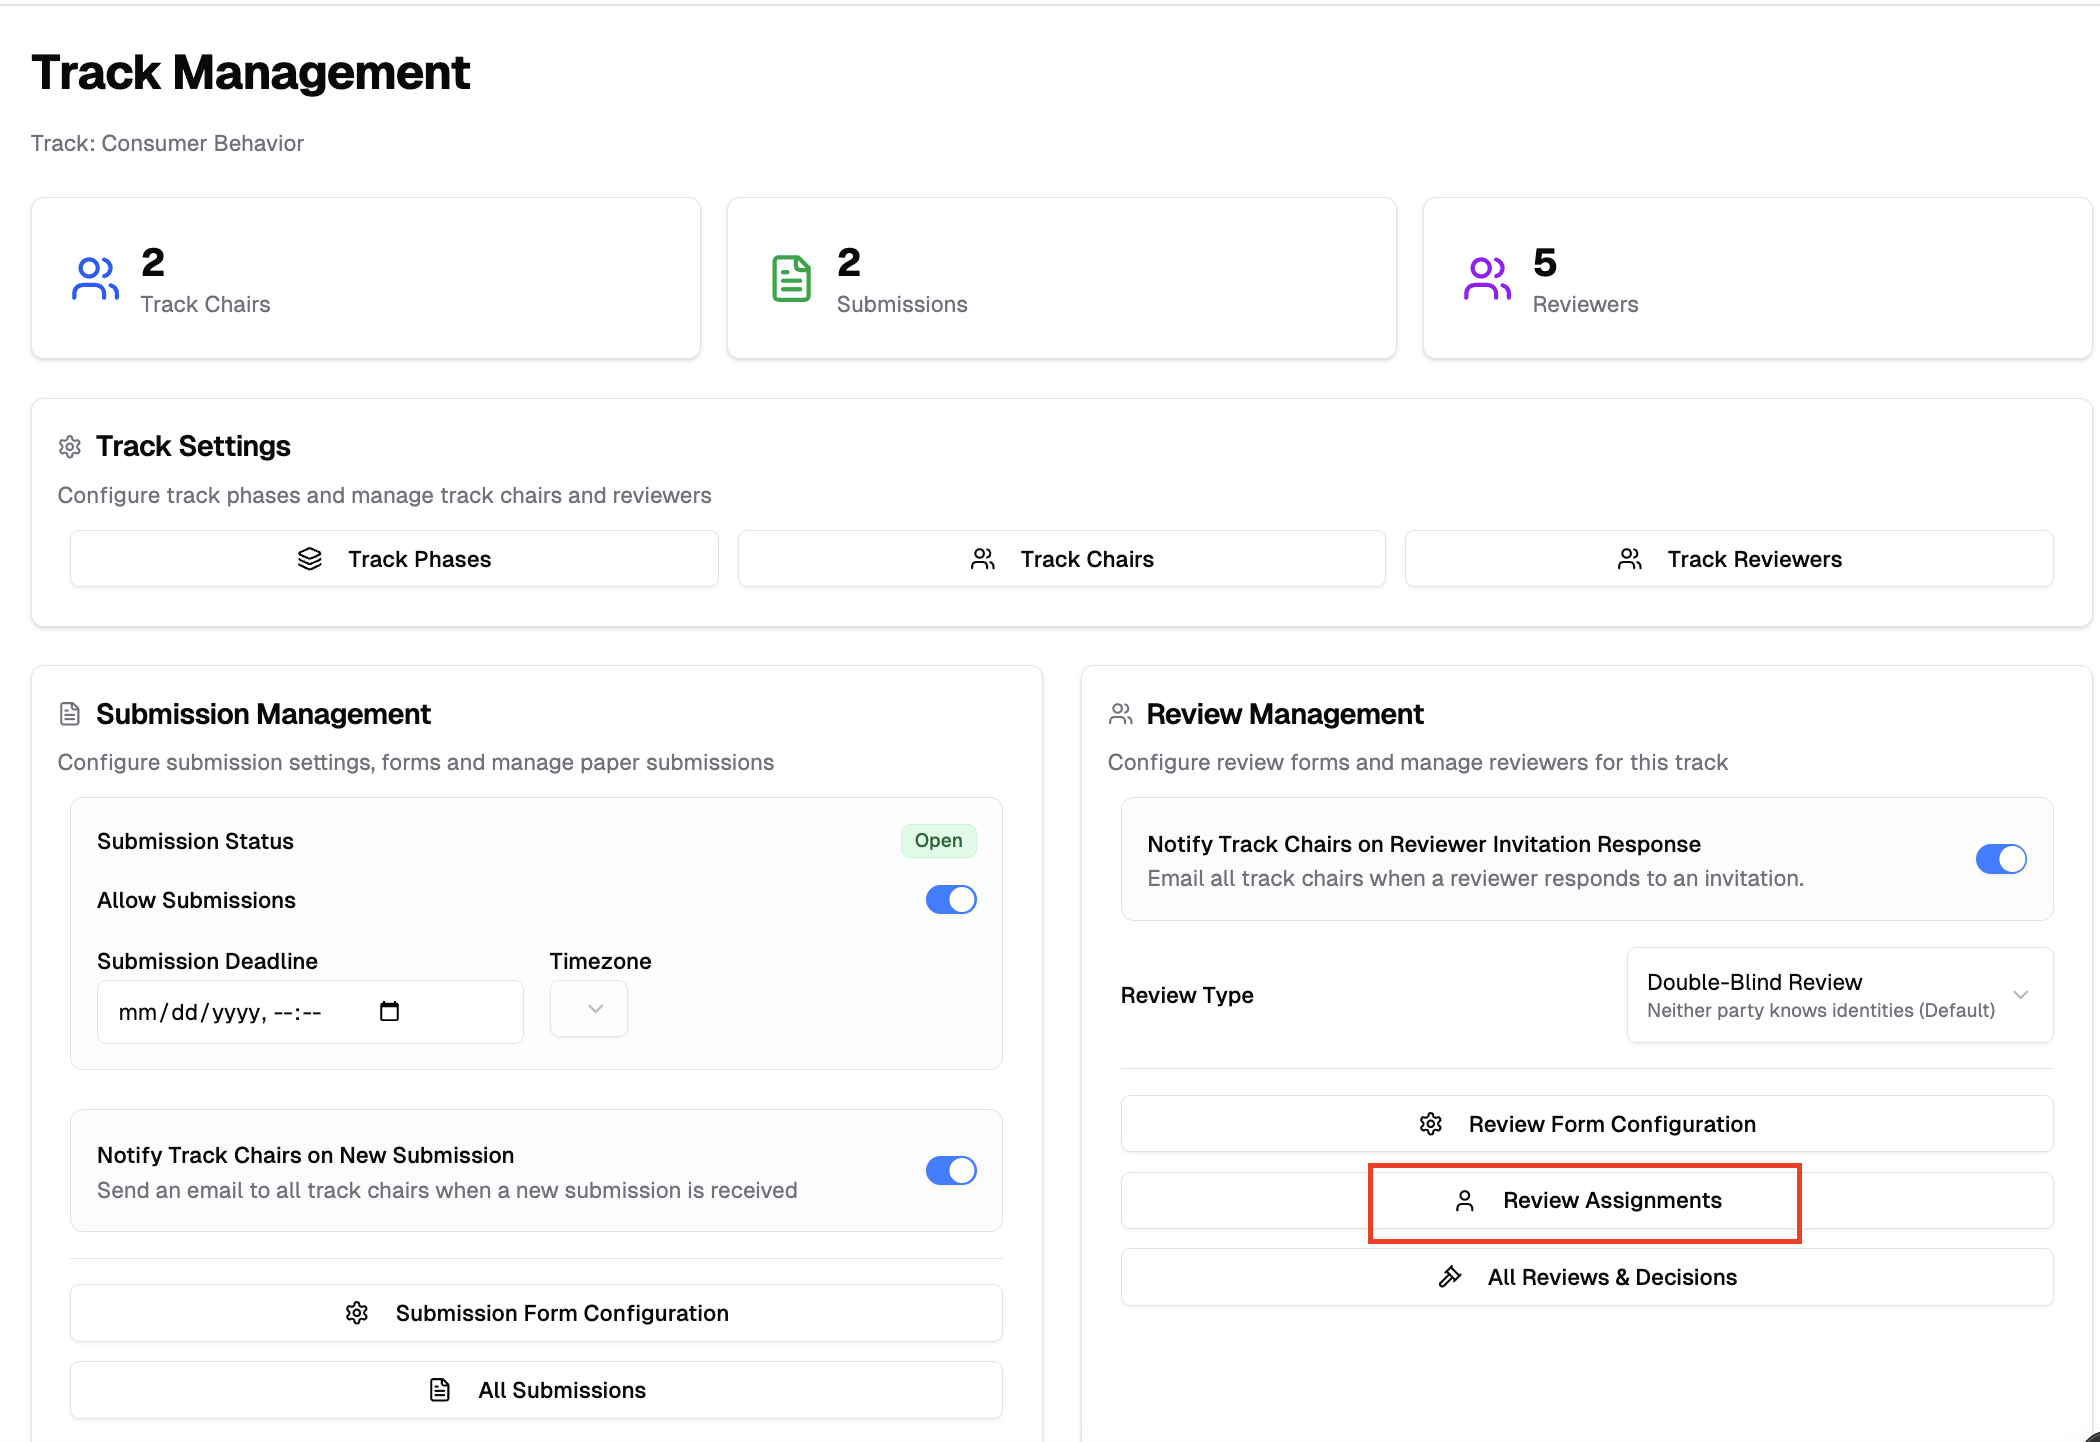 ### 2. Phase Selection and Deadline Management
The phase selector sits in the top-right of the page header — the same spot as on the other review pages — and the current phase's review deadline appears below the header:
### 2. Phase Selection and Deadline Management
The phase selector sits in the top-right of the page header — the same spot as on the other review pages — and the current phase's review deadline appears below the header:
 - The page opens to the track's current phase — the furthest phase holding submissions; use the phase selector to switch between review rounds, since assignments are managed per phase. The selector appears only when the track has multiple phases — single-phase tracks just show the deadline
- The current phase's review deadline is shown below the header; click the edit icon next to it to adjust deadlines on the **Track Phases** page
### 3. Assignment Overview
The assignment interface displays:
- **Submissions list** - All submissions submitted to your track for the selected phase
- **Reviewer pool** - Available reviewers for your track
- **Assignment status** - Shows for each submission:
- Number of reviewers currently assigned
- Review completion status (Invited, Accepted, Completed)
- Reviewer names and their progress
- **Review requirements** - Number of reviews needed per submission
### 4. Conflict of Interest Enforcement
COI rules are enforced automatically — if you try to assign a reviewer who has a conflict with a submission's authors, the assignment will be blocked. Three rules are checked: self-conflict, co-author conflict, and declared conflict. Tracks that [turn enforcement off](/docs/track-chairs/conflicts#turning-off-enforcement) get warnings instead of blocks for the co-author and declared rules.
See [Conflict of Interest Enforcement](/docs/track-chairs/conflicts) for full details on how COI works across all assignment paths.
### 5. Assigning Reviewers to Submissions
1. **Select a submission** from the left panel to view its current assignments
2. **Assigned reviewers appear at the top** of the right panel, highlighted in blue with their assignment status (pending, accepted, or declined). Unassigned reviewers are listed below.
3. **Choose additional reviewers** from the list based on expertise and workload
4. **Confirm assignments** — COI conflicts are checked automatically
- The page opens to the track's current phase — the furthest phase holding submissions; use the phase selector to switch between review rounds, since assignments are managed per phase. The selector appears only when the track has multiple phases — single-phase tracks just show the deadline
- The current phase's review deadline is shown below the header; click the edit icon next to it to adjust deadlines on the **Track Phases** page
### 3. Assignment Overview
The assignment interface displays:
- **Submissions list** - All submissions submitted to your track for the selected phase
- **Reviewer pool** - Available reviewers for your track
- **Assignment status** - Shows for each submission:
- Number of reviewers currently assigned
- Review completion status (Invited, Accepted, Completed)
- Reviewer names and their progress
- **Review requirements** - Number of reviews needed per submission
### 4. Conflict of Interest Enforcement
COI rules are enforced automatically — if you try to assign a reviewer who has a conflict with a submission's authors, the assignment will be blocked. Three rules are checked: self-conflict, co-author conflict, and declared conflict. Tracks that [turn enforcement off](/docs/track-chairs/conflicts#turning-off-enforcement) get warnings instead of blocks for the co-author and declared rules.
See [Conflict of Interest Enforcement](/docs/track-chairs/conflicts) for full details on how COI works across all assignment paths.
### 5. Assigning Reviewers to Submissions
1. **Select a submission** from the left panel to view its current assignments
2. **Assigned reviewers appear at the top** of the right panel, highlighted in blue with their assignment status (pending, accepted, or declined). Unassigned reviewers are listed below.
3. **Choose additional reviewers** from the list based on expertise and workload
4. **Confirm assignments** — COI conflicts are checked automatically
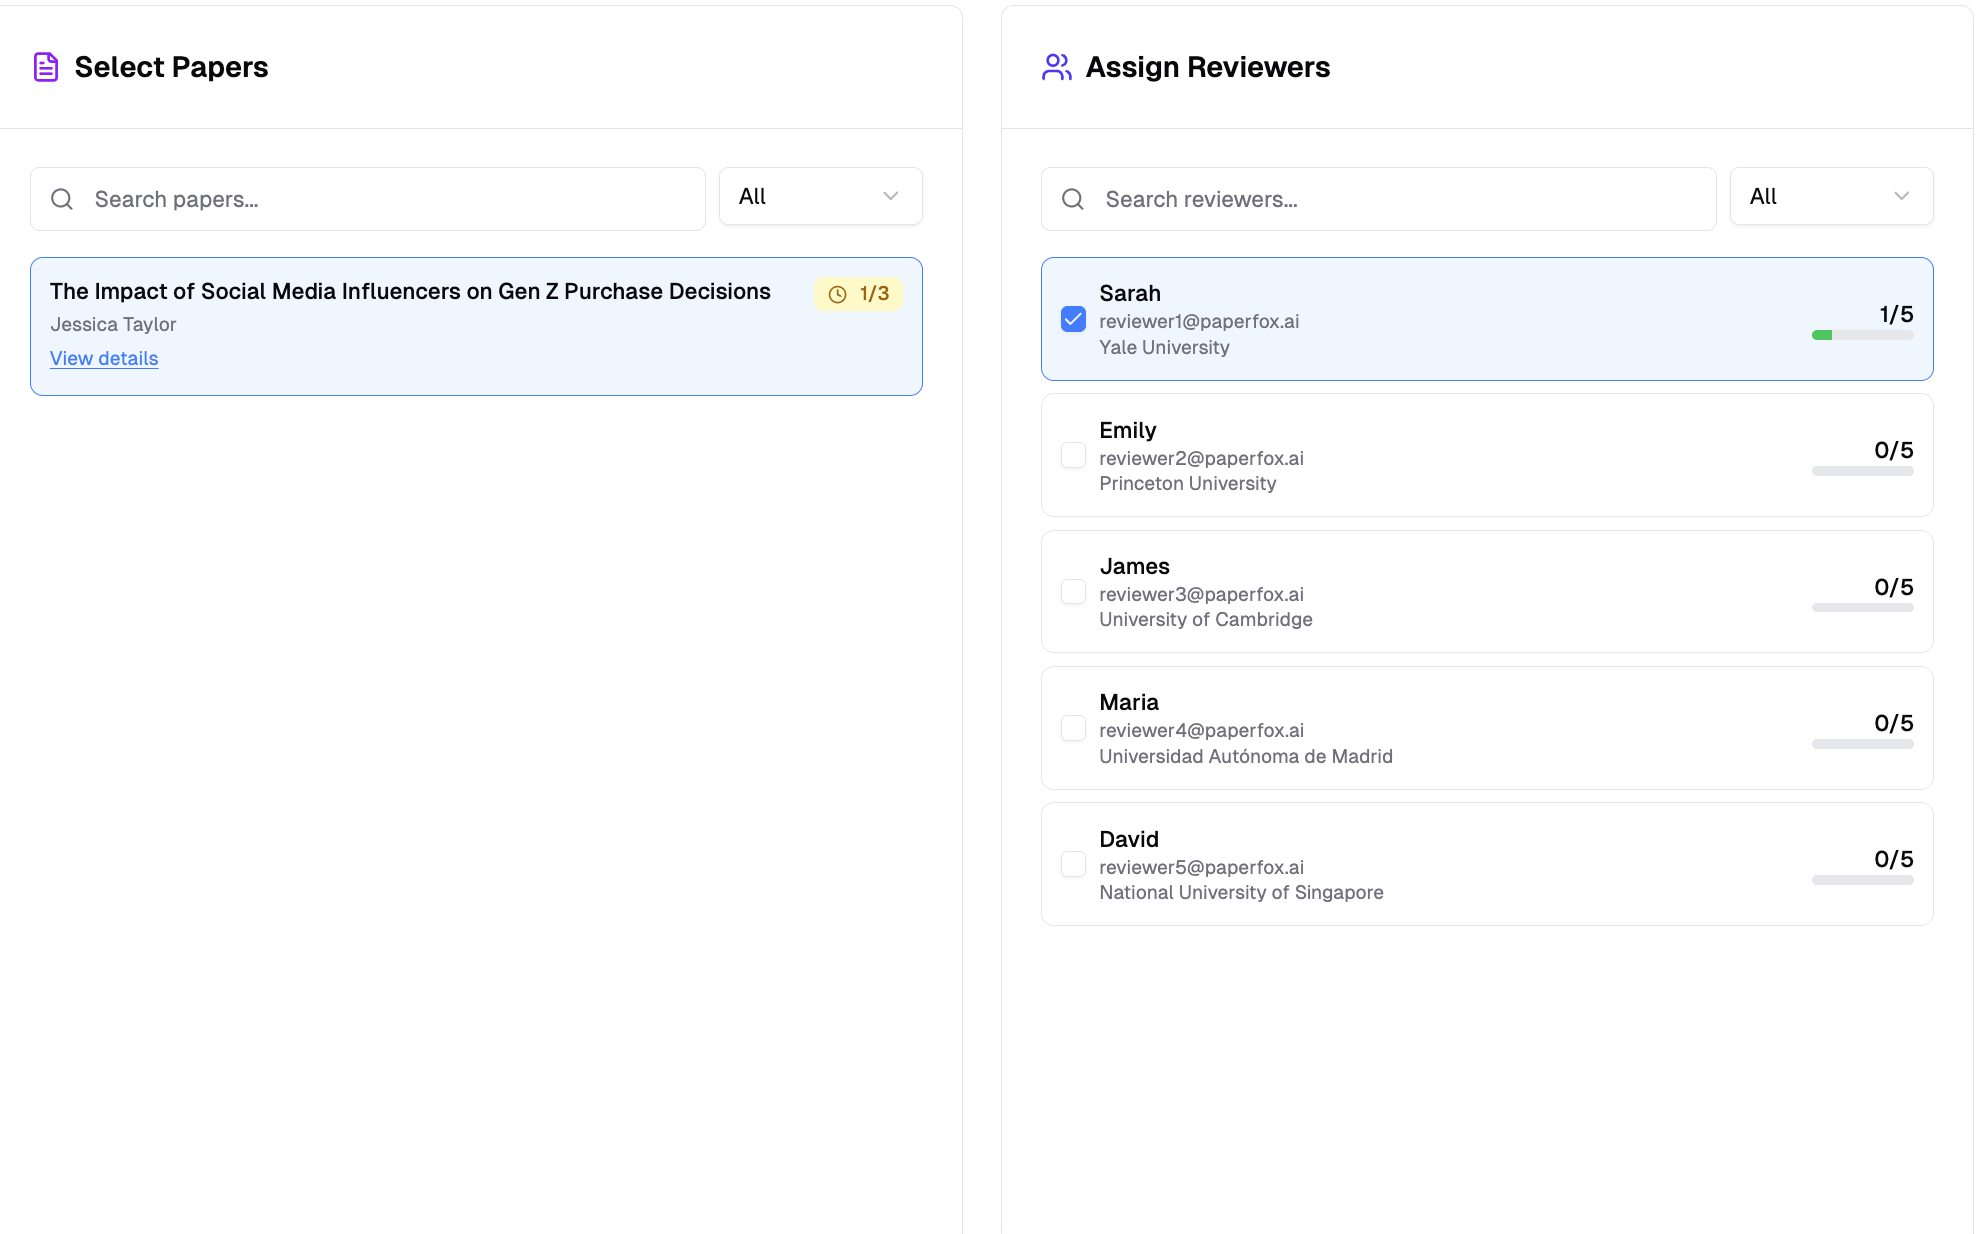 #### Growing the Pool from Here
If the reviewer you need isn't in the pool — or the pool is empty — click **"Add Reviewers"** in the panel header. It opens [Reviewer Management](/docs/track-chairs/invite-reviewers) with a **"Back to Assignments"** link that returns you to this page and phase.
Reviewers a chair added who haven't created their PaperFox account yet appear at the bottom of the panel under **Awaiting Account** — visible but not assignable until they sign up, at which point they join the pool automatically.
#### Reactivating a Declined Reviewer
When a reviewer declines by mistake, you can return their invitation to **Invited** so they can accept or decline again — no need to re-invite from scratch.
1. **Select the submission** the reviewer declined
2. Find the reviewer in the **Assign Reviewers** panel — their row shows an **"Assignment declined"** badge with a **"Reset to Invited"** button
3. Click **"Reset to Invited"** and confirm
#### Growing the Pool from Here
If the reviewer you need isn't in the pool — or the pool is empty — click **"Add Reviewers"** in the panel header. It opens [Reviewer Management](/docs/track-chairs/invite-reviewers) with a **"Back to Assignments"** link that returns you to this page and phase.
Reviewers a chair added who haven't created their PaperFox account yet appear at the bottom of the panel under **Awaiting Account** — visible but not assignable until they sign up, at which point they join the pool automatically.
#### Reactivating a Declined Reviewer
When a reviewer declines by mistake, you can return their invitation to **Invited** so they can accept or decline again — no need to re-invite from scratch.
1. **Select the submission** the reviewer declined
2. Find the reviewer in the **Assign Reviewers** panel — their row shows an **"Assignment declined"** badge with a **"Reset to Invited"** button
3. Click **"Reset to Invited"** and confirm
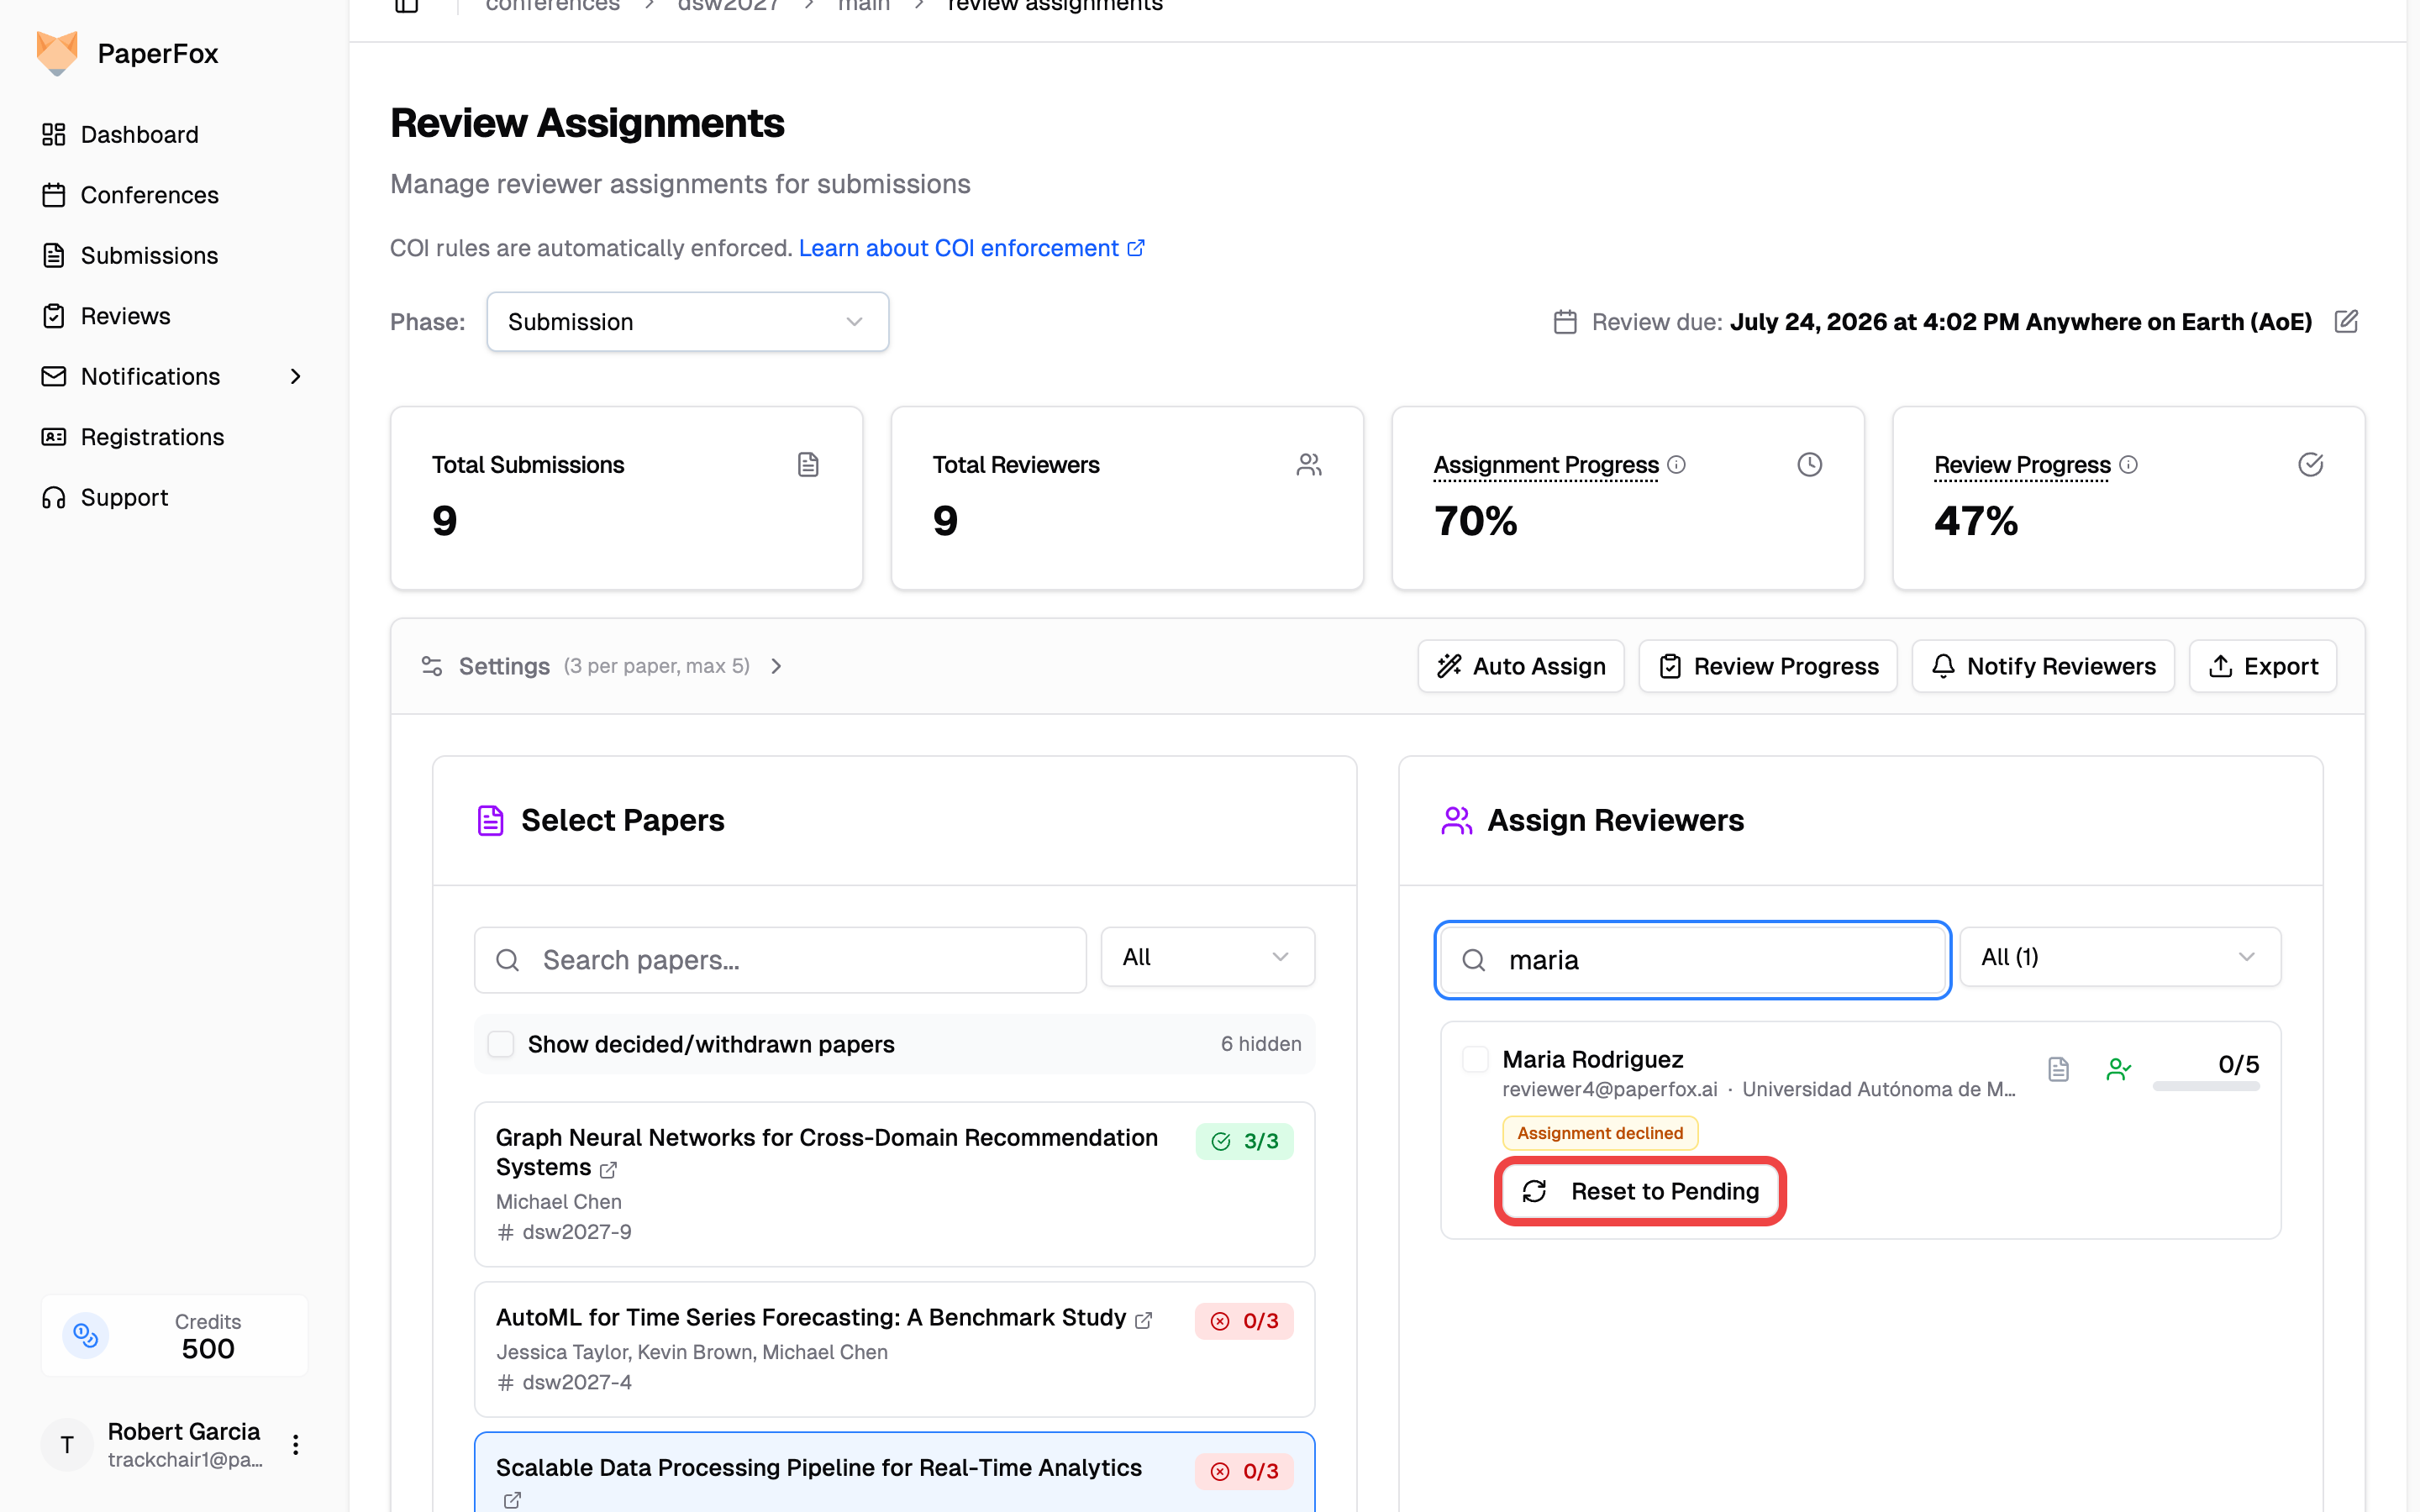 The invitation returns to that reviewer immediately, and they'll see it again on their **Reviews** page. To hand the slot to someone else instead, simply select a different reviewer.
You can also reset a declined assignment from the [Review Progress](/docs/track-chairs/review-progress#reactivating-a-declined-assignment) page — from either the By Submission matrix or the By Reviewer list.
### 6. Reusing Reviewers in a Later Phase
For multi-phase tracks (for example a Revision or Camera-Ready round with its own reviews), you usually want the same reviewers who handled each submission in the previous phase. Instead of re-selecting them submission by submission:
1. Make sure the phase selector in the top-right is on the later phase — once you've moved submissions there it's already the current phase the page opens to
2. Select a submission — reviewers from the previous phase are marked with a **"Reviewed in [phase]"** badge and sorted near the top
3. Click **"Reuse Reviewers"** in the toolbar
The invitation returns to that reviewer immediately, and they'll see it again on their **Reviews** page. To hand the slot to someone else instead, simply select a different reviewer.
You can also reset a declined assignment from the [Review Progress](/docs/track-chairs/review-progress#reactivating-a-declined-assignment) page — from either the By Submission matrix or the By Reviewer list.
### 6. Reusing Reviewers in a Later Phase
For multi-phase tracks (for example a Revision or Camera-Ready round with its own reviews), you usually want the same reviewers who handled each submission in the previous phase. Instead of re-selecting them submission by submission:
1. Make sure the phase selector in the top-right is on the later phase — once you've moved submissions there it's already the current phase the page opens to
2. Select a submission — reviewers from the previous phase are marked with a **"Reviewed in [phase]"** badge and sorted near the top
3. Click **"Reuse Reviewers"** in the toolbar
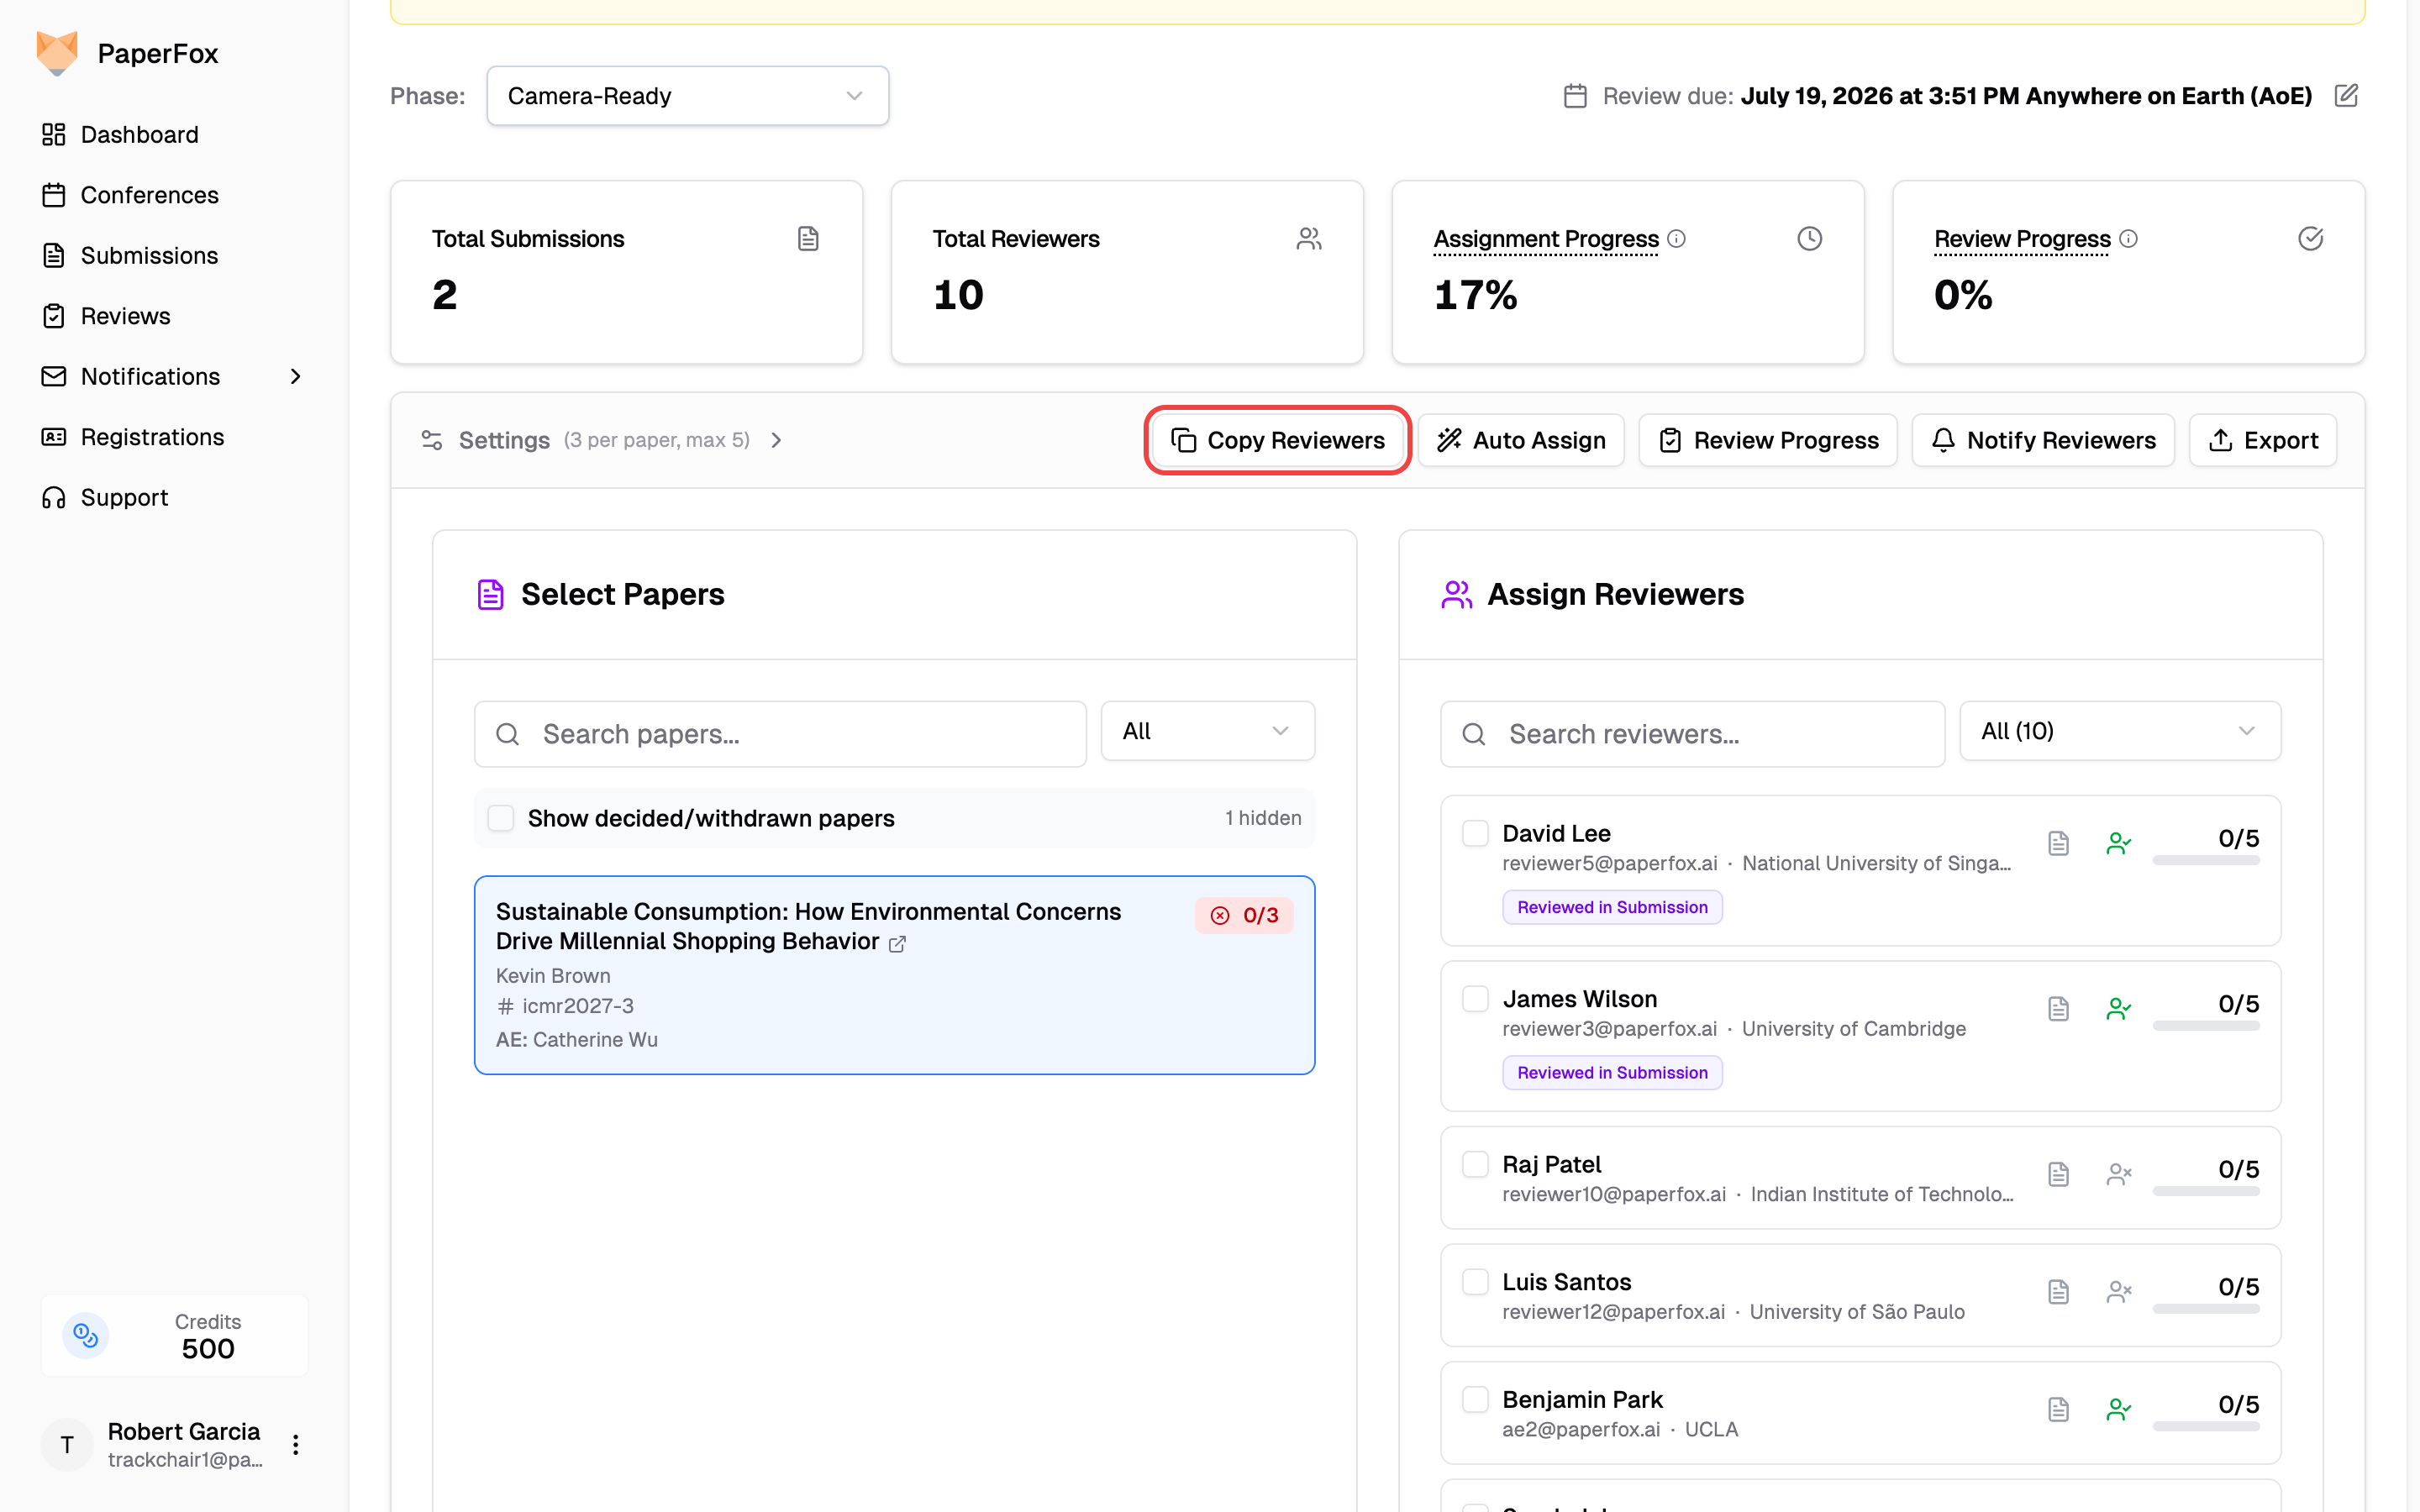 4. Review the summary and click **"Reuse Reviewers"** to confirm
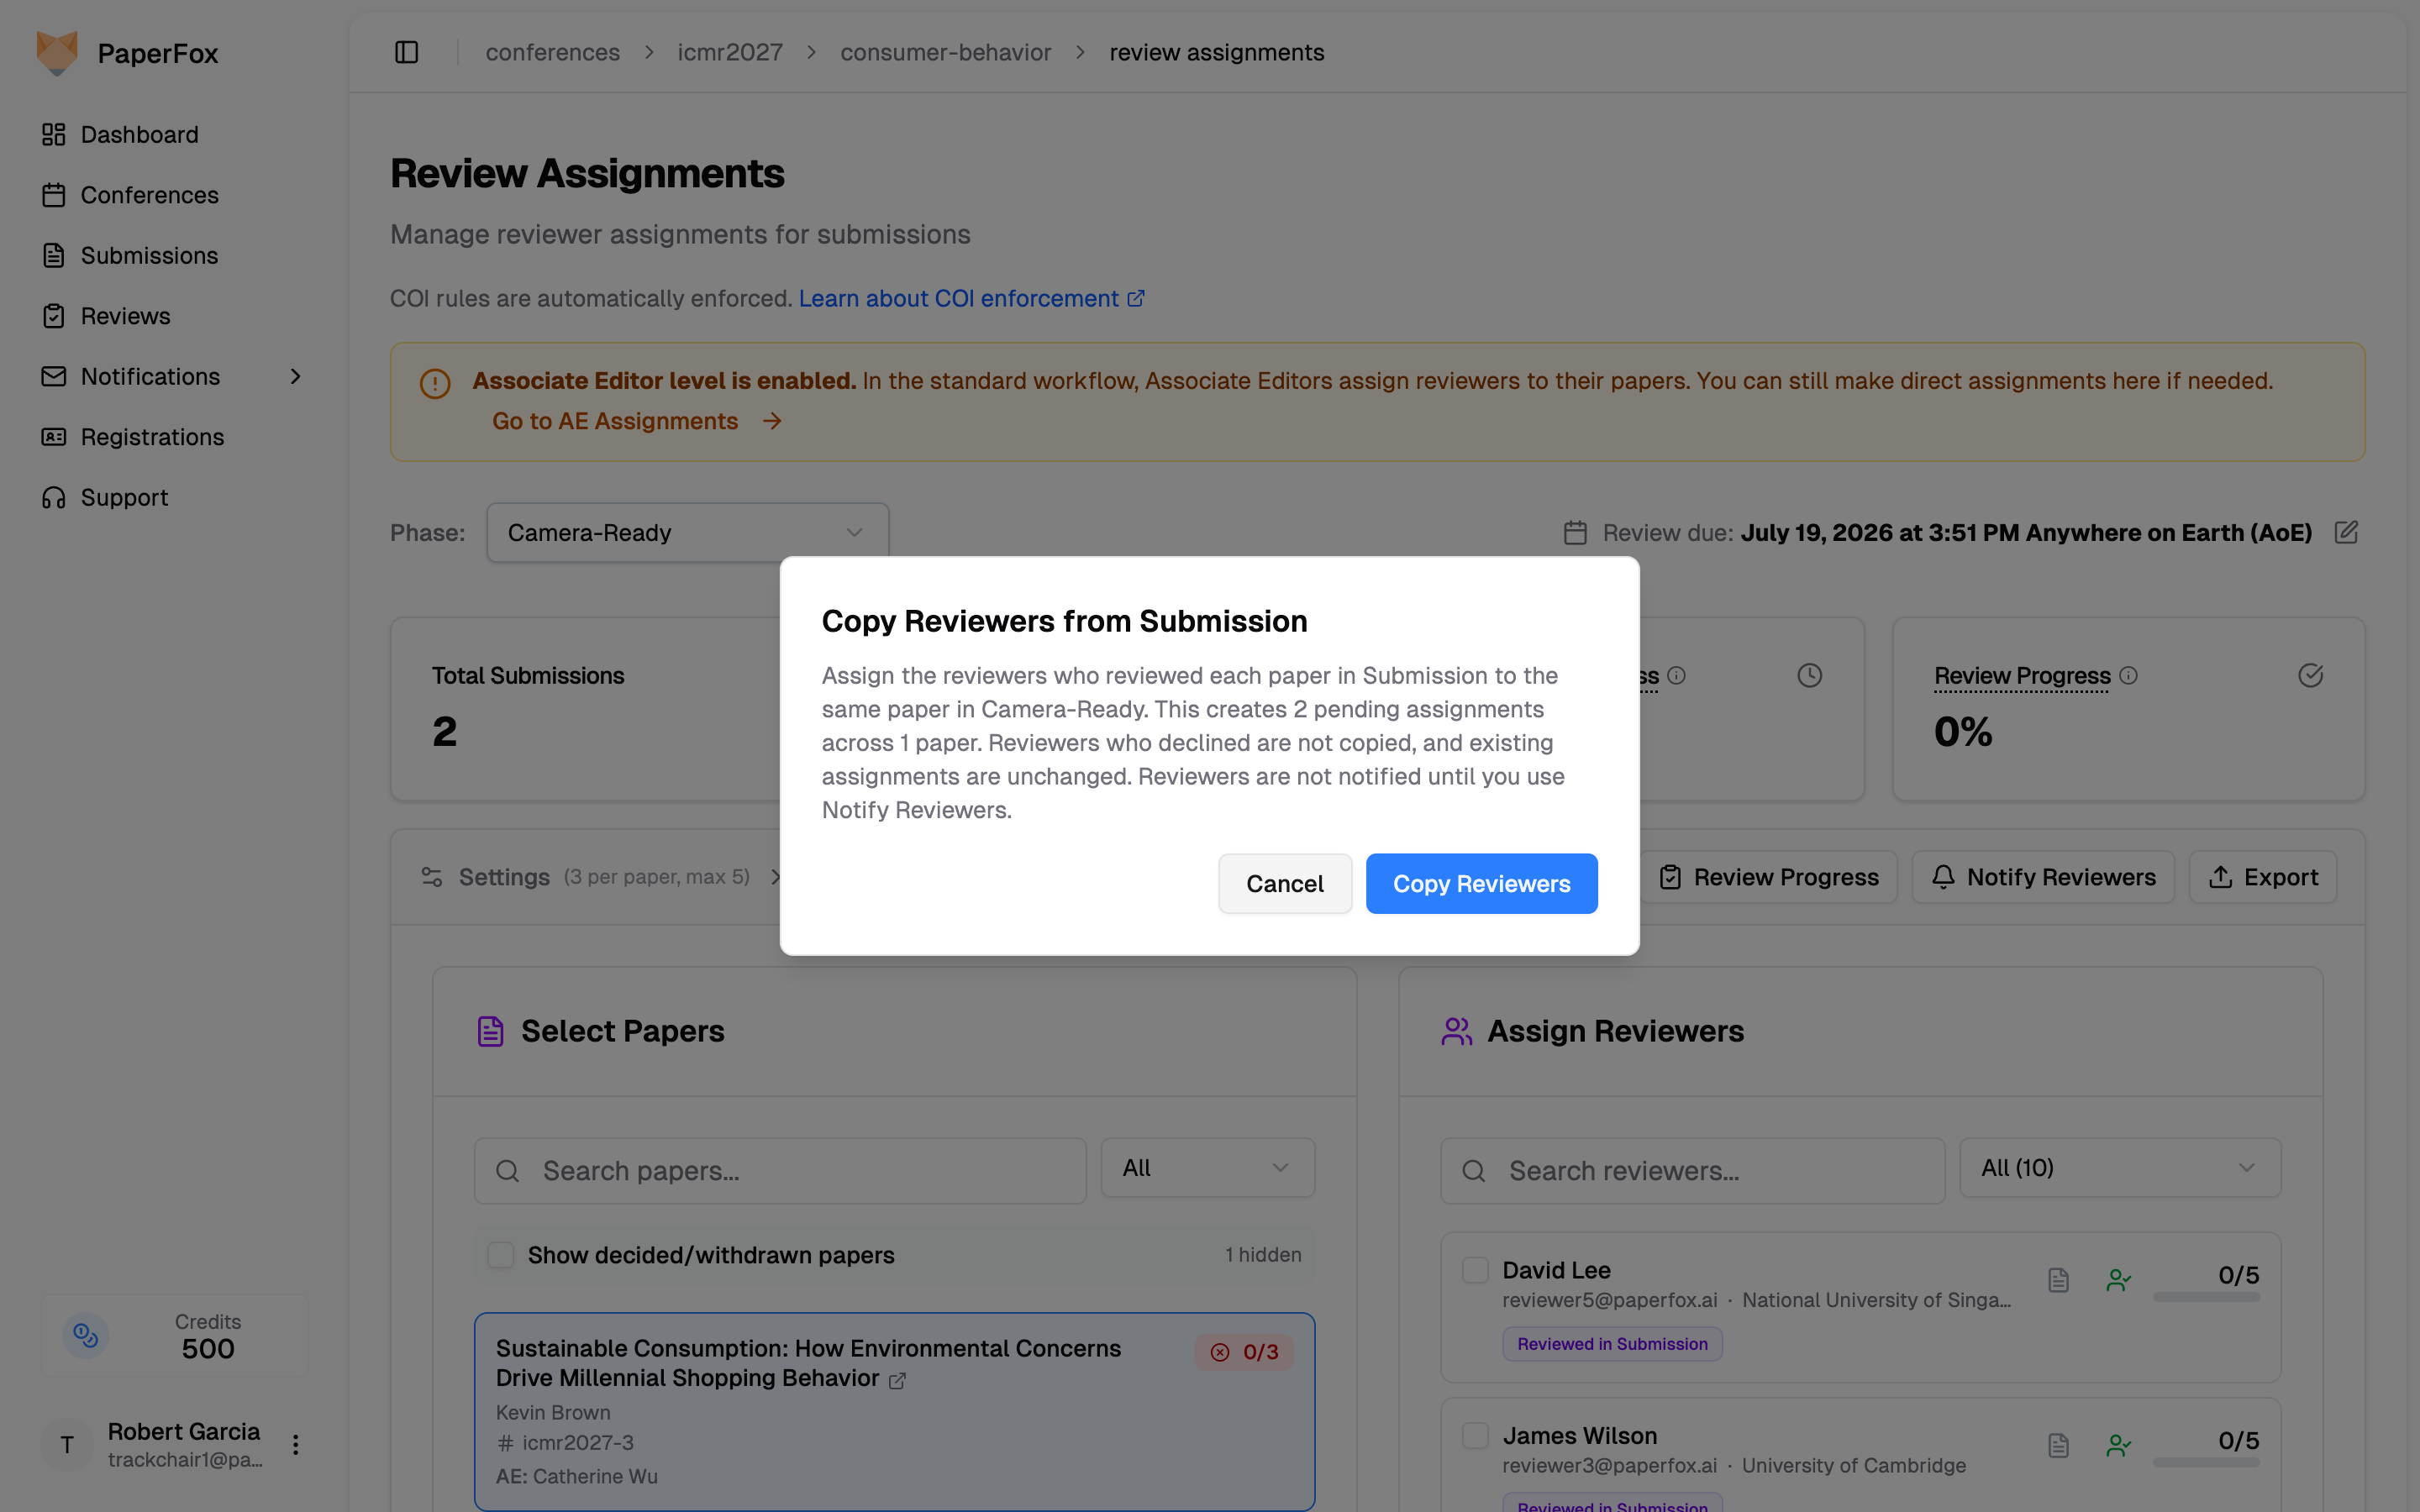 This applies to **every submission in the phase at once**: each submission gets pending assignments for its own previous-phase reviewers. Reviewers who declined in the previous phase are not reused, existing assignments are unchanged, and submissions that already have a decision in this phase are skipped. You can still add or remove reviewers on any submission afterwards.
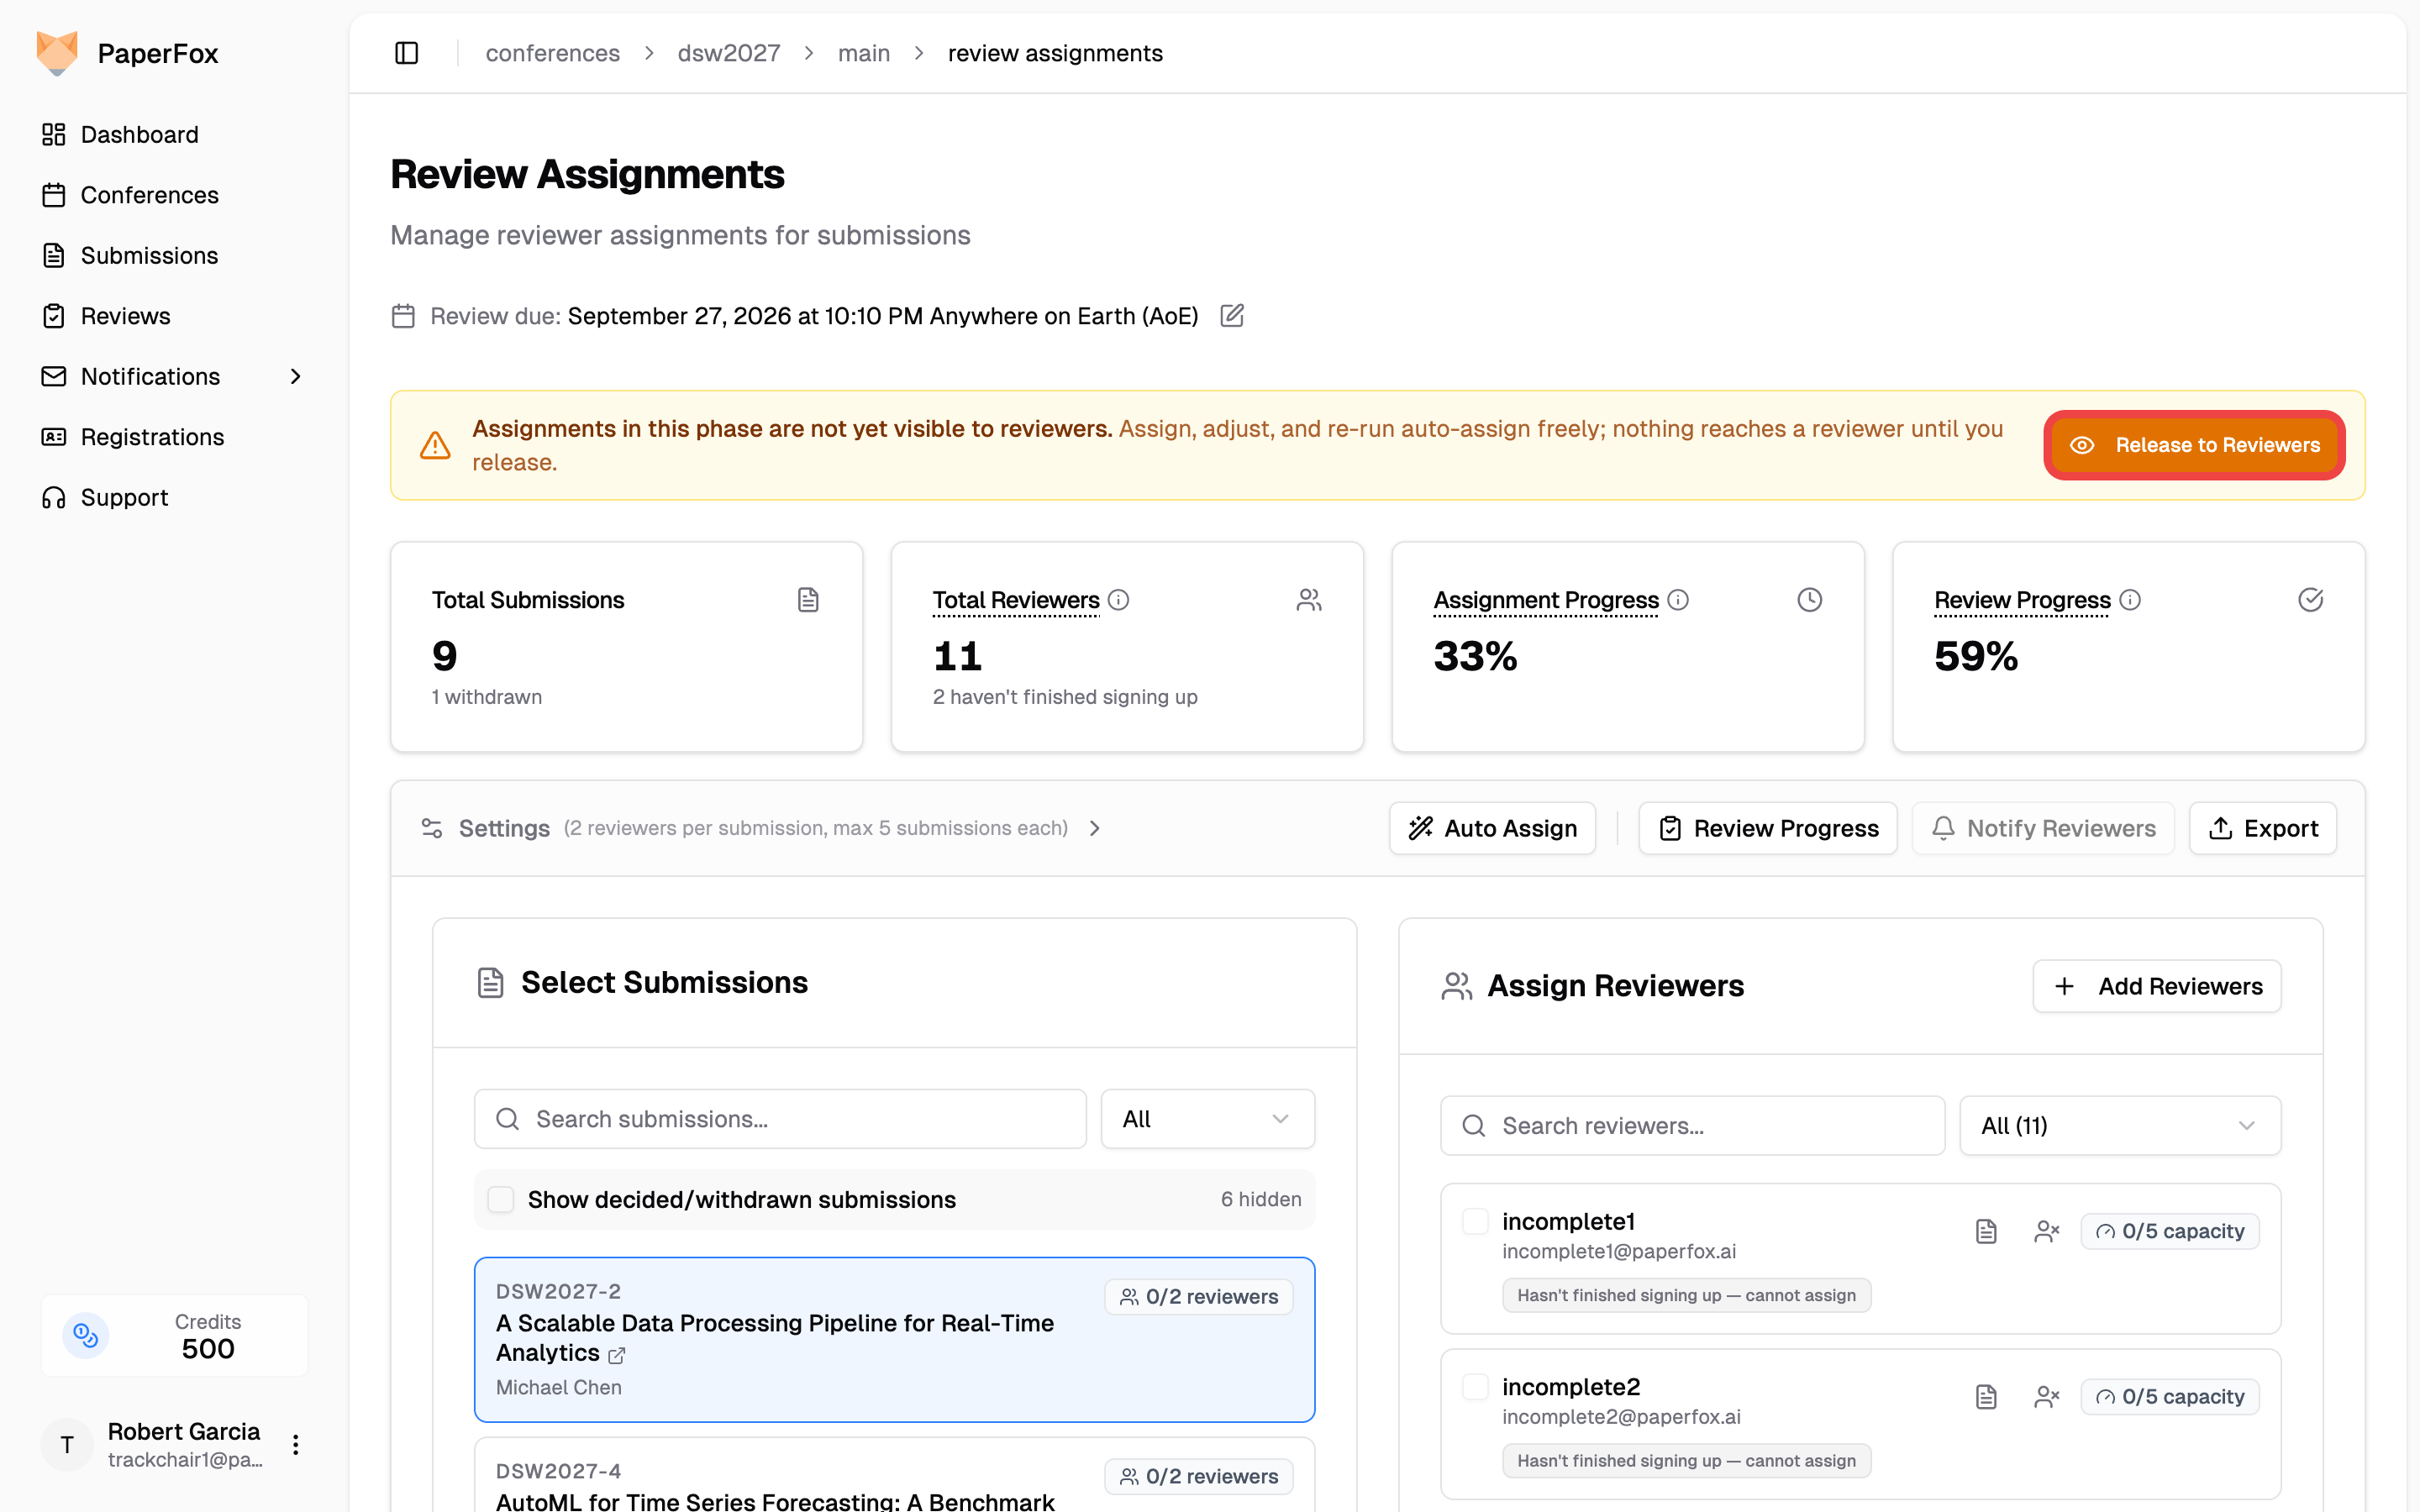 When your first pass is done:
1. Click **"Release to Reviewers"** in the banner
2. Leave **"Open the Notify Reviewers email next"** checked to send the assignment email in the same step, or untick it to email later from **"Notify Reviewers"** in the toolbar
When your first pass is done:
1. Click **"Release to Reviewers"** in the banner
2. Leave **"Open the Notify Reviewers email next"** checked to send the assignment email in the same step, or untick it to email later from **"Notify Reviewers"** in the toolbar
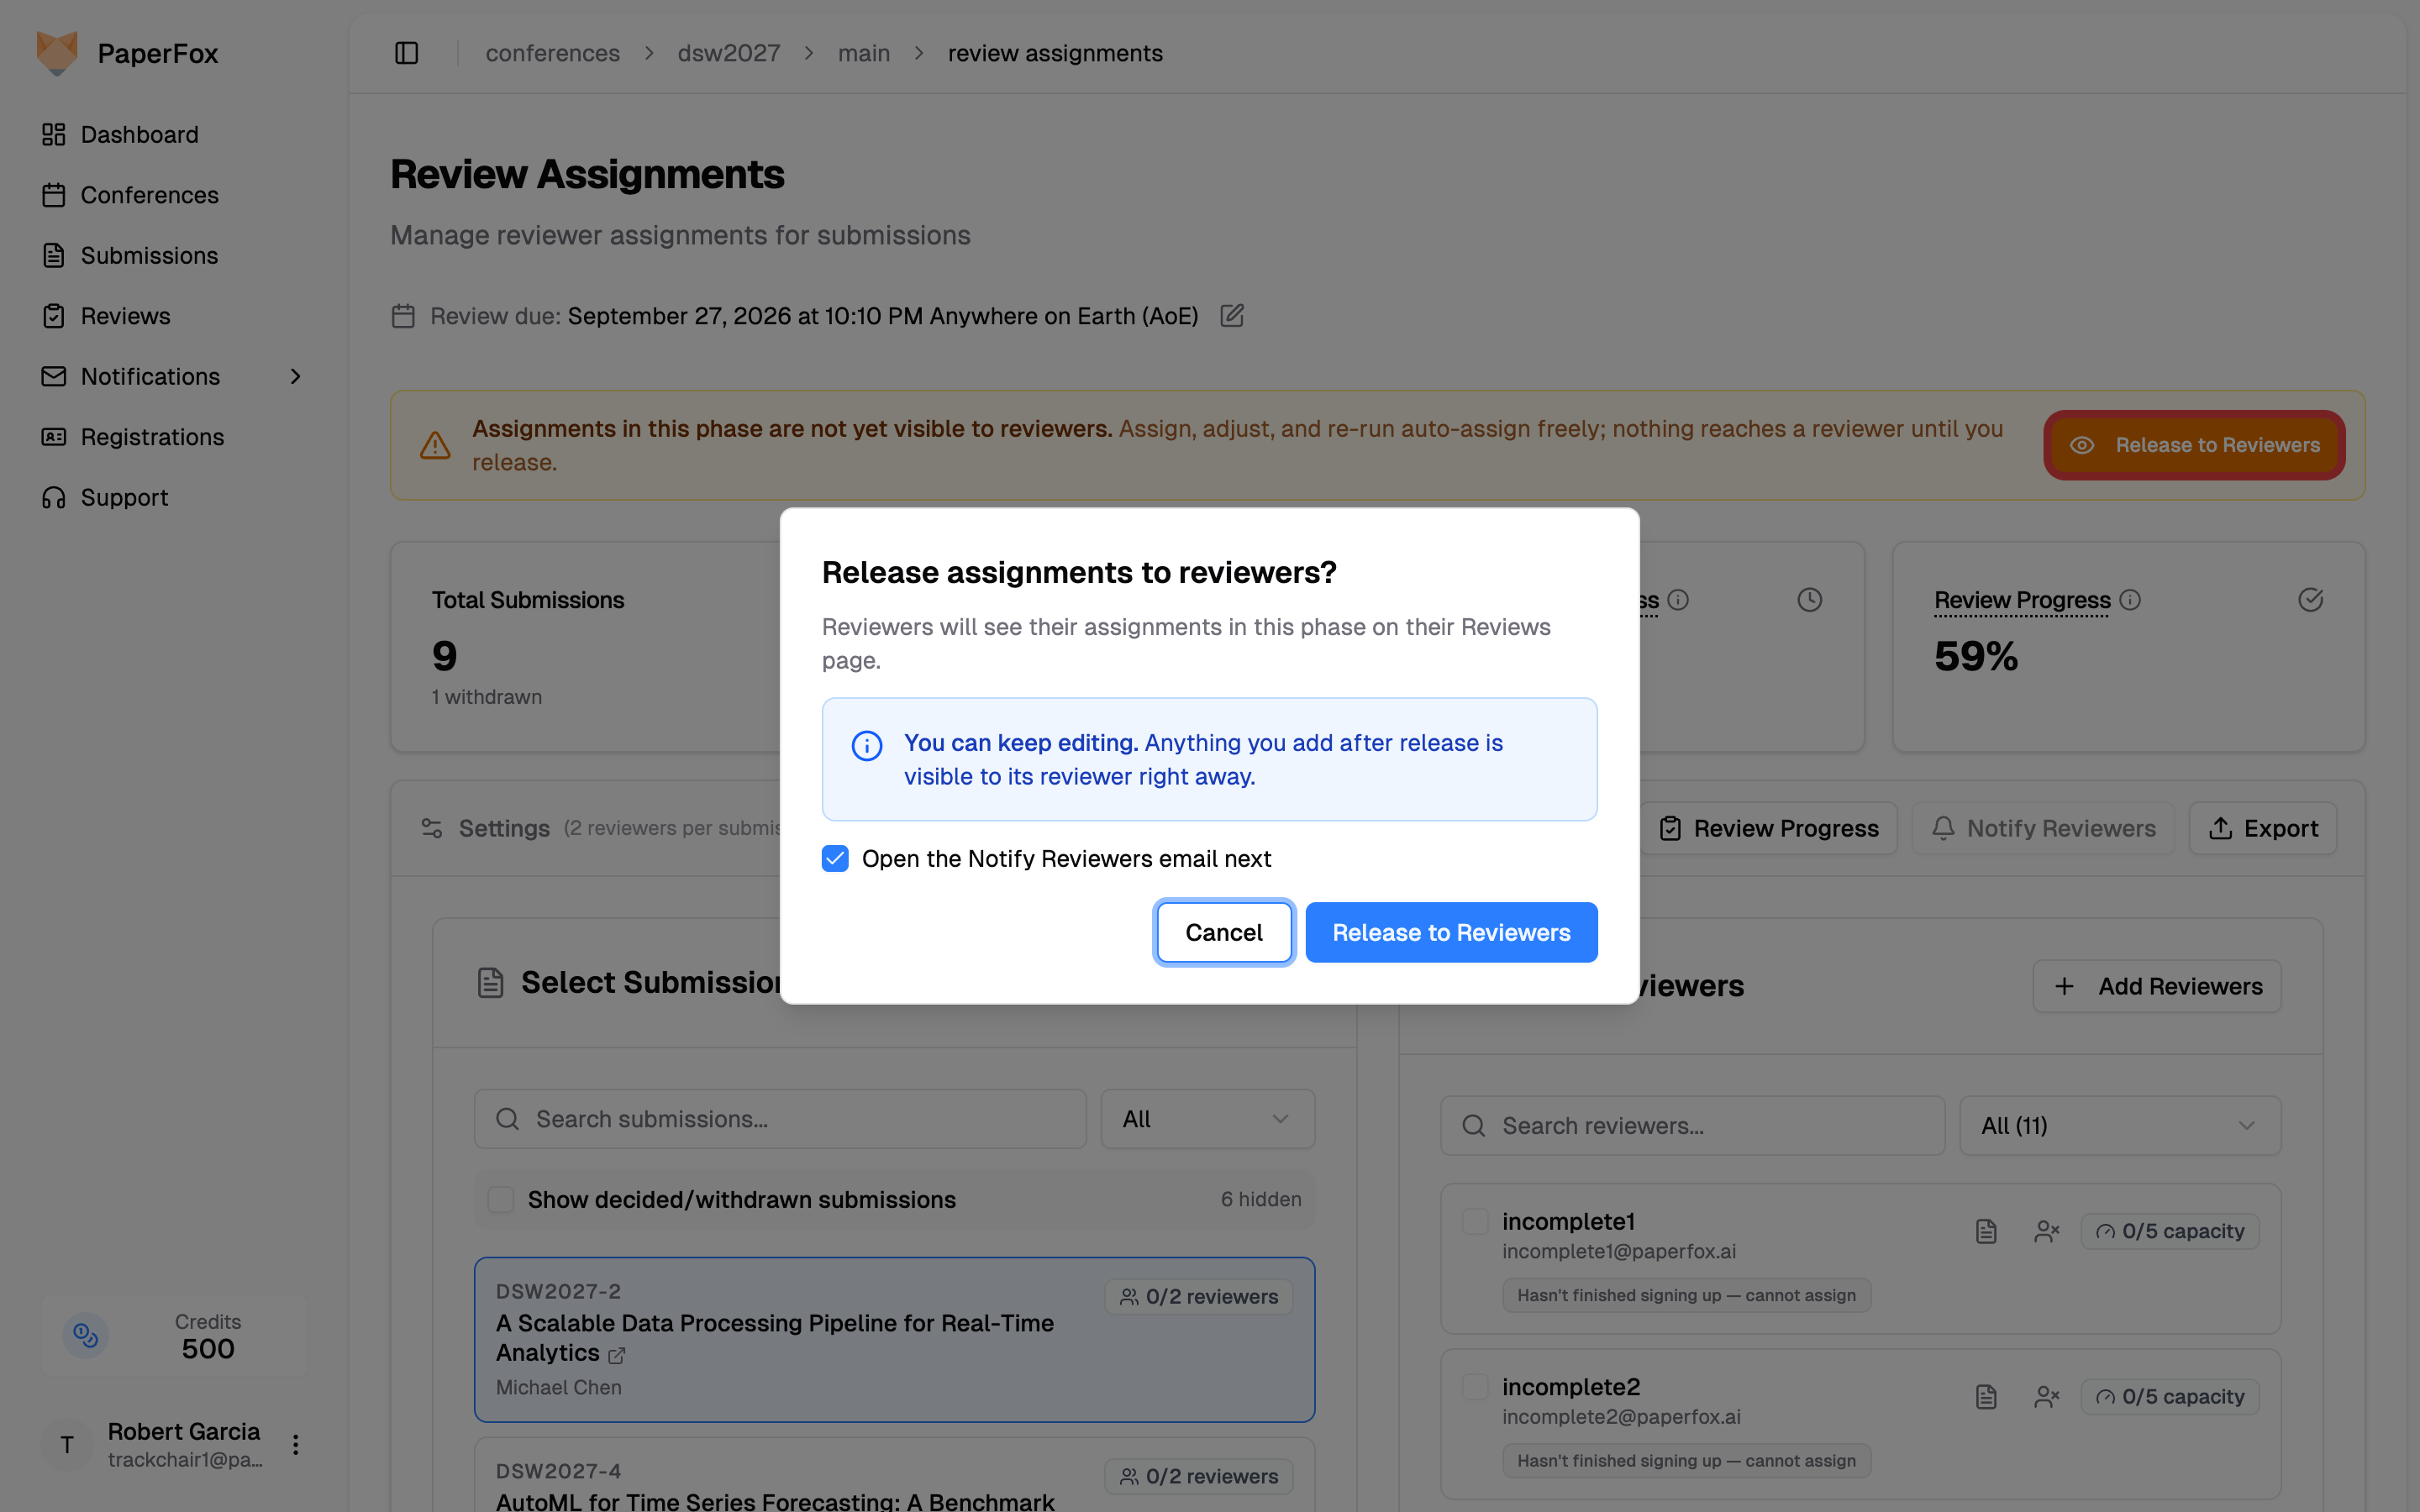
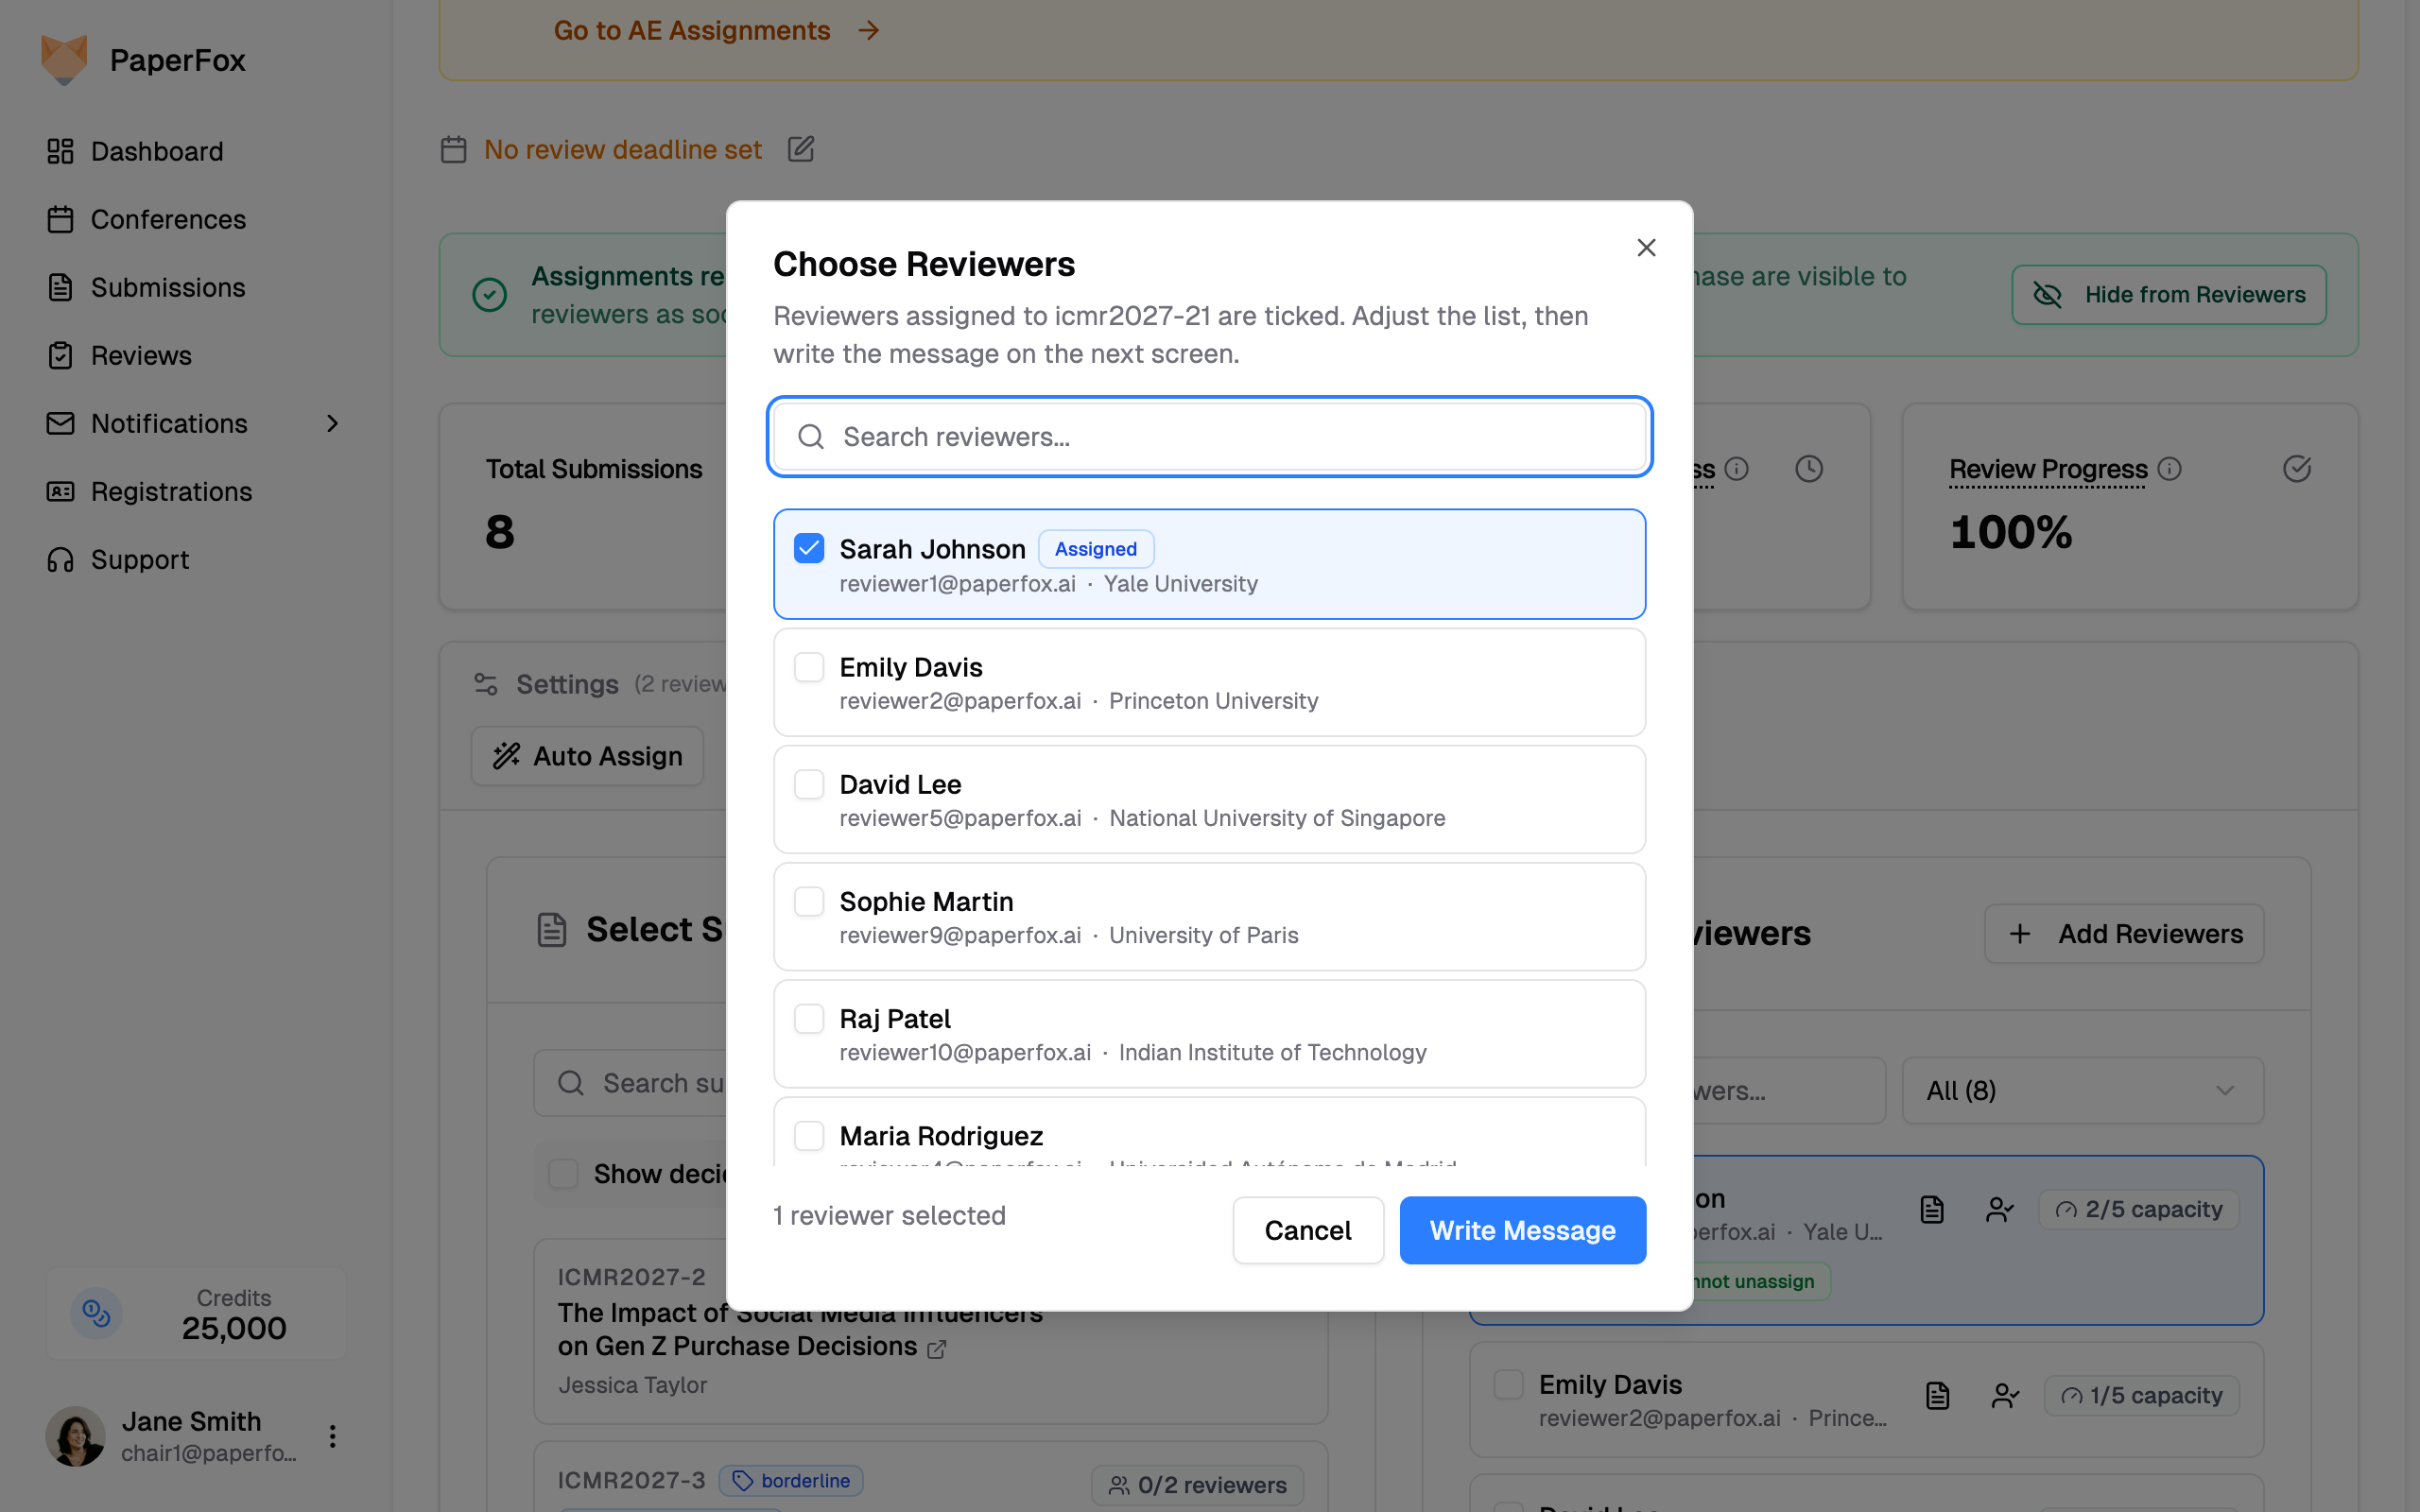 The same hand-picking is available on the track's **Reviewers** page, where you can tick rows and click **Notify Selected** — use that one when the message has nothing to do with a particular submission.
4. Under **Committee Structure**, select **Full (with Senior Editors + Associate Editors)**
The same hand-picking is available on the track's **Reviewers** page, where you can tick rows and click **Notify Selected** — use that one when the message has nothing to do with a particular submission.
4. Under **Committee Structure**, select **Full (with Senior Editors + Associate Editors)**
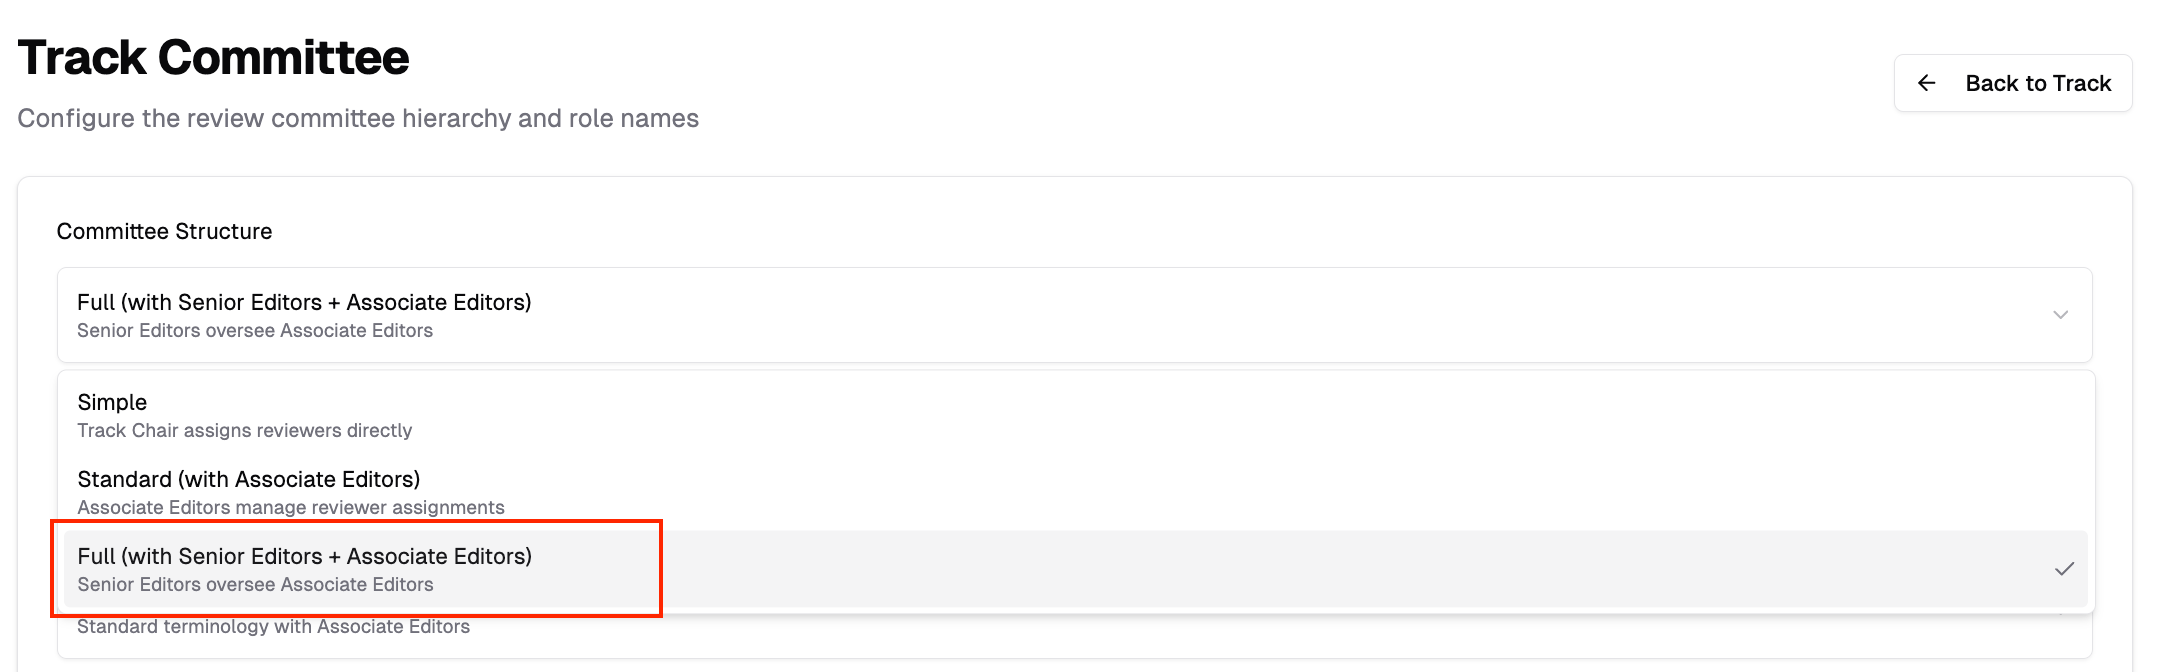 5. Optionally select a **Terminology Preset** or customize role names (e.g., "Area Chair" instead of "Senior Editor")
### Invite Senior Editors
After enabling the SE level:
1. Go back to Track Management
2. Click the **Senior Editors** button (or your custom name)
5. Optionally select a **Terminology Preset** or customize role names (e.g., "Area Chair" instead of "Senior Editor")
### Invite Senior Editors
After enabling the SE level:
1. Go back to Track Management
2. Click the **Senior Editors** button (or your custom name)
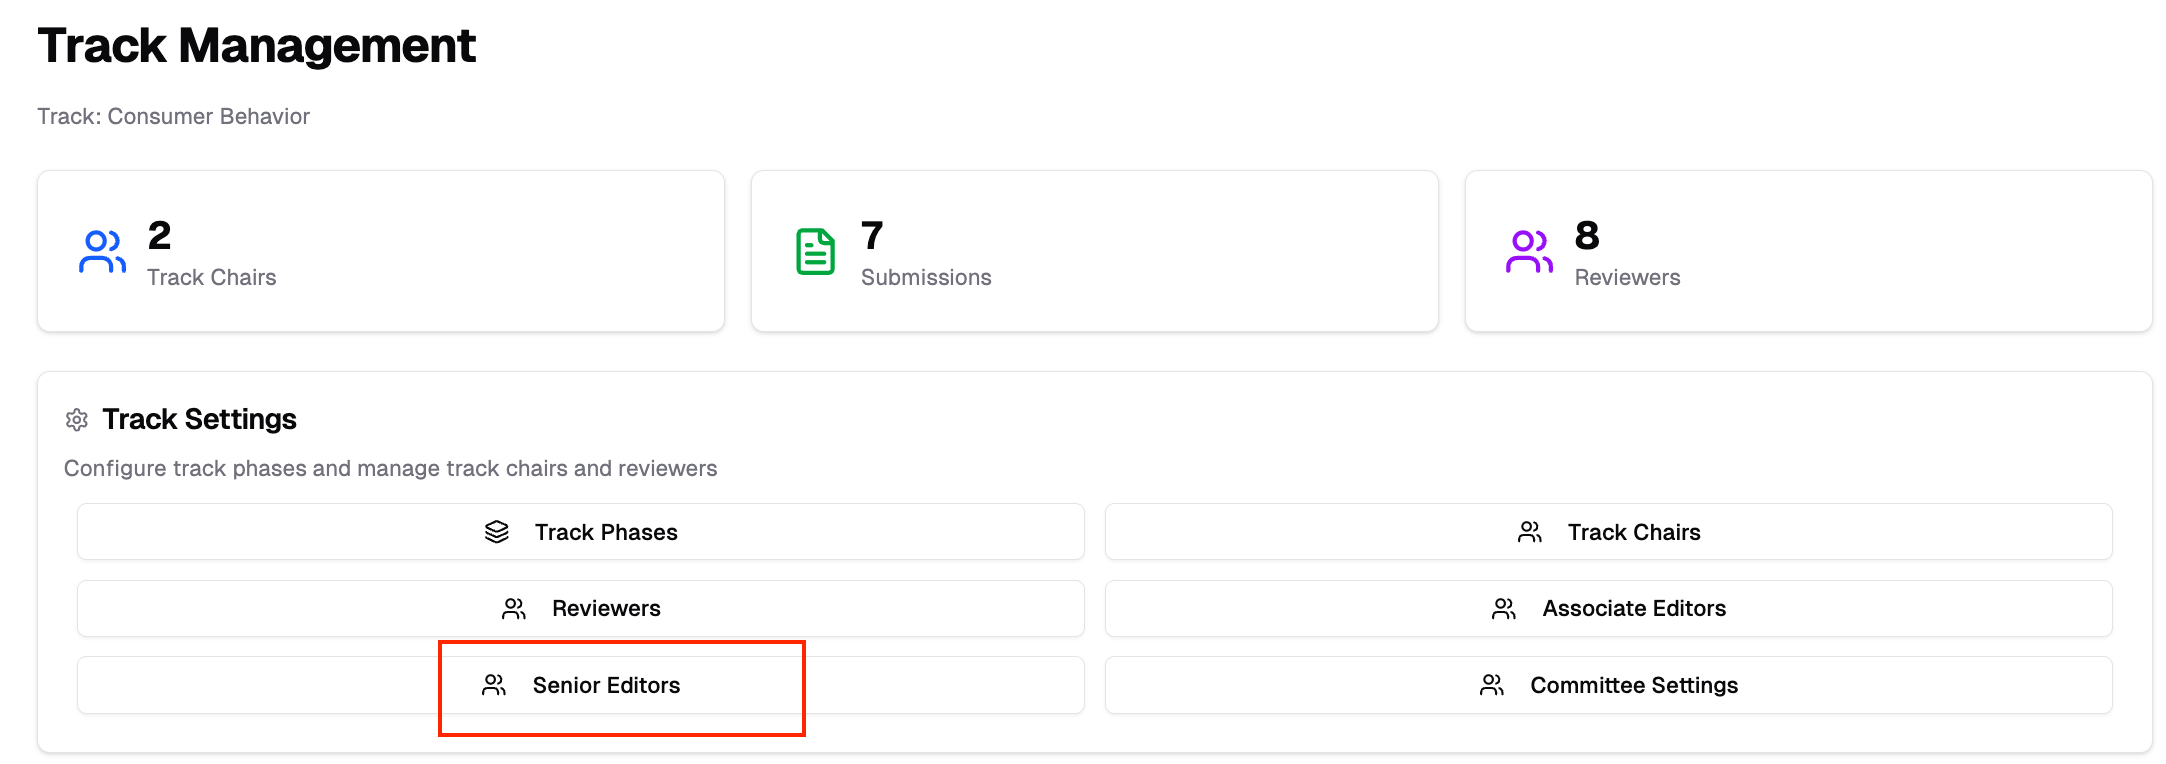 3. Invite users to serve as Senior Editors
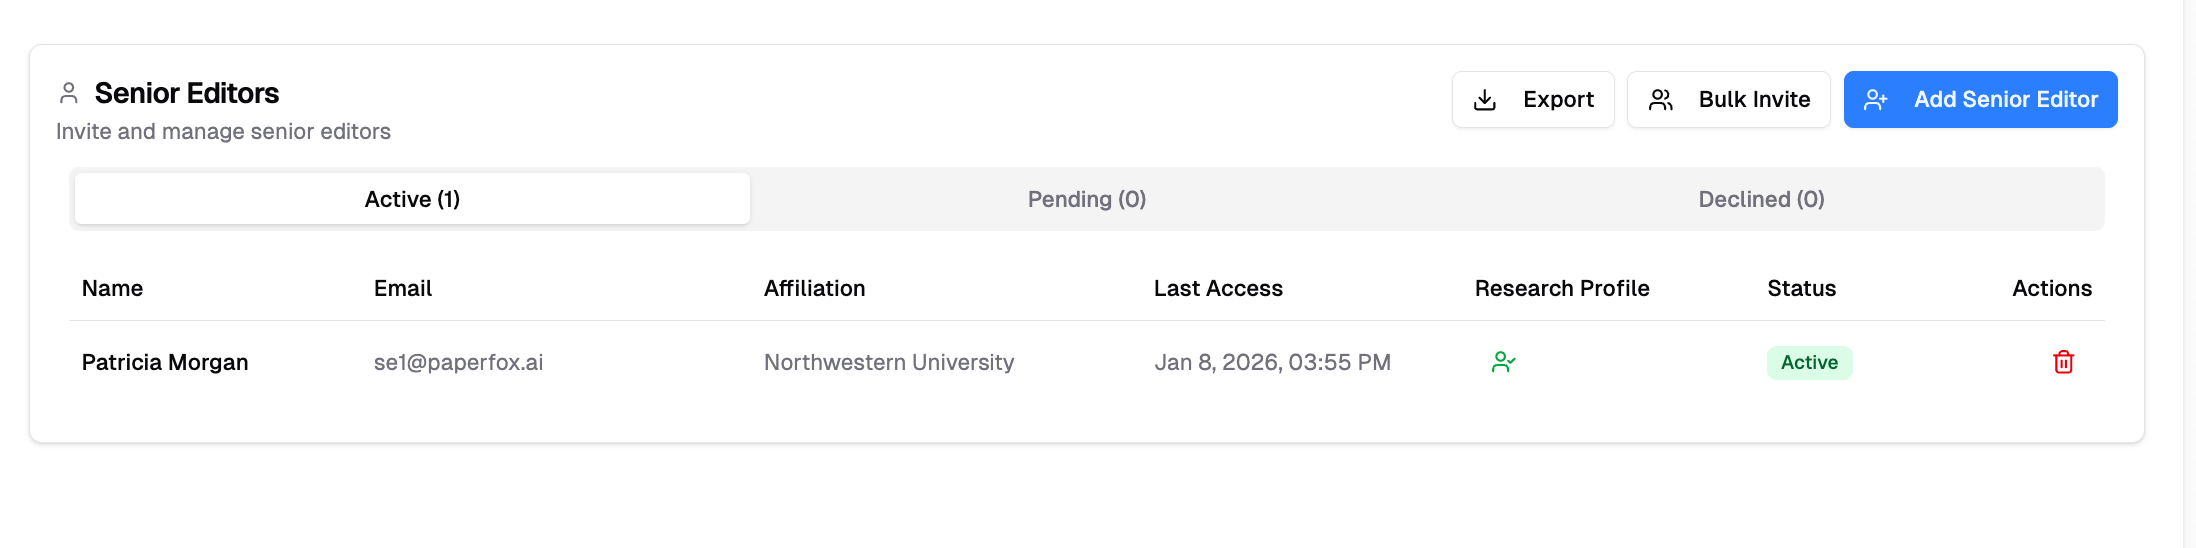 ### Accessing SE Assignments
1. Go to your track management page
2. Click **Senior Editor Assignments**
### Accessing SE Assignments
1. Go to your track management page
2. Click **Senior Editor Assignments**
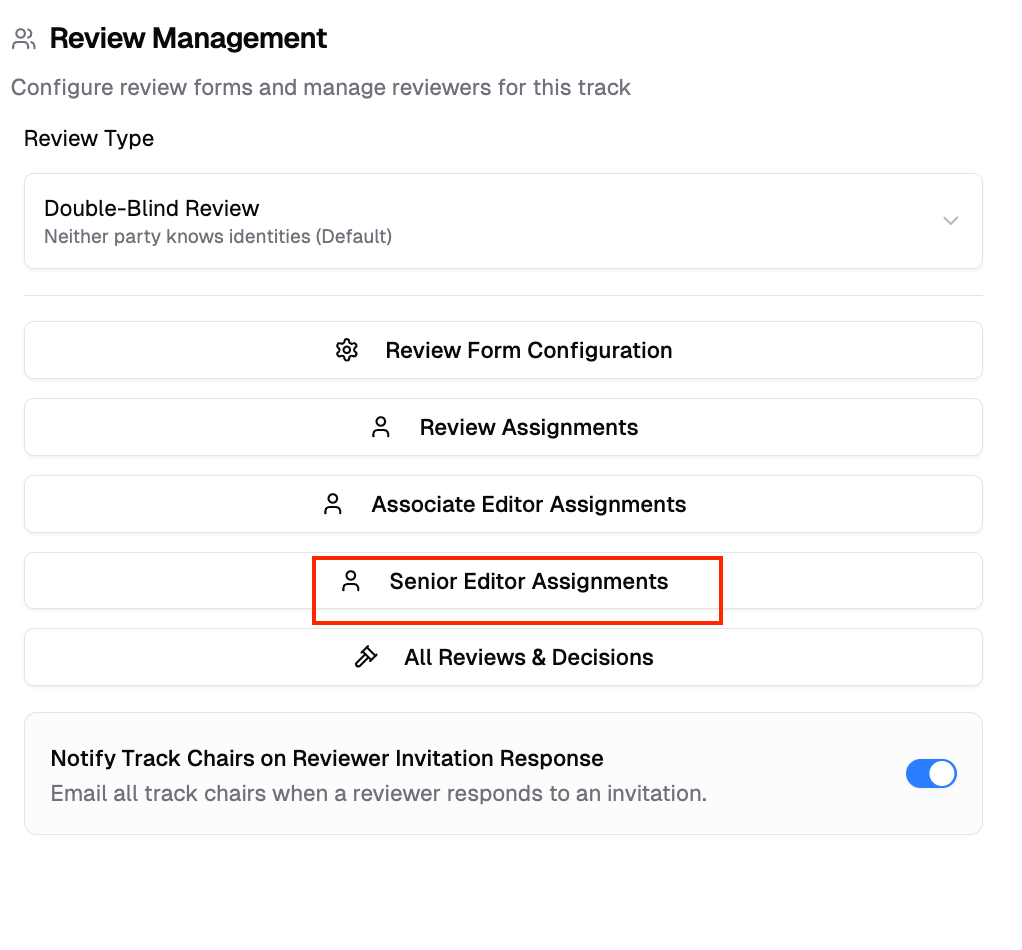 The SE Assignments page displays:
- All submissions in your track
- Available Senior Editors
- Current assignment status
### Assigning Submissions
1. Select submissions from the list
2. Choose a Senior Editor to assign
3. Confirm the assignment
The SE Assignments page displays:
- All submissions in your track
- Available Senior Editors
- Current assignment status
### Assigning Submissions
1. Select submissions from the list
2. Choose a Senior Editor to assign
3. Confirm the assignment
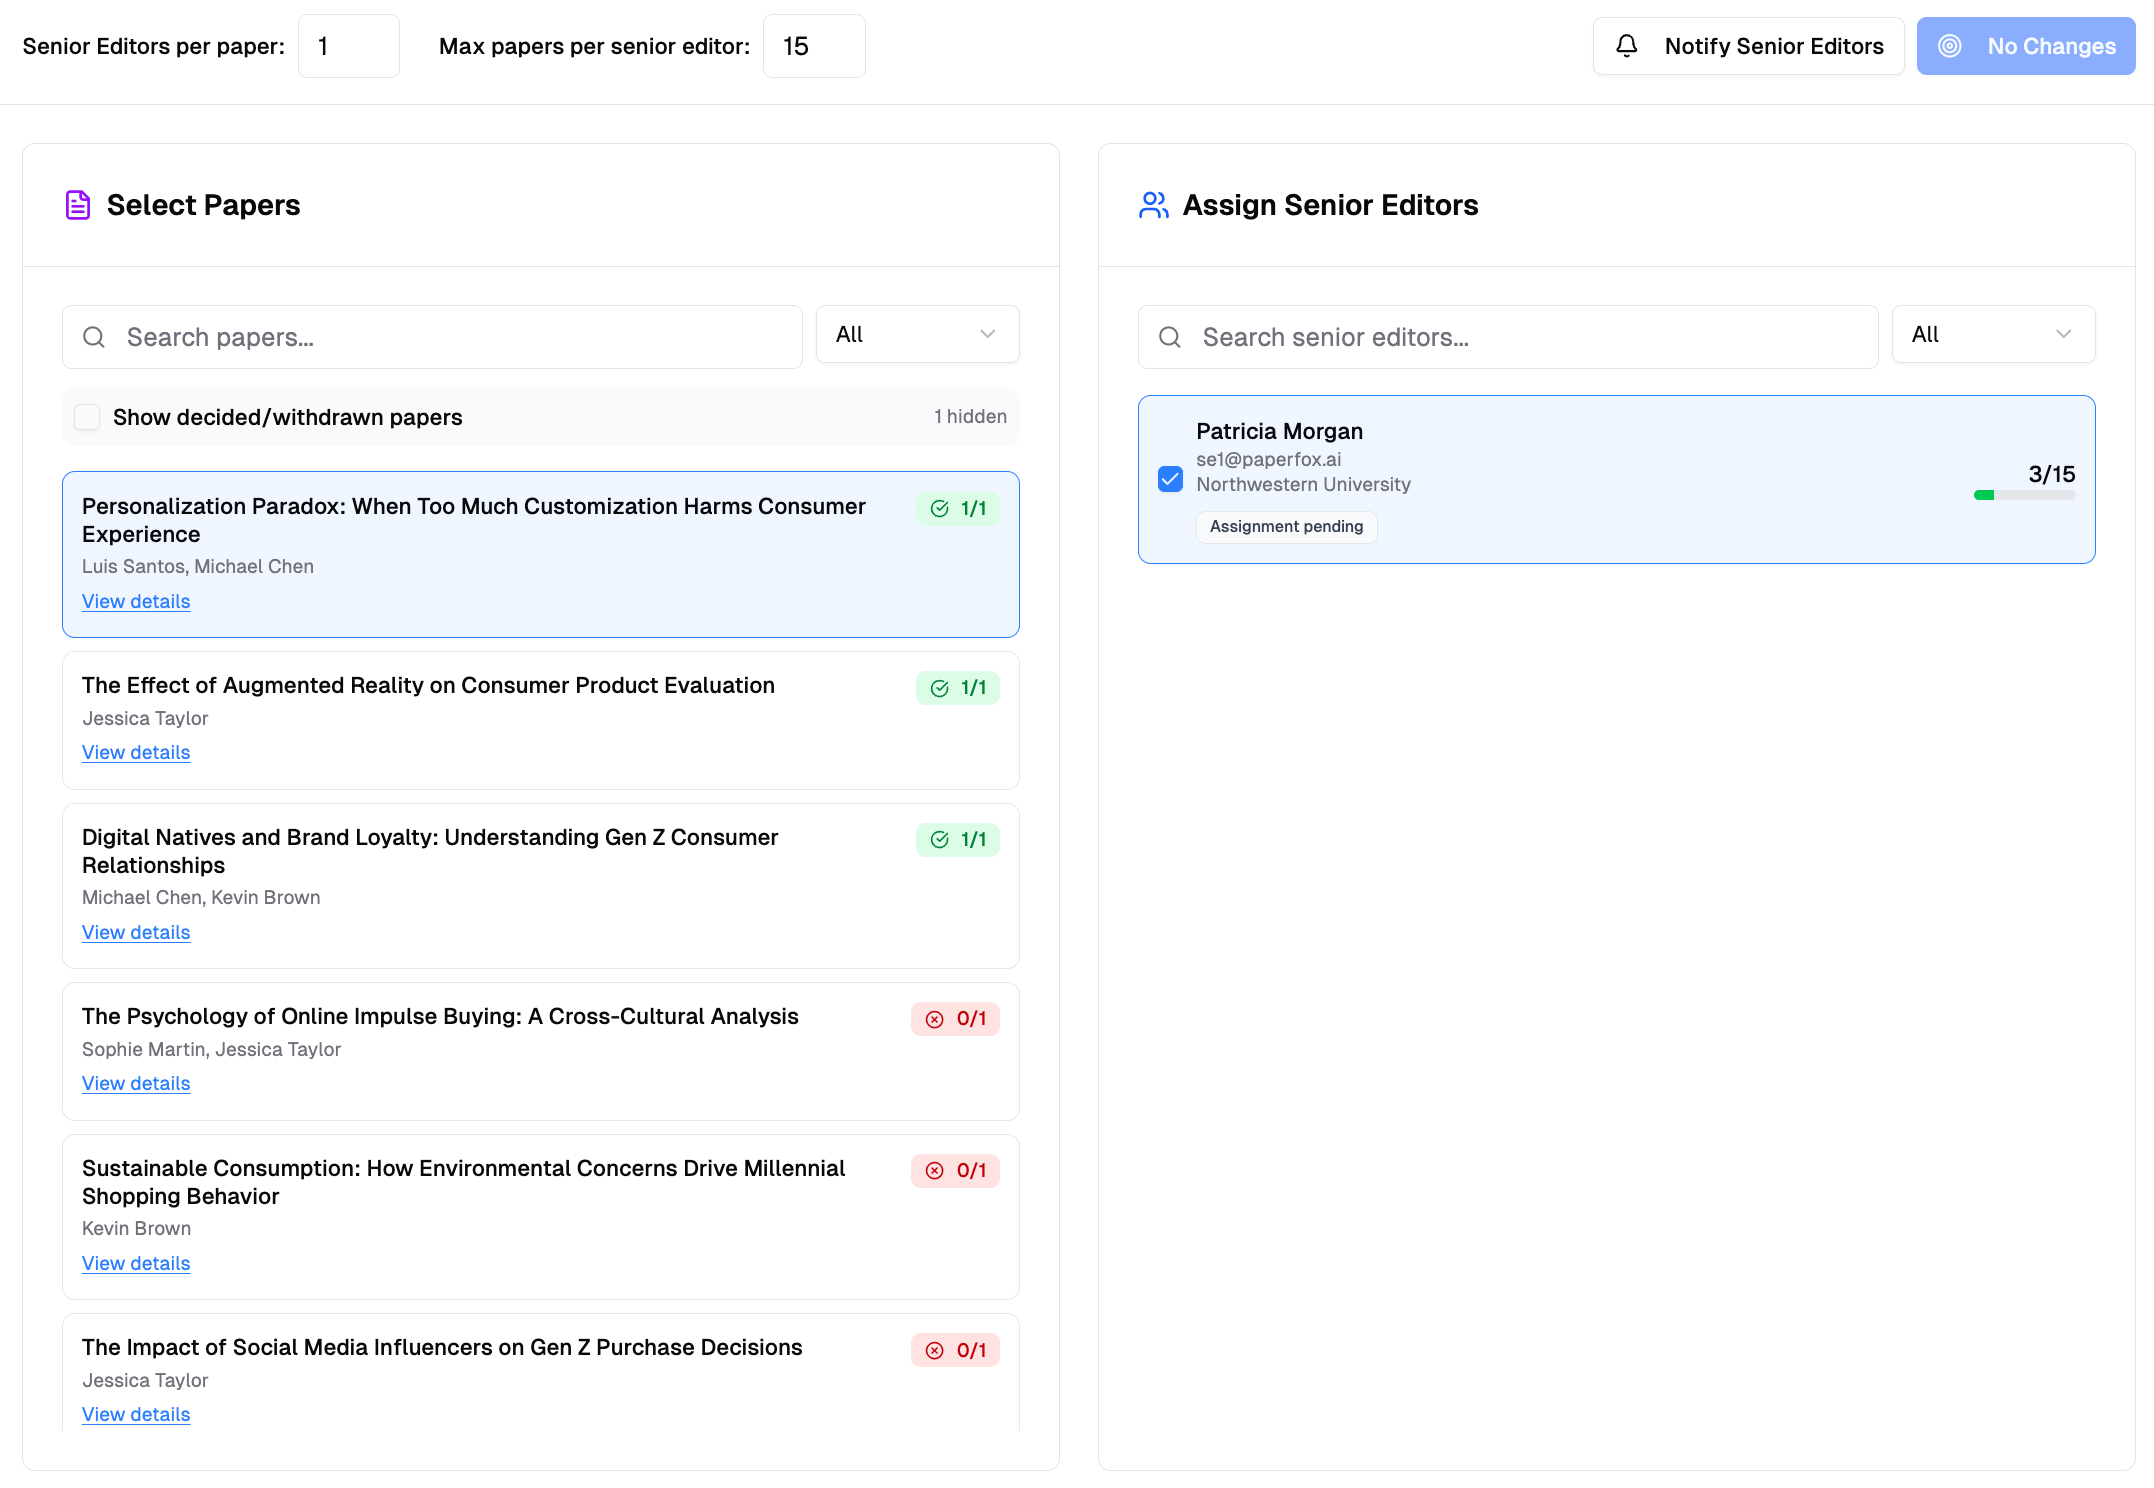 Each submission can be assigned to one Senior Editor. The SE will then distribute submissions to Associate Editors from their **My Senior Editor Assignments** card.
### Assignment Settings
Configure assignment limits:
- **Submissions per SE** — Maximum submissions each Senior Editor can handle
- **SEs per submission** — Typically set to 1 for hierarchical workflows
### After Assignment
Once assigned:
- Senior Editors see submissions in their **My Senior Editor Assignments** card on the conference page
- SEs distribute submissions to Associate Editors
- AEs assign reviewers and manage reviews
---
# Enable Author Responses
URL: https://paperfox.ai/docs/track-chairs/author-responses
Description: Let authors respond to reviews (rebuttal) and run a discussion between authors, reviewers, and chairs
Author responses add a rebuttal step to your review workflow: once you release results, authors can reply to **each review** in a response thread attached to that review's card, and reviewers, associate/senior editors, and chairs can respond in the thread. Reviewers can then update their reviews before you finalize decisions.
## How the Response Window Works
The window is controlled by two things — there is no separate "open" switch:
| Control | Where | Effect |
|---------|-------|--------|
| **Author Responses** toggle | Phase settings | Turns the feature on or off for that phase |
| **Response Deadline** (optional) | Phase settings | When authors' ability to post closes automatically |
| **Response Word Limit** | Phase settings | How long any one author response may be |
Authors can post from the moment the phase's reviews are visible to them (see [Release Results](/docs/track-chairs/release-results)) until the deadline passes. If you don't set a deadline, the discussion stays open until you turn the toggle off. Reviewers and chairs are never bound by the window — they can comment anytime.
Each submission can be assigned to one Senior Editor. The SE will then distribute submissions to Associate Editors from their **My Senior Editor Assignments** card.
### Assignment Settings
Configure assignment limits:
- **Submissions per SE** — Maximum submissions each Senior Editor can handle
- **SEs per submission** — Typically set to 1 for hierarchical workflows
### After Assignment
Once assigned:
- Senior Editors see submissions in their **My Senior Editor Assignments** card on the conference page
- SEs distribute submissions to Associate Editors
- AEs assign reviewers and manage reviews
---
# Enable Author Responses
URL: https://paperfox.ai/docs/track-chairs/author-responses
Description: Let authors respond to reviews (rebuttal) and run a discussion between authors, reviewers, and chairs
Author responses add a rebuttal step to your review workflow: once you release results, authors can reply to **each review** in a response thread attached to that review's card, and reviewers, associate/senior editors, and chairs can respond in the thread. Reviewers can then update their reviews before you finalize decisions.
## How the Response Window Works
The window is controlled by two things — there is no separate "open" switch:
| Control | Where | Effect |
|---------|-------|--------|
| **Author Responses** toggle | Phase settings | Turns the feature on or off for that phase |
| **Response Deadline** (optional) | Phase settings | When authors' ability to post closes automatically |
| **Response Word Limit** | Phase settings | How long any one author response may be |
Authors can post from the moment the phase's reviews are visible to them (see [Release Results](/docs/track-chairs/release-results)) until the deadline passes. If you don't set a deadline, the discussion stays open until you turn the toggle off. Reviewers and chairs are never bound by the window — they can comment anytime.
 The collapsed **Phase Settings** summary reports the setting at a glance once it is on: **"Author responses until Mar 20, 2027"** when a deadline is set, or **"Author responses on"** for an open-ended discussion. While responses are off — the default — the summary stays quiet about them and reports only the phase's deadlines.
## Response Threads
Every review carries its own **Responses** thread, attached to the review's card wherever it renders — authors respond under each of their released reviews, the reviewer sees responses to their own review on their review page, and you see every thread on the management view with real names:
The collapsed **Phase Settings** summary reports the setting at a glance once it is on: **"Author responses until Mar 20, 2027"** when a deadline is set, or **"Author responses on"** for an open-ended discussion. While responses are off — the default — the summary stays quiet about them and reports only the phase's deadlines.
## Response Threads
Every review carries its own **Responses** thread, attached to the review's card wherever it renders — authors respond under each of their released reviews, the reviewer sees responses to their own review on their review page, and you see every thread on the management view with real names:
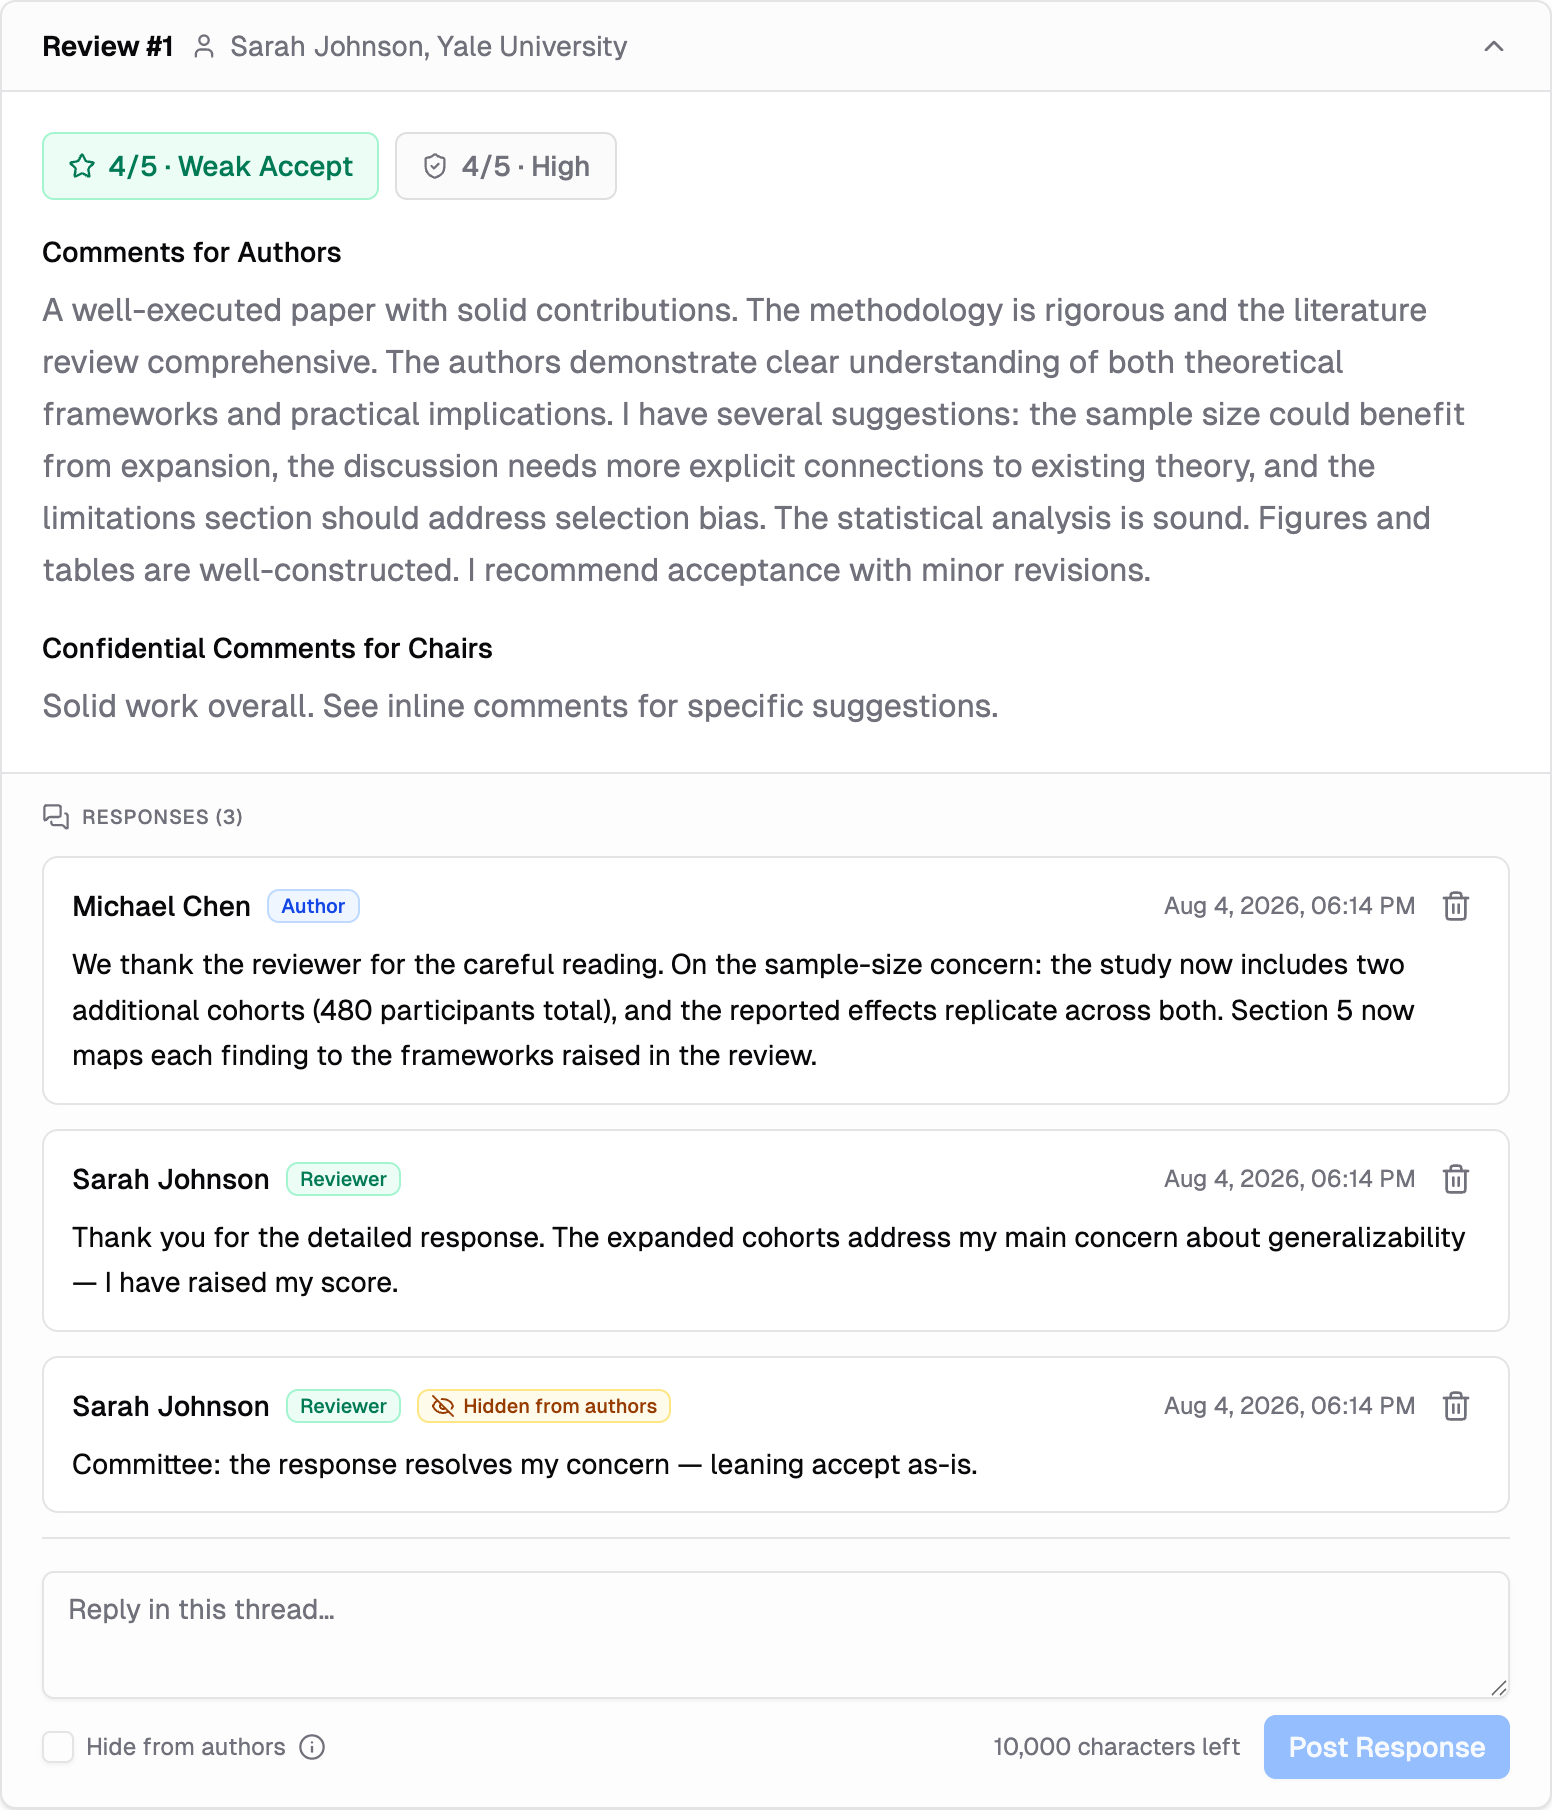 A response is visible to whoever can see the review it answers — so on tracks where reviewers can't see each other's reviews, they also don't see each other's response threads. A shared AI review can carry its own thread too, but it is governed by a separate track-level switch on the [AI Review Settings page](/docs/track-chairs/ai-review) — not by this phase setting or its deadline. A general **Discussion** section remains on every page for conversation that isn't about one review.
**Committee-only notes**: reviewers, editors, and chairs can use **"Hide from authors"** when posting — the comment stays in the same thread but is hidden from authors, marked with an amber **"Hidden from authors"** badge. In the general **Discussion** section it is **checked by default** for committee members, so an internal note doesn't reach authors unless someone deliberately clears it; in a response thread under a review it starts unchecked, since that thread exists for talking *to* the authors. The **ⓘ** next to the checkbox spells out exactly who sees the note and how the poster's identity appears to authors under your track's blinding rules.
**Exports include the threads**: the copy/download buttons on the reviews pages append each review's responses to the exported document — the committee export marks hidden notes, the author-facing export never contains them.
## Edits, Deletion, and the Audit Trail
The discussion can feed your decisions, so it keeps a full audit trail — nothing disappears silently:
- **Edits**: everyone can edit their **own** comments (authors only while their response window is open — an edit after the deadline would be a backdoor revision). Edited comments show an **"Edited"** marker; click it to read the earlier versions. Edit history is visible to the committee and to the comment's own poster, never to authors.
- **Deletion**: a comment's poster can delete it, and you can delete any comment on your track (moderation). The comment's text is removed for everyone, but the thread keeps a note showing who removed it — **"removed by its author"** or **"removed by a chair"** — so the exchange stays coherent.
- **Chairs delete, never rewrite**: you cannot edit someone else's comment. If a comment is inappropriate or leaks a reviewer's identity, delete it and ask the poster to repost.
A response is visible to whoever can see the review it answers — so on tracks where reviewers can't see each other's reviews, they also don't see each other's response threads. A shared AI review can carry its own thread too, but it is governed by a separate track-level switch on the [AI Review Settings page](/docs/track-chairs/ai-review) — not by this phase setting or its deadline. A general **Discussion** section remains on every page for conversation that isn't about one review.
**Committee-only notes**: reviewers, editors, and chairs can use **"Hide from authors"** when posting — the comment stays in the same thread but is hidden from authors, marked with an amber **"Hidden from authors"** badge. In the general **Discussion** section it is **checked by default** for committee members, so an internal note doesn't reach authors unless someone deliberately clears it; in a response thread under a review it starts unchecked, since that thread exists for talking *to* the authors. The **ⓘ** next to the checkbox spells out exactly who sees the note and how the poster's identity appears to authors under your track's blinding rules.
**Exports include the threads**: the copy/download buttons on the reviews pages append each review's responses to the exported document — the committee export marks hidden notes, the author-facing export never contains them.
## Edits, Deletion, and the Audit Trail
The discussion can feed your decisions, so it keeps a full audit trail — nothing disappears silently:
- **Edits**: everyone can edit their **own** comments (authors only while their response window is open — an edit after the deadline would be a backdoor revision). Edited comments show an **"Edited"** marker; click it to read the earlier versions. Edit history is visible to the committee and to the comment's own poster, never to authors.
- **Deletion**: a comment's poster can delete it, and you can delete any comment on your track (moderation). The comment's text is removed for everyone, but the thread keeps a note showing who removed it — **"removed by its author"** or **"removed by a chair"** — so the exchange stays coherent.
- **Chairs delete, never rewrite**: you cannot edit someone else's comment. If a comment is inappropriate or leaks a reviewer's identity, delete it and ask the poster to repost.
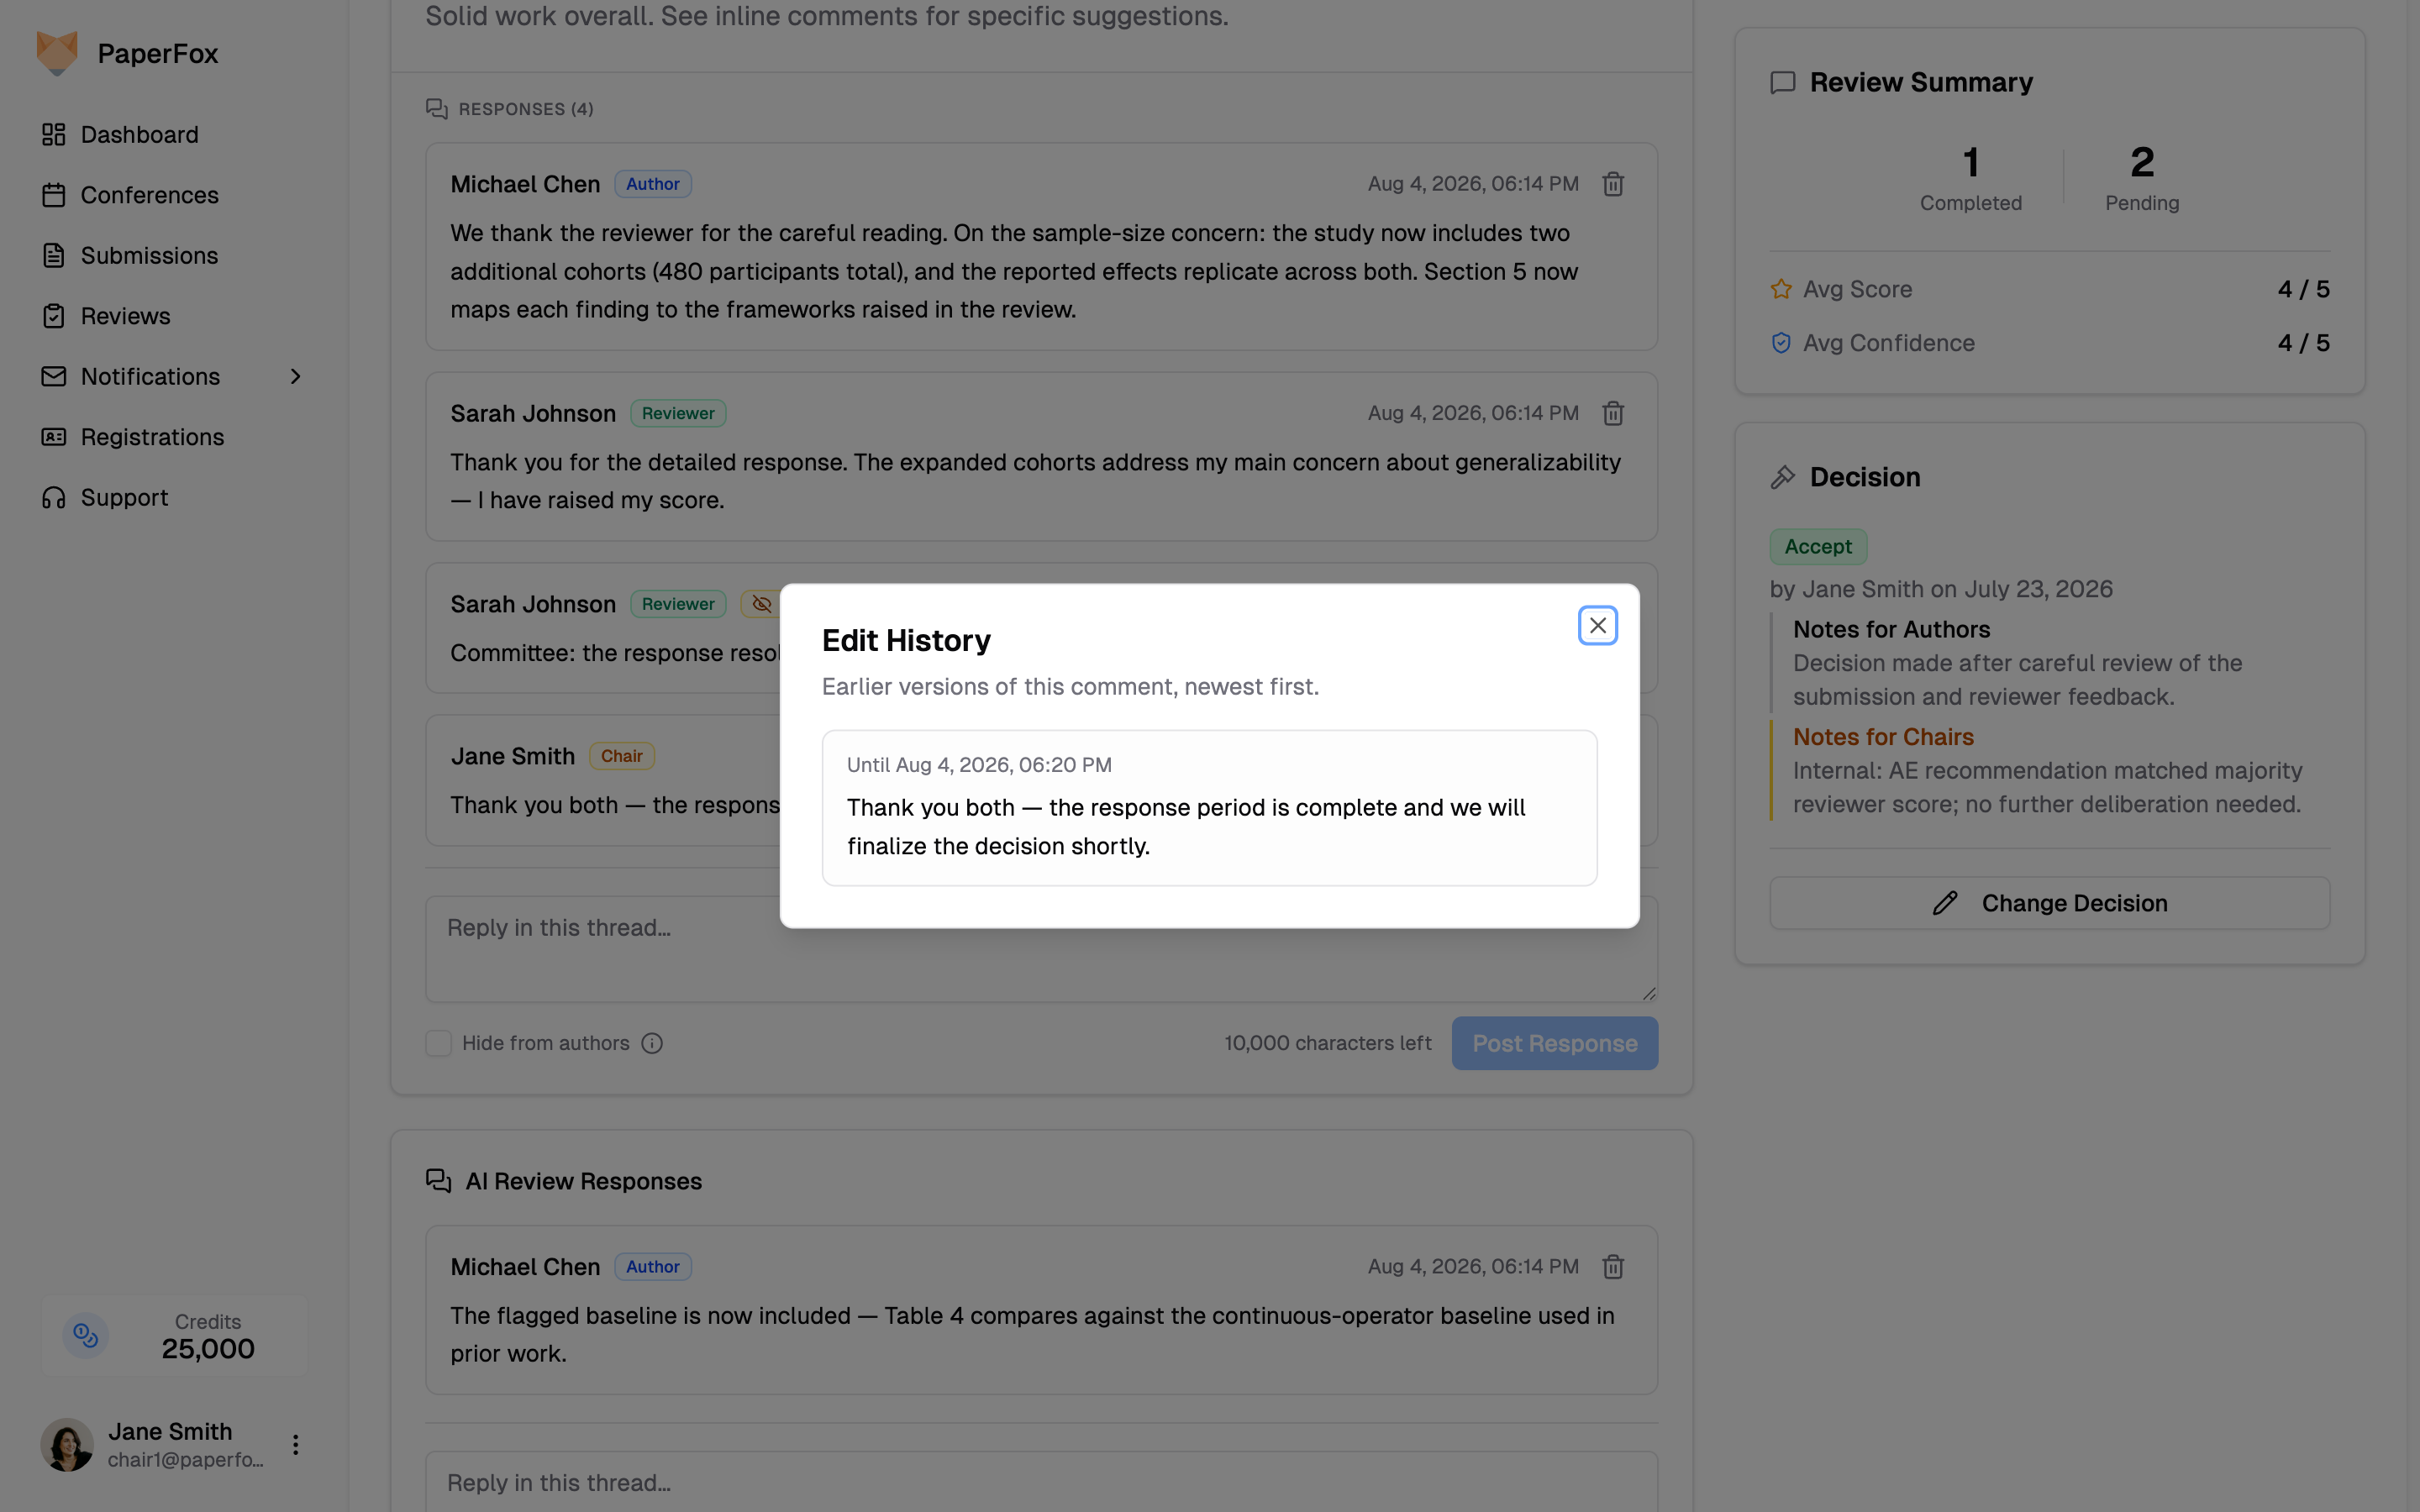 All posts, edits, and deletions are also recorded in the conference activity log.
## Who Sees What
Anonymity follows your track's review type, the same rules as the reviews themselves:
| Comment by | Authors see | Committee sees |
|-----------|-------------|----------------|
| Author | Their real name | Real name — or **"Authors"** for reviewers on double-blind tracks |
| Reviewer | **"Reviewer #N"** (matches the review numbering) | Real name |
| AE / SE | The track's display name (e.g. "Associate Editor") | Real name |
| Chair | Real name | Real name |
On multi-phase tracks, each round gets its own discussion window, and earlier rounds' threads stay visible as read-only history.
## Typical Rebuttal Workflow
1. Reviews come in → you **release results** for the phase ([Release Results](/docs/track-chairs/release-results))
2. Authors respond to the reviews before the response deadline
3. Reviewers read the responses, reply, and **update their reviews** (score changes are tracked as review revisions)
4. You finalize decisions with the discussion in view
See also: [Configure Track Phases](/docs/track-chairs/configure-track-phases) · [Make Decisions](/docs/track-chairs/make-decisions)
---
# Auto Assign Reviewers
URL: https://paperfox.ai/docs/track-chairs/auto-assign-reviewers
Description: Automatically match submissions with reviewers using Smart Matching
Auto Assign uses Smart Matching to find the best reviewers for each submission. It scores reviewer-submission compatibility using text similarity and keyword overlap, then finds the globally optimal assignment across all submissions simultaneously.
## Getting Started
1. Go to **Submissions → Assignments** for your track
2. Click **"Auto Assign"** in the toolbar
All posts, edits, and deletions are also recorded in the conference activity log.
## Who Sees What
Anonymity follows your track's review type, the same rules as the reviews themselves:
| Comment by | Authors see | Committee sees |
|-----------|-------------|----------------|
| Author | Their real name | Real name — or **"Authors"** for reviewers on double-blind tracks |
| Reviewer | **"Reviewer #N"** (matches the review numbering) | Real name |
| AE / SE | The track's display name (e.g. "Associate Editor") | Real name |
| Chair | Real name | Real name |
On multi-phase tracks, each round gets its own discussion window, and earlier rounds' threads stay visible as read-only history.
## Typical Rebuttal Workflow
1. Reviews come in → you **release results** for the phase ([Release Results](/docs/track-chairs/release-results))
2. Authors respond to the reviews before the response deadline
3. Reviewers read the responses, reply, and **update their reviews** (score changes are tracked as review revisions)
4. You finalize decisions with the discussion in view
See also: [Configure Track Phases](/docs/track-chairs/configure-track-phases) · [Make Decisions](/docs/track-chairs/make-decisions)
---
# Auto Assign Reviewers
URL: https://paperfox.ai/docs/track-chairs/auto-assign-reviewers
Description: Automatically match submissions with reviewers using Smart Matching
Auto Assign uses Smart Matching to find the best reviewers for each submission. It scores reviewer-submission compatibility using text similarity and keyword overlap, then finds the globally optimal assignment across all submissions simultaneously.
## Getting Started
1. Go to **Submissions → Assignments** for your track
2. Click **"Auto Assign"** in the toolbar
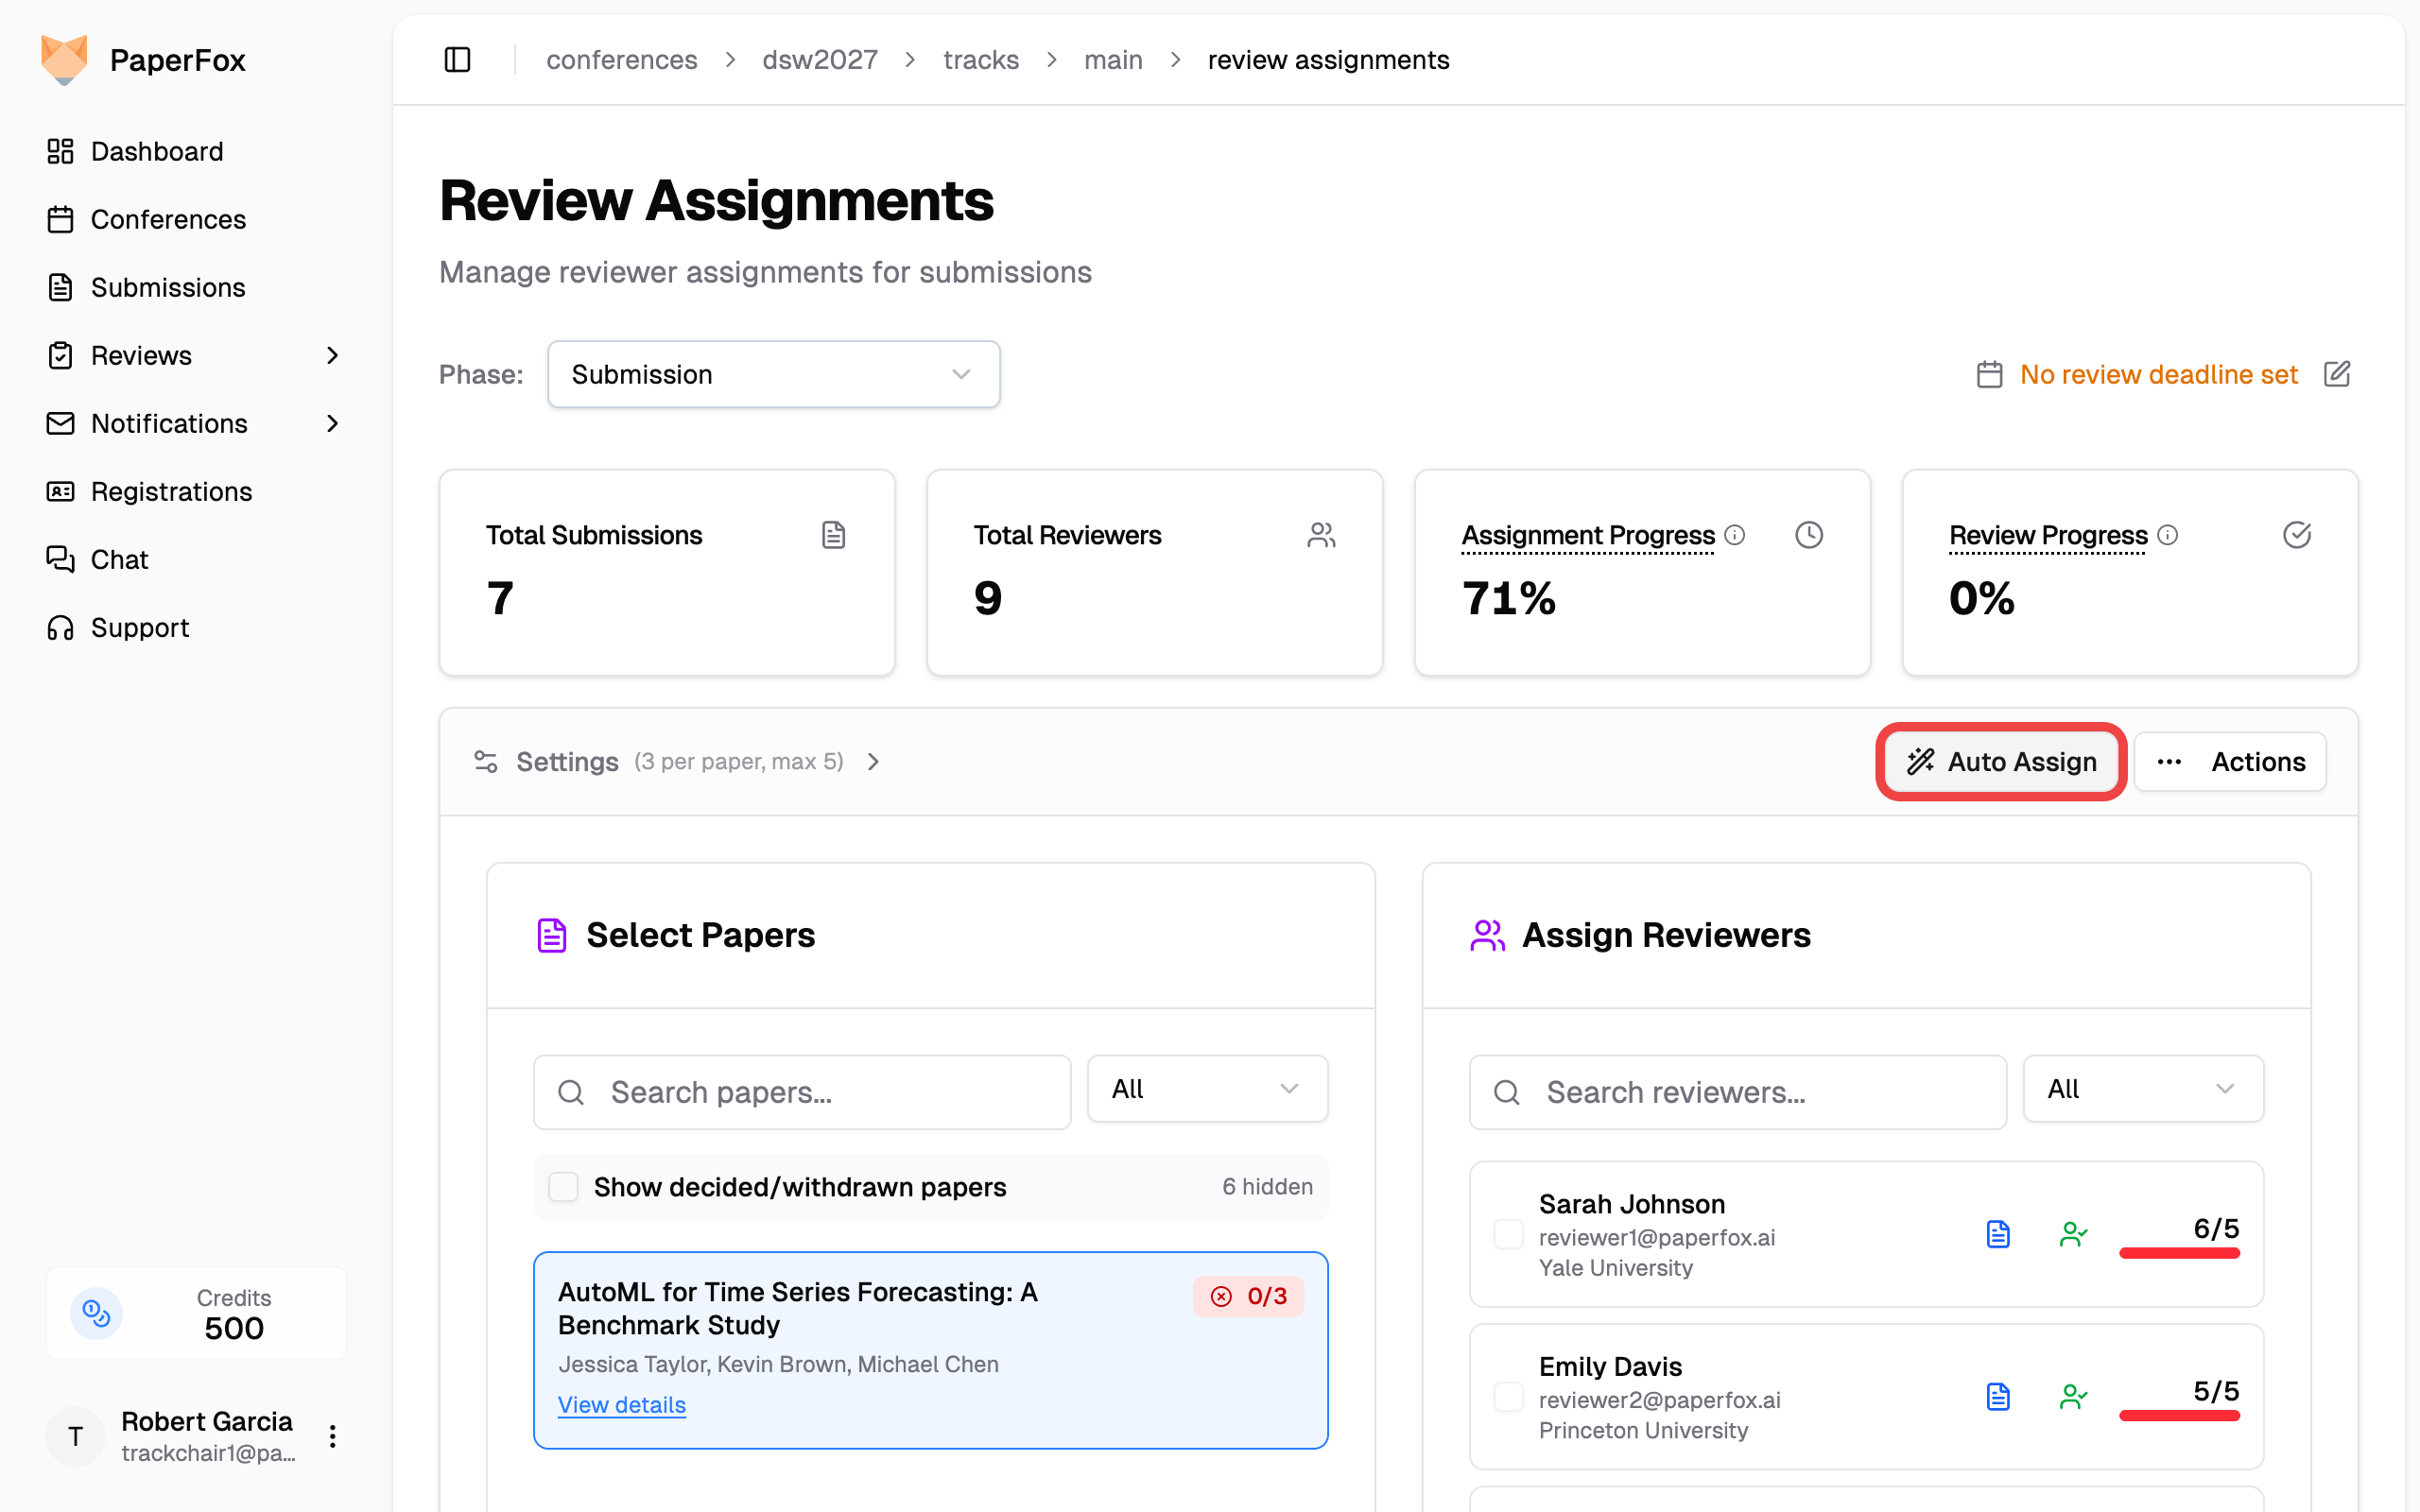 This opens the auto-assignment page where you configure matching settings.
---
## Settings
This opens the auto-assignment page where you configure matching settings.
---
## Settings
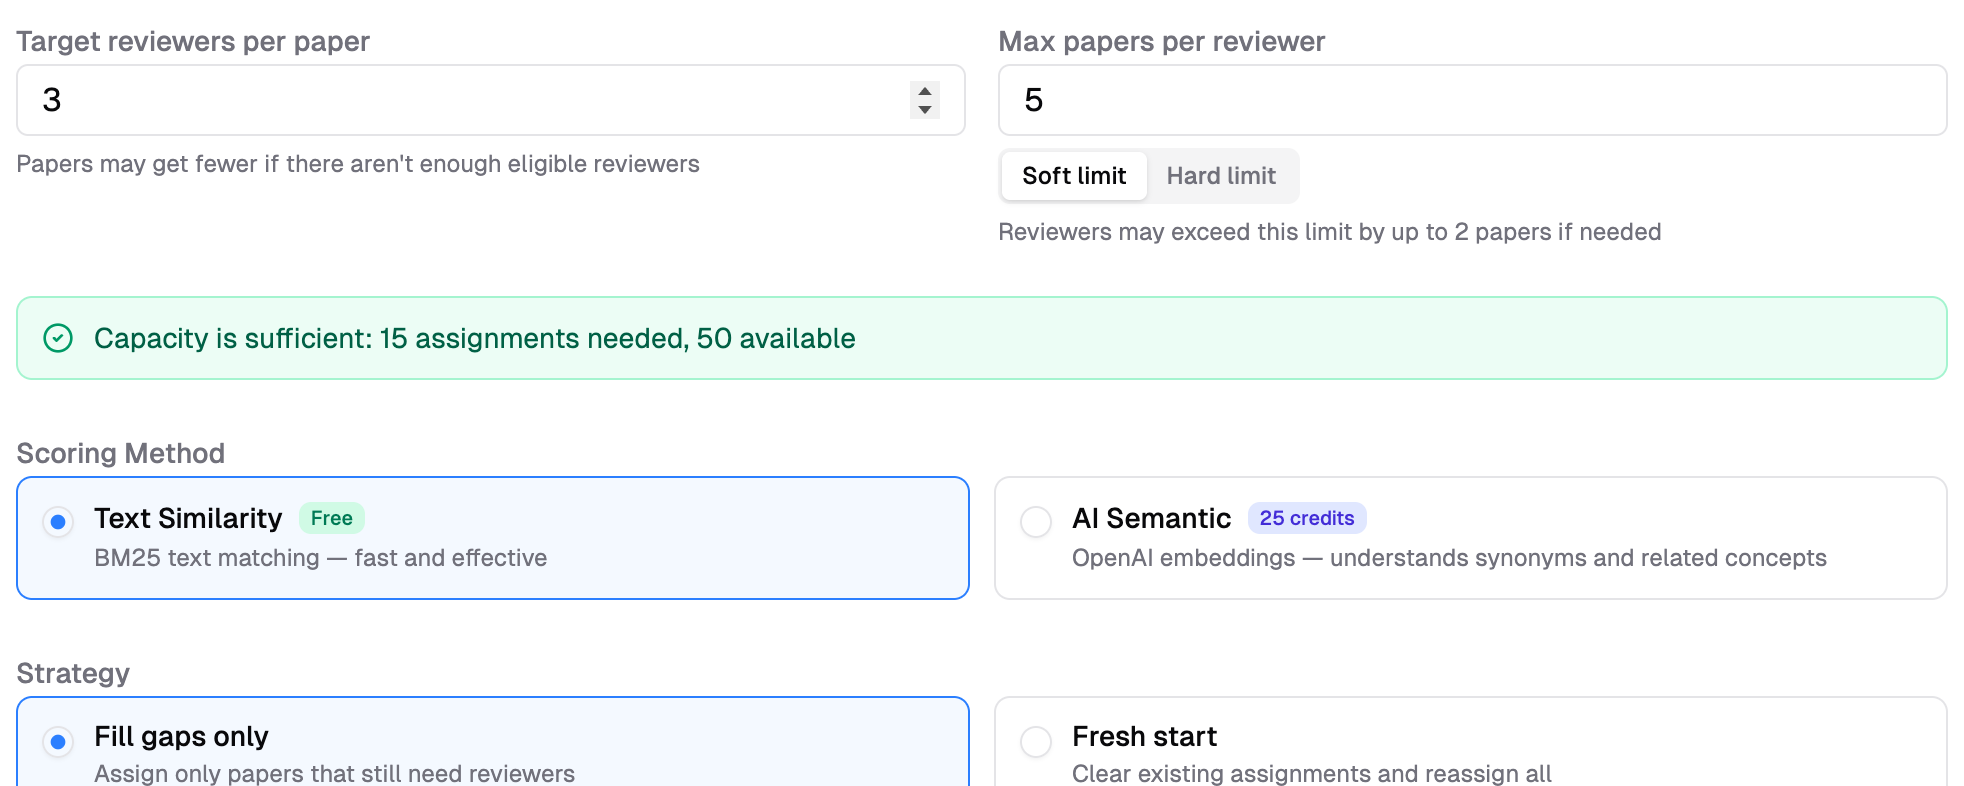 ### Target Reviewers per Submission
How many reviewers to assign to each submission. Default: **3**. This is a target — submissions may receive fewer reviewers if there aren't enough eligible reviewers available (due to COI filtering or capacity limits).
### Max Submissions per Reviewer
Upper limit on submissions assigned to a single reviewer. Default: **5**. Use the toggle to choose how strictly this limit is enforced:
| Mode | Behavior |
|------|----------|
| **Soft limit** (default) | Reviewers may exceed the limit by up to 2 submissions if needed to ensure all submissions get assigned |
| **Hard limit** | Strict cap — no reviewer will exceed this number, even if some submissions get fewer reviewers as a result |
**Use Soft limit** when full coverage matters most — you want every submission to get reviewers, even if a few reviewers go slightly over capacity. **Use Hard limit** when reviewer workload is the priority — no one should be overloaded, even if it means some submissions get fewer reviewers than the target.
### Feasibility Indicator
Below the settings, a color-coded banner shows whether your current configuration is feasible:
- **Green** — Capacity is sufficient. All submissions can be assigned the target number of reviewers.
- **Amber** — Capacity is tight. Soft mode will allow overflow to fit, but hard mode may leave gaps.
- **Red** — Insufficient capacity. Some submissions will get fewer reviewers than the target. Consider adding more reviewers or increasing the max submissions per reviewer.
---
## Scoring Method
Choose how text similarity between submissions and reviewer expertise is computed.
| Method | How It Works | Cost | Speed |
|--------|--------------|------|-------|
| **Text Similarity** | BM25 text matching against submission titles and abstracts | Free | Seconds |
| **AI Semantic** | OpenAI embeddings — understands synonyms and related concepts | Credits (based on submission count) | Seconds |
Both methods also use phrase-level keyword matching (comparing submission keywords with reviewer expertise tags) in addition to text similarity.
### Target Reviewers per Submission
How many reviewers to assign to each submission. Default: **3**. This is a target — submissions may receive fewer reviewers if there aren't enough eligible reviewers available (due to COI filtering or capacity limits).
### Max Submissions per Reviewer
Upper limit on submissions assigned to a single reviewer. Default: **5**. Use the toggle to choose how strictly this limit is enforced:
| Mode | Behavior |
|------|----------|
| **Soft limit** (default) | Reviewers may exceed the limit by up to 2 submissions if needed to ensure all submissions get assigned |
| **Hard limit** | Strict cap — no reviewer will exceed this number, even if some submissions get fewer reviewers as a result |
**Use Soft limit** when full coverage matters most — you want every submission to get reviewers, even if a few reviewers go slightly over capacity. **Use Hard limit** when reviewer workload is the priority — no one should be overloaded, even if it means some submissions get fewer reviewers than the target.
### Feasibility Indicator
Below the settings, a color-coded banner shows whether your current configuration is feasible:
- **Green** — Capacity is sufficient. All submissions can be assigned the target number of reviewers.
- **Amber** — Capacity is tight. Soft mode will allow overflow to fit, but hard mode may leave gaps.
- **Red** — Insufficient capacity. Some submissions will get fewer reviewers than the target. Consider adding more reviewers or increasing the max submissions per reviewer.
---
## Scoring Method
Choose how text similarity between submissions and reviewer expertise is computed.
| Method | How It Works | Cost | Speed |
|--------|--------------|------|-------|
| **Text Similarity** | BM25 text matching against submission titles and abstracts | Free | Seconds |
| **AI Semantic** | OpenAI embeddings — understands synonyms and related concepts | Credits (based on submission count) | Seconds |
Both methods also use phrase-level keyword matching (comparing submission keywords with reviewer expertise tags) in addition to text similarity.
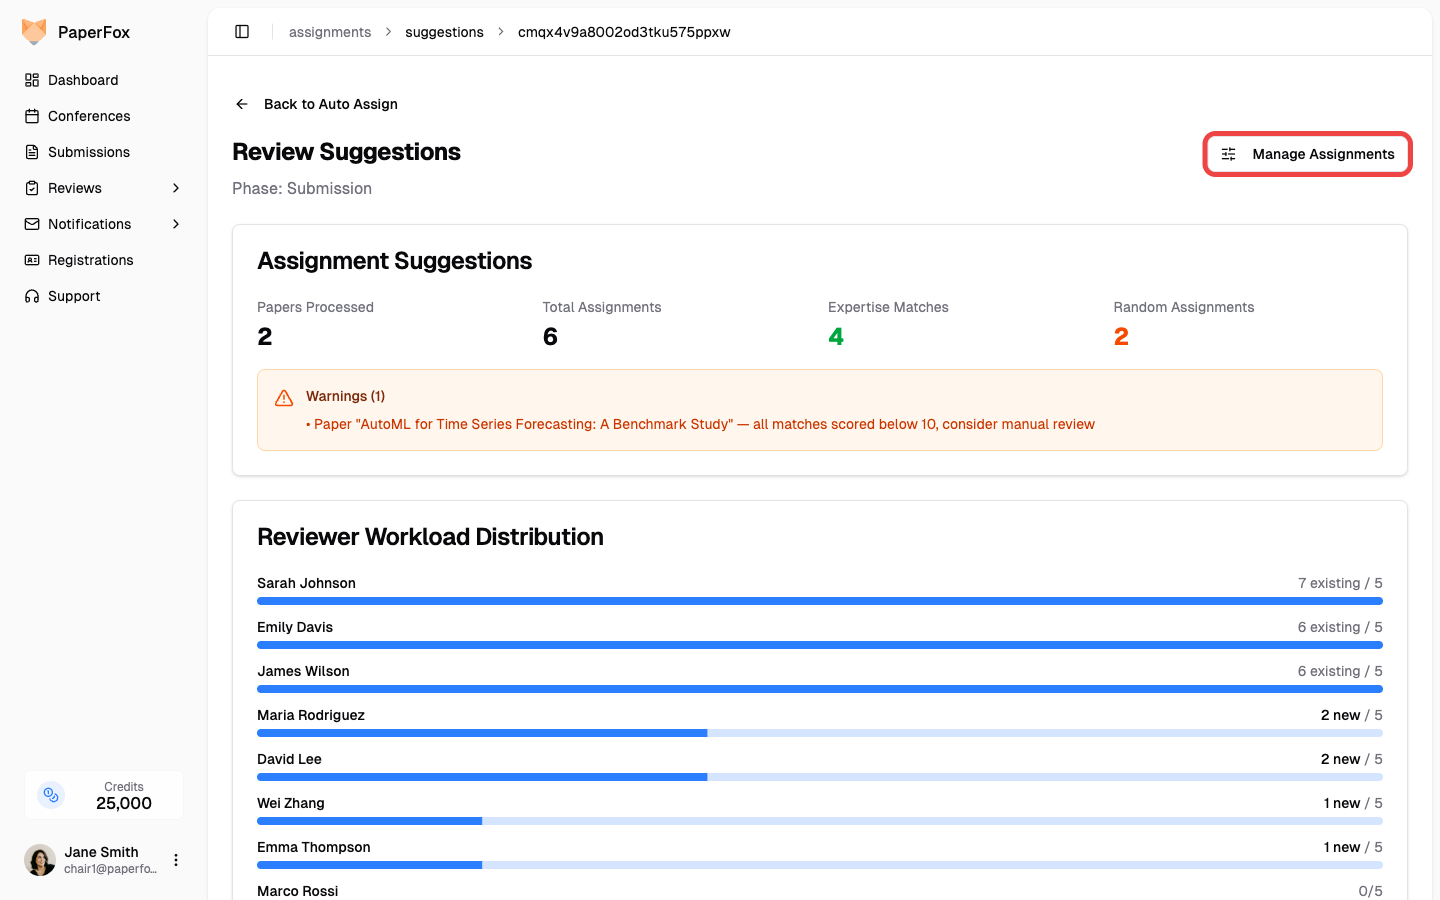 Each suggested reviewer has a checkbox — clear any you don't want, or use **"Deselect All"** / **"Select All"** to start from scratch. The **Reviewer Workload Distribution** chart shows how many submissions each reviewer would end up with so you can spot anyone getting overloaded before you commit.
When you're happy with the selection, click **"Apply Selected"**. A confirmation dialog summarizes the impact — for **Fill gaps**, it confirms that existing assignments are preserved; for **Fresh start**, it shows how many unanswered invitations will be removed and how many assignments reviewers have already responded to will be kept.
Each suggested reviewer has a checkbox — clear any you don't want, or use **"Deselect All"** / **"Select All"** to start from scratch. The **Reviewer Workload Distribution** chart shows how many submissions each reviewer would end up with so you can spot anyone getting overloaded before you commit.
When you're happy with the selection, click **"Apply Selected"**. A confirmation dialog summarizes the impact — for **Fill gaps**, it confirms that existing assignments are preserved; for **Fresh start**, it shows how many unanswered invitations will be removed and how many assignments reviewers have already responded to will be kept.
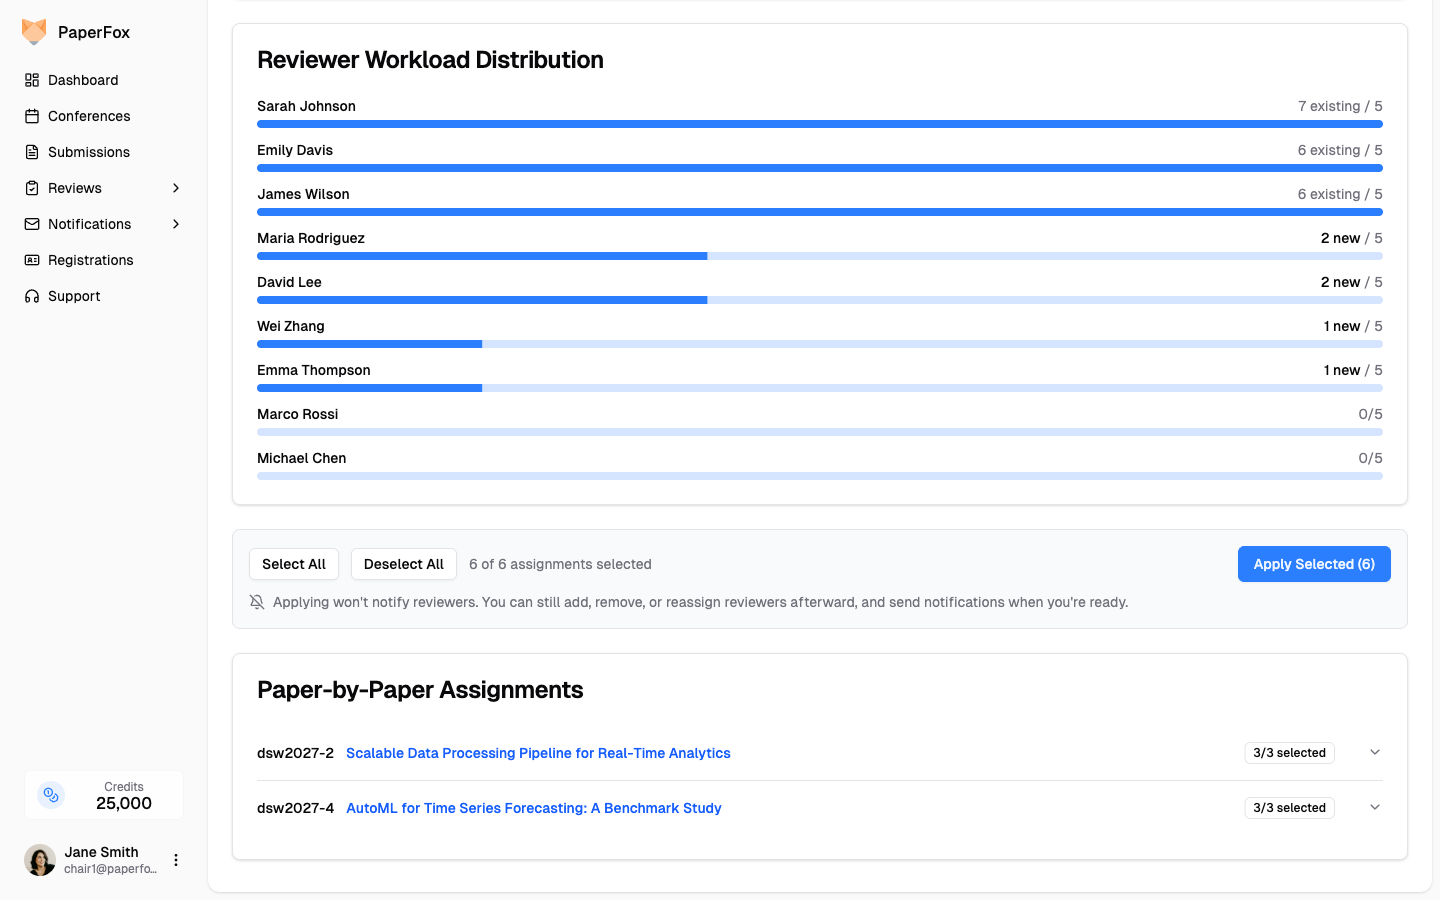
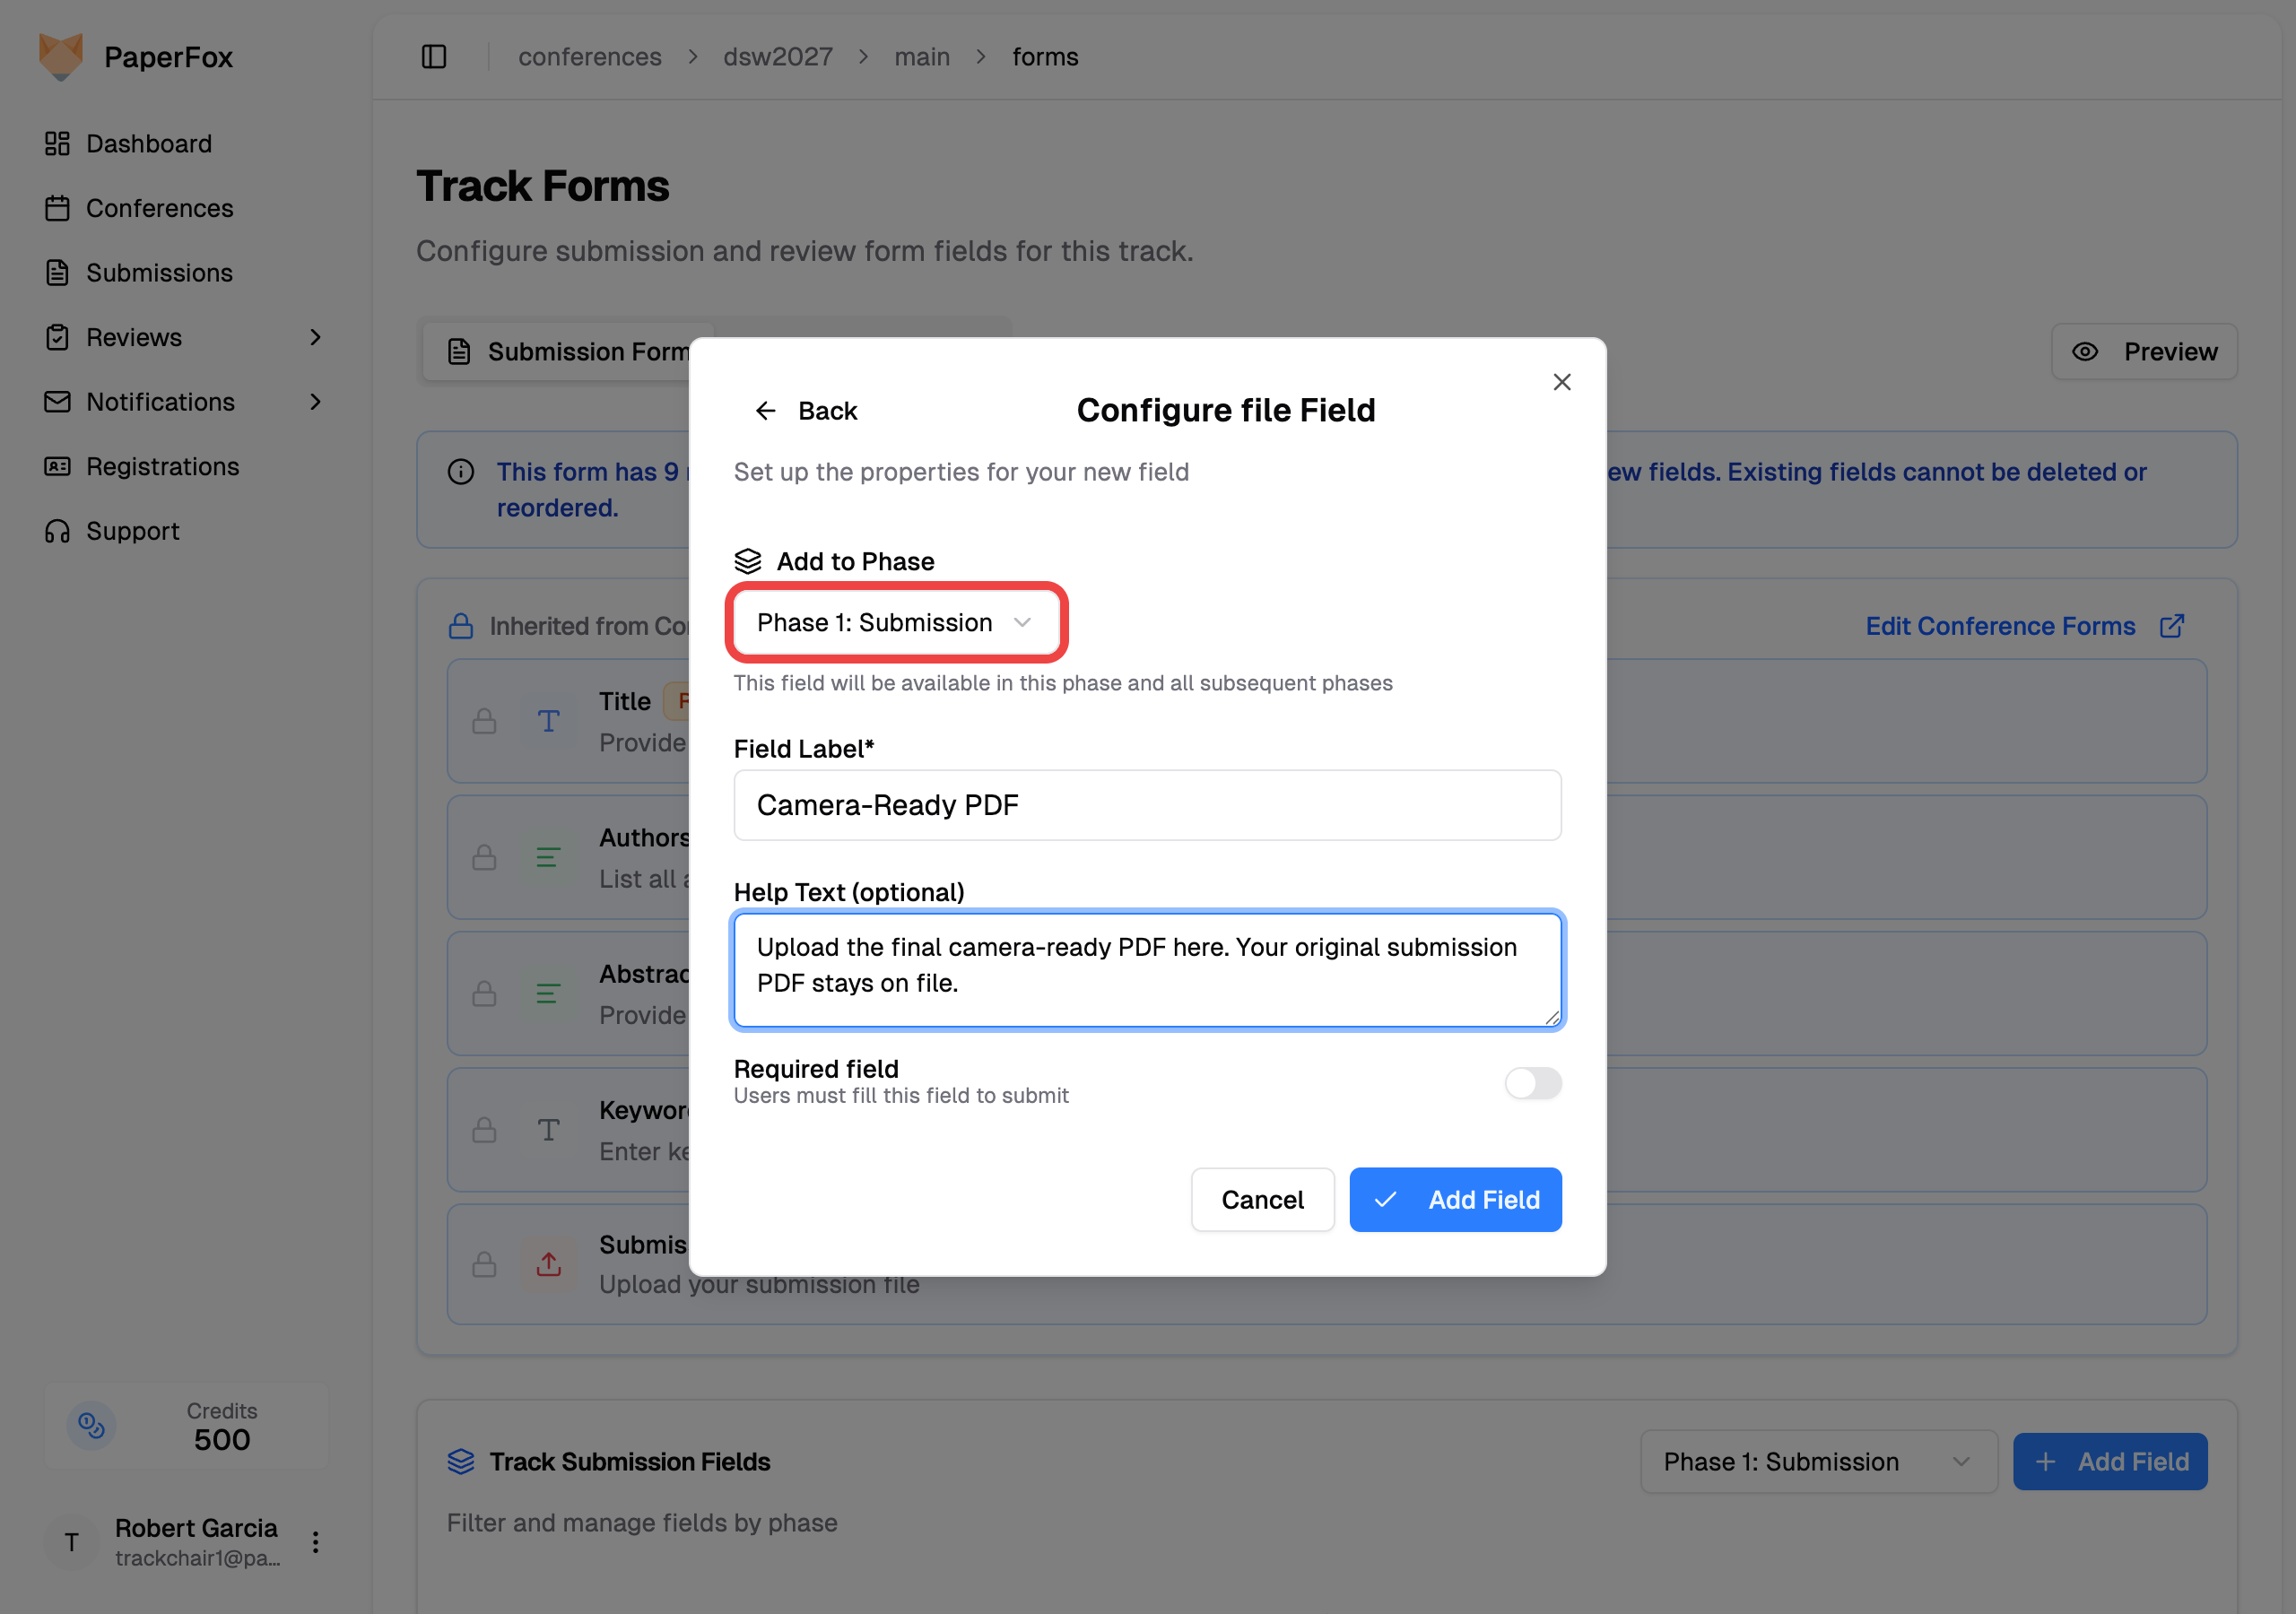 Any field's help text is shown to authors right under the label — use it to tell them which slot to upload to (e.g. "Upload the final camera-ready PDF here. Your original submission PDF stays on file.").
| | |
|---|---|
| **Setup** | One file field added to the phase. Once submissions exist, the field's schema locks so it can't be deleted. |
| **Where the original PDF lives** | The original **Submission File** slot — shown side-by-side with the camera-ready slot in every phase. |
| **Where the camera-ready PDF lives** | The new field you added. Distinct artifact in exports, proceedings ZIPs, and the submission detail page. |
| **Good for** | Published proceedings, legal/archival requirements, anything where "which file is the submission of record?" needs to be unambiguous. |
| **Tradeoff** | Authors see both slots in the edit form, and the original slot stays editable until you lock it — see below. |
---
## Keep the original Submission File unchanged
**Pattern B gives you a clean place for the camera-ready PDF, but on its own it does not lock the original Submission File.** When an author opens Edit Submission in the camera-ready phase, every field visible to that phase is editable by default — including the original phase-1 Submission File slot.
To make the original read-only, lock it:
1. In the track's **Forms → Submission Form** tab, click the edit icon on the **Submission File** field
2. Turn on **"Lock answer in later phases"** and click **"Update Field"**
Authors then see their original file in the camera-ready phase but can't replace it; chairs still can. See [Lock Individual Answers Across Phases](/docs/track-chairs/submission-edit-rules#lock-individual-answers-across-phases) for how the lock works. As a chair, your own edit form ignores locks — click **"Author view"** on the edit page to check what authors get.
Even without the lock, the original file is never lost:
- **Version history is permanent.** Every save creates a new `SubmissionVersion` that snapshots the file URL. Old files stay downloadable from the submission detail page regardless of what the author does next.
- **The "unchanged file" soft gate** fires in any post-submission phase (index > 1). If the author saves without picking a new file for any file slot, they see a confirmation dialog before the revision commits.
- **Deadlines you set on the phase** stop edits entirely. Once the camera-ready revision deadline passes, authors can't save new versions at all.
---
## Which pattern should I pick?
- **Running a workshop or internal review?** Pattern A. No setup, version history is enough.
- **Publishing proceedings, or have a legal/archival need for two distinct artifacts?** Pattern B. Add the field, use the help text to direct authors, and lock the original Submission File if it must stay unchanged.
Whichever you pick, the version history is the floor — you can always recover any previously uploaded file from the submission detail page.
---
# Check Submission Compliance
URL: https://paperfox.ai/docs/track-chairs/compliance-check
Description: Automatically verify that submissions meet formatting and content requirements
PaperFox can automatically check all submissions in a track against your formatting and content rules — page limits, margins, font size, anonymization, and more. All checks run programmatically on the PDF files, with no data sent to external services.
## How It Works
1. **Configure rules** — Pick from predefined rule types (Page Limit, Font Size, etc.) and set parameters
2. **Run the check** — PaperFox downloads each submission's PDF and verifies every rule
3. **Review results** — See pass/fail/warn status per submission, with detailed evidence
4. **Notify authors** — Select non-compliant submissions and send notification emails
---
## Supported Check Types
All checks are programmatic — they analyze the PDF structure and text directly.
| Type | What It Checks | Parameters |
|------|---------------|------------|
| **Page Limit** | Number of pages | Max pages, optional "excluding references" |
| **Page Size** | US Letter or A4 | Size selection |
| **Margins** | Minimum margin width | Inches (with 0.15" tolerance) |
| **Font Size** | Dominant body font size | Point size (with 1pt tolerance) |
| **Column Layout** | Single or two-column | Column count |
| **Line Spacing** | Single or double spacing | Spacing type |
| **File Size** | PDF file size | Max MB |
| **Language** | Primary language of text | Language selection |
| **Anonymization** | Author identifying info **must not** appear (double-blind) | Automatic (uses submission author data) |
| **Author Information** | Author names **must** appear (camera-ready) | Automatic (uses submission author data) |
---
## Configuring Rules
1. Go to **Conferences** in the sidebar, then click on your conference
2. Navigate to your track and click **"Compliance"**
3. Click **"Add Rule"** and select a type from the dropdown
4. Set the parameters (e.g., max 8 pages) and severity (**Must** or **Should**)
5. Click **"Save Rules"**
Any field's help text is shown to authors right under the label — use it to tell them which slot to upload to (e.g. "Upload the final camera-ready PDF here. Your original submission PDF stays on file.").
| | |
|---|---|
| **Setup** | One file field added to the phase. Once submissions exist, the field's schema locks so it can't be deleted. |
| **Where the original PDF lives** | The original **Submission File** slot — shown side-by-side with the camera-ready slot in every phase. |
| **Where the camera-ready PDF lives** | The new field you added. Distinct artifact in exports, proceedings ZIPs, and the submission detail page. |
| **Good for** | Published proceedings, legal/archival requirements, anything where "which file is the submission of record?" needs to be unambiguous. |
| **Tradeoff** | Authors see both slots in the edit form, and the original slot stays editable until you lock it — see below. |
---
## Keep the original Submission File unchanged
**Pattern B gives you a clean place for the camera-ready PDF, but on its own it does not lock the original Submission File.** When an author opens Edit Submission in the camera-ready phase, every field visible to that phase is editable by default — including the original phase-1 Submission File slot.
To make the original read-only, lock it:
1. In the track's **Forms → Submission Form** tab, click the edit icon on the **Submission File** field
2. Turn on **"Lock answer in later phases"** and click **"Update Field"**
Authors then see their original file in the camera-ready phase but can't replace it; chairs still can. See [Lock Individual Answers Across Phases](/docs/track-chairs/submission-edit-rules#lock-individual-answers-across-phases) for how the lock works. As a chair, your own edit form ignores locks — click **"Author view"** on the edit page to check what authors get.
Even without the lock, the original file is never lost:
- **Version history is permanent.** Every save creates a new `SubmissionVersion` that snapshots the file URL. Old files stay downloadable from the submission detail page regardless of what the author does next.
- **The "unchanged file" soft gate** fires in any post-submission phase (index > 1). If the author saves without picking a new file for any file slot, they see a confirmation dialog before the revision commits.
- **Deadlines you set on the phase** stop edits entirely. Once the camera-ready revision deadline passes, authors can't save new versions at all.
---
## Which pattern should I pick?
- **Running a workshop or internal review?** Pattern A. No setup, version history is enough.
- **Publishing proceedings, or have a legal/archival need for two distinct artifacts?** Pattern B. Add the field, use the help text to direct authors, and lock the original Submission File if it must stay unchanged.
Whichever you pick, the version history is the floor — you can always recover any previously uploaded file from the submission detail page.
---
# Check Submission Compliance
URL: https://paperfox.ai/docs/track-chairs/compliance-check
Description: Automatically verify that submissions meet formatting and content requirements
PaperFox can automatically check all submissions in a track against your formatting and content rules — page limits, margins, font size, anonymization, and more. All checks run programmatically on the PDF files, with no data sent to external services.
## How It Works
1. **Configure rules** — Pick from predefined rule types (Page Limit, Font Size, etc.) and set parameters
2. **Run the check** — PaperFox downloads each submission's PDF and verifies every rule
3. **Review results** — See pass/fail/warn status per submission, with detailed evidence
4. **Notify authors** — Select non-compliant submissions and send notification emails
---
## Supported Check Types
All checks are programmatic — they analyze the PDF structure and text directly.
| Type | What It Checks | Parameters |
|------|---------------|------------|
| **Page Limit** | Number of pages | Max pages, optional "excluding references" |
| **Page Size** | US Letter or A4 | Size selection |
| **Margins** | Minimum margin width | Inches (with 0.15" tolerance) |
| **Font Size** | Dominant body font size | Point size (with 1pt tolerance) |
| **Column Layout** | Single or two-column | Column count |
| **Line Spacing** | Single or double spacing | Spacing type |
| **File Size** | PDF file size | Max MB |
| **Language** | Primary language of text | Language selection |
| **Anonymization** | Author identifying info **must not** appear (double-blind) | Automatic (uses submission author data) |
| **Author Information** | Author names **must** appear (camera-ready) | Automatic (uses submission author data) |
---
## Configuring Rules
1. Go to **Conferences** in the sidebar, then click on your conference
2. Navigate to your track and click **"Compliance"**
3. Click **"Add Rule"** and select a type from the dropdown
4. Set the parameters (e.g., max 8 pages) and severity (**Must** or **Should**)
5. Click **"Save Rules"**
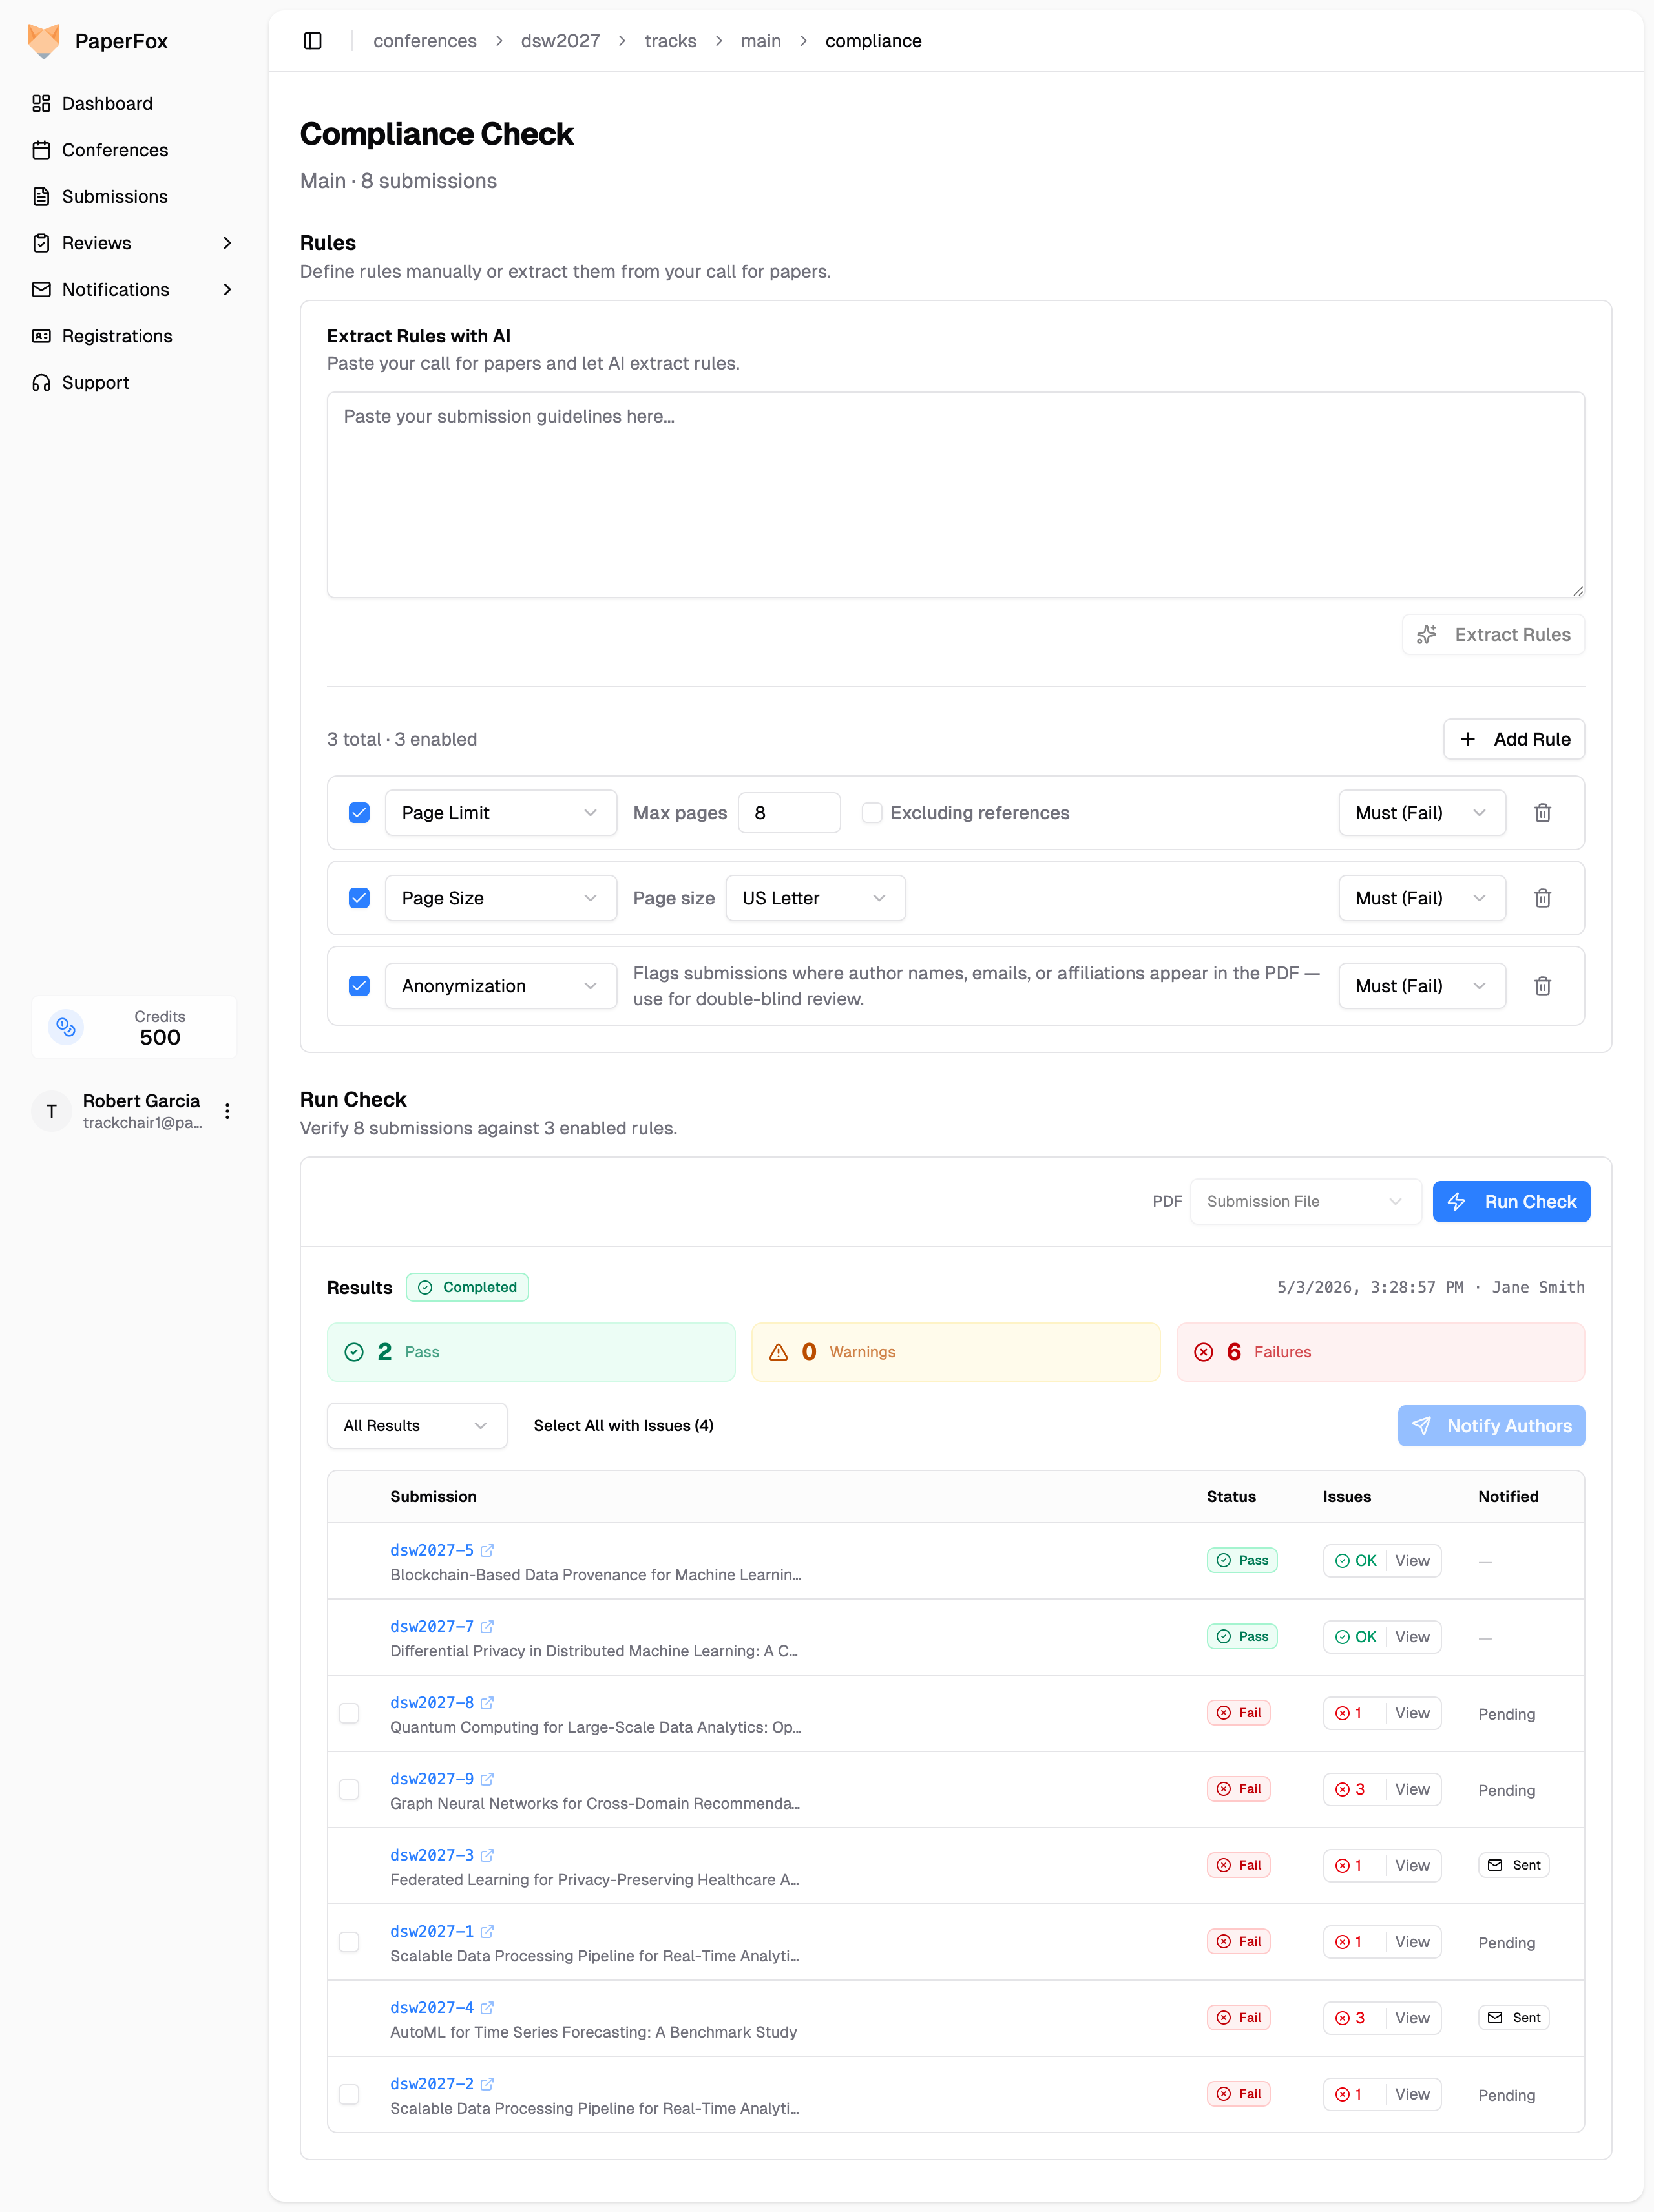 ### Extract Rules with AI
Instead of adding rules manually, paste your call for papers or submission guidelines into the **Extract Rules with AI** box and click **"Extract Rules"**. AI maps the text into the predefined rule types above with pre-filled parameters. Review and adjust them before saving.
### Severity Levels
| Severity | On Violation |
|----------|-------------|
| **Must** | Marked as **Fail** |
| **Should** | Marked as **Warn** |
### Page Limit — Excluding References
Enable the **"Excluding references"** checkbox to count only content pages before the References section. PaperFox detects the References heading in the PDF and counts pages up to that point.
### Extract Rules with AI
Instead of adding rules manually, paste your call for papers or submission guidelines into the **Extract Rules with AI** box and click **"Extract Rules"**. AI maps the text into the predefined rule types above with pre-filled parameters. Review and adjust them before saving.
### Severity Levels
| Severity | On Violation |
|----------|-------------|
| **Must** | Marked as **Fail** |
| **Should** | Marked as **Warn** |
### Page Limit — Excluding References
Enable the **"Excluding references"** checkbox to count only content pages before the References section. PaperFox detects the References heading in the PDF and counts pages up to that point.
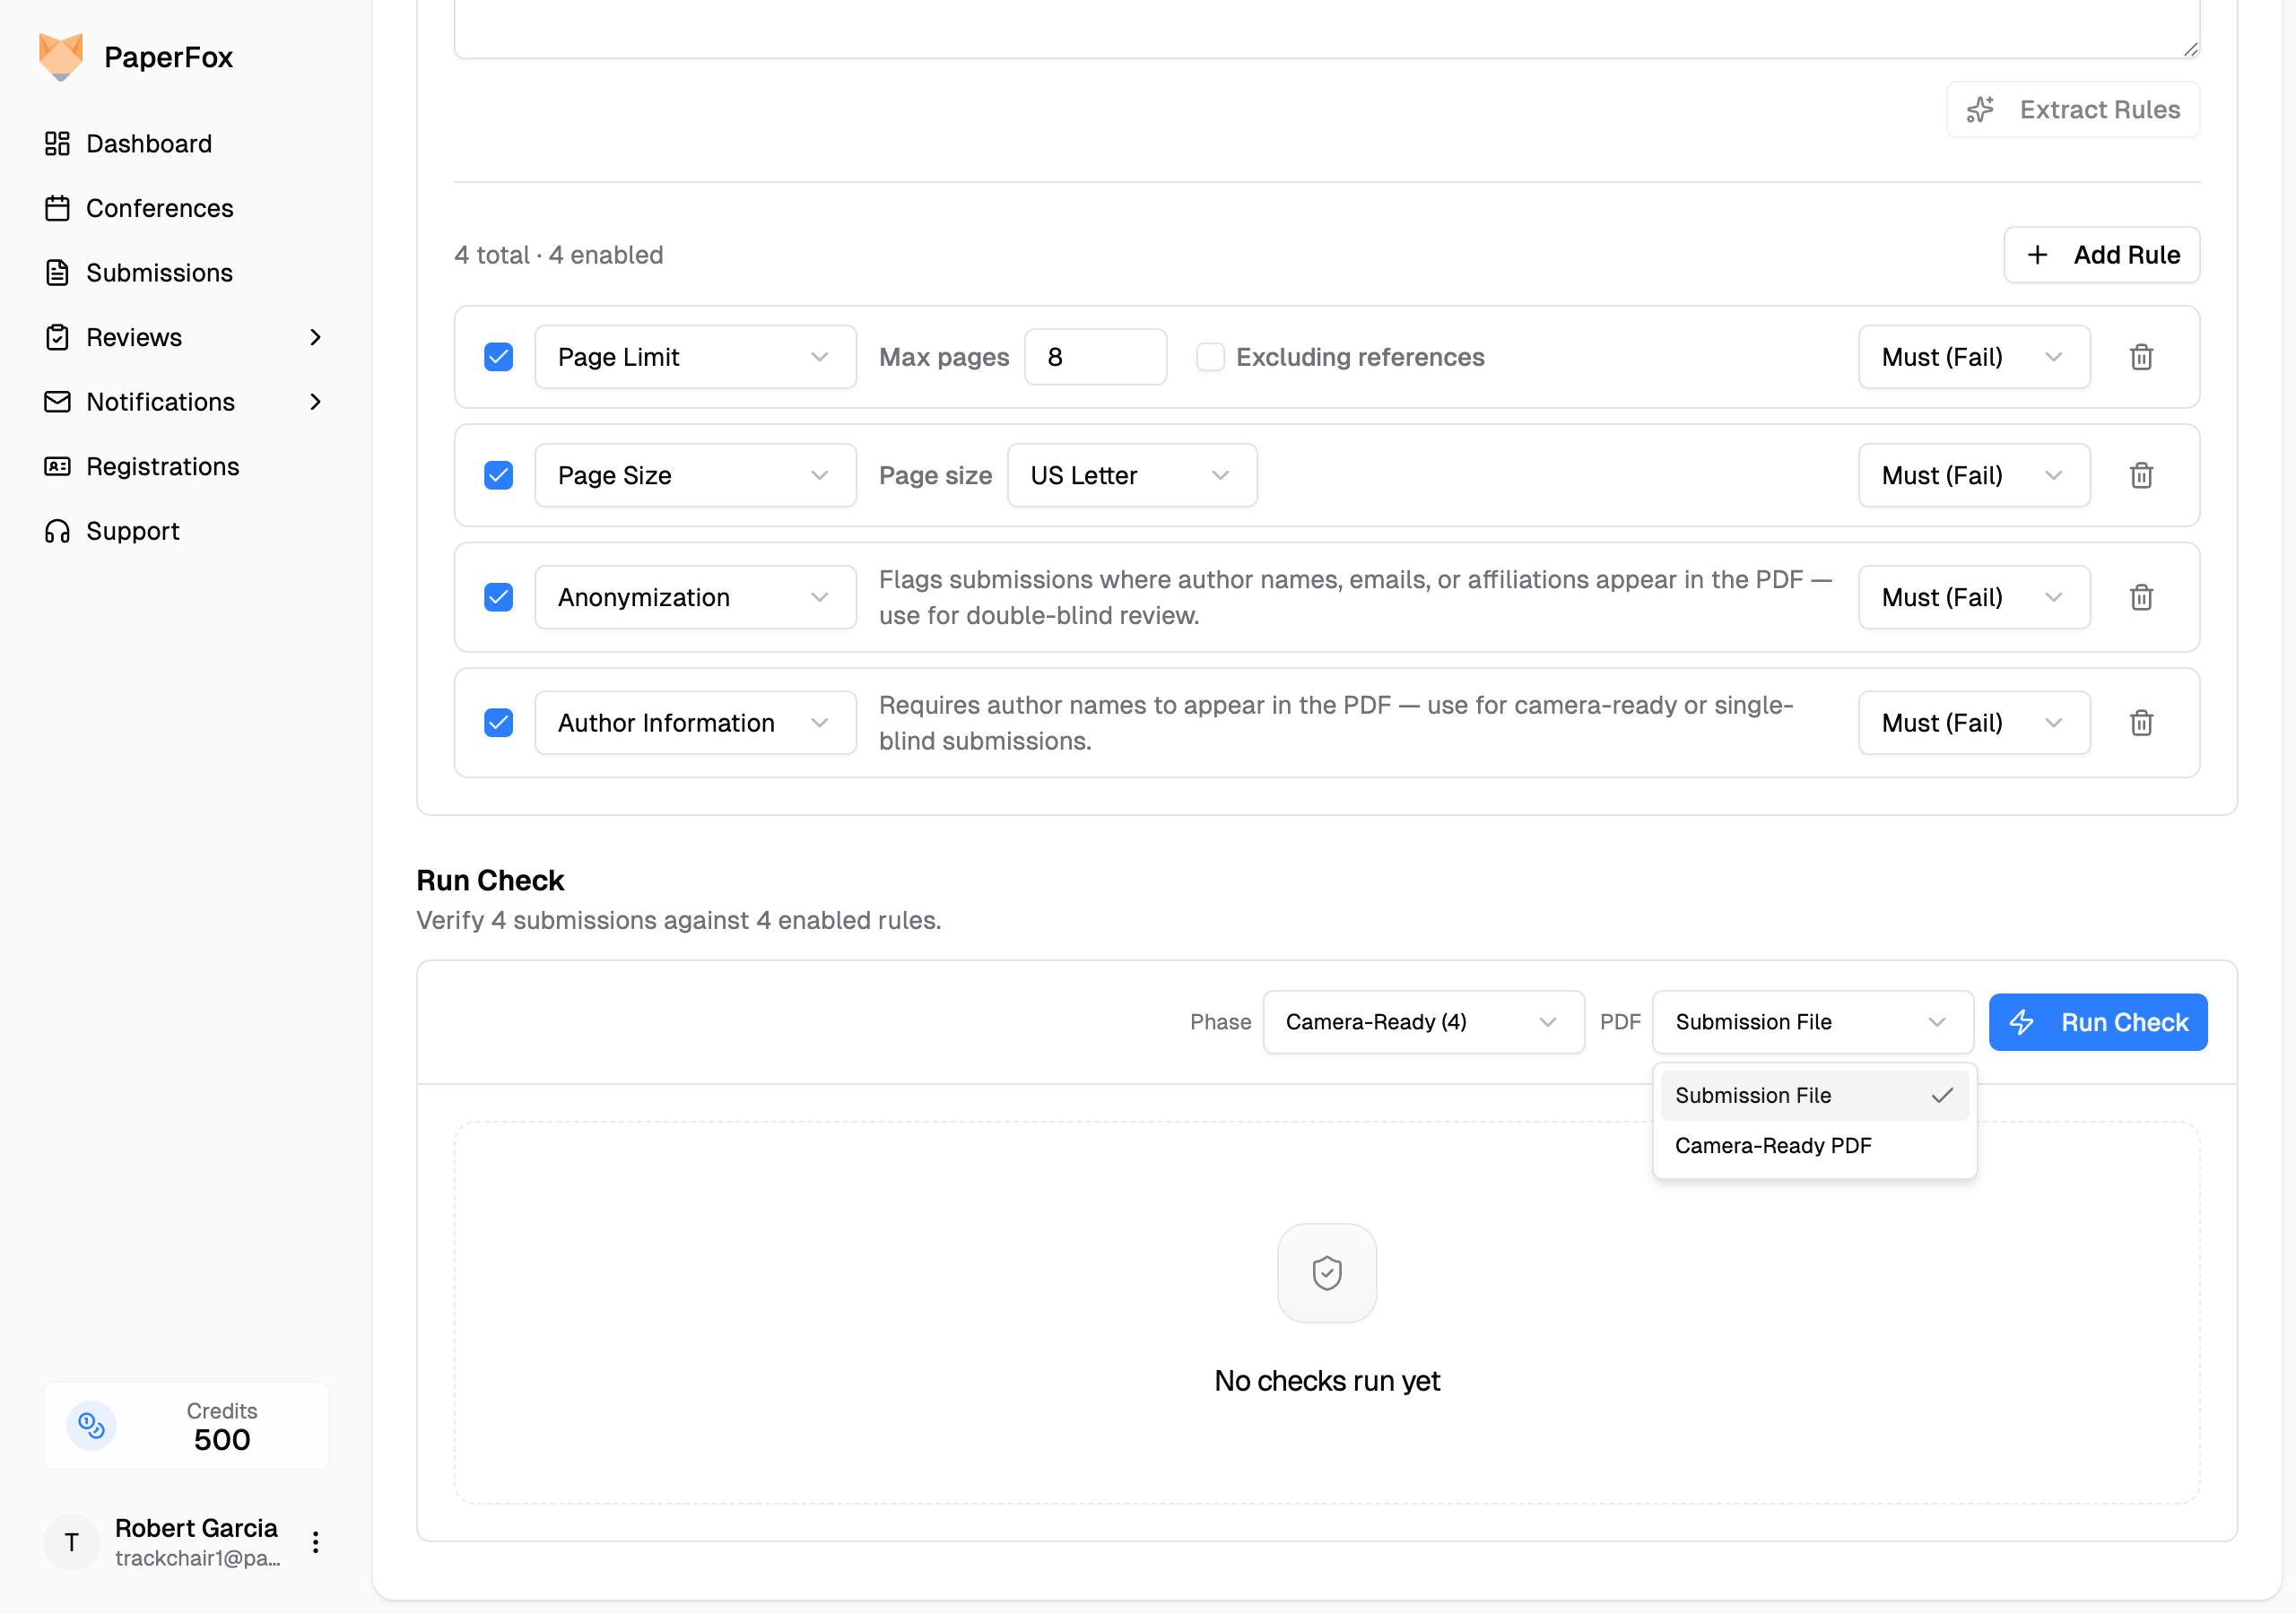 | Selector | What It Picks |
|----------|---------------|
| **Phase** | Which phase's submission version to check. Defaults to the track's current phase — the furthest phase holding submissions — so once you've moved submissions to Camera-Ready the check targets that phase automatically. The count next to each option is the number of submissions with a version in that phase. |
| **PDF** | Which file field on the form to scan. The list is filtered by the selected phase: fields with no phase tag appear in every phase, phase-tagged fields (e.g., a Camera-Ready PDF) only in their phase. Disabled when there's only one option. |
Single-phase tracks hide the Phase dropdown — there's only one phase, so the choice doesn't apply. The PDF selector is shown but disabled when the form has just one file field.
| Selector | What It Picks |
|----------|---------------|
| **Phase** | Which phase's submission version to check. Defaults to the track's current phase — the furthest phase holding submissions — so once you've moved submissions to Camera-Ready the check targets that phase automatically. The count next to each option is the number of submissions with a version in that phase. |
| **PDF** | Which file field on the form to scan. The list is filtered by the selected phase: fields with no phase tag appear in every phase, phase-tagged fields (e.g., a Camera-Ready PDF) only in their phase. Disabled when there's only one option. |
Single-phase tracks hide the Phase dropdown — there's only one phase, so the choice doesn't apply. The PDF selector is shown but disabled when the form has just one file field.
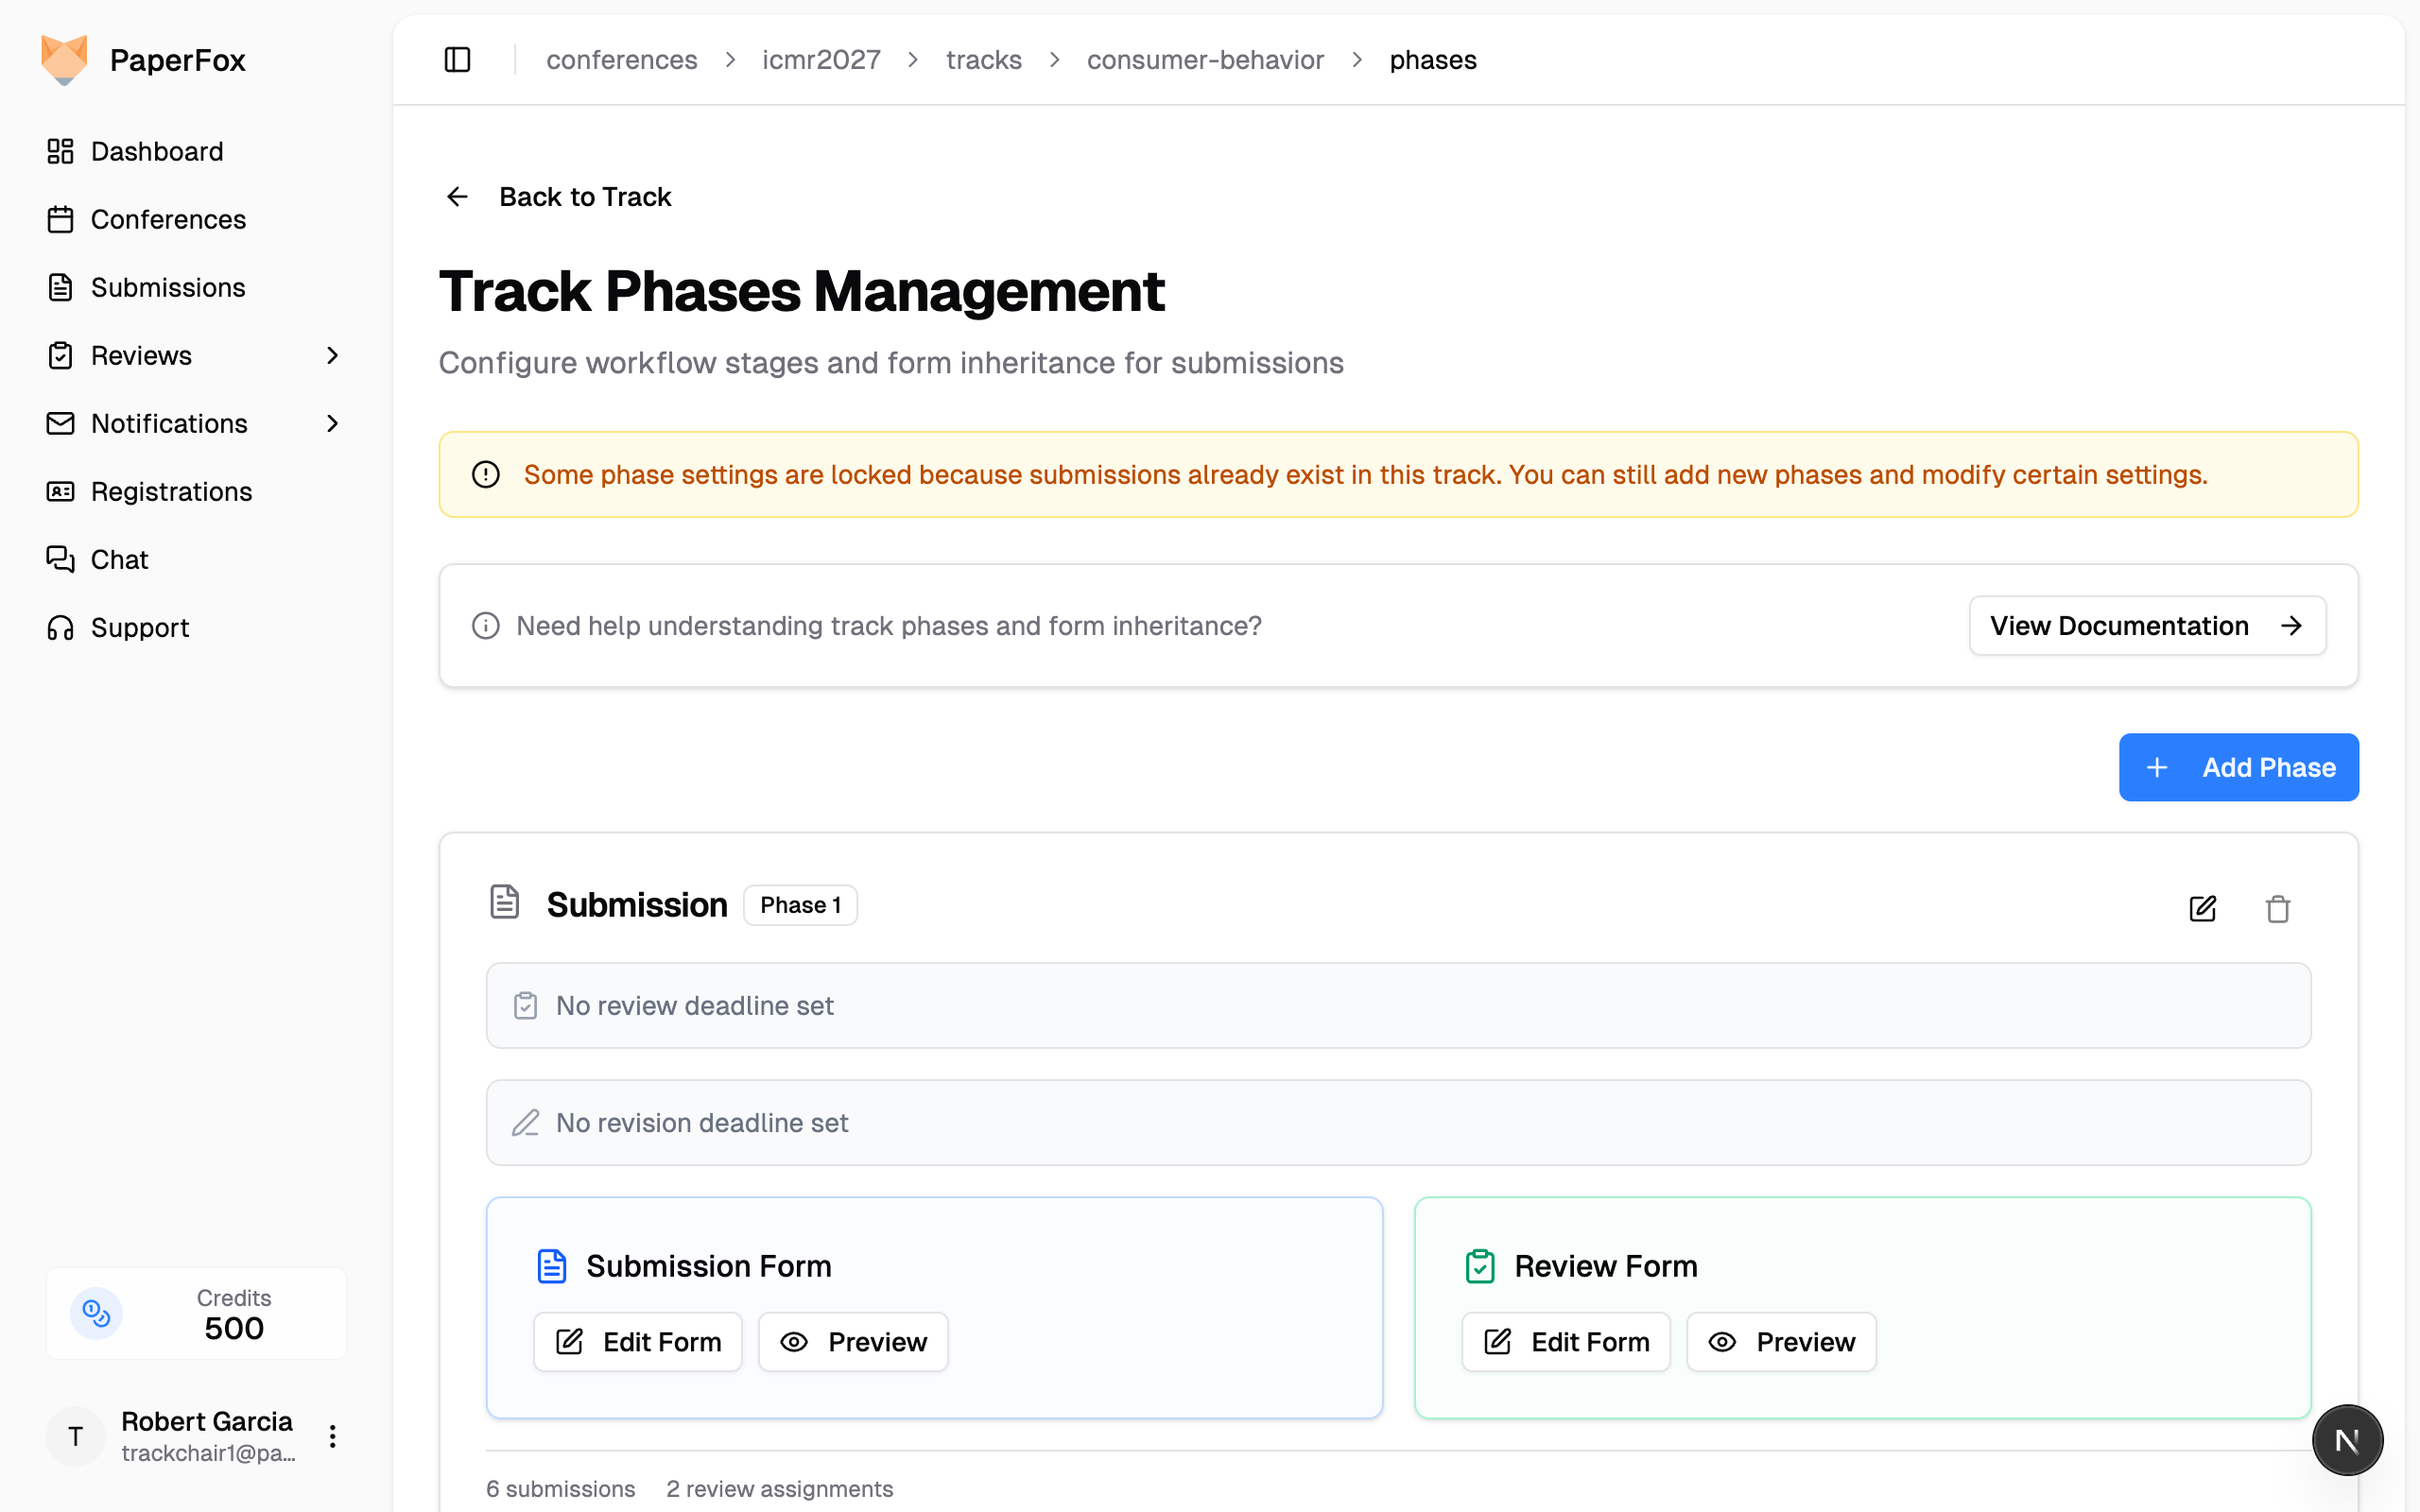 ## One Structure for All Tracks
Which phases exist — their names, order, and count — is the conference's **phase structure**, and it is defined once for the whole conference:
- **Single-track conference** (most conferences): the track's Phases page does everything — structure and settings alike, exactly as described in this guide. The same page is also reachable from **Conference Management → "Conference Phases"**; both show the same thing.
- **Multi-track conference**: every track shares one structure. Adding, renaming, and deleting phases happens on the **Conference Phases** page (**Conference Management → "Conference Phases"**), and each change applies to all tracks at once. A track's own Phases page shows the shared structure with a note saying where it's managed — while deadlines, author editing, author responses, and review release stay editable per track, since each track runs its own schedule.
## One Structure for All Tracks
Which phases exist — their names, order, and count — is the conference's **phase structure**, and it is defined once for the whole conference:
- **Single-track conference** (most conferences): the track's Phases page does everything — structure and settings alike, exactly as described in this guide. The same page is also reachable from **Conference Management → "Conference Phases"**; both show the same thing.
- **Multi-track conference**: every track shares one structure. Adding, renaming, and deleting phases happens on the **Conference Phases** page (**Conference Management → "Conference Phases"**), and each change applies to all tracks at once. A track's own Phases page shows the shared structure with a note saying where it's managed — while deadlines, author editing, author responses, and review release stay editable per track, since each track runs its own schedule.
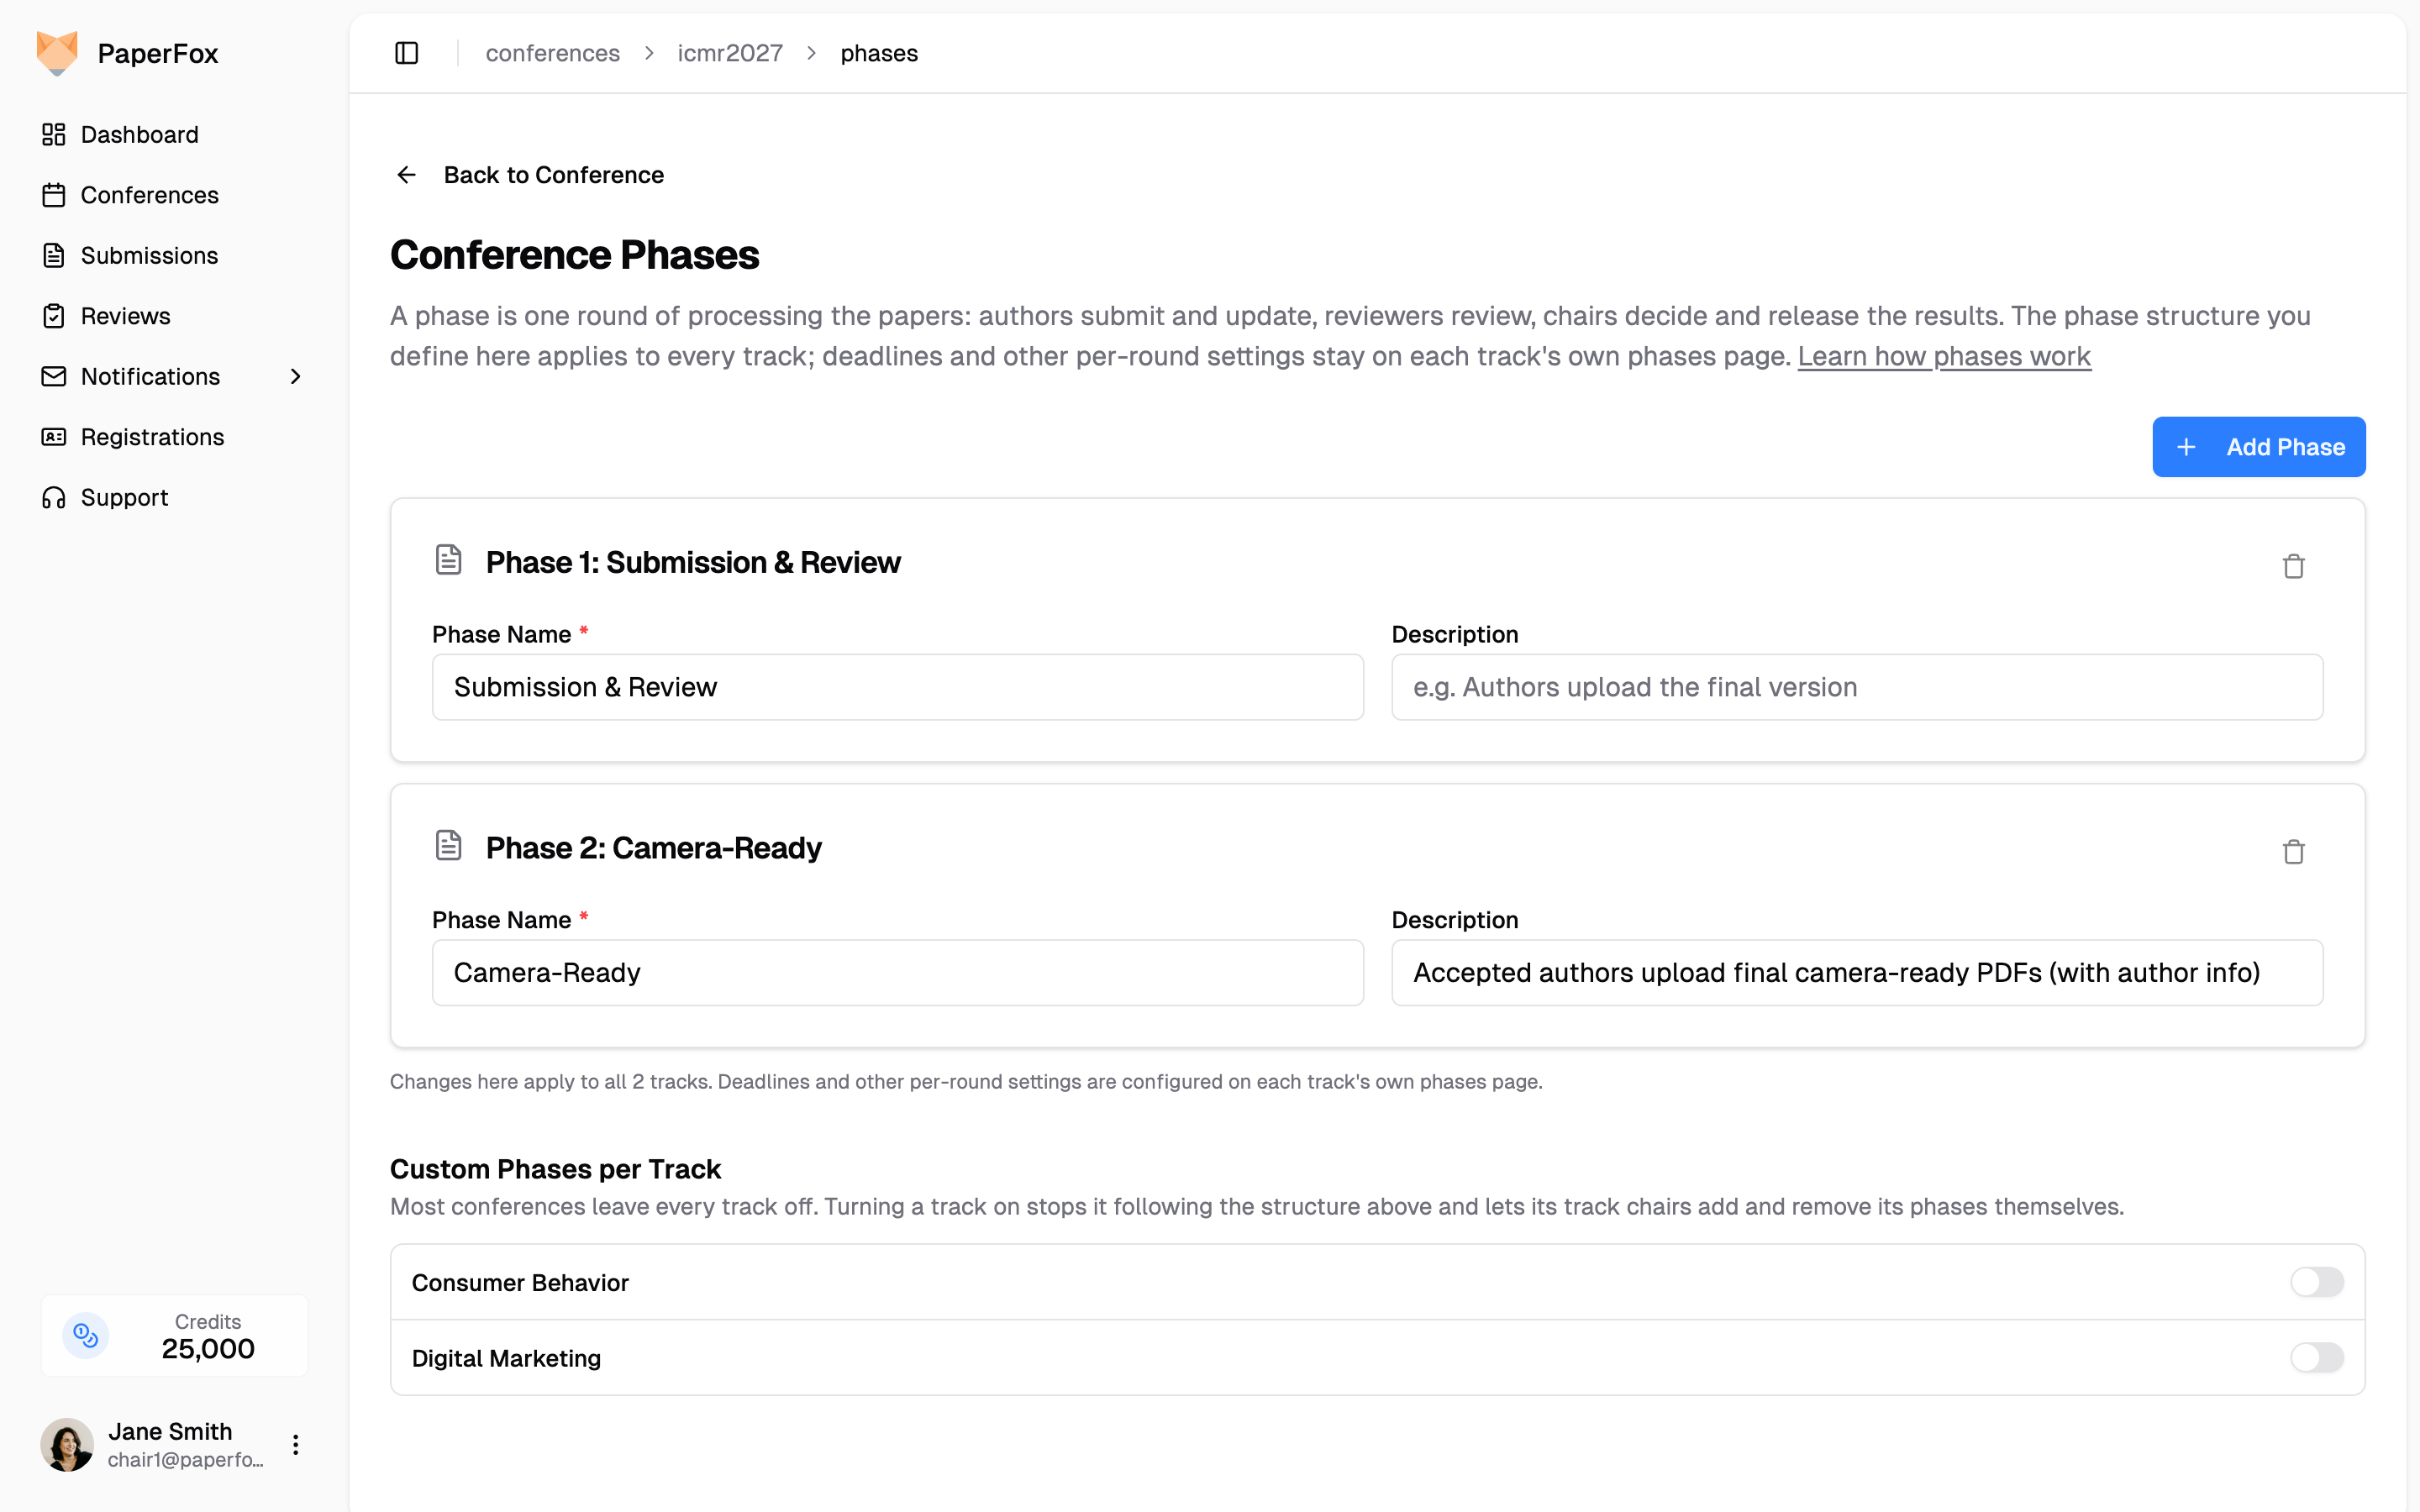 A track added later inherits the conference structure automatically, so it matches its siblings from the moment it's created.
### When One Track Needs Its Own Structure
Most conferences never need this. If one track truly runs differently — say a posters track with a single round next to two-round tracks — a conference chair can flip that track's toggle under **Custom Phases per Track**. The track stops following the shared structure, and its track chairs can add and remove its phases on its own Phases page.
Turning the toggle back off resets the track to the conference structure: phases are renamed to match, missing ones are created, and extra phases are removed — refused if an extra phase holds submissions or reviews, so a reset can never destroy review history.
### Add a Phase
Before adding one, apply the test above: a new phase starts **another round for the submissions**. If you only want a review deadline, you don't need a phase — set it in **Phase Settings** on the phase your submissions are already in.
On a multi-track conference, do this on the **Conference Phases** page — the dialog is the same, and the phase is added to every track at once.
1. Click **"Add Phase"** at the top of the page
2. Enter a **Phase Name** — name it after what authors will submit (e.g. *Revision*, *Second-Round Review*, *Camera Ready*) — and a description if it helps your co-chairs
3. Click **"Create Phase"**
That is all the dialog asks for. Deadlines and author responses are set on the phase card, so you don't have to decide them now — a camera-ready deadline usually depends on when reviews finish. The new phase appears with **Phase Settings** already open, ready for those values whenever you have them.
If you type a bare reviewing name — *Review*, *Peer Review* — the dialog shows a reminder that reviewing already happens inside every phase, so review deadlines never need a phase of their own. Qualified round names like *Second-Round Review* don't trigger it.
### Delete a Phase
The trash icon on a phase card deletes it — available only while the phase is untouched (no submissions, review assignments, or reviews; Phase 1 can never be deleted). Deleting a phase also removes the form fields you added for it, since they never collected an answer. Fields from earlier phases are unaffected, and later phases keep their fields.
On a multi-track conference, the trash icon on the **Conference Phases** page deletes the phase from every track — and is blocked if the phase holds submissions or reviews in *any* track. Conference-level form fields scoped to the deleted phase are removed with it, the same way track fields are; if a track with custom phases still holds submissions or reviews at that phase position, the delete is blocked so those answers keep their fields.
---
## Setting Phase Deadlines
Phase Settings holds three groups, each a box with the settings it governs:
| Group | Setting | Controls |
|-------|---------|----------|
| Reviewing | **Review Deadline** | When reviews should be completed |
| Author Editing | the switch itself | Whether authors can edit their submission in this phase at all |
| Author Editing | **Revision Deadline** | When revisions are due, if editing is open |
| Author Responses | **Response Deadline**, **Response Word Limit** | Replying to reviews after results are released |
The **Revision Deadline** sits under **Author Editing** because it refines it: editing is open — until this date. Turn Author Editing off and the deadline disappears, since a date changes nothing on a phase where nobody can edit.
Author responses are covered in their own guide: **[Enable Author Responses →](/docs/track-chairs/author-responses)**
Each deadline has its own **Enforced** switch below the date (disabled until a date is set):
- **Review Deadline** (not enforced by default): turn **Enforced** on and reviewers can no longer create or edit reviews for that phase once the date passes. It starts off because blocking a late review means losing that review altogether — most chairs would rather chase it than lose it.
- **Revision Deadline** (enforced by default): once the deadline passes, authors can no longer edit their submissions in that phase.
- **Not enforced**: the deadline is informational — it's still shown to reviewers or authors as guidance, but nothing is blocked when it passes. The phase summary marks these with "(not enforced)".
Existing phases keep whatever you already set; the defaults above apply to phases created from now on.
Track chairs are exempt from the revision deadline and can always edit submissions regardless of deadlines.
### Close Editing Without a Deadline
To stop authors editing in a phase, turn **Author Editing** off. That is the whole setting — no date, no enforcement switch.
Use it when the phase was never about author work: a review-only round, or a phase you've moved submissions into while you decide. Authors are told plainly that the chairs have closed editing, rather than being shown a deadline they supposedly missed.
A track added later inherits the conference structure automatically, so it matches its siblings from the moment it's created.
### When One Track Needs Its Own Structure
Most conferences never need this. If one track truly runs differently — say a posters track with a single round next to two-round tracks — a conference chair can flip that track's toggle under **Custom Phases per Track**. The track stops following the shared structure, and its track chairs can add and remove its phases on its own Phases page.
Turning the toggle back off resets the track to the conference structure: phases are renamed to match, missing ones are created, and extra phases are removed — refused if an extra phase holds submissions or reviews, so a reset can never destroy review history.
### Add a Phase
Before adding one, apply the test above: a new phase starts **another round for the submissions**. If you only want a review deadline, you don't need a phase — set it in **Phase Settings** on the phase your submissions are already in.
On a multi-track conference, do this on the **Conference Phases** page — the dialog is the same, and the phase is added to every track at once.
1. Click **"Add Phase"** at the top of the page
2. Enter a **Phase Name** — name it after what authors will submit (e.g. *Revision*, *Second-Round Review*, *Camera Ready*) — and a description if it helps your co-chairs
3. Click **"Create Phase"**
That is all the dialog asks for. Deadlines and author responses are set on the phase card, so you don't have to decide them now — a camera-ready deadline usually depends on when reviews finish. The new phase appears with **Phase Settings** already open, ready for those values whenever you have them.
If you type a bare reviewing name — *Review*, *Peer Review* — the dialog shows a reminder that reviewing already happens inside every phase, so review deadlines never need a phase of their own. Qualified round names like *Second-Round Review* don't trigger it.
### Delete a Phase
The trash icon on a phase card deletes it — available only while the phase is untouched (no submissions, review assignments, or reviews; Phase 1 can never be deleted). Deleting a phase also removes the form fields you added for it, since they never collected an answer. Fields from earlier phases are unaffected, and later phases keep their fields.
On a multi-track conference, the trash icon on the **Conference Phases** page deletes the phase from every track — and is blocked if the phase holds submissions or reviews in *any* track. Conference-level form fields scoped to the deleted phase are removed with it, the same way track fields are; if a track with custom phases still holds submissions or reviews at that phase position, the delete is blocked so those answers keep their fields.
---
## Setting Phase Deadlines
Phase Settings holds three groups, each a box with the settings it governs:
| Group | Setting | Controls |
|-------|---------|----------|
| Reviewing | **Review Deadline** | When reviews should be completed |
| Author Editing | the switch itself | Whether authors can edit their submission in this phase at all |
| Author Editing | **Revision Deadline** | When revisions are due, if editing is open |
| Author Responses | **Response Deadline**, **Response Word Limit** | Replying to reviews after results are released |
The **Revision Deadline** sits under **Author Editing** because it refines it: editing is open — until this date. Turn Author Editing off and the deadline disappears, since a date changes nothing on a phase where nobody can edit.
Author responses are covered in their own guide: **[Enable Author Responses →](/docs/track-chairs/author-responses)**
Each deadline has its own **Enforced** switch below the date (disabled until a date is set):
- **Review Deadline** (not enforced by default): turn **Enforced** on and reviewers can no longer create or edit reviews for that phase once the date passes. It starts off because blocking a late review means losing that review altogether — most chairs would rather chase it than lose it.
- **Revision Deadline** (enforced by default): once the deadline passes, authors can no longer edit their submissions in that phase.
- **Not enforced**: the deadline is informational — it's still shown to reviewers or authors as guidance, but nothing is blocked when it passes. The phase summary marks these with "(not enforced)".
Existing phases keep whatever you already set; the defaults above apply to phases created from now on.
Track chairs are exempt from the revision deadline and can always edit submissions regardless of deadlines.
### Close Editing Without a Deadline
To stop authors editing in a phase, turn **Author Editing** off. That is the whole setting — no date, no enforcement switch.
Use it when the phase was never about author work: a review-only round, or a phase you've moved submissions into while you decide. Authors are told plainly that the chairs have closed editing, rather than being shown a deadline they supposedly missed.
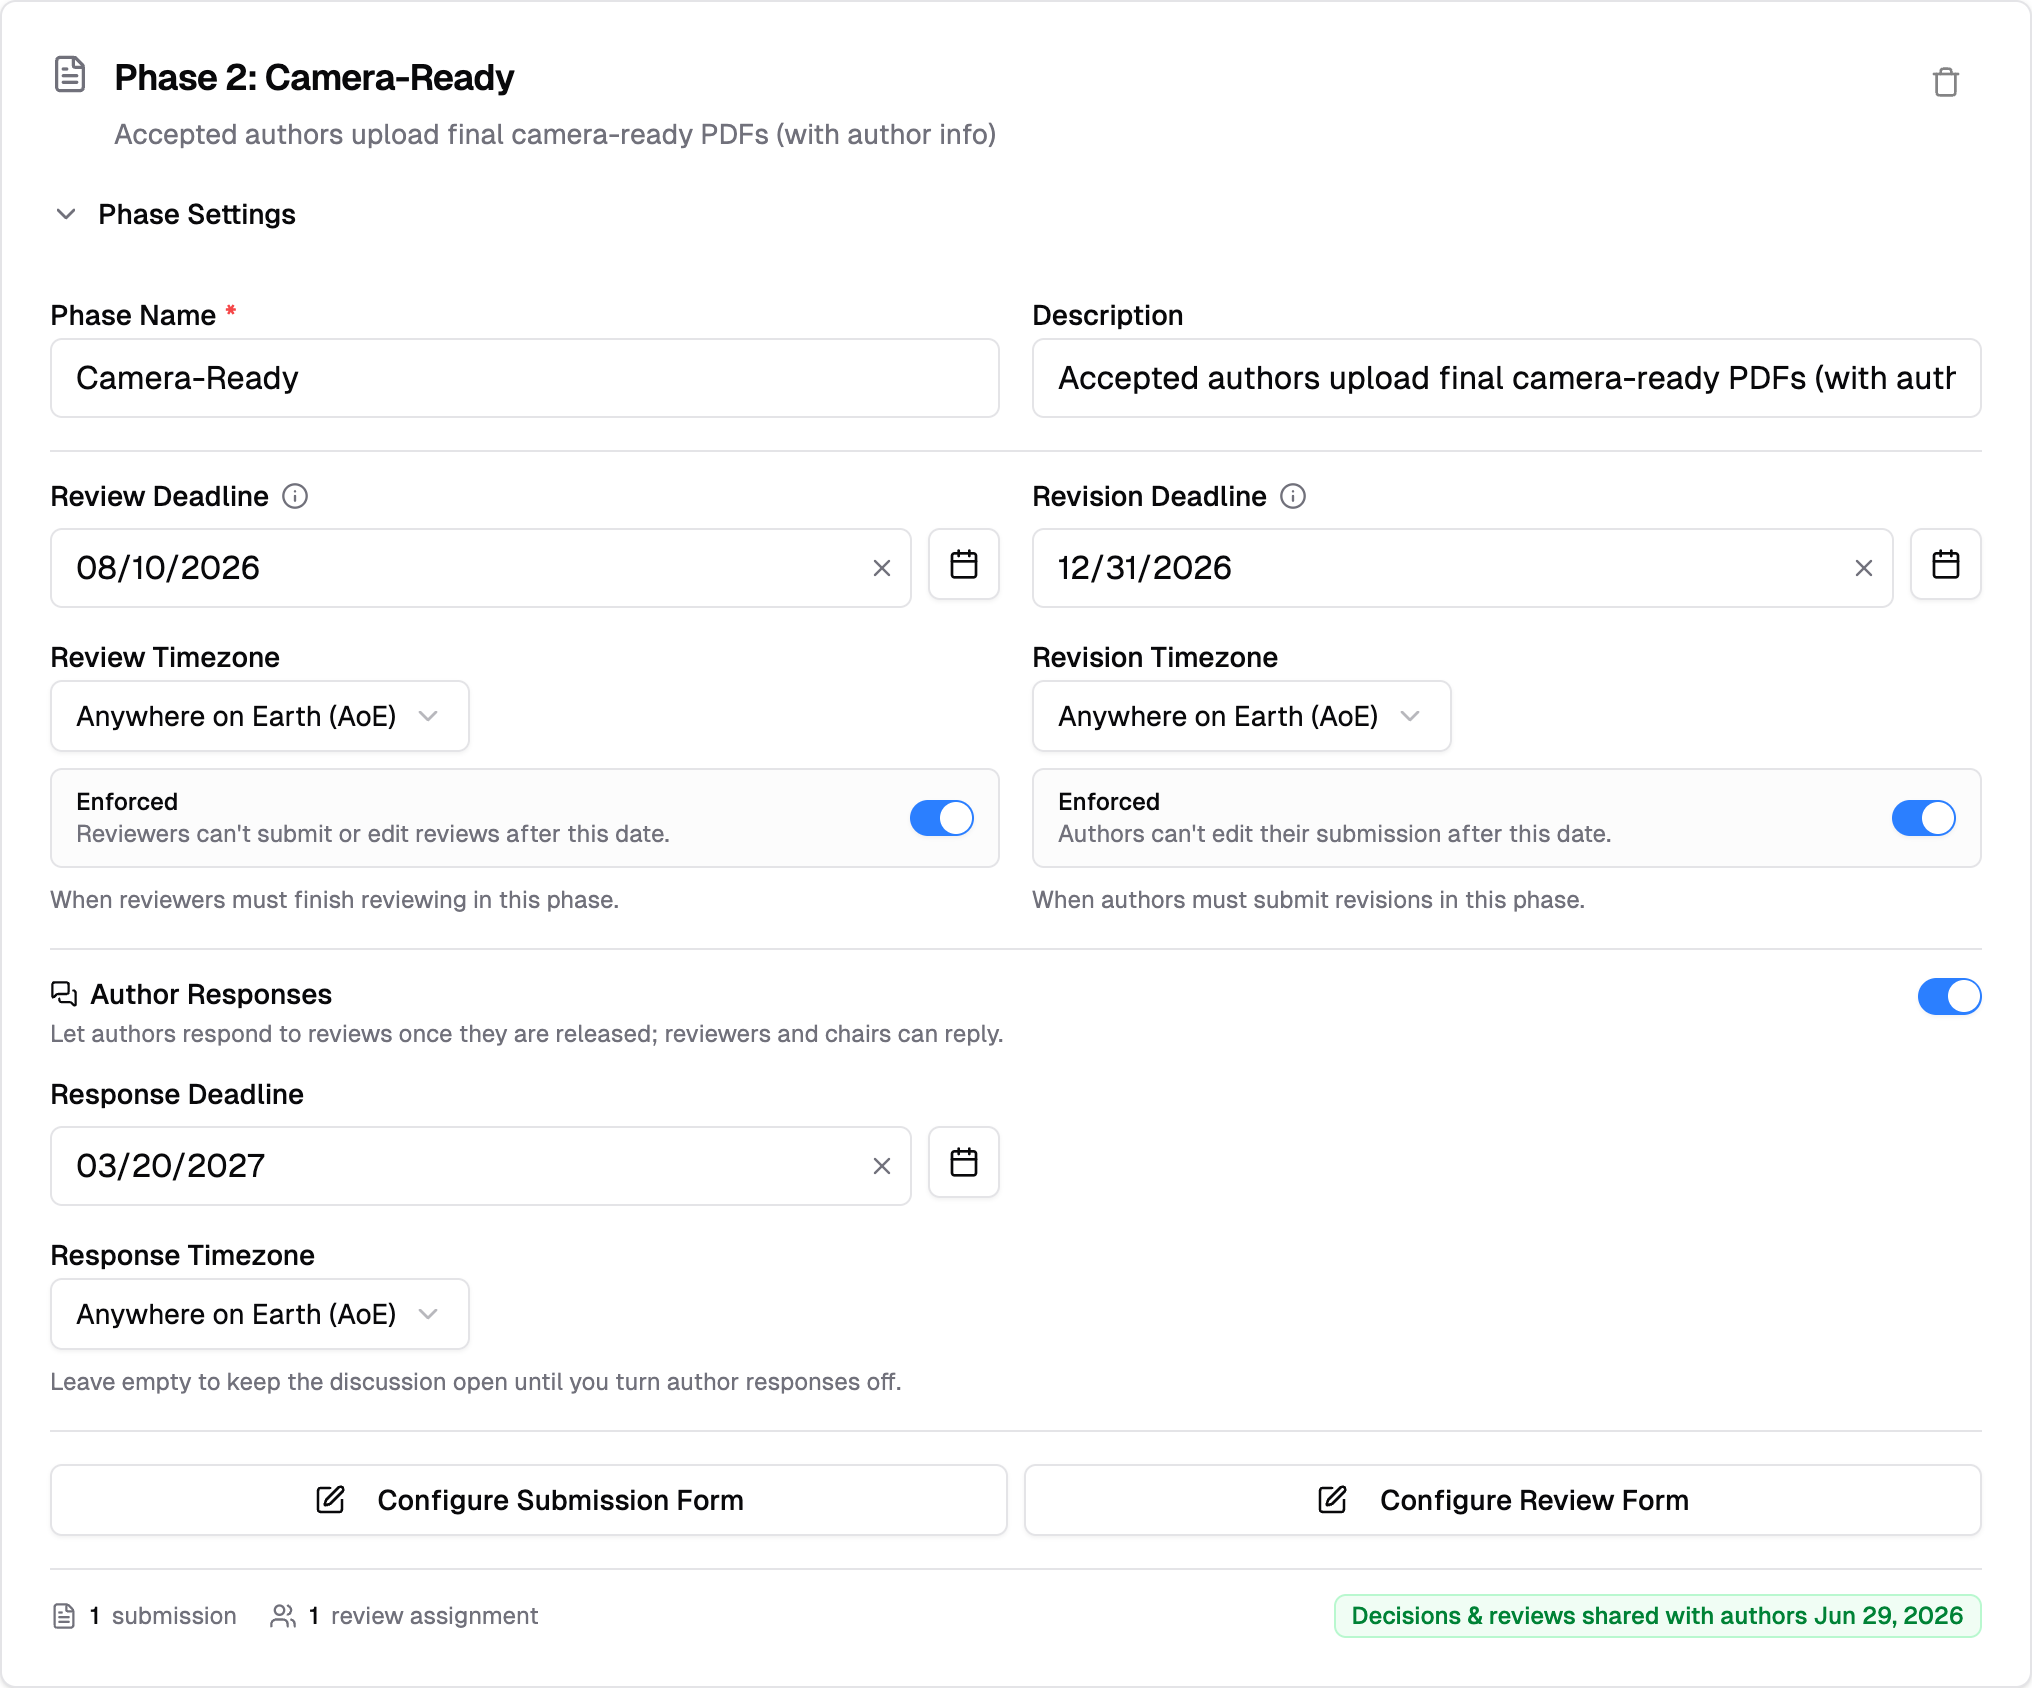 To remove a deadline, click the **×** in its date field. An empty field means no deadline.
The same block is where you rename the phase or edit its description.
### When a Deadline Reaches No One
Reviewers read the review deadline from the phase **their assignment is in** — a deadline set on any other phase never reaches them. If a phase holds a review deadline but no review assignments, while the track's reviewers work in a phase with no deadline, the phase card flags it:
To remove a deadline, click the **×** in its date field. An empty field means no deadline.
The same block is where you rename the phase or edit its description.
### When a Deadline Reaches No One
Reviewers read the review deadline from the phase **their assignment is in** — a deadline set on any other phase never reaches them. If a phase holds a review deadline but no review assignments, while the track's reviewers work in a phase with no deadline, the phase card flags it:
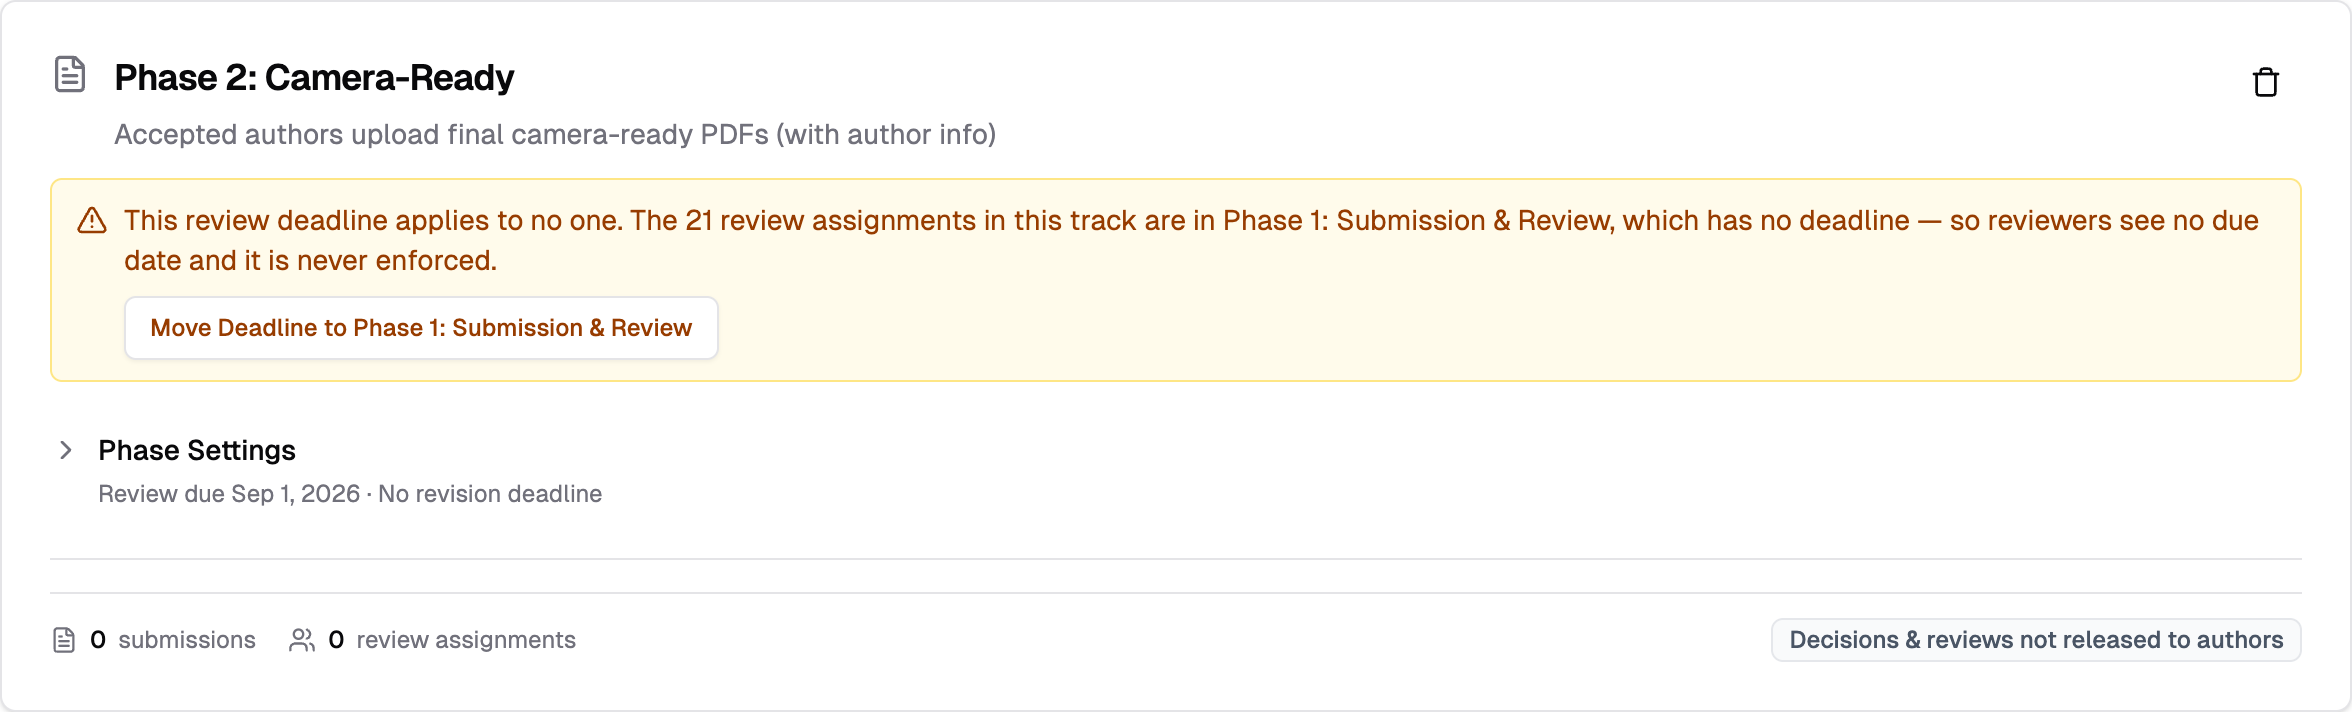 Click **"Move Deadline to Phase 1: …"** to move the deadline — with its timezone and its **Enforced** switch — onto the phase the reviewers are in. The warning clears on its own once a deadline and its reviewers line up, including when you later assign reviewers into the flagged phase.
Deadlines set ahead of time on phases nobody has reached yet are fine — the warning appears only when no phase in the track pairs a deadline with its reviewers.
### Where Deadlines Are Displayed
| Deadline | Visible To | Where |
|----------|-----------|-------|
| **Review Deadline** | Track chairs | Phase card on the Phases page |
| **Review Deadline** | Reviewers | "To Review" tab of their **Reviews** page |
| **Revision Deadline** | Track chairs | Phase card on the Phases page |
| **Revision Deadline** | Authors | Submission detail page sidebar |
Authors see the revision deadline for their submission's current phase, helping them understand when their revision is expected.
---
## Customizing Forms for Each Phase
Each phase can have different submission and review forms to collect appropriate information at each stage.
### Why Different Forms?
**Initial Submission**: Collect core submission details
- Title, abstract, authors, keywords
**Revision Phase**: Add revision-specific fields
- Response to reviewers
- Summary of changes
- Updated manuscript
**Camera Ready**: Include publication requirements
- Copyright form
- Final formatting checklist
- Presentation preferences
### How to Customize Forms
Forms are edited on their own page, not on the phase card: from your track, click **Track Forms**, then pick the phase from the selector in the top right and choose the **Submission Form** or **Review Form** tab. That page is also where you preview a form, so you can check your changes without leaving it.
- **[Customize Submission Forms →](/docs/track-chairs/configure-track-submission-forms)**
- **[Customize Review Forms →](/docs/track-chairs/configure-track-review-forms)**
> **Note**: Fields from earlier phases are automatically included in later phases. You only need to add new fields specific to the current phase.
---
## How Submissions Move Between Phases
Track chairs control when submissions advance. Moves are **forward-only**: every phase keeps a permanent record of its reviews and decisions, so a submission never travels back through a phase. To rework a submission, act in its current phase — record a new decision, extend the revision deadline — or move it forward into a revision phase.
### Key Concepts
- Each submission exists in exactly one phase at a time
- Decisions (Accept, Reject, Revision Required) are recorded but **do not automatically move submissions** — the chair moves them manually
- Submissions move **forward only** — correct course by acting in the current phase, not by moving back
- After a submission is moved, authors can immediately submit in the new phase (they see the new revision deadline, if set, on their submission page)
### Step 1 — Open the Phase Transitions Tool
Navigate to your track, then scroll to the **Review Management** section and click **"Reviews & Decisions"**.
On the Reviews & Decisions page, click **"Phase Transitions"** in the toolbar. You'll typically do this after making a round of decisions and being ready to advance submissions to the next stage.
Click **"Move Deadline to Phase 1: …"** to move the deadline — with its timezone and its **Enforced** switch — onto the phase the reviewers are in. The warning clears on its own once a deadline and its reviewers line up, including when you later assign reviewers into the flagged phase.
Deadlines set ahead of time on phases nobody has reached yet are fine — the warning appears only when no phase in the track pairs a deadline with its reviewers.
### Where Deadlines Are Displayed
| Deadline | Visible To | Where |
|----------|-----------|-------|
| **Review Deadline** | Track chairs | Phase card on the Phases page |
| **Review Deadline** | Reviewers | "To Review" tab of their **Reviews** page |
| **Revision Deadline** | Track chairs | Phase card on the Phases page |
| **Revision Deadline** | Authors | Submission detail page sidebar |
Authors see the revision deadline for their submission's current phase, helping them understand when their revision is expected.
---
## Customizing Forms for Each Phase
Each phase can have different submission and review forms to collect appropriate information at each stage.
### Why Different Forms?
**Initial Submission**: Collect core submission details
- Title, abstract, authors, keywords
**Revision Phase**: Add revision-specific fields
- Response to reviewers
- Summary of changes
- Updated manuscript
**Camera Ready**: Include publication requirements
- Copyright form
- Final formatting checklist
- Presentation preferences
### How to Customize Forms
Forms are edited on their own page, not on the phase card: from your track, click **Track Forms**, then pick the phase from the selector in the top right and choose the **Submission Form** or **Review Form** tab. That page is also where you preview a form, so you can check your changes without leaving it.
- **[Customize Submission Forms →](/docs/track-chairs/configure-track-submission-forms)**
- **[Customize Review Forms →](/docs/track-chairs/configure-track-review-forms)**
> **Note**: Fields from earlier phases are automatically included in later phases. You only need to add new fields specific to the current phase.
---
## How Submissions Move Between Phases
Track chairs control when submissions advance. Moves are **forward-only**: every phase keeps a permanent record of its reviews and decisions, so a submission never travels back through a phase. To rework a submission, act in its current phase — record a new decision, extend the revision deadline — or move it forward into a revision phase.
### Key Concepts
- Each submission exists in exactly one phase at a time
- Decisions (Accept, Reject, Revision Required) are recorded but **do not automatically move submissions** — the chair moves them manually
- Submissions move **forward only** — correct course by acting in the current phase, not by moving back
- After a submission is moved, authors can immediately submit in the new phase (they see the new revision deadline, if set, on their submission page)
### Step 1 — Open the Phase Transitions Tool
Navigate to your track, then scroll to the **Review Management** section and click **"Reviews & Decisions"**.
On the Reviews & Decisions page, click **"Phase Transitions"** in the toolbar. You'll typically do this after making a round of decisions and being ready to advance submissions to the next stage.
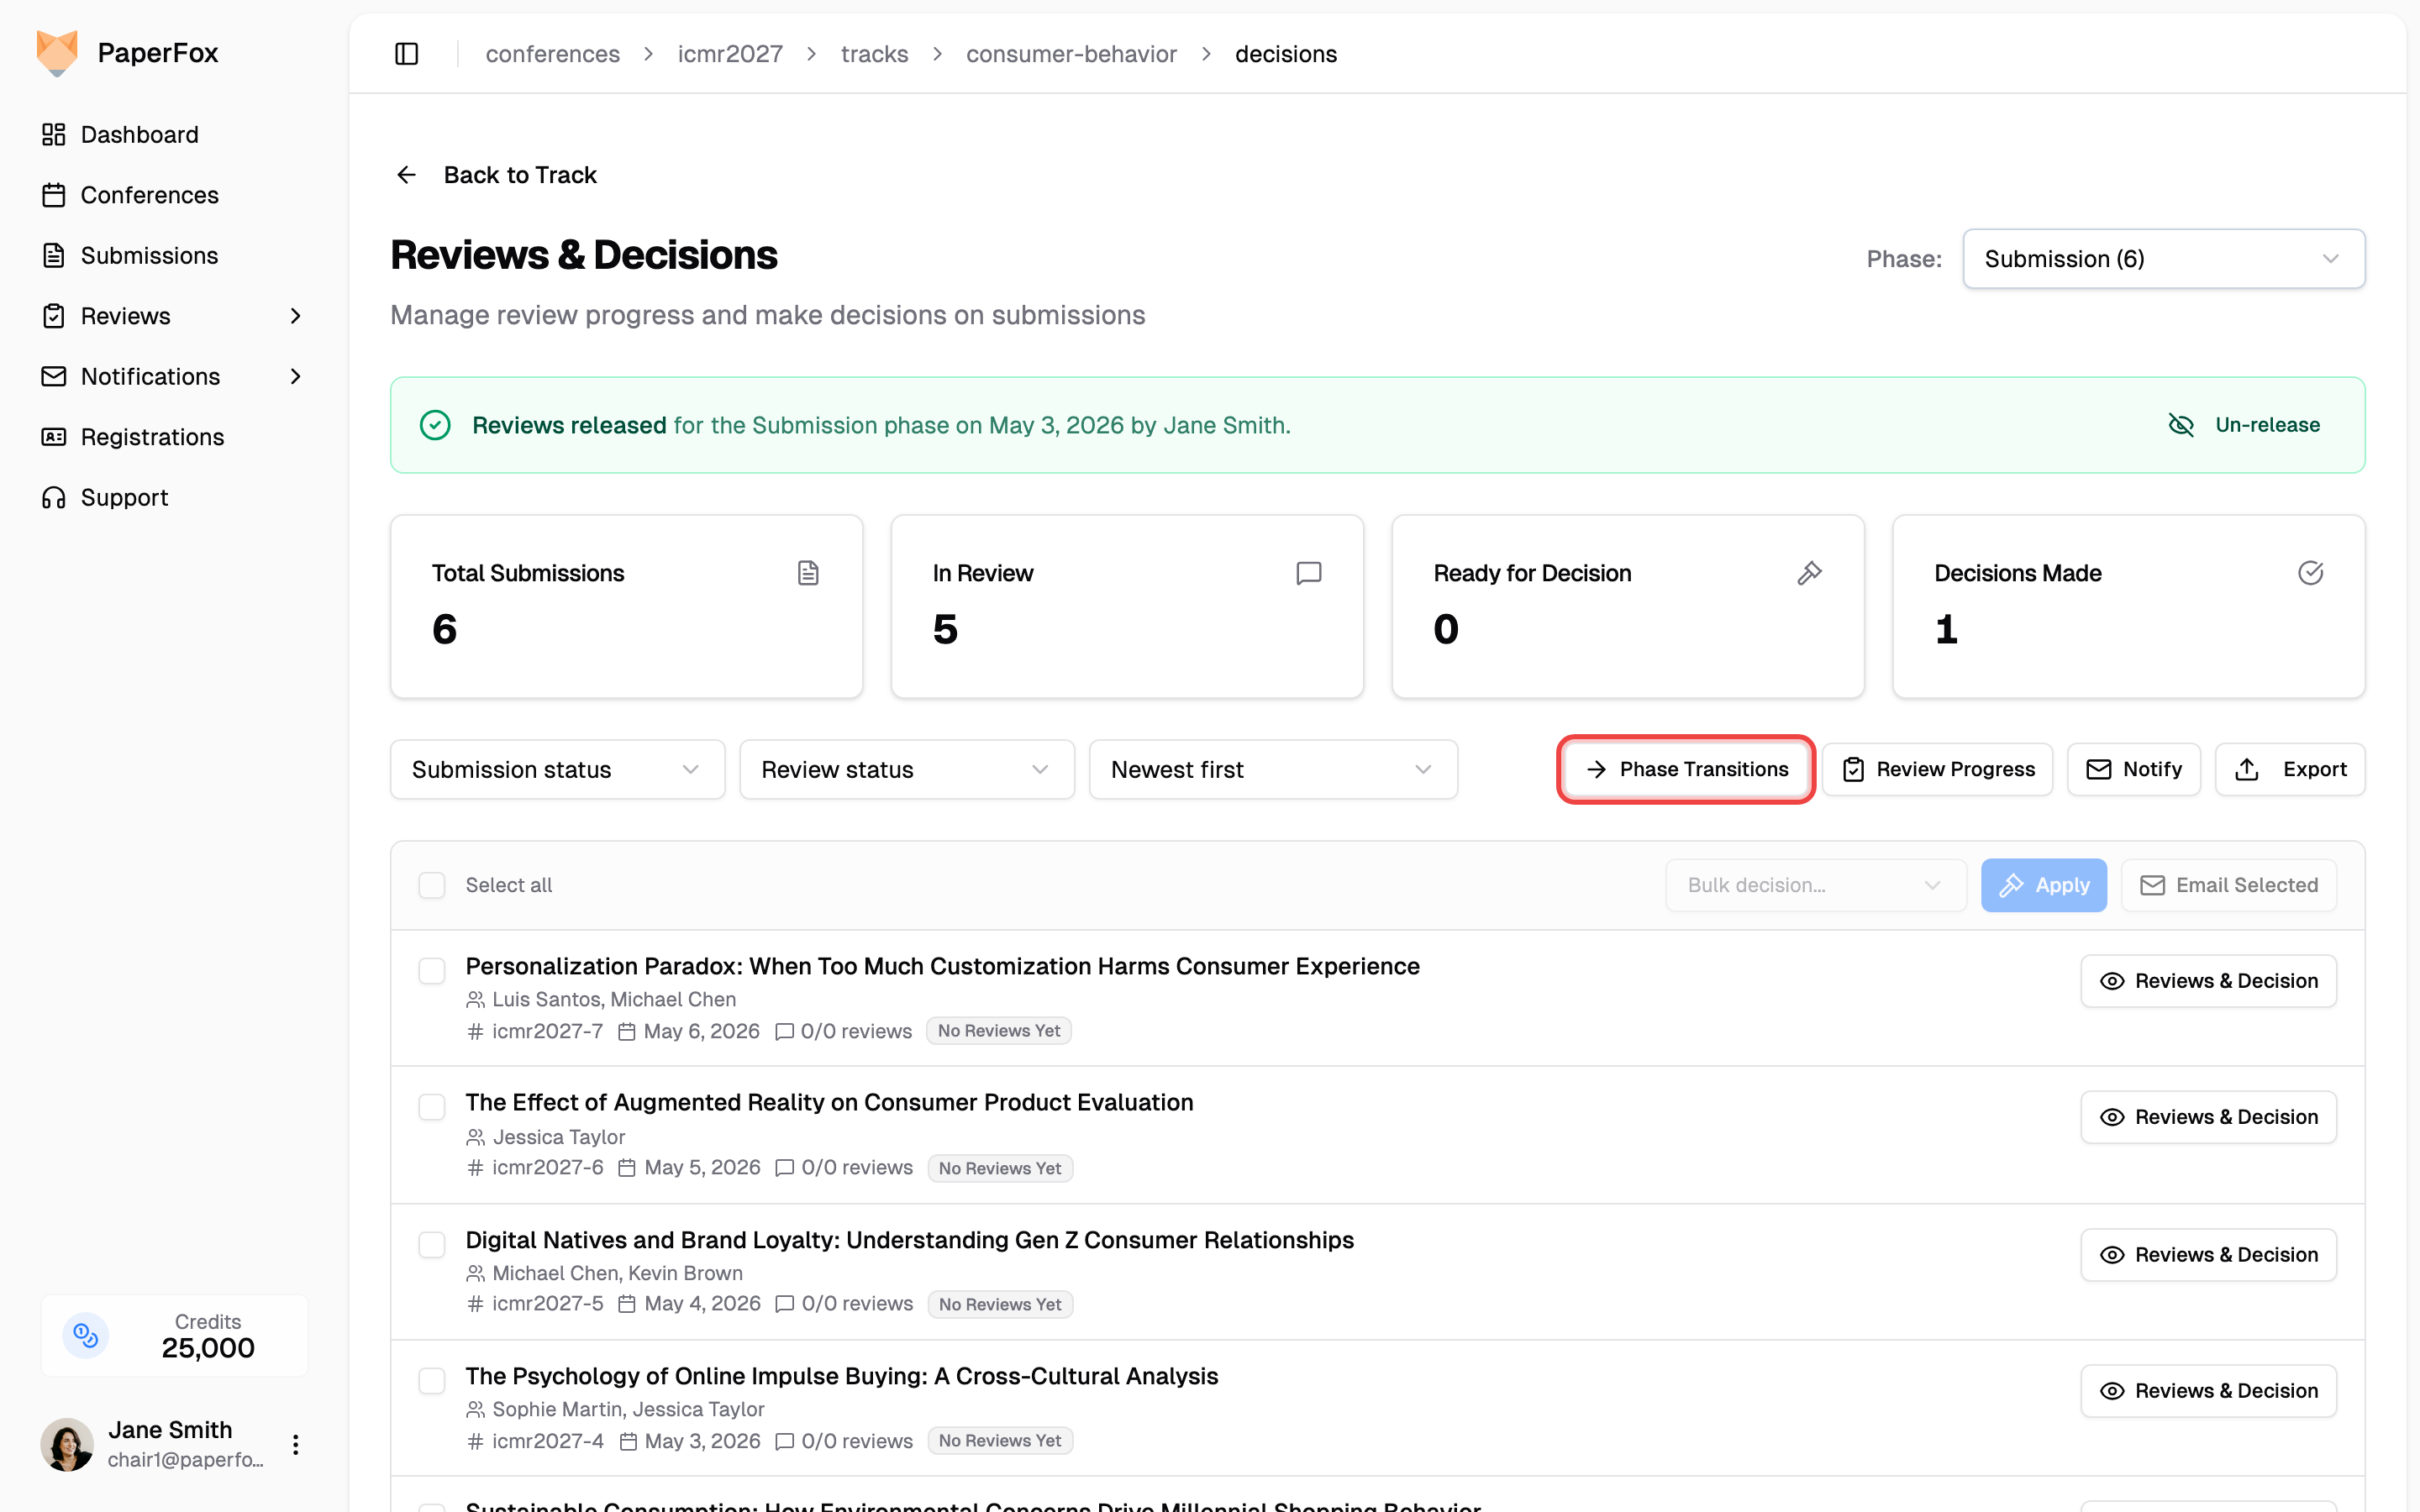 ### Step 2 — Configure the Move
The **Move Submissions to Next Phase** dialog appears with three controls:
| Field | What it does |
|-------|-------------|
| **Current Phase** | Read-only — the phase the submissions are coming from |
| **Move Submissions To** | Dropdown — select a later phase as the destination (earlier phases are shown disabled) |
| **Filter by Decision** | Narrows the move to submissions with a specific decision; shows a count of matching submissions |
Use the **Filter by Decision** field to target a specific group — for example, set it to "Revision Required" to move only those submissions to your Revision phase, while accepted and rejected submissions stay in Phase 1.
### Step 2 — Configure the Move
The **Move Submissions to Next Phase** dialog appears with three controls:
| Field | What it does |
|-------|-------------|
| **Current Phase** | Read-only — the phase the submissions are coming from |
| **Move Submissions To** | Dropdown — select a later phase as the destination (earlier phases are shown disabled) |
| **Filter by Decision** | Narrows the move to submissions with a specific decision; shows a count of matching submissions |
Use the **Filter by Decision** field to target a specific group — for example, set it to "Revision Required" to move only those submissions to your Revision phase, while accepted and rejected submissions stay in Phase 1.
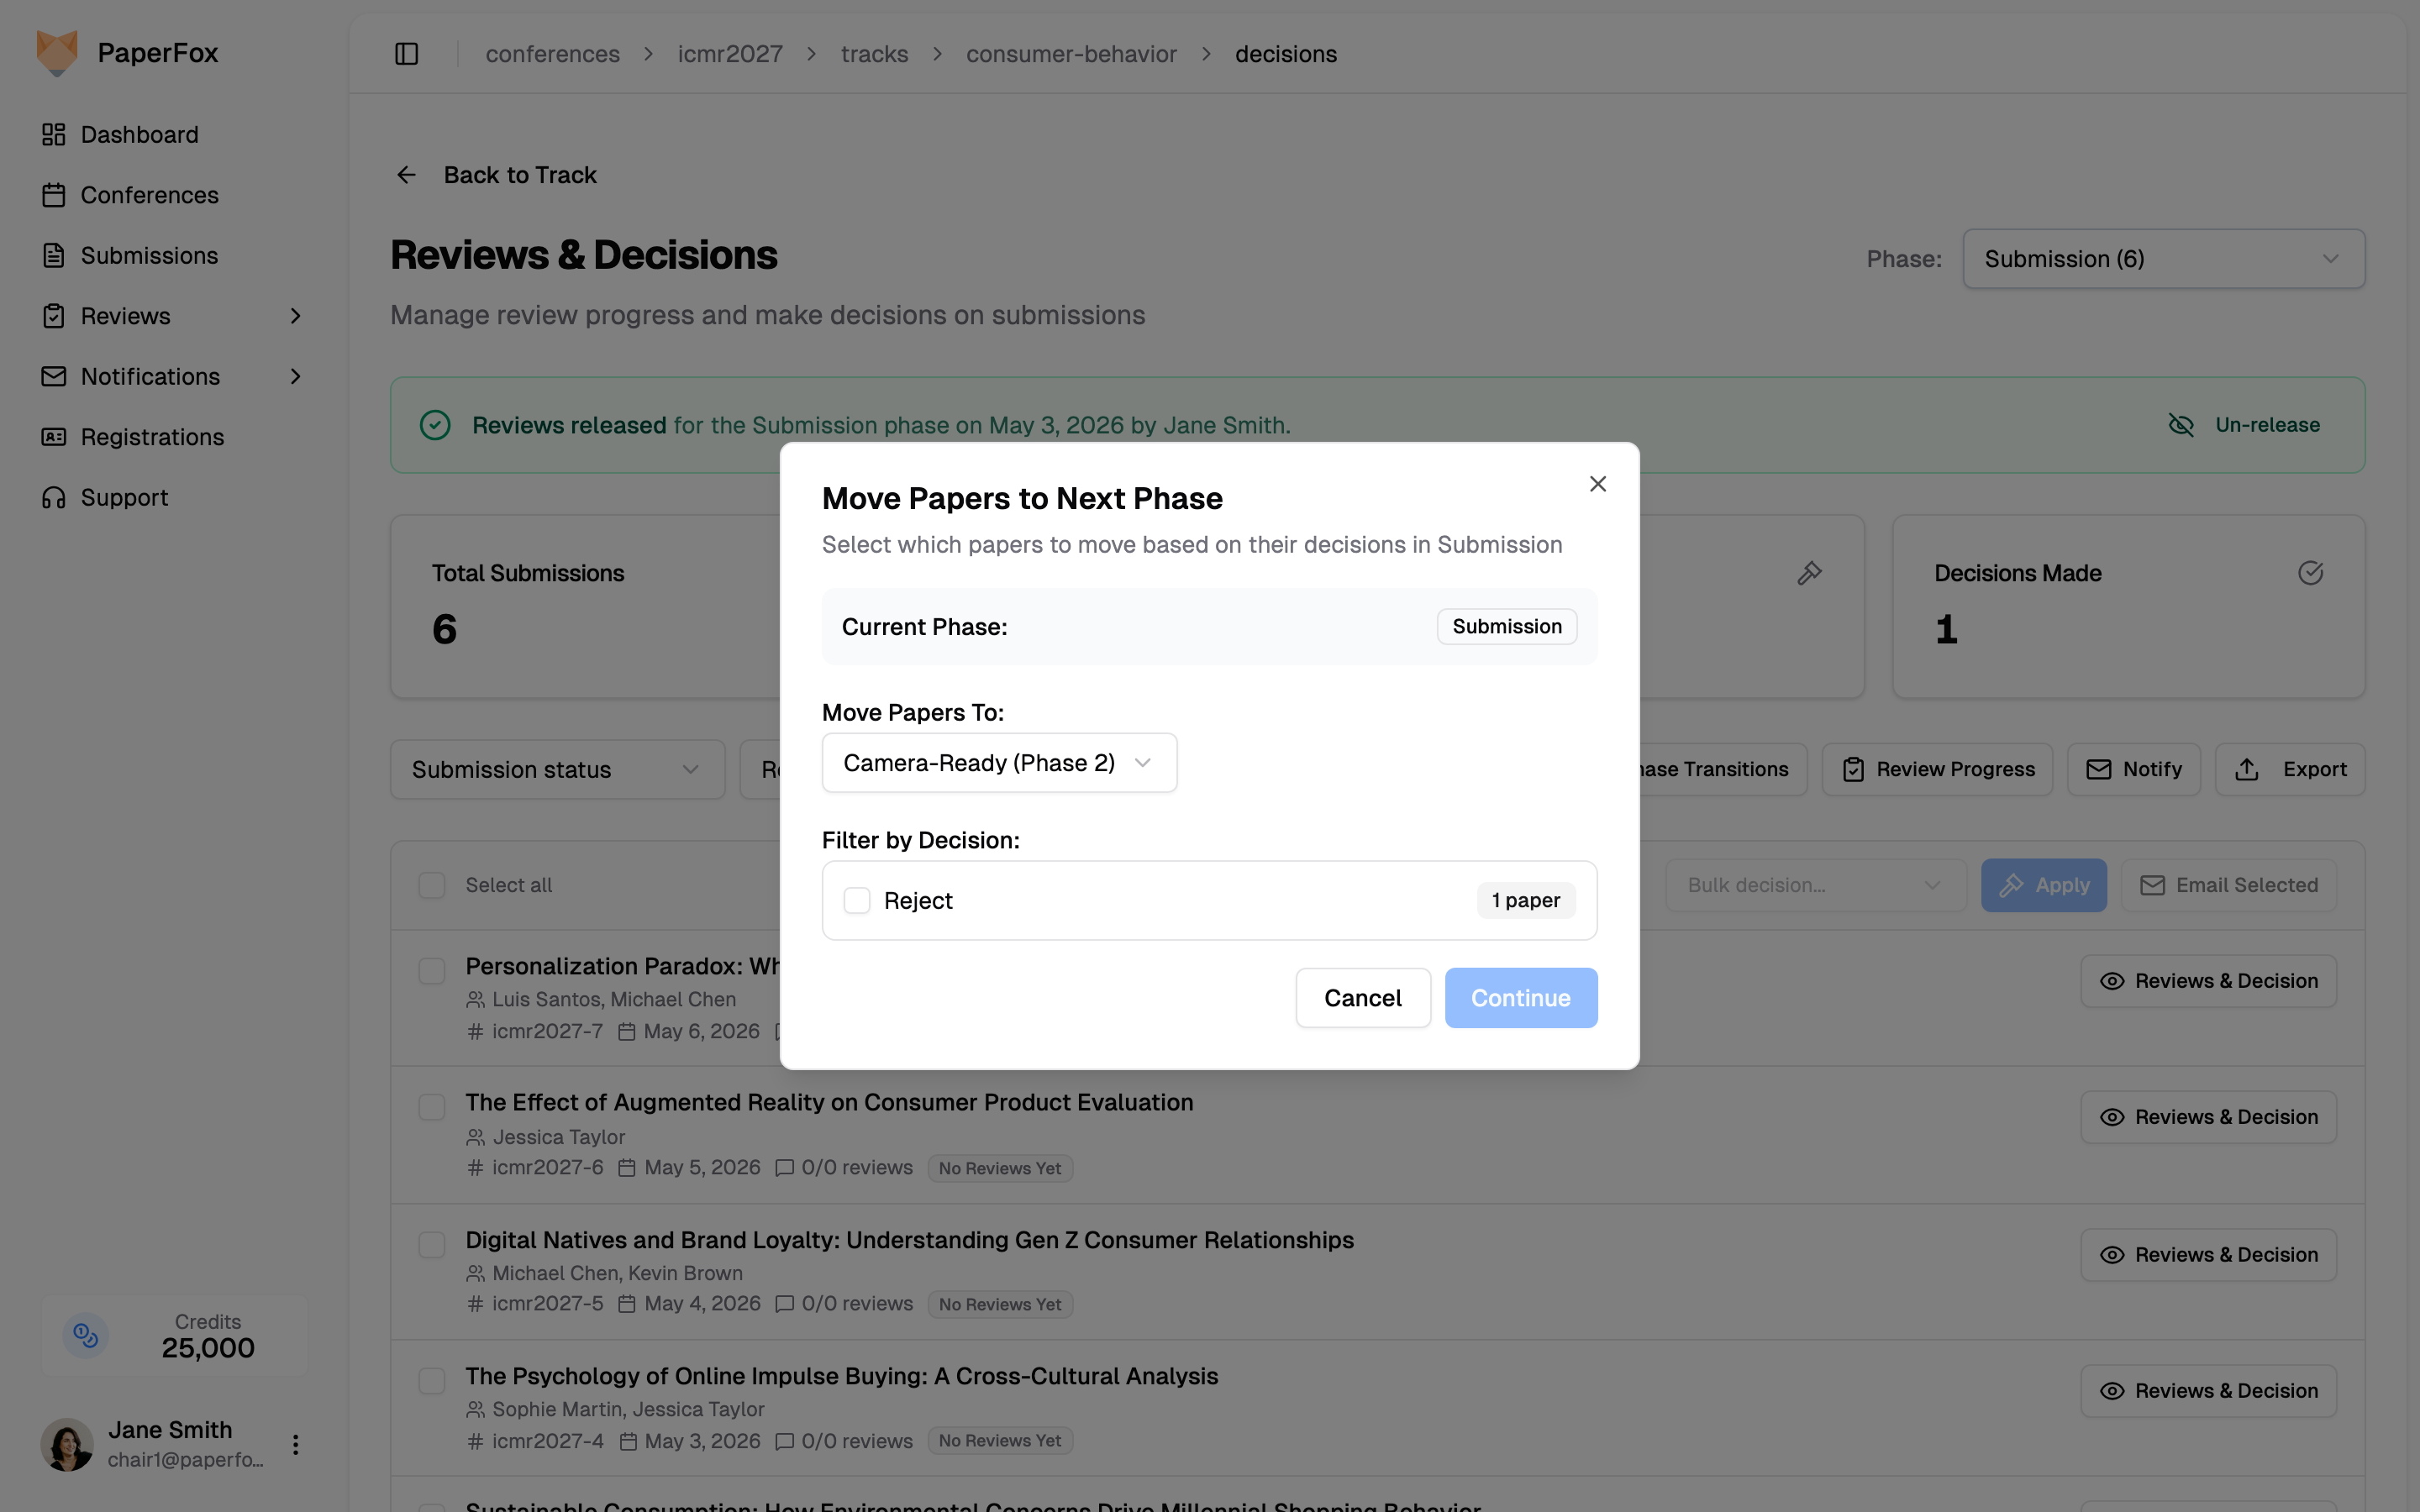 ### Step 3 — Review and Confirm
Click **"Continue"** to see the list of submissions that will be moved, then confirm. The move takes effect immediately.
### Undoing a Move
Fat-fingered a bulk move? Open **"Phase Transitions"** while viewing the phase the submissions landed in. If any of them are still untouched there — no reviewer assignments, reviews, decisions, or discussion — an **Undo a recent move** section appears; **"Undo Move"** sends them back to the phase they came from and restores their status. The section counts everything that moved into the phase and how much of it can still go back, so you can see at a glance which part of the batch is already locked in. Once work starts in the new phase, the move is permanent.
### Step 3 — Review and Confirm
Click **"Continue"** to see the list of submissions that will be moved, then confirm. The move takes effect immediately.
### Undoing a Move
Fat-fingered a bulk move? Open **"Phase Transitions"** while viewing the phase the submissions landed in. If any of them are still untouched there — no reviewer assignments, reviews, decisions, or discussion — an **Undo a recent move** section appears; **"Undo Move"** sends them back to the phase they came from and restores their status. The section counts everything that moved into the phase and how much of it can still go back, so you can see at a glance which part of the batch is already locked in. Once work starts in the new phase, the move is permanent.
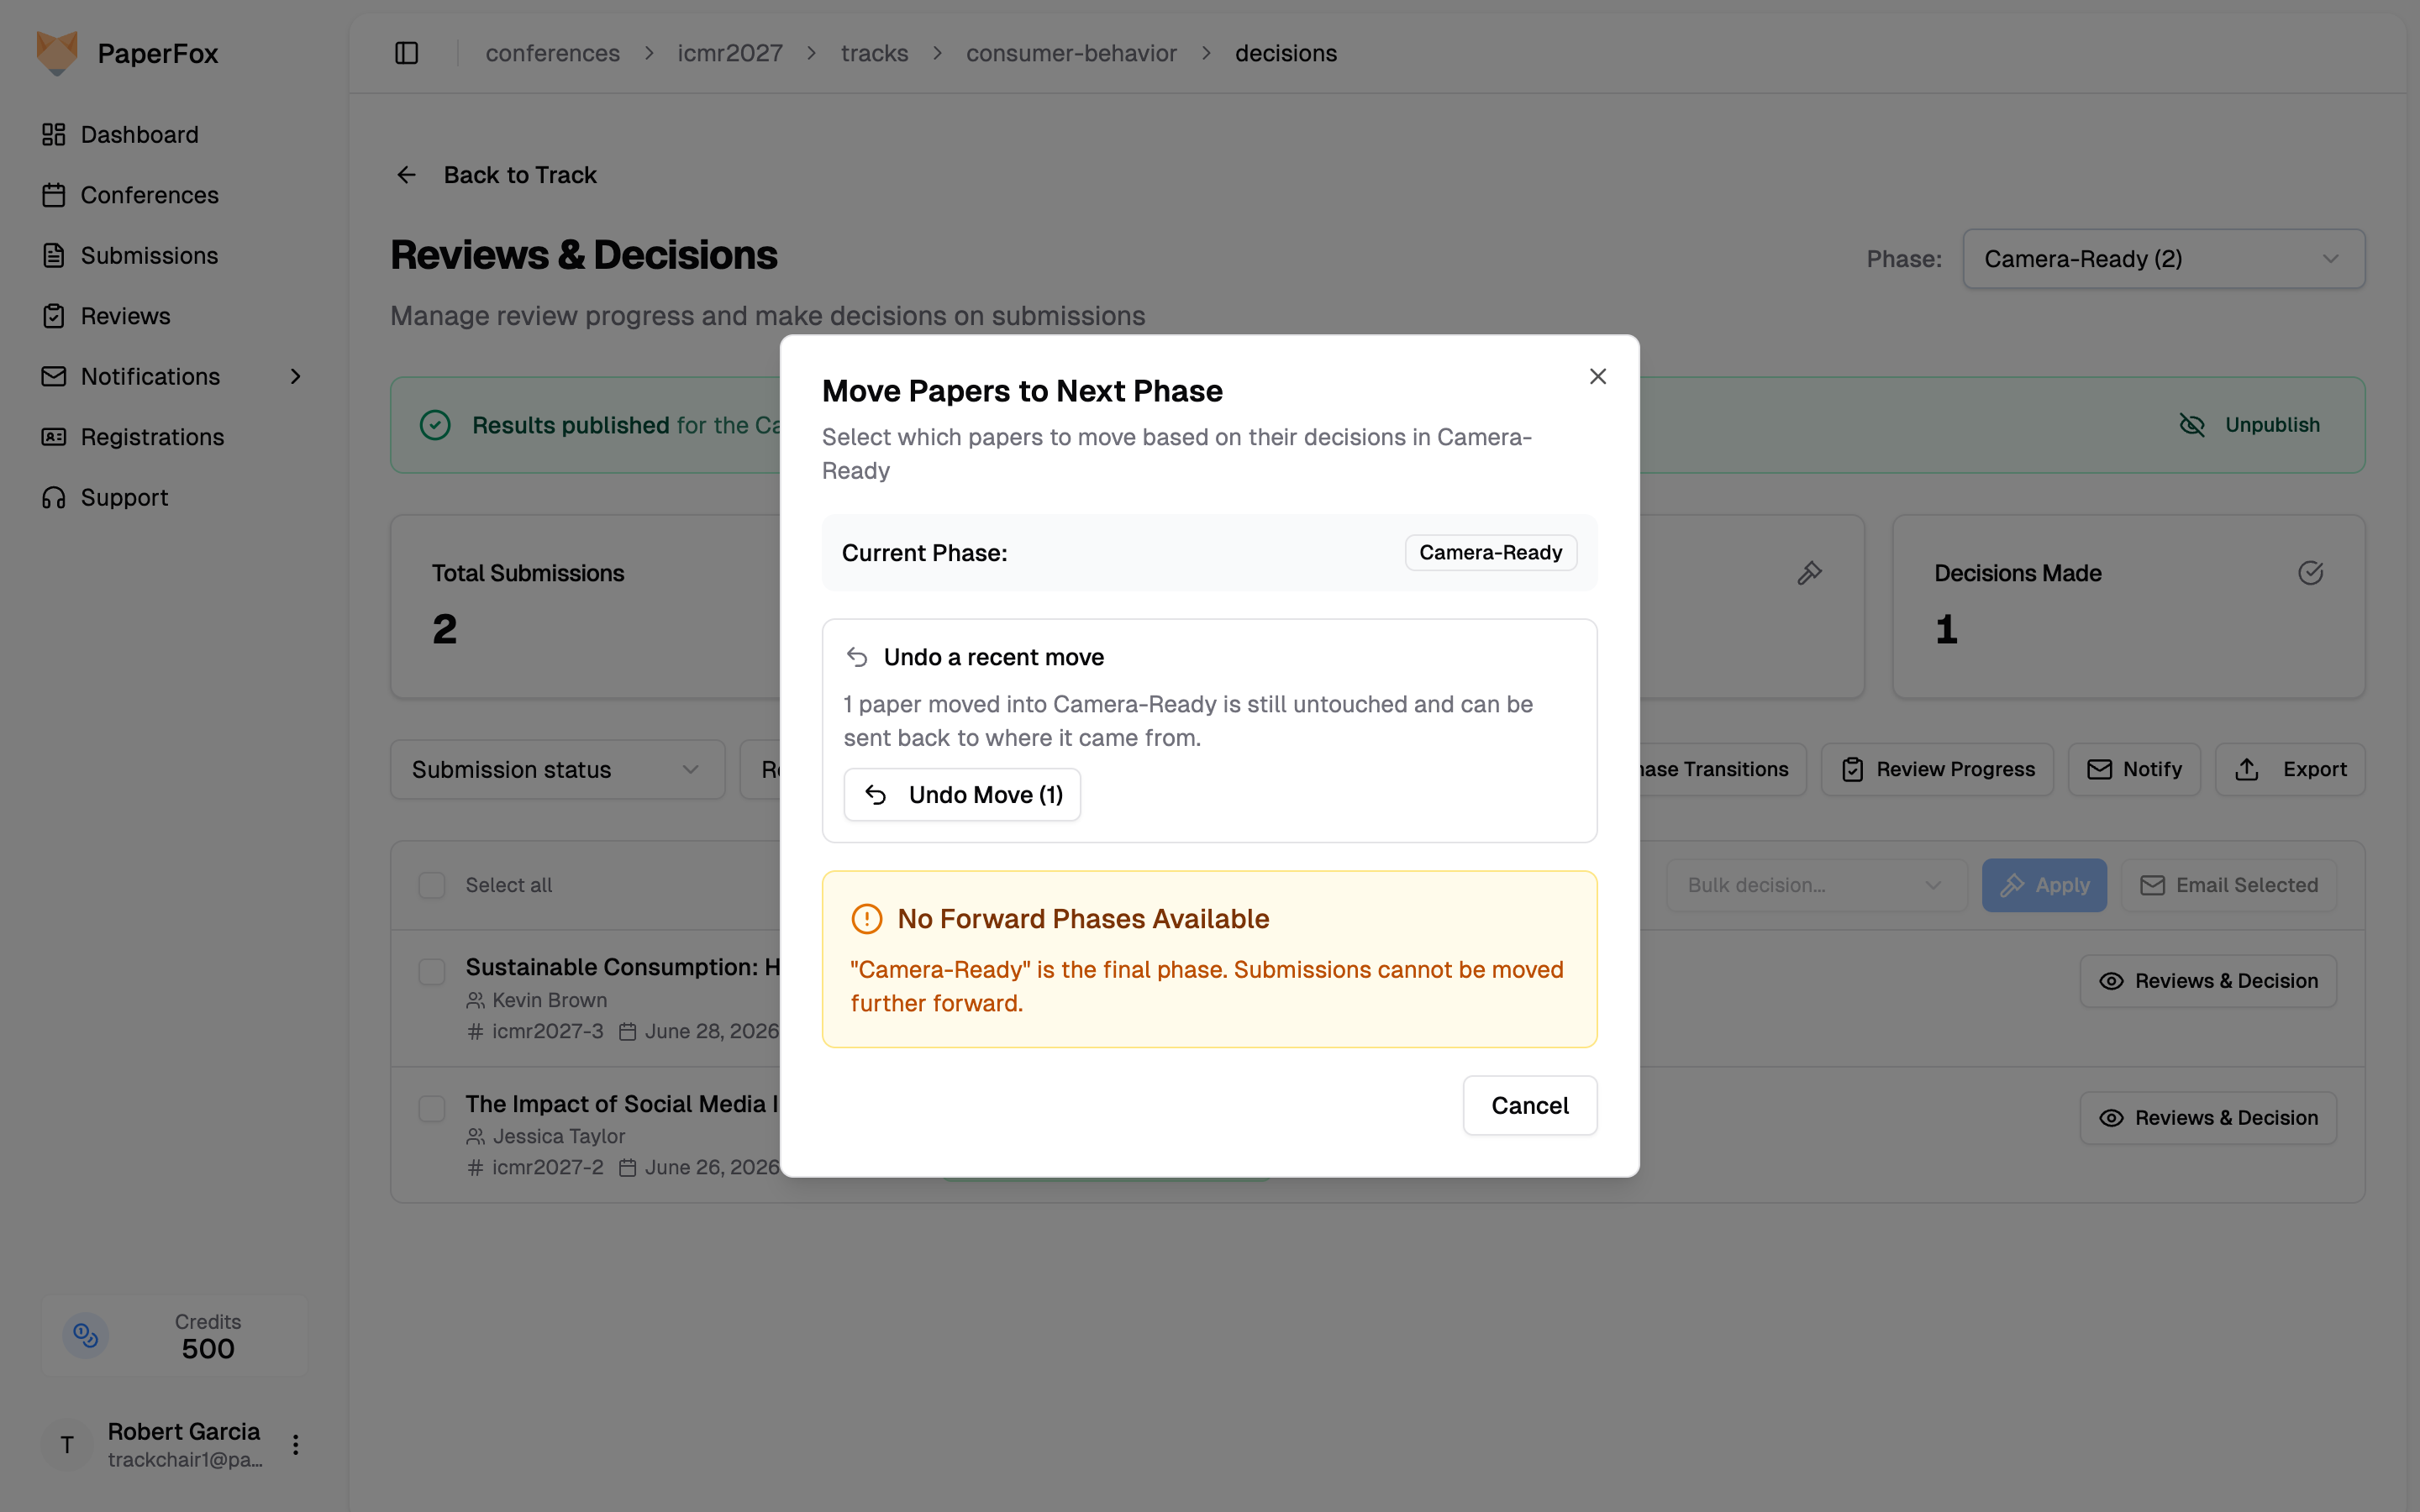 ### What Happens After Submissions Are Moved
- **Authors** can submit in the new phase right away. If a revision deadline is set on the destination phase, it appears in the sidebar of their submission page.
- **Reviewers** can be assigned fresh reviews for submissions in the new phase.
- A move can be **undone** while the new phase is untouched (see below). Once anyone acts in the new phase — an assignment, review, decision, or comment — the move is permanent.
### Example Workflow
```
Phase 1: Initial Submission
- Authors submit their work
- Reviews are collected
- Chair makes decisions (Accept / Revision Required / Reject)
Chair opens Phase Transitions and:
→ Moves "Revision Required" submissions to Phase 2 (Revision)
→ Moves "Accept" submissions to Phase 3 (Camera Ready)
→ Rejected submissions remain in Phase 1; no further action needed
Phase 2: Revision
- Authors revise and resubmit (revision deadline visible on their page)
- Chair assigns new reviews or re-reviews the revised version
- Chair makes final decisions
Chair can then:
→ Move accepted submissions to Phase 3 (Camera Ready)
→ Keep submissions needing further rework in Phase 2 — record a new
decision and extend the revision deadline; decisions are per-phase
Phase 3: Camera Ready
- Authors upload their final publication-ready version
- Ready for proceedings
```
> **Tip**: You can run Phase Transitions multiple times. Move one decision group first (e.g. "Revision Required"), then open it again to move another group (e.g. "Accept"). Each run is independent.
---
# Configure Track-level Review Forms
URL: https://paperfox.ai/docs/track-chairs/configure-track-review-forms
Description: Guide for track chairs to customize review forms for submission evaluations
Track chairs can customize review forms to match their evaluation criteria and review process. The review form builder provides the same interface as submission forms but focuses on reviewer evaluation fields.
### What Happens After Submissions Are Moved
- **Authors** can submit in the new phase right away. If a revision deadline is set on the destination phase, it appears in the sidebar of their submission page.
- **Reviewers** can be assigned fresh reviews for submissions in the new phase.
- A move can be **undone** while the new phase is untouched (see below). Once anyone acts in the new phase — an assignment, review, decision, or comment — the move is permanent.
### Example Workflow
```
Phase 1: Initial Submission
- Authors submit their work
- Reviews are collected
- Chair makes decisions (Accept / Revision Required / Reject)
Chair opens Phase Transitions and:
→ Moves "Revision Required" submissions to Phase 2 (Revision)
→ Moves "Accept" submissions to Phase 3 (Camera Ready)
→ Rejected submissions remain in Phase 1; no further action needed
Phase 2: Revision
- Authors revise and resubmit (revision deadline visible on their page)
- Chair assigns new reviews or re-reviews the revised version
- Chair makes final decisions
Chair can then:
→ Move accepted submissions to Phase 3 (Camera Ready)
→ Keep submissions needing further rework in Phase 2 — record a new
decision and extend the revision deadline; decisions are per-phase
Phase 3: Camera Ready
- Authors upload their final publication-ready version
- Ready for proceedings
```
> **Tip**: You can run Phase Transitions multiple times. Move one decision group first (e.g. "Revision Required"), then open it again to move another group (e.g. "Accept"). Each run is independent.
---
# Configure Track-level Review Forms
URL: https://paperfox.ai/docs/track-chairs/configure-track-review-forms
Description: Guide for track chairs to customize review forms for submission evaluations
Track chairs can customize review forms to match their evaluation criteria and review process. The review form builder provides the same interface as submission forms but focuses on reviewer evaluation fields.
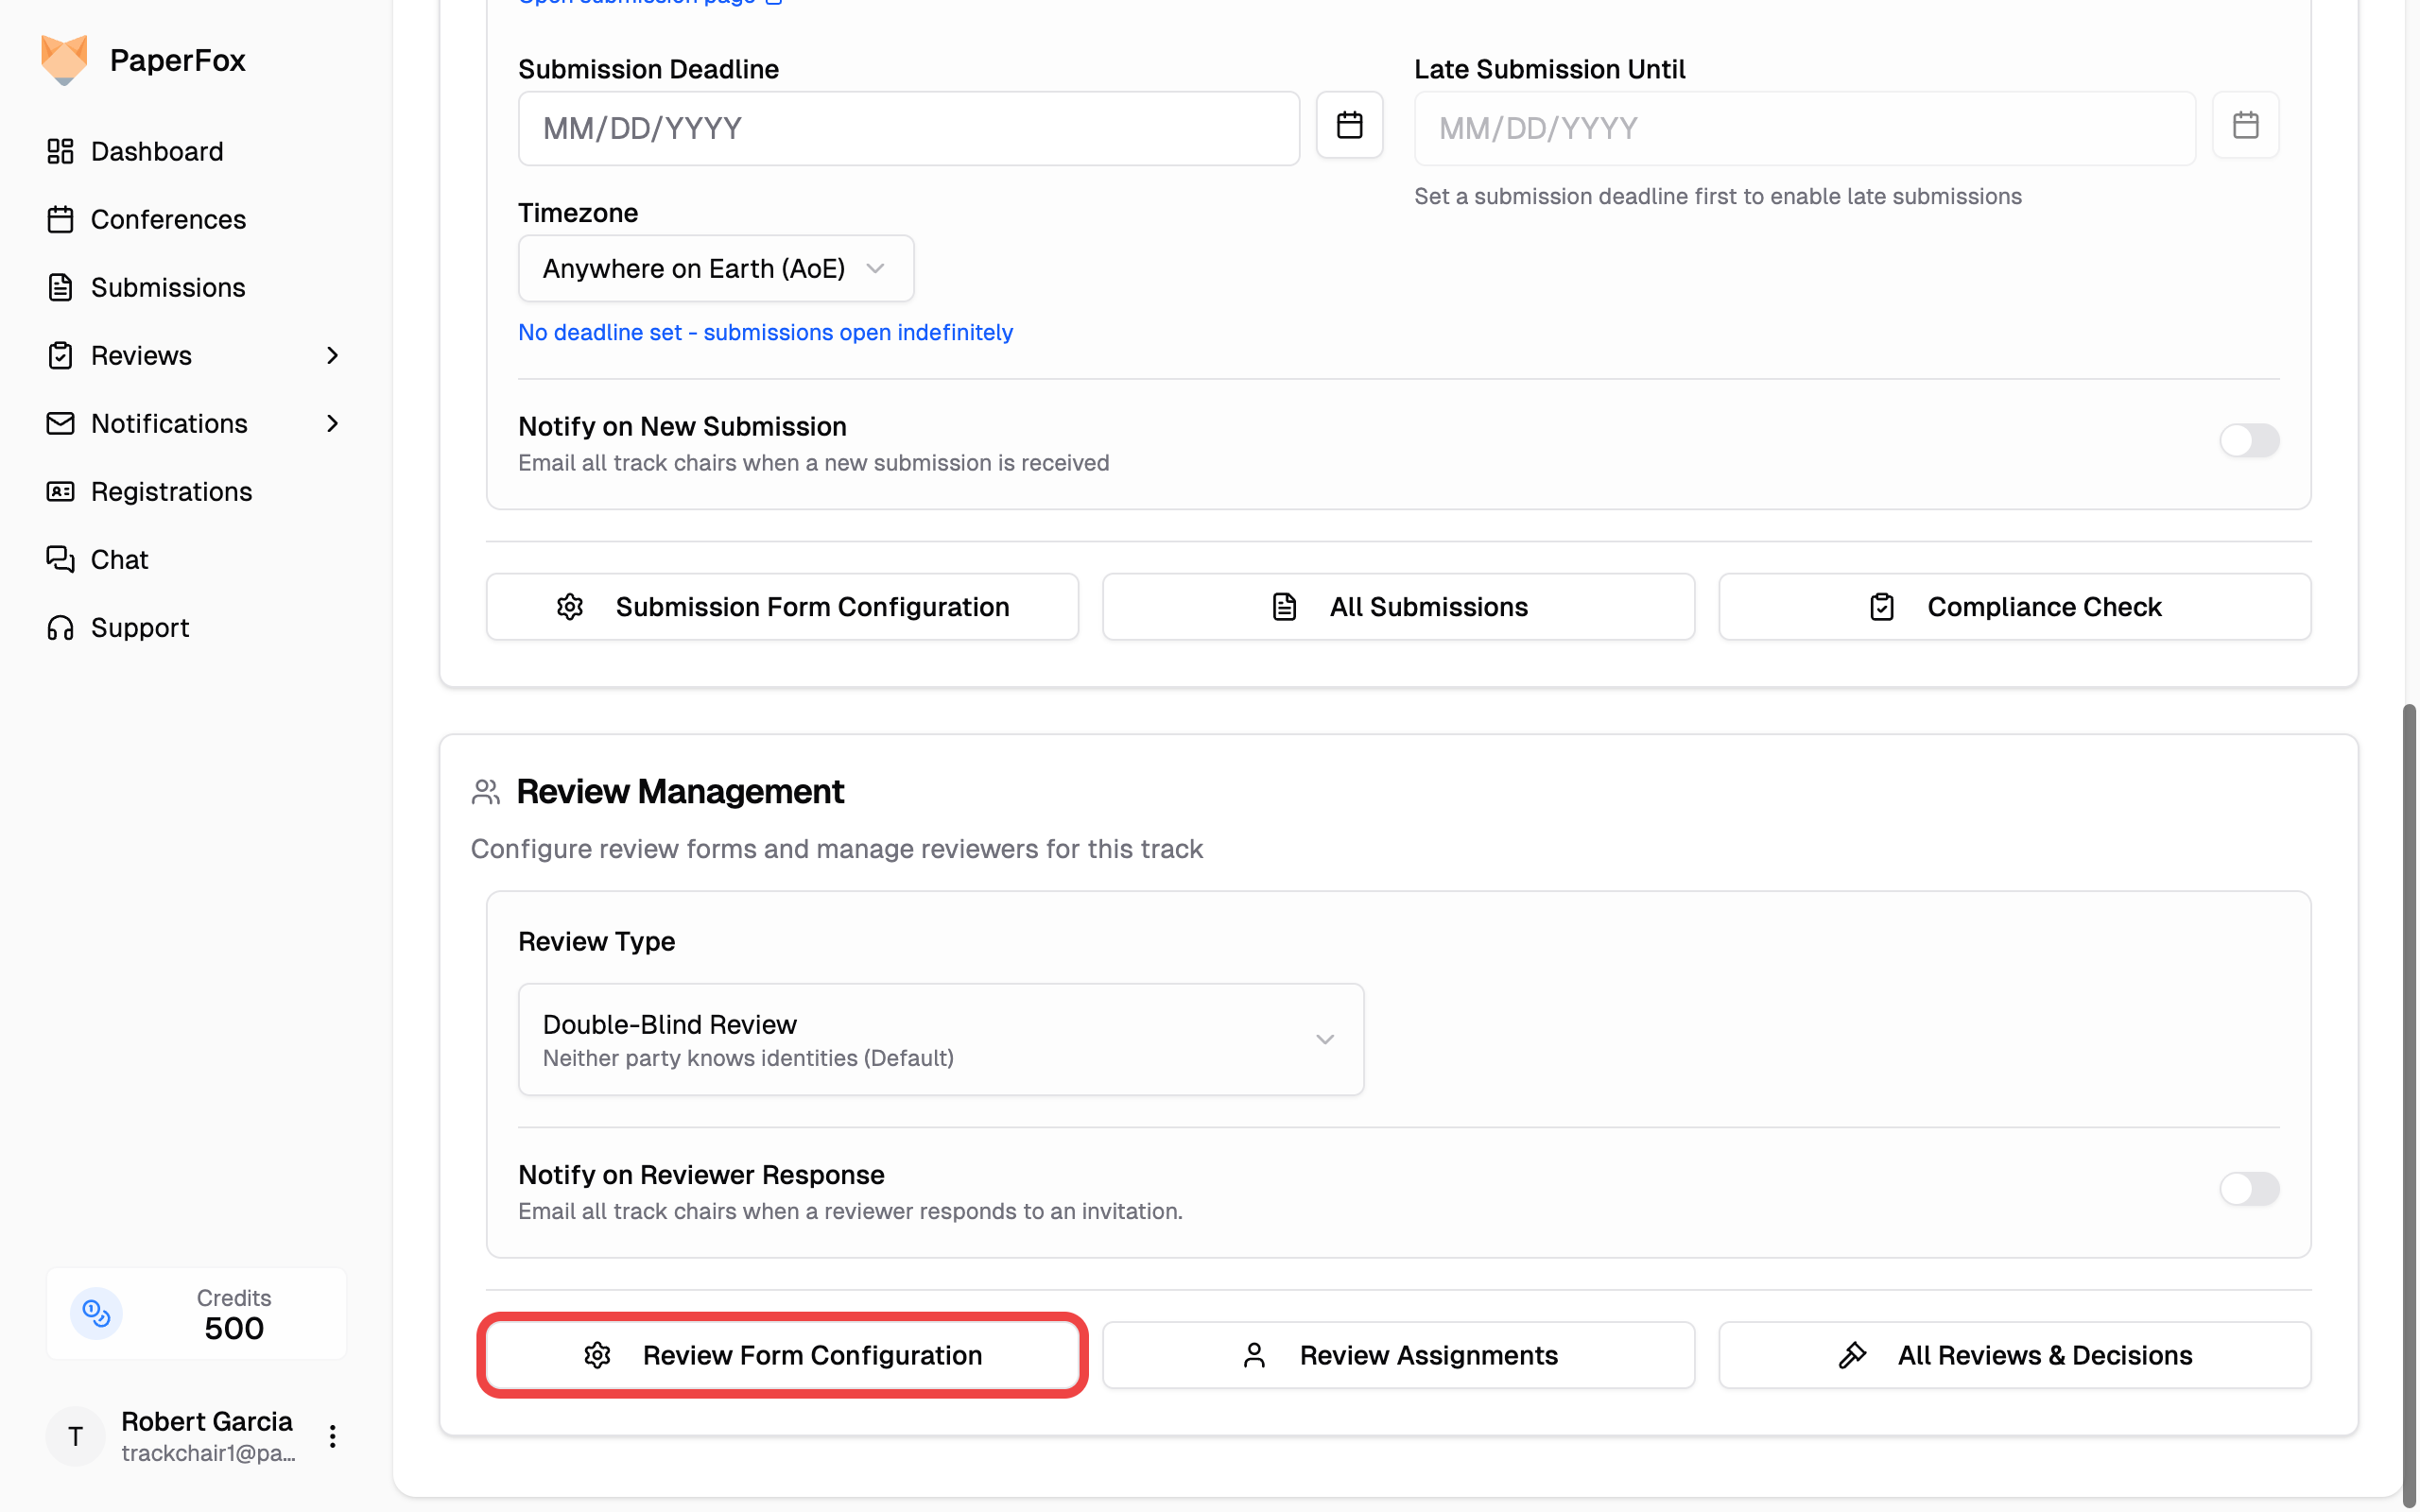 ## Form Builder
The builder lists the form the way a reviewer meets it, with a line above telling you how many questions that adds up to.
Questions are grouped by where they come from:
- **From the conference** — defaults set by the conference chair (Overall Evaluation, Reviewer Confidence, and so on), showing the ones that apply to the phase you're viewing. Read-only here; conference chairs see an **"Edit conference forms"** link on this group.
- **Added for this track** — the questions you own. Use **"Add Field"** to create one, drag to reorder, or click the edit icon to modify.
## Form Builder
The builder lists the form the way a reviewer meets it, with a line above telling you how many questions that adds up to.
Questions are grouped by where they come from:
- **From the conference** — defaults set by the conference chair (Overall Evaluation, Reviewer Confidence, and so on), showing the ones that apply to the phase you're viewing. Read-only here; conference chairs see an **"Edit conference forms"** link on this group.
- **Added for this track** — the questions you own. Use **"Add Field"** to create one, drag to reorder, or click the edit icon to modify.
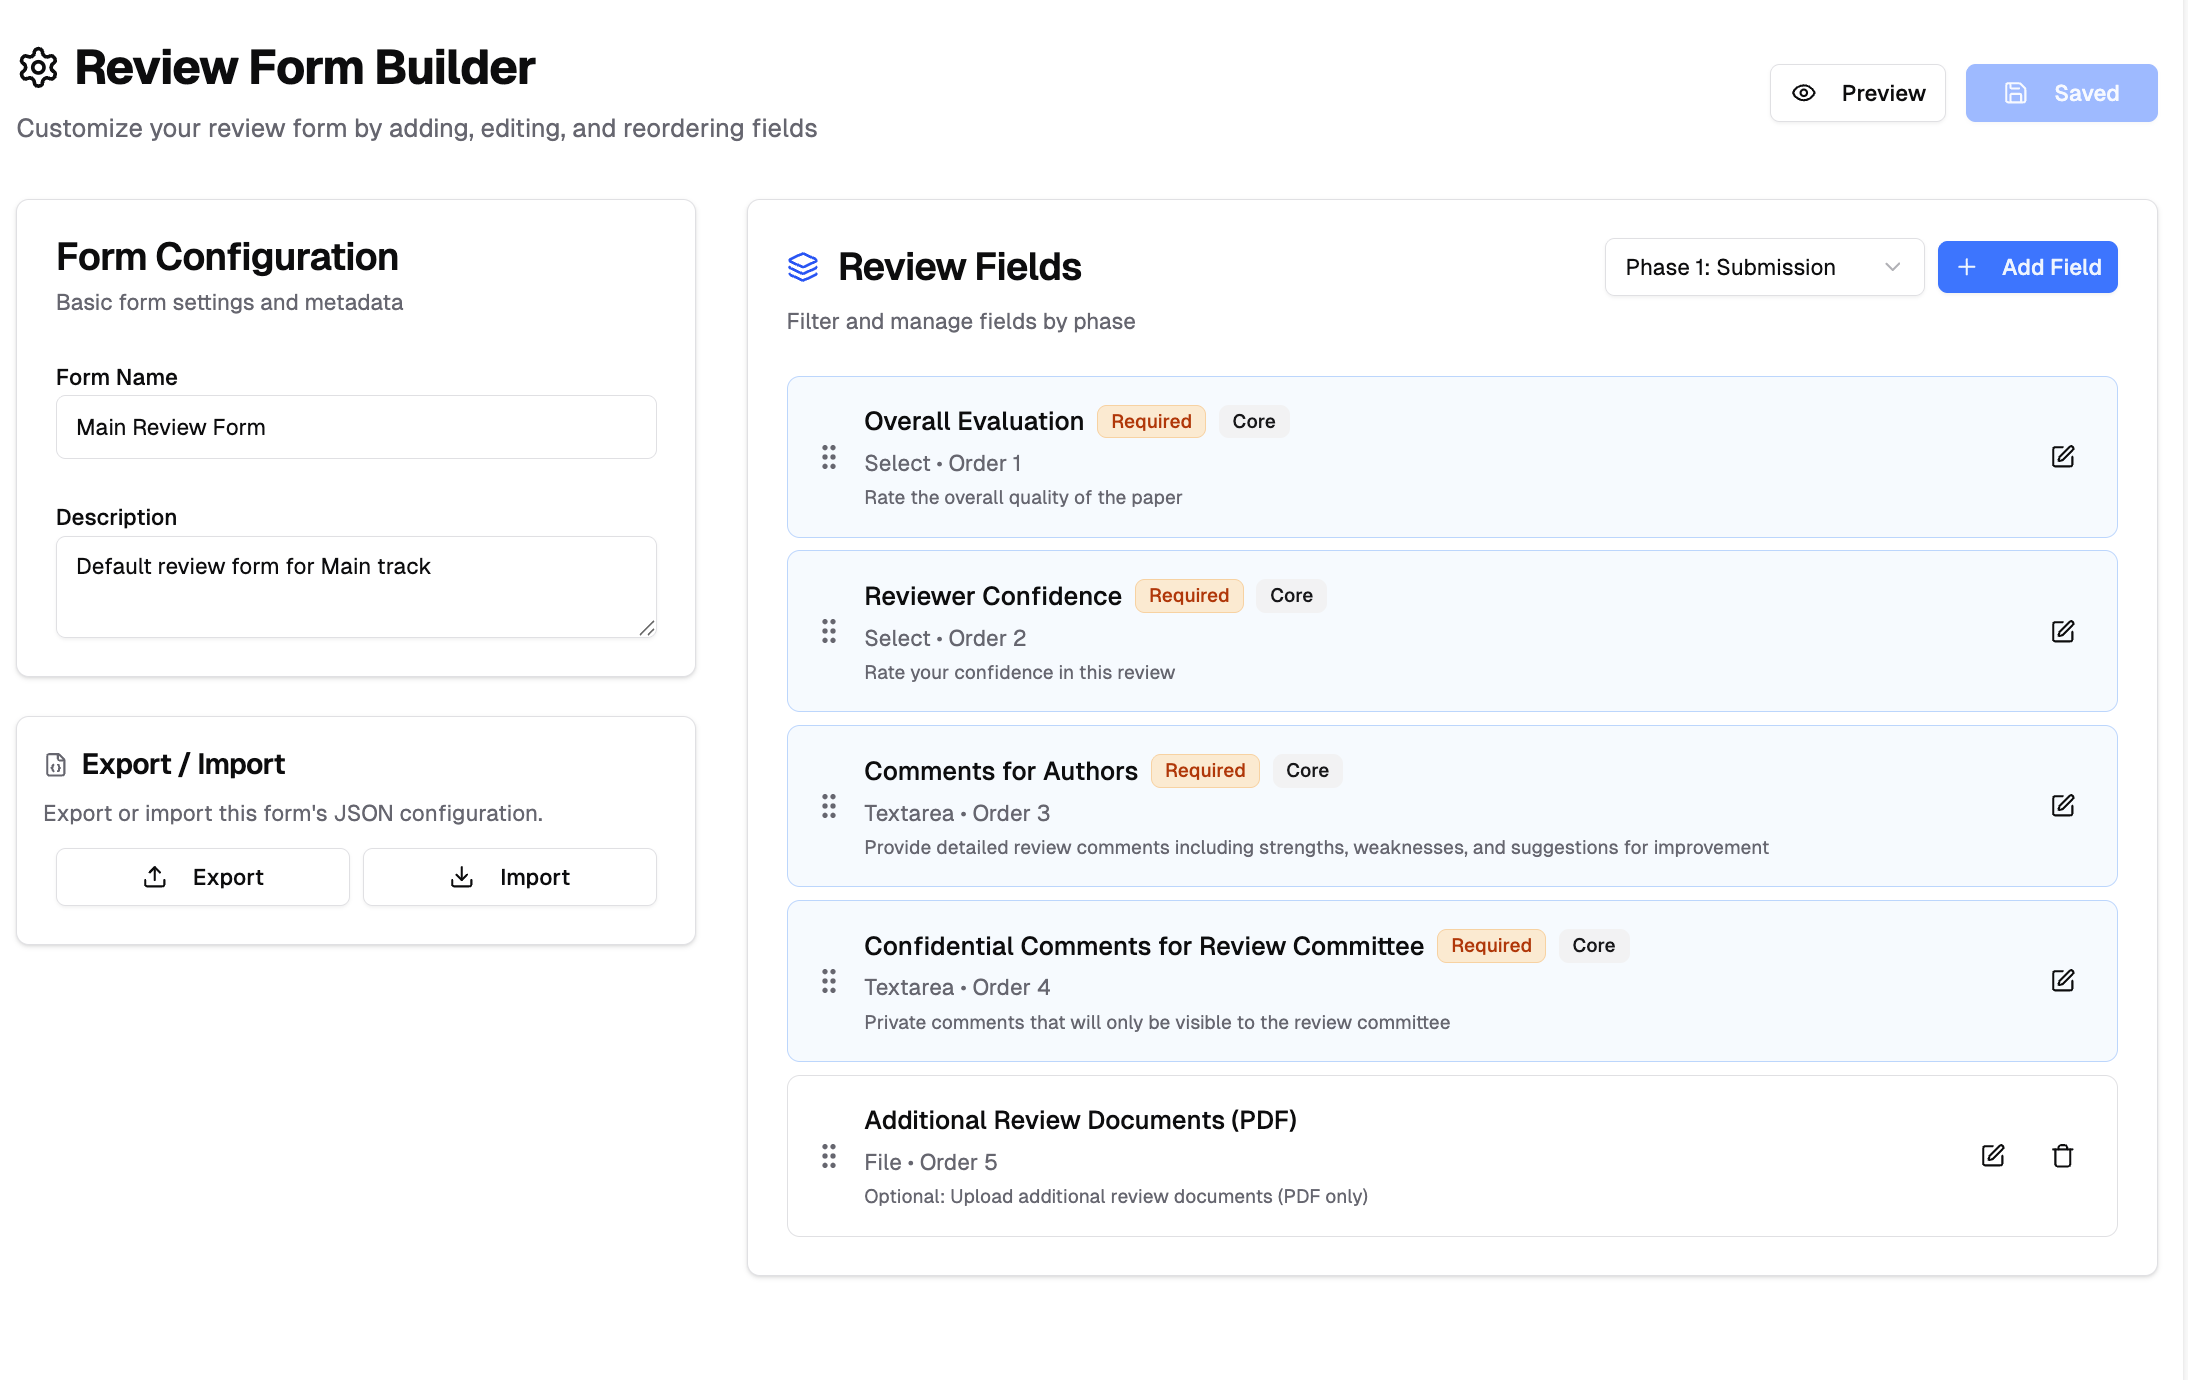 ## Review Deadlines
Configure review timing and deadlines for your track:
- **Review Assignment**: Set when reviewers are assigned to submissions
- **Review Deadline**: Final deadline for completing reviews
- **Review Reminders**: Automatic reminders sent to reviewers before deadline
## Core Review Fields
Review forms include essential fields that cannot be deleted but can be edited:
- **Overall Evaluation**: 5-point scale rating (Strong Reject to Strong Accept)
- **Reviewer Confidence**: Confidence level in the review (1-5 scale)
- **Comments for Authors**: Detailed feedback visible to authors
- **Confidential Comments**: Private comments for review committee only
## What Authors See
When authors view their reviews after the chair releases the phase's results, the system automatically filters what's shown:
| Element | Authors see it? |
|---------|-----------------|
| **Overall Evaluation** (score) | No — always hidden |
| **Reviewer Confidence** | No — always hidden |
| **Comments for Authors** | Yes |
| **Confidential Comments** | No — committee only |
| Custom fields | Depends on the field's visibility setting (see below) |
| Reviewer name | Only when the track's review type is **Open**; hidden in Single-Blind and Double-Blind |
| Review timestamps | No — hidden |
## Review Deadlines
Configure review timing and deadlines for your track:
- **Review Assignment**: Set when reviewers are assigned to submissions
- **Review Deadline**: Final deadline for completing reviews
- **Review Reminders**: Automatic reminders sent to reviewers before deadline
## Core Review Fields
Review forms include essential fields that cannot be deleted but can be edited:
- **Overall Evaluation**: 5-point scale rating (Strong Reject to Strong Accept)
- **Reviewer Confidence**: Confidence level in the review (1-5 scale)
- **Comments for Authors**: Detailed feedback visible to authors
- **Confidential Comments**: Private comments for review committee only
## What Authors See
When authors view their reviews after the chair releases the phase's results, the system automatically filters what's shown:
| Element | Authors see it? |
|---------|-----------------|
| **Overall Evaluation** (score) | No — always hidden |
| **Reviewer Confidence** | No — always hidden |
| **Comments for Authors** | Yes |
| **Confidential Comments** | No — committee only |
| Custom fields | Depends on the field's visibility setting (see below) |
| Reviewer name | Only when the track's review type is **Open**; hidden in Single-Blind and Double-Blind |
| Review timestamps | No — hidden |
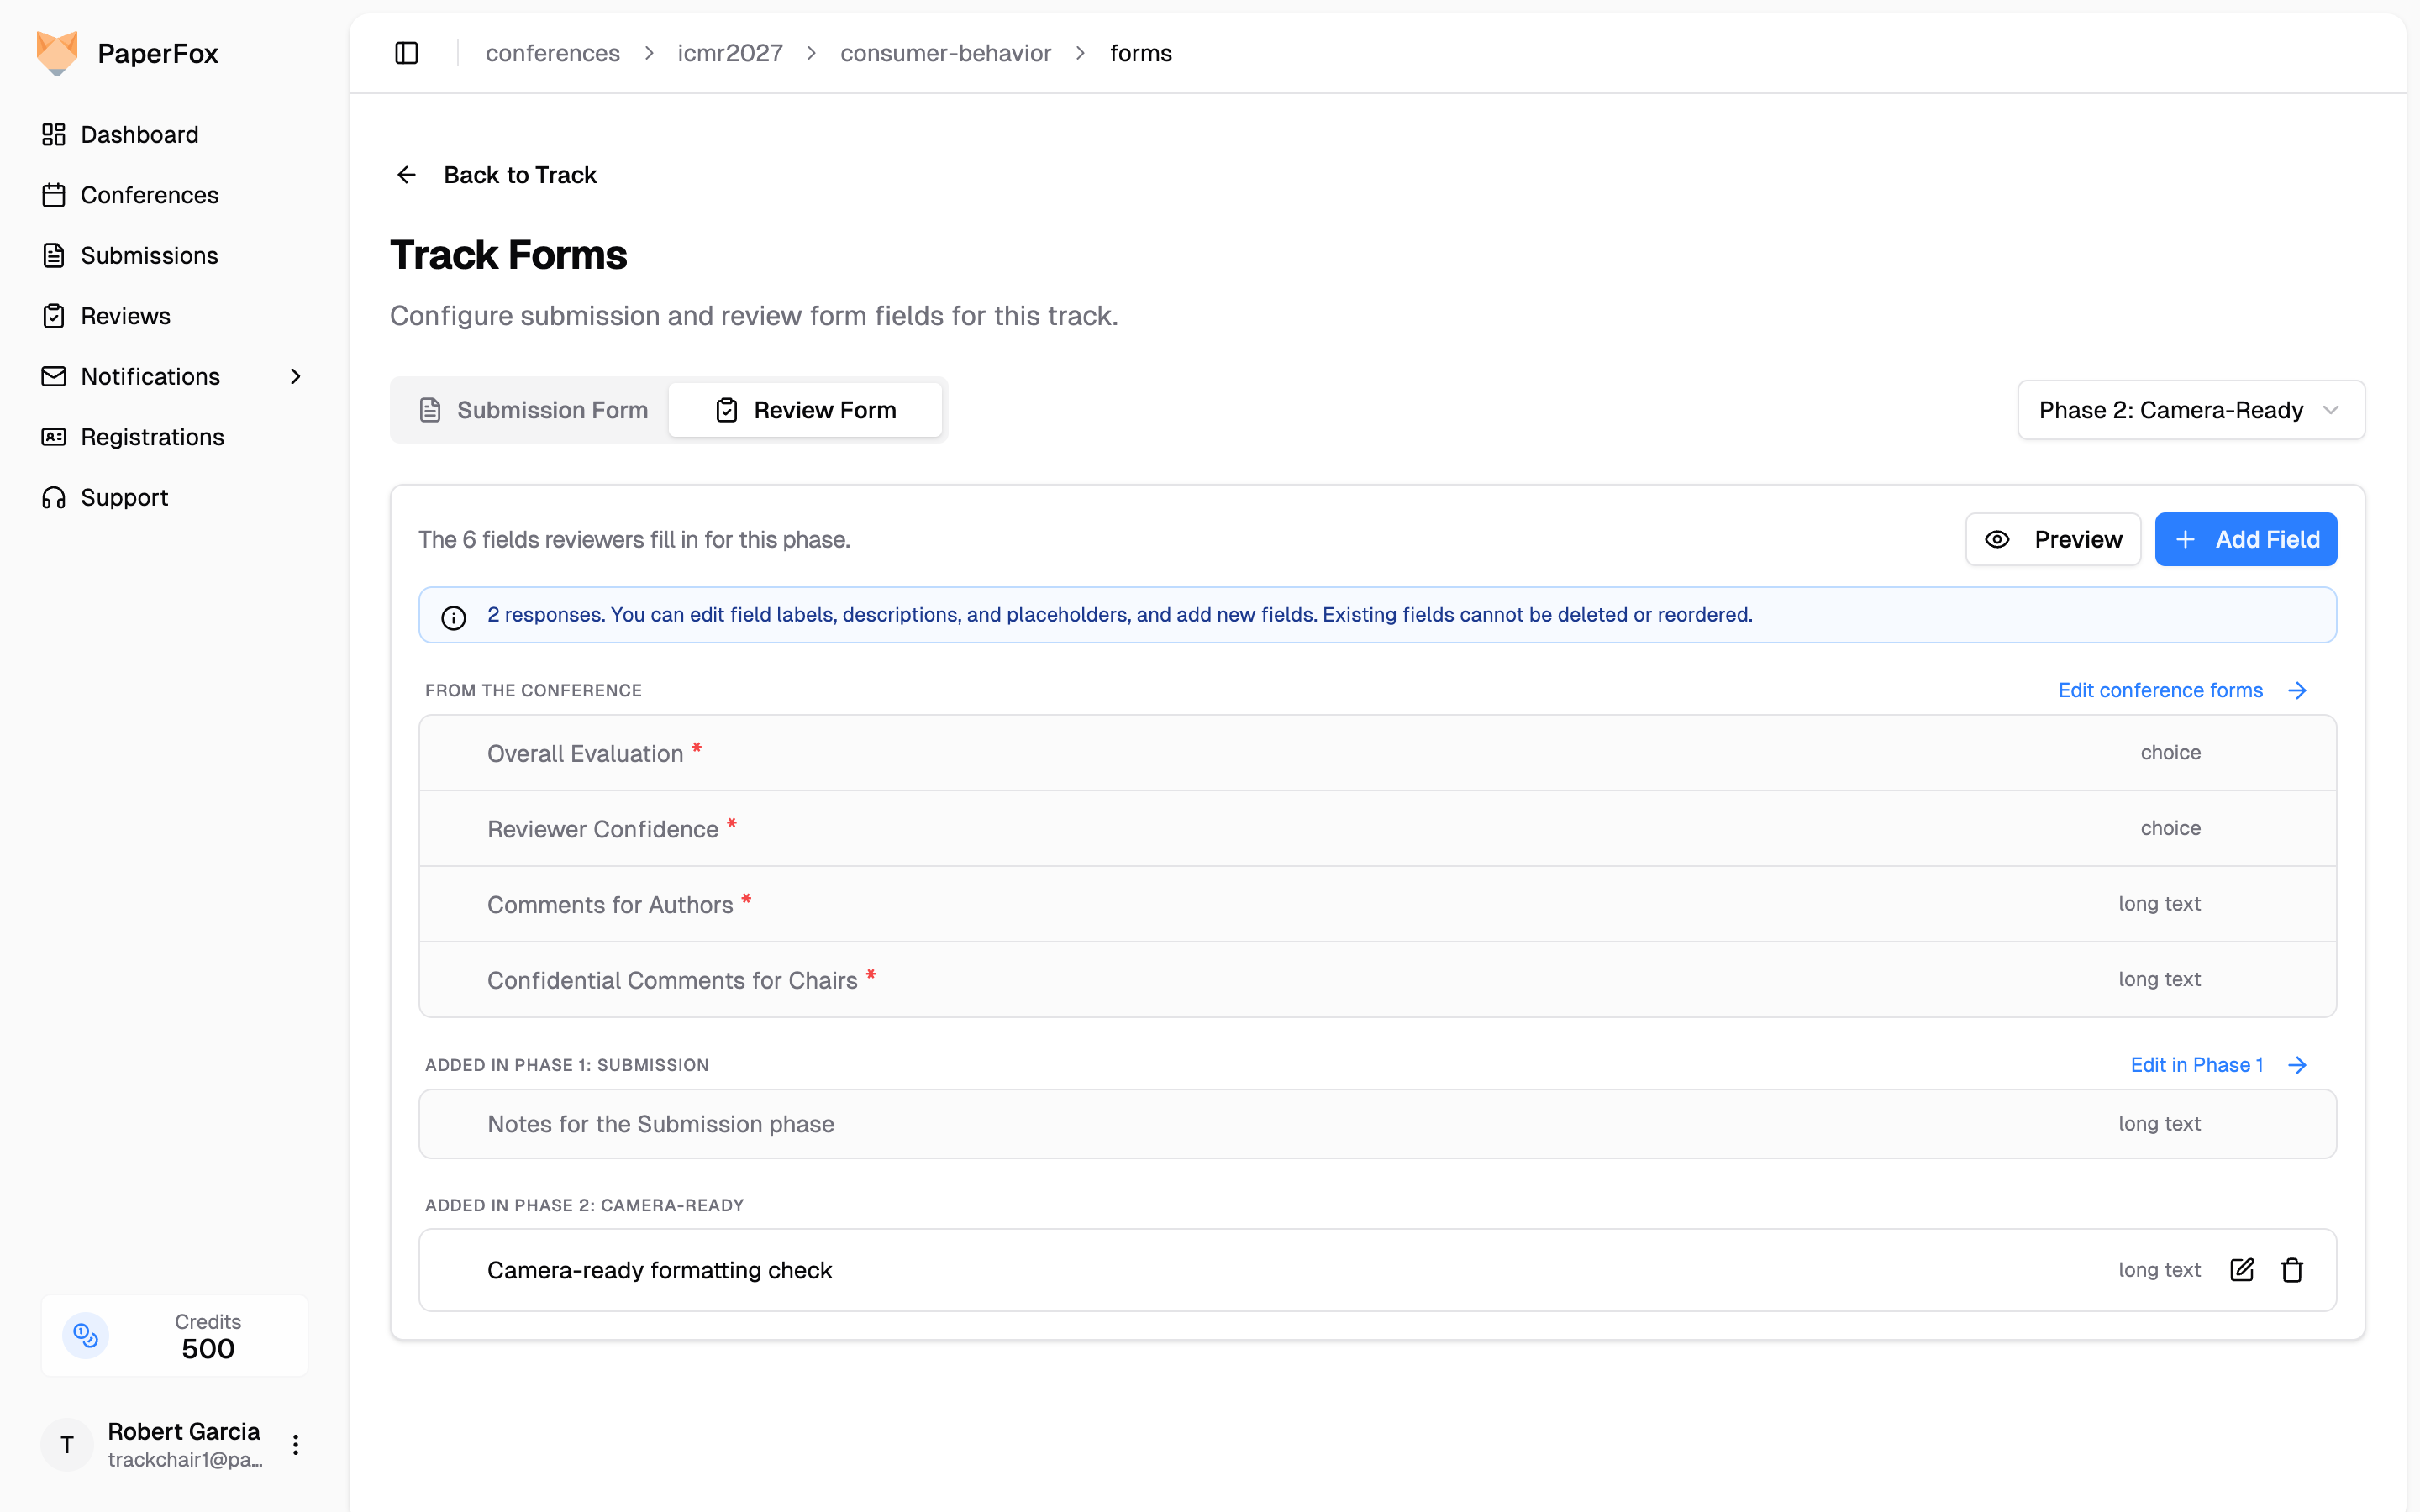 A question tagged to a phase is hidden from reviewers before that phase and appears from that phase onward. Later phases keep the earlier phases' questions:
| Reviewer assigned to | Questions on their form |
|---|---|
| Phase 1 | Conference fields + Phase 1 track questions |
| Phase 2 | Conference fields + Phase 1 + Phase 2 track questions |
Conference-level fields aren't phase-specific — they appear in every phase.
A question tagged to a phase is hidden from reviewers before that phase and appears from that phase onward. Later phases keep the earlier phases' questions:
| Reviewer assigned to | Questions on their form |
|---|---|
| Phase 1 | Conference fields + Phase 1 track questions |
| Phase 2 | Conference fields + Phase 1 + Phase 2 track questions |
Conference-level fields aren't phase-specific — they appear in every phase.
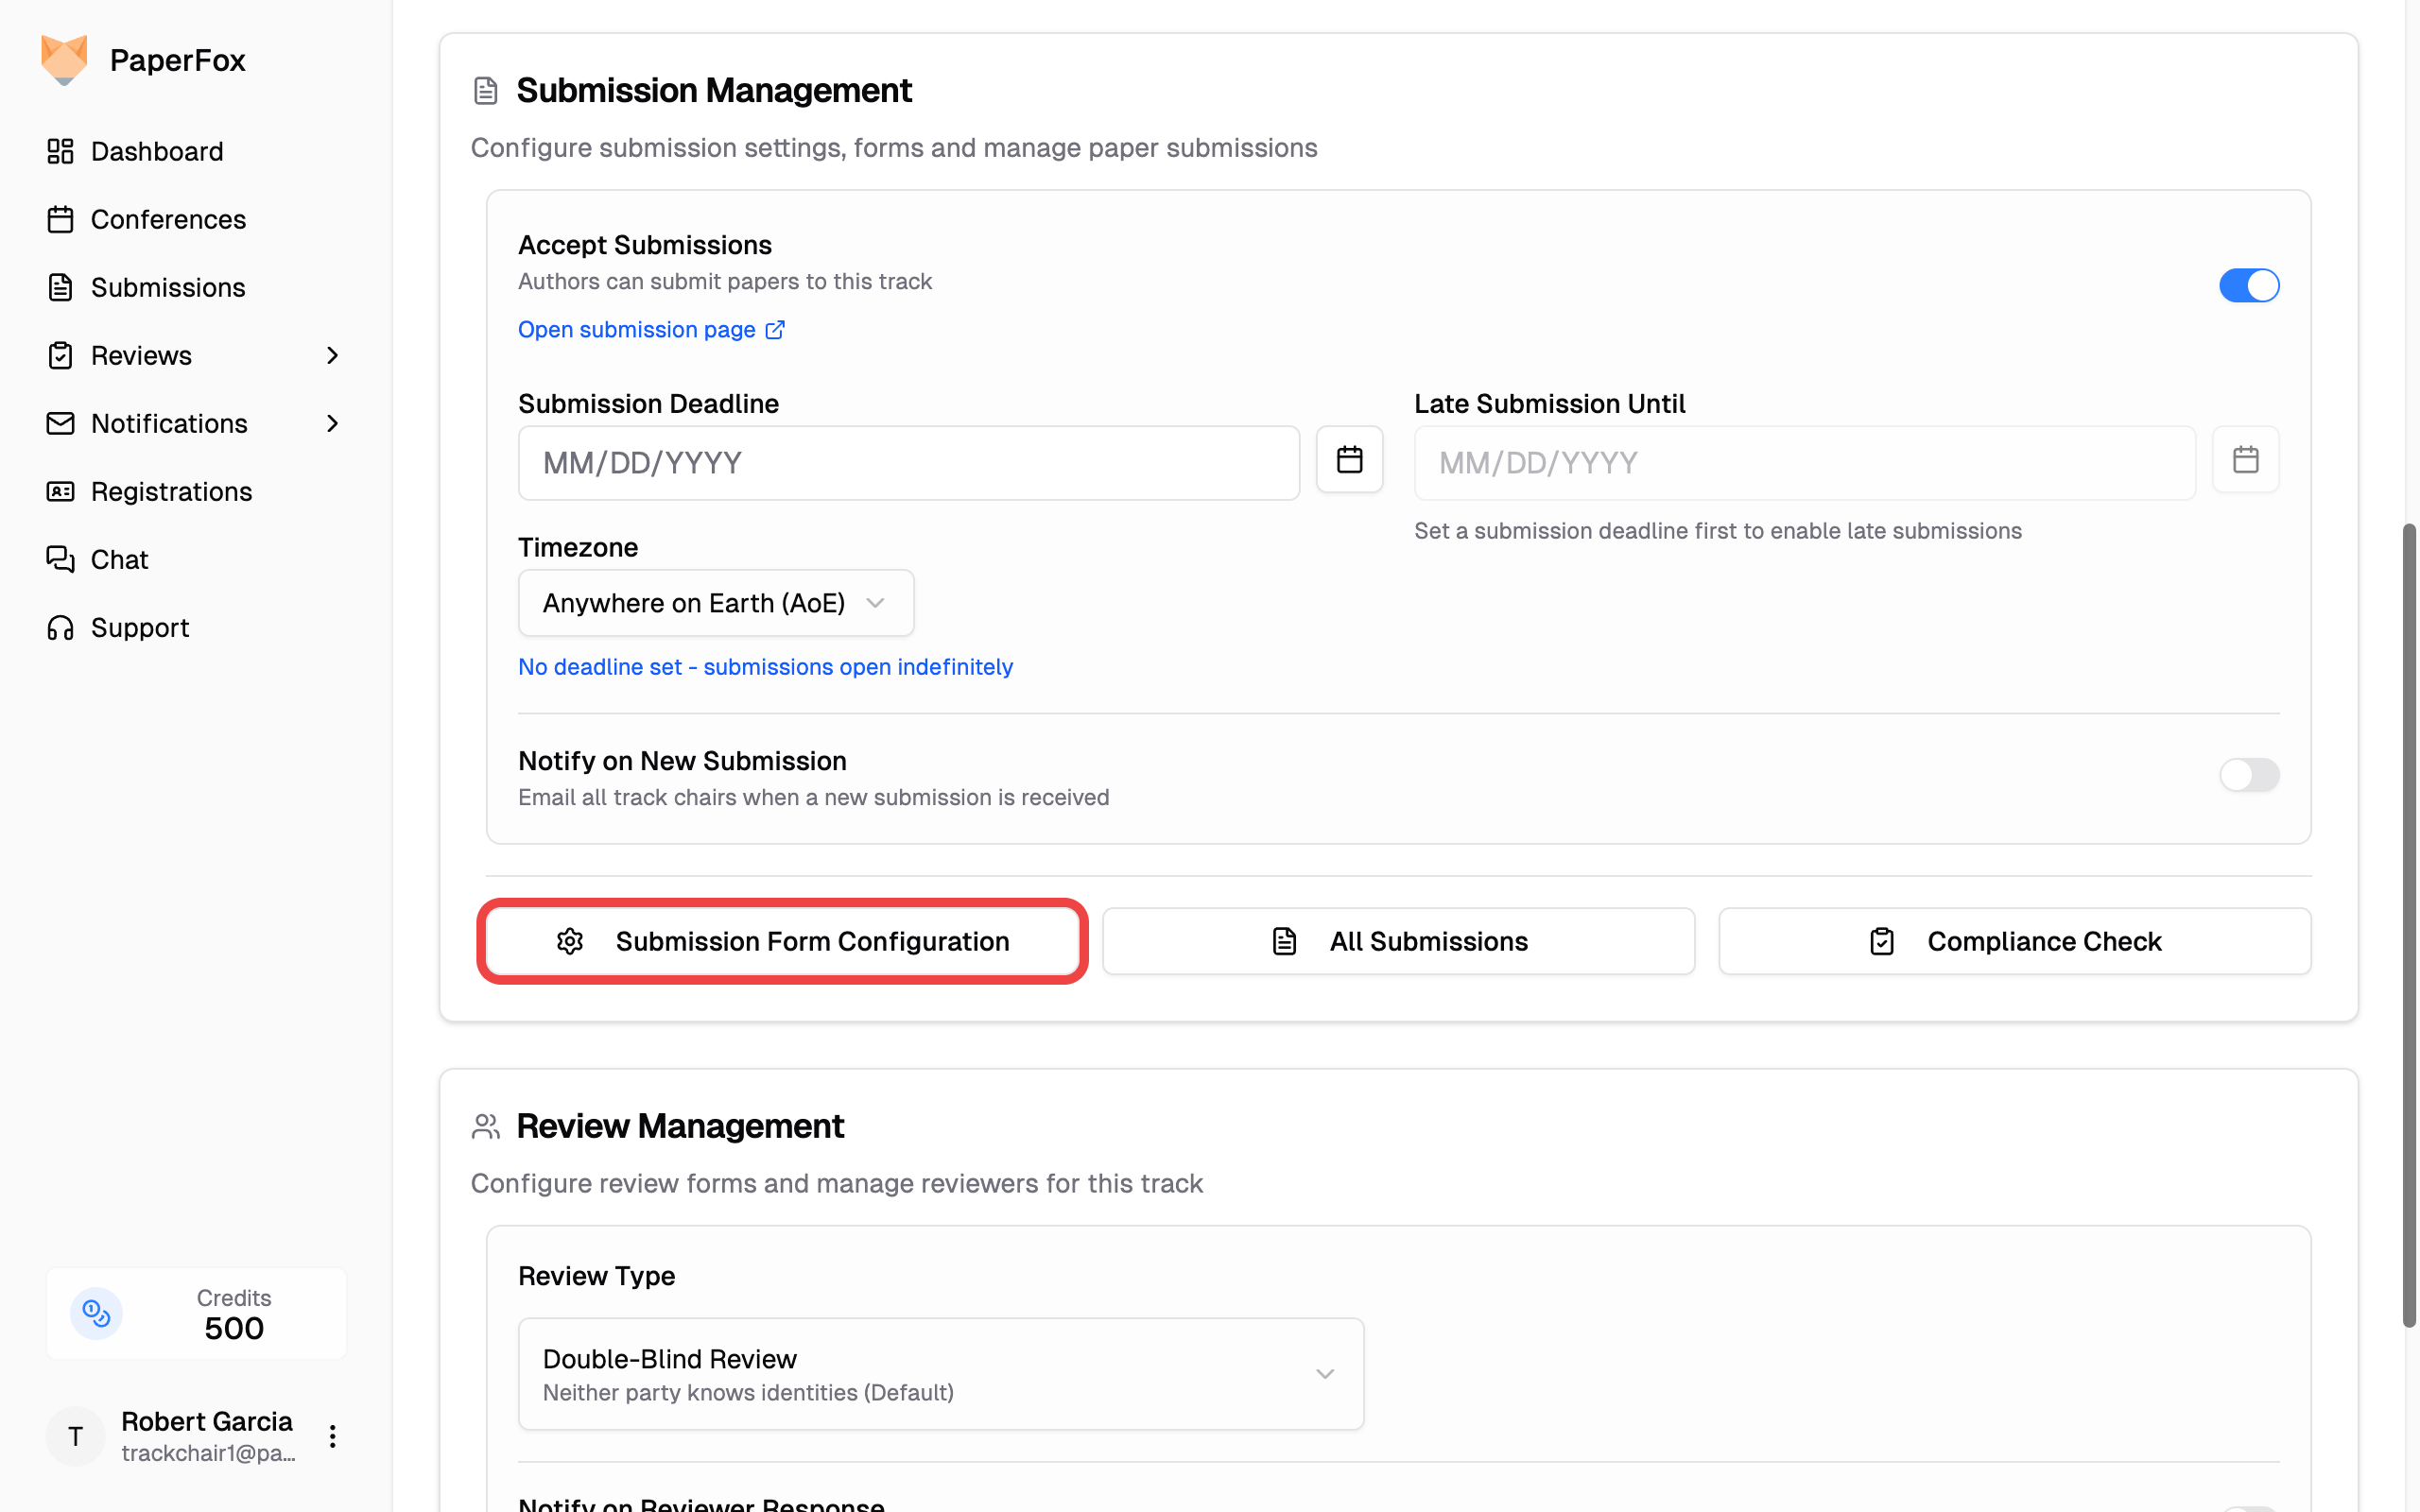 ## Form Builder
The builder lists the form the way an author meets it, in the order they fill it in. A line above the list tells you how many fields that adds up to.
Fields are grouped by where they come from:
- **From the conference** — defaults set by the conference chair (Title, Authors, Abstract, and so on), showing the ones that apply to the phase you're viewing. Read-only here; conference chairs see an **"Edit conference forms"** link on this group.
- **Added for this track** — the fields you own. Use **"Add Field"** to create one, drag to reorder, or click the edit icon to modify.
Each row shows the field's name and the kind of control an author gets — *text*, *long text*, *choice*, *file*. A row with no edit or delete icon is one you manage somewhere else, and its group heading links to where.
## Form Builder
The builder lists the form the way an author meets it, in the order they fill it in. A line above the list tells you how many fields that adds up to.
Fields are grouped by where they come from:
- **From the conference** — defaults set by the conference chair (Title, Authors, Abstract, and so on), showing the ones that apply to the phase you're viewing. Read-only here; conference chairs see an **"Edit conference forms"** link on this group.
- **Added for this track** — the fields you own. Use **"Add Field"** to create one, drag to reorder, or click the edit icon to modify.
Each row shows the field's name and the kind of control an author gets — *text*, *long text*, *choice*, *file*. A row with no edit or delete icon is one you manage somewhere else, and its group heading links to where.
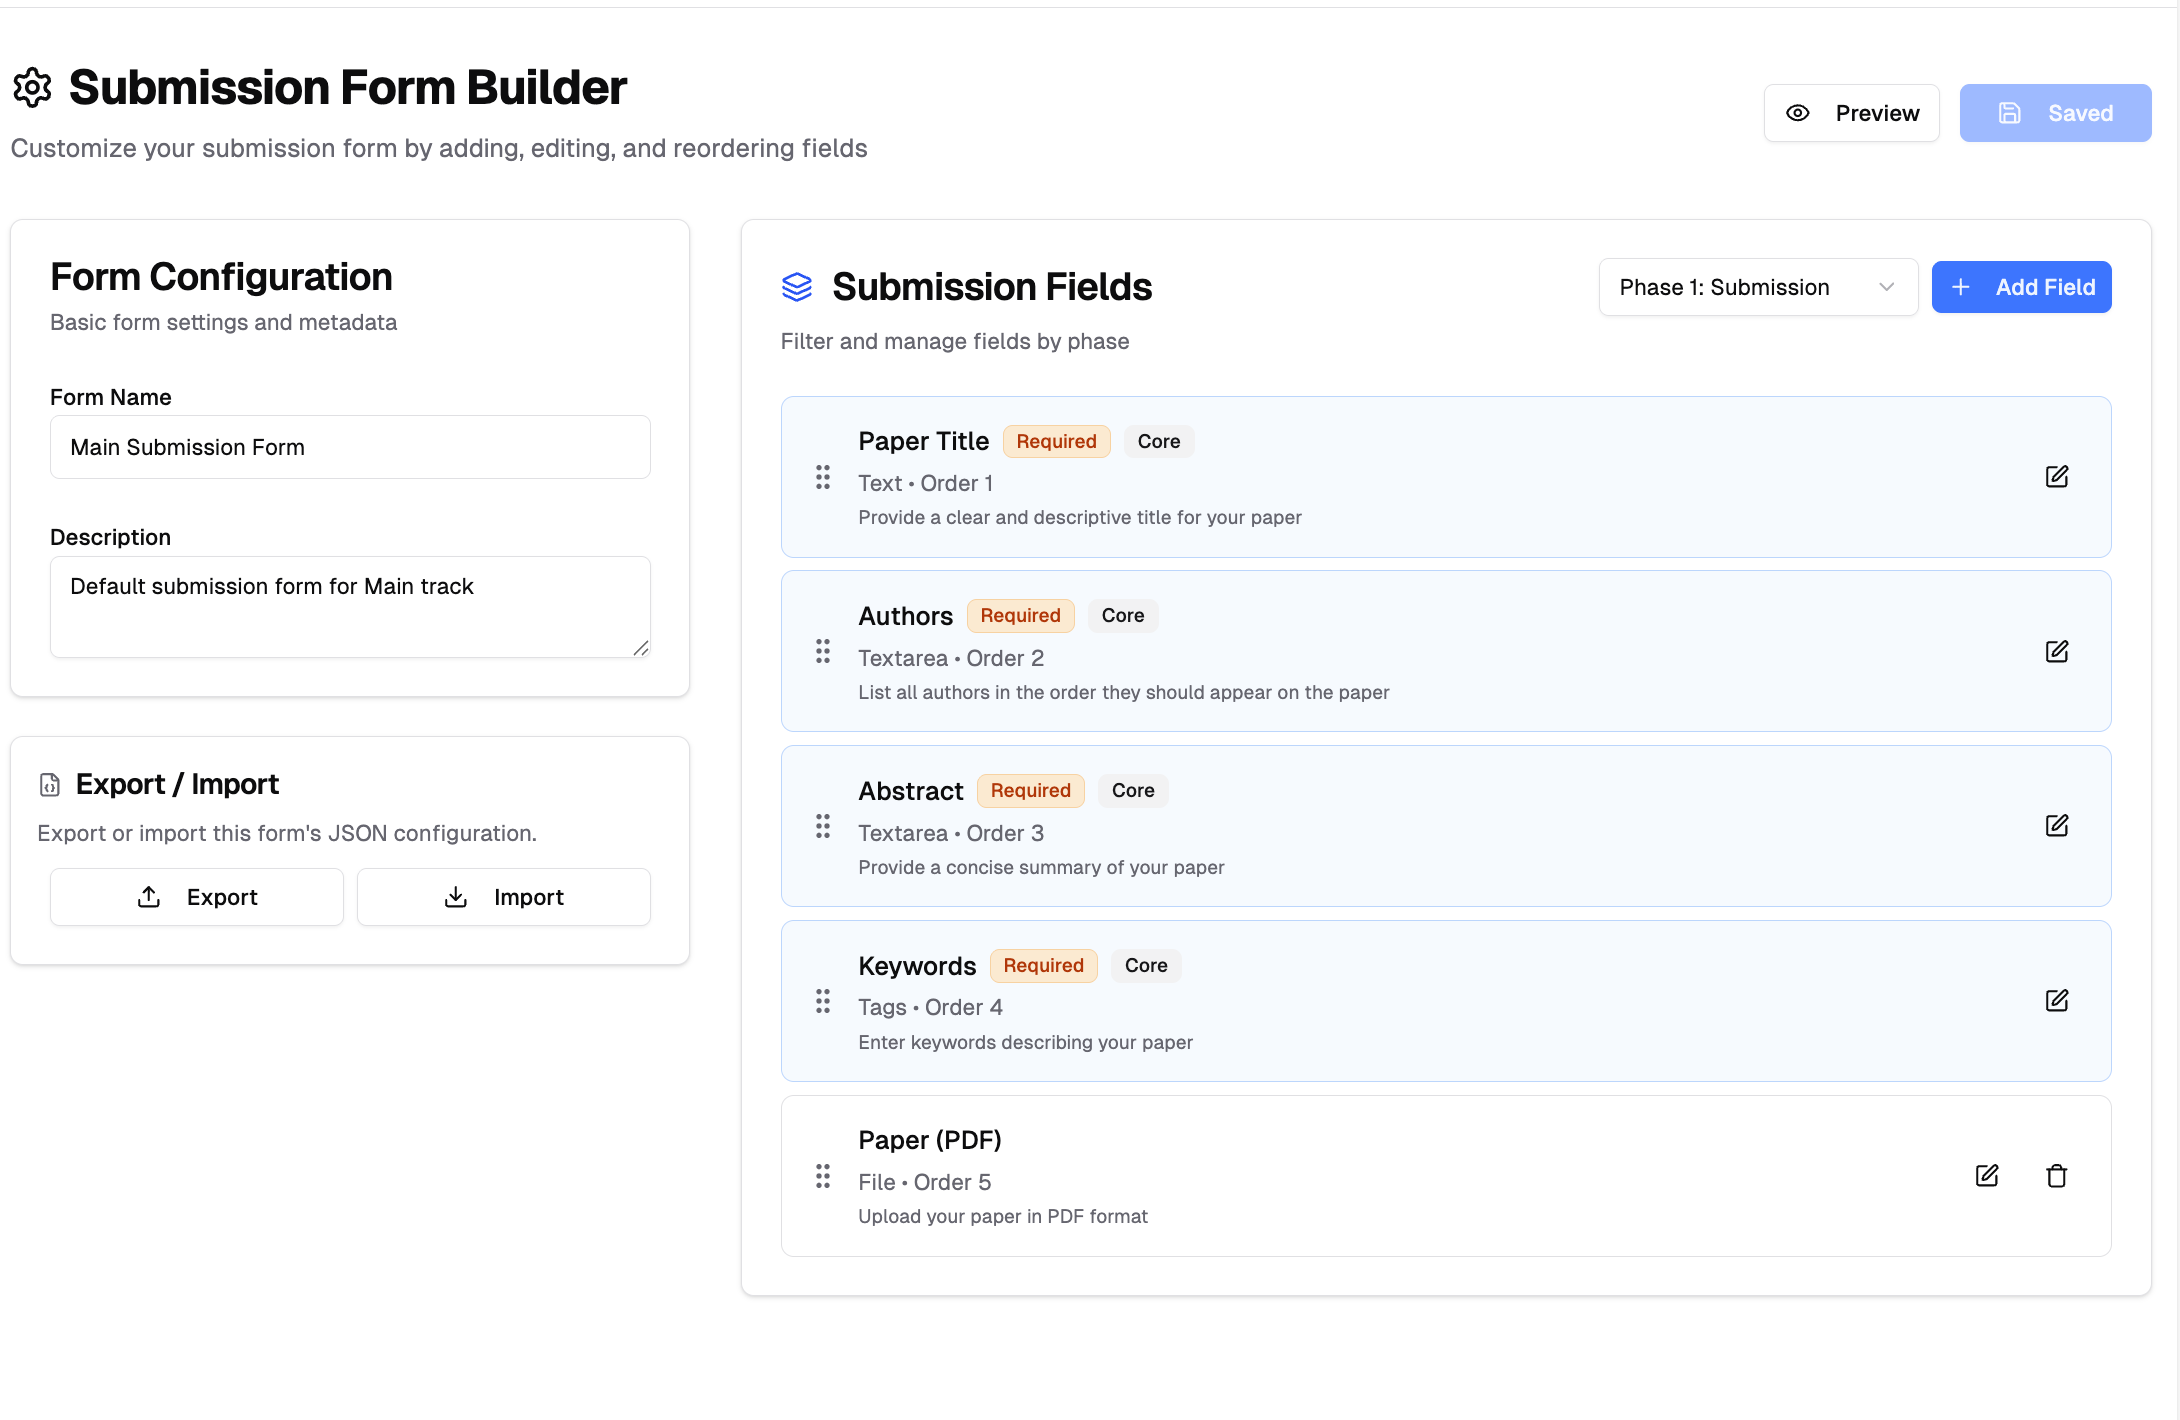 ## Adding Fields
1. Click **"Add Field"** button
2. Select a field type (Text Input, Text Area, Single Choice, Multiple Choice, or File Upload)
3. Configure label, description, and validation rules
### File Upload Fields
File fields have an **Accepted File Types** setting: choose which formats authors can upload — **PDF** (the default), **Word**, **PowerPoint**, or **ZIP**. At least one format must stay selected.
## Adding Fields
1. Click **"Add Field"** button
2. Select a field type (Text Input, Text Area, Single Choice, Multiple Choice, or File Upload)
3. Configure label, description, and validation rules
### File Upload Fields
File fields have an **Accepted File Types** setting: choose which formats authors can upload — **PDF** (the default), **Word**, **PowerPoint**, or **ZIP**. At least one format must stay selected.
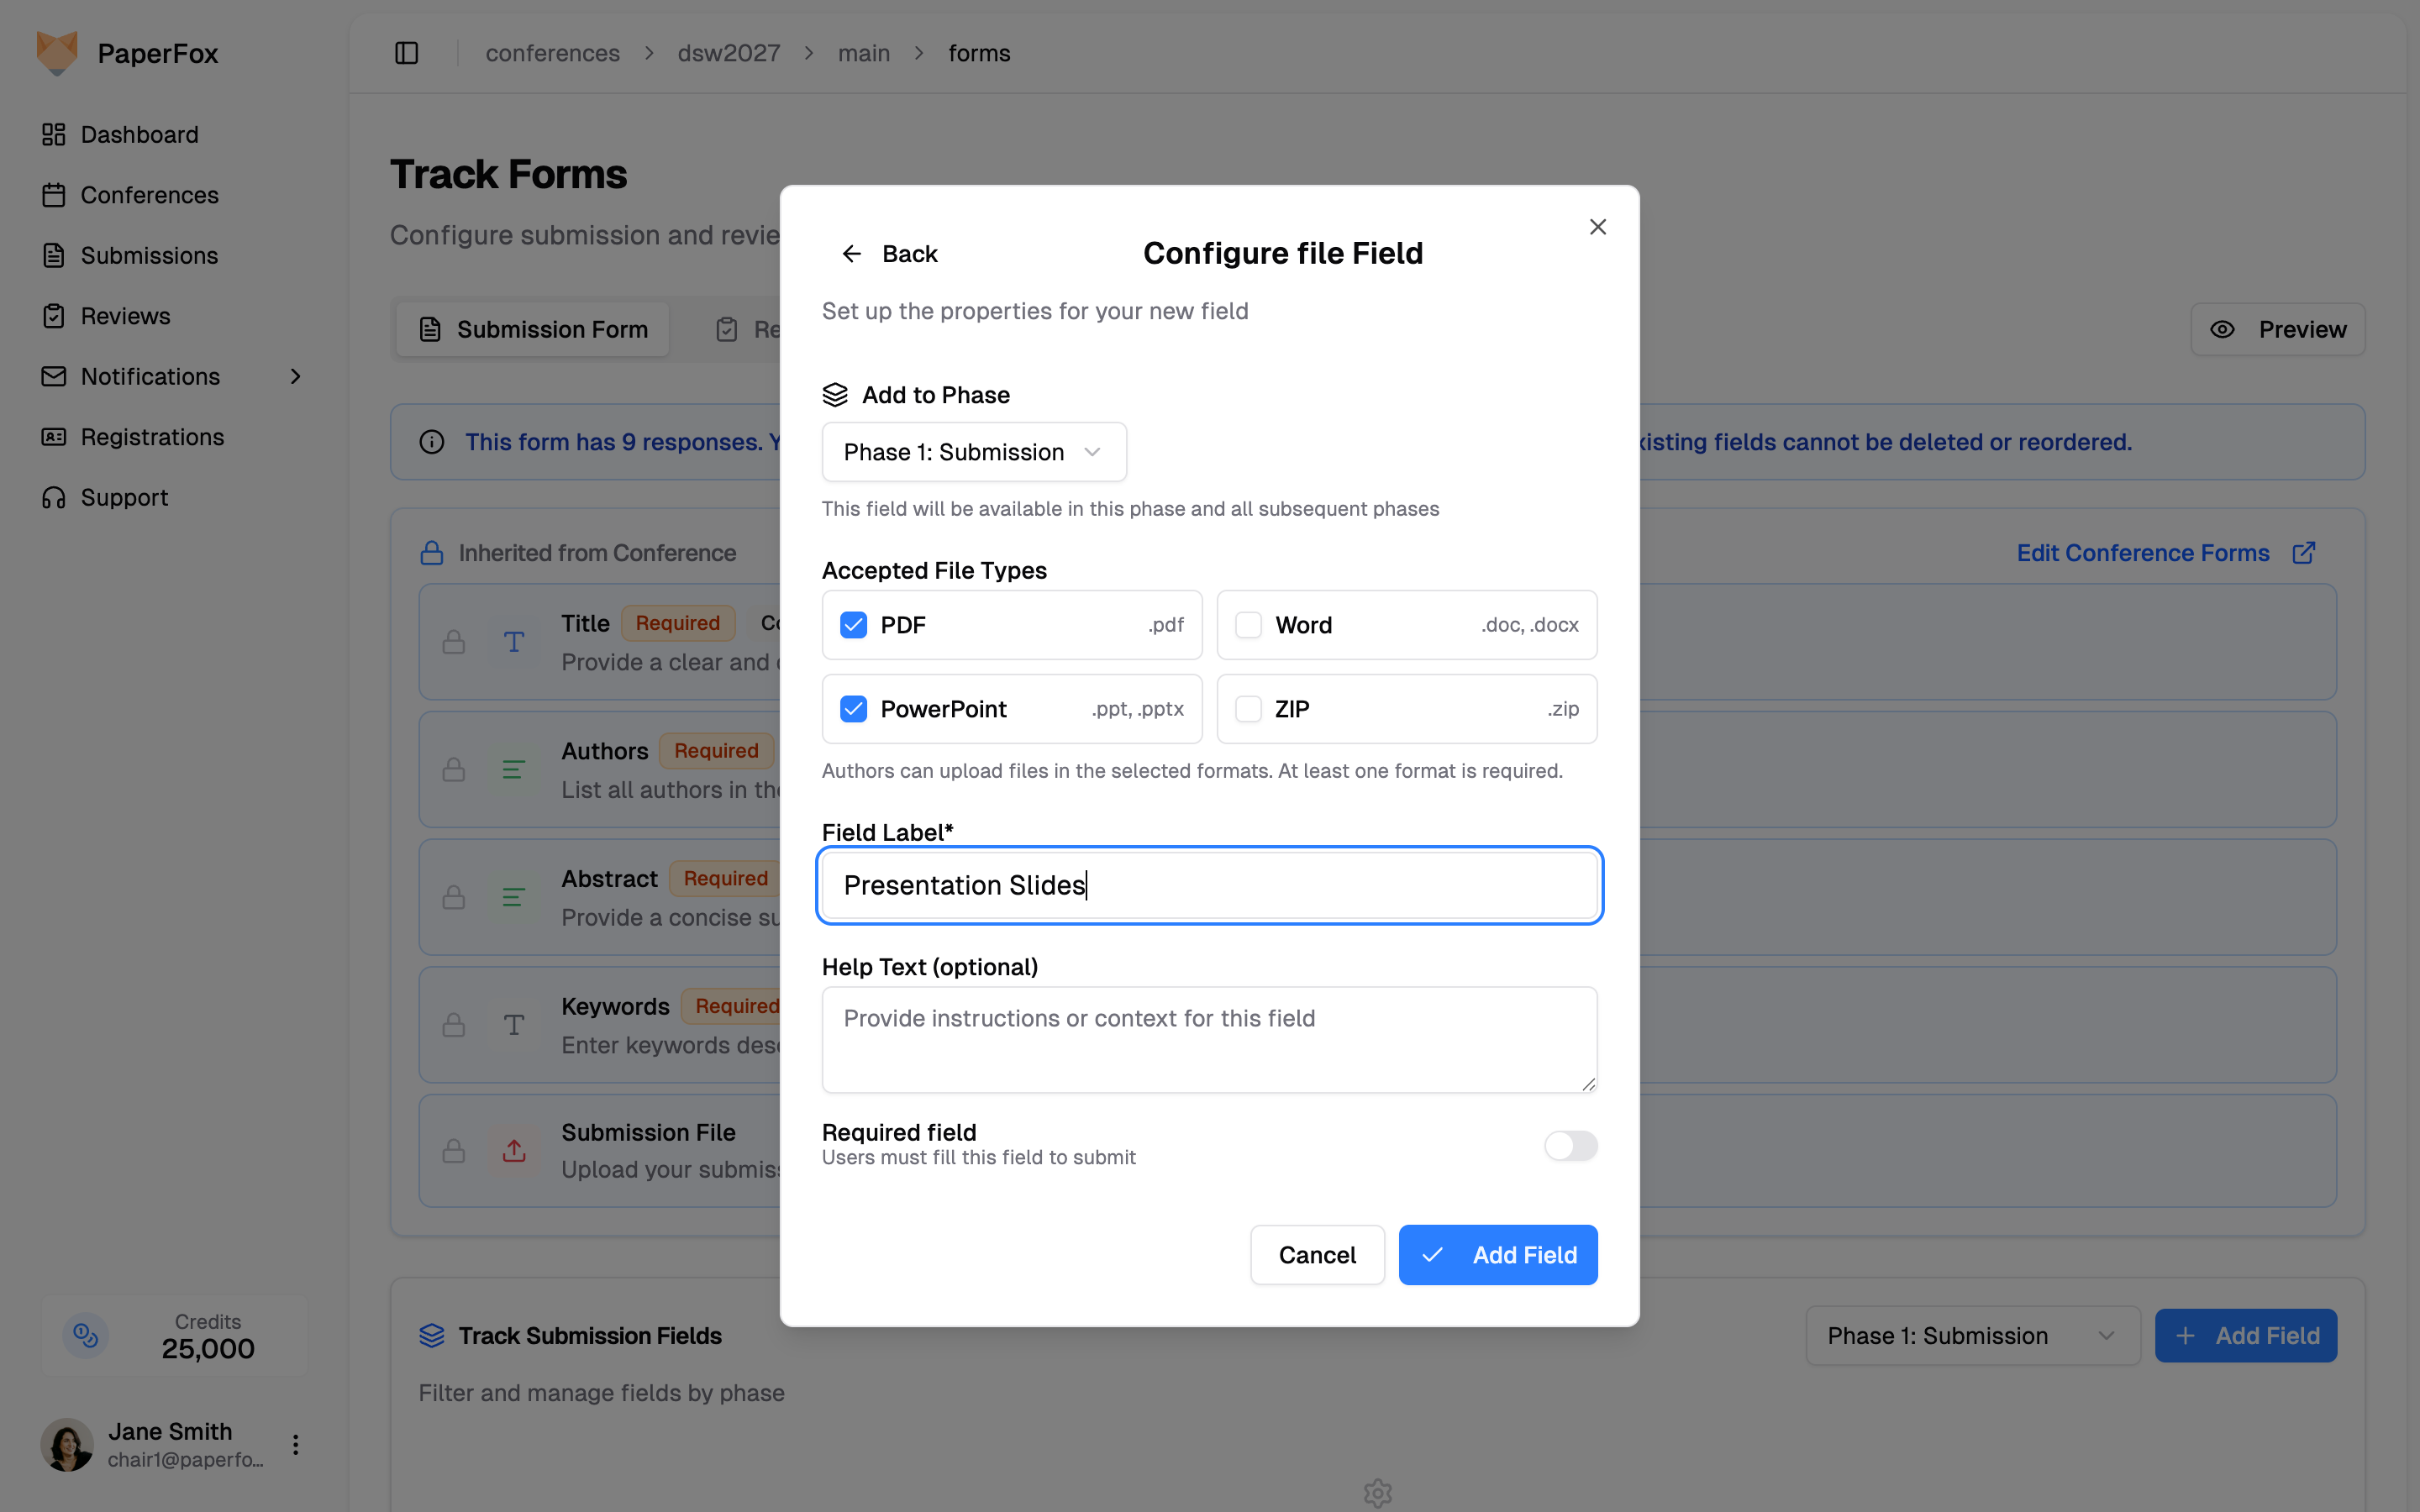 Authors see the allowed formats on the upload area (for example, "PDF or PowerPoint only"), and files in other formats are rejected before upload. This is useful for phase-specific fields — for example, a **Presentation Slides** field accepting PowerPoint in a later phase, or a camera-ready field accepting ZIP archives.
You can also change the accepted types on an existing file field later — click its edit icon and adjust the checkboxes.
### Pre-selected Options
**Single Choice** and **Multiple Choice** fields can start with an option already chosen — useful for opt-out questions ("uncheck to opt out of AI feedback") or a Yes/No question where most submissions answer the same way. Check the box beside an option to pre-select it; Single Choice fields allow one, Multiple Choice allows any number.
Pre-selection applies to new submissions only, so you can turn it on at any time without changing answers authors have already given. See [Pre-selecting Options](/docs/chairs/configure-conference-forms#pre-selecting-options) for the full walkthrough.
### Locking Answers in Later Phases
On a multi-phase track, every field opens for editing again when authors revise — including the ones they answered in the first phase. Turn on **Lock answer in later phases** to freeze a field's answer once the submission moves past the phase that collected it.
1. Click the edit icon on the field (or open **"Add Field"** for a new one)
2. Turn on **"Lock answer in later phases"**
3. Read the amber warning that appears, then click **"Update Field"**
Authors see the allowed formats on the upload area (for example, "PDF or PowerPoint only"), and files in other formats are rejected before upload. This is useful for phase-specific fields — for example, a **Presentation Slides** field accepting PowerPoint in a later phase, or a camera-ready field accepting ZIP archives.
You can also change the accepted types on an existing file field later — click its edit icon and adjust the checkboxes.
### Pre-selected Options
**Single Choice** and **Multiple Choice** fields can start with an option already chosen — useful for opt-out questions ("uncheck to opt out of AI feedback") or a Yes/No question where most submissions answer the same way. Check the box beside an option to pre-select it; Single Choice fields allow one, Multiple Choice allows any number.
Pre-selection applies to new submissions only, so you can turn it on at any time without changing answers authors have already given. See [Pre-selecting Options](/docs/chairs/configure-conference-forms#pre-selecting-options) for the full walkthrough.
### Locking Answers in Later Phases
On a multi-phase track, every field opens for editing again when authors revise — including the ones they answered in the first phase. Turn on **Lock answer in later phases** to freeze a field's answer once the submission moves past the phase that collected it.
1. Click the edit icon on the field (or open **"Add Field"** for a new one)
2. Turn on **"Lock answer in later phases"**
3. Read the amber warning that appears, then click **"Update Field"**
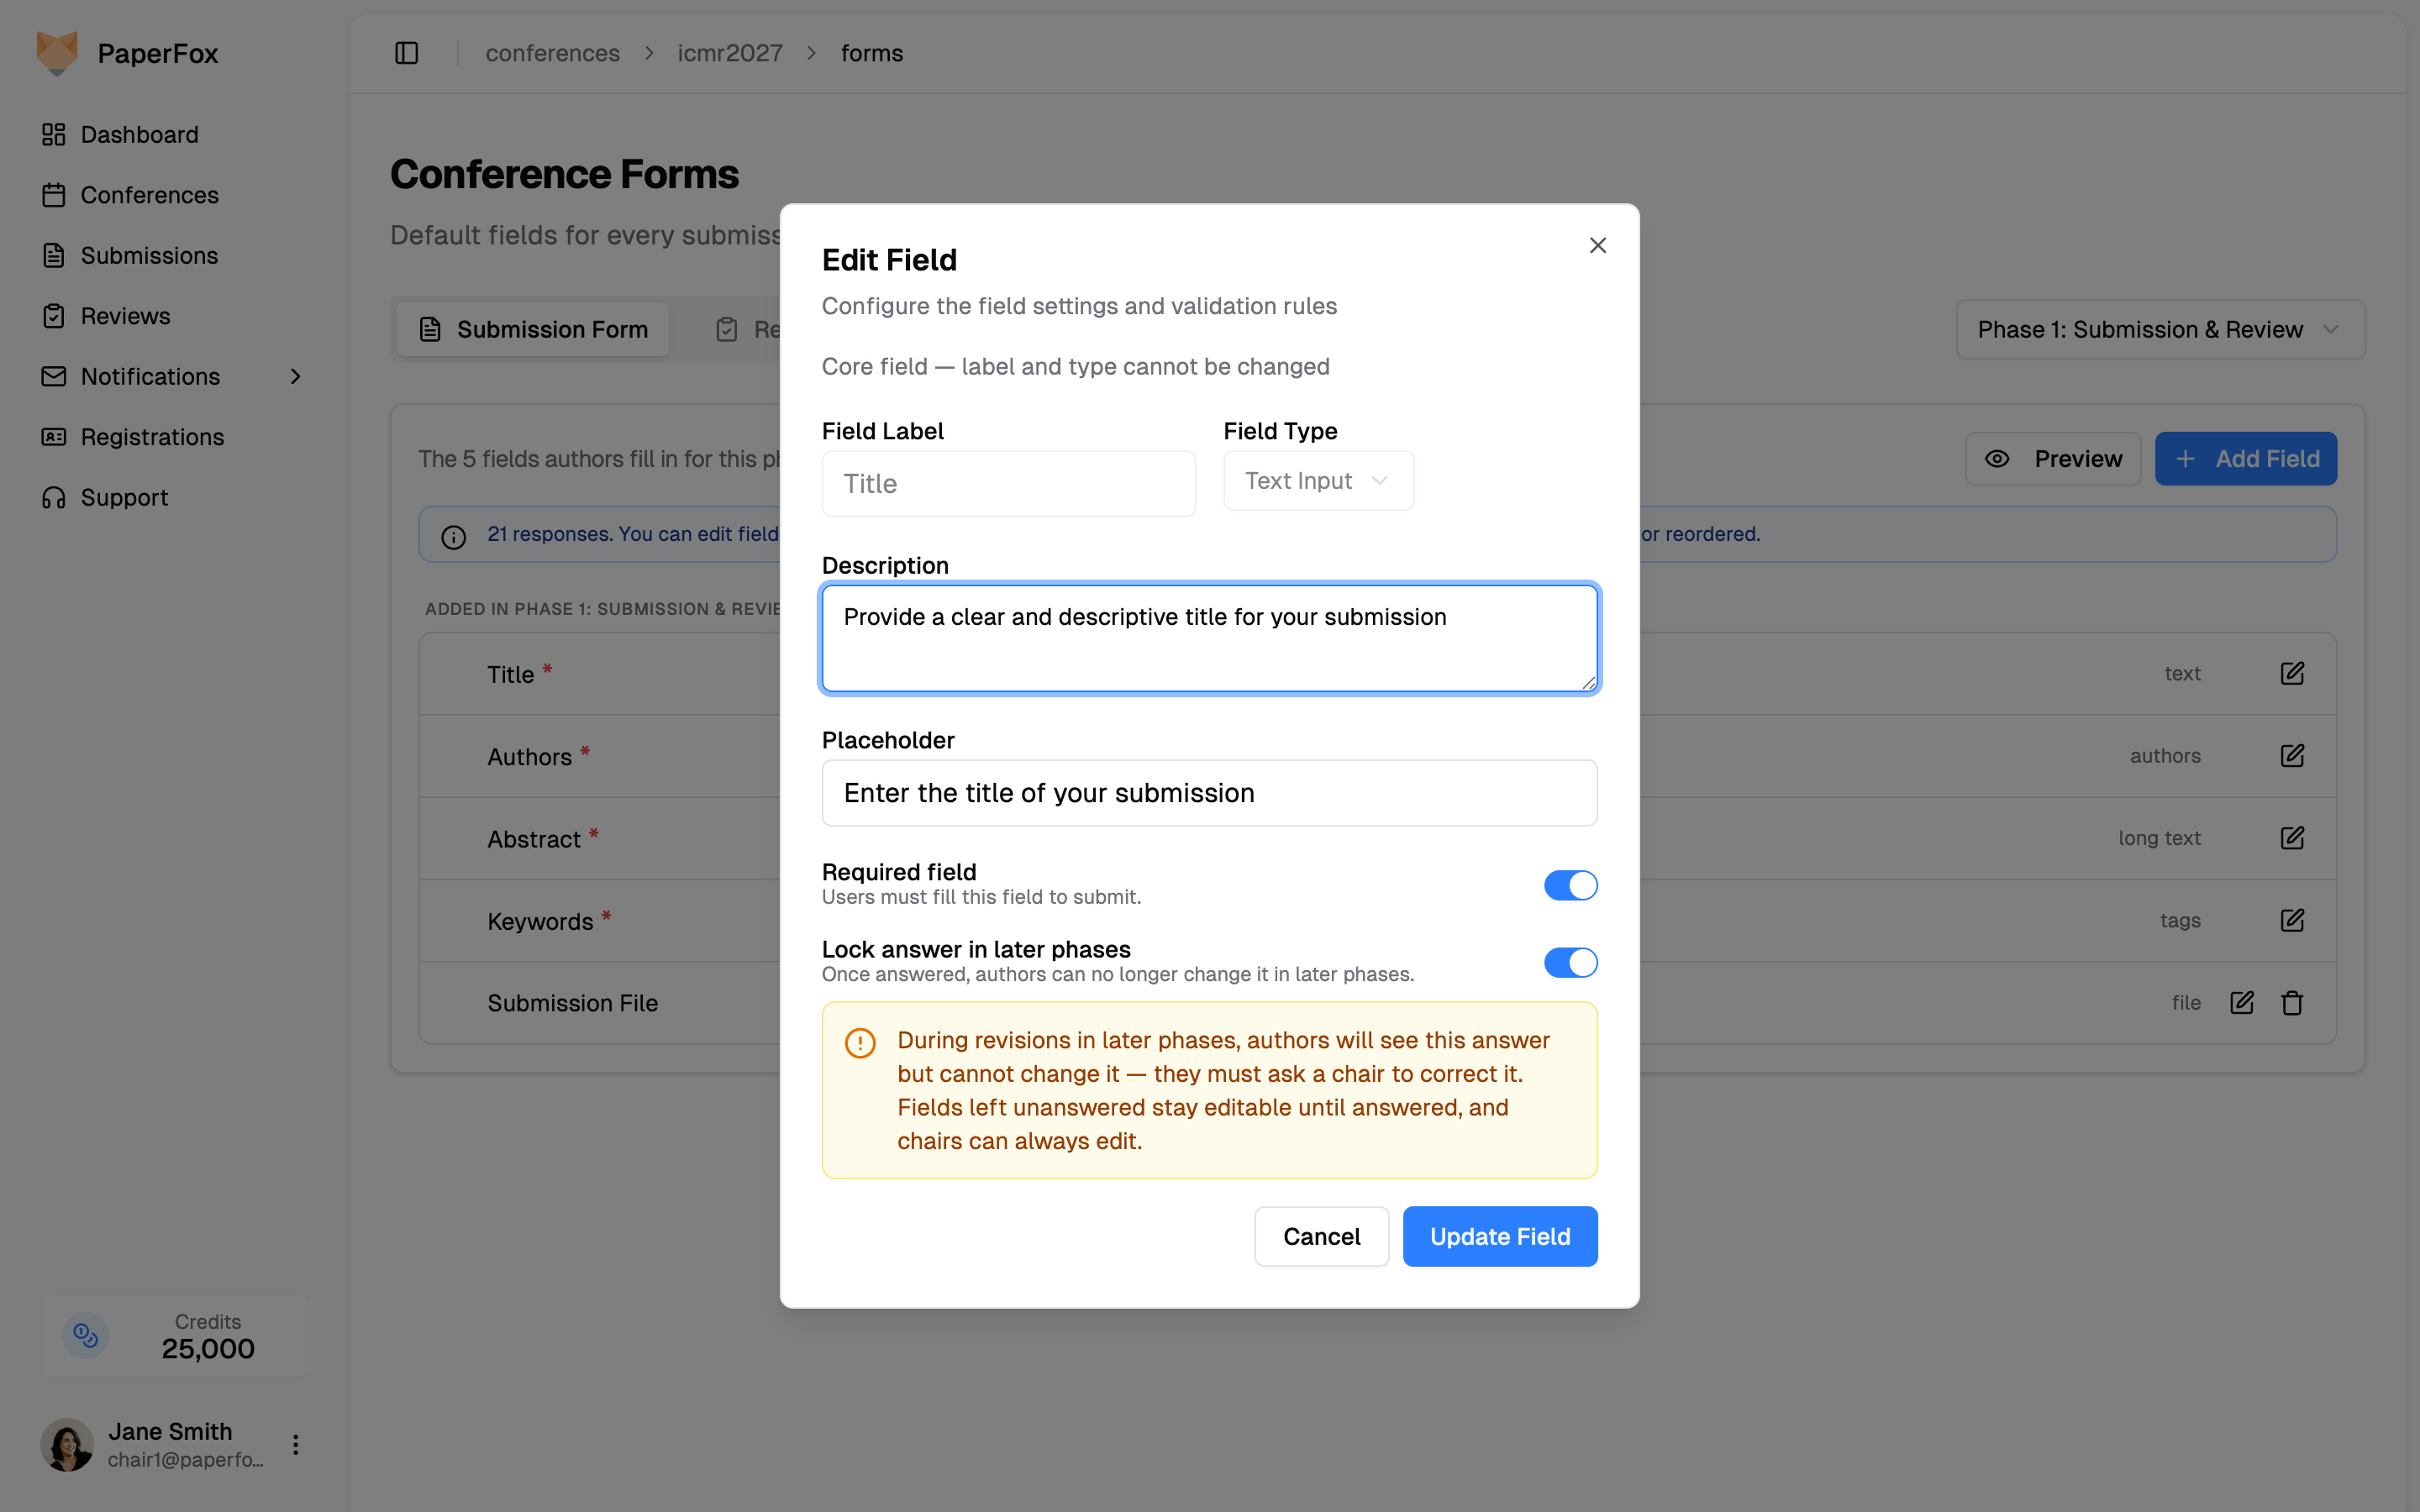 The switch is **off** for every field until you turn it on, and it only appears on tracks with more than one phase — a lock that can never engage would be noise.
Use it for the answers a revision shouldn't quietly rewrite — the title reviewers evaluated, a funding declaration, an ethics approval number — while leaving the camera-ready upload and anything else authors genuinely need to change open.
The switch is **off** for every field until you turn it on, and it only appears on tracks with more than one phase — a lock that can never engage would be noise.
Use it for the answers a revision shouldn't quietly rewrite — the title reviewers evaluated, a funding declaration, an ethics approval number — while leaving the camera-ready upload and anything else authors genuinely need to change open.
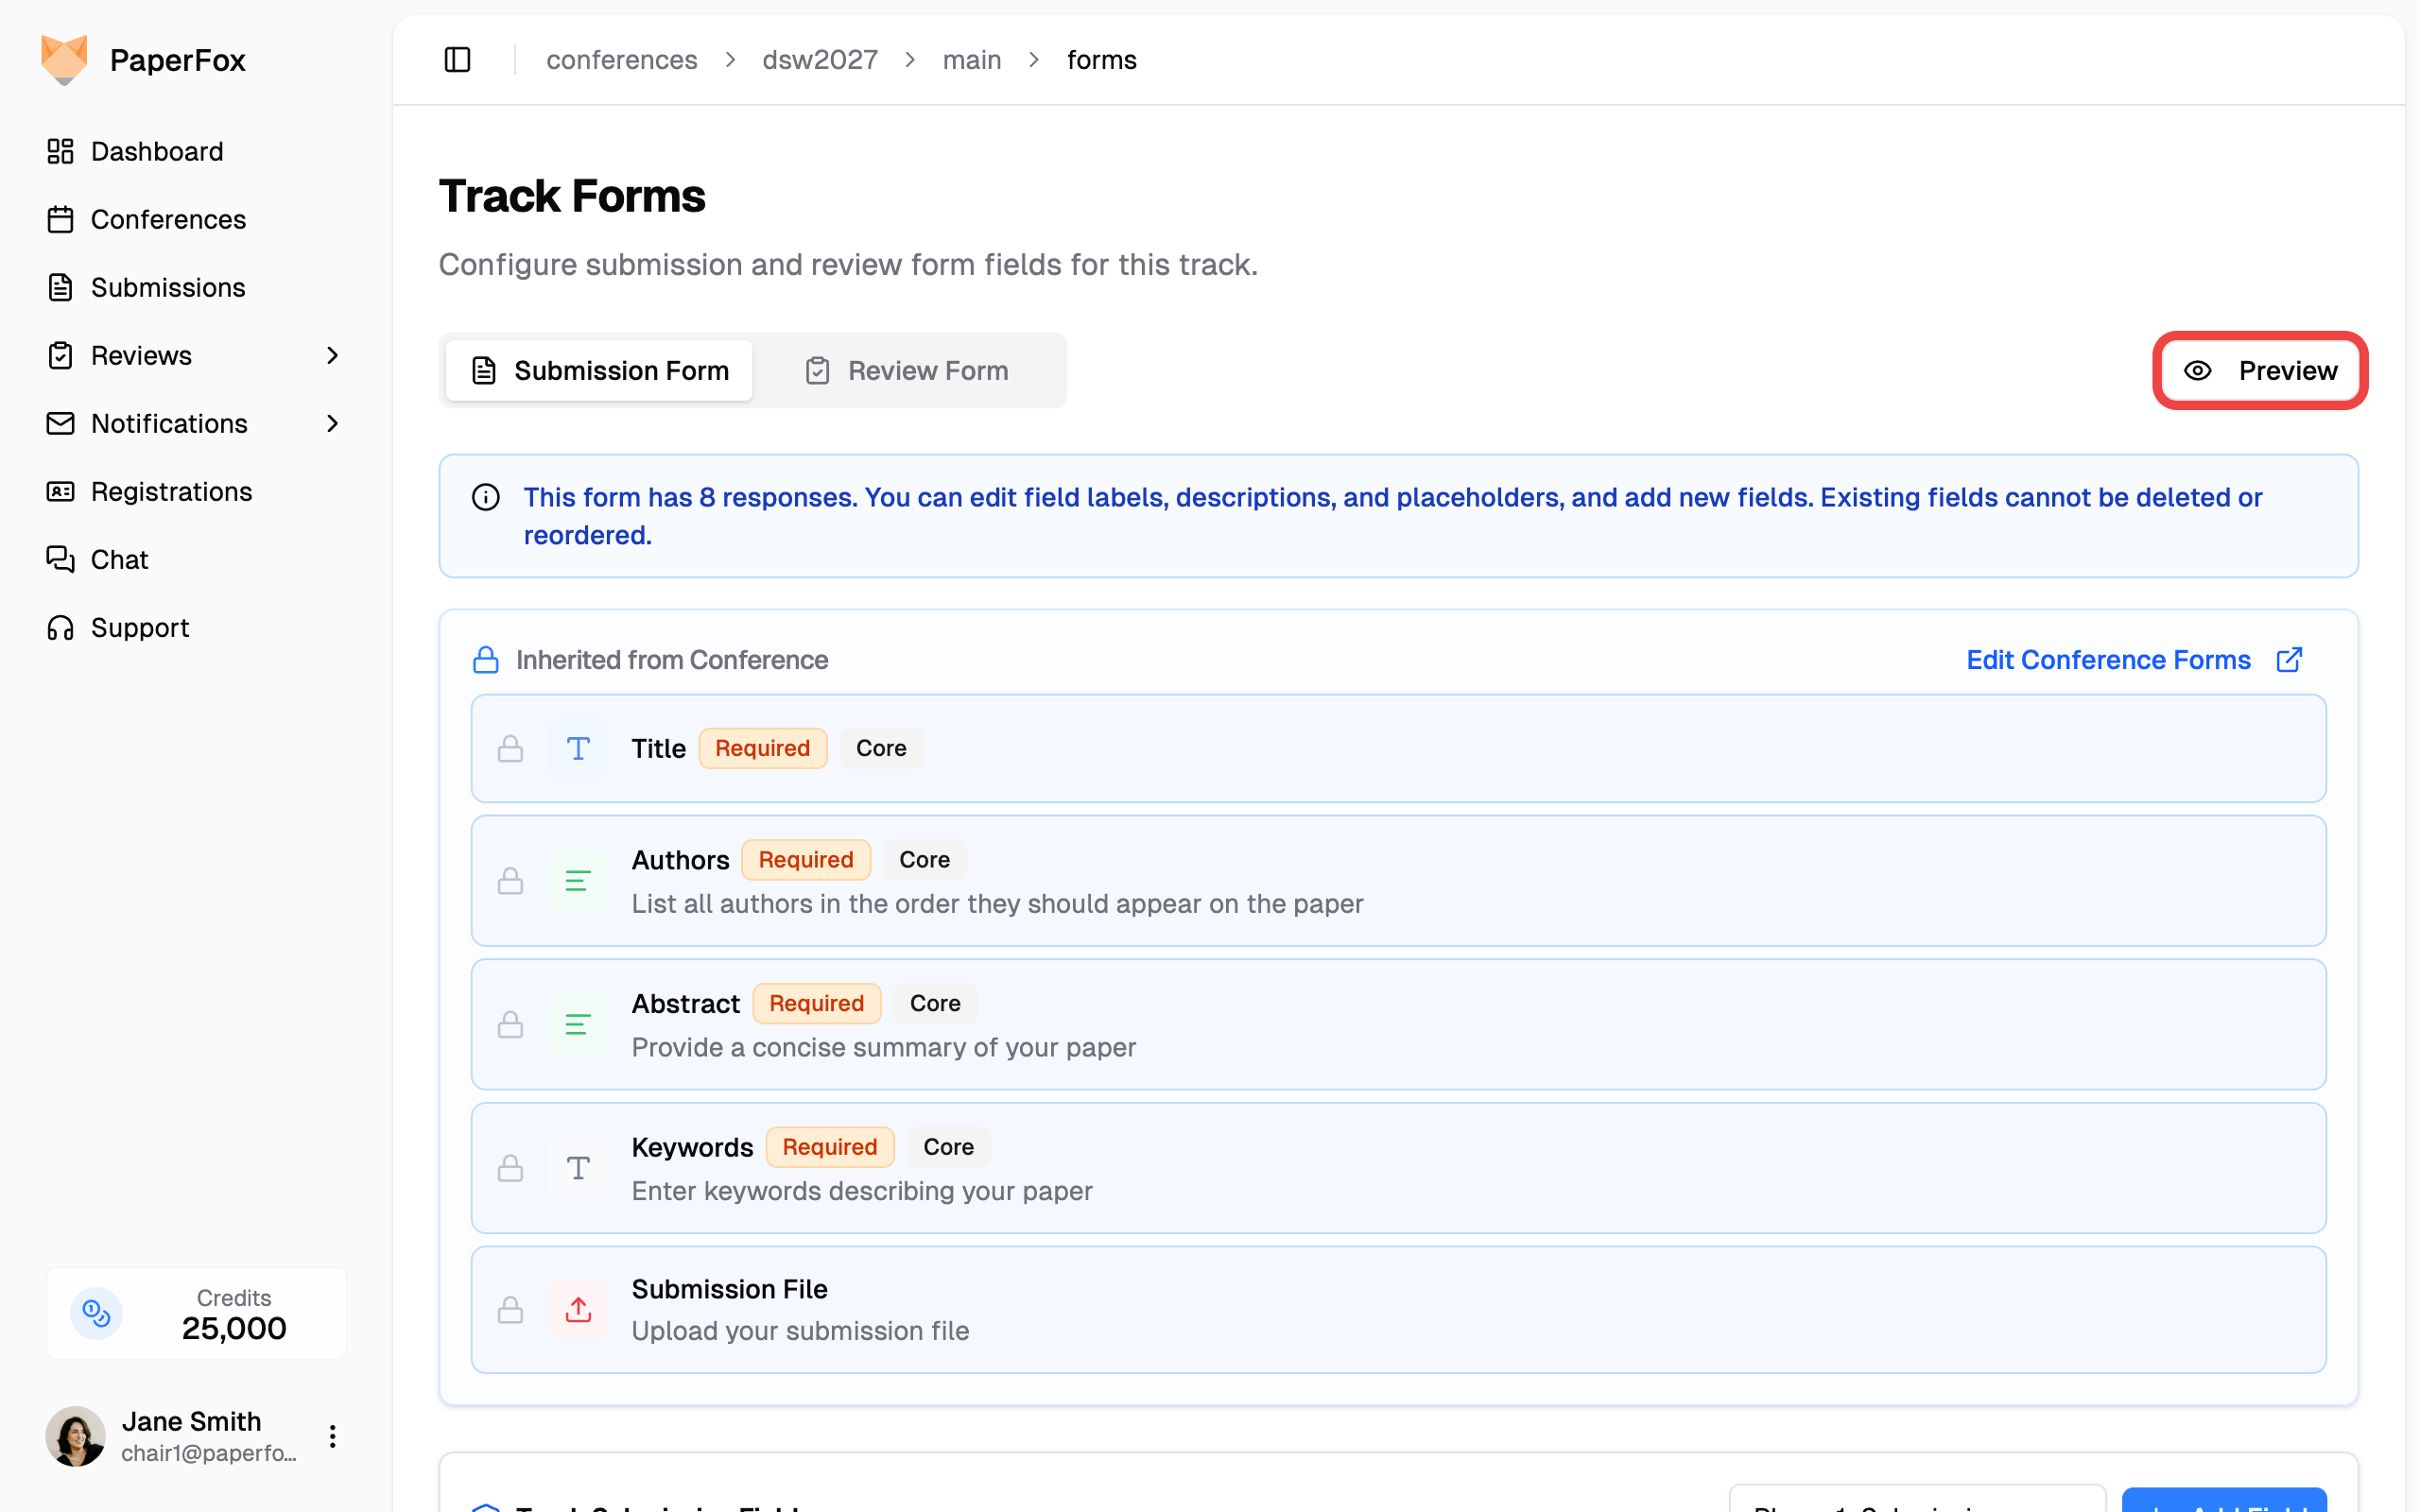 The preview includes both conference-level inherited fields and your track-specific fields, showing the complete form authors will see.
---
# Conflict of Interest Enforcement
URL: https://paperfox.ai/docs/track-chairs/conflicts
Description: How COI rules protect review integrity across all assignment paths
PaperFox automatically checks for conflicts of interest (COI) whenever you assign reviewers to submissions. You do not need to manually check — the system blocks hard conflicts outright and flags softer ones with a warning so you can decide. Enforcement is **on by default**; you can [turn it off per track](#turning-off-enforcement) if your venue doesn't want blocking.
## Three Hard Rules (Block)
Every reviewer-submission pair is checked against three hard rules. If any matches, the assignment is **blocked**:
| Rule | What It Checks | Source |
|------|---------------|--------|
| **Self-conflict** | Reviewer is listed as an author on the submission | Automatic — matches reviewer's name/email against the submission's author list |
| **Co-author conflict** | Reviewer co-authored another submission with one of the authors in the last 3 years | Automatic — detected from PaperFox submissions |
| **Declared conflict** | Reviewer manually declared a conflict with one of the authors | Reviewer's COI list in their settings |
These three match on **name and email** — see [Matching Logic](#matching-logic) below.
## One Soft Rule (Warning)
| Rule | What It Checks | Behavior |
|------|---------------|----------|
| **Same institution** | Reviewer and one of the authors share an institution (by affiliation) | **Warning, not a block** — the assignment is allowed, but you're notified so you can reassign if you consider it a conflict |
Same-institution is a *warning* because affiliation overlap isn't always a true conflict (large universities, shared umbrella organizations) and policies vary by venue. PaperFox surfaces it and leaves the call to you. It matches on **affiliation** — see [Matching Logic](#matching-logic).
## Where COI Is Checked
COI is checked on every assignment path:
- **[Auto Assign](/docs/track-chairs/auto-assign-reviewers)** — hard-conflicted reviewers are excluded before the matching algorithm runs and never appear in suggestions. Same-institution reviewers still appear, flagged with a warning on the suggestion.
- **[Manual assignment](/docs/track-chairs/assign-reviewers)** — drag-and-drop and bulk save reject hard conflicts with an error. A same-institution assignment saves successfully and shows a warning toast.
- **AE/SE assignment** — the same rules apply when assigning Associate Editors or Senior Editors to submissions.
## Turning Off Enforcement
If your venue prefers to see conflicts without being blocked by them — for example, a small community where recent co-authorship is unavoidable — you can turn off COI enforcement per track:
1. Go to **Conferences** in the sidebar, click your conference, then click the track
2. Under **Review Management**, expand **Review Settings**
3. Turn off **"Enforce Conflict of Interest Checks"**
The preview includes both conference-level inherited fields and your track-specific fields, showing the complete form authors will see.
---
# Conflict of Interest Enforcement
URL: https://paperfox.ai/docs/track-chairs/conflicts
Description: How COI rules protect review integrity across all assignment paths
PaperFox automatically checks for conflicts of interest (COI) whenever you assign reviewers to submissions. You do not need to manually check — the system blocks hard conflicts outright and flags softer ones with a warning so you can decide. Enforcement is **on by default**; you can [turn it off per track](#turning-off-enforcement) if your venue doesn't want blocking.
## Three Hard Rules (Block)
Every reviewer-submission pair is checked against three hard rules. If any matches, the assignment is **blocked**:
| Rule | What It Checks | Source |
|------|---------------|--------|
| **Self-conflict** | Reviewer is listed as an author on the submission | Automatic — matches reviewer's name/email against the submission's author list |
| **Co-author conflict** | Reviewer co-authored another submission with one of the authors in the last 3 years | Automatic — detected from PaperFox submissions |
| **Declared conflict** | Reviewer manually declared a conflict with one of the authors | Reviewer's COI list in their settings |
These three match on **name and email** — see [Matching Logic](#matching-logic) below.
## One Soft Rule (Warning)
| Rule | What It Checks | Behavior |
|------|---------------|----------|
| **Same institution** | Reviewer and one of the authors share an institution (by affiliation) | **Warning, not a block** — the assignment is allowed, but you're notified so you can reassign if you consider it a conflict |
Same-institution is a *warning* because affiliation overlap isn't always a true conflict (large universities, shared umbrella organizations) and policies vary by venue. PaperFox surfaces it and leaves the call to you. It matches on **affiliation** — see [Matching Logic](#matching-logic).
## Where COI Is Checked
COI is checked on every assignment path:
- **[Auto Assign](/docs/track-chairs/auto-assign-reviewers)** — hard-conflicted reviewers are excluded before the matching algorithm runs and never appear in suggestions. Same-institution reviewers still appear, flagged with a warning on the suggestion.
- **[Manual assignment](/docs/track-chairs/assign-reviewers)** — drag-and-drop and bulk save reject hard conflicts with an error. A same-institution assignment saves successfully and shows a warning toast.
- **AE/SE assignment** — the same rules apply when assigning Associate Editors or Senior Editors to submissions.
## Turning Off Enforcement
If your venue prefers to see conflicts without being blocked by them — for example, a small community where recent co-authorship is unavoidable — you can turn off COI enforcement per track:
1. Go to **Conferences** in the sidebar, click your conference, then click the track
2. Under **Review Management**, expand **Review Settings**
3. Turn off **"Enforce Conflict of Interest Checks"**
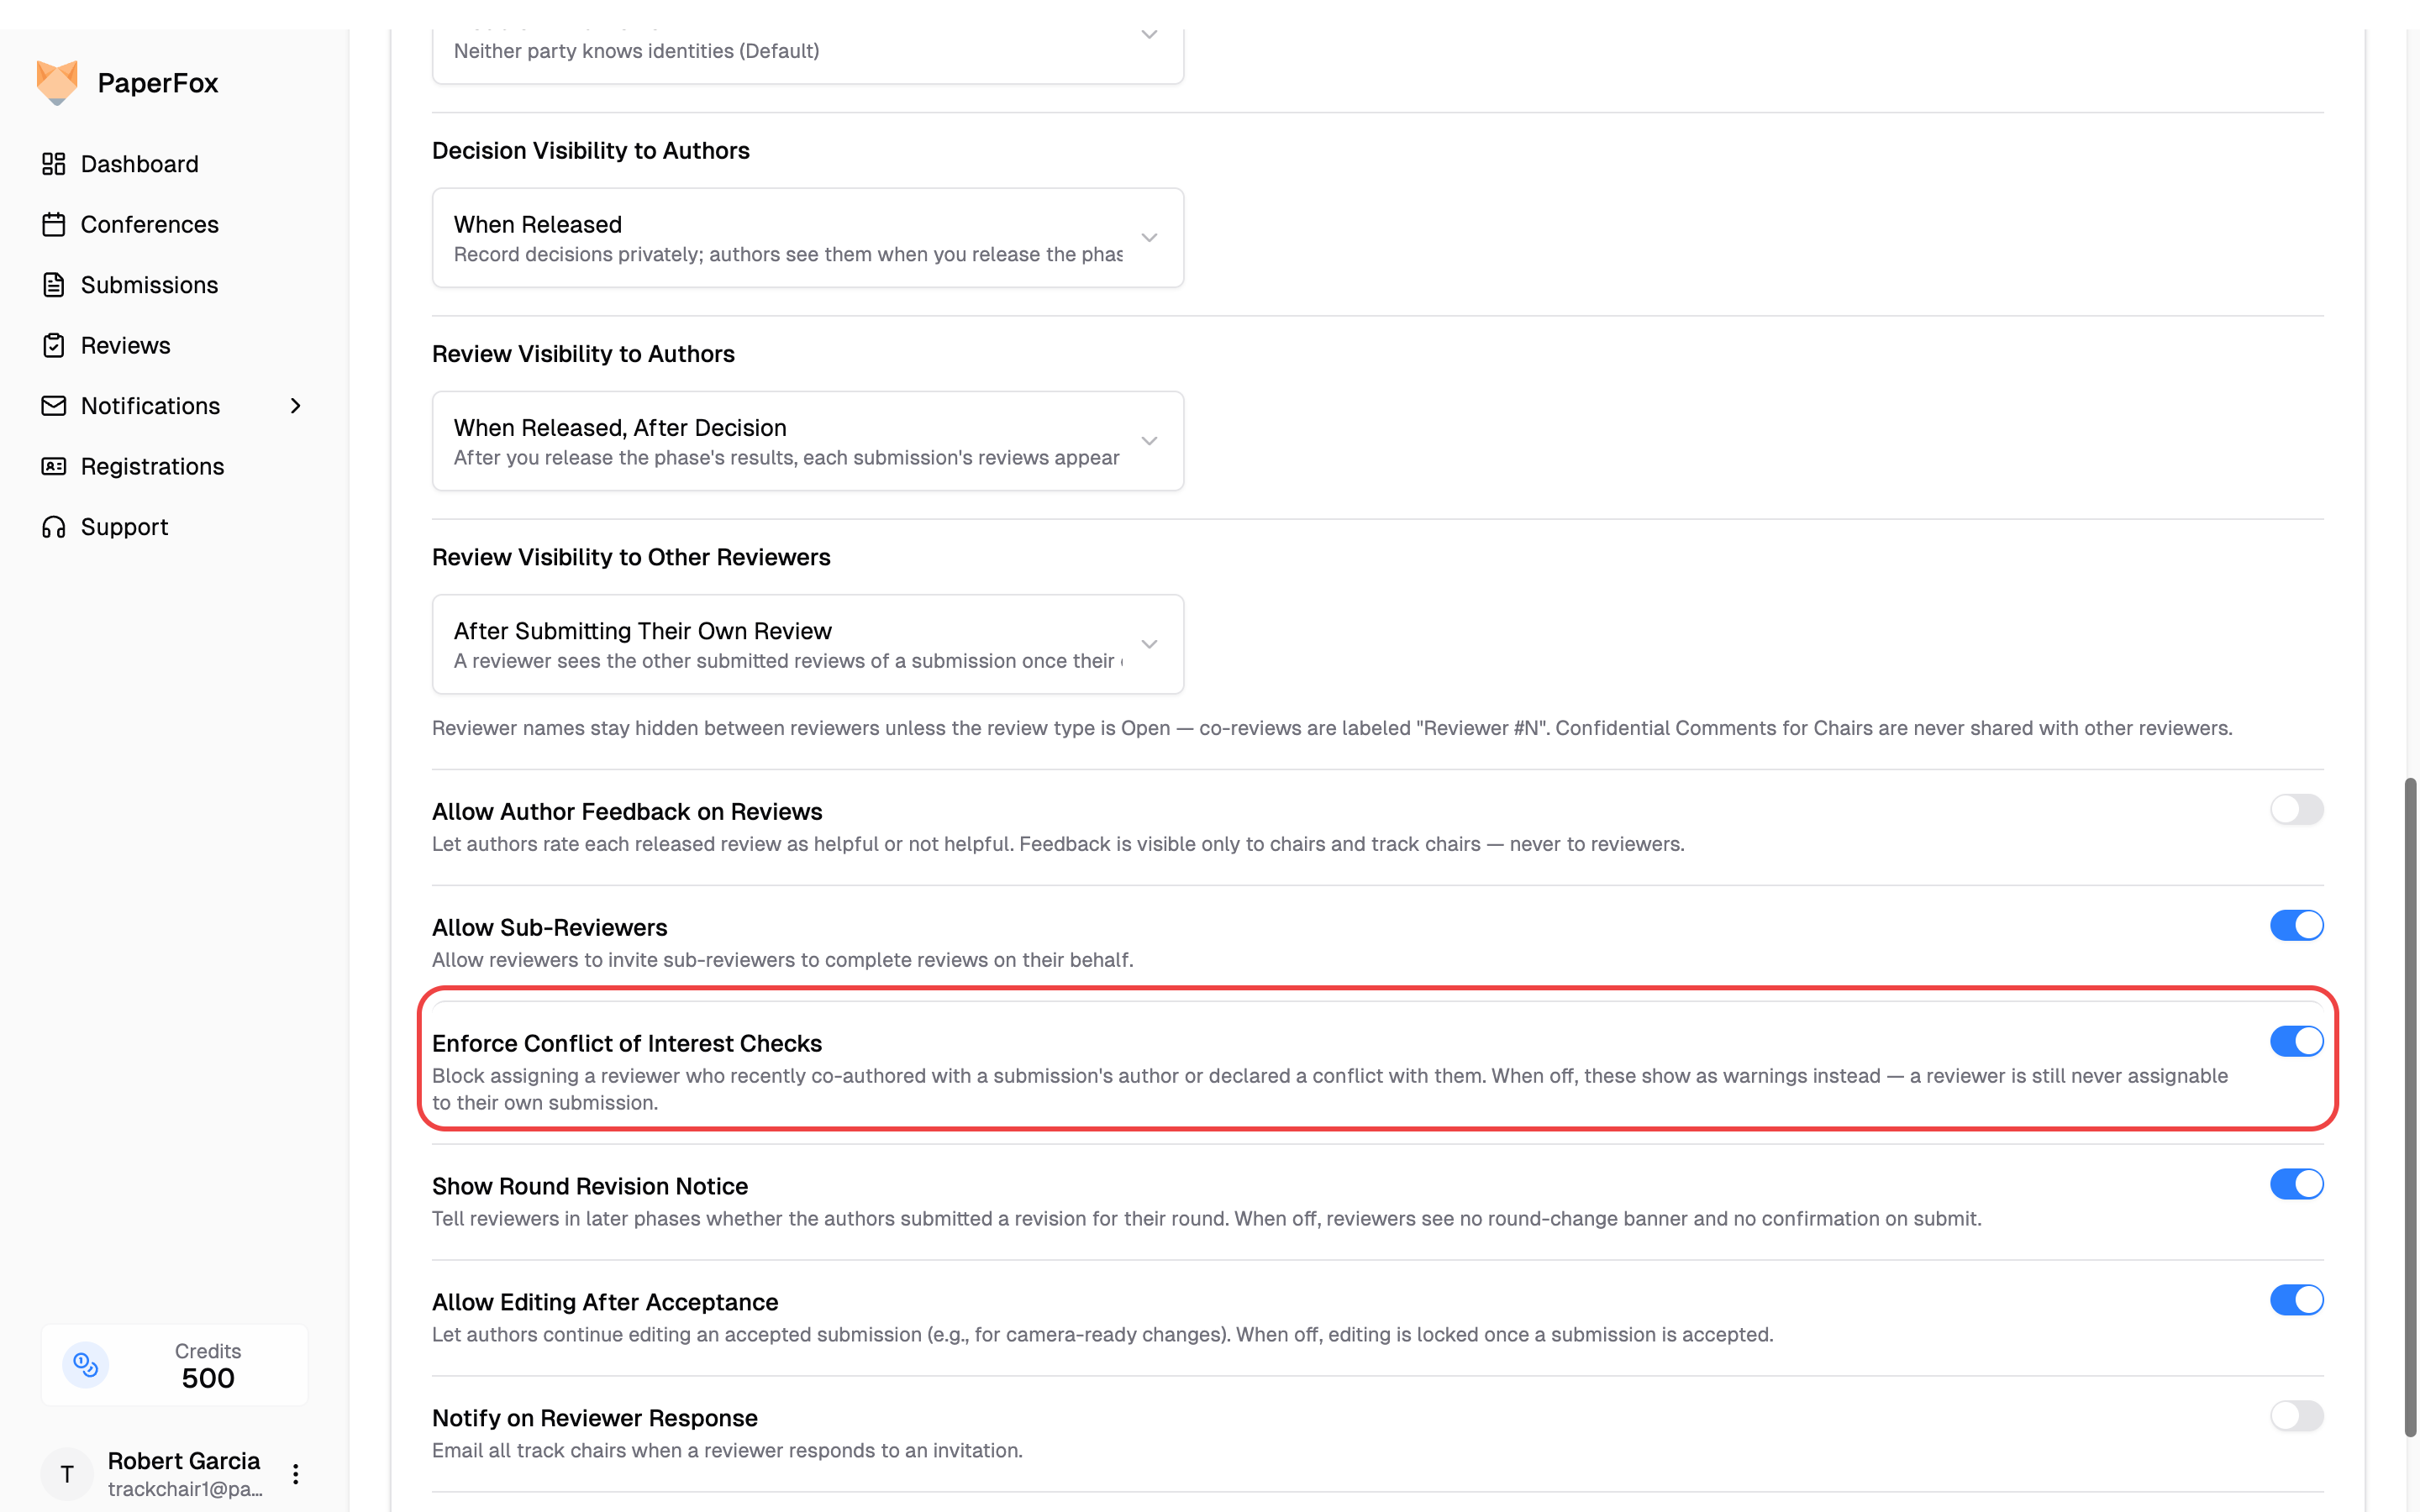 With enforcement off, co-author and declared conflicts no longer block — they appear as **warnings** on every assignment path instead, just like same-institution matches, so you still see every conflict the system finds.
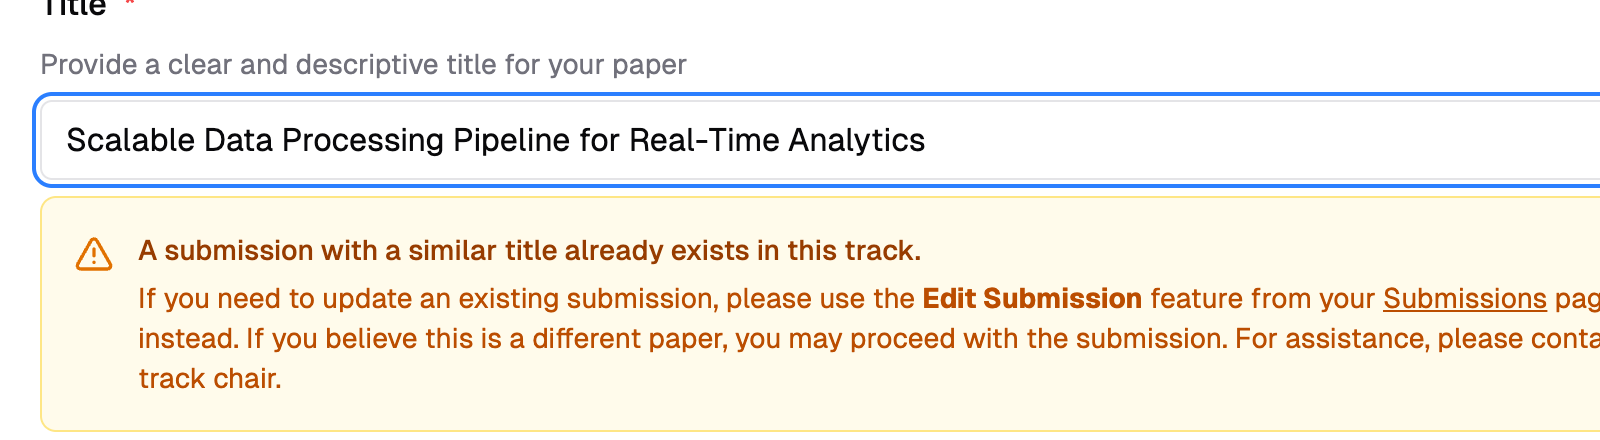 The warning advises the author to use **Edit Submission** if they meant to update an existing submission. If the submission is genuinely different, they can proceed — a confirmation dialog will ask them to confirm before submitting.
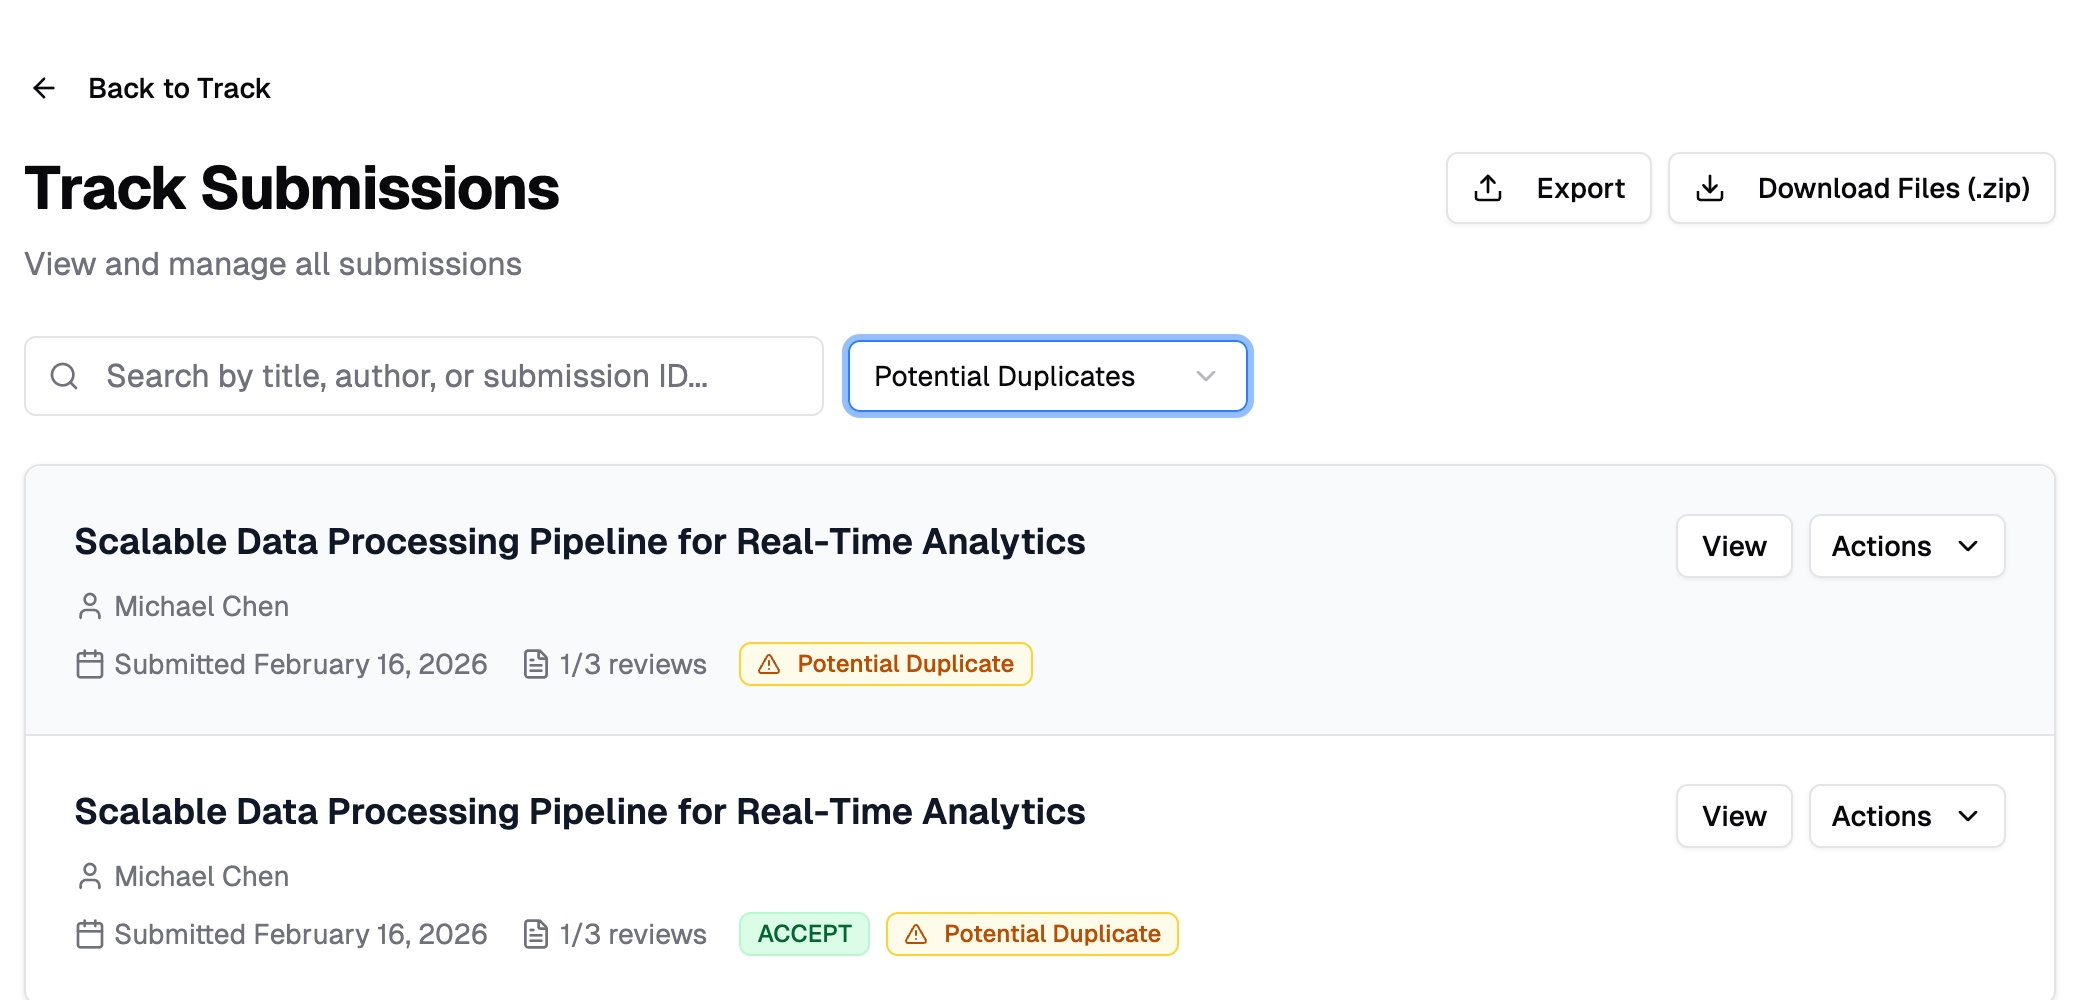 The list shows only submissions that have a near-identical title to another submission in the track. Each flagged submission displays a **Potential Duplicate** badge — click it to see which other submission(s) it matches.
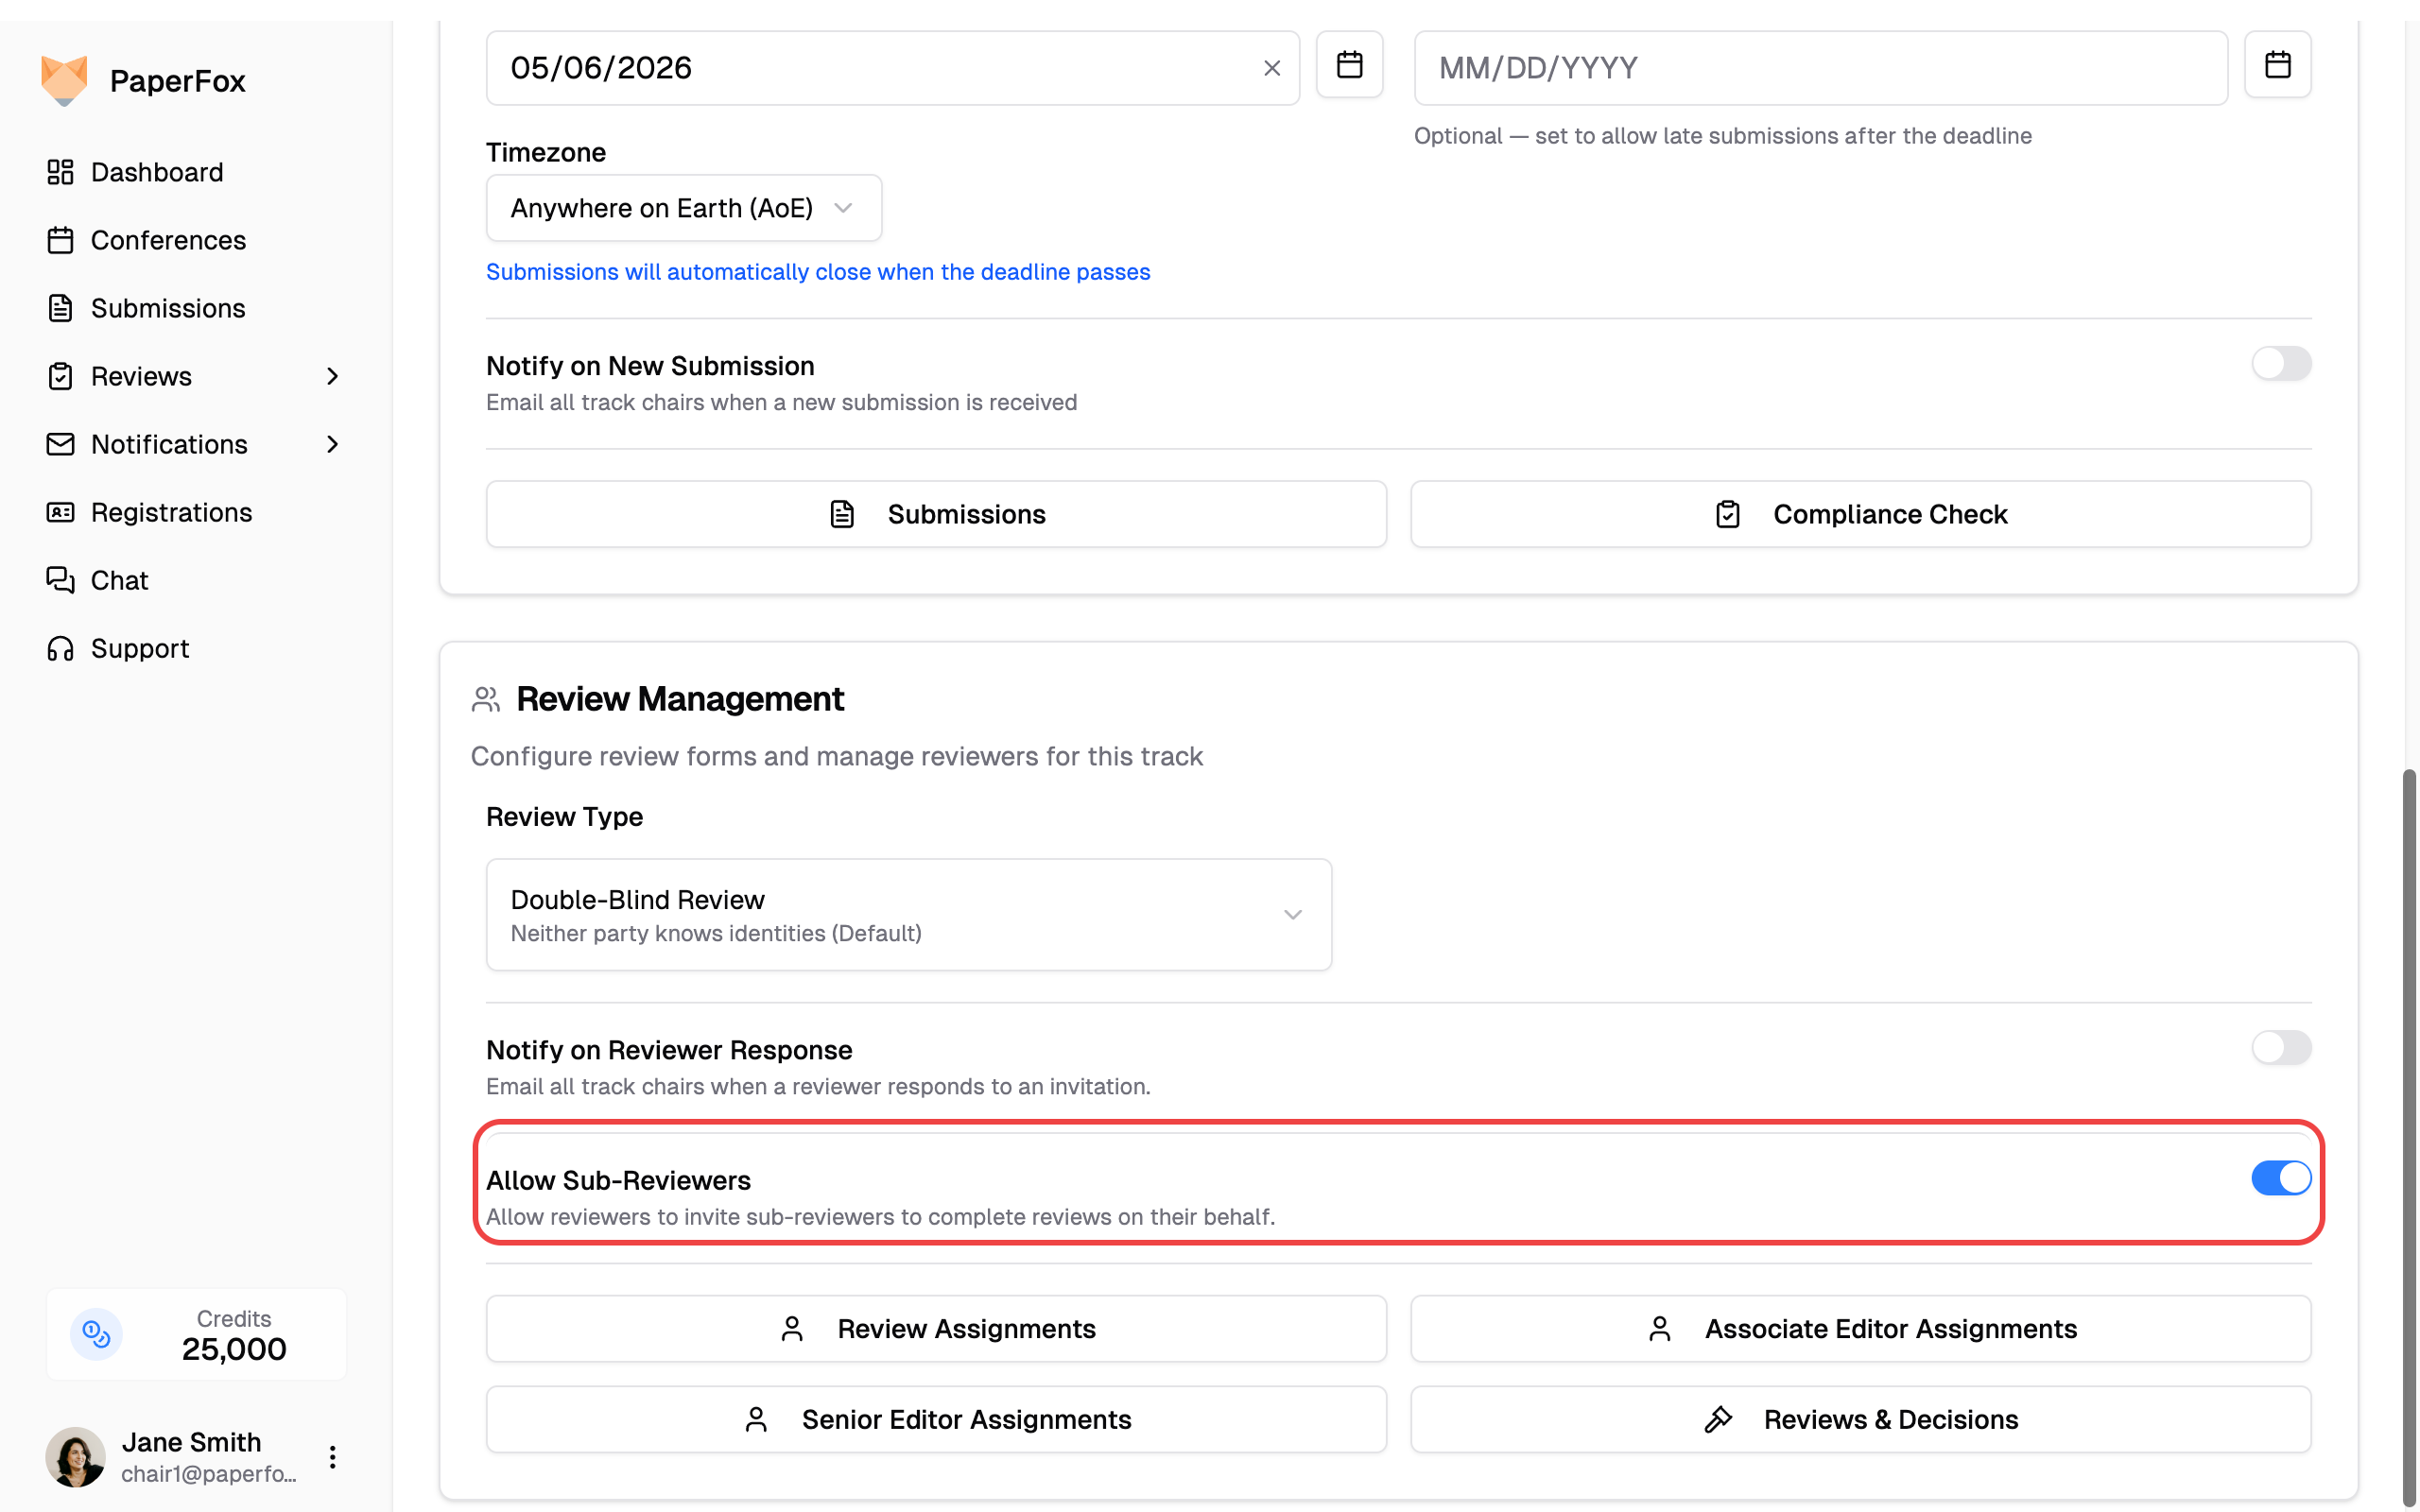 The toggle takes effect immediately. Reviewers on this track will now see an **"Invite Sub-Reviewer"** option when viewing their assignments.
## How It Works
When a reviewer invites a sub-reviewer:
| Step | What Happens |
|------|-------------|
| **Invite** | Reviewer enters sub-reviewer's email on the assignment page |
| **Notification** | Sub-reviewer receives an email and sees a pending assignment in **My Assignments** |
| **Accept/Decline** | Sub-reviewer accepts or declines like any other assignment |
| **Review** | Sub-reviewer writes and submits the review through the standard review form |
| **Visibility** | Original reviewer can view the submitted sub-review (read-only) |
## Key Rules
- **One level only** — Sub-reviewers cannot delegate further
- **One sub-reviewer per assignment** — A reviewer can only invite one sub-reviewer at a time
- **Cancellable** — The reviewer can cancel the delegation before the sub-reviewer starts writing; the sub-assignment then shows as **Cancelled** (distinct from a decline by the sub-reviewer) and the same person can be re-invited later
- **Track-level setting** — Each track can independently enable or disable sub-reviewers
## Chair Visibility
Sub-reviewer reviews are clearly marked in the system:
- The **submission reviews page** shows a **"Sub-reviewer"** badge next to reviews from sub-reviewers, along with who invited them
- The **reviewer list** shows sub-reviewer source badges
- **Review progress tracking** shows the original reviewer — they are responsible for ensuring the sub-review is completed on time
## Disabling Sub-Reviewers
You can disable the feature at any time by toggling **"Allow Sub-Reviewers"** off. When disabled:
- **New invitations** are blocked — reviewers can no longer invite sub-reviewers
- **Existing sub-reviews** remain intact — submitted reviews are preserved and accessible
- **In-progress delegations** continue to function — sub-reviewers who already accepted can still complete their reviews
- The original reviewer can still view any existing sub-reviews in their **My Reviews** page
---
# Export and Download Submissions
URL: https://paperfox.ai/docs/track-chairs/export-submissions
Description: Export submission data as CSV/JSON and download all submitted files as a ZIP archive.
Track chairs can export submission metadata and download uploaded files in bulk from the **Track Submissions** page.
## Export Submission Data
1. Go to **Conferences** in the sidebar, click on your conference, then open the track you manage
2. Under **Submission Management**, click **"Submissions"**
The toggle takes effect immediately. Reviewers on this track will now see an **"Invite Sub-Reviewer"** option when viewing their assignments.
## How It Works
When a reviewer invites a sub-reviewer:
| Step | What Happens |
|------|-------------|
| **Invite** | Reviewer enters sub-reviewer's email on the assignment page |
| **Notification** | Sub-reviewer receives an email and sees a pending assignment in **My Assignments** |
| **Accept/Decline** | Sub-reviewer accepts or declines like any other assignment |
| **Review** | Sub-reviewer writes and submits the review through the standard review form |
| **Visibility** | Original reviewer can view the submitted sub-review (read-only) |
## Key Rules
- **One level only** — Sub-reviewers cannot delegate further
- **One sub-reviewer per assignment** — A reviewer can only invite one sub-reviewer at a time
- **Cancellable** — The reviewer can cancel the delegation before the sub-reviewer starts writing; the sub-assignment then shows as **Cancelled** (distinct from a decline by the sub-reviewer) and the same person can be re-invited later
- **Track-level setting** — Each track can independently enable or disable sub-reviewers
## Chair Visibility
Sub-reviewer reviews are clearly marked in the system:
- The **submission reviews page** shows a **"Sub-reviewer"** badge next to reviews from sub-reviewers, along with who invited them
- The **reviewer list** shows sub-reviewer source badges
- **Review progress tracking** shows the original reviewer — they are responsible for ensuring the sub-review is completed on time
## Disabling Sub-Reviewers
You can disable the feature at any time by toggling **"Allow Sub-Reviewers"** off. When disabled:
- **New invitations** are blocked — reviewers can no longer invite sub-reviewers
- **Existing sub-reviews** remain intact — submitted reviews are preserved and accessible
- **In-progress delegations** continue to function — sub-reviewers who already accepted can still complete their reviews
- The original reviewer can still view any existing sub-reviews in their **My Reviews** page
---
# Export and Download Submissions
URL: https://paperfox.ai/docs/track-chairs/export-submissions
Description: Export submission data as CSV/JSON and download all submitted files as a ZIP archive.
Track chairs can export submission metadata and download uploaded files in bulk from the **Track Submissions** page.
## Export Submission Data
1. Go to **Conferences** in the sidebar, click on your conference, then open the track you manage
2. Under **Submission Management**, click **"Submissions"**
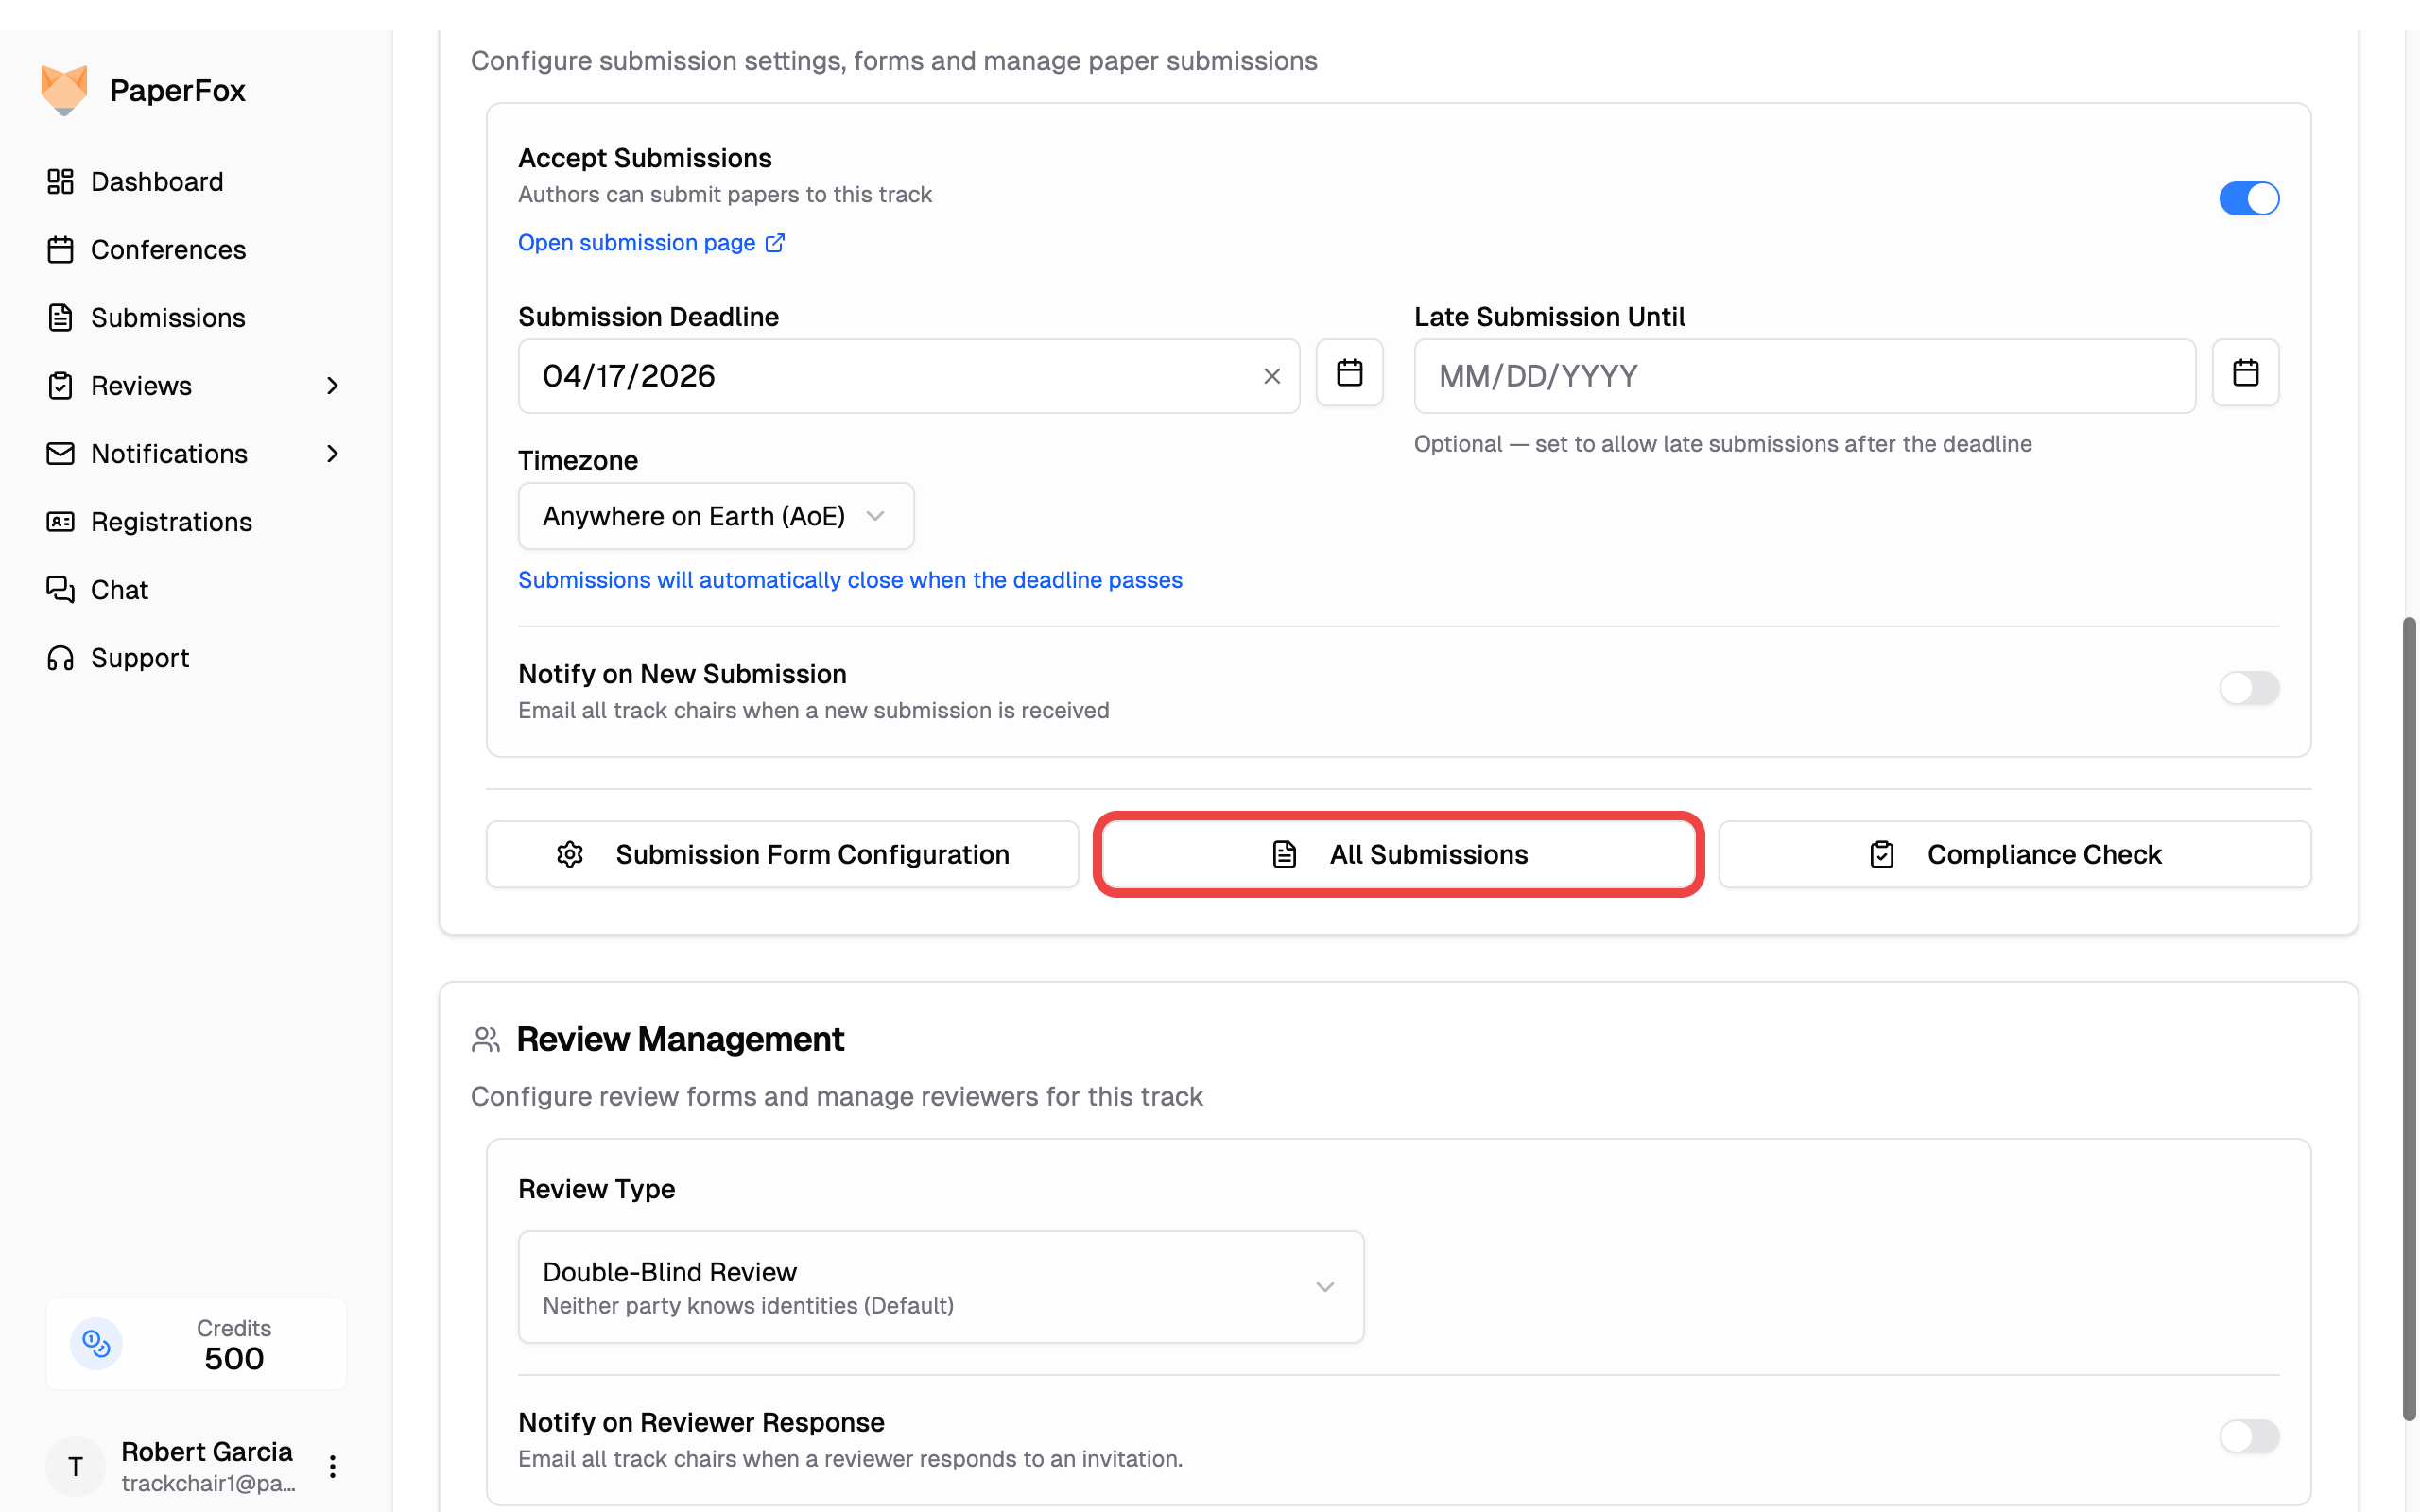 3. Click the **"Export"** button and choose a format:
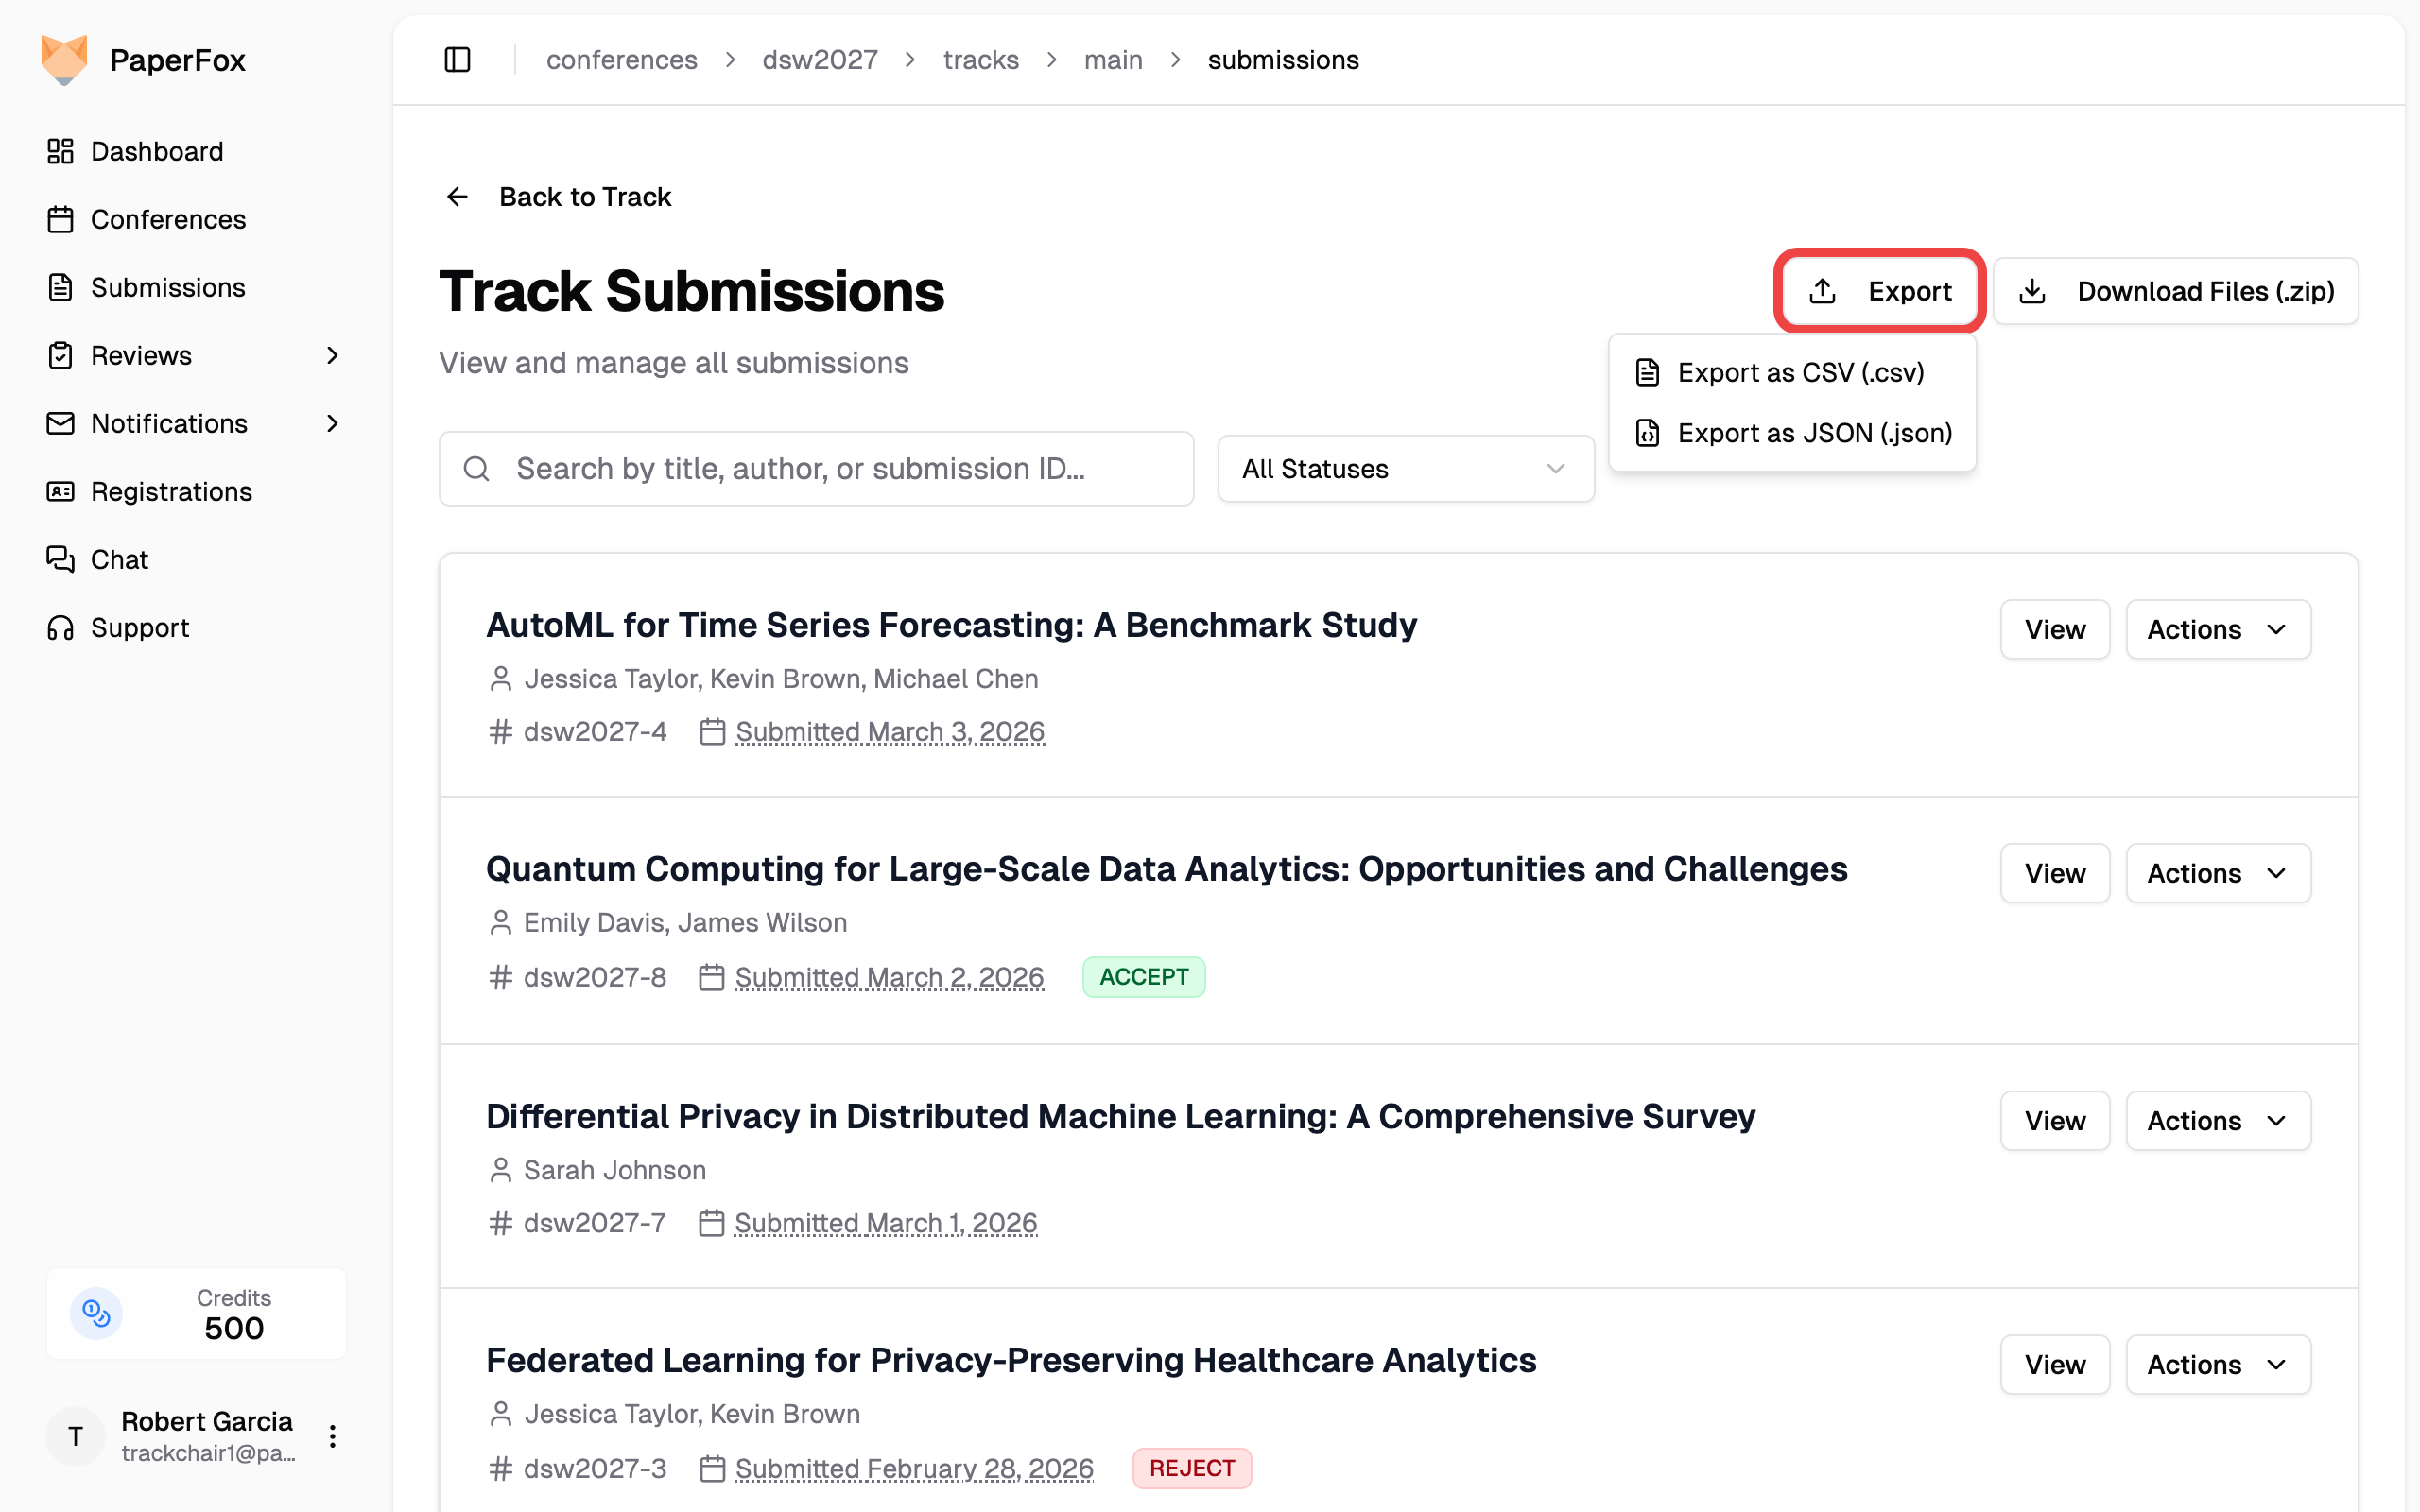 - **CSV** — opens in Excel, Google Sheets, etc.
- **JSON** — for programmatic use
The exported file is named `{conference}-{track}-submissions-{date}.csv` (or `.json`).
- **CSV** — opens in Excel, Google Sheets, etc.
- **JSON** — for programmatic use
The exported file is named `{conference}-{track}-submissions-{date}.csv` (or `.json`).
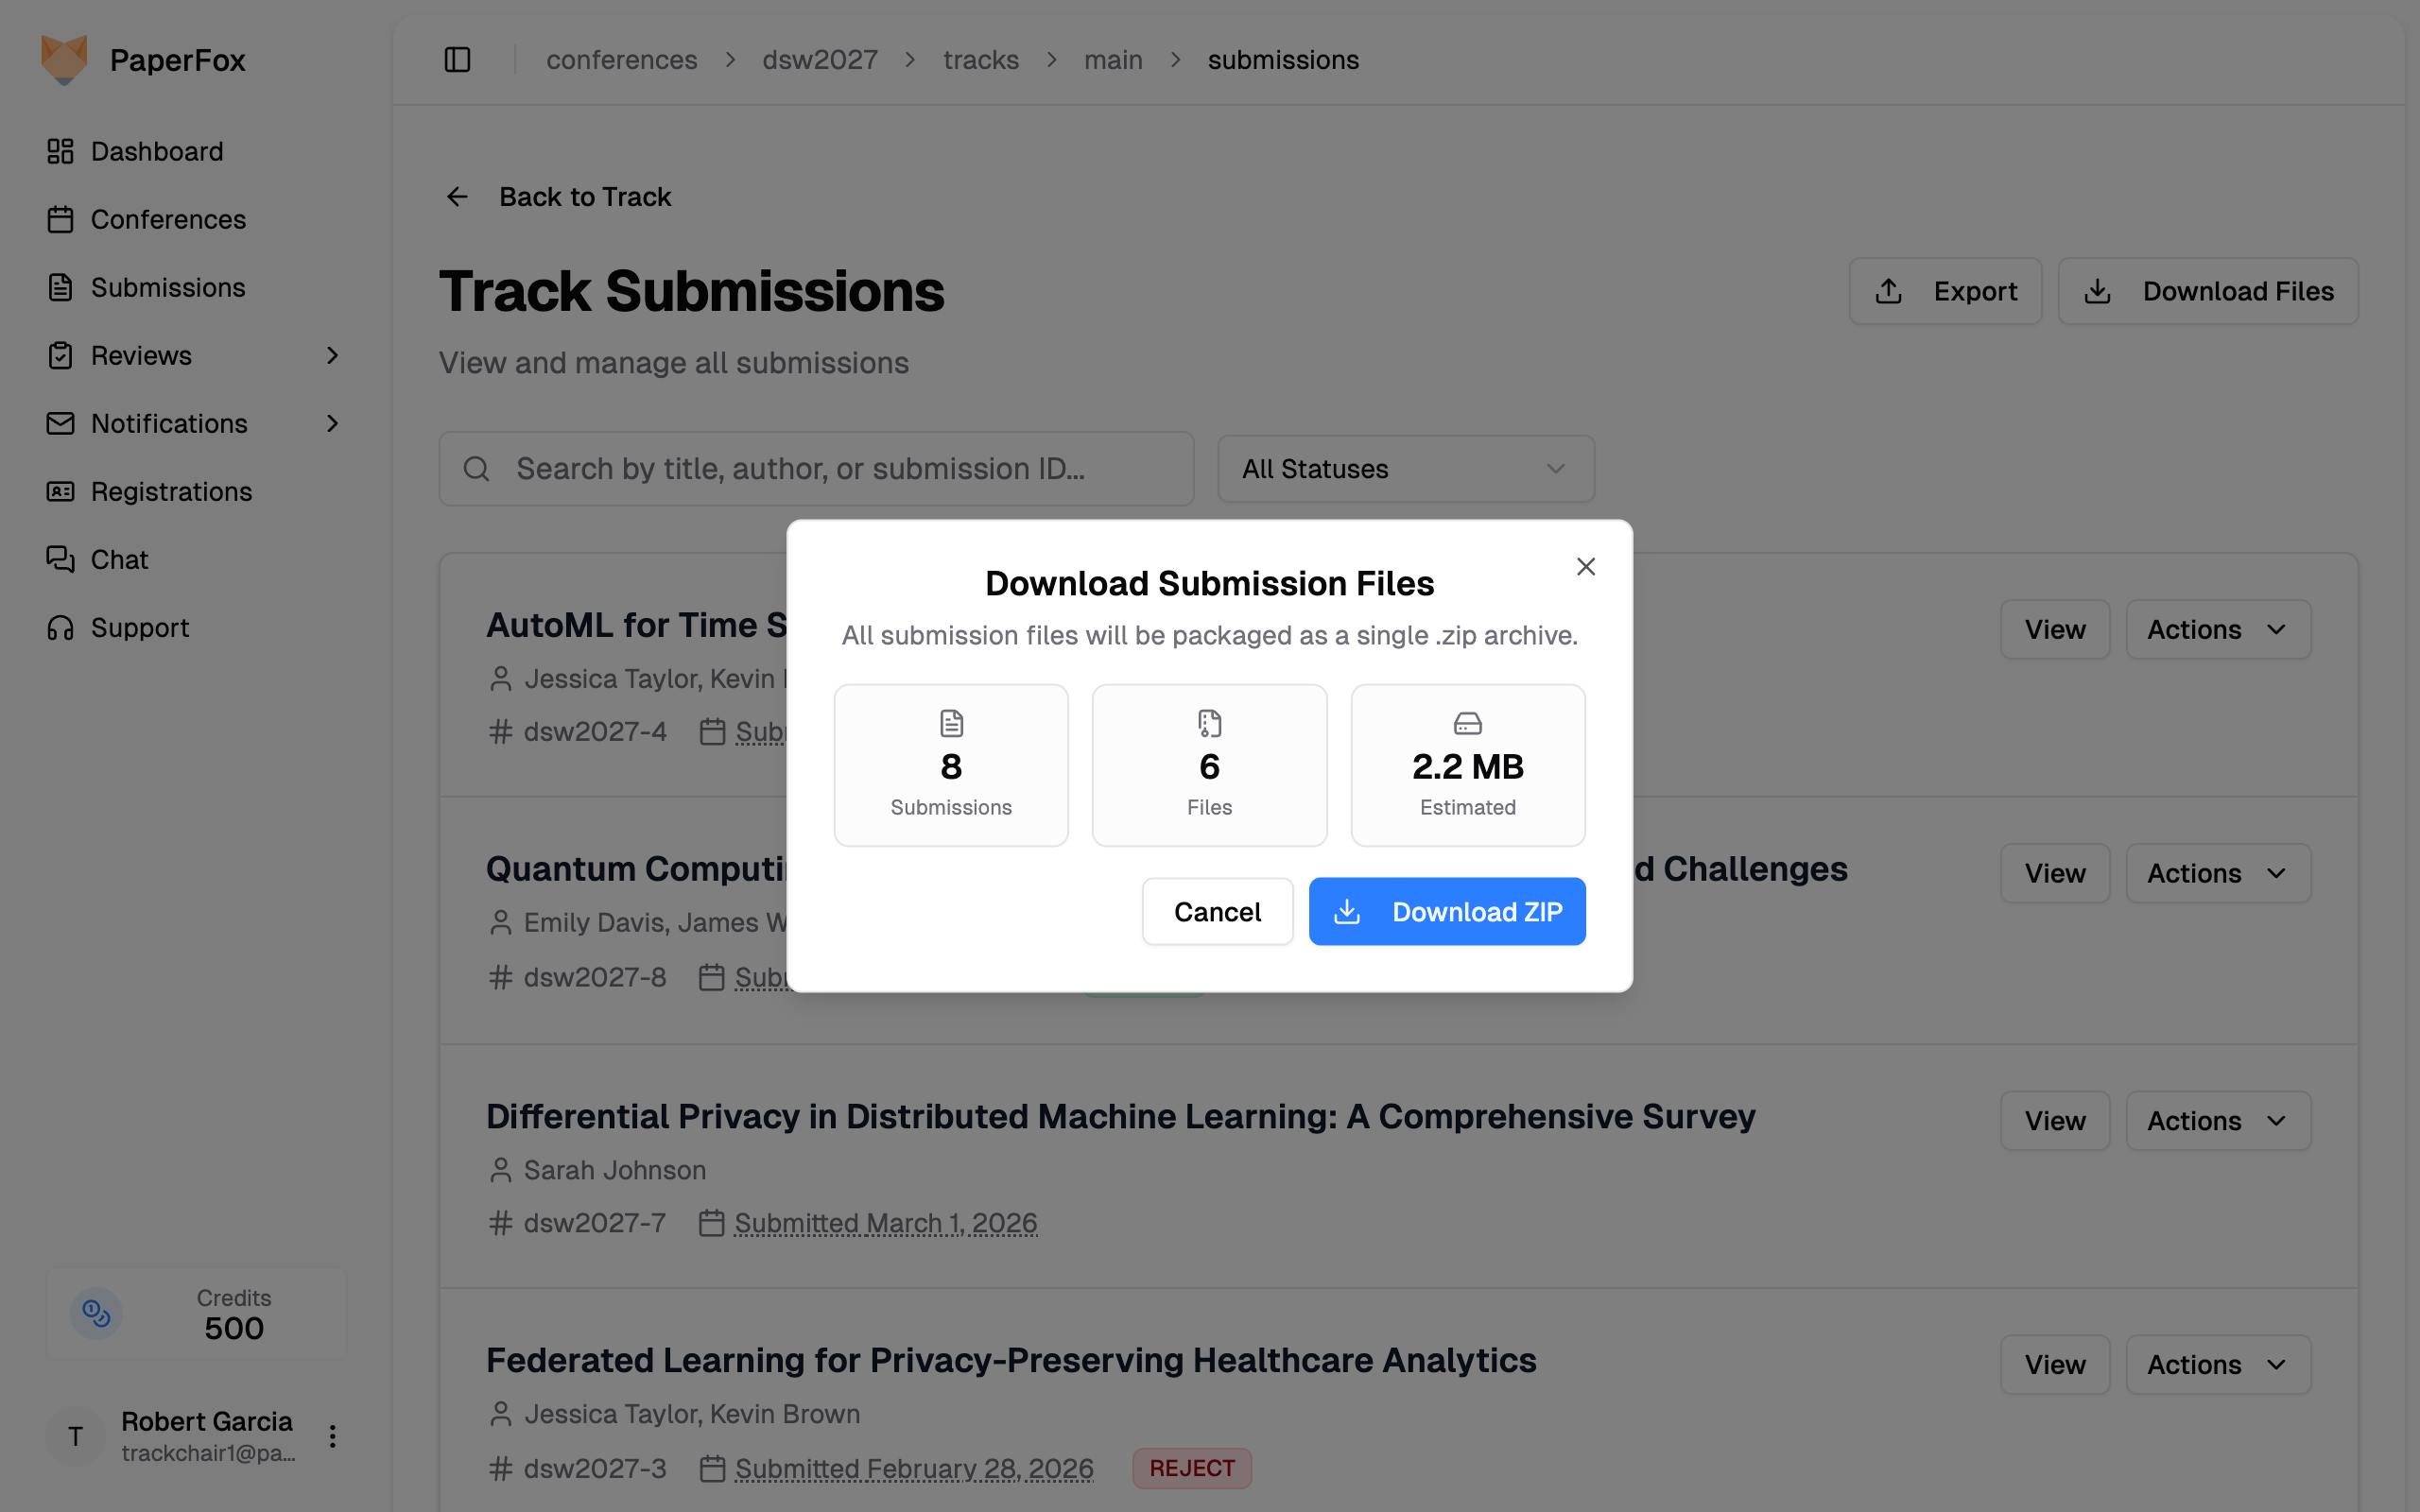 3. Click **"Download ZIP"** to start the download
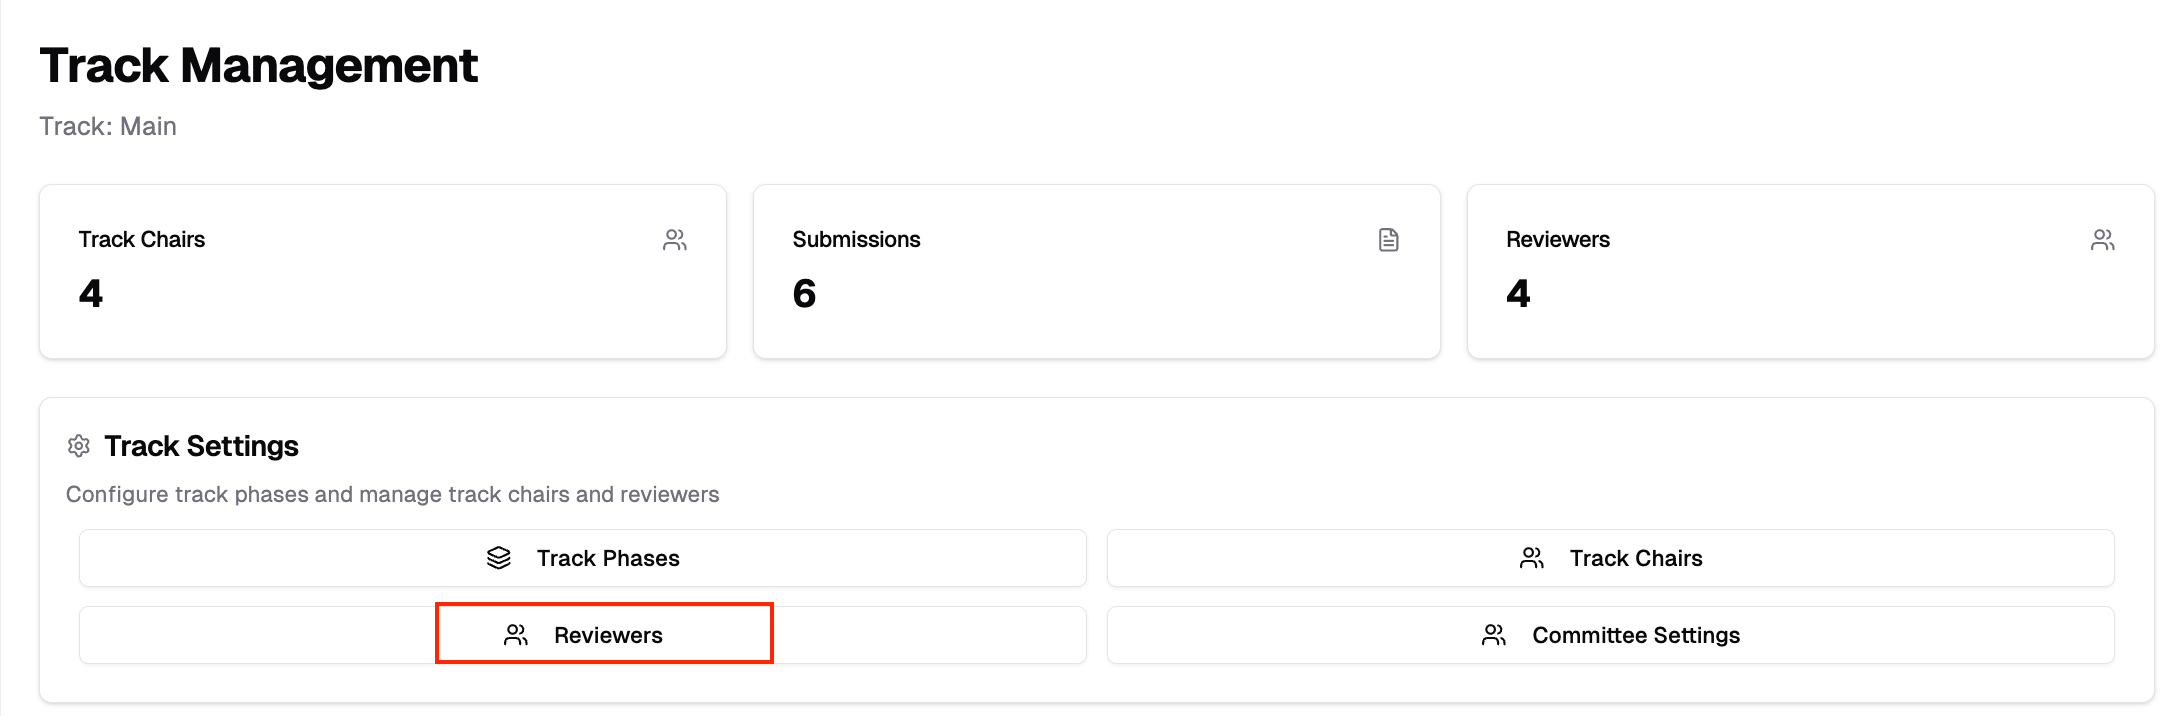 ## Direct Add vs. Invitation
By default, PaperFox adds reviewers **directly** — no acceptance step:
- **Existing PaperFox users** get reviewer access immediately. They receive a "you've been added" email with a link to remove themselves if it was a mistake.
- **New email addresses** show as **Awaiting Account**. The person receives an email asking them to create a PaperFox account, and their reviewer access activates automatically as soon as they sign up with that address and verify it (the click in the verification email is what attaches the role).
Check **"Require acceptance"** in any add dialog to use the classic invitation flow instead: the person receives an Accept / Decline email and only joins the track after accepting.
Every add dialog also has a **"Preview Email"** button that renders exactly what the current lane will send — including your [chair intro and signature](/docs/chairs/customize-committee-emails) — before you commit. For the recipient's side of both flows, see [Managing Invitations](/docs/users/managing-invitations).
| | Direct add (default) | Require acceptance |
|---|---|---|
| Existing user | Active immediately | Joins after accepting |
| New email address | **Awaiting Account** — activates once they sign up and verify | Creates an account, then accepts |
| Best for | People who already agreed to review | Cold outreach where the answer is unknown |
## Direct Add vs. Invitation
By default, PaperFox adds reviewers **directly** — no acceptance step:
- **Existing PaperFox users** get reviewer access immediately. They receive a "you've been added" email with a link to remove themselves if it was a mistake.
- **New email addresses** show as **Awaiting Account**. The person receives an email asking them to create a PaperFox account, and their reviewer access activates automatically as soon as they sign up with that address and verify it (the click in the verification email is what attaches the role).
Check **"Require acceptance"** in any add dialog to use the classic invitation flow instead: the person receives an Accept / Decline email and only joins the track after accepting.
Every add dialog also has a **"Preview Email"** button that renders exactly what the current lane will send — including your [chair intro and signature](/docs/chairs/customize-committee-emails) — before you commit. For the recipient's side of both flows, see [Managing Invitations](/docs/users/managing-invitations).
| | Direct add (default) | Require acceptance |
|---|---|---|
| Existing user | Active immediately | Joins after accepting |
| New email address | **Awaiting Account** — activates once they sign up and verify | Creates an account, then accepts |
| Best for | People who already agreed to review | Cold outreach where the answer is unknown |
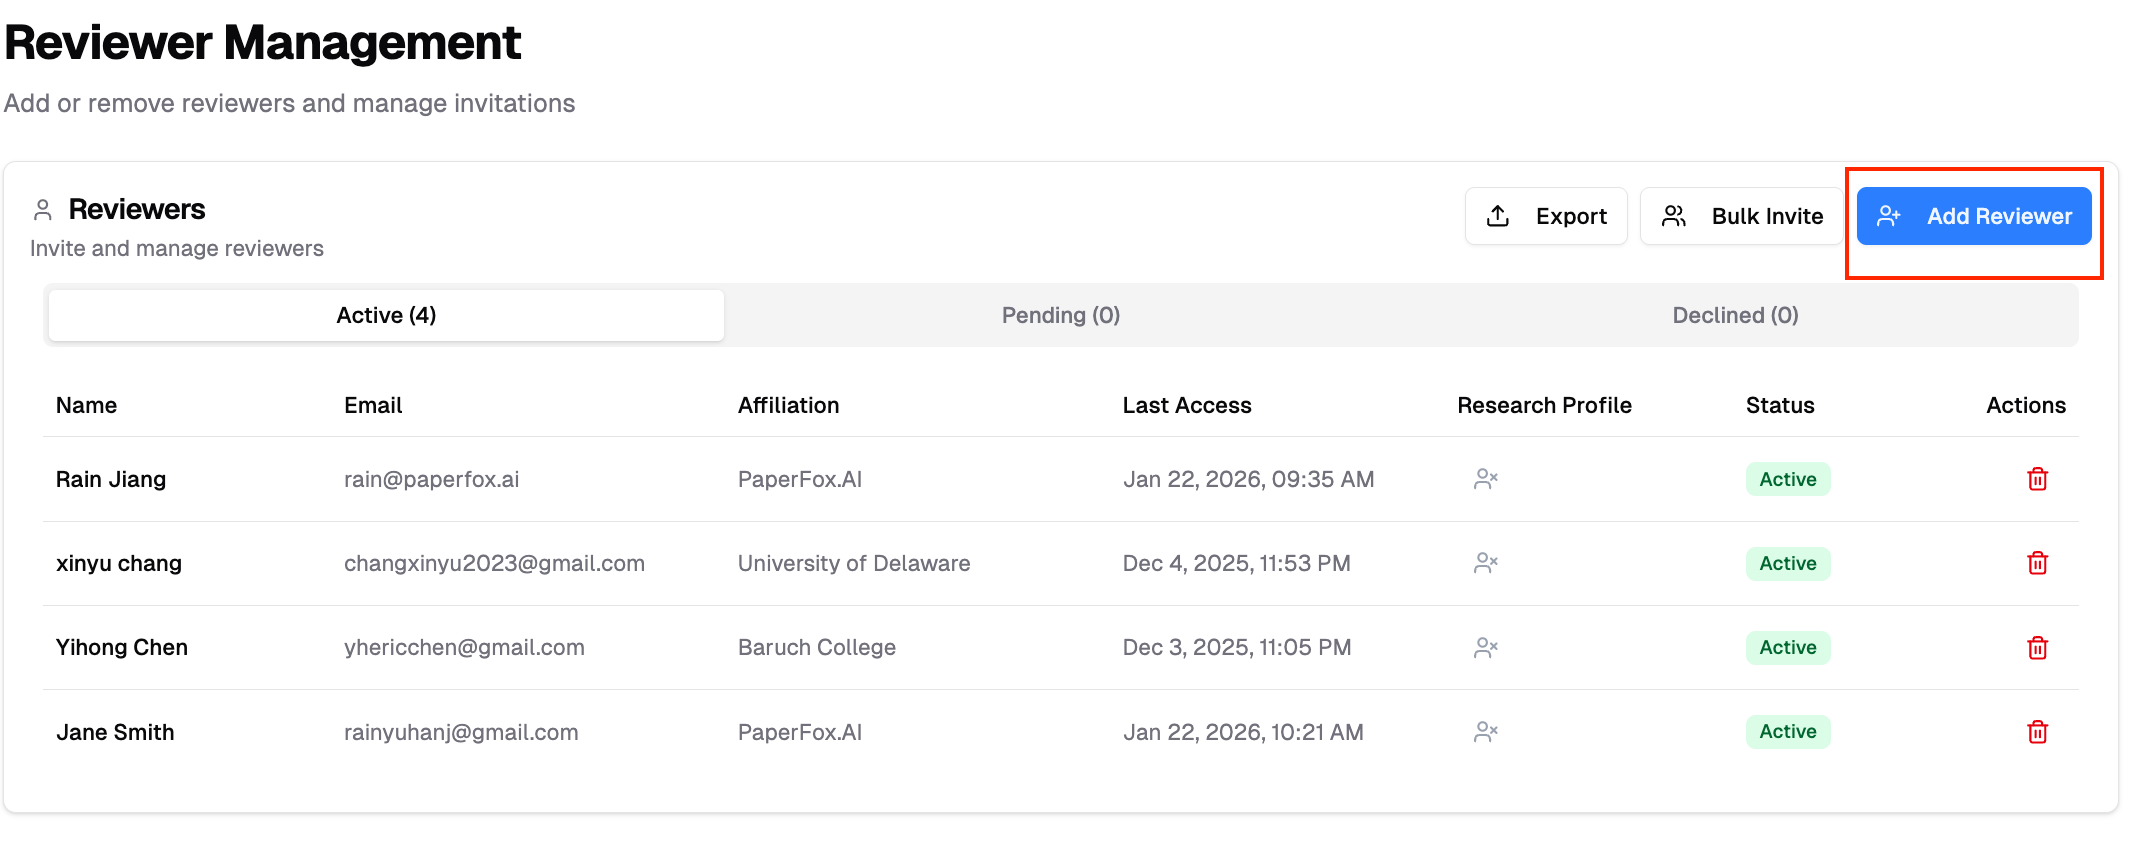 2. Search by name, email, or affiliation
3. **For existing users:** Select from search results and click **"Add Reviewer"**
4. **For new users:** Enter their full email address, click **"Add <email>"**, and fill in their name — they'll be emailed a link to create an account
2. Search by name, email, or affiliation
3. **For existing users:** Select from search results and click **"Add Reviewer"**
4. **For new users:** Enter their full email address, click **"Add <email>"**, and fill in their name — they'll be emailed a link to create an account
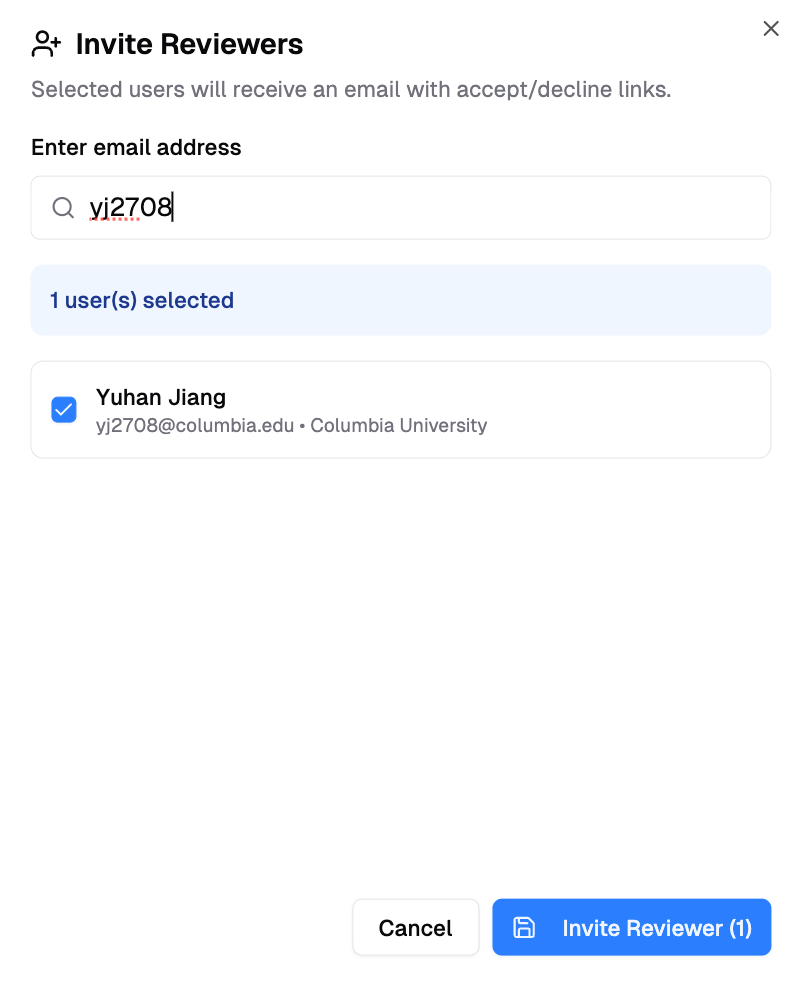 ### Method 2: Bulk Add
For adding multiple reviewers at once:
1. Click **"Add Reviewer"**, then choose **"Bulk add reviewers"** from the menu
2. Choose your input method from the two tabs:
#### Upload / Manual
**File Upload:**
- Drag and drop a CSV or Excel file containing email addresses
- The system automatically extracts all valid email addresses from any column
### Method 2: Bulk Add
For adding multiple reviewers at once:
1. Click **"Add Reviewer"**, then choose **"Bulk add reviewers"** from the menu
2. Choose your input method from the two tabs:
#### Upload / Manual
**File Upload:**
- Drag and drop a CSV or Excel file containing email addresses
- The system automatically extracts all valid email addresses from any column
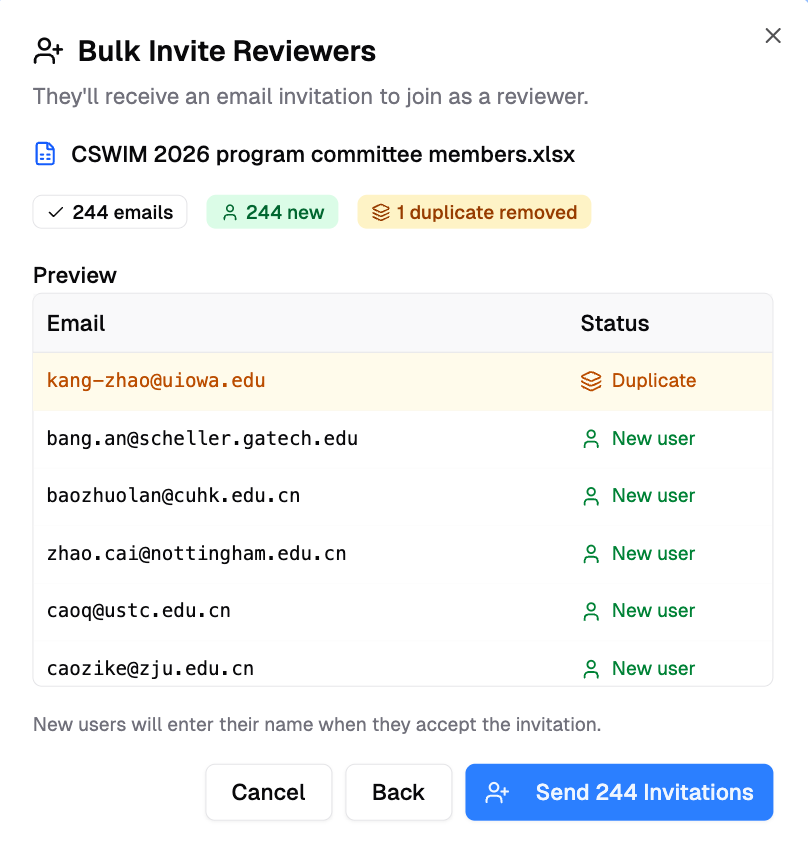 **Manual Entry:**
- Click **"or enter emails manually"**
- Type or paste email addresses, one per line
#### From Authors
Add submission authors directly as reviewers — useful when authors in your track have relevant expertise.
1. Click the **"From Authors"** tab
2. The system lists all authors from non-withdrawn submissions in the track, showing their name, email, and affiliation
3. Use the dropdown to filter by **All Authors** or **Corresponding Authors Only**
4. Use the search box to find specific authors by name, email, or affiliation
5. Authors who are already reviewers or have pending invitations are shown as disabled with a badge
6. Select authors using the checkboxes, or click **"Select all available"** to select everyone who can be added
7. Click **"Continue with N Authors"** to proceed to the preview
**Manual Entry:**
- Click **"or enter emails manually"**
- Type or paste email addresses, one per line
#### From Authors
Add submission authors directly as reviewers — useful when authors in your track have relevant expertise.
1. Click the **"From Authors"** tab
2. The system lists all authors from non-withdrawn submissions in the track, showing their name, email, and affiliation
3. Use the dropdown to filter by **All Authors** or **Corresponding Authors Only**
4. Use the search box to find specific authors by name, email, or affiliation
5. Authors who are already reviewers or have pending invitations are shown as disabled with a badge
6. Select authors using the checkboxes, or click **"Select all available"** to select everyone who can be added
7. Click **"Continue with N Authors"** to proceed to the preview
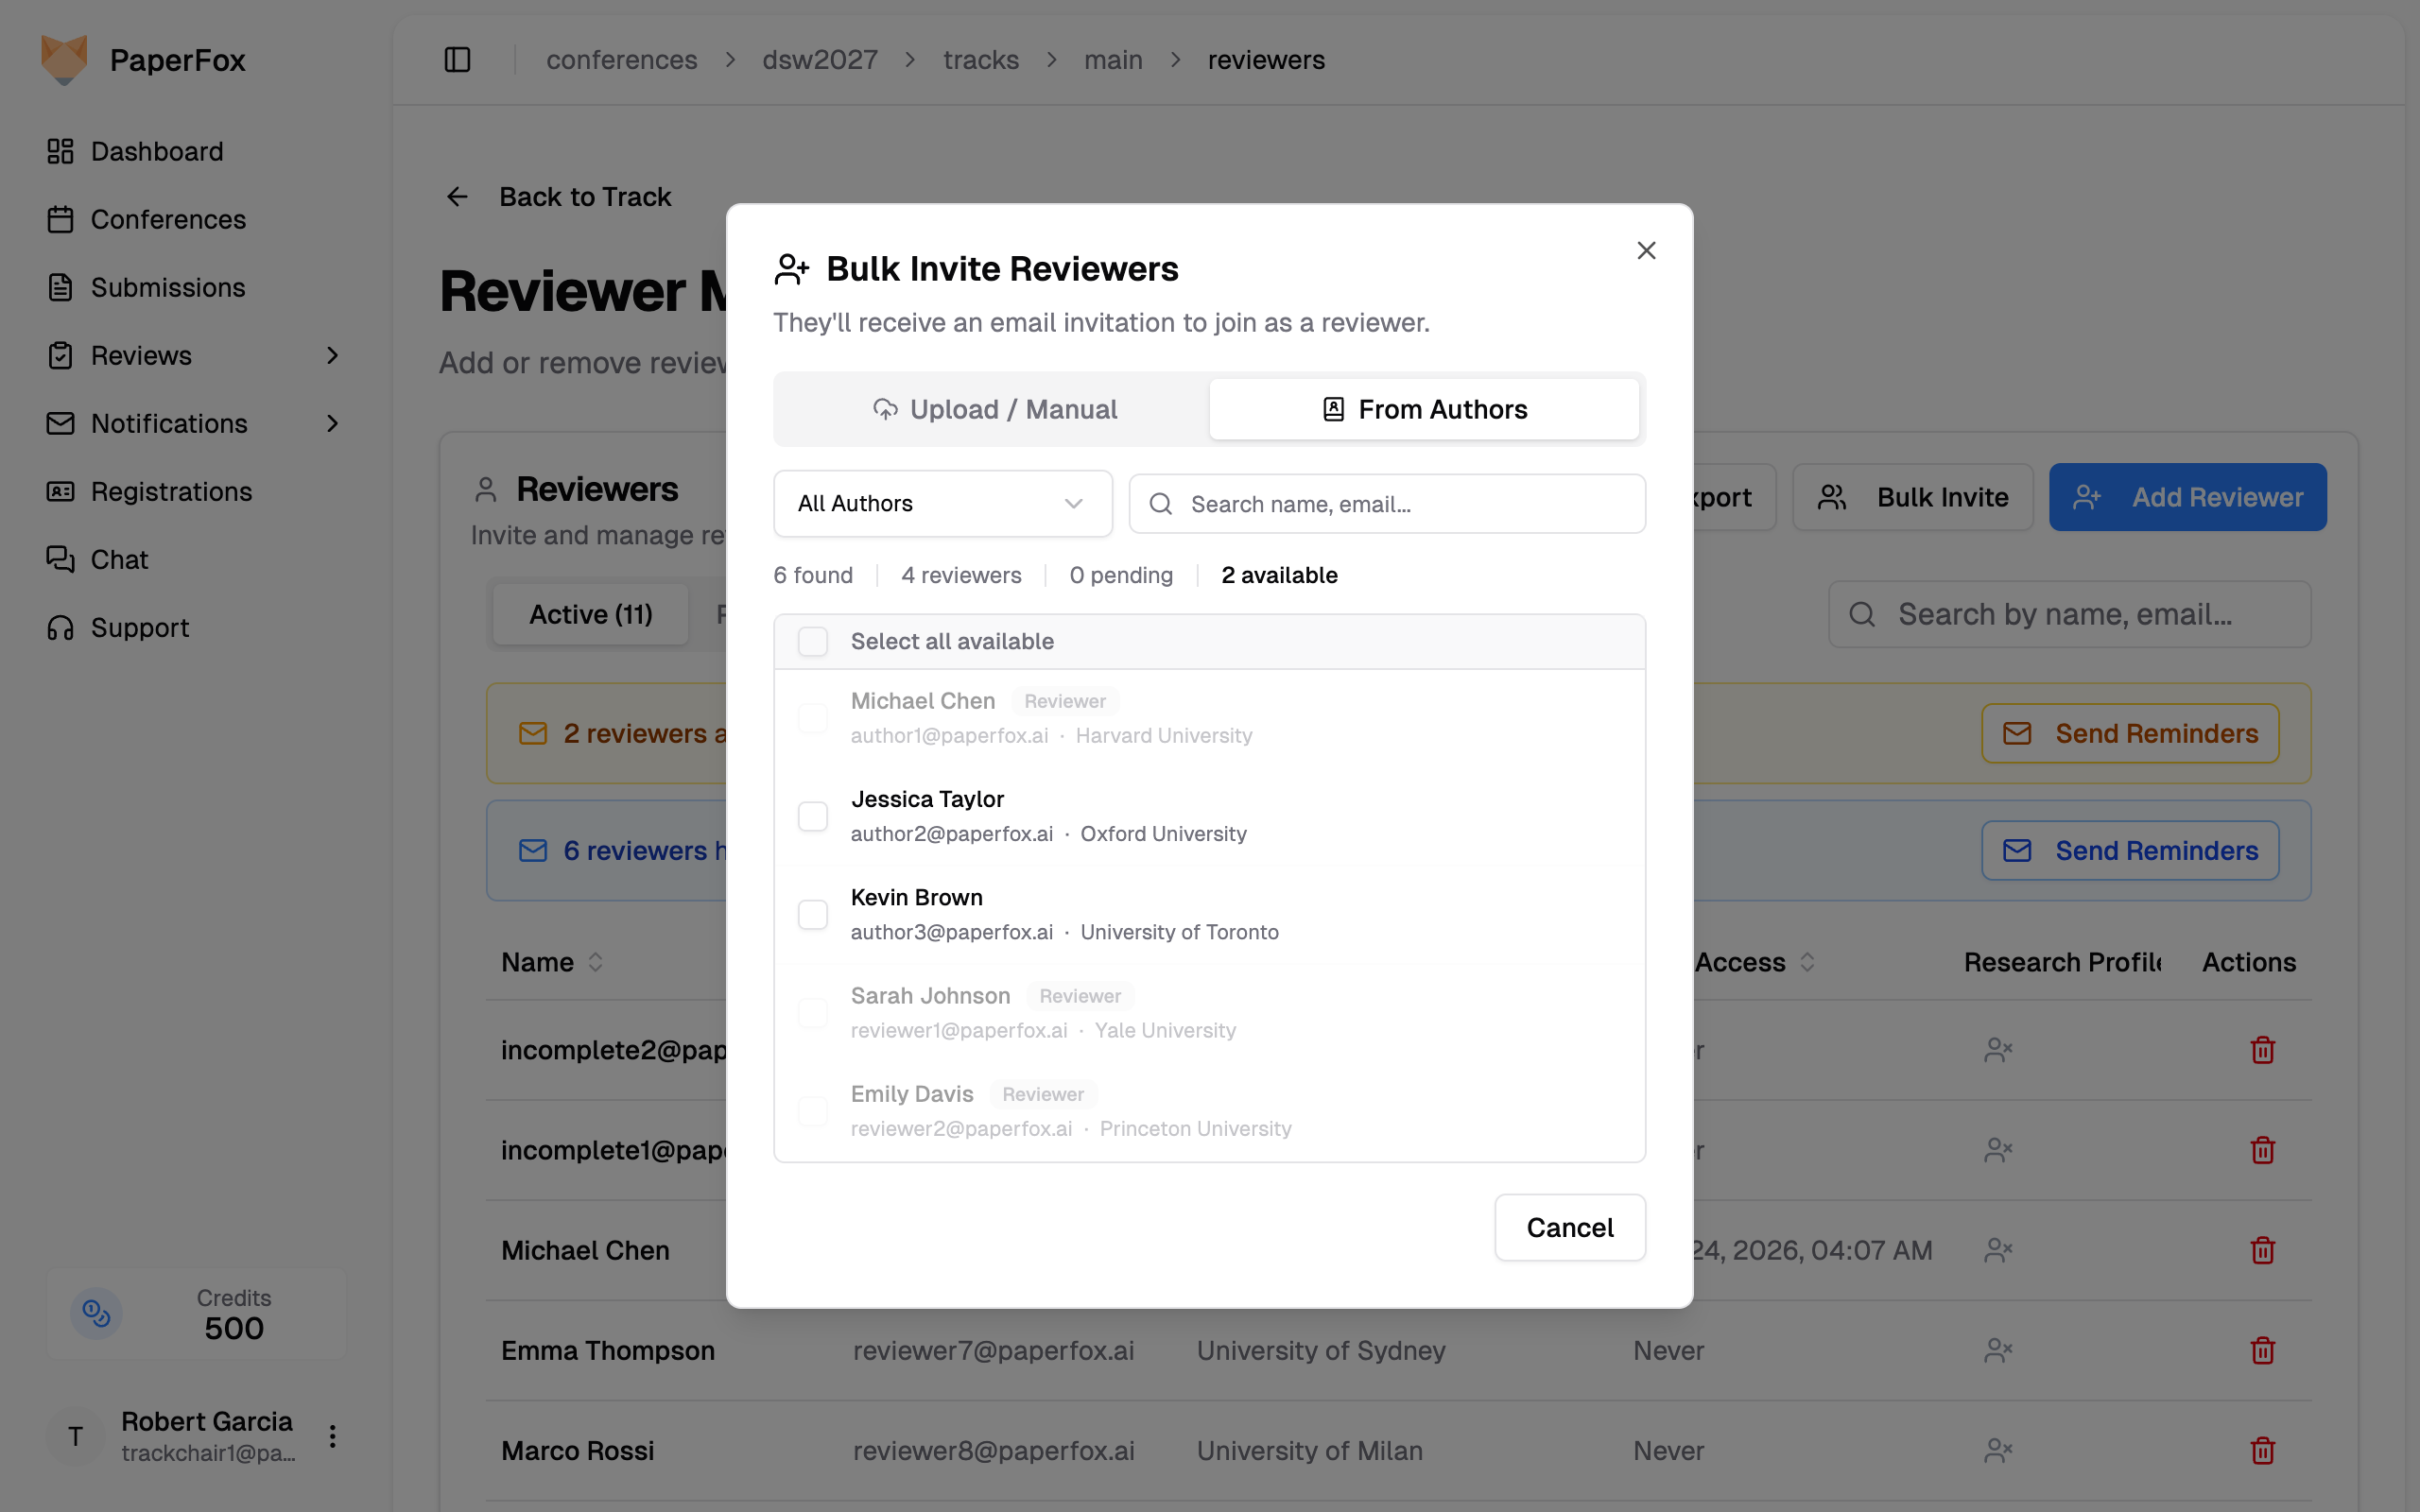 #### Confirming
3. Review the extracted emails in the preview
4. Click **"Add N Reviewers"** (or **"Send N Invitations"** when **"Require acceptance"** is checked)
After the call completes, a summary reports exactly what happened: how many people were **added** (access active now), how many are **awaiting account creation** (emailed a signup link), and how many were **invited** (must accept). Any addresses that failed are listed right in the message.
## The Reviewer List
The reviewer list is organized into three tabs:
- **Active** — Reviewers with access to the track
- **Pending** — People who aren't active yet, with a chip explaining why (see below)
- **Declined** — People who declined or removed themselves
#### Confirming
3. Review the extracted emails in the preview
4. Click **"Add N Reviewers"** (or **"Send N Invitations"** when **"Require acceptance"** is checked)
After the call completes, a summary reports exactly what happened: how many people were **added** (access active now), how many are **awaiting account creation** (emailed a signup link), and how many were **invited** (must accept). Any addresses that failed are listed right in the message.
## The Reviewer List
The reviewer list is organized into three tabs:
- **Active** — Reviewers with access to the track
- **Pending** — People who aren't active yet, with a chip explaining why (see below)
- **Declined** — People who declined or removed themselves
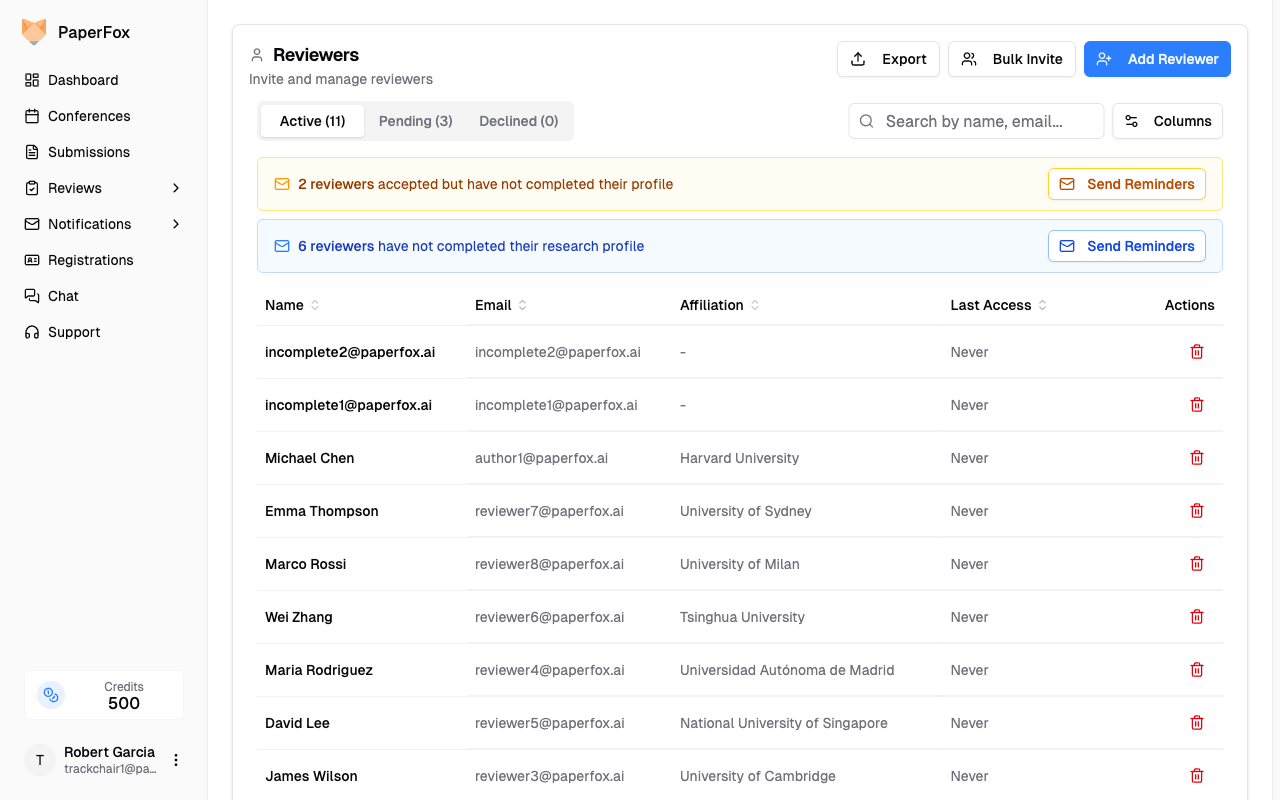 ### Reading the Pending Tab
Each pending row's status chip tells you whose move it is — click a chip for a short explanation:
| Chip | Meaning | What to do |
|------|---------|-----------|
| **Awaiting Account** (amber) | Direct-added, but they haven't created their PaperFox account yet. Access activates automatically once they sign up and verify the address. | Nothing — or **Resend** to nudge them |
| **Awaiting Response** (orange) | Invitation sent; they haven't accepted or declined. | Wait, or **Resend** |
| **Expired** (gray) | The invitation lapsed (30 days) and its links no longer work. | **Resend** to issue a fresh 30-day window |
If Postmark cannot deliver to an address (it previously hard-bounced), an inline **Undeliverable** badge appears next to the email — that person never received anything, so fix the address and add them again rather than waiting.
### Reading the Pending Tab
Each pending row's status chip tells you whose move it is — click a chip for a short explanation:
| Chip | Meaning | What to do |
|------|---------|-----------|
| **Awaiting Account** (amber) | Direct-added, but they haven't created their PaperFox account yet. Access activates automatically once they sign up and verify the address. | Nothing — or **Resend** to nudge them |
| **Awaiting Response** (orange) | Invitation sent; they haven't accepted or declined. | Wait, or **Resend** |
| **Expired** (gray) | The invitation lapsed (30 days) and its links no longer work. | **Resend** to issue a fresh 30-day window |
If Postmark cannot deliver to an address (it previously hard-bounced), an inline **Undeliverable** badge appears next to the email — that person never received anything, so fix the address and add them again rather than waiting.
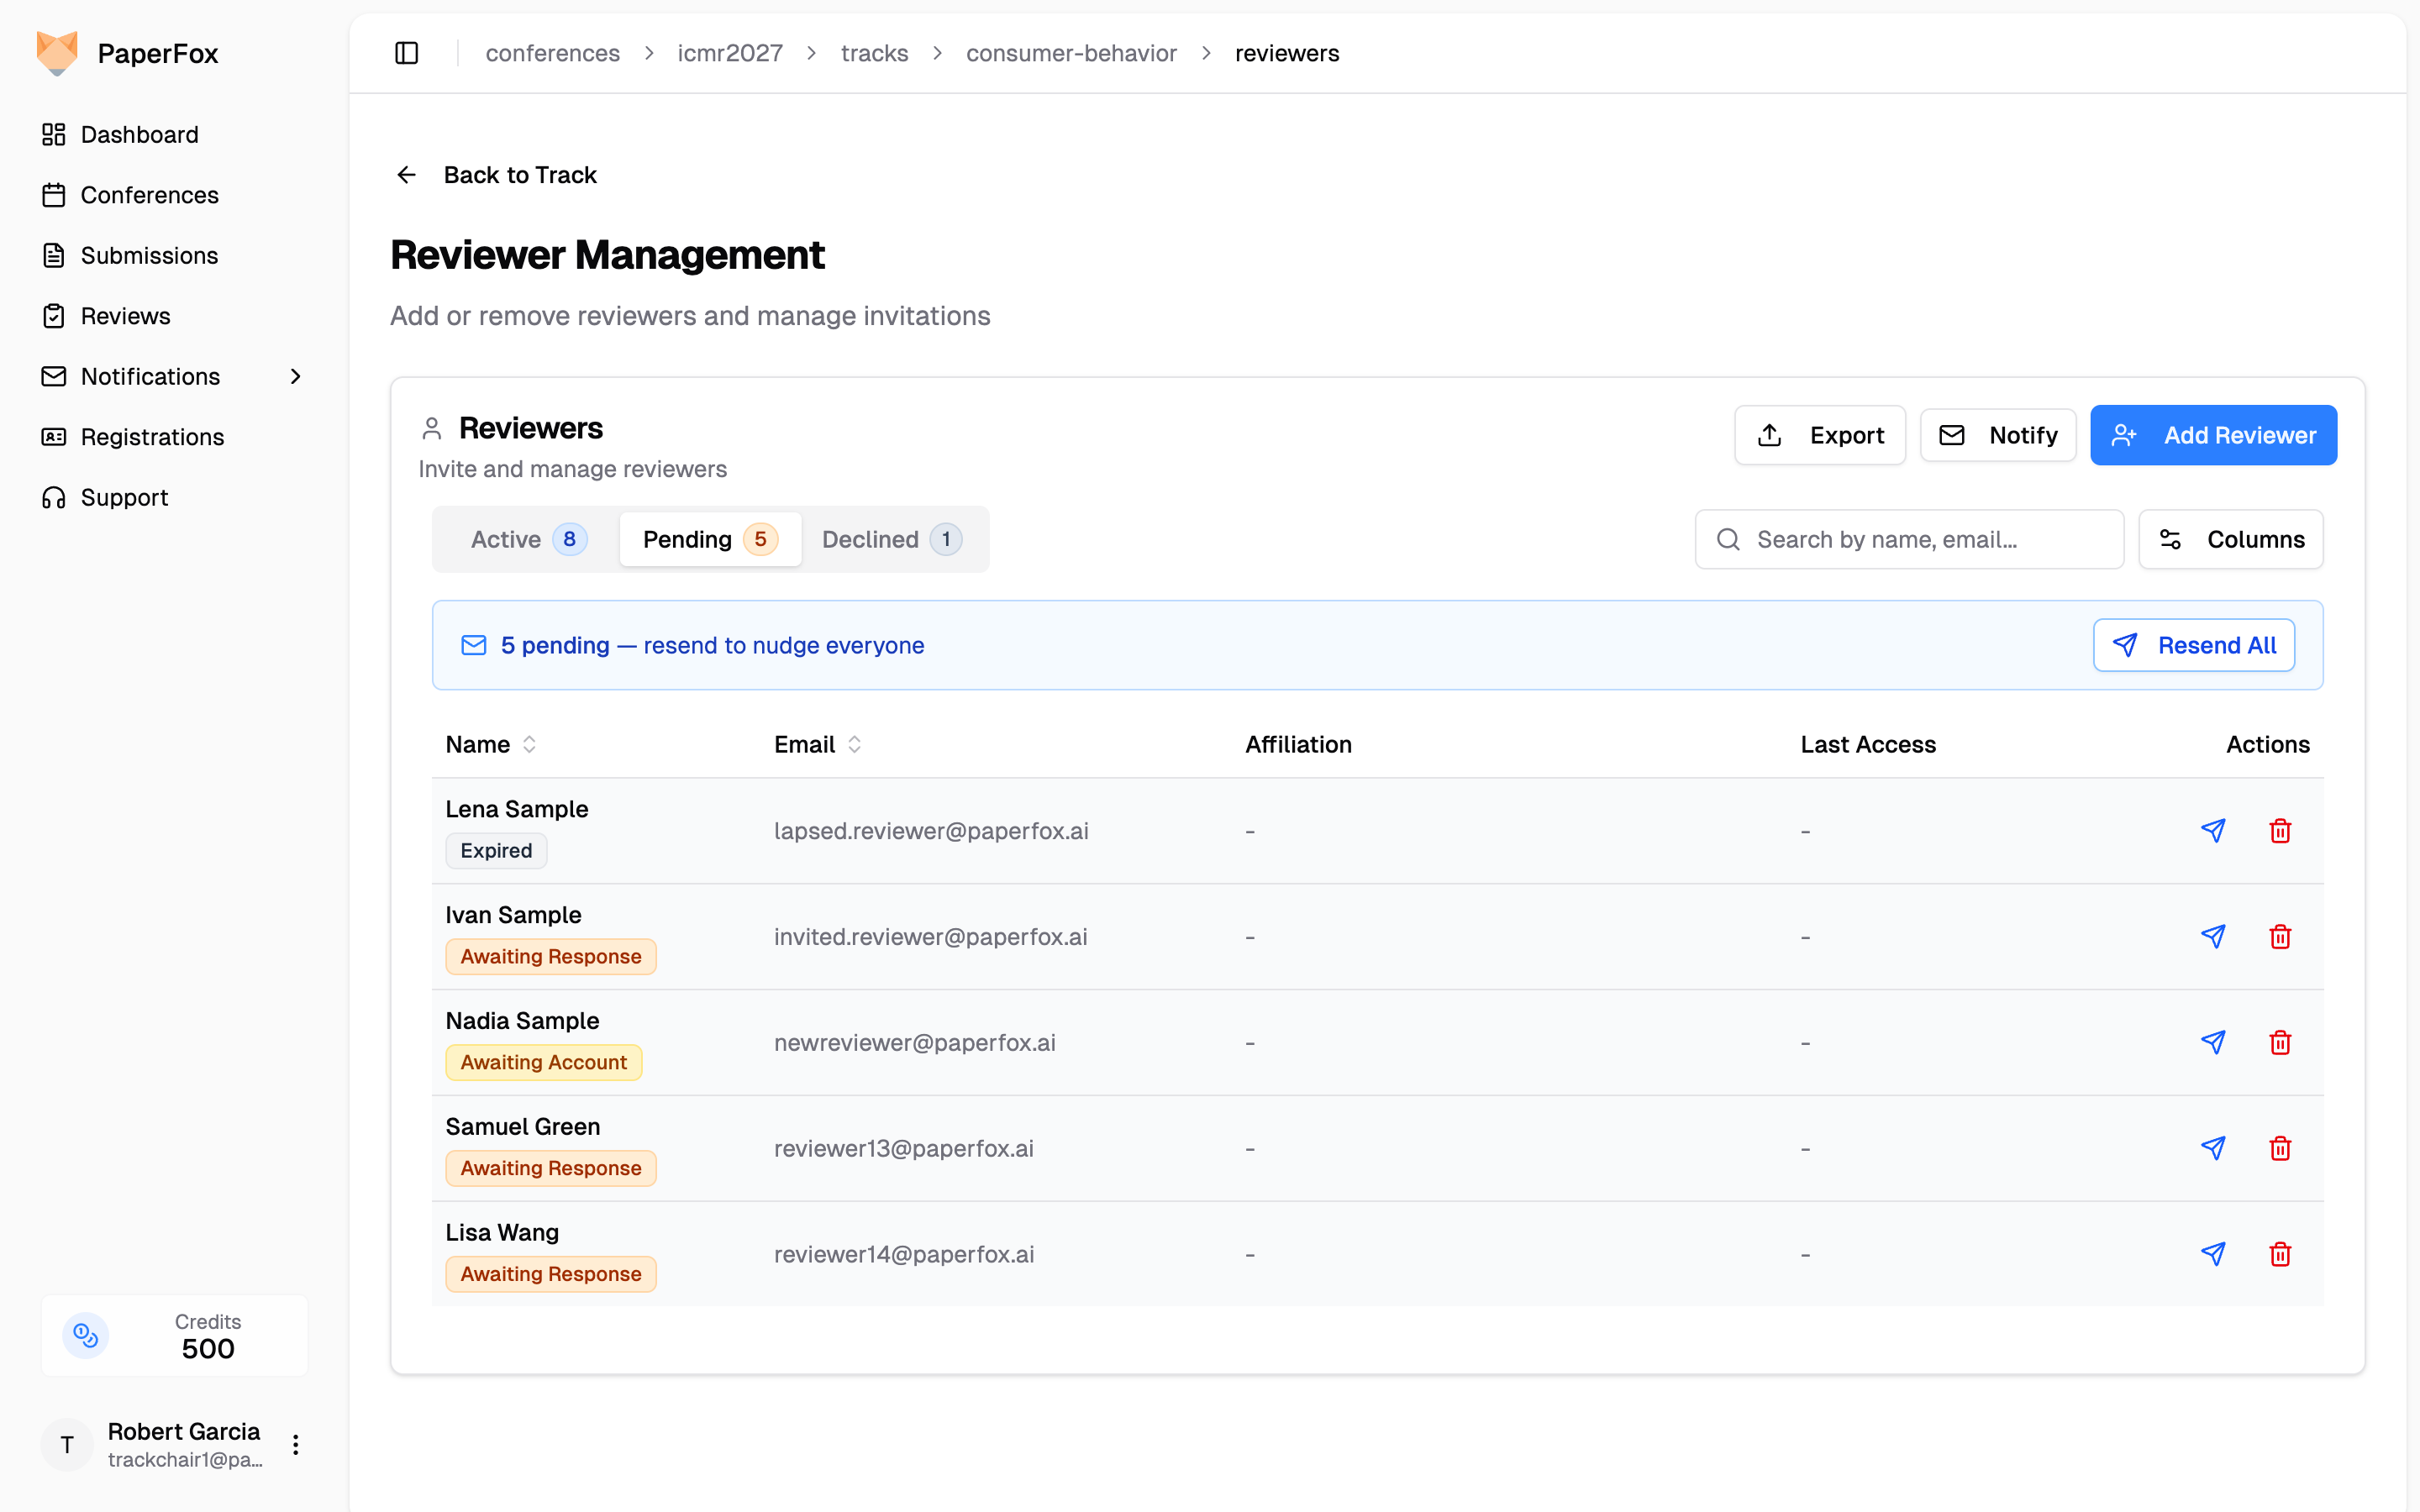
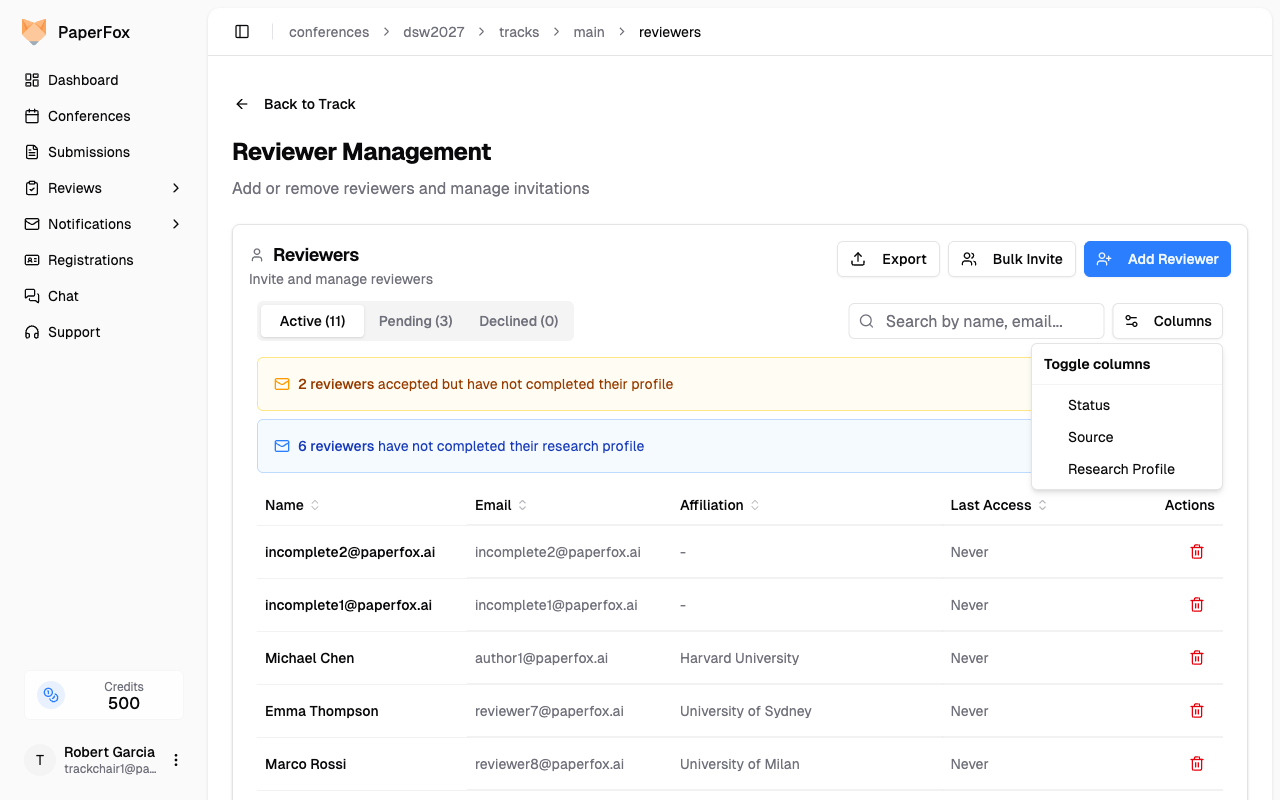 - **Status** — Shows **Active** (green) when a reviewer's profile is complete, or **Incomplete Profile** (amber) when they've joined but haven't logged in to fill out their name, affiliation, and other profile fields. Reviewers with incomplete profiles cannot be assigned submissions. The amber notification banner at the top of the Active tab surfaces this same information.
- **Source** — Shows how each reviewer was added to the track (see next section)
- **Research Profile** — Shows whether each reviewer has completed their AI-discovered research profile (see [Research Profiles & Submission Matching](#research-profiles--submission-matching))
Your column choices are remembered per role (reviewers, associate editors, senior editors), so each list keeps its own preferences across sessions.
### Reviewer Source
When the **Source** column is enabled, it shows how each reviewer was added to the track — useful for auditing your reviewer pool and distinguishing delegated sub-reviewers from your core committee.
| Source | When it applies |
|--------|----------------|
| **Committee** | Added directly by a track or conference chair via **Add Reviewer** or the Upload / Manual bulk-add flow. This is the default for most reviewers. |
| **Author** | Added through the [**From Authors**](#from-authors) tab in Bulk Add — these reviewers are submission authors from your track who were promoted into the reviewer pool. |
| **Delegation** | Added as a sub-reviewer when an assigned reviewer [delegated one of their submissions](/docs/reviewers/delegate-review). Only appears when the track has [sub-reviewers enabled](/docs/track-chairs/enable-sub-reviewers). |
Click the **Source** column header to sort reviewers by source. You can also export the full reviewer list (including Source) as CSV or JSON via the **Export** button.
---
## Managing Reviewers & Invitations
Each row in the reviewer list has an action button in the **Actions** column. Available actions depend on the tab:
| Tab | Action | What it does |
|-----|--------|--------------|
| **Active** | Remove | Removes the reviewer from the track (revokes their access) |
| **Pending** | Resend | Sends the email again (and restarts the 30-day expiry for invitations) |
| **Pending** | Cancel | Withdraws the pending entry |
| **Declined** | Re-invite | Sends a new invitation after a prior decline — this always requires acceptance |
Reviewers can also remove **themselves**: the "you've been added" email carries an opt-out link, which works as long as they have no assigned work. Self-removals appear in the **Declined** tab.
### Removing Active Reviewers
When you click **Remove** on an active reviewer, what happens depends on their review activity:
| Review Activity | Can Remove? | What Happens |
|-----------------|-------------|--------------|
| No assignments or reviews | Yes | Removed immediately |
| Only **Invited** or **Accepted** assignments (no started reviews) | Yes | A warning dialog lists the assignments that will be deleted — click **"Remove Anyway"** |
| Any **started or submitted** review | No | Blocked — started and submitted reviews are part of the permanent record and cannot be deleted |
- **Status** — Shows **Active** (green) when a reviewer's profile is complete, or **Incomplete Profile** (amber) when they've joined but haven't logged in to fill out their name, affiliation, and other profile fields. Reviewers with incomplete profiles cannot be assigned submissions. The amber notification banner at the top of the Active tab surfaces this same information.
- **Source** — Shows how each reviewer was added to the track (see next section)
- **Research Profile** — Shows whether each reviewer has completed their AI-discovered research profile (see [Research Profiles & Submission Matching](#research-profiles--submission-matching))
Your column choices are remembered per role (reviewers, associate editors, senior editors), so each list keeps its own preferences across sessions.
### Reviewer Source
When the **Source** column is enabled, it shows how each reviewer was added to the track — useful for auditing your reviewer pool and distinguishing delegated sub-reviewers from your core committee.
| Source | When it applies |
|--------|----------------|
| **Committee** | Added directly by a track or conference chair via **Add Reviewer** or the Upload / Manual bulk-add flow. This is the default for most reviewers. |
| **Author** | Added through the [**From Authors**](#from-authors) tab in Bulk Add — these reviewers are submission authors from your track who were promoted into the reviewer pool. |
| **Delegation** | Added as a sub-reviewer when an assigned reviewer [delegated one of their submissions](/docs/reviewers/delegate-review). Only appears when the track has [sub-reviewers enabled](/docs/track-chairs/enable-sub-reviewers). |
Click the **Source** column header to sort reviewers by source. You can also export the full reviewer list (including Source) as CSV or JSON via the **Export** button.
---
## Managing Reviewers & Invitations
Each row in the reviewer list has an action button in the **Actions** column. Available actions depend on the tab:
| Tab | Action | What it does |
|-----|--------|--------------|
| **Active** | Remove | Removes the reviewer from the track (revokes their access) |
| **Pending** | Resend | Sends the email again (and restarts the 30-day expiry for invitations) |
| **Pending** | Cancel | Withdraws the pending entry |
| **Declined** | Re-invite | Sends a new invitation after a prior decline — this always requires acceptance |
Reviewers can also remove **themselves**: the "you've been added" email carries an opt-out link, which works as long as they have no assigned work. Self-removals appear in the **Declined** tab.
### Removing Active Reviewers
When you click **Remove** on an active reviewer, what happens depends on their review activity:
| Review Activity | Can Remove? | What Happens |
|-----------------|-------------|--------------|
| No assignments or reviews | Yes | Removed immediately |
| Only **Invited** or **Accepted** assignments (no started reviews) | Yes | A warning dialog lists the assignments that will be deleted — click **"Remove Anyway"** |
| Any **started or submitted** review | No | Blocked — started and submitted reviews are part of the permanent record and cannot be deleted |
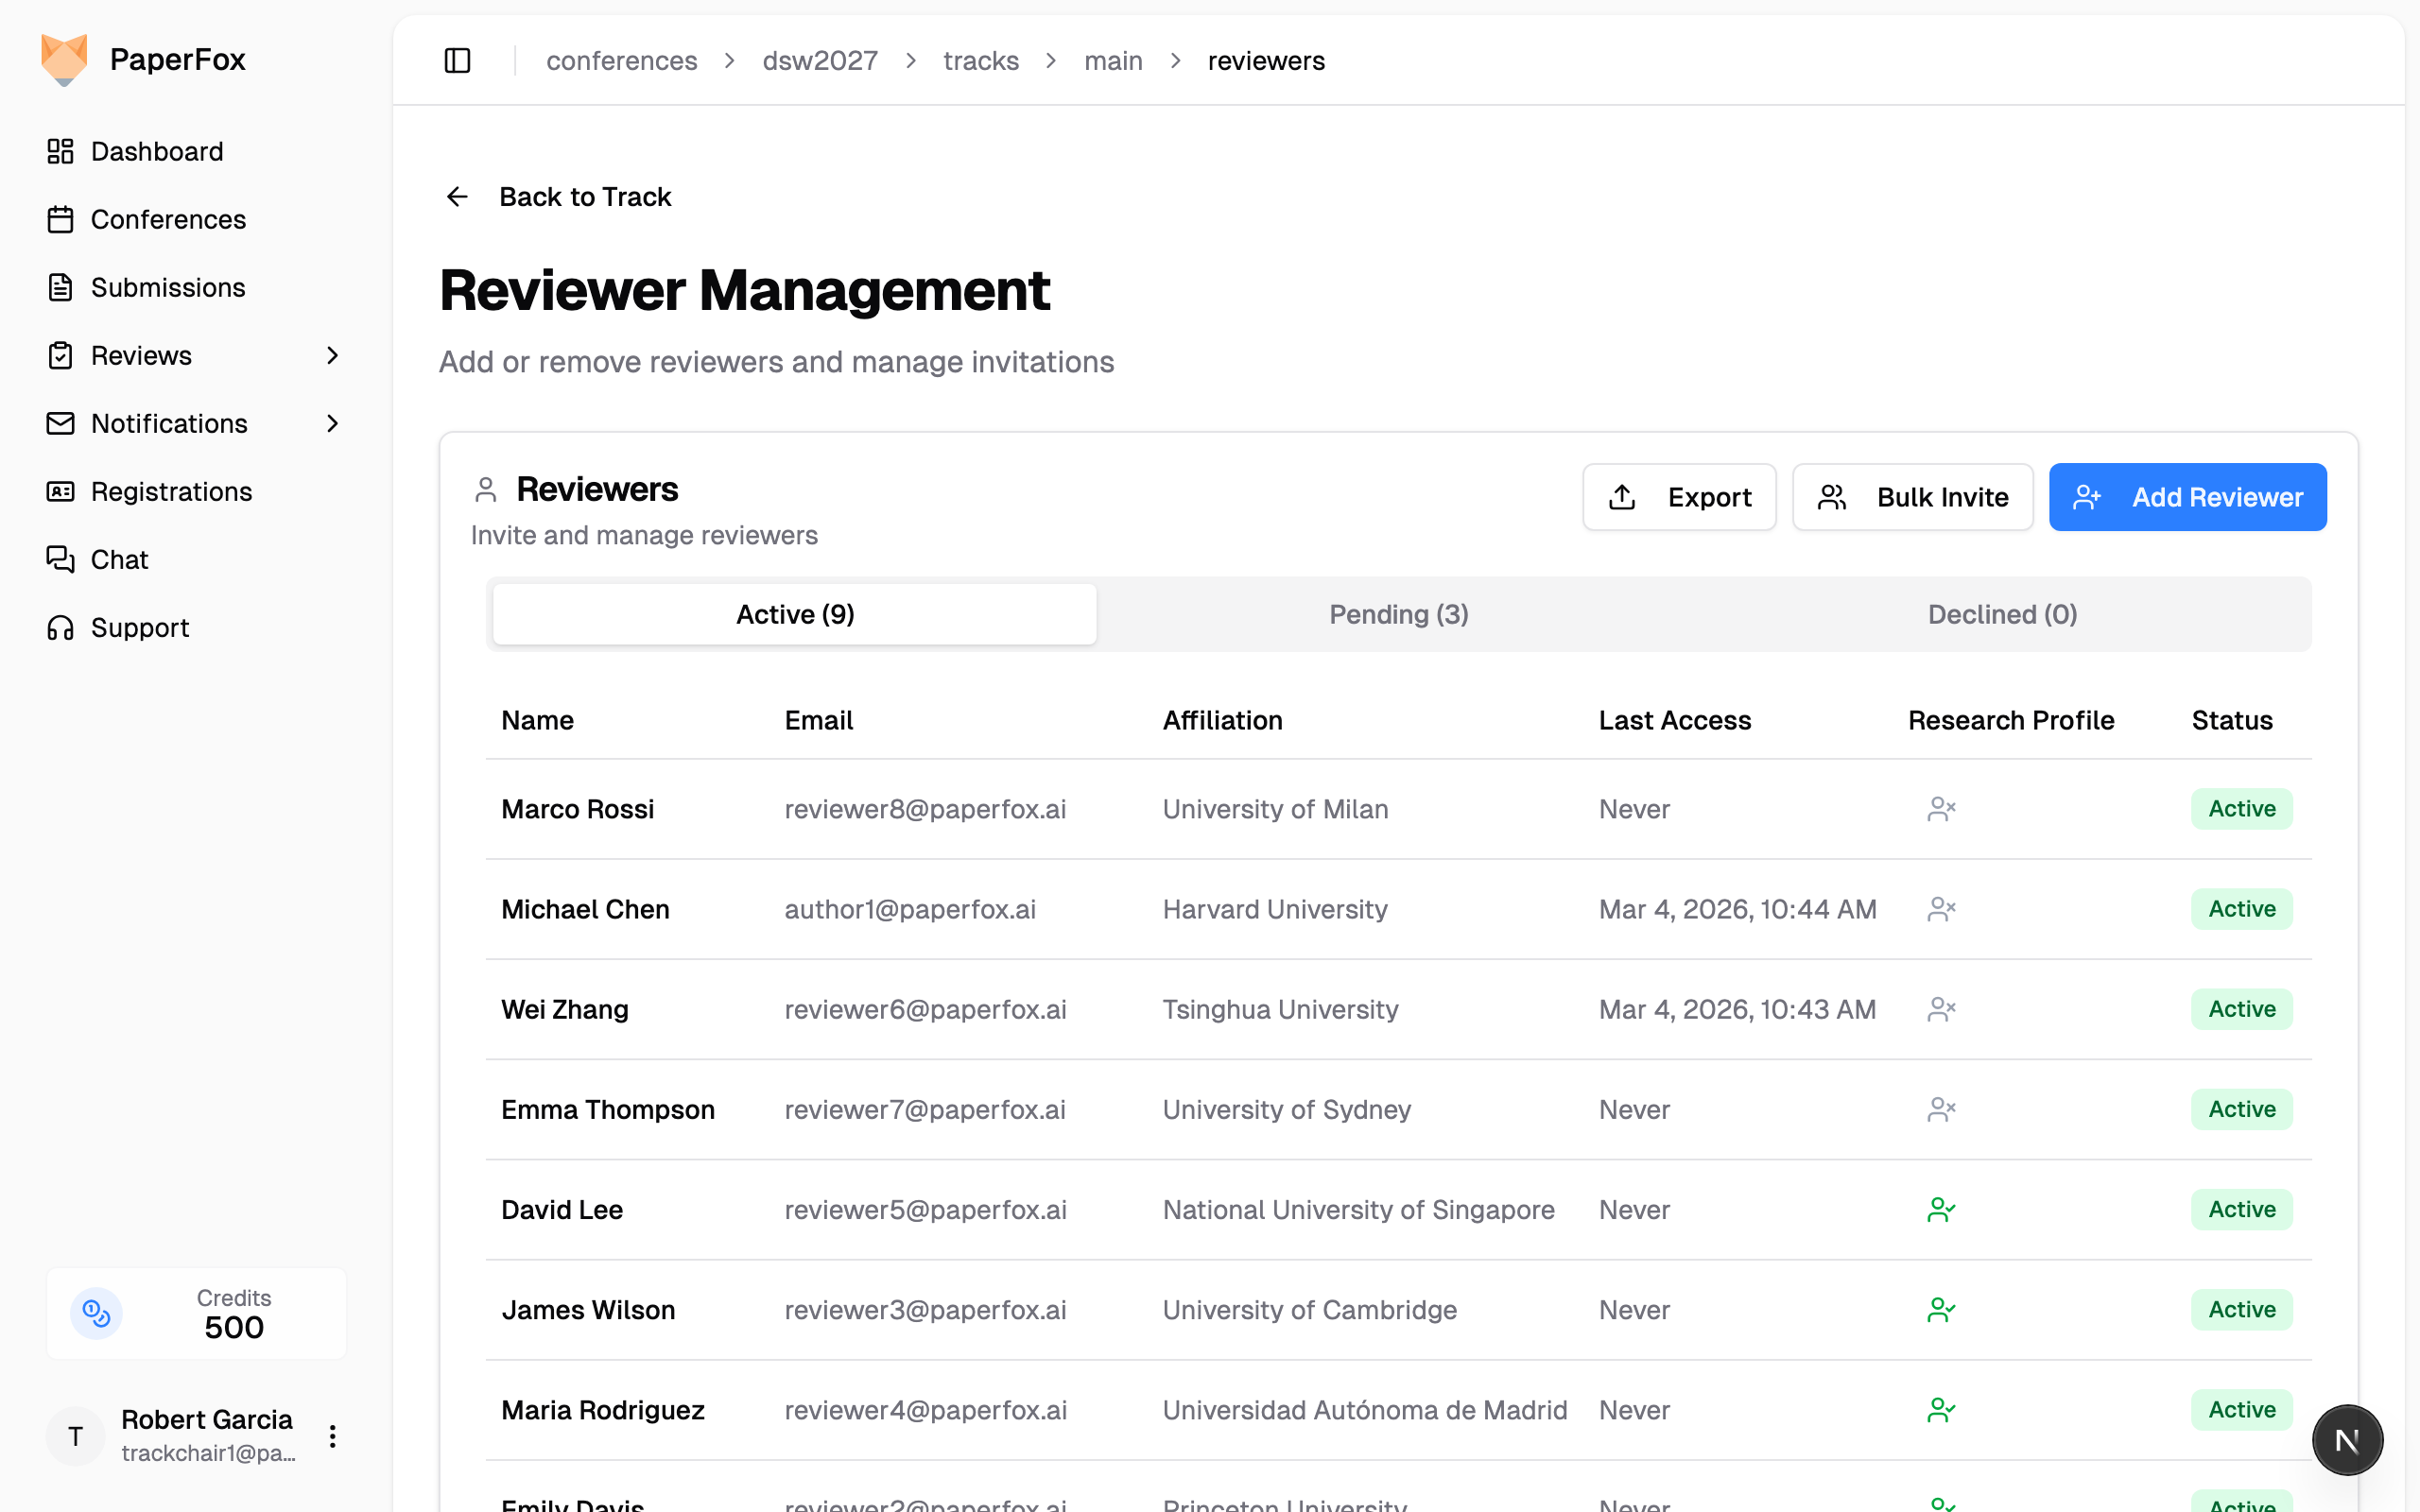 Profile icons indicate:
- **Green check** — Reviewer has a complete profile with expertise tags
- **Gray icon** — Reviewer hasn't completed their profile yet
Click the profile icon to view details or send a reminder.
### Viewing Reviewer Profiles
Click a reviewer's profile icon to see their expertise tags, research links, and publications summary.
Profile icons indicate:
- **Green check** — Reviewer has a complete profile with expertise tags
- **Gray icon** — Reviewer hasn't completed their profile yet
Click the profile icon to view details or send a reminder.
### Viewing Reviewer Profiles
Click a reviewer's profile icon to see their expertise tags, research links, and publications summary.
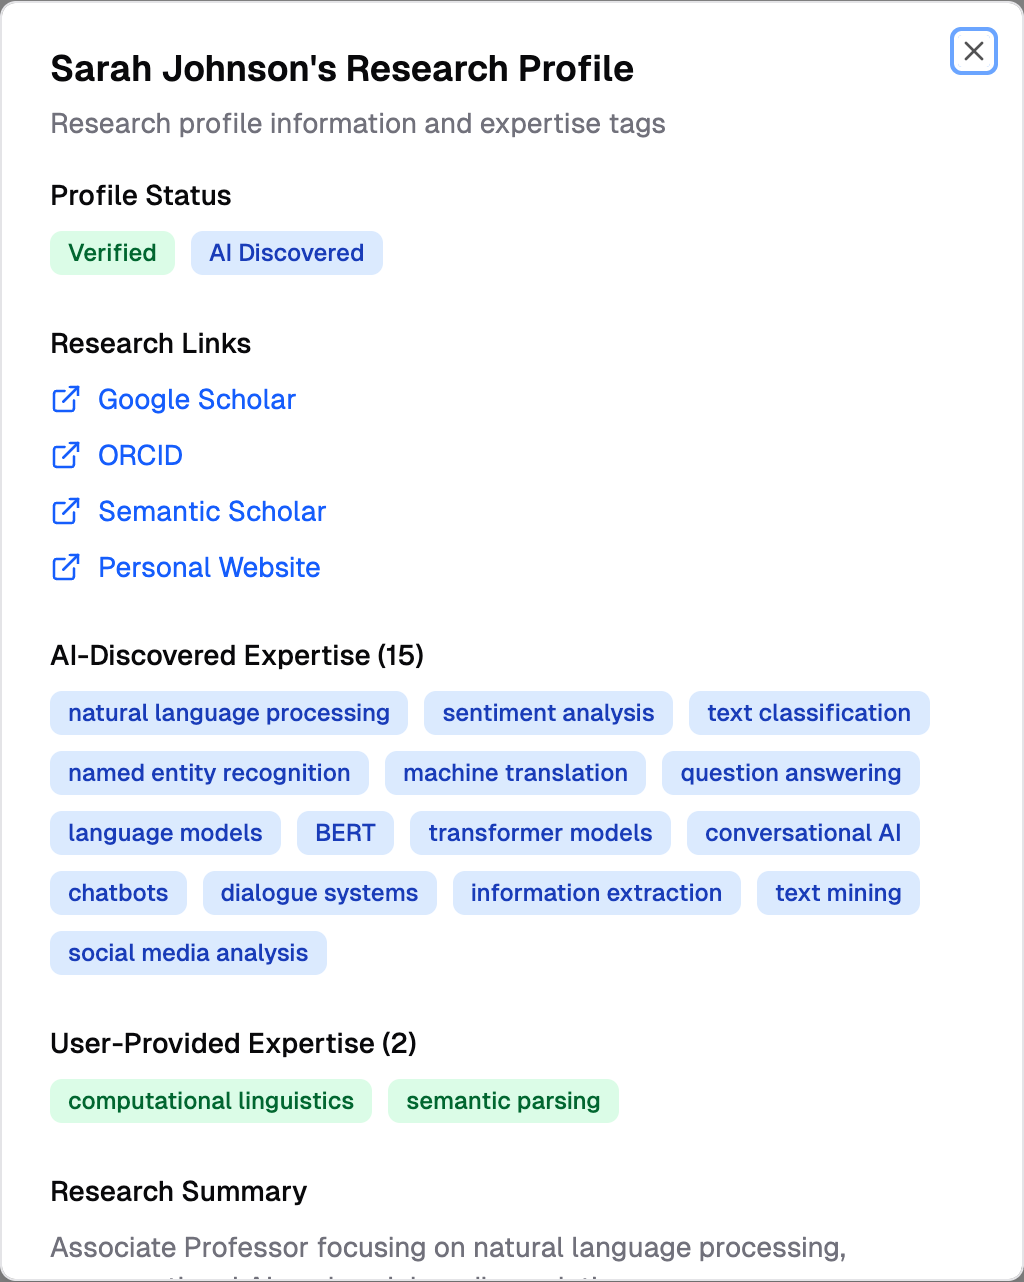 ### Sending Profile Reminders
When reviewers have incomplete profiles or missing research profiles, notification banners appear at the top of the Active tab:
- **Amber banner** — Shows the count of reviewers with incomplete basic profiles (haven't logged in to set their name/affiliation). Click **"Send Reminders"** to open the notification composer with the **Complete Profile Reminder** template pre-selected.
- **Blue banner** — Shows the count of reviewers without research profiles. Click **"Send Reminders"** to open the notification composer with the **Research Profile Reminder** template pre-selected.
Both buttons open the [notification composer](/docs/chairs/send-notifications) where you can preview and customize the email before sending.
You can also send individual reminders by clicking a reviewer's profile icon:
### Sending Profile Reminders
When reviewers have incomplete profiles or missing research profiles, notification banners appear at the top of the Active tab:
- **Amber banner** — Shows the count of reviewers with incomplete basic profiles (haven't logged in to set their name/affiliation). Click **"Send Reminders"** to open the notification composer with the **Complete Profile Reminder** template pre-selected.
- **Blue banner** — Shows the count of reviewers without research profiles. Click **"Send Reminders"** to open the notification composer with the **Research Profile Reminder** template pre-selected.
Both buttons open the [notification composer](/docs/chairs/send-notifications) where you can preview and customize the email before sending.
You can also send individual reminders by clicking a reviewer's profile icon:
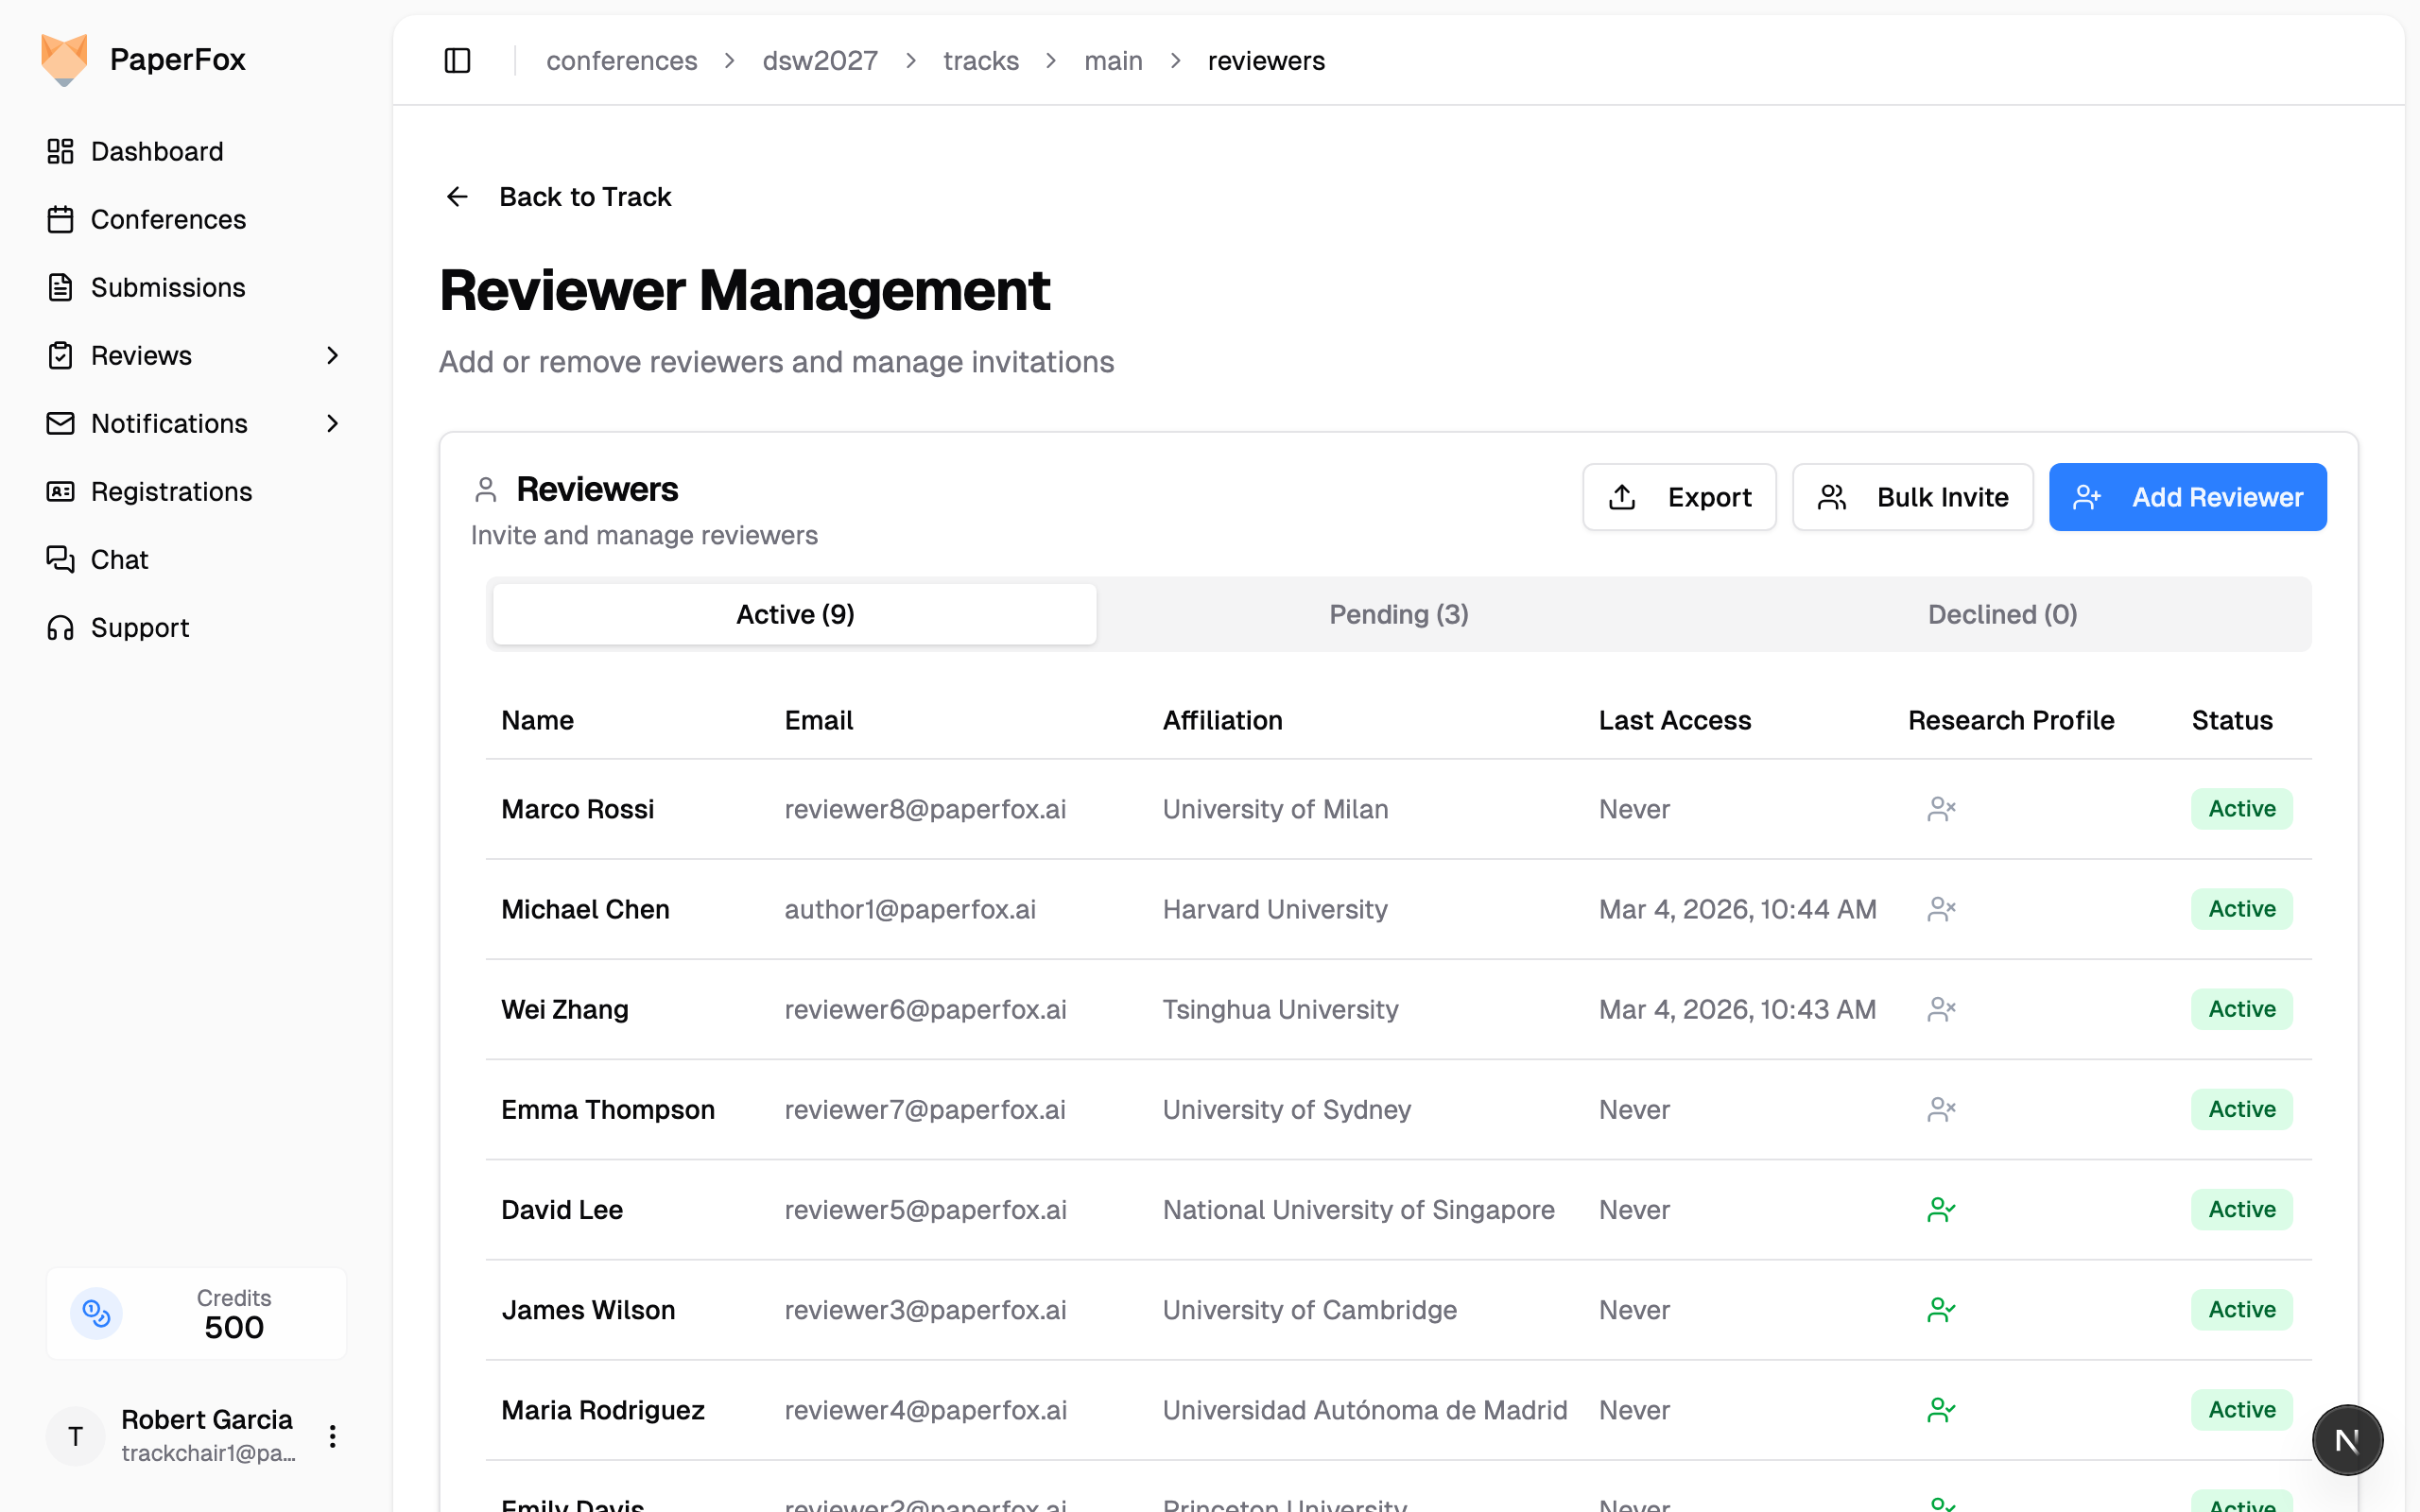 - **Remind This Reviewer** — Send an email to just this reviewer
- **Remind All** — Send emails to all reviewers without profiles
## Customizing the Emails
Both the invitation email (Accept / Decline buttons) and the direct-add notice ("you've been added" / "create your account") open with a system body explaining the role. Conference chairs can add a personal **intro** (after the greeting) and **signature** (before the buttons) so the emails read in their voice rather than as a generic system notice. Each track can override the conference default with its own intro and signature.
See [Customize Committee Emails](/docs/chairs/customize-committee-emails) for the conference-level default and the per-track override, plus a breakdown of which parts of these emails are yours to edit and which are fixed.
### Renaming the Reviewer Role
If your committee doesn't use the word "Reviewer", rename it — the invitation follows the new label. A track that calls them Program Committee Members sends `[ICMR2027] Program Committee Member Invitation`, and the body reads "You have been invited to be a Program Committee Member for …".
1. Go to your track's management page, then click **"Committee Settings"**
2. Either pick a **Terminology Preset** to rename the whole committee at once, or set the Reviewer label under **Custom Role Names**
The new name follows through the chair-facing surfaces too — the reviewer list, the Associate Editor and Senior Editor pages, and the recipient tabs in the notification composer. Names are per track, so tracks in the same conference can use different terminology.
---
# Invite Track Chairs
URL: https://paperfox.ai/docs/track-chairs/invite-track-chairs
Description: Add other track chairs to help manage your track
As a track chair, you can invite other colleagues to help manage your track. Co-track chairs have equal access to track management functions.
## Accessing Track Chair Management
1. **Navigate to Your Track:**
- Go to your conference dashboard
- Click on your assigned track name
2. **Access Chair Management:**
- In the Track Management section, click **"Manage Track"**
- **Remind This Reviewer** — Send an email to just this reviewer
- **Remind All** — Send emails to all reviewers without profiles
## Customizing the Emails
Both the invitation email (Accept / Decline buttons) and the direct-add notice ("you've been added" / "create your account") open with a system body explaining the role. Conference chairs can add a personal **intro** (after the greeting) and **signature** (before the buttons) so the emails read in their voice rather than as a generic system notice. Each track can override the conference default with its own intro and signature.
See [Customize Committee Emails](/docs/chairs/customize-committee-emails) for the conference-level default and the per-track override, plus a breakdown of which parts of these emails are yours to edit and which are fixed.
### Renaming the Reviewer Role
If your committee doesn't use the word "Reviewer", rename it — the invitation follows the new label. A track that calls them Program Committee Members sends `[ICMR2027] Program Committee Member Invitation`, and the body reads "You have been invited to be a Program Committee Member for …".
1. Go to your track's management page, then click **"Committee Settings"**
2. Either pick a **Terminology Preset** to rename the whole committee at once, or set the Reviewer label under **Custom Role Names**
The new name follows through the chair-facing surfaces too — the reviewer list, the Associate Editor and Senior Editor pages, and the recipient tabs in the notification composer. Names are per track, so tracks in the same conference can use different terminology.
---
# Invite Track Chairs
URL: https://paperfox.ai/docs/track-chairs/invite-track-chairs
Description: Add other track chairs to help manage your track
As a track chair, you can invite other colleagues to help manage your track. Co-track chairs have equal access to track management functions.
## Accessing Track Chair Management
1. **Navigate to Your Track:**
- Go to your conference dashboard
- Click on your assigned track name
2. **Access Chair Management:**
- In the Track Management section, click **"Manage Track"**
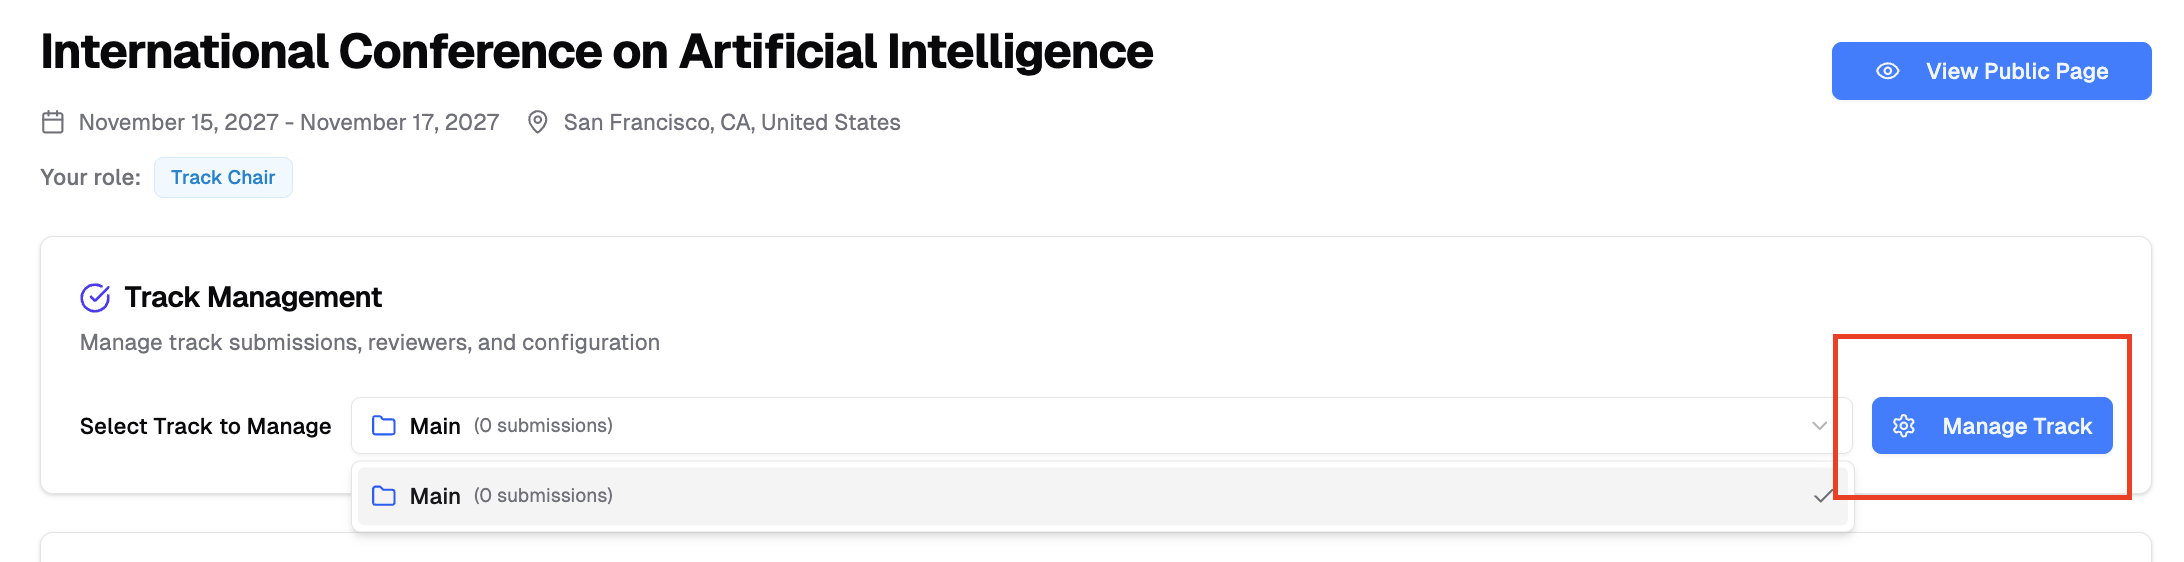 - In Track Management page, click **"Track Chairs"**
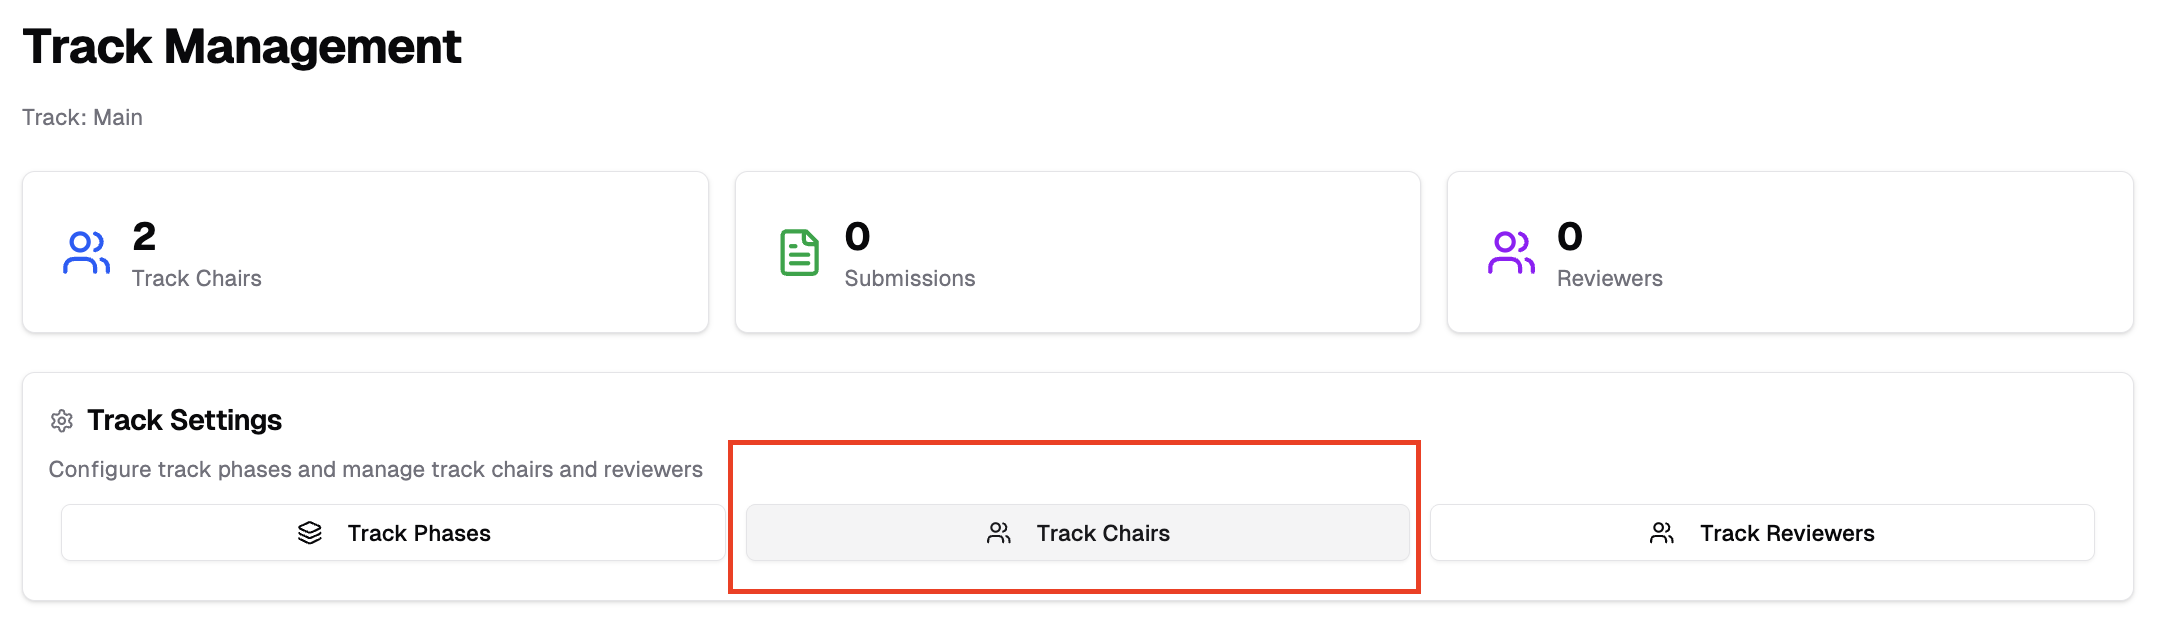 ## Adding Track Chairs
1. Click the "Invite Track Chair" button.
## Adding Track Chairs
1. Click the "Invite Track Chair" button.
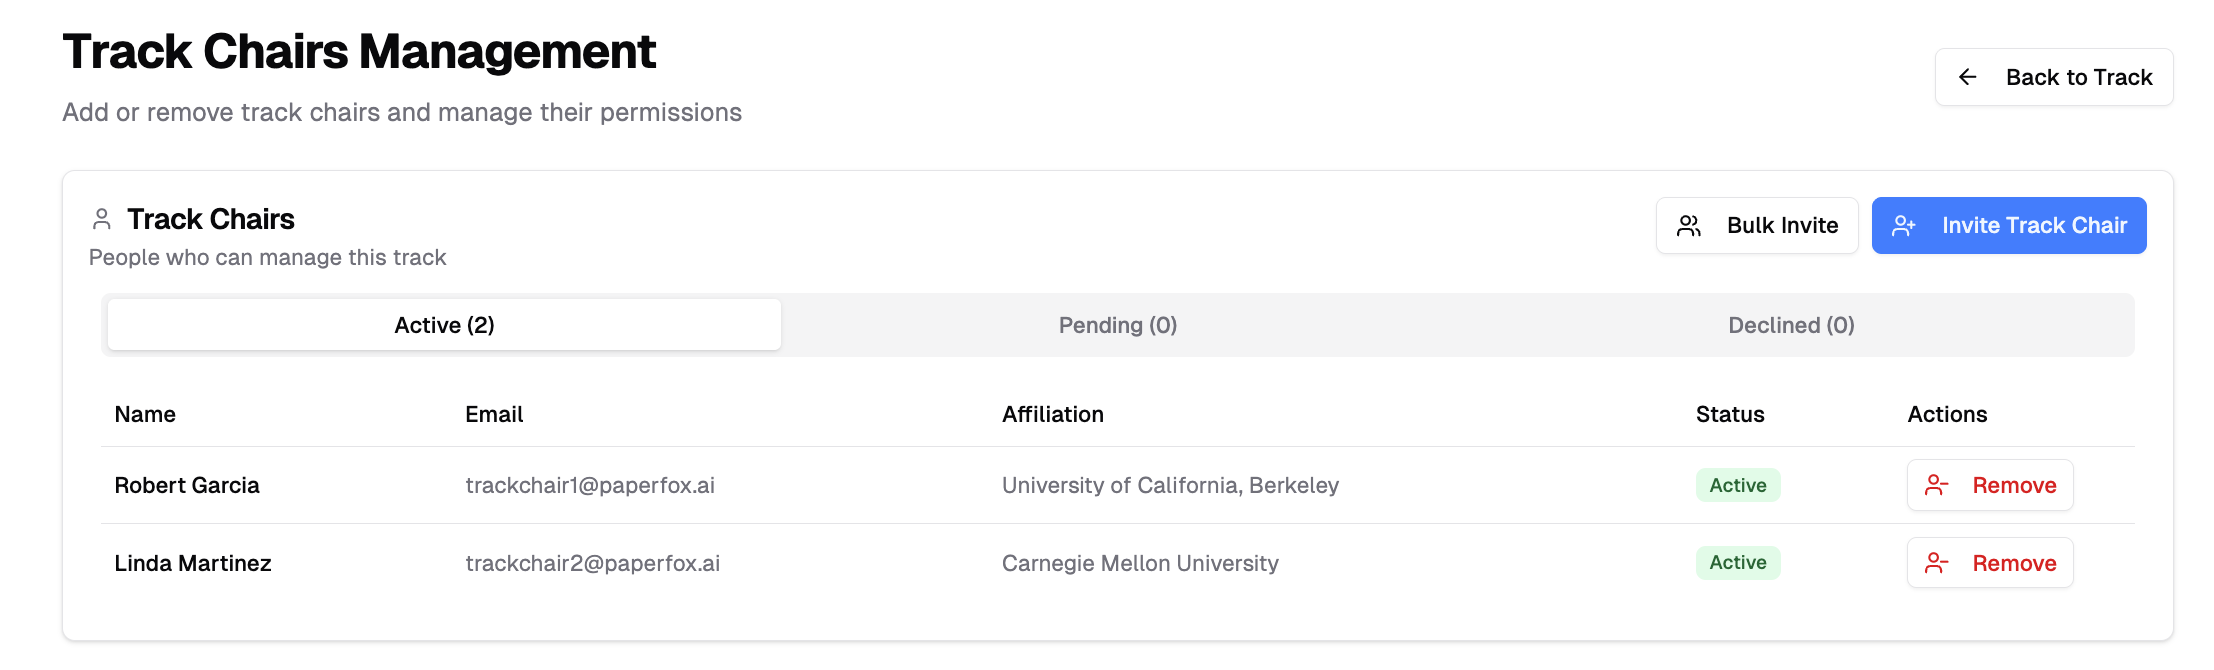 2. Search for the user by typing their name or email address in the search box.
3. Select the correct user from the search results.
- If the person is not an existing PaperFox user, they will receive an invitation email. Upon accepting, they will be automatically registered and added as a Track Chair.
2. Search for the user by typing their name or email address in the search box.
3. Select the correct user from the search results.
- If the person is not an existing PaperFox user, they will receive an invitation email. Upon accepting, they will be automatically registered and added as a Track Chair.
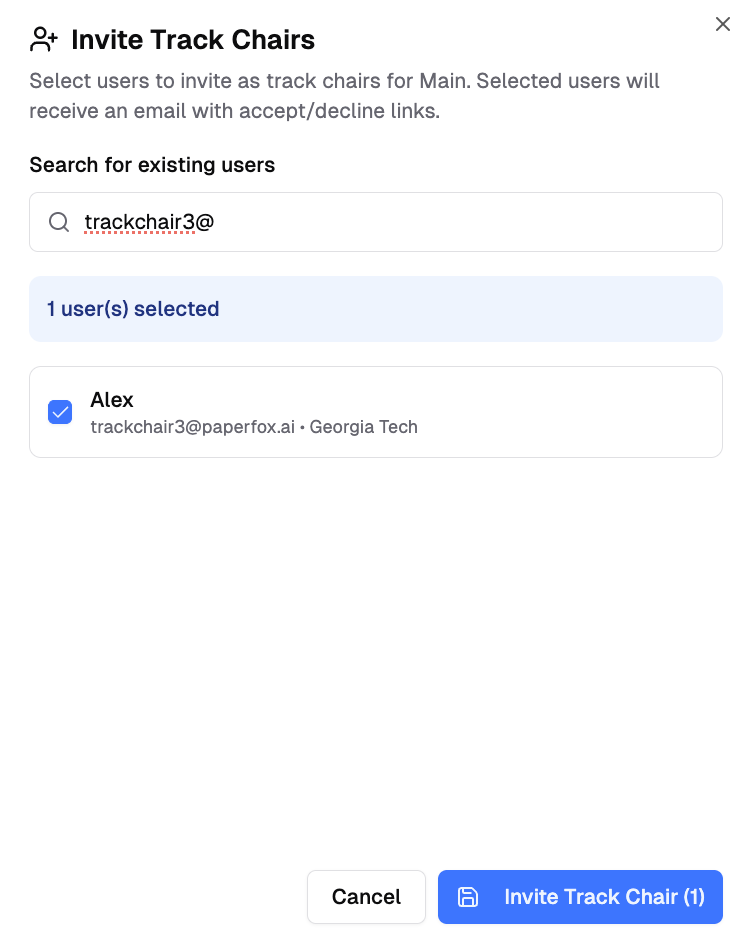 4. Confirm by clicking **"Add"**.
By default, **"Require acceptance"** is checked for track chair roles: the person receives an invitation email and gains Track Chair access only after accepting. If you've already agreed offline, uncheck it to add them directly — existing users get access immediately (with a notice email that includes a self-removal link), and new addresses get it as soon as they create and verify a PaperFox account. If the person previously declined a track chair invitation for this track, a direct add sends a fresh invitation instead — a recorded decline is never overridden. Click **"Preview Email"** next to the checkbox to see exactly what the current choice will send.
## Move a Track Chair to Another Track
If you invited your track chairs before creating your tracks, they were all added to your initial track. You can reassign any active chair to a different track — with no new invitation, no email, and no re-acceptance.
1. On the **Track Chairs** page, find the chair you want to reassign.
2. In the **Actions** column, click the **Move to another track** icon.
4. Confirm by clicking **"Add"**.
By default, **"Require acceptance"** is checked for track chair roles: the person receives an invitation email and gains Track Chair access only after accepting. If you've already agreed offline, uncheck it to add them directly — existing users get access immediately (with a notice email that includes a self-removal link), and new addresses get it as soon as they create and verify a PaperFox account. If the person previously declined a track chair invitation for this track, a direct add sends a fresh invitation instead — a recorded decline is never overridden. Click **"Preview Email"** next to the checkbox to see exactly what the current choice will send.
## Move a Track Chair to Another Track
If you invited your track chairs before creating your tracks, they were all added to your initial track. You can reassign any active chair to a different track — with no new invitation, no email, and no re-acceptance.
1. On the **Track Chairs** page, find the chair you want to reassign.
2. In the **Actions** column, click the **Move to another track** icon.
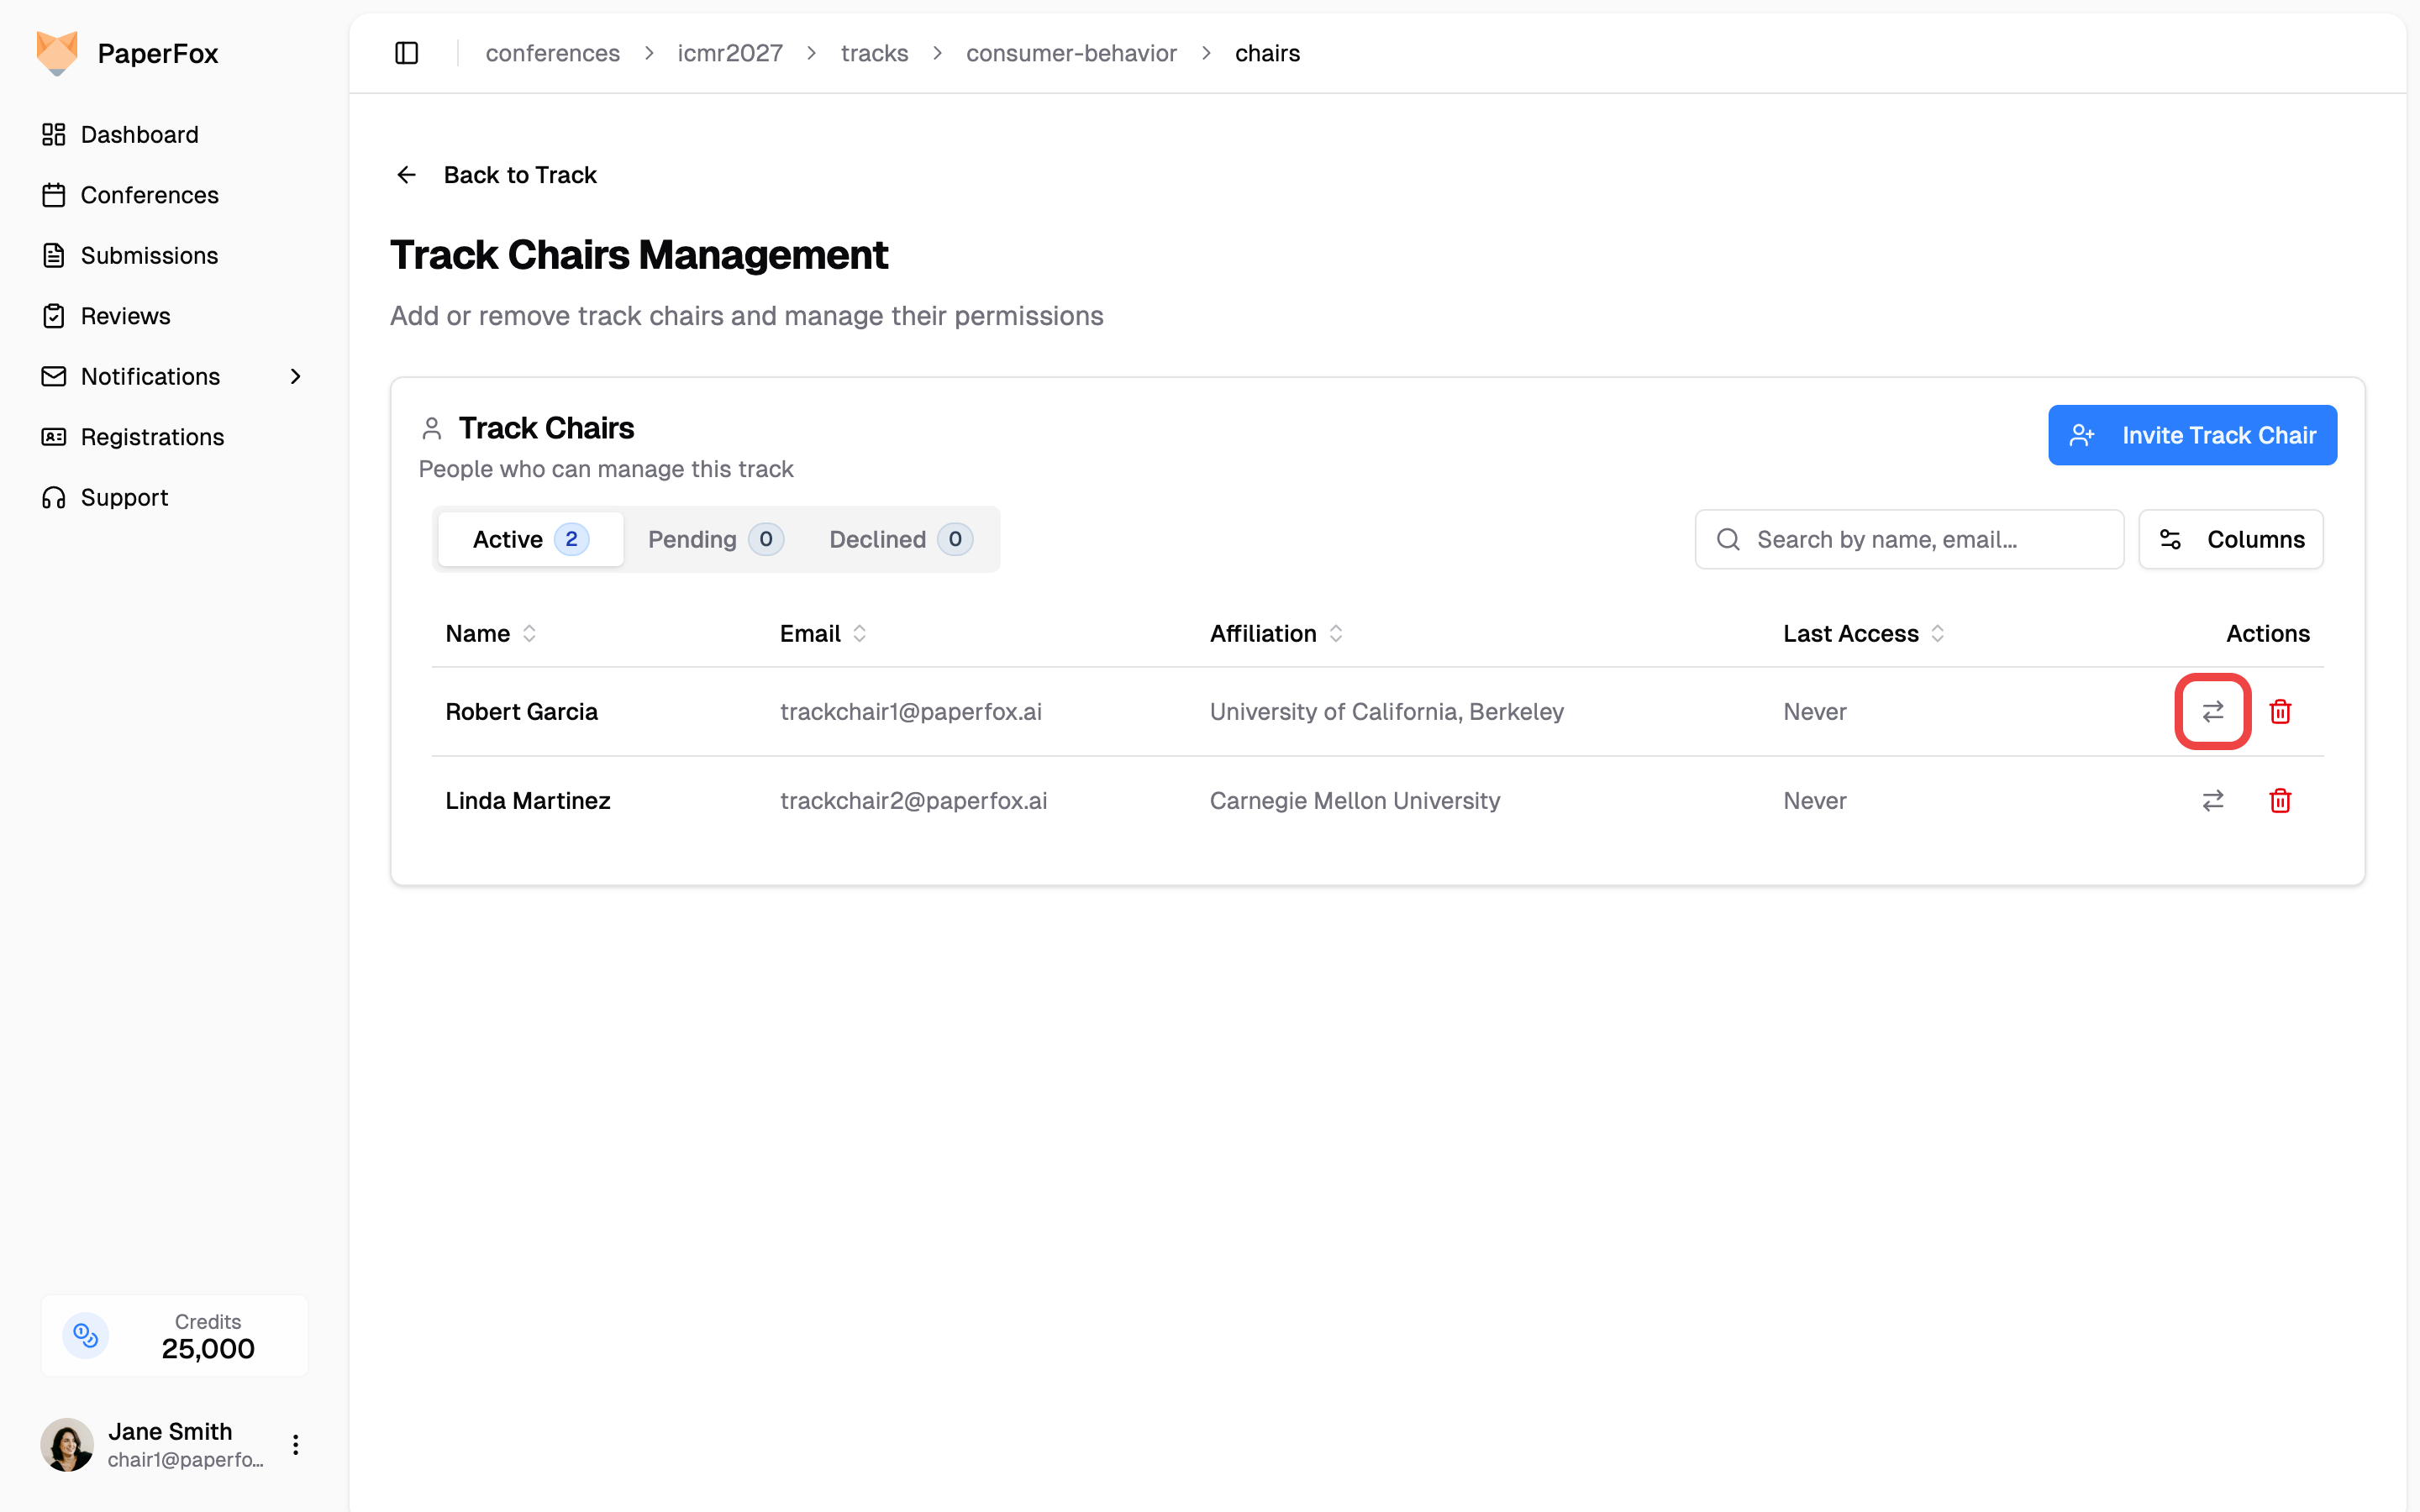 3. In the dialog, choose the destination track under **Move to**.
4. Click **"Move Chair"**.
3. In the dialog, choose the destination track under **Move to**.
4. Click **"Move Chair"**.
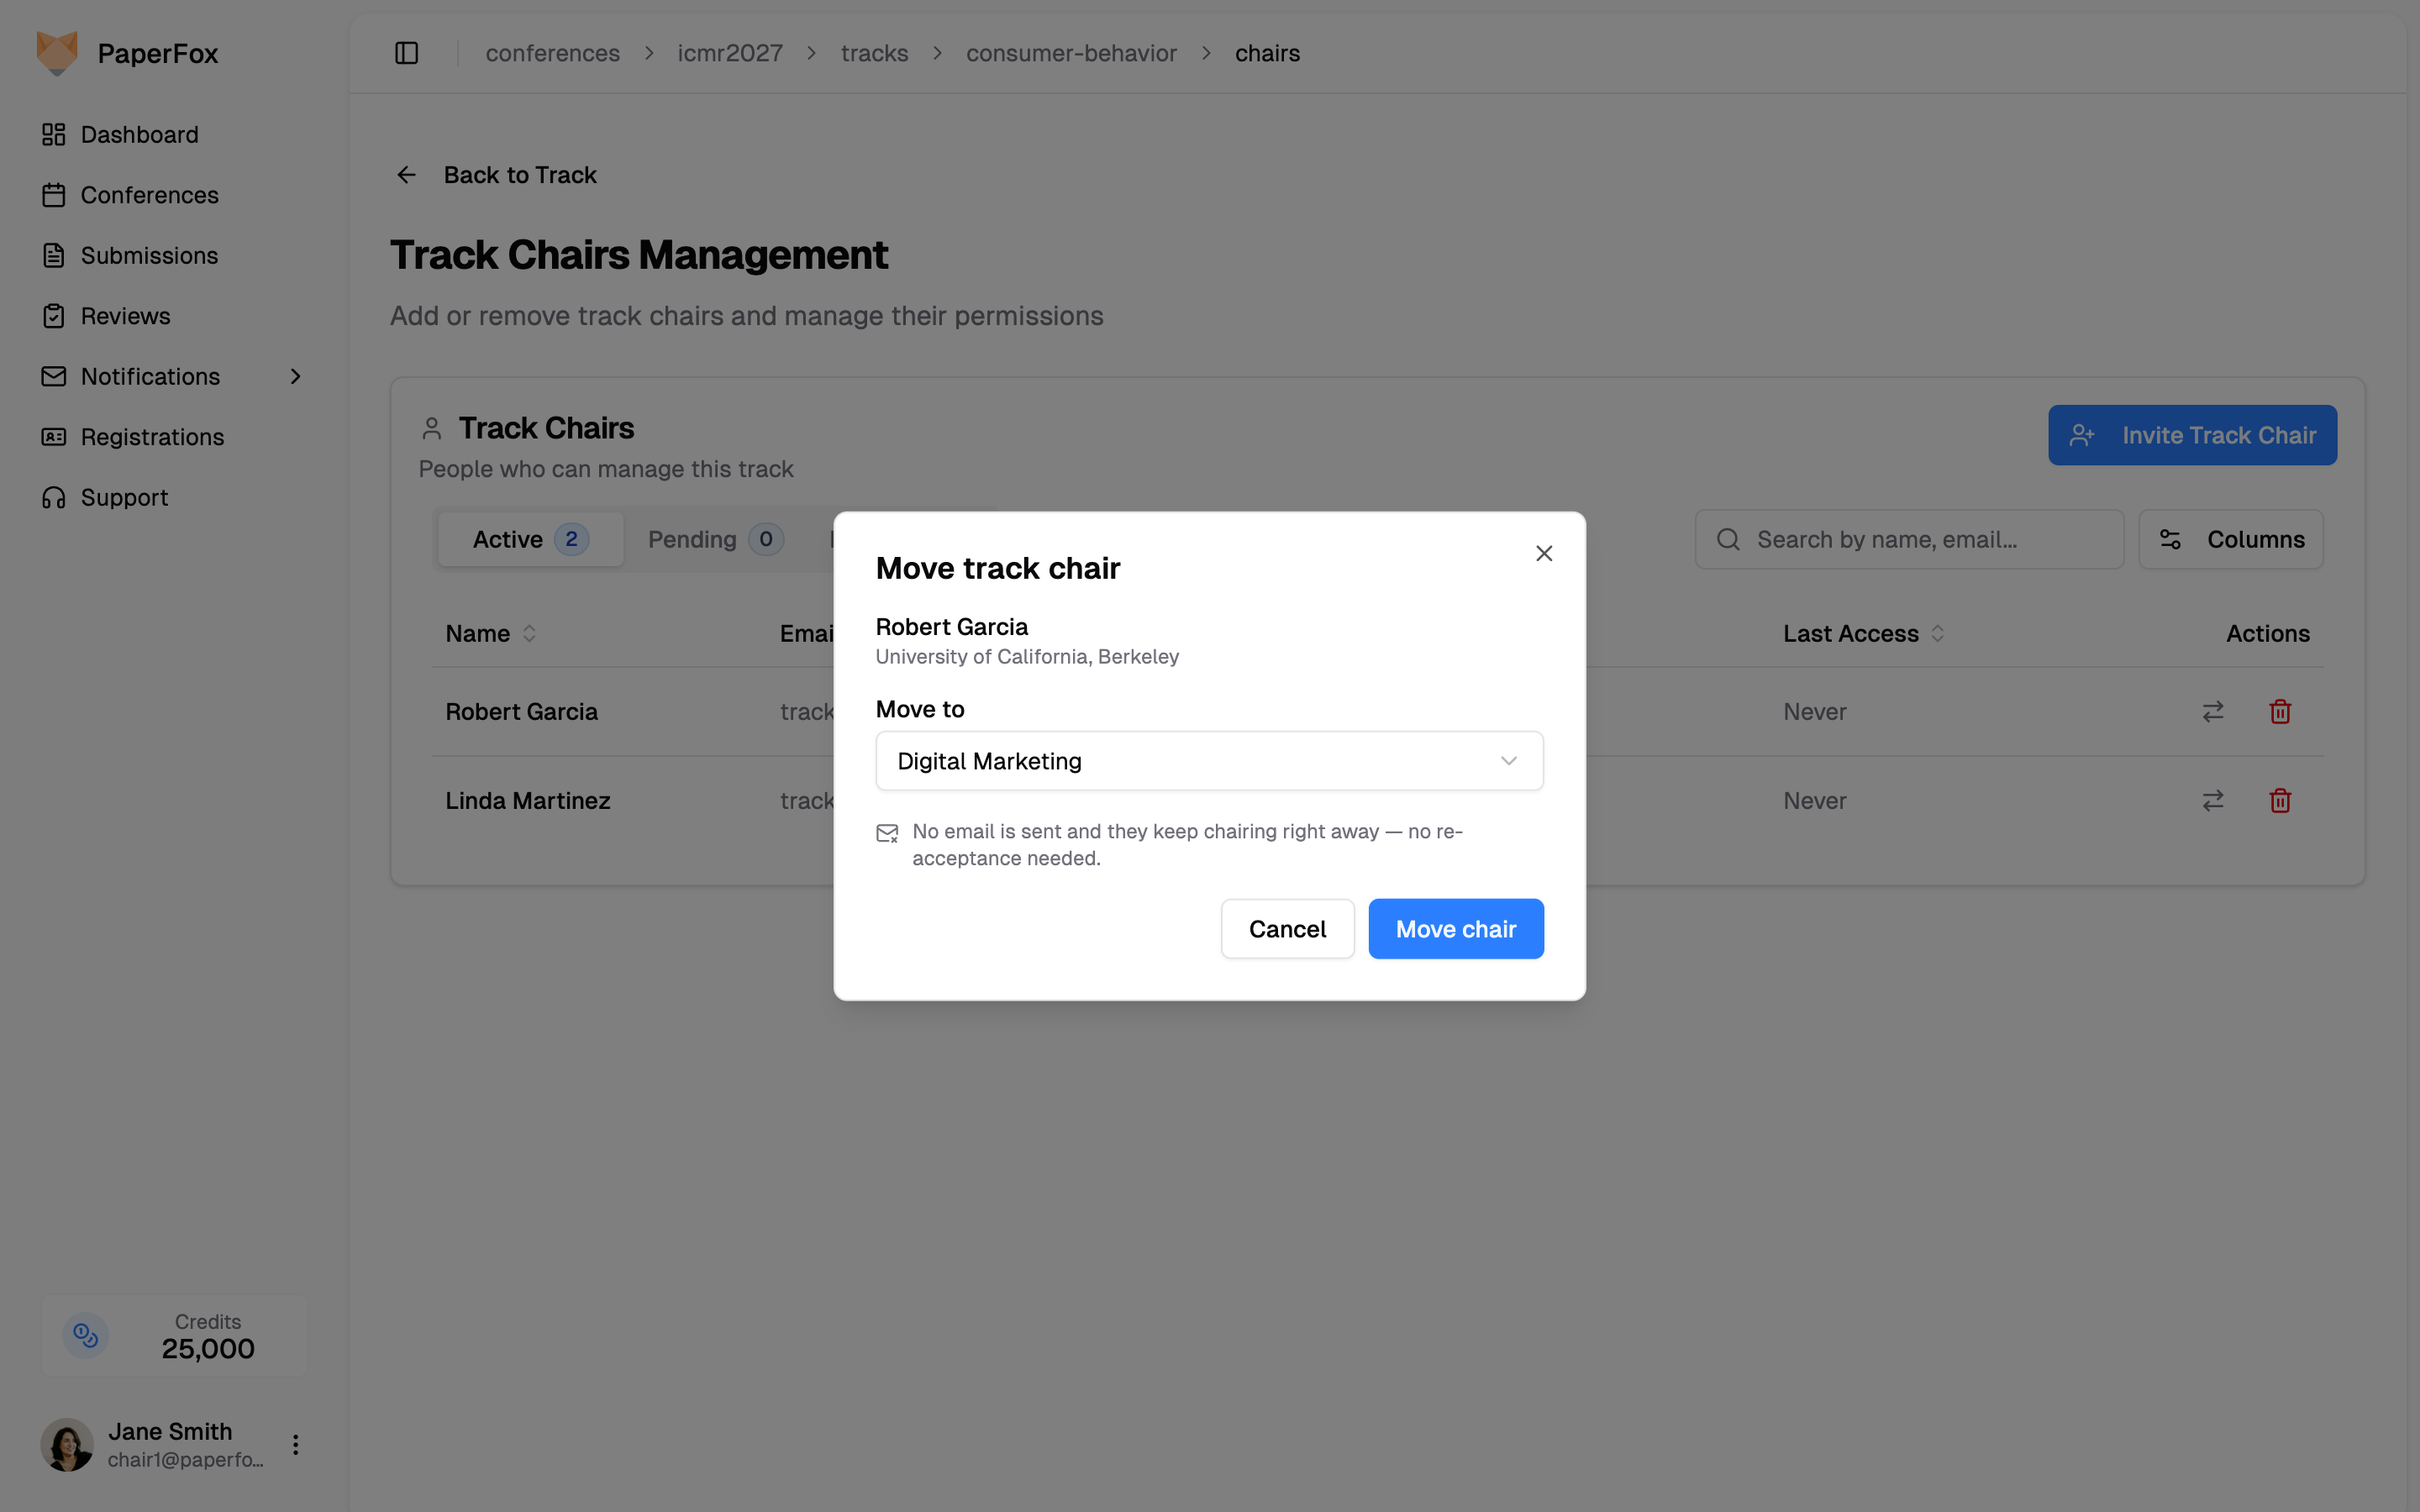 The chair is removed from the current track and added to the selected one right away.
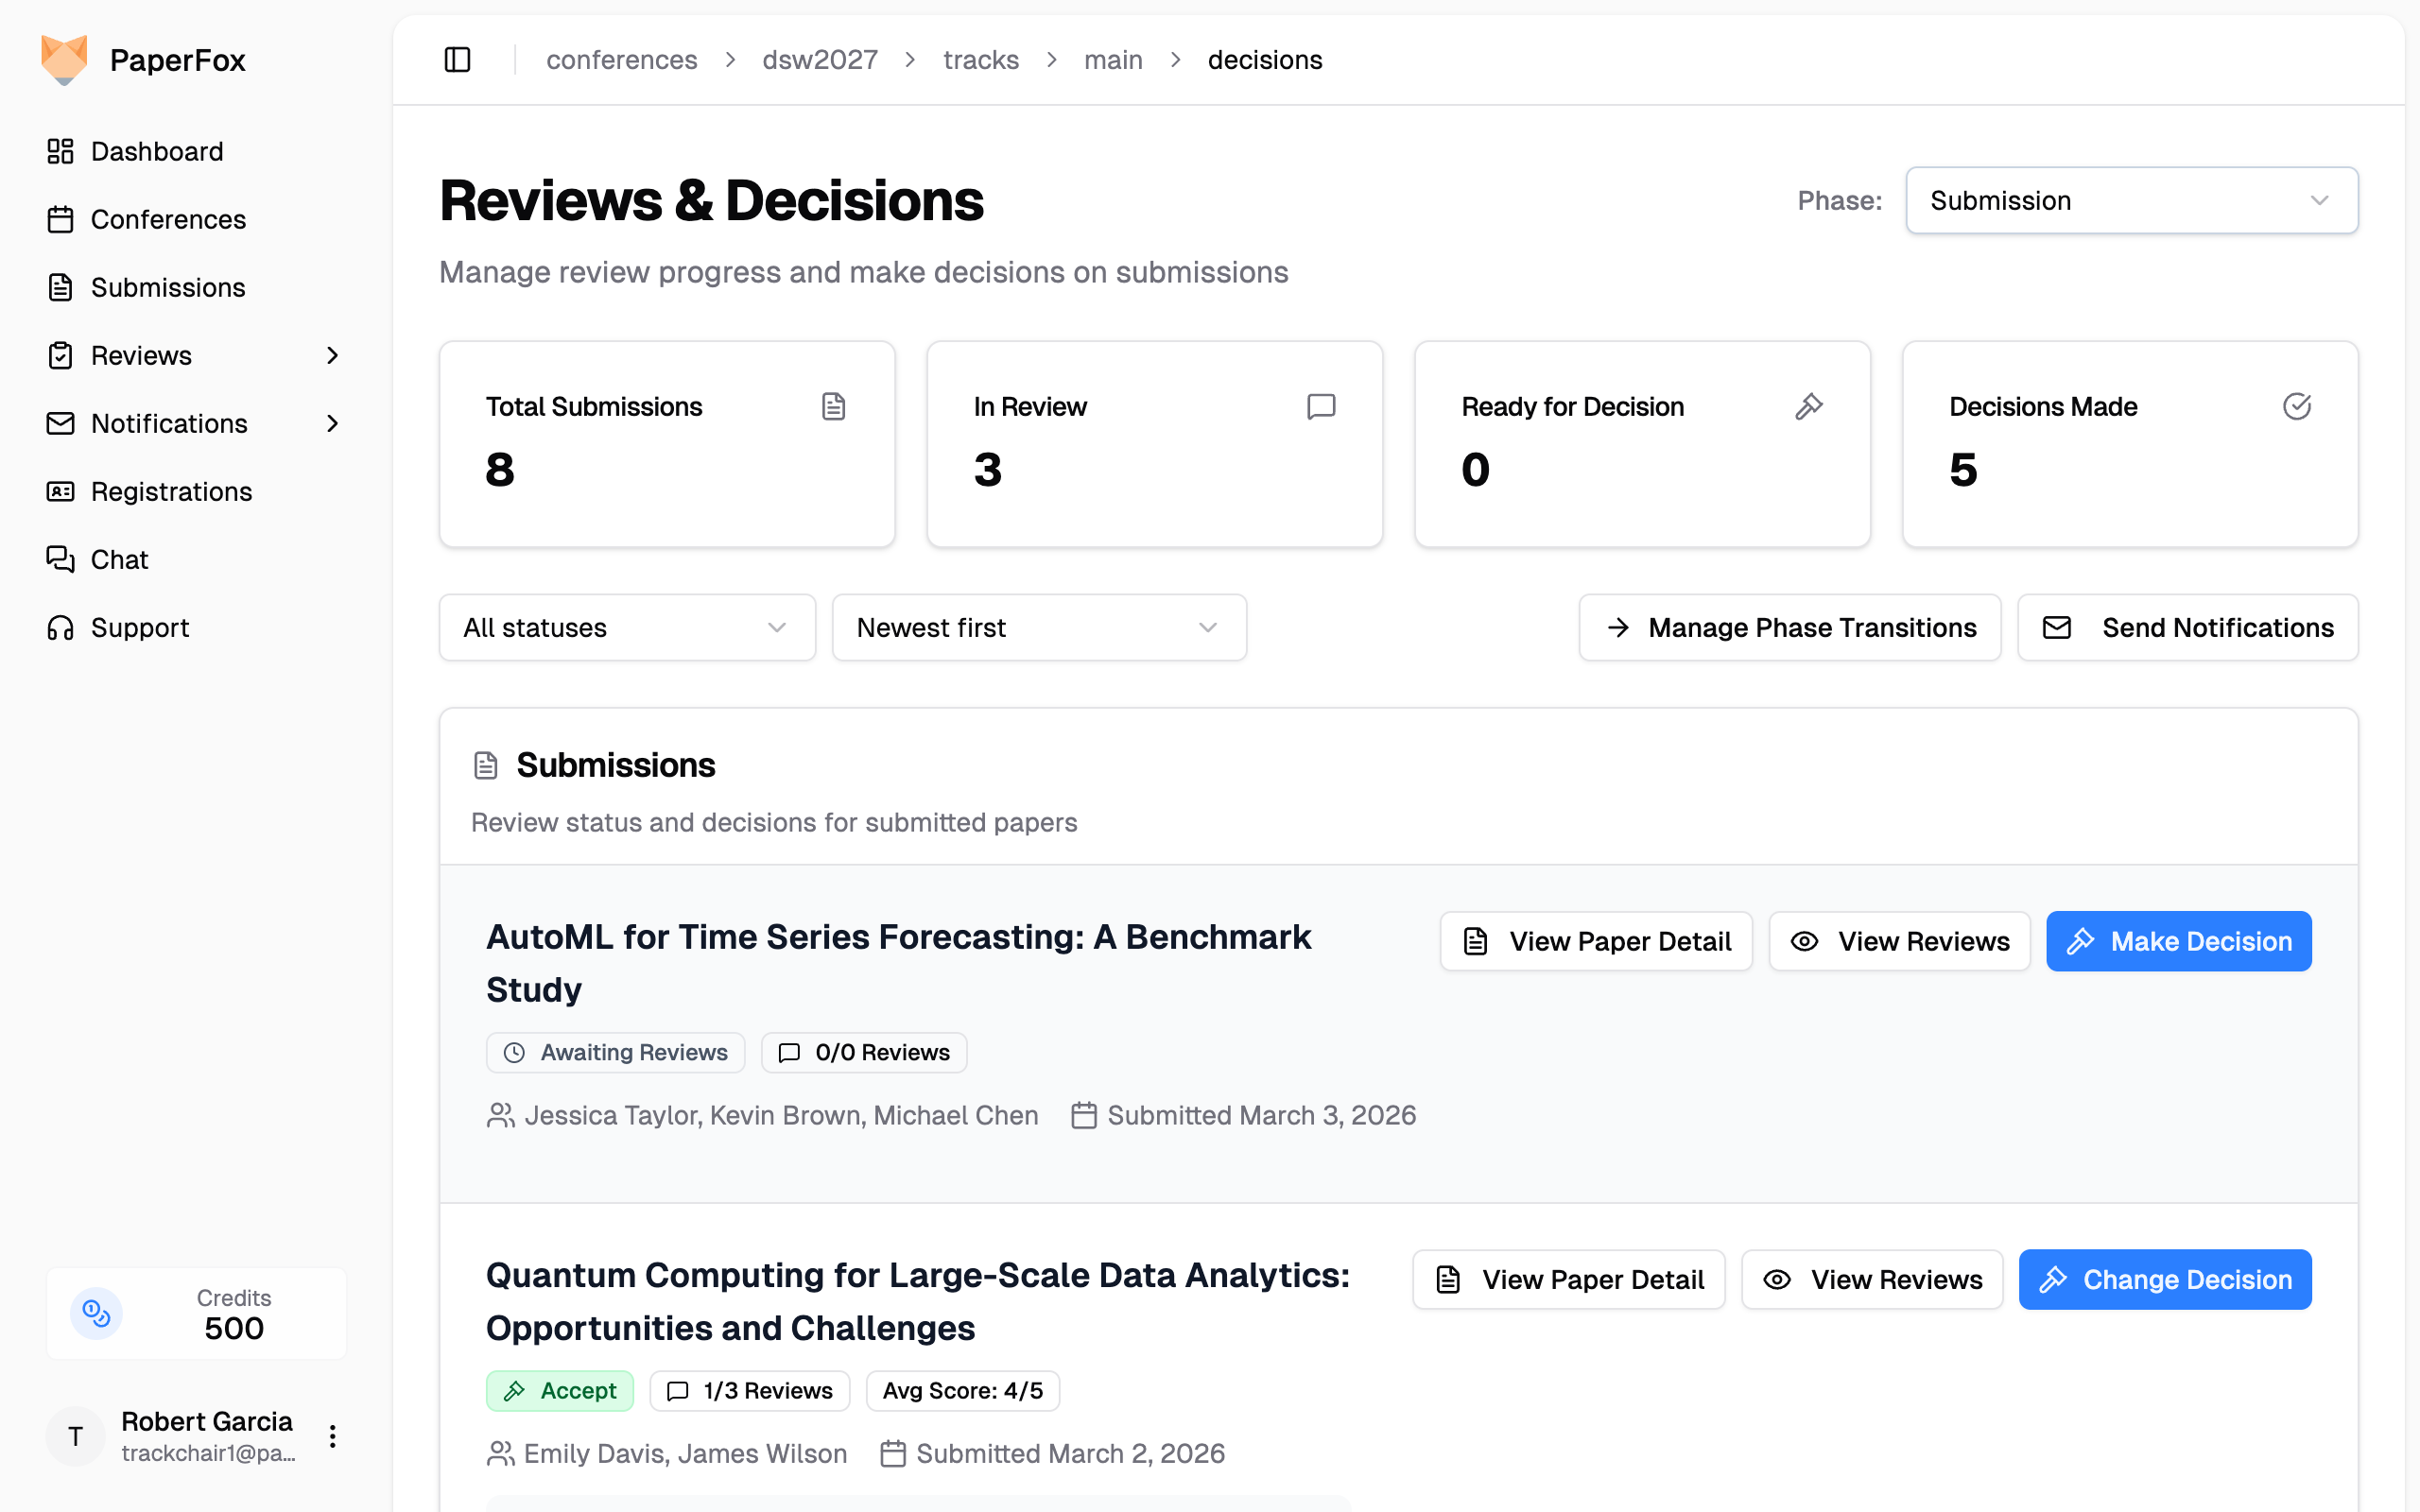 The page shows:
- **Phase selector** (multi-phase tracks only) — Top-right of the header; switches the entire view between review phases (e.g., Phase 1: Submission, Phase 2: Camera Ready). The page opens to the track's current phase — the furthest phase holding submissions — so use this only to look back at an earlier phase. Single-phase tracks don't show a selector.
- **Summary cards** — Total Submissions, **Review Progress**, and **Decisions Made**. The last two lead with a percentage and show the exact count beneath it; click either card to open its breakdown, where every row links to the queue filtered to exactly those submissions.
- **Filter bar** — A **"Filters"** button on the left opens the submission-status, review-status, and decision filters; the sort and the **"Phase Transitions"**, **"Progress Matrix"**, **"Notify"**, and **"Import / Export"** actions sit on the right. While a filter is on, a line beneath the bar shows the matching count, one chip per applied filter (click its ✕ to drop it), and **"Clear all"**
- **Submission list** — Each row shows title, authors, review progress, the average score, and a decision badge. Once at least one review is in, the row shows the **average score** (e.g. *Avg score 4 out of 5*, or *No score yet* until the first review is in) — the same **Avg Score** the Export writes — so you can scan and sort the queue by score without opening each submission. Each reviewer's individual score and confidence are on the submission's Reviews & Decision page. Review progress badges read **"No Reviews Yet"**, **"Reviews In Progress"**, **"Ready for Decision"**, or the decision name once one is recorded.
### Reading the summary cards
**Review Progress** measures reviews, and nothing else. A submission counts as complete only when every reviewer assigned to it has submitted — deciding a submission early doesn't make its missing reviews arrive. Its breakdown splits the submissions that *have* reviewers into **Reviews complete**, **Reviews in progress**, and **No reviews yet**. Submissions with no reviewers assigned are listed separately beneath, since assigning reviewers is a different job from chasing reviews.
**Decisions Made** counts submissions you've decided, and its breakdown shows the mix across your conference's decision types.
Both cards describe the selected phase and leave withdrawn submissions out entirely — they're already hidden from the list below.
---
## Review & Decide on a Submission
1. On the **Reviews & Decisions** page, click **"Reviews & Decision"** on the submission row
2. This opens the combined reviews and decision page — reviews are on the left, with the **Review Summary** and **Decision** cards in the right sidebar
The page shows:
- **Phase selector** (multi-phase tracks only) — Top-right of the header; switches the entire view between review phases (e.g., Phase 1: Submission, Phase 2: Camera Ready). The page opens to the track's current phase — the furthest phase holding submissions — so use this only to look back at an earlier phase. Single-phase tracks don't show a selector.
- **Summary cards** — Total Submissions, **Review Progress**, and **Decisions Made**. The last two lead with a percentage and show the exact count beneath it; click either card to open its breakdown, where every row links to the queue filtered to exactly those submissions.
- **Filter bar** — A **"Filters"** button on the left opens the submission-status, review-status, and decision filters; the sort and the **"Phase Transitions"**, **"Progress Matrix"**, **"Notify"**, and **"Import / Export"** actions sit on the right. While a filter is on, a line beneath the bar shows the matching count, one chip per applied filter (click its ✕ to drop it), and **"Clear all"**
- **Submission list** — Each row shows title, authors, review progress, the average score, and a decision badge. Once at least one review is in, the row shows the **average score** (e.g. *Avg score 4 out of 5*, or *No score yet* until the first review is in) — the same **Avg Score** the Export writes — so you can scan and sort the queue by score without opening each submission. Each reviewer's individual score and confidence are on the submission's Reviews & Decision page. Review progress badges read **"No Reviews Yet"**, **"Reviews In Progress"**, **"Ready for Decision"**, or the decision name once one is recorded.
### Reading the summary cards
**Review Progress** measures reviews, and nothing else. A submission counts as complete only when every reviewer assigned to it has submitted — deciding a submission early doesn't make its missing reviews arrive. Its breakdown splits the submissions that *have* reviewers into **Reviews complete**, **Reviews in progress**, and **No reviews yet**. Submissions with no reviewers assigned are listed separately beneath, since assigning reviewers is a different job from chasing reviews.
**Decisions Made** counts submissions you've decided, and its breakdown shows the mix across your conference's decision types.
Both cards describe the selected phase and leave withdrawn submissions out entirely — they're already hidden from the list below.
---
## Review & Decide on a Submission
1. On the **Reviews & Decisions** page, click **"Reviews & Decision"** on the submission row
2. This opens the combined reviews and decision page — reviews are on the left, with the **Review Summary** and **Decision** cards in the right sidebar
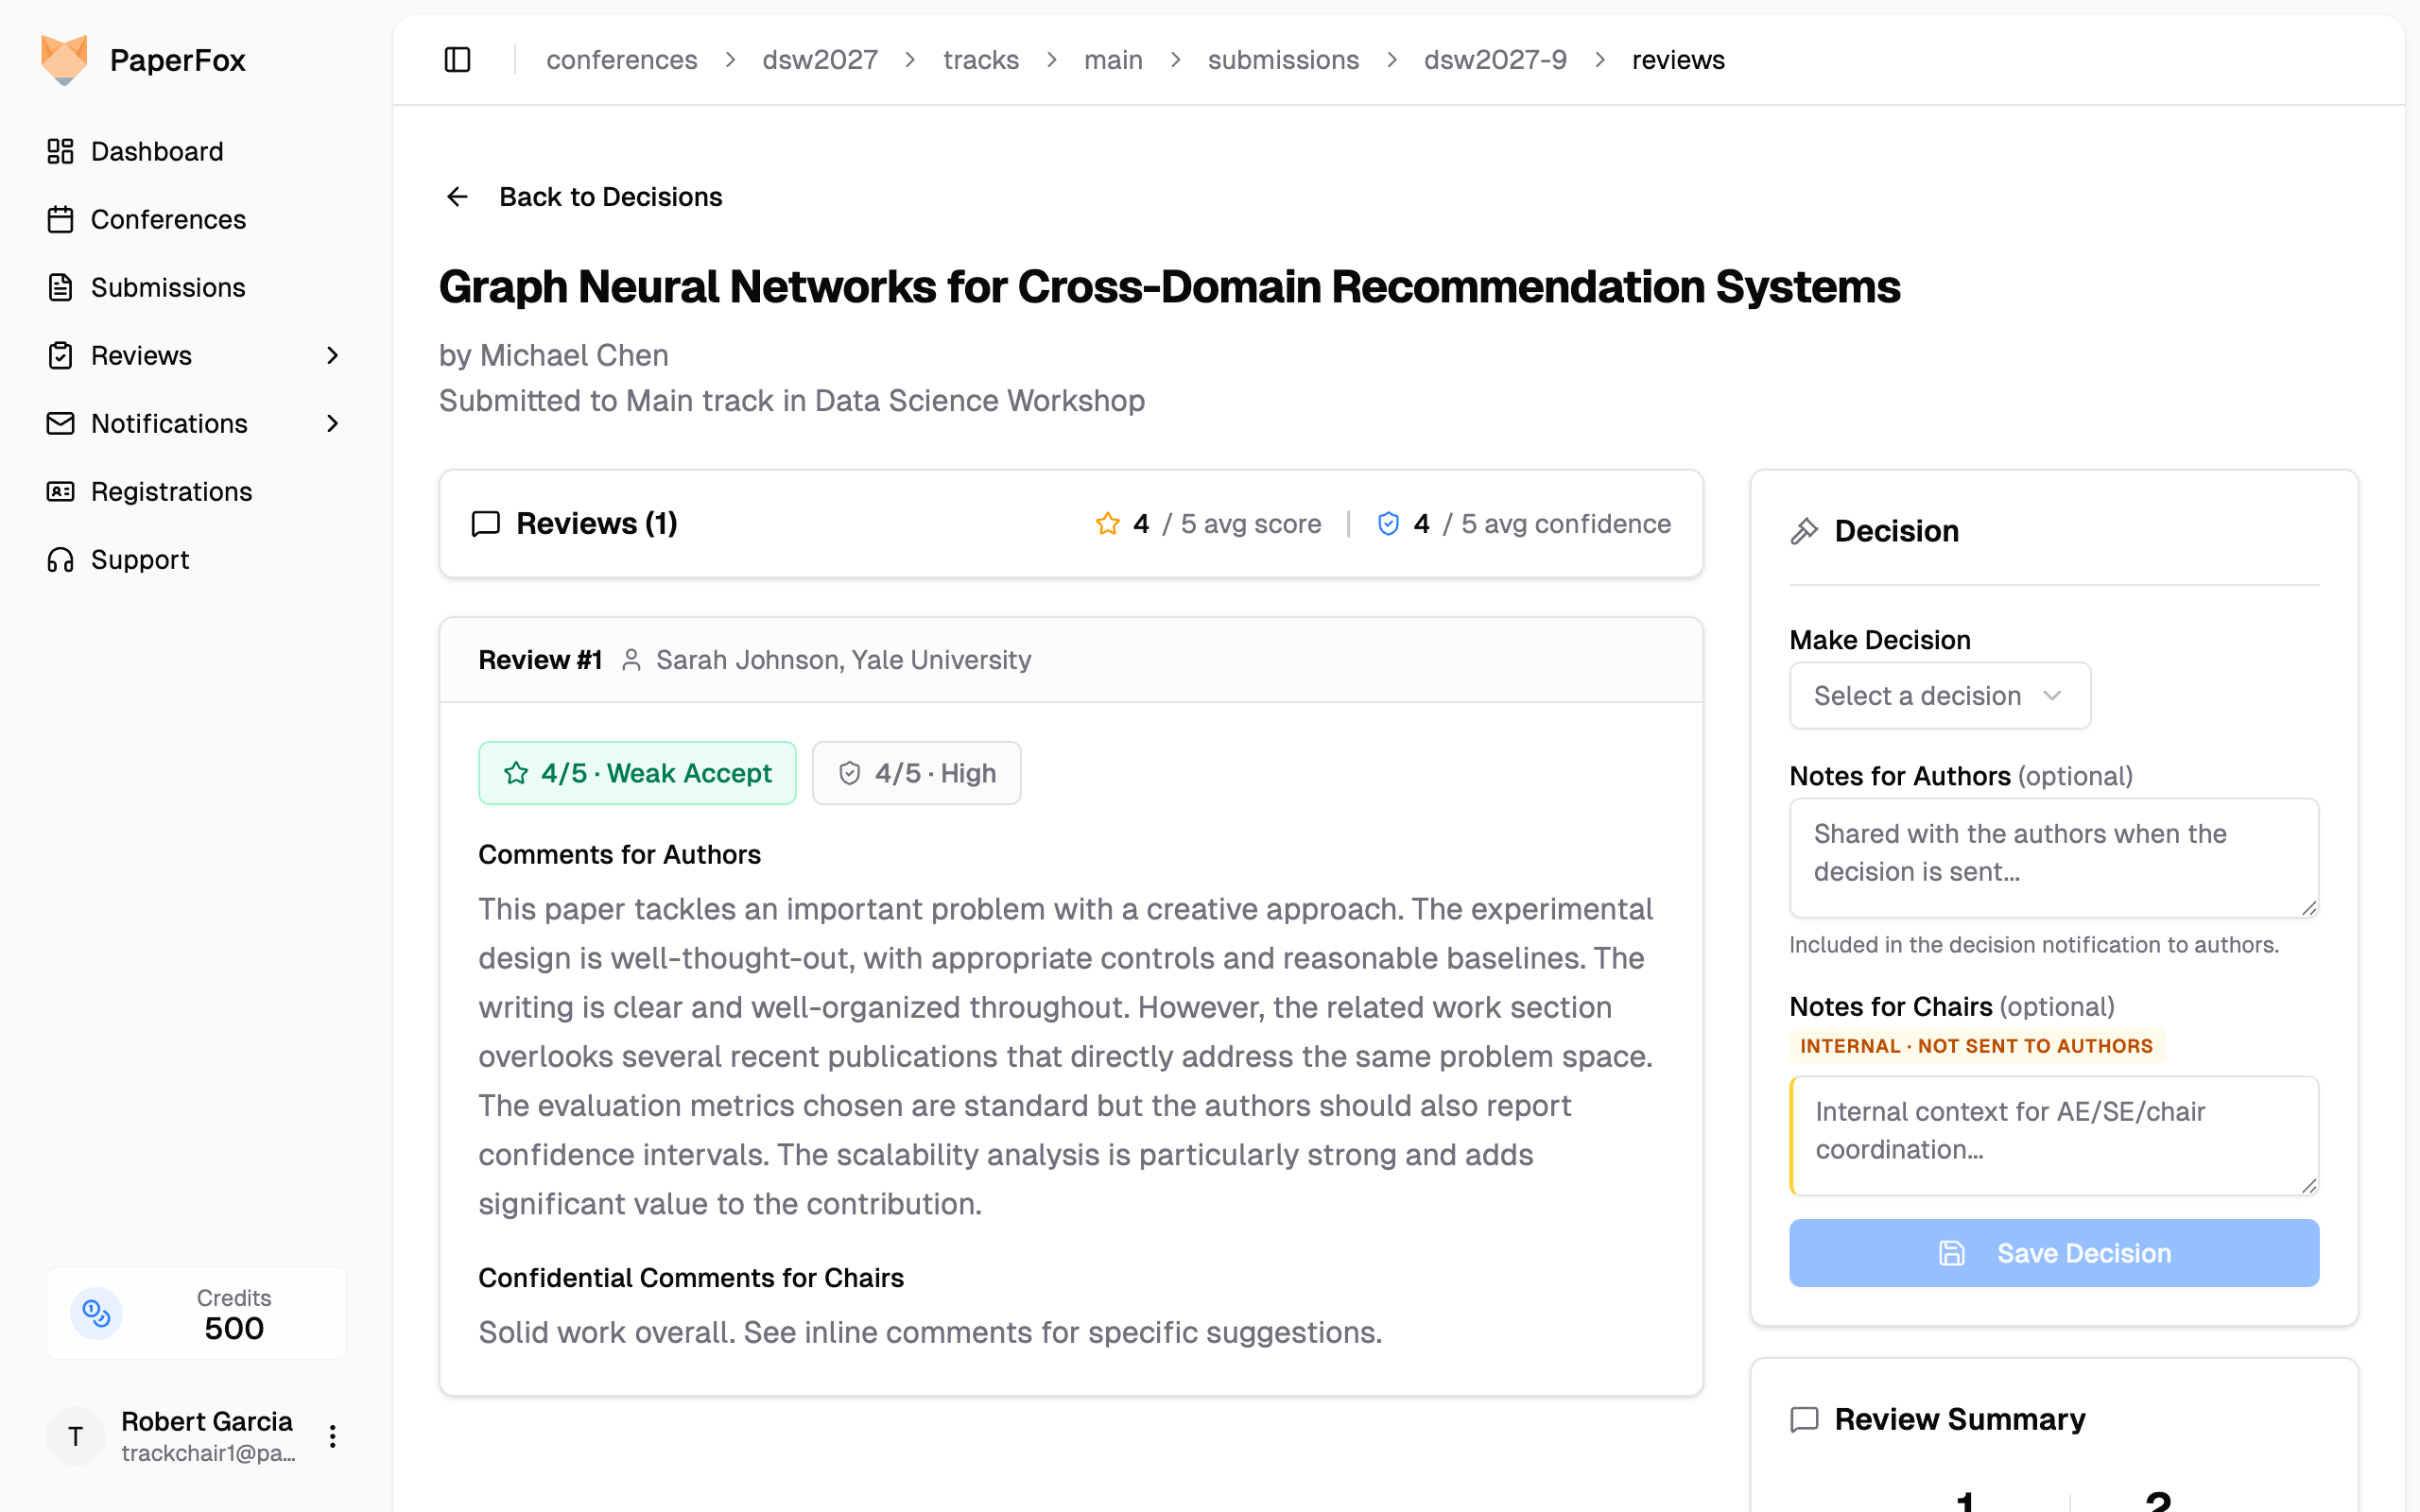 The **Reviews** header offers **Copy** and **Download** actions that export every submitted review — scores, comments, and reviewer identities as you see them — as a single Markdown or plain-text document.
At the top of the **Decision** sidebar is a **decision timeline**. On a multi-phase track it shows one row per phase the submission has reached — each with the decision recorded in that phase (who decided, when, and any notes), or **"Awaiting decision"** for a phase that hasn't been decided yet. Decisions are tracked **per phase**, so a submission you've advanced to a later phase reads as *Awaiting decision* for the new phase until you decide it, while the earlier phase's decision stays visible above it. On a single-phase track the timeline is just the one decision, with no phase labels.
3. Read through the reviewer scores, comments, and confidential notes on the left
4. In the **Decision** sidebar on the right, select a decision from the dropdown. The dropdown lists your conference's decision types — the six built-ins below, plus any custom verdicts the conference chair has added under [Customize Decision Types](/docs/chairs/customize-decision-types):
| Built-in Decision | Effect |
|----------|--------|
| **Accept** | Submission accepted, submission status changes to Accepted |
| **Conditional Accept** | Accepted with minor requirements, status changes to Accepted |
| **Major Revision** | Substantial revisions needed, status changes to In Revision |
| **Minor Revision** | Minor revisions needed, status changes to In Revision |
| **Reject** | Submission rejected, submission status changes to Rejected |
| **Desk Reject** | Rejected without full review, status changes to Rejected |
5. Optionally fill in two independent notes fields:
- **Notes for Authors** — included in the decision notification email and visible to authors on their submission page
- **Notes for Chairs** — marked with an amber **INTERNAL · NOT SENT TO AUTHORS** pill; visible only to chairs and editors (AE/SE), never sent to authors. Use for AE/SE coordination, override rationale, or any context you want recorded but kept off the author email
6. Click **"Save Decision"**
Once saved, the decision appears in the card as a record — the badge, who decided and when, and both notes under matching **Notes for Authors** / **Notes for Chairs** labels (the internal note is marked in amber). Decision emails are sent separately with **"Notify Authors"** on the Reviews & Decisions page.
### Working through the queue
You don't have to return to the list between submissions. When you open a submission from the Reviews & Decisions page, the header shows **Previous** and **Next** with your position in the queue (e.g. *3 of 12*). They walk the list exactly as you left it — the same phase, filters, and sort — so filtering to **Ready for Decision** and sorting by score lets you decide the whole queue in order: save the decision, click **Next**. **"Back to Decisions"** returns you to the same page of the same list.
The **Reviews** header offers **Copy** and **Download** actions that export every submitted review — scores, comments, and reviewer identities as you see them — as a single Markdown or plain-text document.
At the top of the **Decision** sidebar is a **decision timeline**. On a multi-phase track it shows one row per phase the submission has reached — each with the decision recorded in that phase (who decided, when, and any notes), or **"Awaiting decision"** for a phase that hasn't been decided yet. Decisions are tracked **per phase**, so a submission you've advanced to a later phase reads as *Awaiting decision* for the new phase until you decide it, while the earlier phase's decision stays visible above it. On a single-phase track the timeline is just the one decision, with no phase labels.
3. Read through the reviewer scores, comments, and confidential notes on the left
4. In the **Decision** sidebar on the right, select a decision from the dropdown. The dropdown lists your conference's decision types — the six built-ins below, plus any custom verdicts the conference chair has added under [Customize Decision Types](/docs/chairs/customize-decision-types):
| Built-in Decision | Effect |
|----------|--------|
| **Accept** | Submission accepted, submission status changes to Accepted |
| **Conditional Accept** | Accepted with minor requirements, status changes to Accepted |
| **Major Revision** | Substantial revisions needed, status changes to In Revision |
| **Minor Revision** | Minor revisions needed, status changes to In Revision |
| **Reject** | Submission rejected, submission status changes to Rejected |
| **Desk Reject** | Rejected without full review, status changes to Rejected |
5. Optionally fill in two independent notes fields:
- **Notes for Authors** — included in the decision notification email and visible to authors on their submission page
- **Notes for Chairs** — marked with an amber **INTERNAL · NOT SENT TO AUTHORS** pill; visible only to chairs and editors (AE/SE), never sent to authors. Use for AE/SE coordination, override rationale, or any context you want recorded but kept off the author email
6. Click **"Save Decision"**
Once saved, the decision appears in the card as a record — the badge, who decided and when, and both notes under matching **Notes for Authors** / **Notes for Chairs** labels (the internal note is marked in amber). Decision emails are sent separately with **"Notify Authors"** on the Reviews & Decisions page.
### Working through the queue
You don't have to return to the list between submissions. When you open a submission from the Reviews & Decisions page, the header shows **Previous** and **Next** with your position in the queue (e.g. *3 of 12*). They walk the list exactly as you left it — the same phase, filters, and sort — so filtering to **Ready for Decision** and sorting by score lets you decide the whole queue in order: save the decision, click **Next**. **"Back to Decisions"** returns you to the same page of the same list.
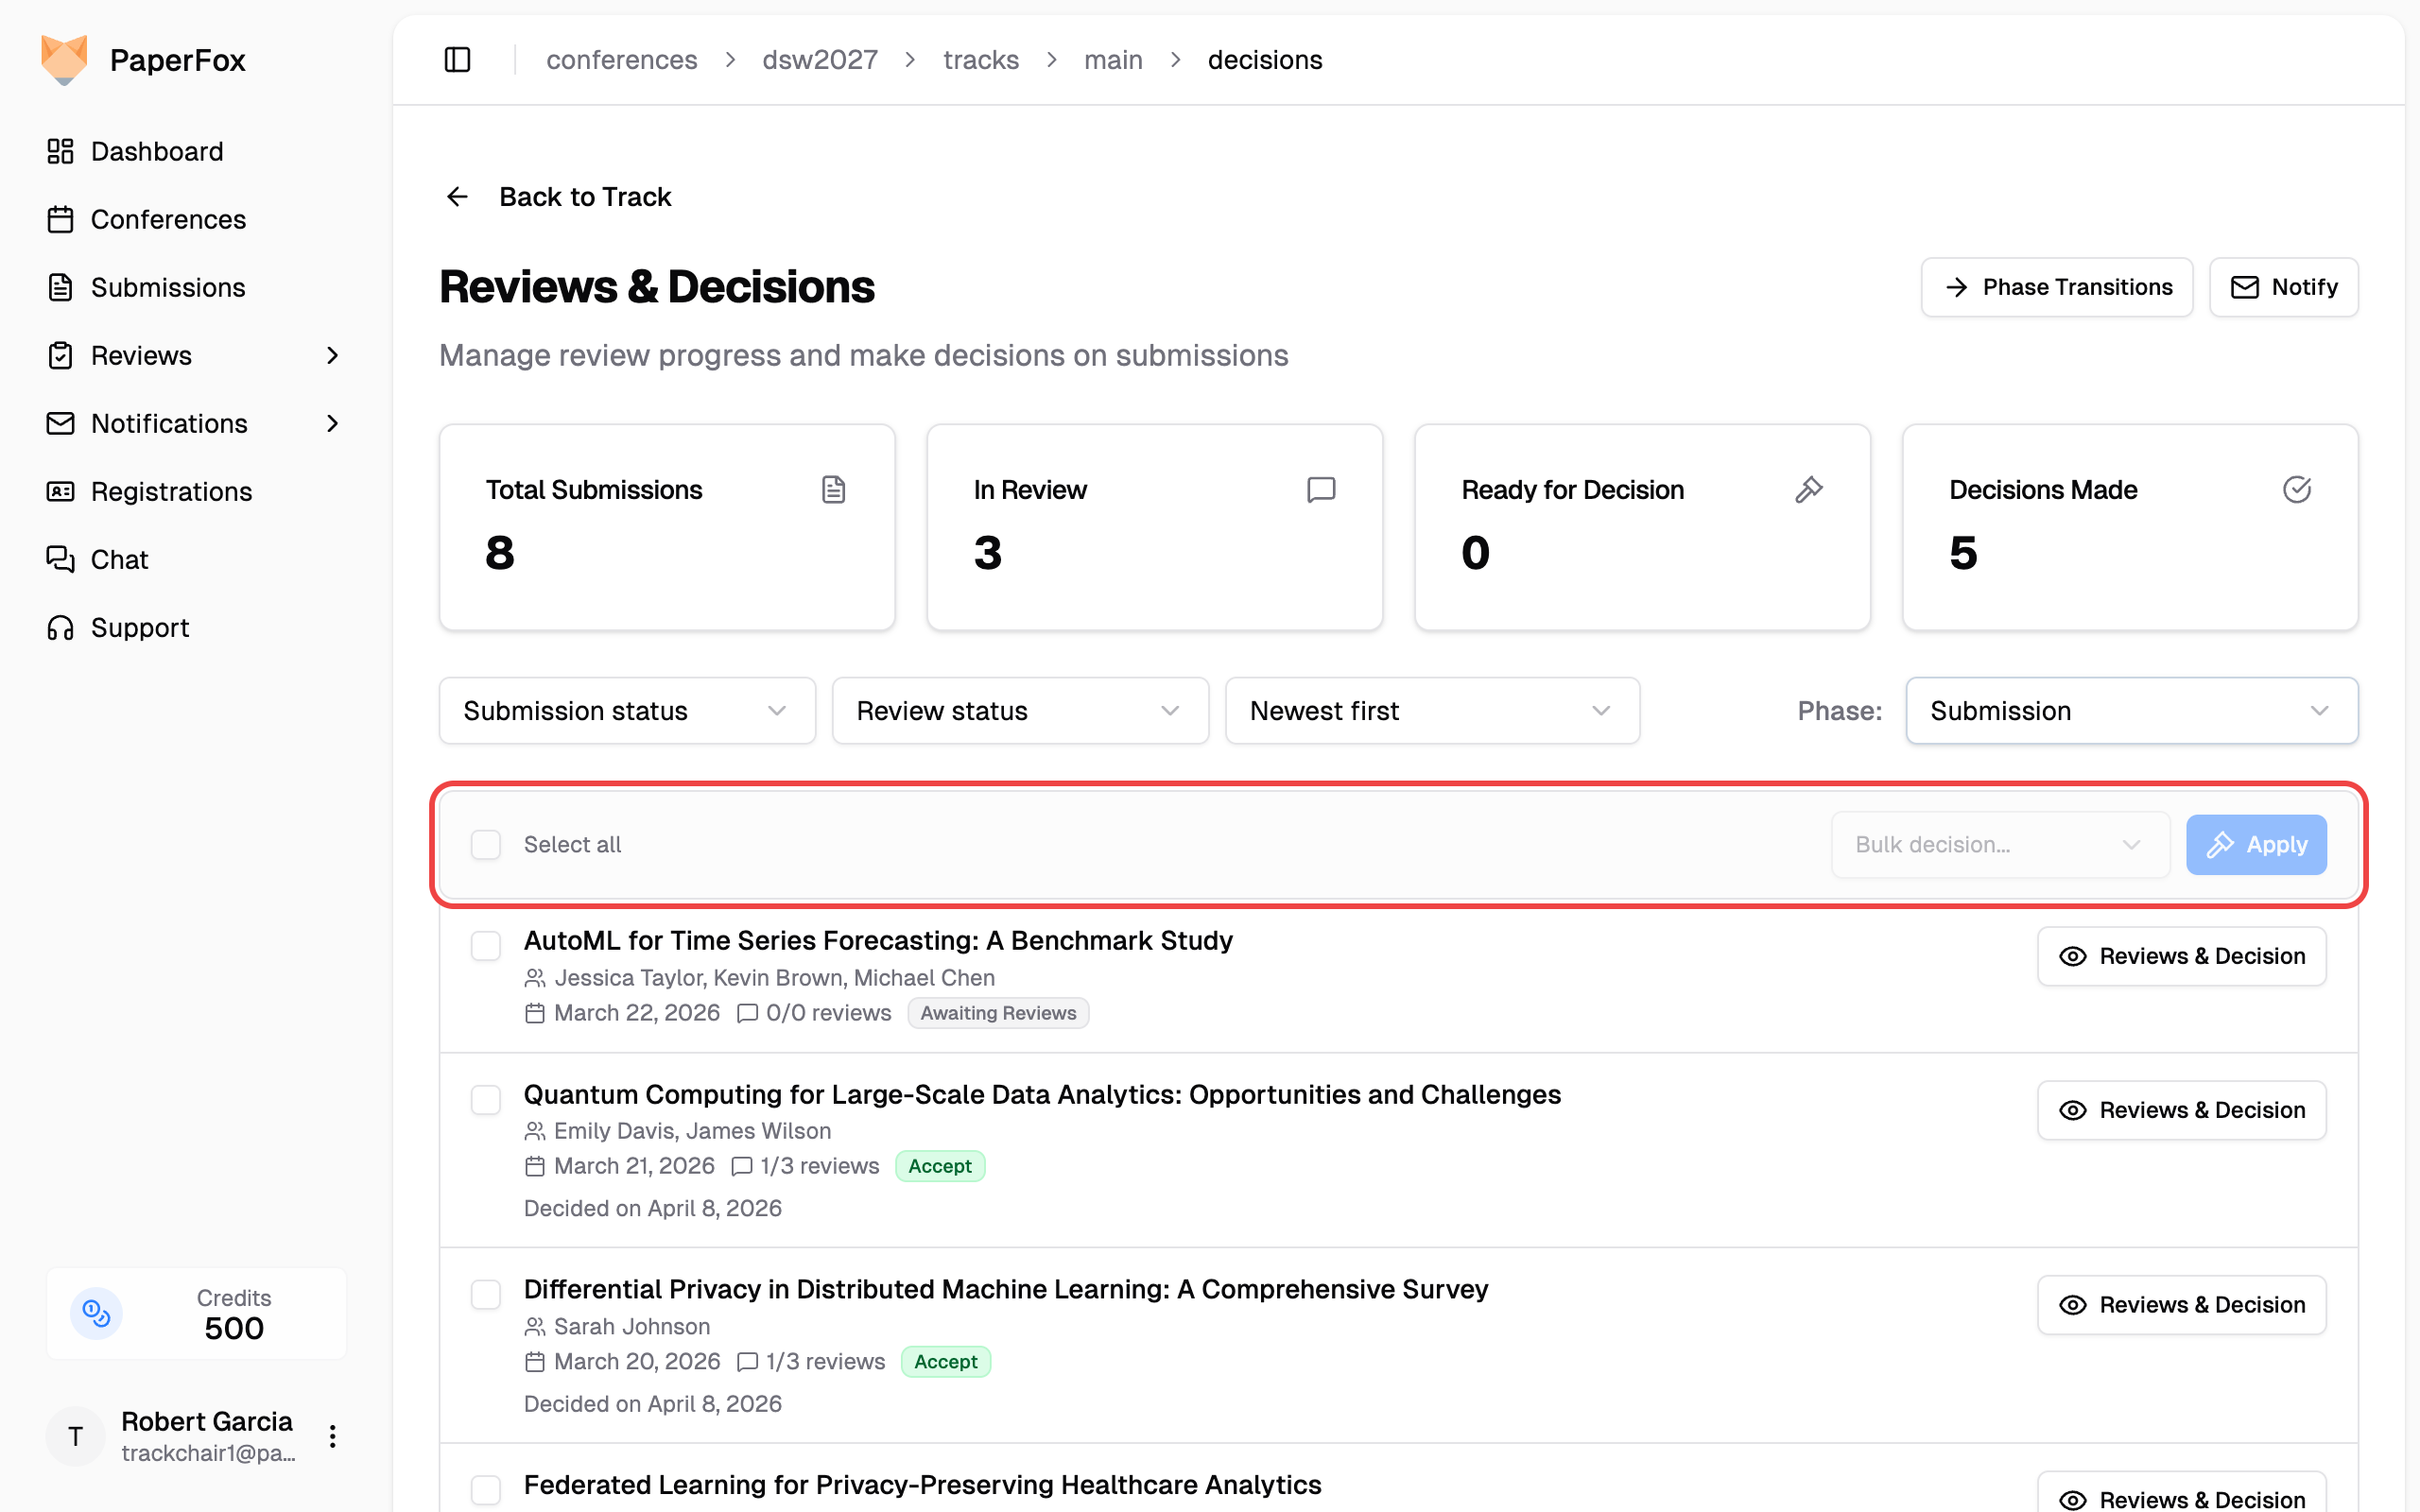 ### Apply a Bulk Decision
1. Select submissions using the individual checkboxes, or click the **Select all** checkbox to select all submissions on the current page
2. Choose a decision from the **Bulk decision** dropdown — two notes textareas appear once a decision is selected:
- **Notes for Authors** — applied to all selected submissions and included in their decision emails
- **Notes for Chairs** — marked with the amber **INTERNAL · NOT SENT TO AUTHORS** pill; applied to all selected submissions but visible only to chairs and editors
### Apply a Bulk Decision
1. Select submissions using the individual checkboxes, or click the **Select all** checkbox to select all submissions on the current page
2. Choose a decision from the **Bulk decision** dropdown — two notes textareas appear once a decision is selected:
- **Notes for Authors** — applied to all selected submissions and included in their decision emails
- **Notes for Chairs** — marked with the amber **INTERNAL · NOT SENT TO AUTHORS** pill; applied to all selected submissions but visible only to chairs and editors
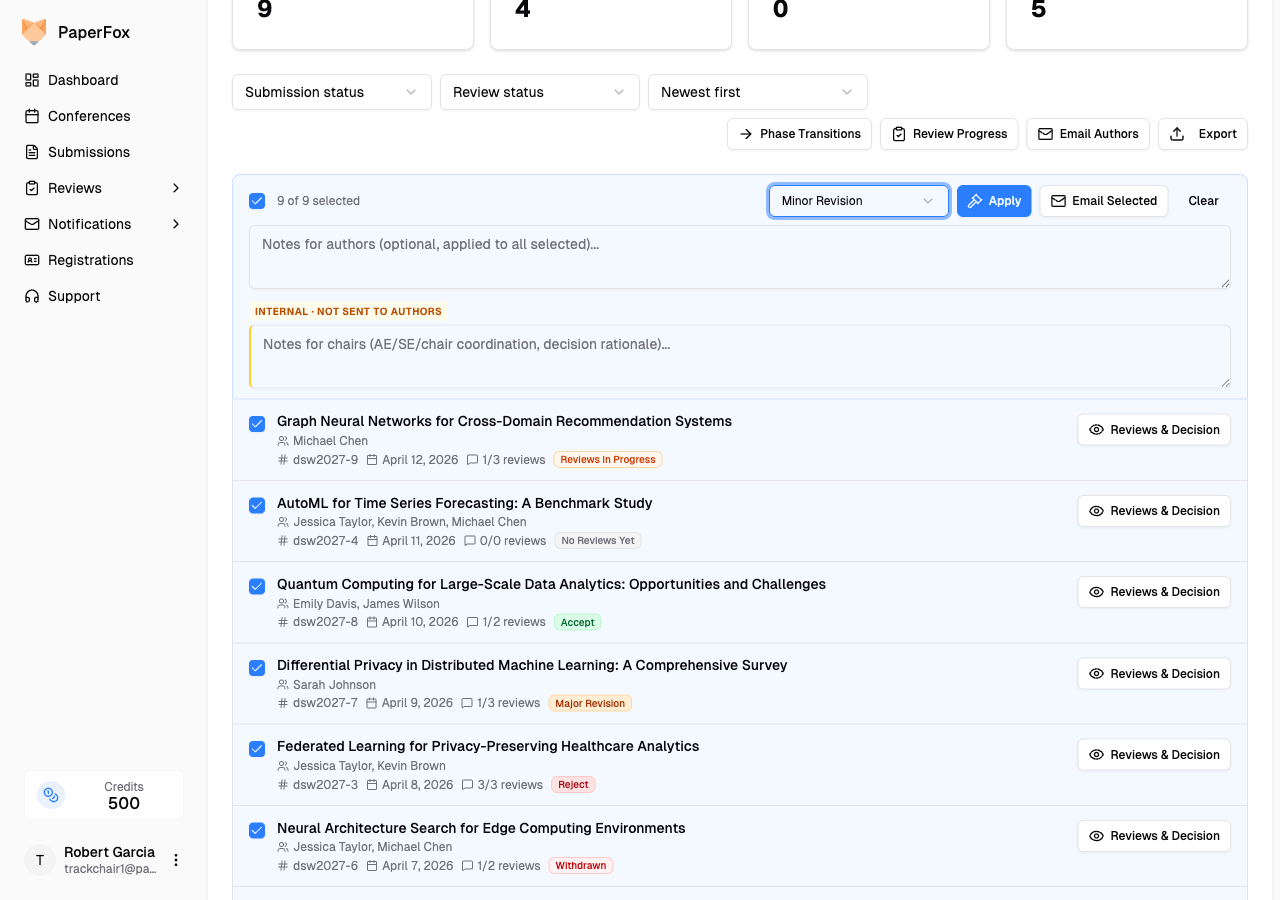 3. Click **"Apply"**
If any selected submissions already have a decision, a confirmation dialog appears showing a summary of which decisions will be overwritten. Click **"Apply to All"** to proceed or **"Cancel"** to go back.
3. Click **"Apply"**
If any selected submissions already have a decision, a confirmation dialog appears showing a summary of which decisions will be overwritten. Click **"Apply to All"** to proceed or **"Cancel"** to go back.
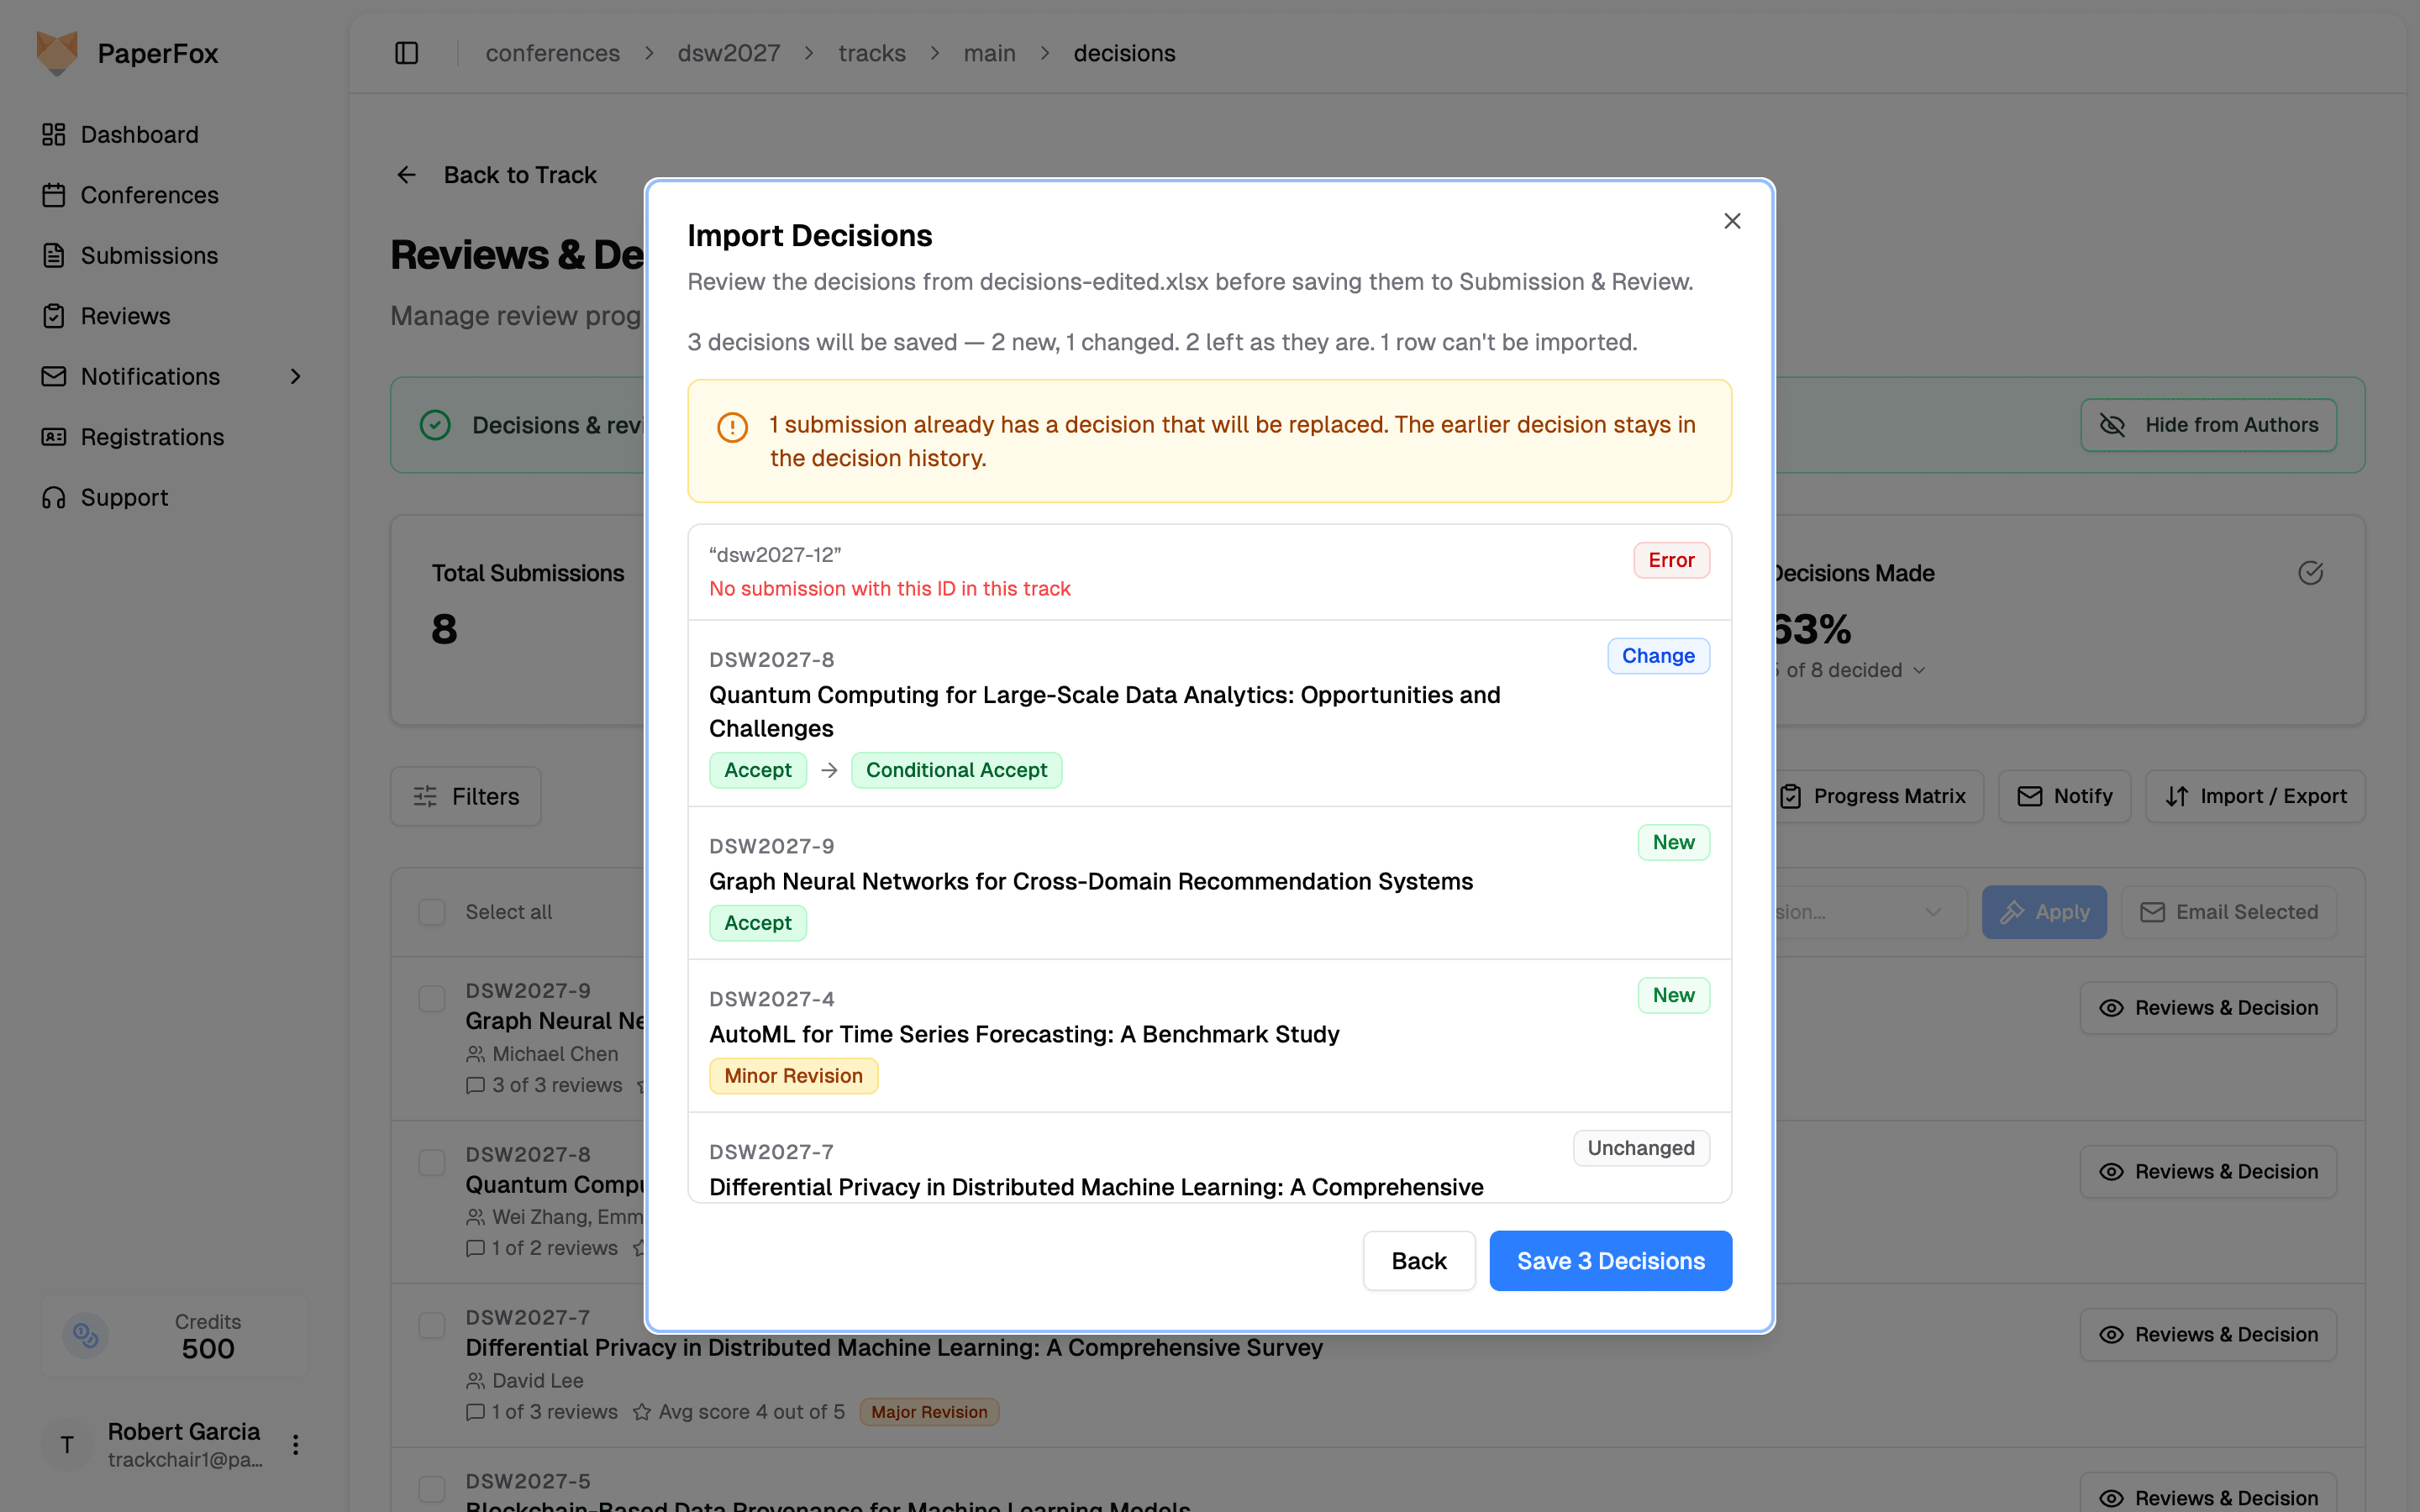 Only the **Paper ID** and **Decision** columns are read; every other column in the file is ignored, so you can keep your own notes alongside. Decision names match regardless of capitalization, and a Paper ID can be written as `dsw2027-12`, `12`, or `#12`.
The preview marks each row before anything is saved:
| Row | Meaning |
|-----|---------|
| **New** | The submission has no decision yet in this phase; the imported one will be saved |
| **Change** | The submission already has a different decision; it will be replaced |
| **Unchanged** | The file matches the decision already recorded |
| **Skipped** | The Decision cell is empty, so the submission is left as it is |
| **Error** | Not imported — unknown Paper ID, a decision name your conference doesn't have, a withdrawn submission, a submission no longer in this phase, or a Paper ID repeated in the file |
Decisions are imported into the phase selected on the page. As with any other change, a replaced decision stays in the decision history, and nothing is sent to authors — use **"Notify"** when you're ready.
4. In the **Submission Management** section, click **"Submission Settings"** to expand the settings — the collapsed row shows a one-line summary of the current status and deadline
Only the **Paper ID** and **Decision** columns are read; every other column in the file is ignored, so you can keep your own notes alongside. Decision names match regardless of capitalization, and a Paper ID can be written as `dsw2027-12`, `12`, or `#12`.
The preview marks each row before anything is saved:
| Row | Meaning |
|-----|---------|
| **New** | The submission has no decision yet in this phase; the imported one will be saved |
| **Change** | The submission already has a different decision; it will be replaced |
| **Unchanged** | The file matches the decision already recorded |
| **Skipped** | The Decision cell is empty, so the submission is left as it is |
| **Error** | Not imported — unknown Paper ID, a decision name your conference doesn't have, a withdrawn submission, a submission no longer in this phase, or a Paper ID repeated in the file |
Decisions are imported into the phase selected on the page. As with any other change, a replaced decision stays in the decision history, and nothing is sent to authors — use **"Notify"** when you're ready.
4. In the **Submission Management** section, click **"Submission Settings"** to expand the settings — the collapsed row shows a one-line summary of the current status and deadline
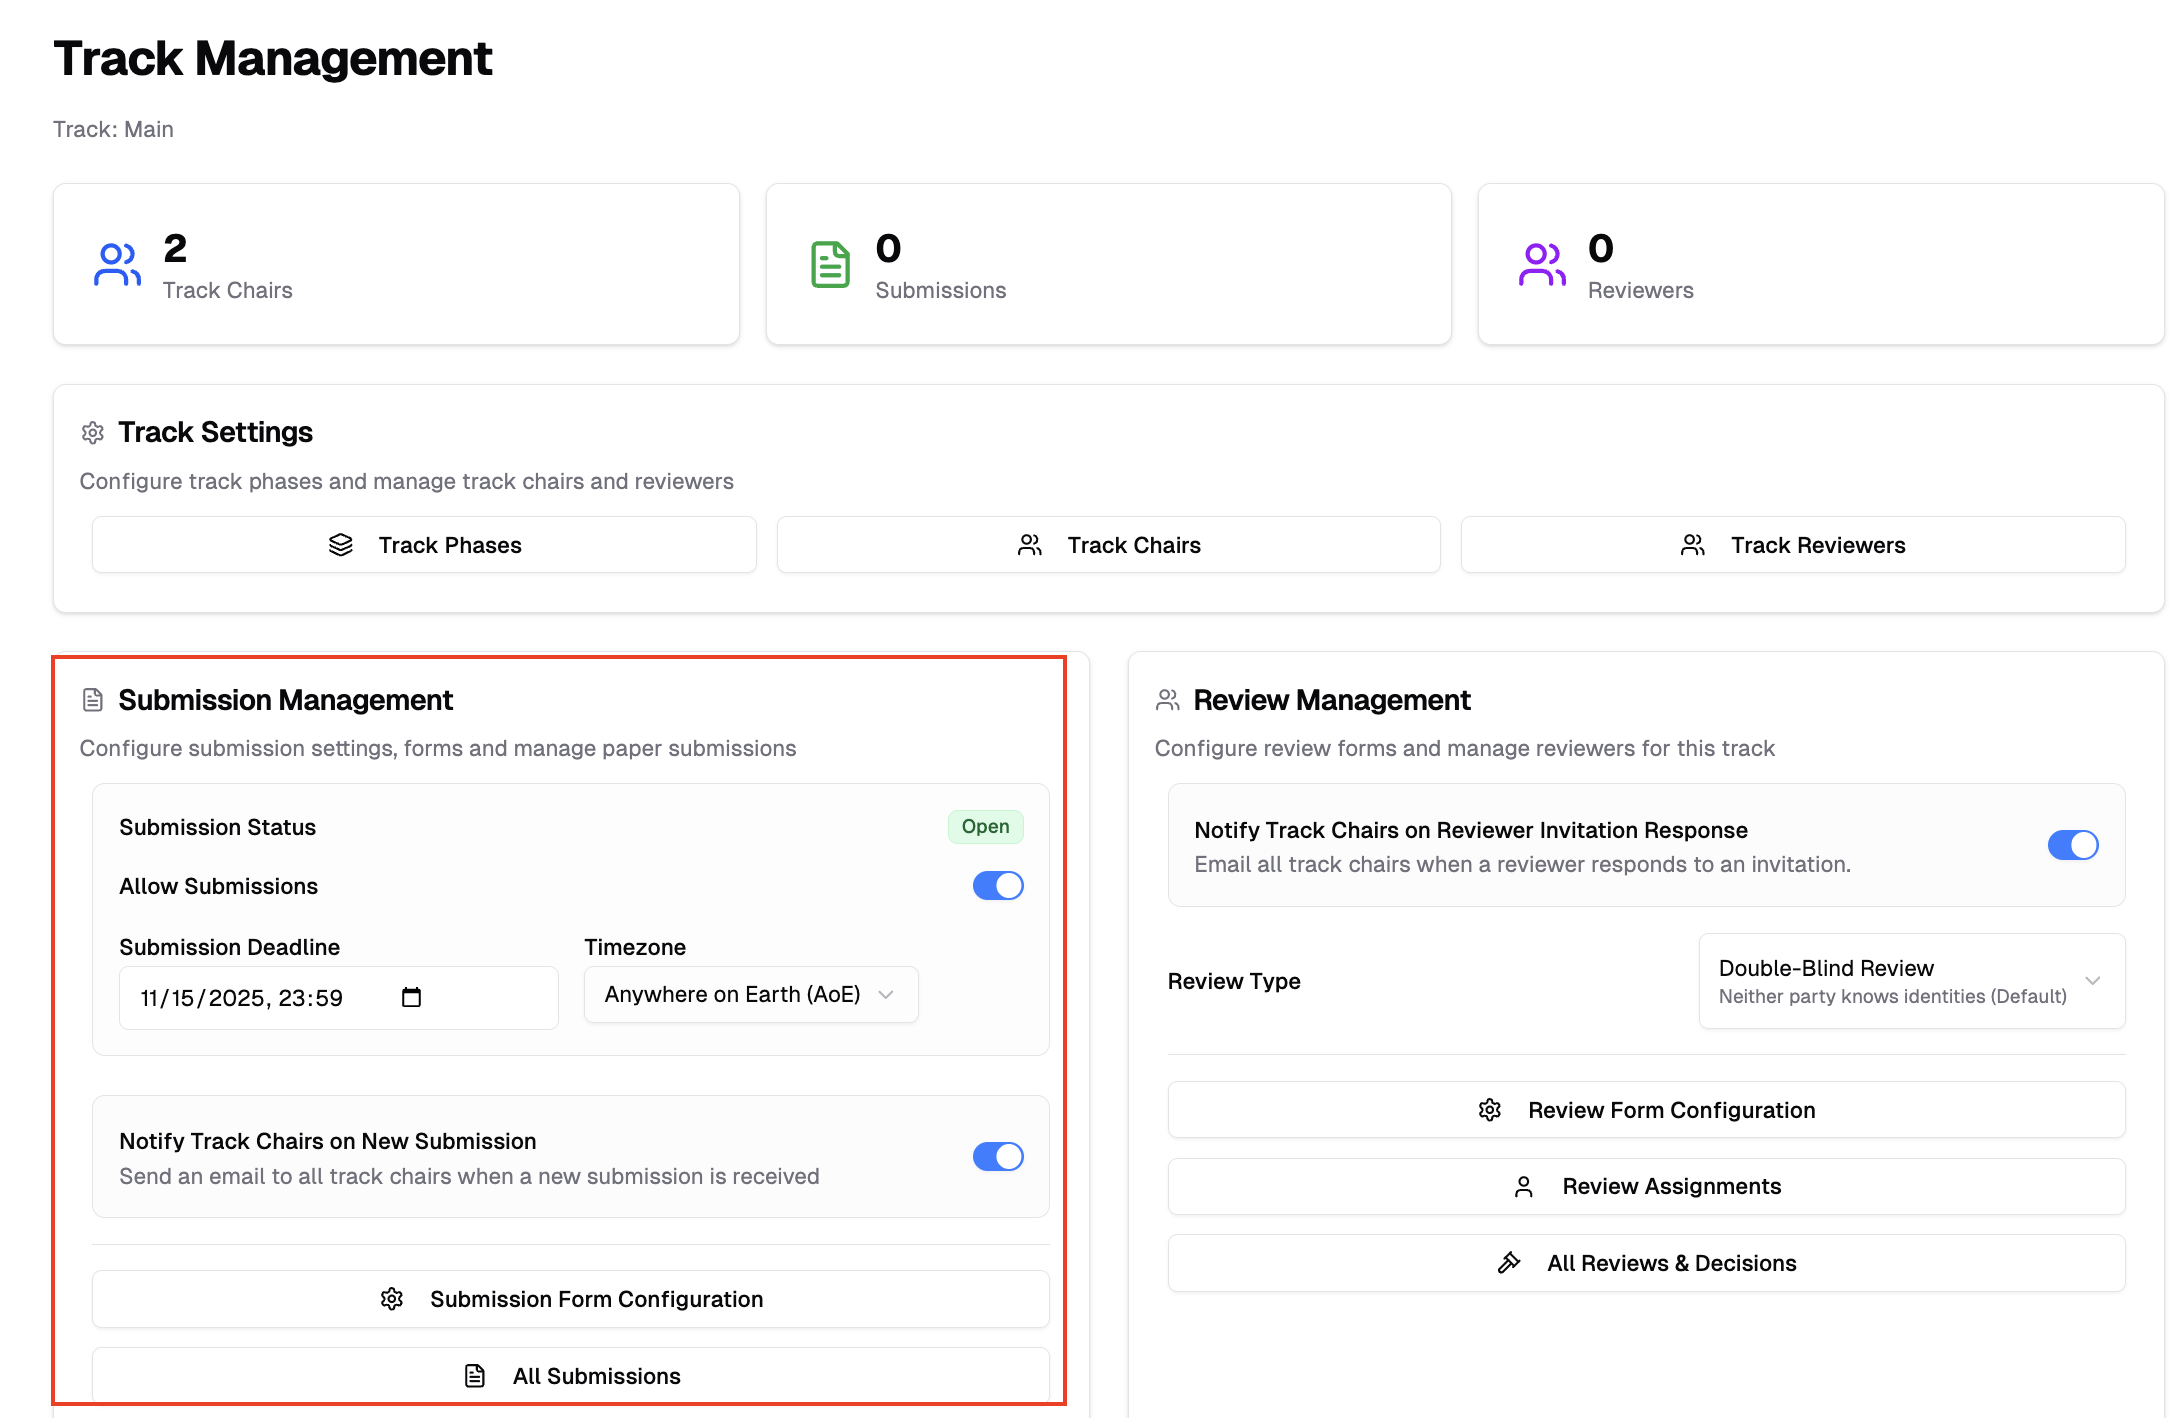 ## Enable or Disable Submissions
Use the **Accept Submissions** toggle to control whether authors can submit submissions to your track:
- Toggle **ON** - Authors can access the submission form and submit submissions
- Toggle **OFF** - The submission form becomes unavailable to authors
Changes save automatically when you toggle the switch.
You can also click **"Open submission page"** to preview the submission form as authors see it (opens in a new tab).
## Set Submission Deadline
Configure when submissions close for your track:
1. Ensure **Accept Submissions** is toggled ON
2. Enter a date in the **Submission Deadline** field or click the calendar icon to pick a date
## Enable or Disable Submissions
Use the **Accept Submissions** toggle to control whether authors can submit submissions to your track:
- Toggle **ON** - Authors can access the submission form and submit submissions
- Toggle **OFF** - The submission form becomes unavailable to authors
Changes save automatically when you toggle the switch.
You can also click **"Open submission page"** to preview the submission form as authors see it (opens in a new tab).
## Set Submission Deadline
Configure when submissions close for your track:
1. Ensure **Accept Submissions** is toggled ON
2. Enter a date in the **Submission Deadline** field or click the calendar icon to pick a date
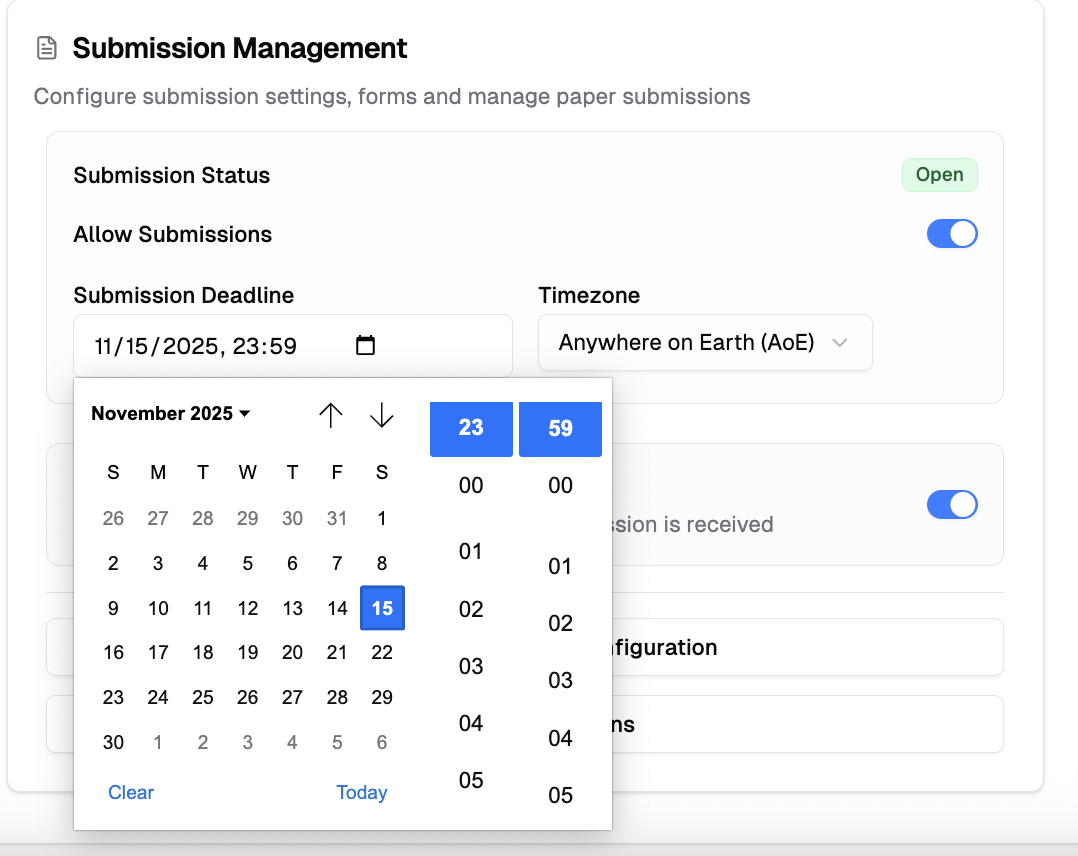 3. Choose your **Timezone** from the dropdown menu
- Default timezone is **AOE (Anywhere on Earth)**
- Other options include UTC, EST, PST, GMT, and more
All settings save automatically as you make changes.
**To remove a deadline:** Click the **X** button inside the date field to clear it. This keeps submissions open indefinitely (until you manually disable them).
## Late Submission Window
You can optionally allow late submissions after the deadline. This keeps the system open for a grace period — any submissions made after the deadline but before the late cutoff are accepted but marked as **Late**.
The **Late Submission Until** field is always visible next to the submission deadline. It is disabled until you set a submission deadline first.
1. Set a **Submission Deadline** first (the late submission field becomes enabled once a deadline is set)
2. In the **Late Submission Until** field, enter the date when the system should fully close
3. The late deadline shares the same timezone as the submission deadline
**To remove the late window:** Click the **X** button inside the **Late Submission Until** date field to clear it.
**How it works:**
| Time Period | System Behavior |
|---|---|
| Before deadline | Submissions accepted normally |
| Between deadline and late cutoff | Submissions accepted, marked as **Late** |
| After late cutoff | Submissions closed |
**What authors see:**
- Authors are shown a warning banner on the submission page: *"The submission deadline has passed. You may still submit, but your submission will be marked as late."*
- The public conference page only displays the regular deadline — the late cutoff is not shown to authors
**What chairs see:**
- The track's **Submission Settings** show **"Accepting late submissions"** while the late window is active
- Late submissions display a **Late** badge in the submissions list
## Submission Status
The system automatically updates the submission status based on your settings:
- **Authors can submit to this track** - Submissions are enabled and the deadline has not passed
- **Accepting late submissions** - The deadline has passed but the late submission window is still open
- **Submissions closed - deadline has passed** - The deadline (and late cutoff, if set) has passed
3. Choose your **Timezone** from the dropdown menu
- Default timezone is **AOE (Anywhere on Earth)**
- Other options include UTC, EST, PST, GMT, and more
All settings save automatically as you make changes.
**To remove a deadline:** Click the **X** button inside the date field to clear it. This keeps submissions open indefinitely (until you manually disable them).
## Late Submission Window
You can optionally allow late submissions after the deadline. This keeps the system open for a grace period — any submissions made after the deadline but before the late cutoff are accepted but marked as **Late**.
The **Late Submission Until** field is always visible next to the submission deadline. It is disabled until you set a submission deadline first.
1. Set a **Submission Deadline** first (the late submission field becomes enabled once a deadline is set)
2. In the **Late Submission Until** field, enter the date when the system should fully close
3. The late deadline shares the same timezone as the submission deadline
**To remove the late window:** Click the **X** button inside the **Late Submission Until** date field to clear it.
**How it works:**
| Time Period | System Behavior |
|---|---|
| Before deadline | Submissions accepted normally |
| Between deadline and late cutoff | Submissions accepted, marked as **Late** |
| After late cutoff | Submissions closed |
**What authors see:**
- Authors are shown a warning banner on the submission page: *"The submission deadline has passed. You may still submit, but your submission will be marked as late."*
- The public conference page only displays the regular deadline — the late cutoff is not shown to authors
**What chairs see:**
- The track's **Submission Settings** show **"Accepting late submissions"** while the late window is active
- Late submissions display a **Late** badge in the submissions list
## Submission Status
The system automatically updates the submission status based on your settings:
- **Authors can submit to this track** - Submissions are enabled and the deadline has not passed
- **Accepting late submissions** - The deadline has passed but the late submission window is still open
- **Submissions closed - deadline has passed** - The deadline (and late cutoff, if set) has passed
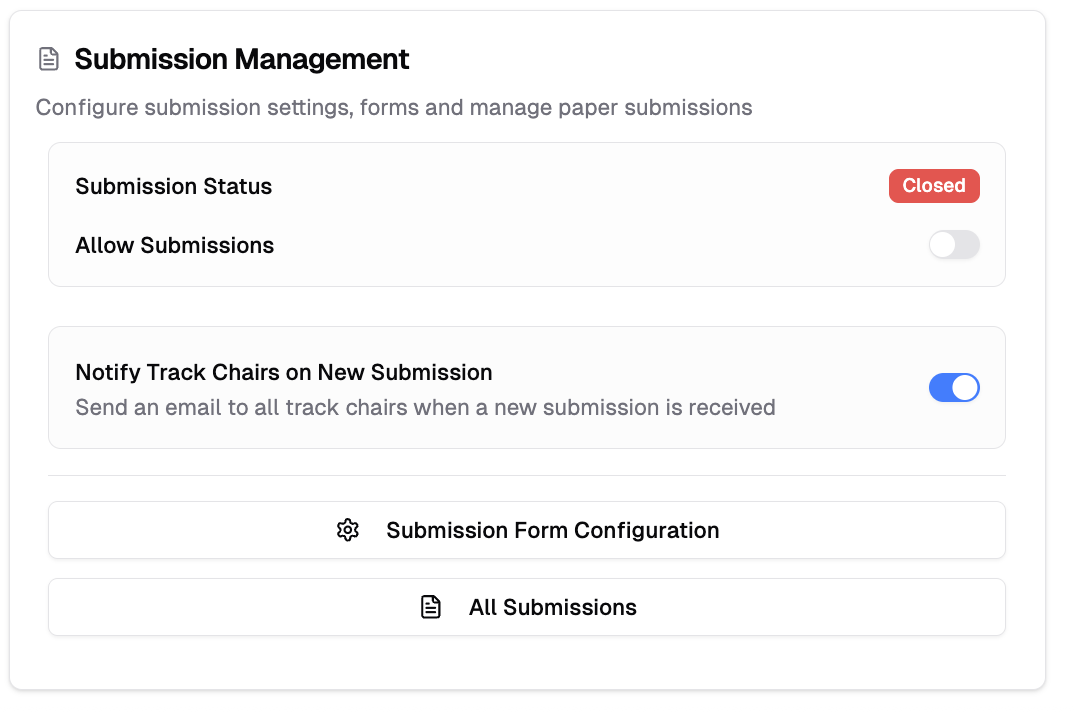 Once a deadline passes (and no late window is configured), the submission form automatically closes even if the toggle remains ON. To extend the submission period, you can either edit the deadline or set a late submission window.
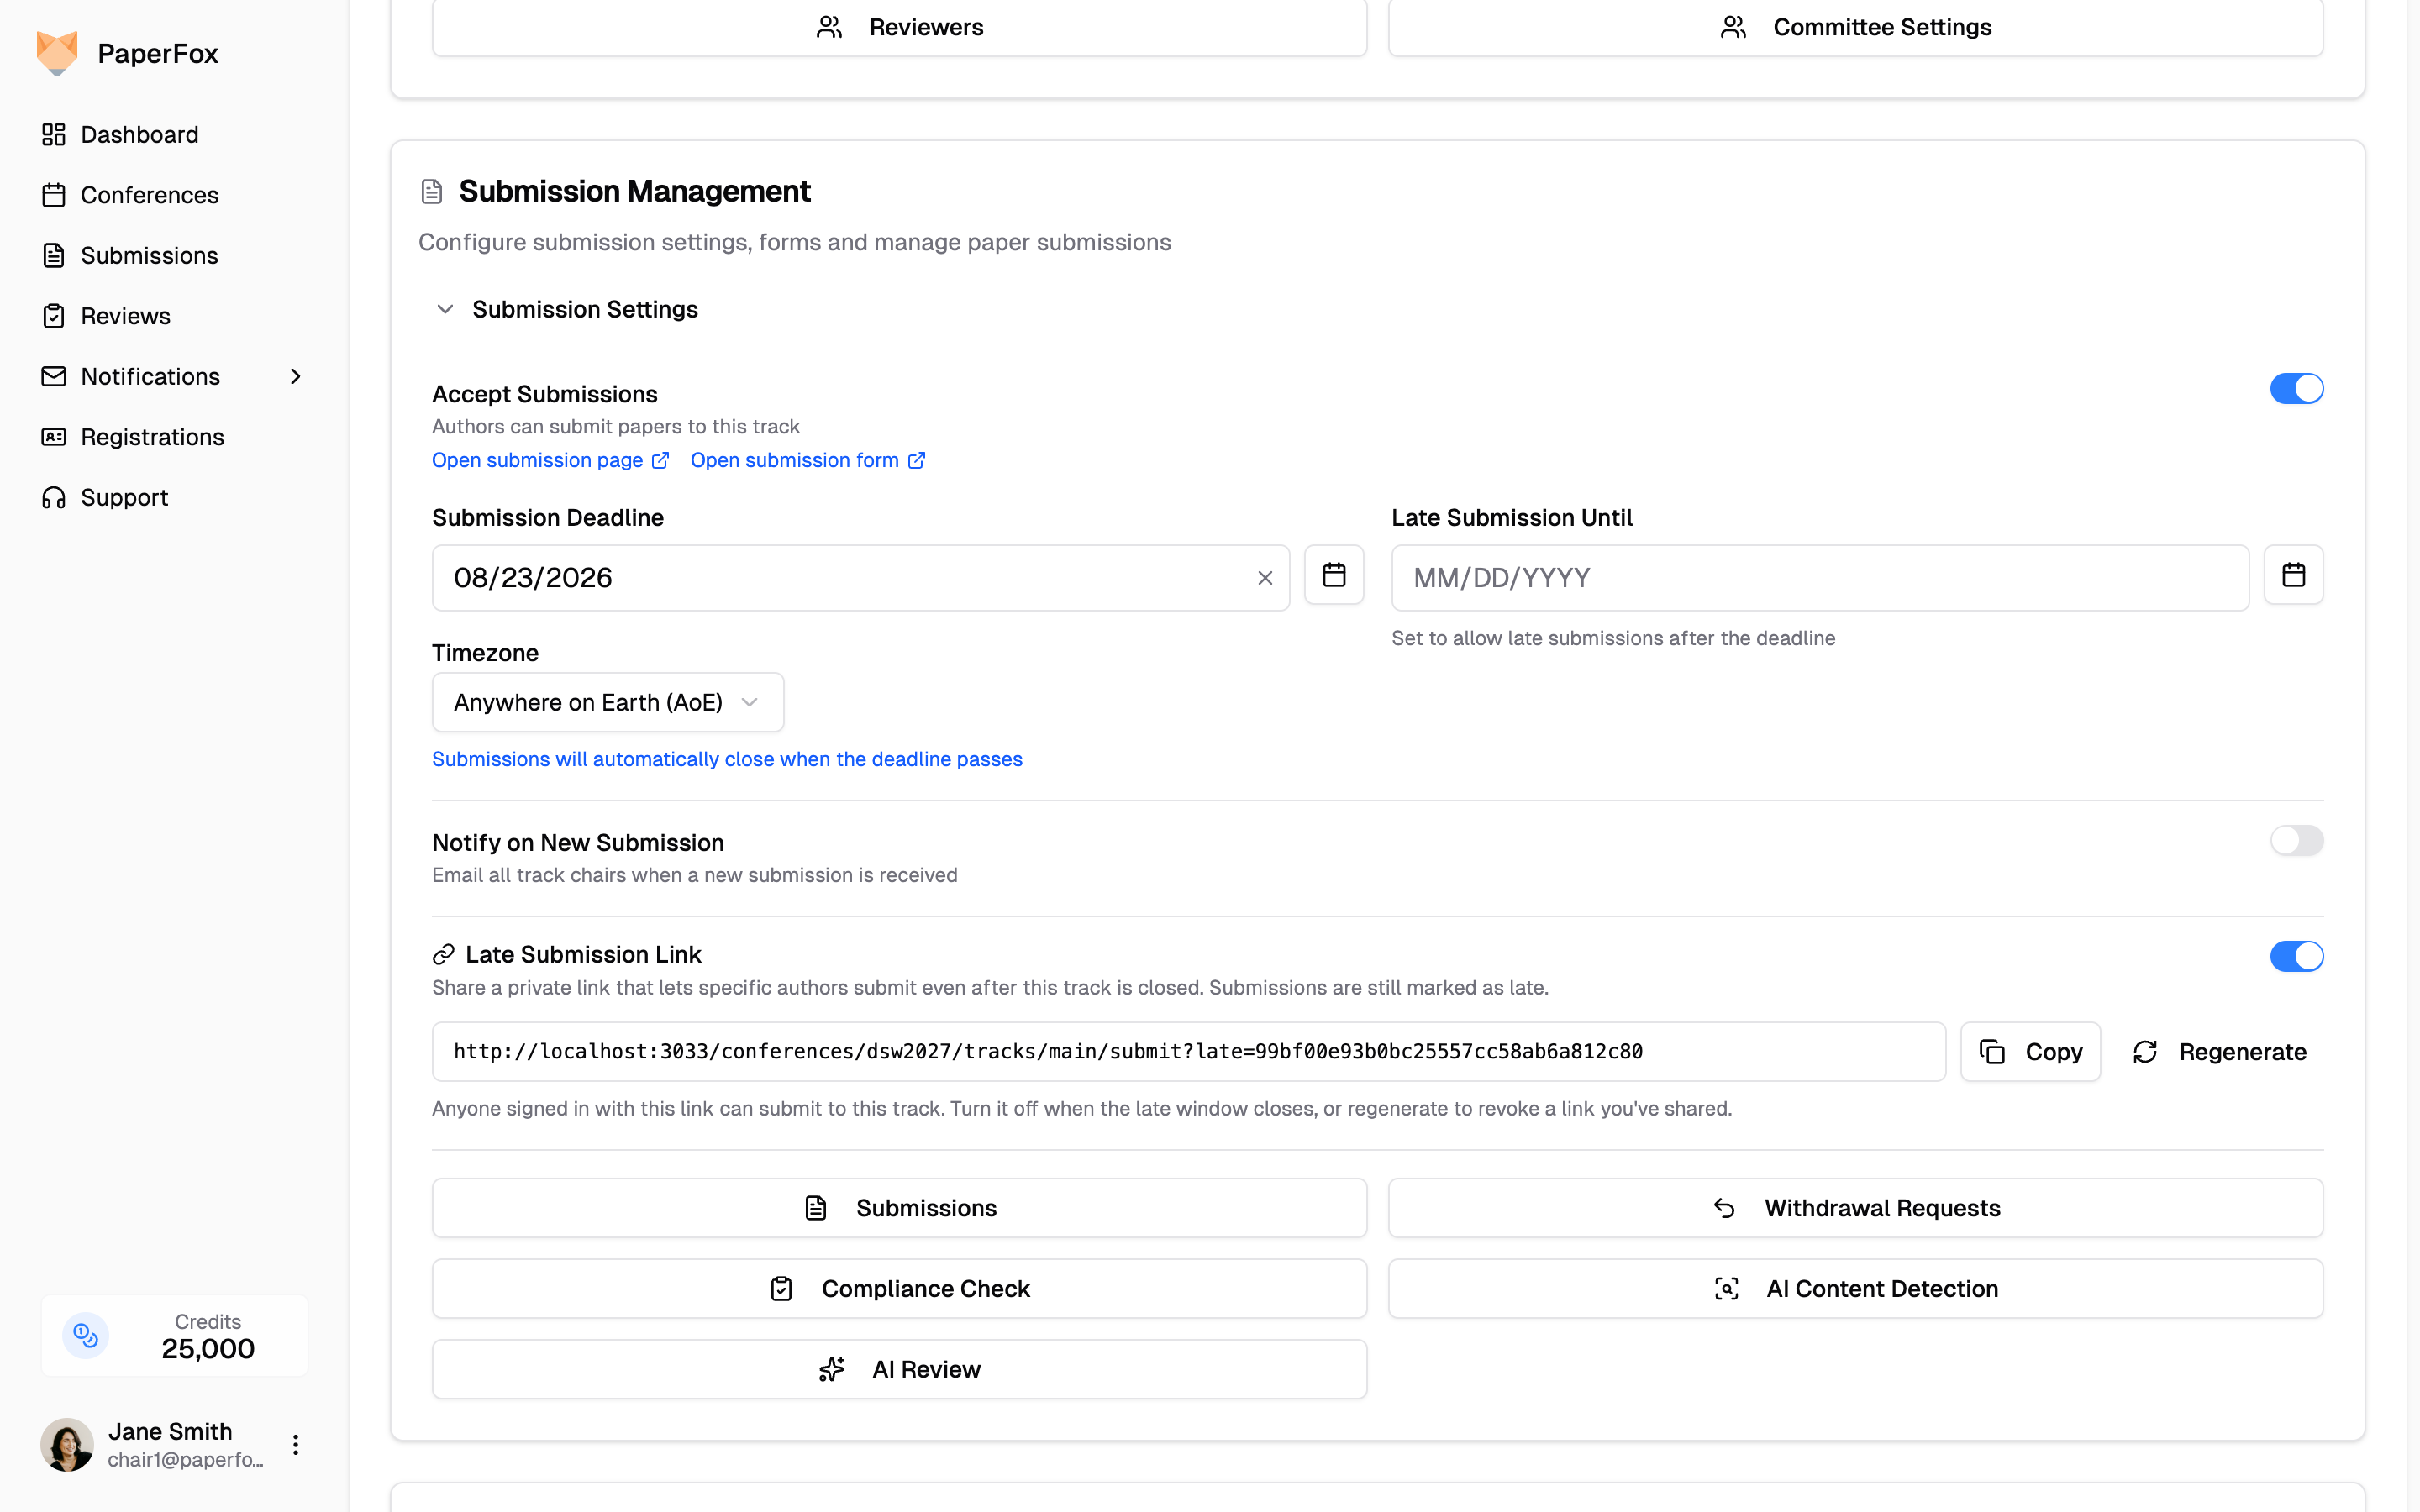 **Revoke or rotate a link:** Click **"Regenerate"** to mint a new link and immediately invalidate the one you shared earlier. Turn the toggle **OFF** to disable the link entirely once the late window is over.
**What authors see:** An author who opens the link gets the submission form with an amber banner — *"The submission deadline has passed. You're submitting through a late-submission link from the organizers. Your submission will be marked as late."* — and their submission still gets the **Late** badge in your submissions list.
**Revoke or rotate a link:** Click **"Regenerate"** to mint a new link and immediately invalidate the one you shared earlier. Turn the toggle **OFF** to disable the link entirely once the late window is over.
**What authors see:** An author who opens the link gets the submission form with an amber banner — *"The submission deadline has passed. You're submitting through a late-submission link from the organizers. Your submission will be marked as late."* — and their submission still gets the **Late** badge in your submissions list.
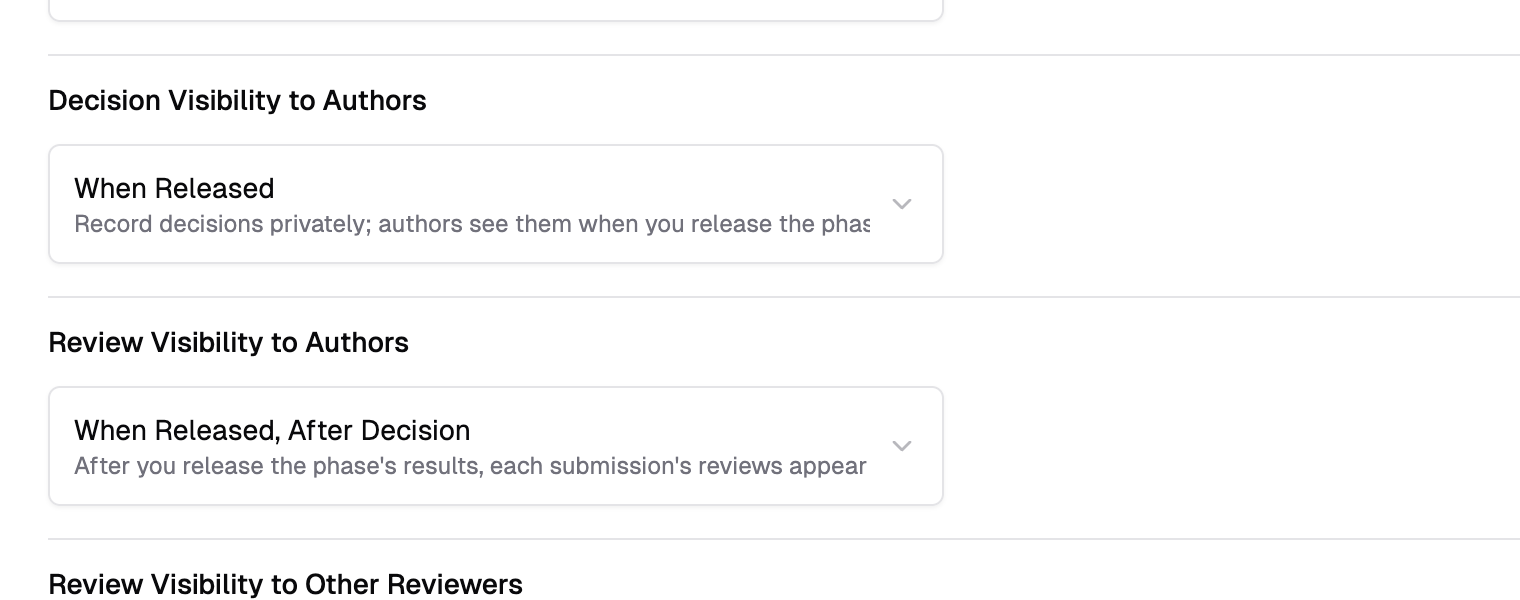 **Decision Visibility to Authors** — when authors see the accept/reject/revision decision:
| Option | Authors see the decision… |
|--------|---------------------------|
| **When Released** (default) | Once you release the phase's results |
| **Immediately When Recorded** | The moment you enter it |
**Review Visibility to Authors** — when authors see the reviewer scores, comments, and files:
| Option | Authors see the reviews… |
|--------|--------------------------|
| **When Released, After Decision** (default) | After you release, once their submission also has a decision |
| **When Released** | As soon as you release — no decision required |
| **Immediately When Submitted** | The moment each reviewer submits — no release step |
The two settings are independent. A common combination beyond the defaults: set **Review Visibility** to *Immediately When Submitted* while leaving **Decision Visibility** at *When Released* — reviews stream to authors as they come in, but the decision stays private until you announce it.
---
## Release from the Decisions Page
Open the **Reviews & Decisions** page for your track. A banner sits at the top, above the statistics cards.
When the phase hasn't been released, the banner is amber:
**Decision Visibility to Authors** — when authors see the accept/reject/revision decision:
| Option | Authors see the decision… |
|--------|---------------------------|
| **When Released** (default) | Once you release the phase's results |
| **Immediately When Recorded** | The moment you enter it |
**Review Visibility to Authors** — when authors see the reviewer scores, comments, and files:
| Option | Authors see the reviews… |
|--------|--------------------------|
| **When Released, After Decision** (default) | After you release, once their submission also has a decision |
| **When Released** | As soon as you release — no decision required |
| **Immediately When Submitted** | The moment each reviewer submits — no release step |
The two settings are independent. A common combination beyond the defaults: set **Review Visibility** to *Immediately When Submitted* while leaving **Decision Visibility** at *When Released* — reviews stream to authors as they come in, but the decision stays private until you announce it.
---
## Release from the Decisions Page
Open the **Reviews & Decisions** page for your track. A banner sits at the top, above the statistics cards.
When the phase hasn't been released, the banner is amber:
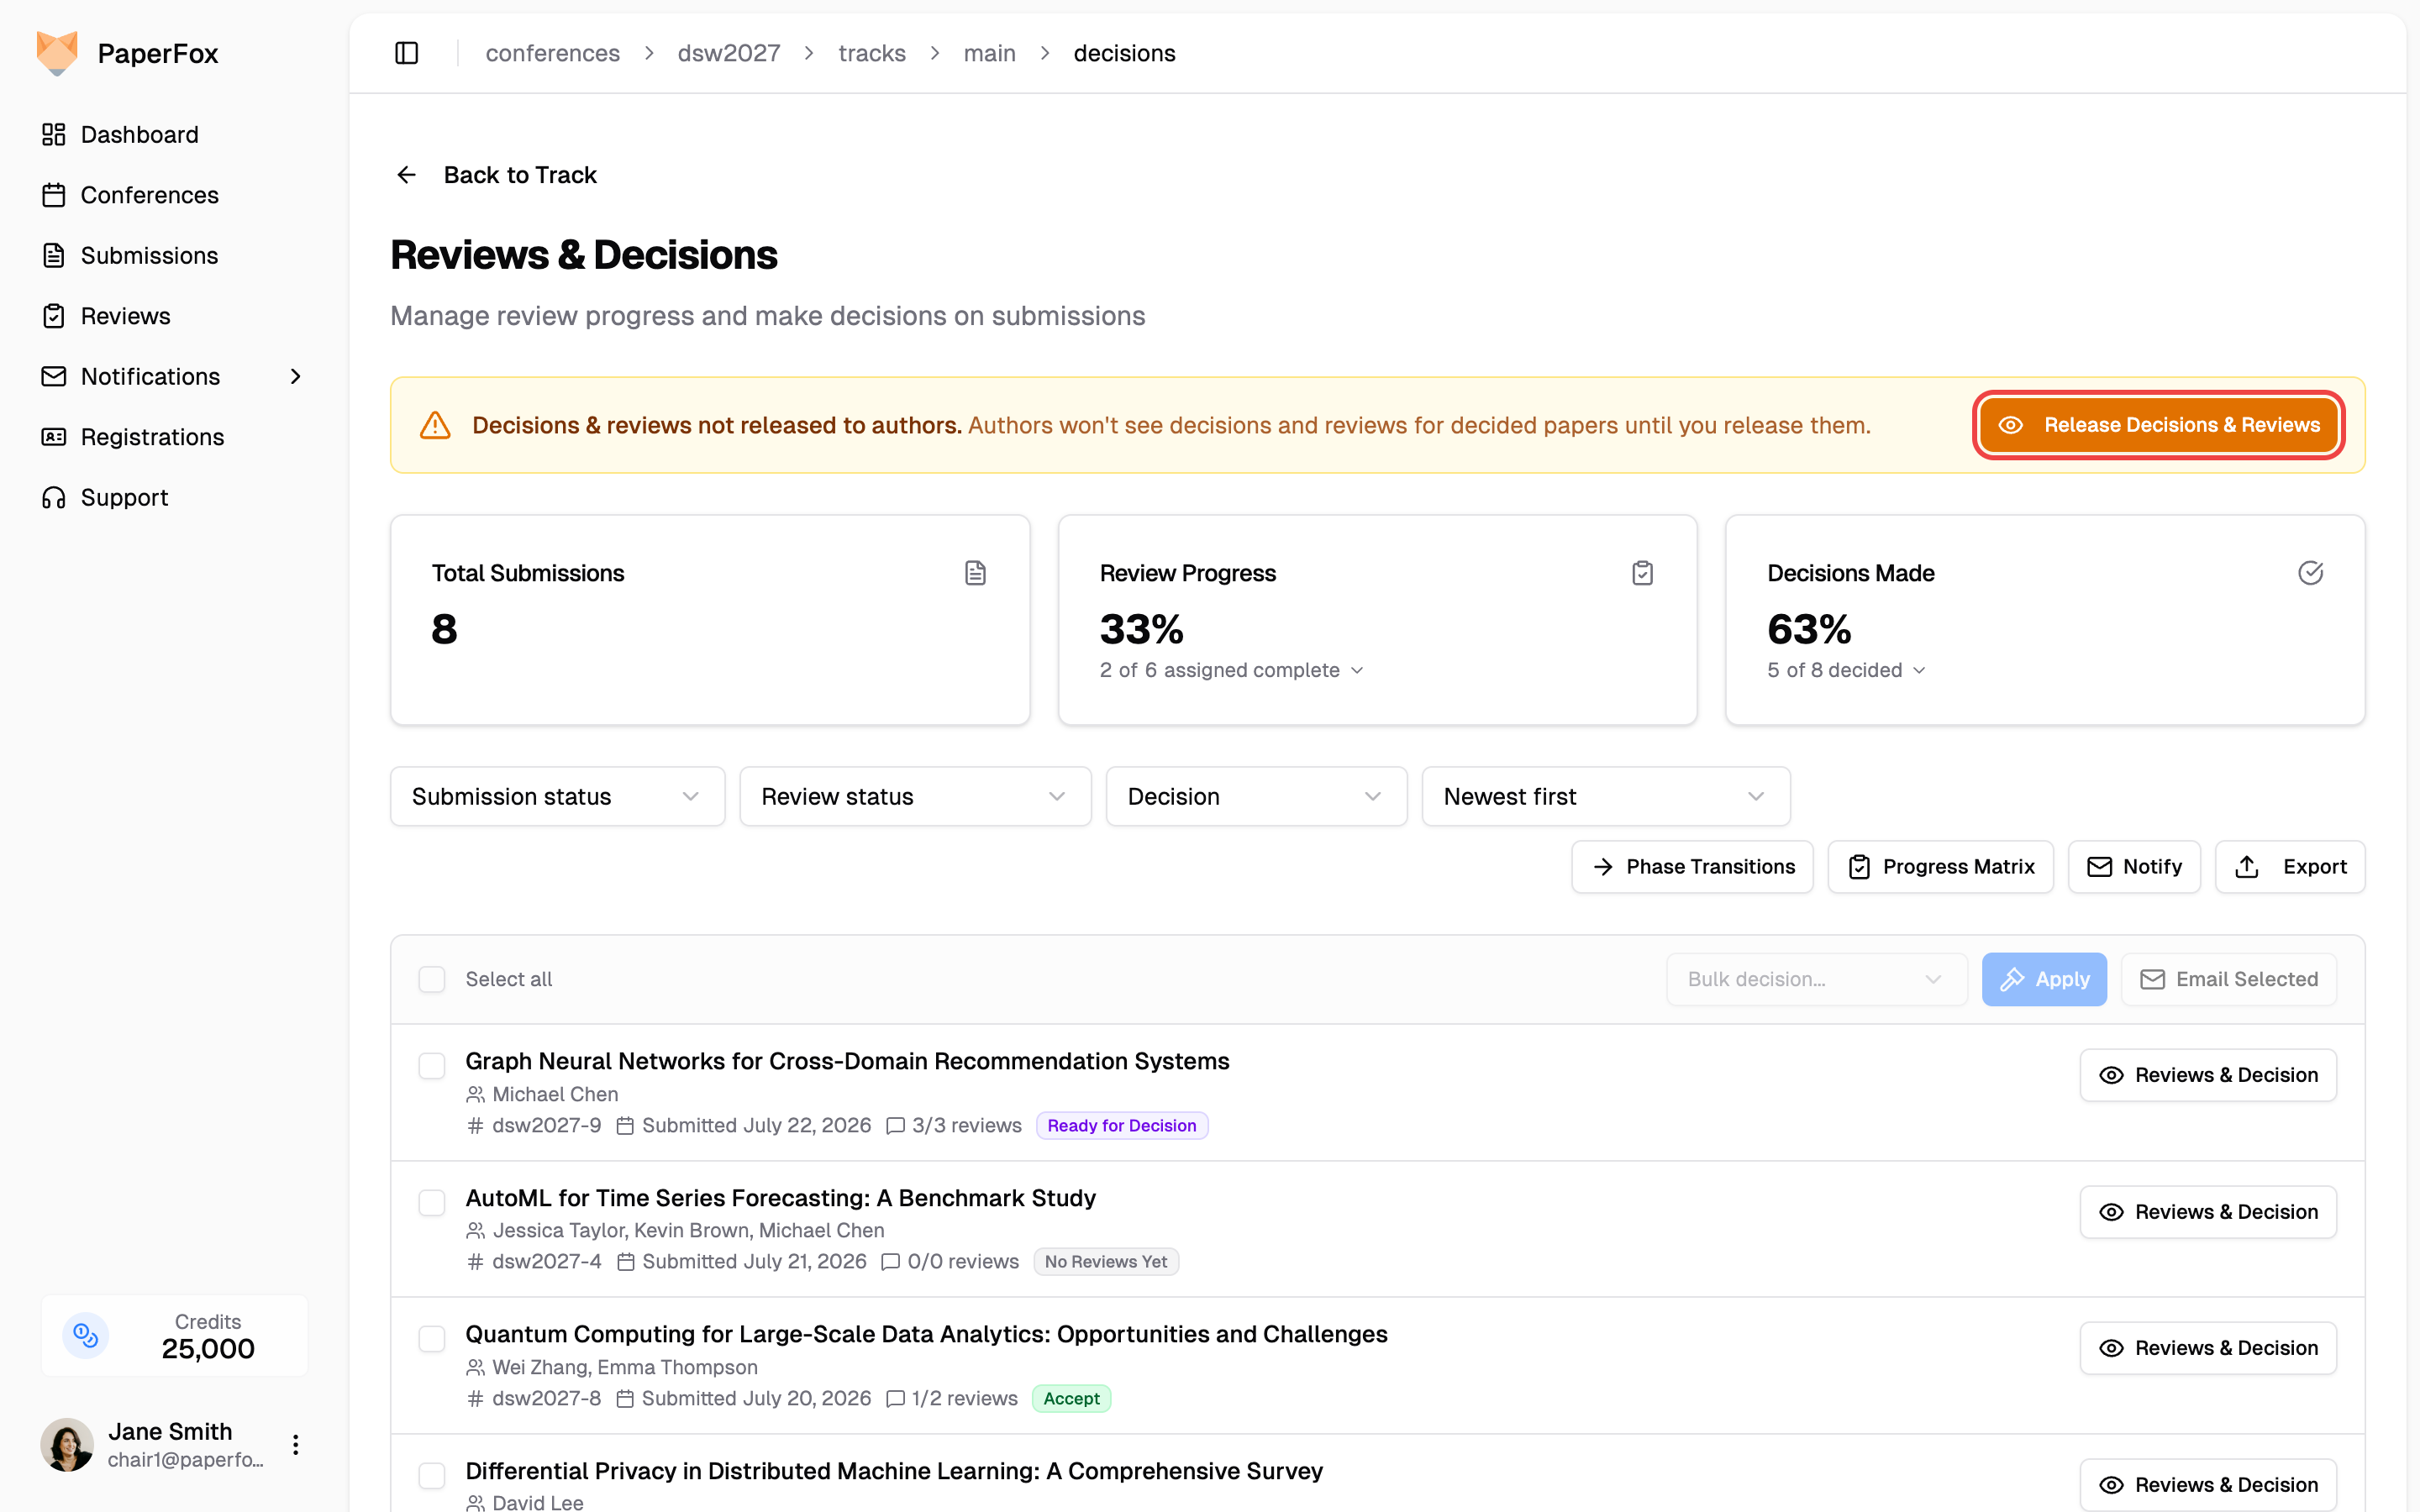 1. Click the **Release** button on the right
2. Confirm in the dialog
The button names exactly what a click will reveal, based on your two settings — **"Release Decisions & Reviews"** when both are waiting, or **"Release Decisions"** / **"Release Reviews"** when only one is. Once released, the banner turns green and shows who released and when:
1. Click the **Release** button on the right
2. Confirm in the dialog
The button names exactly what a click will reveal, based on your two settings — **"Release Decisions & Reviews"** when both are waiting, or **"Release Decisions"** / **"Release Reviews"** when only one is. Once released, the banner turns green and shows who released and when:
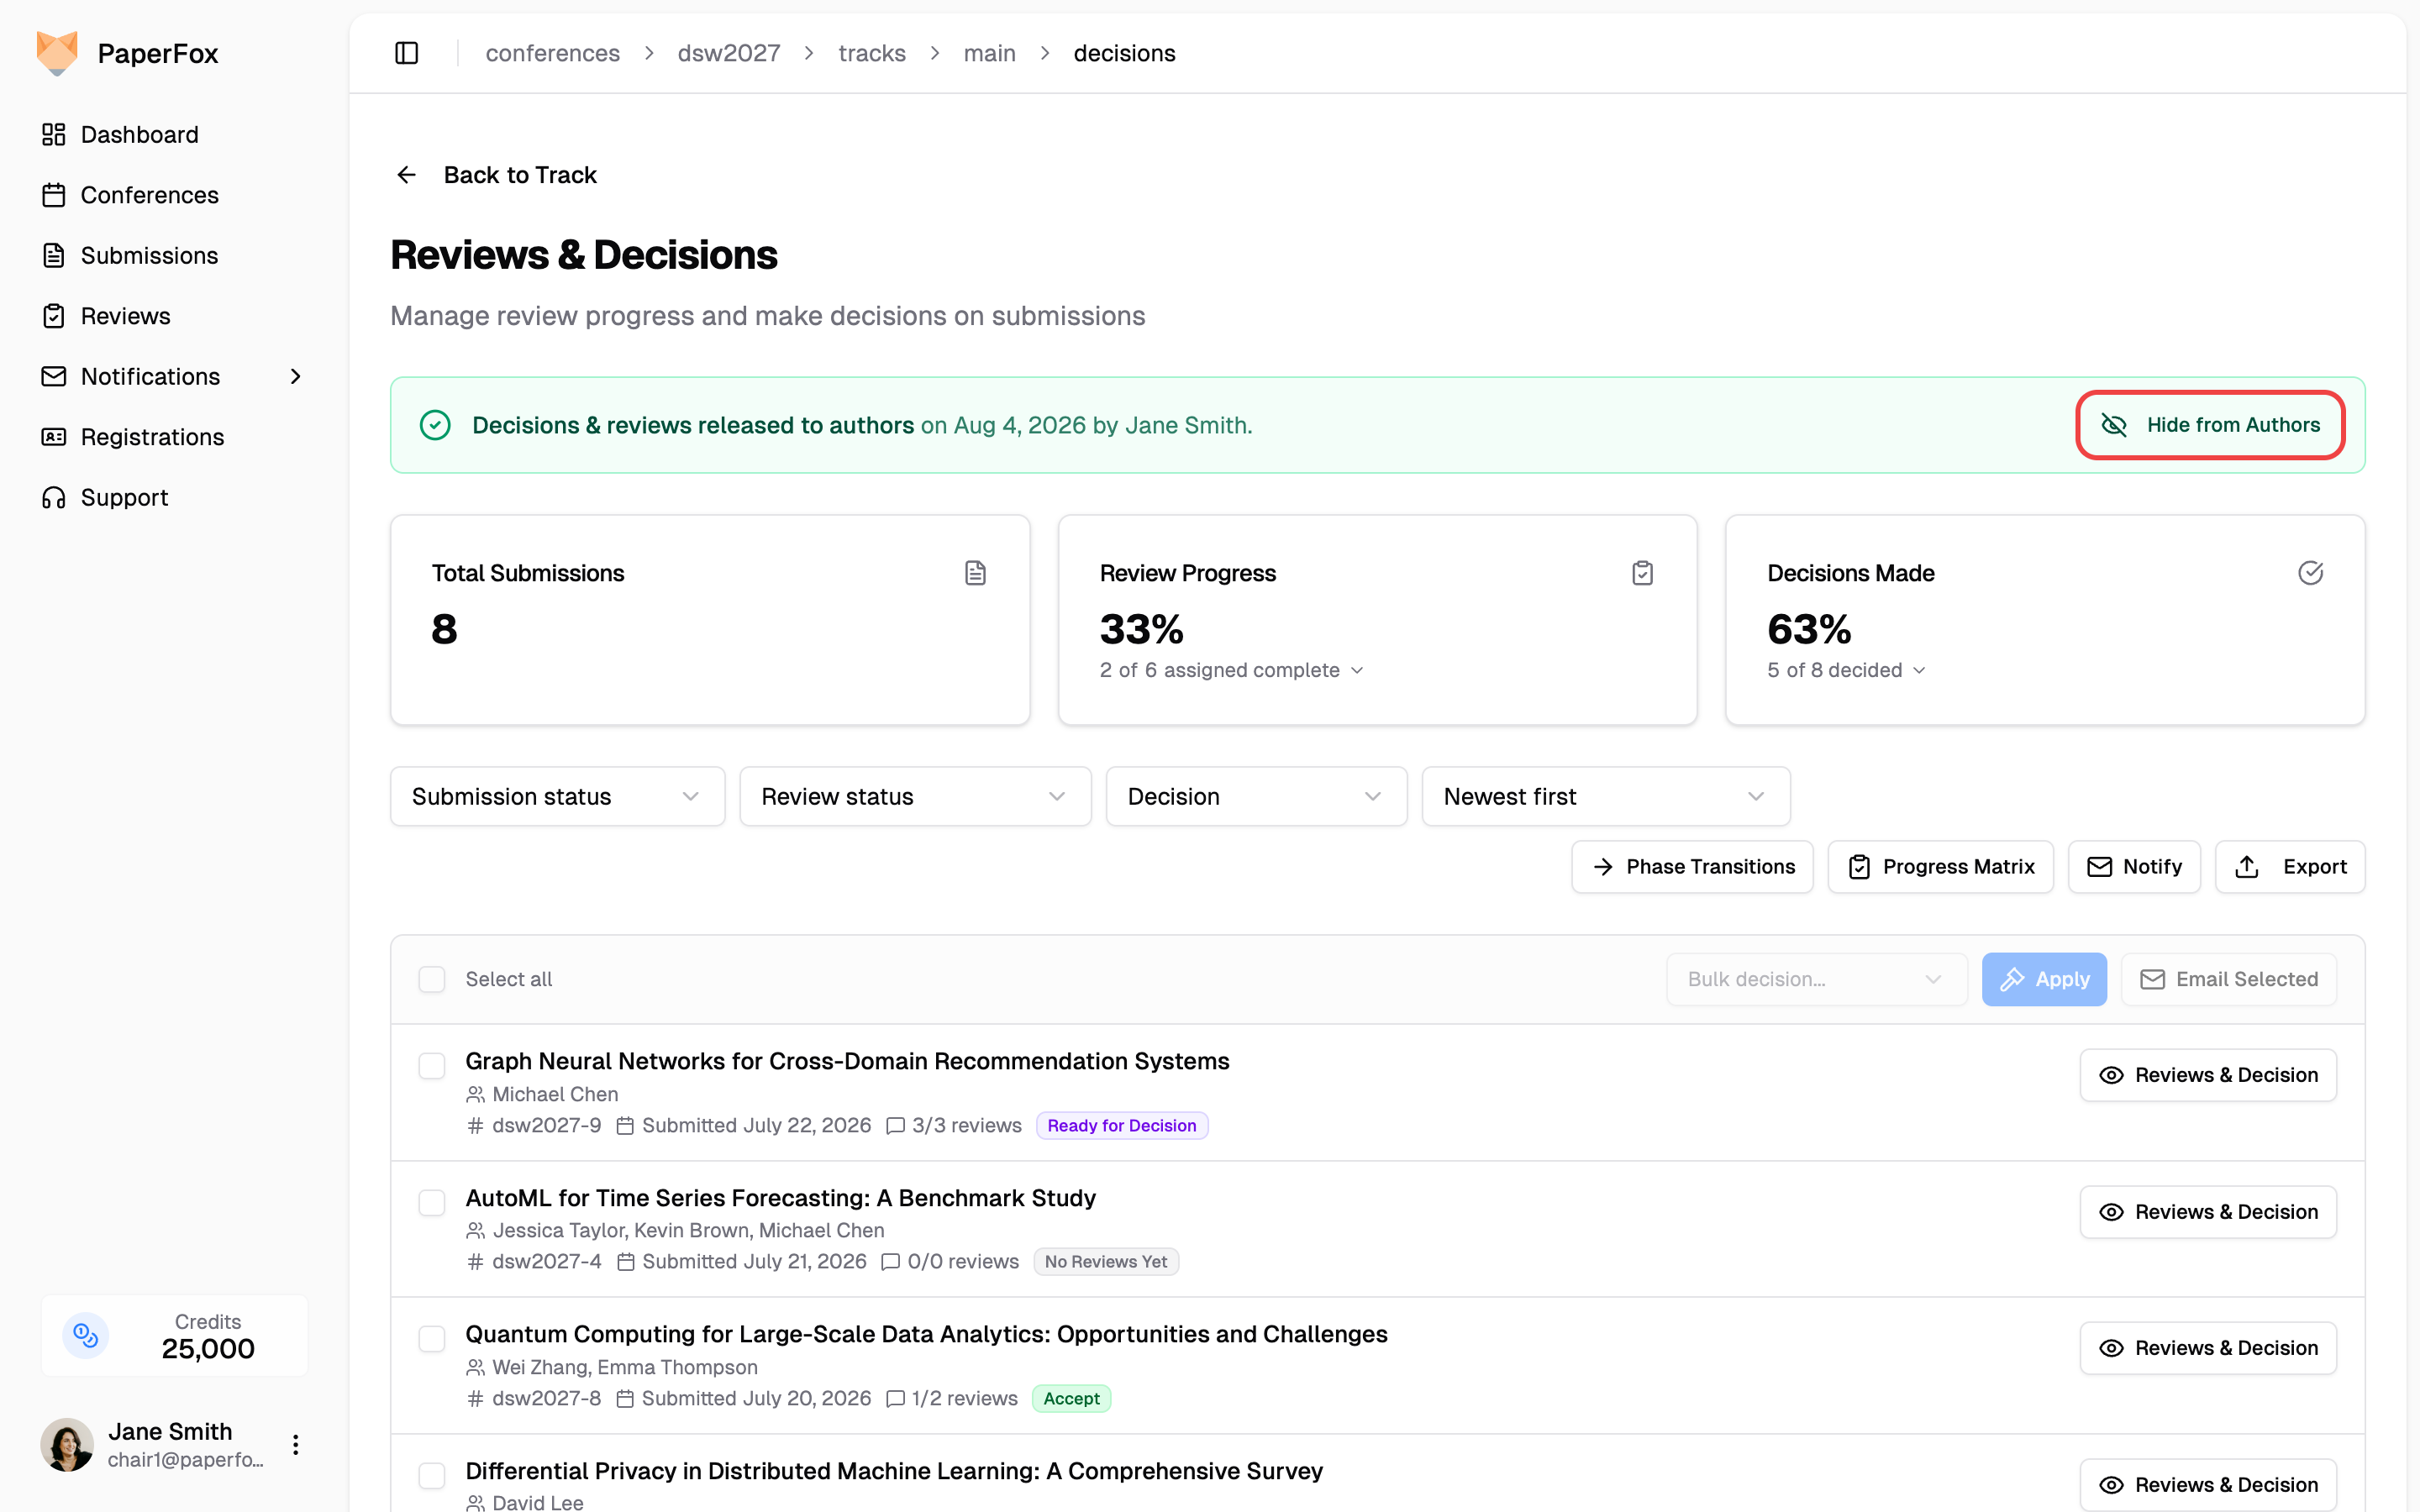
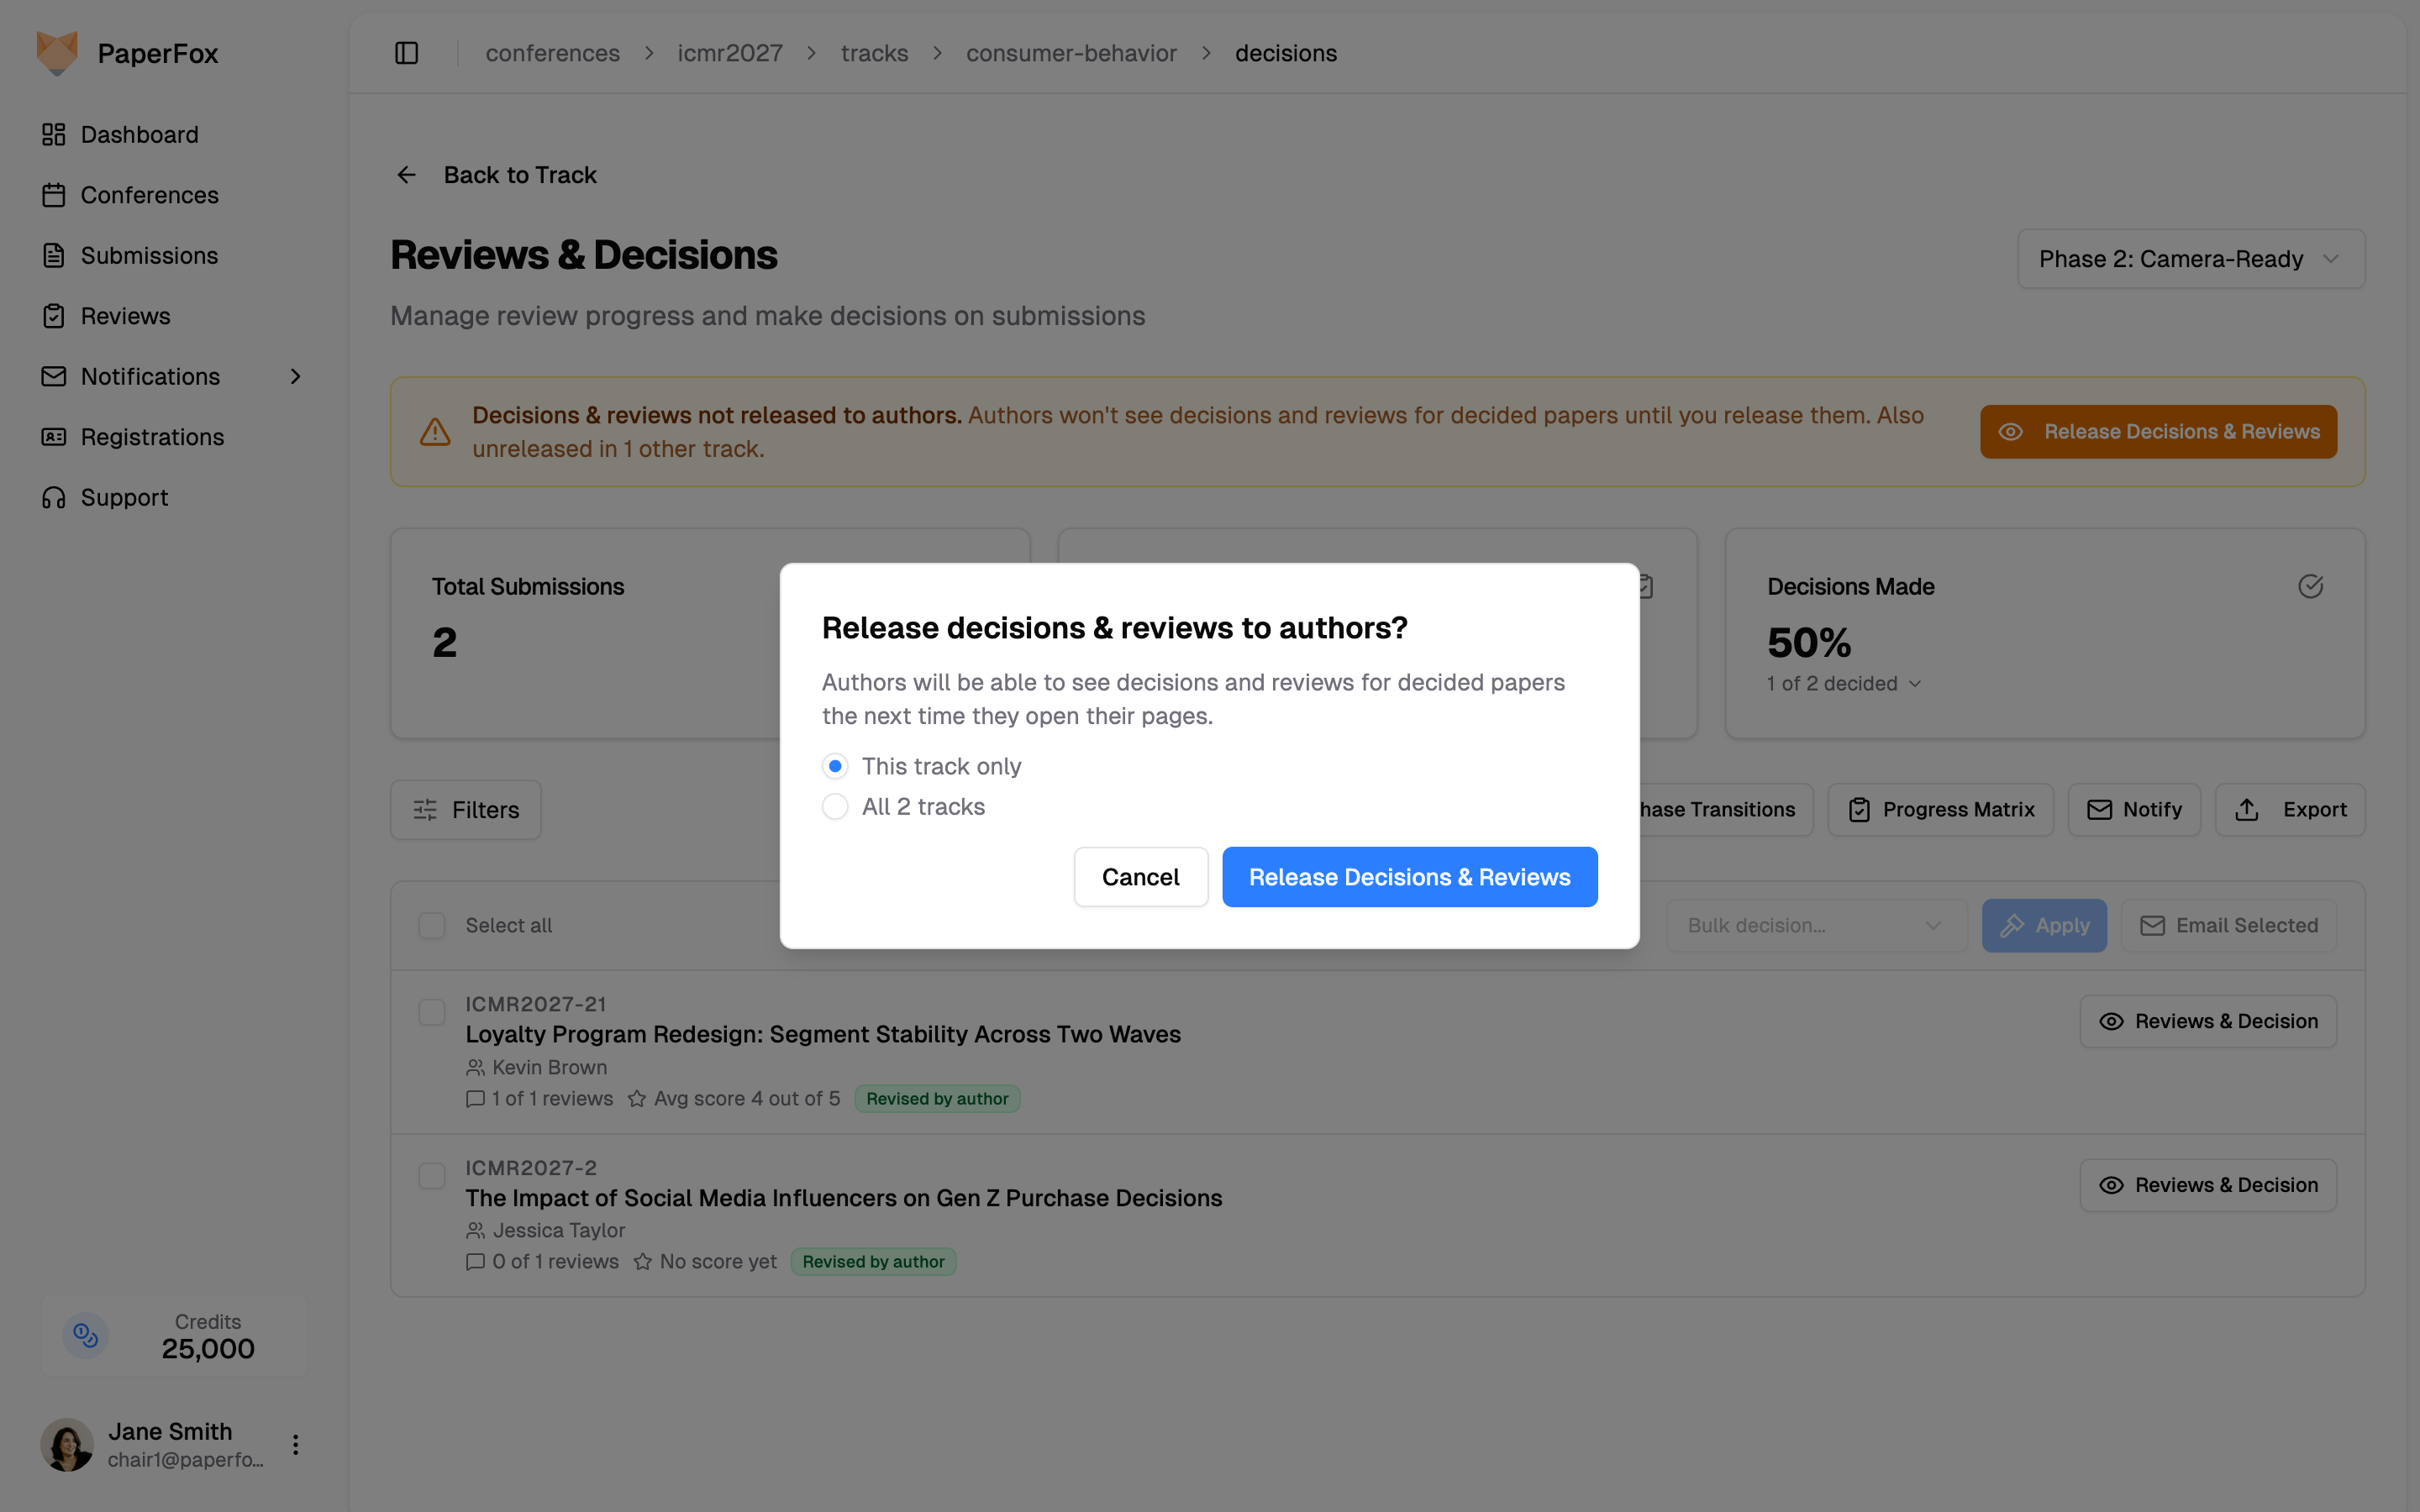 1. Leave **"This track only"** selected to release just this track — the default, so nothing changes if you don't look
2. Pick **"All N tracks"** to release every track at once
The banner behind it counts the tracks you haven't reached yet ("Also unreleased in 1 other track"), so you can see the choice is worth making before you open the dialog. Once this track is released, its green banner keeps that count and gains a **"Release in All Tracks"** button for the rest.
### From the Conference Phases page
The same switches are tallied per phase at **Conferences → your conference → Phases**. Each phase card carries two rows: assignments to reviewers, and decisions and reviews to authors.
1. Leave **"This track only"** selected to release just this track — the default, so nothing changes if you don't look
2. Pick **"All N tracks"** to release every track at once
The banner behind it counts the tracks you haven't reached yet ("Also unreleased in 1 other track"), so you can see the choice is worth making before you open the dialog. Once this track is released, its green banner keeps that count and gains a **"Release in All Tracks"** button for the rest.
### From the Conference Phases page
The same switches are tallied per phase at **Conferences → your conference → Phases**. Each phase card carries two rows: assignments to reviewers, and decisions and reviews to authors.
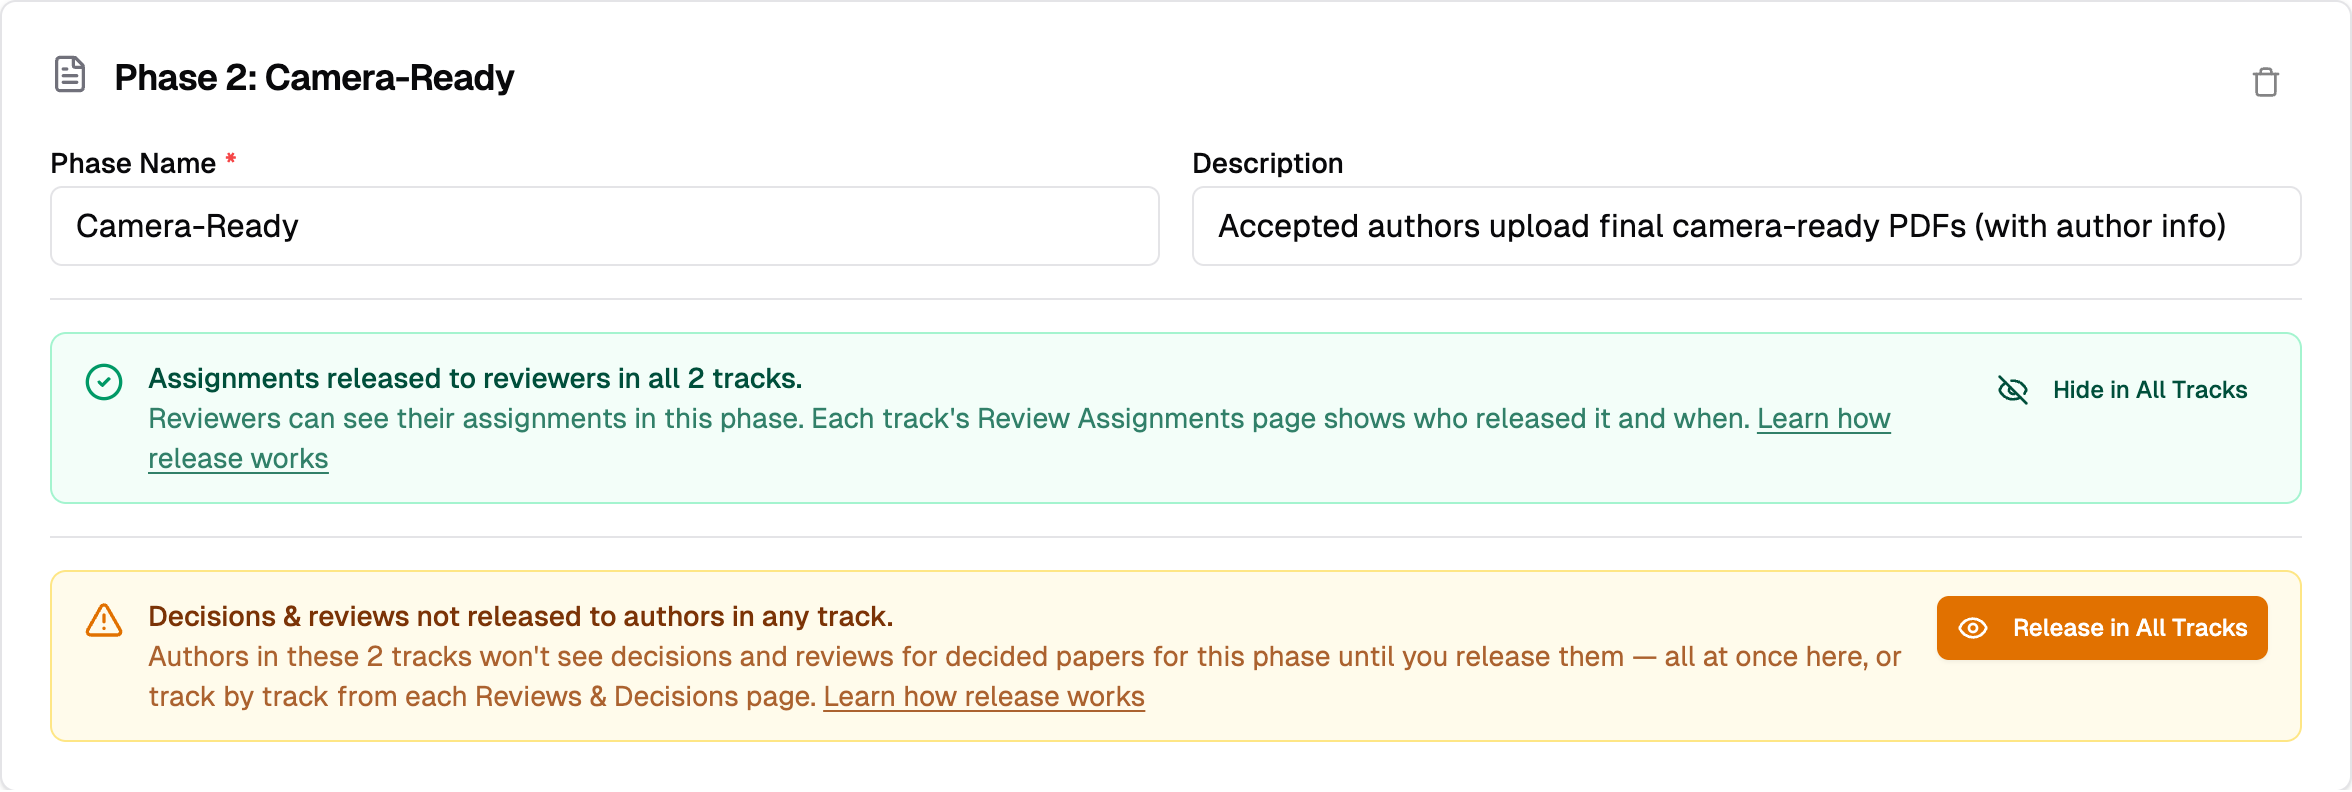 1. Click **"Release in All Tracks"** on the row you want
2. Confirm in the dialog — it states how many tracks the release reaches and how many submissions have a decision in that phase across them
Only tracks that are still unreleased flip. A track you already released from its own page keeps its original release date and releaser, so its banner still reads "released on … by …". Once every track is released, the tally turns green and the button is replaced by **"Hide in All Tracks"**, which hides the phase everywhere in one step.
1. Click **"Release in All Tracks"** on the row you want
2. Confirm in the dialog — it states how many tracks the release reaches and how many submissions have a decision in that phase across them
Only tracks that are still unreleased flip. A track you already released from its own page keeps its original release date and releaser, so its banner still reads "released on … by …". Once every track is released, the tally turns green and the button is replaced by **"Hide in All Tracks"**, which hides the phase everywhere in one step.
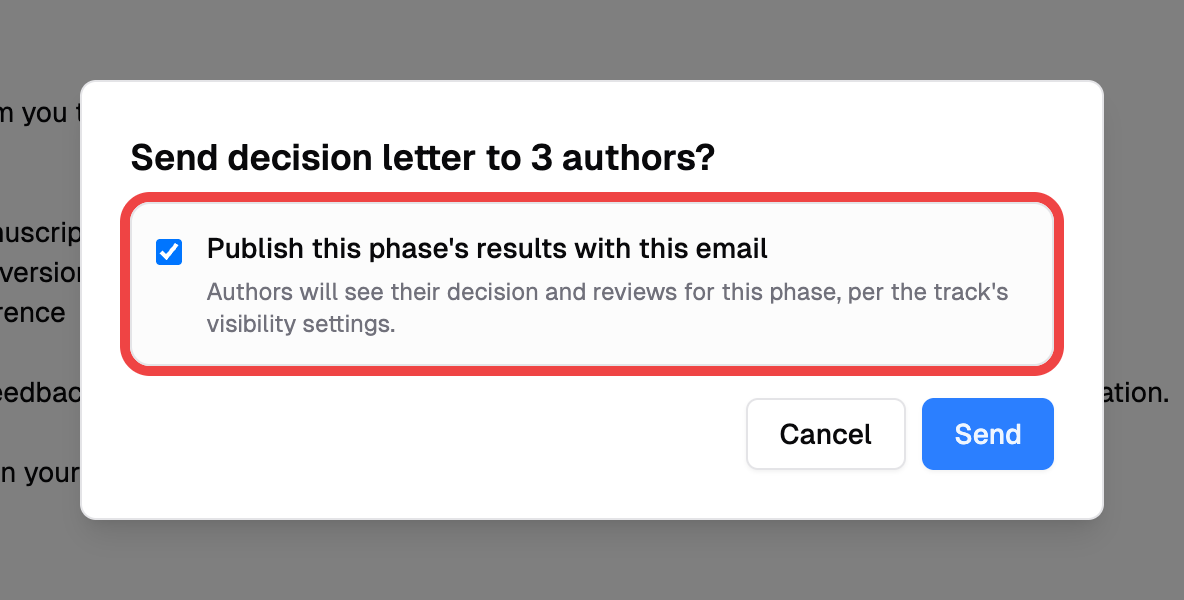 - Leave the toggle off and authors get the email, but their decision and reviews stay hidden on PaperFox until you release from the Decisions page. Do that once every decision letter has gone out — the safe order for the common "accepts first, rejects later" send.
- Turn it on to release with the send — but note the release is **phase-wide**, not limited to the authors you are emailing.
### Reviews in the letter before release
Decision letter templates end with a `{{paperReviews}}` block that embeds each reviewer's comments to the authors. That block follows the same release gate as the author pages: while the phase is unreleased, the letter says the reviews will be available on PaperFox once the results are published, instead of quoting them.
Click **"Preview Email"** and the preview tells you when that is the case — an amber notice counts the completed reviews the letter leaves out and links to the Decisions page.
- Leave the toggle off and authors get the email, but their decision and reviews stay hidden on PaperFox until you release from the Decisions page. Do that once every decision letter has gone out — the safe order for the common "accepts first, rejects later" send.
- Turn it on to release with the send — but note the release is **phase-wide**, not limited to the authors you are emailing.
### Reviews in the letter before release
Decision letter templates end with a `{{paperReviews}}` block that embeds each reviewer's comments to the authors. That block follows the same release gate as the author pages: while the phase is unreleased, the letter says the reviews will be available on PaperFox once the results are published, instead of quoting them.
Click **"Preview Email"** and the preview tells you when that is the case — an amber notice counts the completed reviews the letter leaves out and links to the Decisions page.
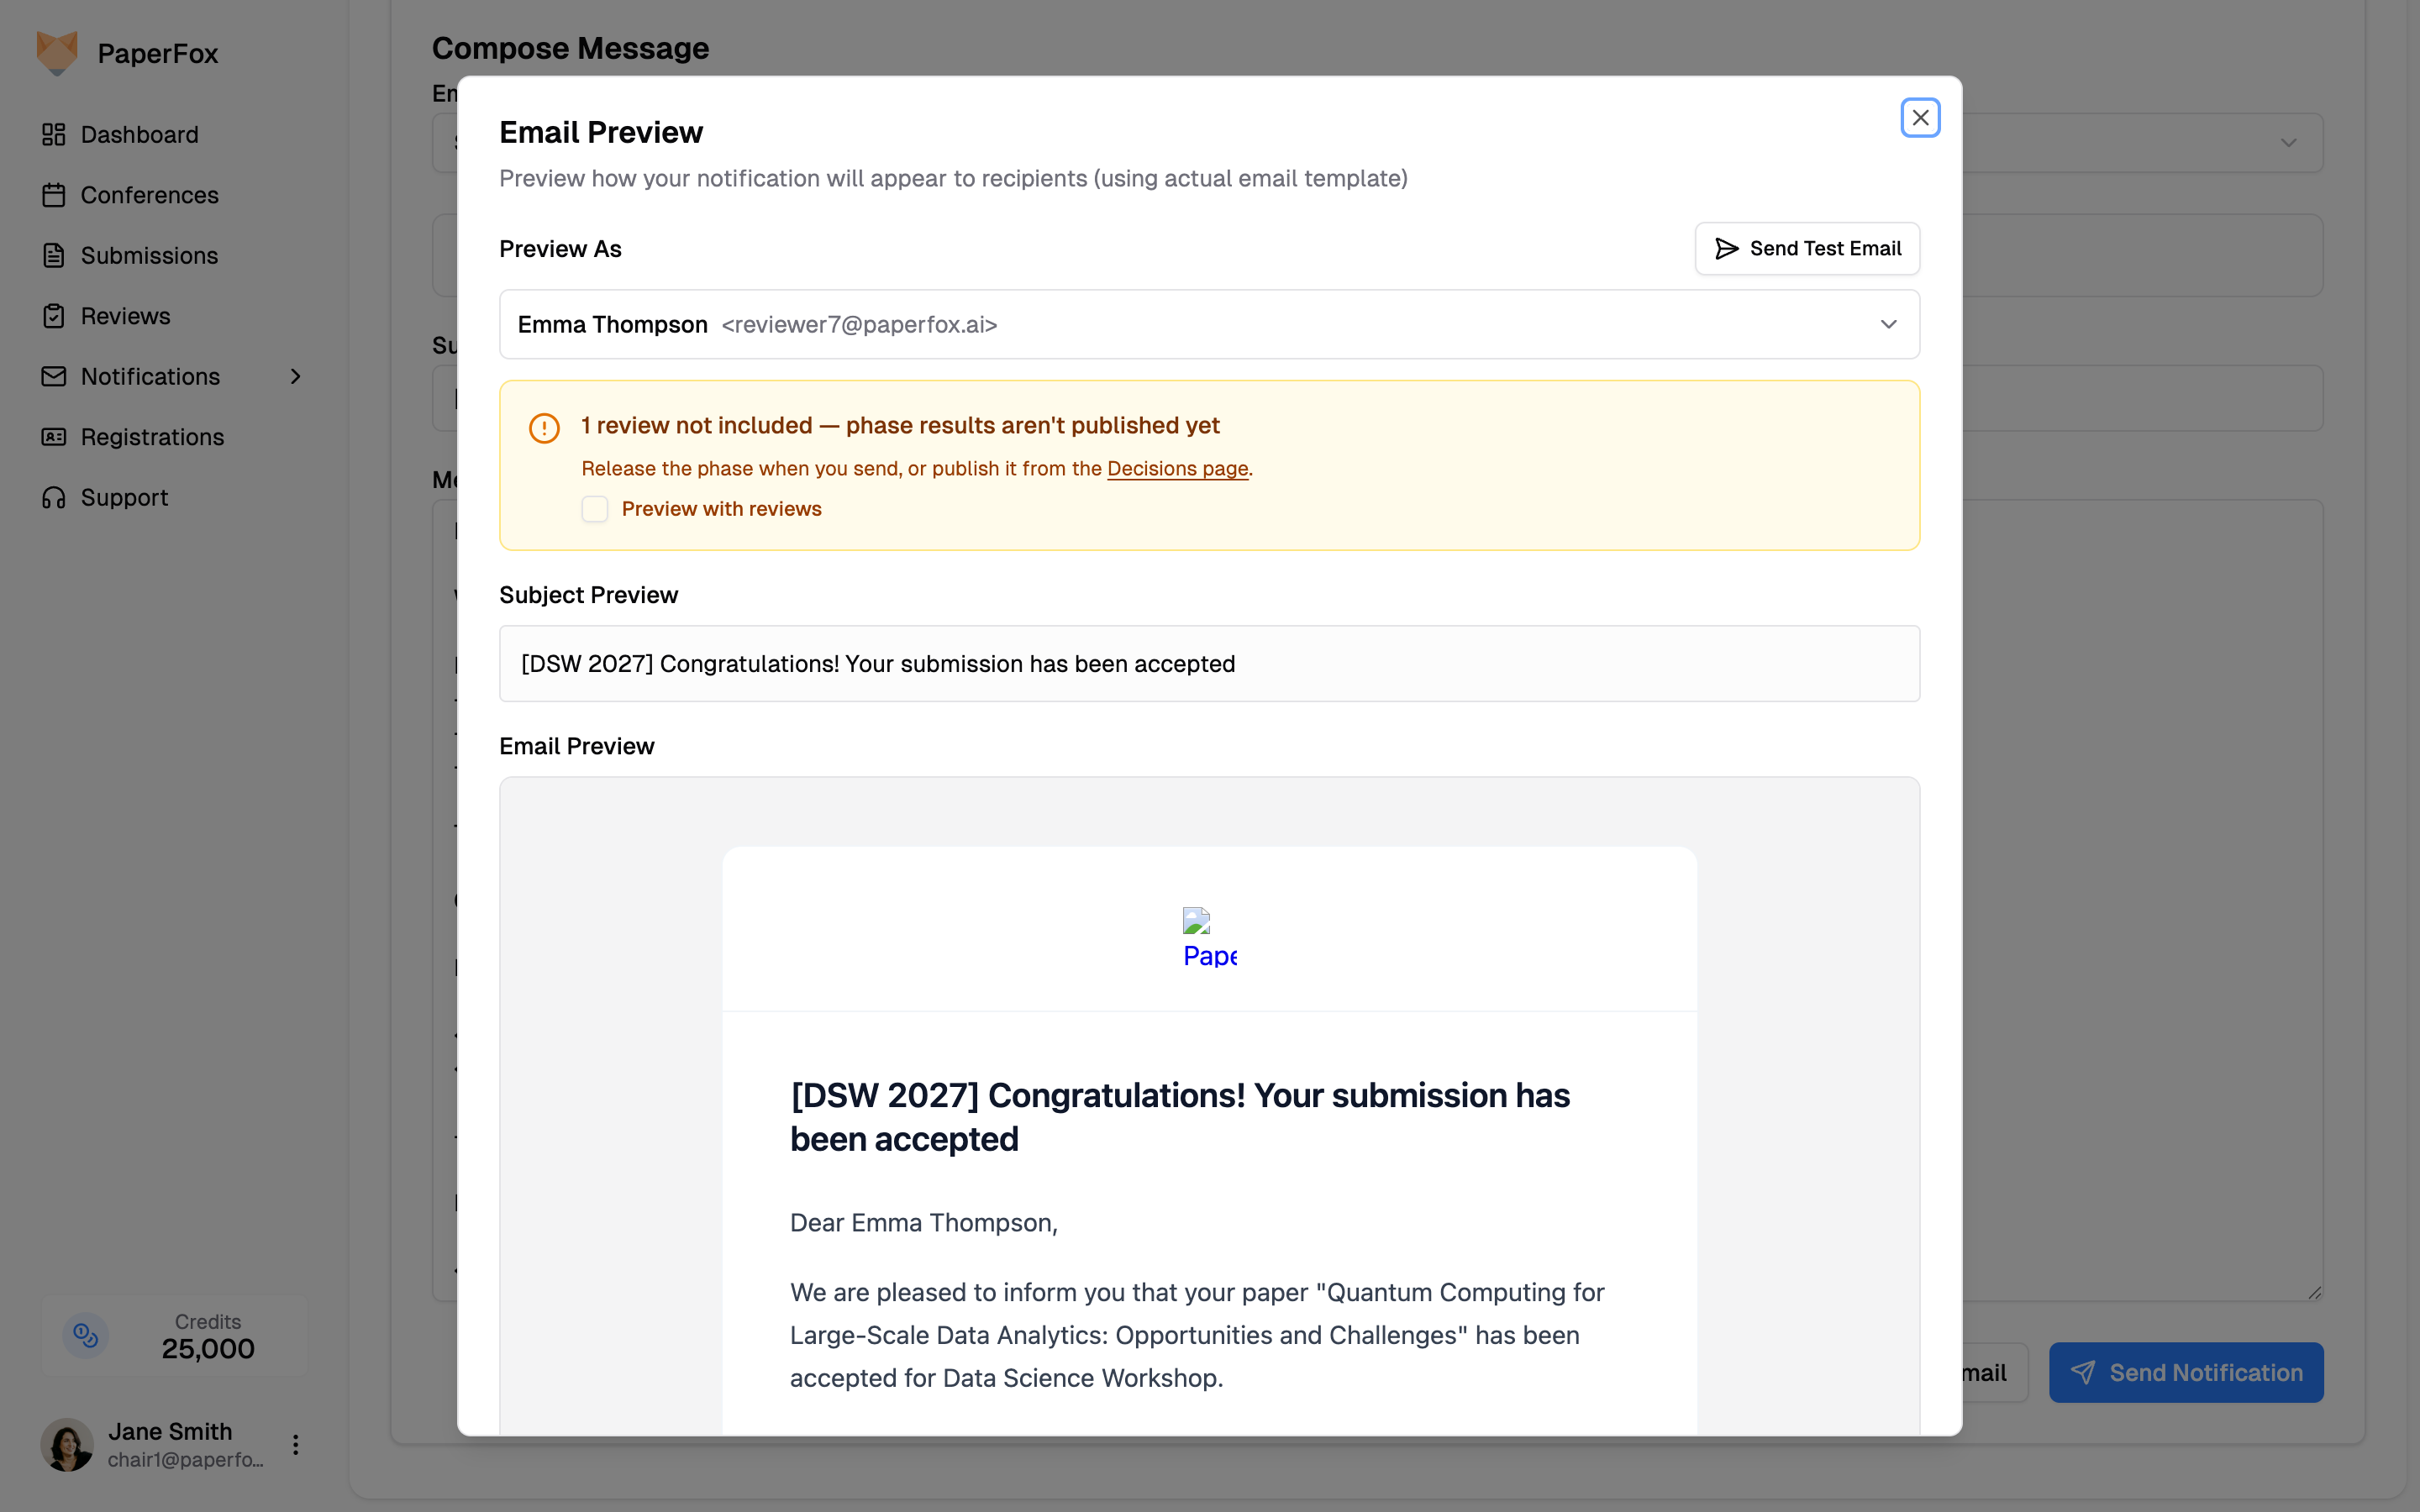 Tick **"Preview with reviews"** to see the letter as it will read once the phase is released, reviews included. The toggle only changes the preview (and a test email to yourself): the letter you send embeds the reviews only if you release the phase with the send, or release it from the Decisions page first.
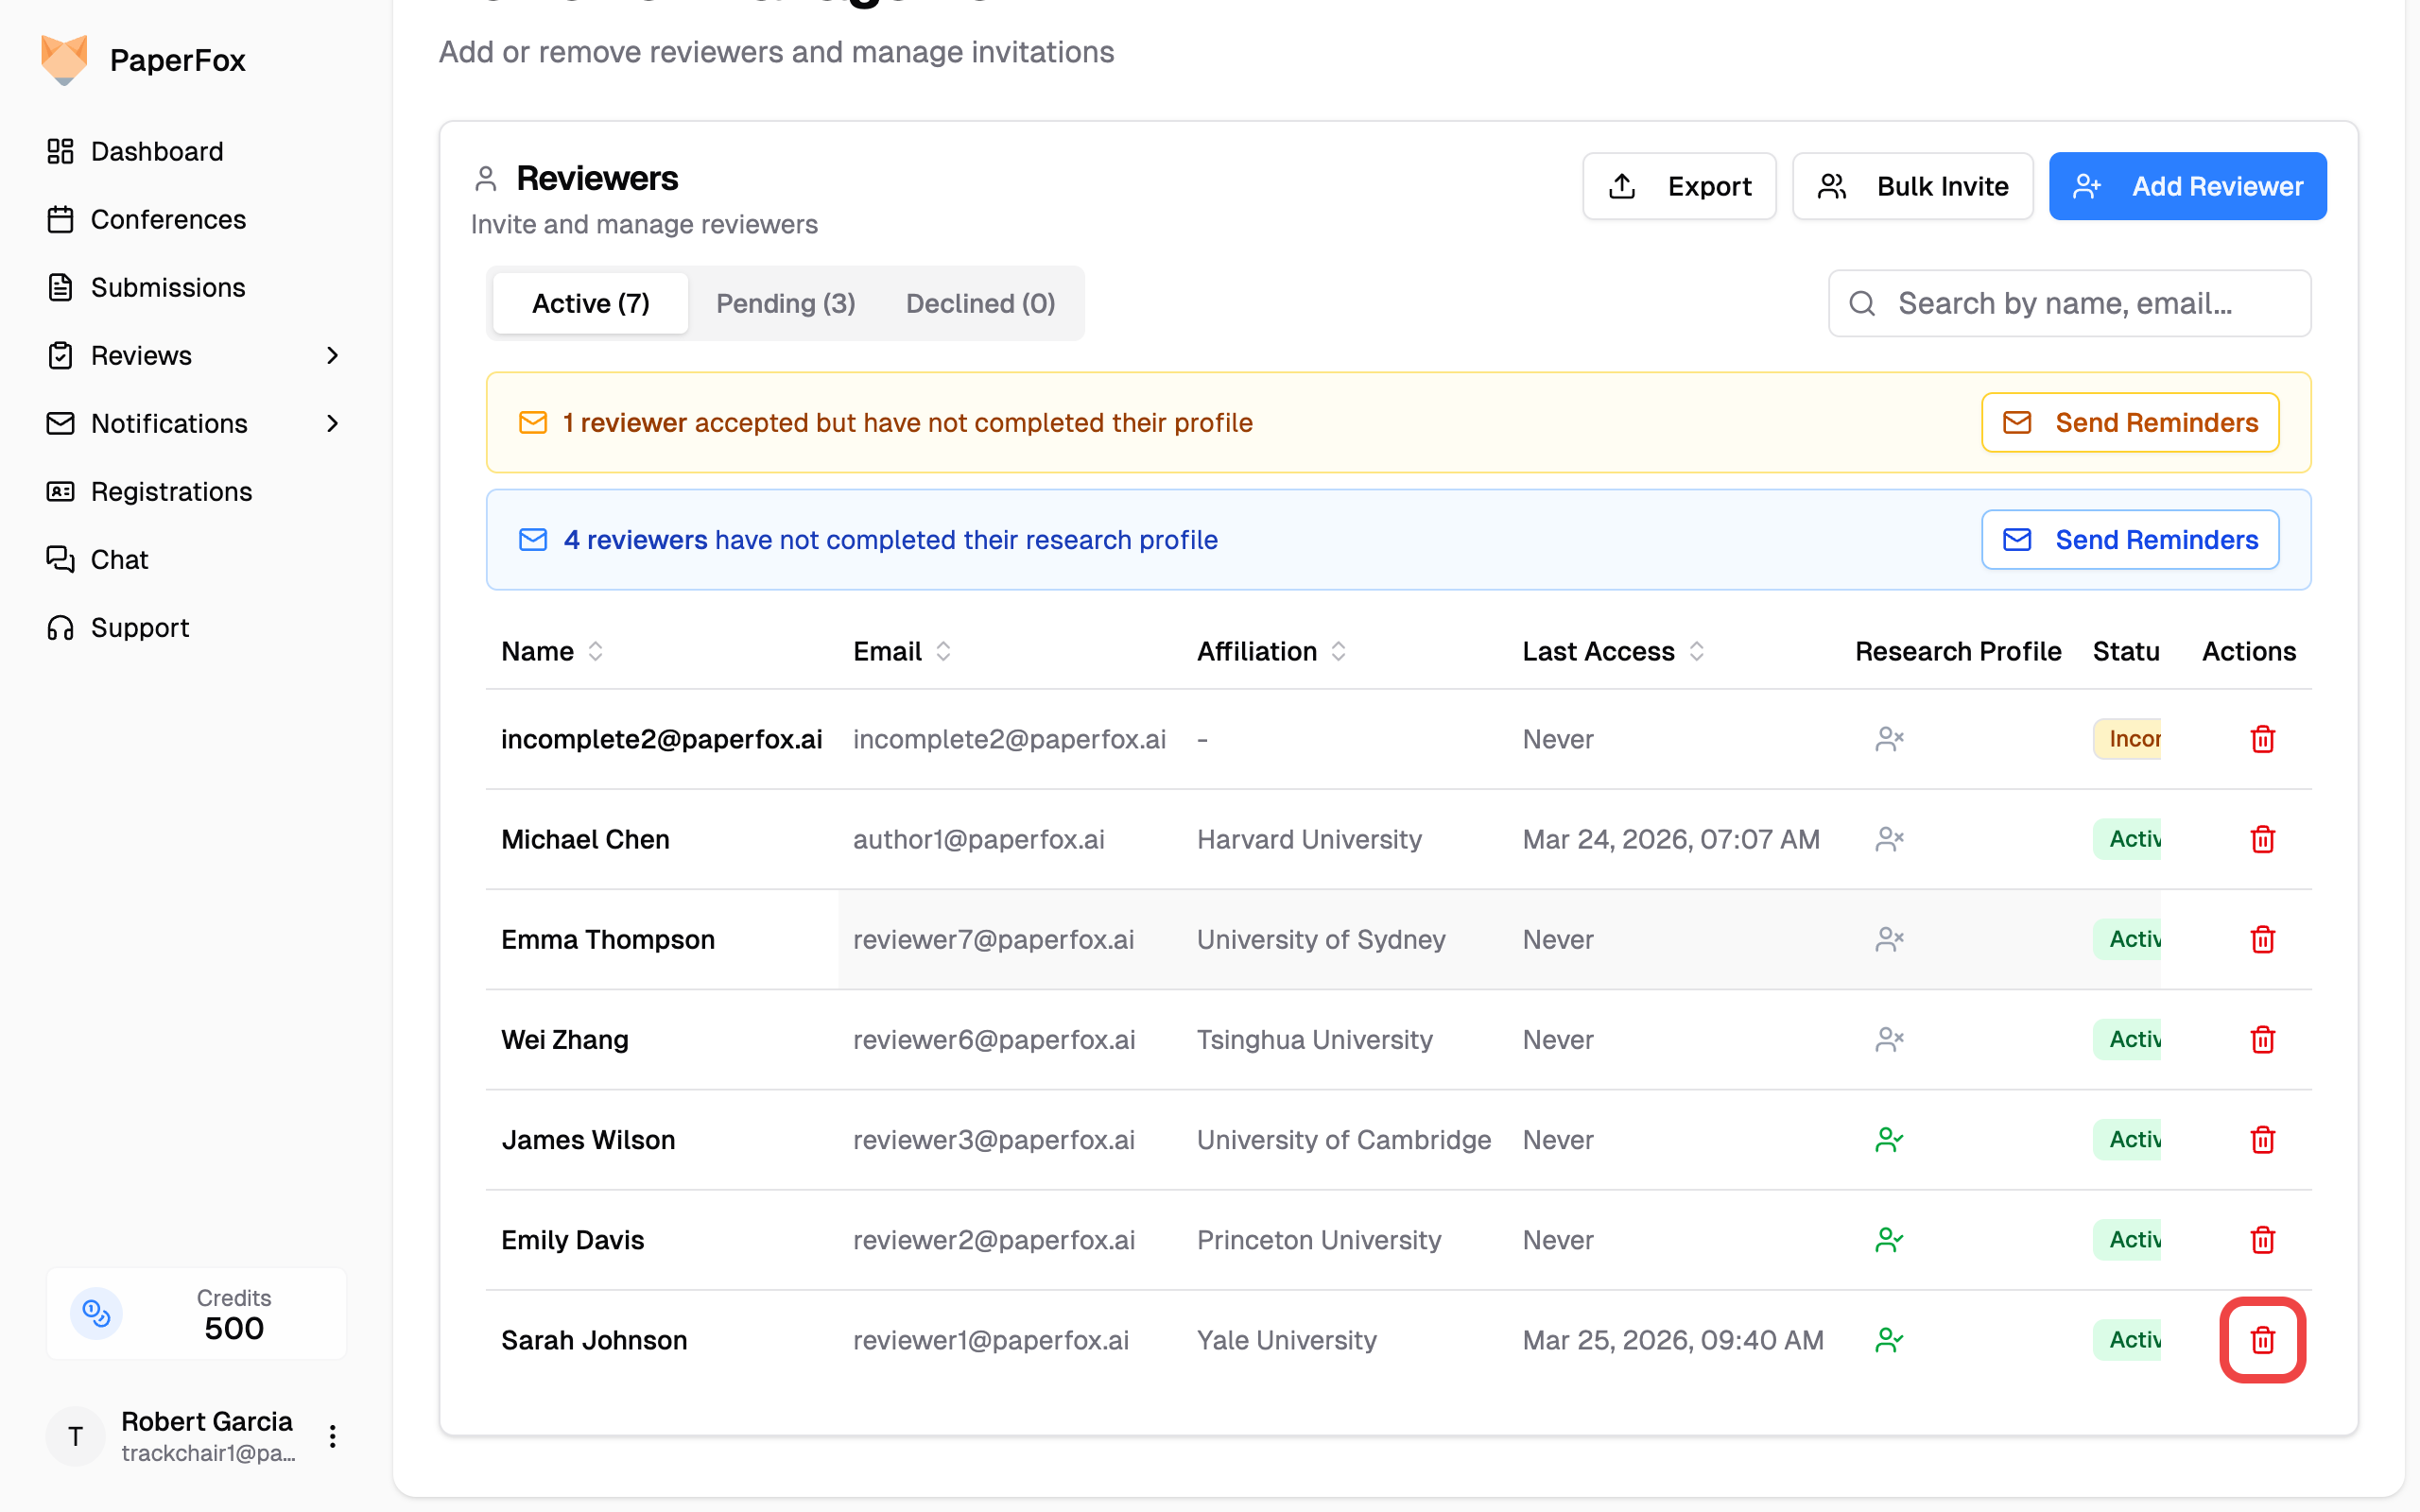 ## What Happens When You Remove
The behavior depends on the reviewer's activity in the track:
| Scenario | What Happens |
|----------|-------------|
| **No assignments or reviews** | Removed instantly with a success notification |
| **Pending or accepted assignments only** | A warning dialog lists the active assignments that will be deleted — click **"Remove Anyway"** to proceed |
| **Started or submitted reviews** | Removal is blocked — those reviews are part of the conference's permanent record and cannot be deleted |
## Reviewers with Started or Submitted Reviews
Once a reviewer has started or submitted even one review, they can no longer be removed from the track. A dialog explains why:
## What Happens When You Remove
The behavior depends on the reviewer's activity in the track:
| Scenario | What Happens |
|----------|-------------|
| **No assignments or reviews** | Removed instantly with a success notification |
| **Pending or accepted assignments only** | A warning dialog lists the active assignments that will be deleted — click **"Remove Anyway"** to proceed |
| **Started or submitted reviews** | Removal is blocked — those reviews are part of the conference's permanent record and cannot be deleted |
## Reviewers with Started or Submitted Reviews
Once a reviewer has started or submitted even one review, they can no longer be removed from the track. A dialog explains why:
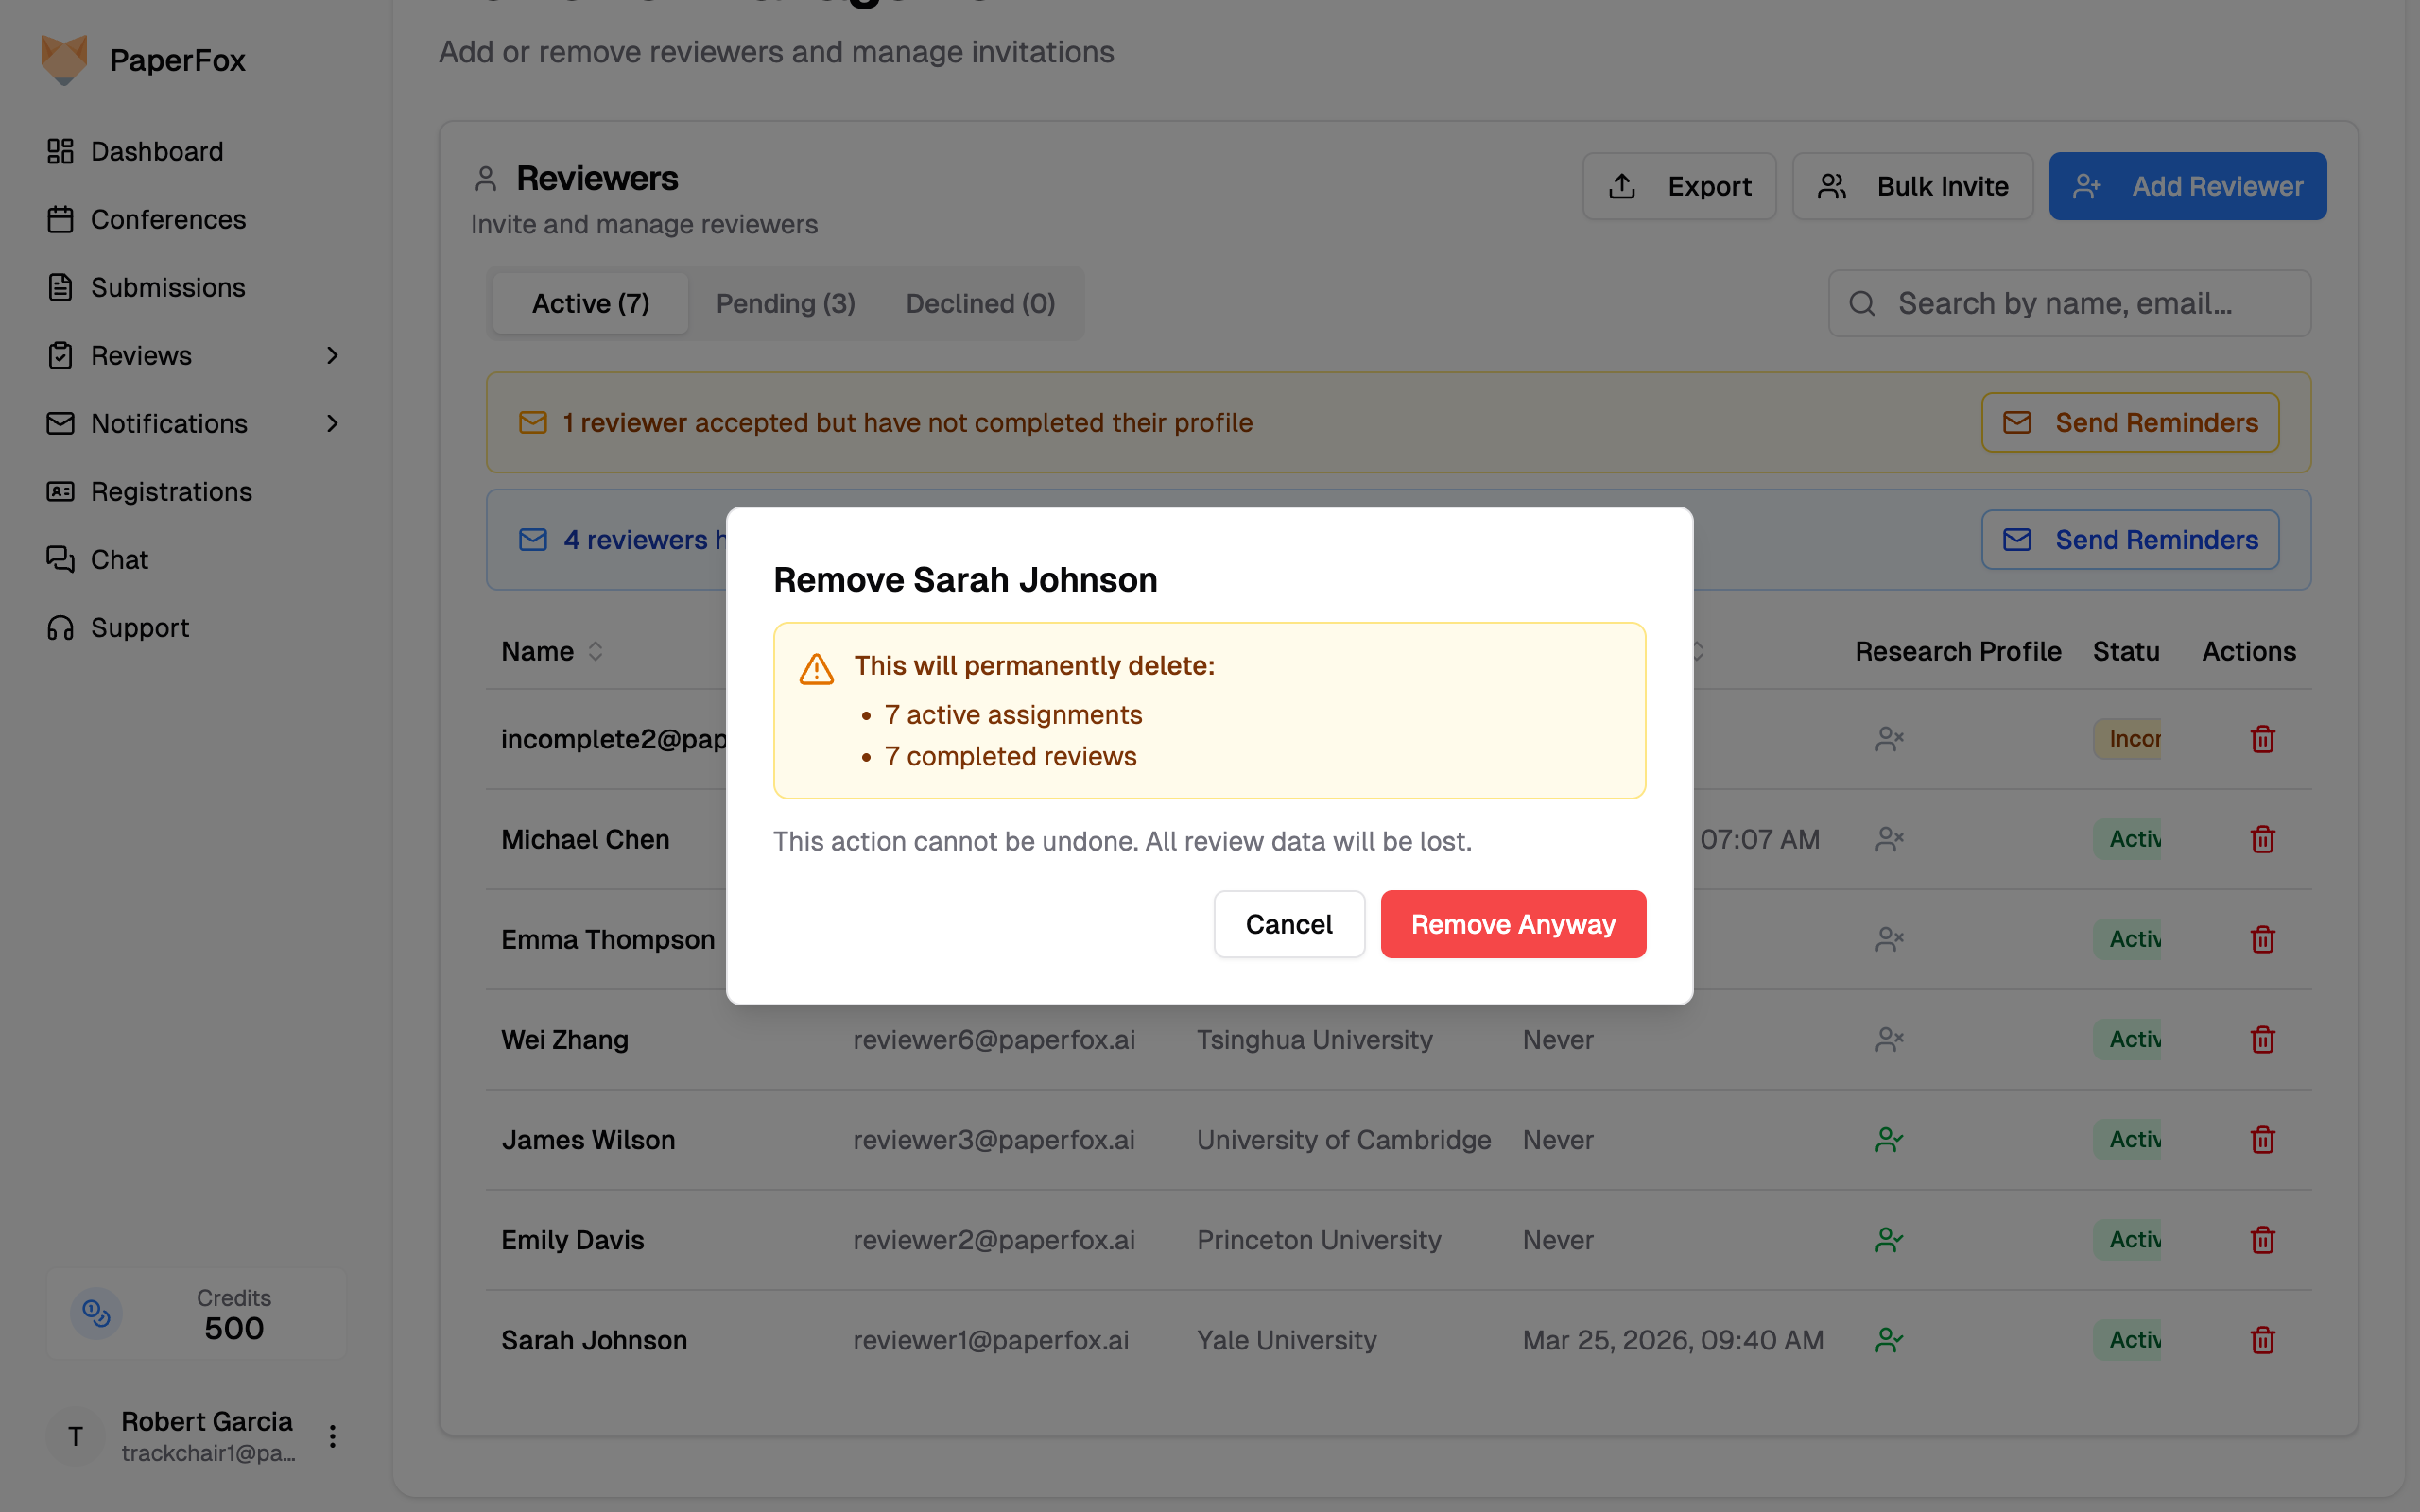 To stop such a reviewer from doing further work, cancel their pending assignments individually from the assignment list. The reviewer themselves stays on the track.
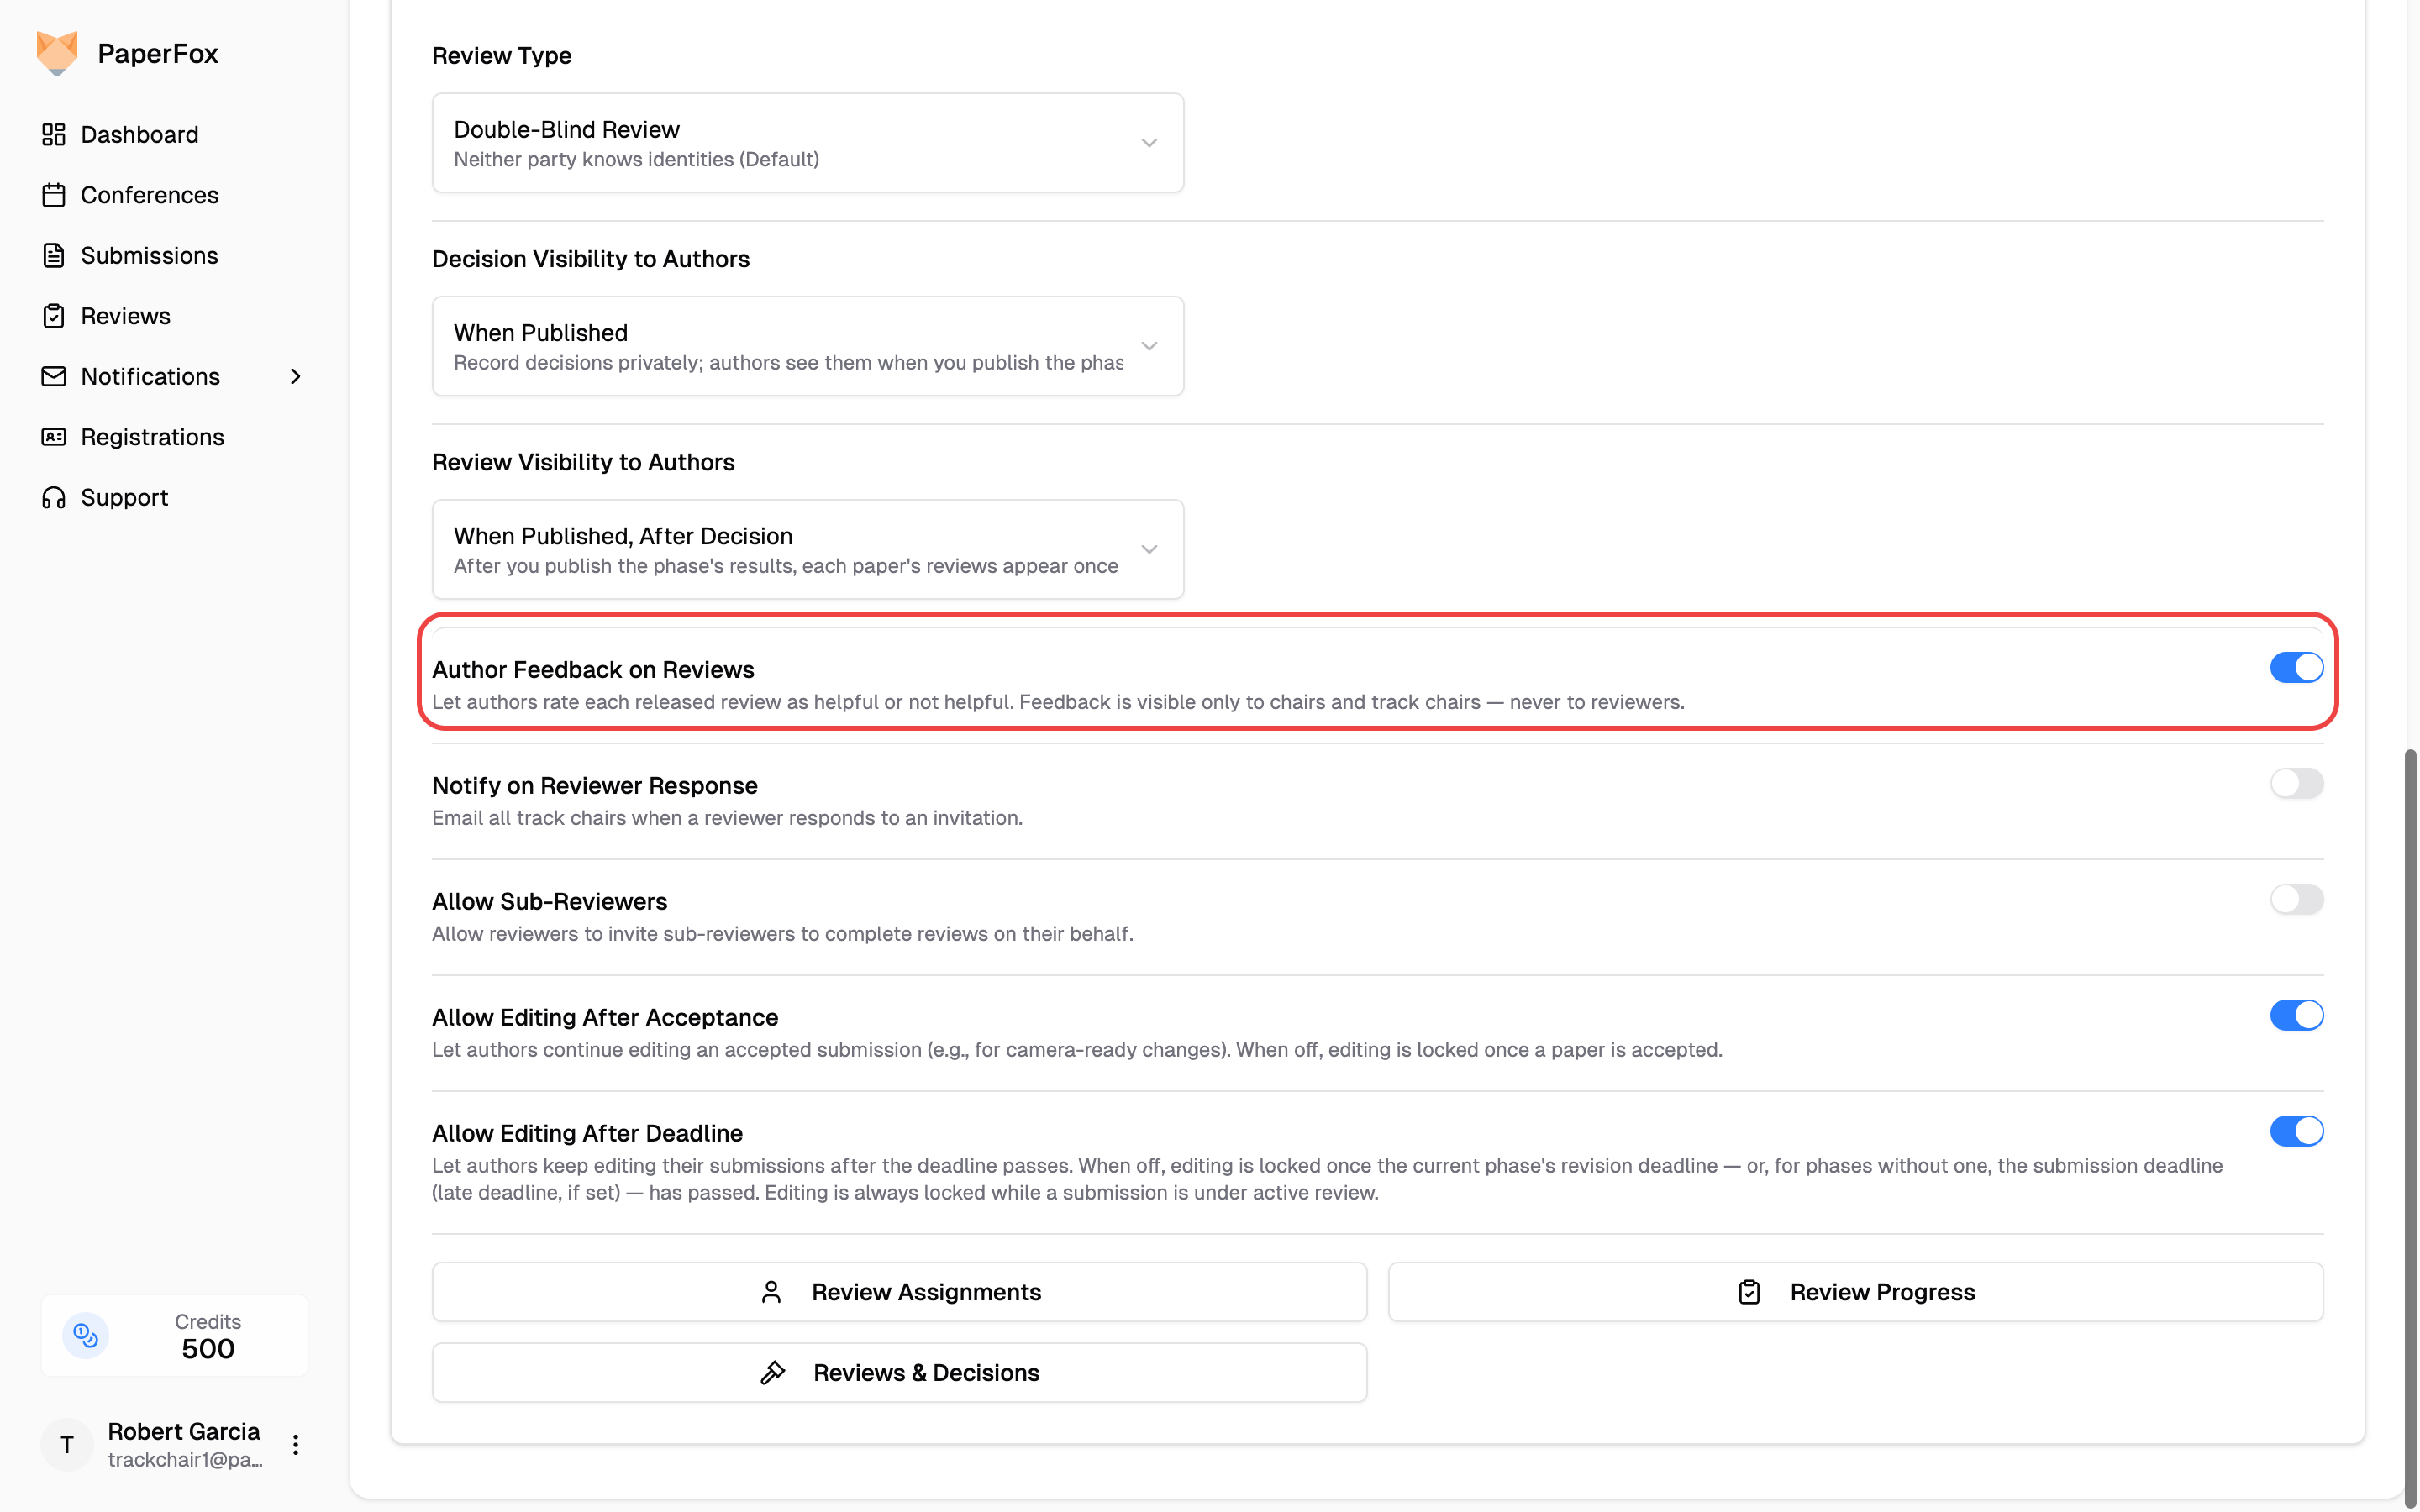 Once on, every **released** review on the author's reviews page gains a **"Was this review helpful?"** row with thumbs up/down. The same release rules as review visibility apply — authors can only rate reviews they can already see. Turning the switch off removes the rating rows again (existing votes are kept).
On a downvote, authors can add reason tags: **Inaccurate**, **Too generic**, **Not actionable**, or **Other**. Votes can be changed or retracted at any time.
---
## Read the Feedback
Open **Analytics → Reviewer Analytics** on your track (or the conference) and scroll past the reviewer rankings to the author-feedback tiles:
- **Helpful Rate and Total Votes** — every percentage shows its raw counts beside it; rates from only a few votes swing with every vote, so treat them as anecdotes, not scores
- **Participation** — how many submitted reviews received at least one vote
- **Downvote Reasons** — the tags authors chose, most common first
- **By Reviewer** — votes, helpful counts, and helpful rate per reviewer
Once on, every **released** review on the author's reviews page gains a **"Was this review helpful?"** row with thumbs up/down. The same release rules as review visibility apply — authors can only rate reviews they can already see. Turning the switch off removes the rating rows again (existing votes are kept).
On a downvote, authors can add reason tags: **Inaccurate**, **Too generic**, **Not actionable**, or **Other**. Votes can be changed or retracted at any time.
---
## Read the Feedback
Open **Analytics → Reviewer Analytics** on your track (or the conference) and scroll past the reviewer rankings to the author-feedback tiles:
- **Helpful Rate and Total Votes** — every percentage shows its raw counts beside it; rates from only a few votes swing with every vote, so treat them as anecdotes, not scores
- **Participation** — how many submitted reviews received at least one vote
- **Downvote Reasons** — the tags authors chose, most common first
- **By Reviewer** — votes, helpful counts, and helpful rate per reviewer
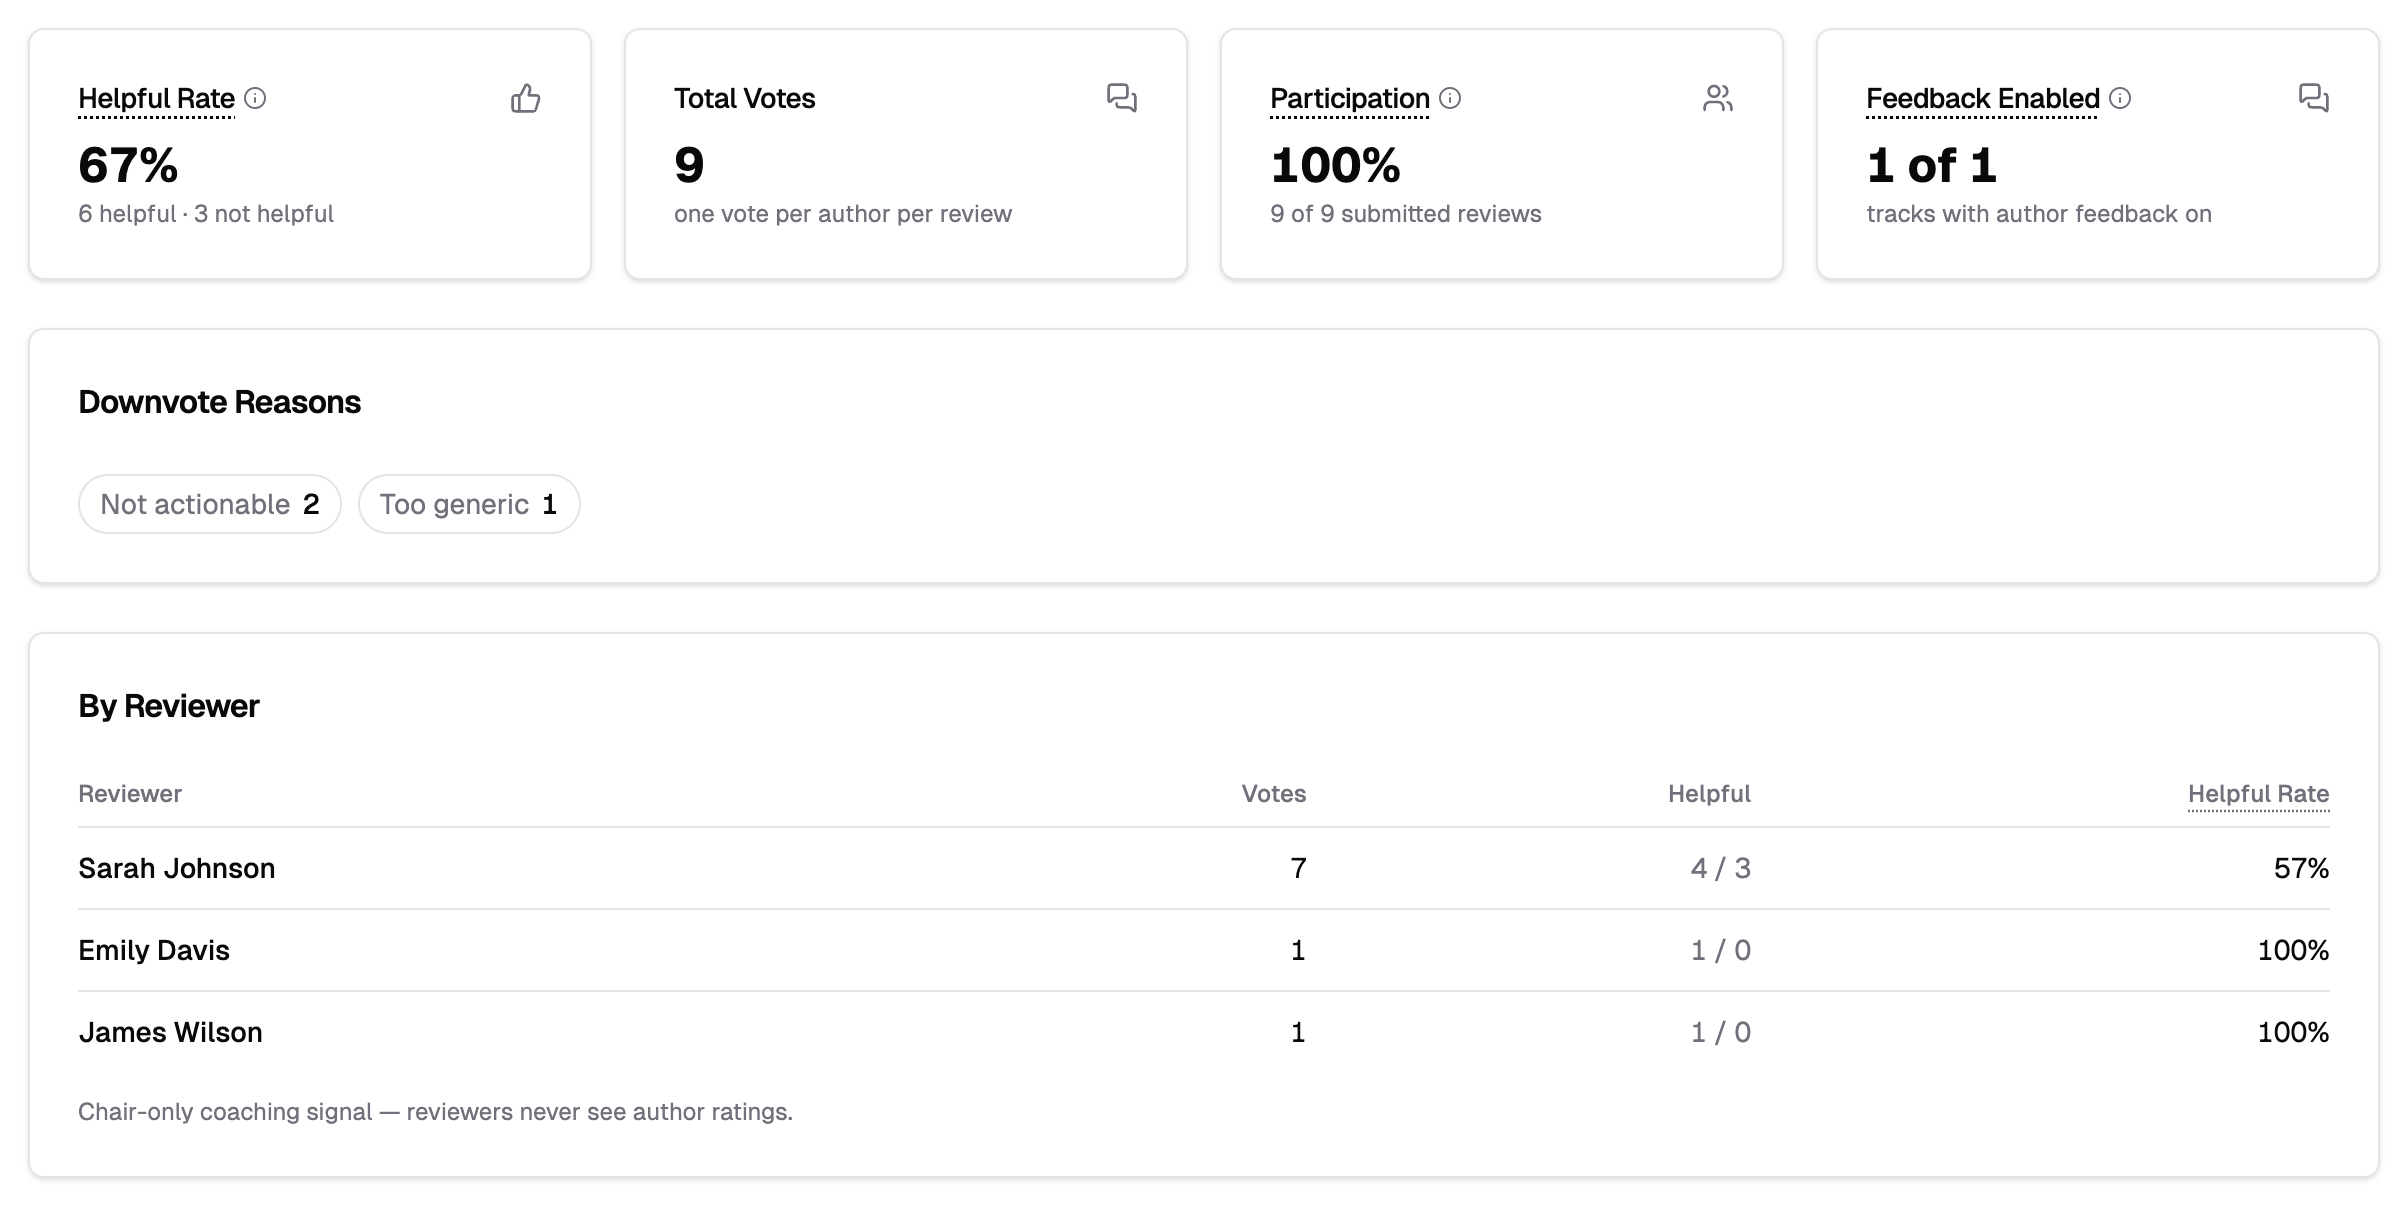
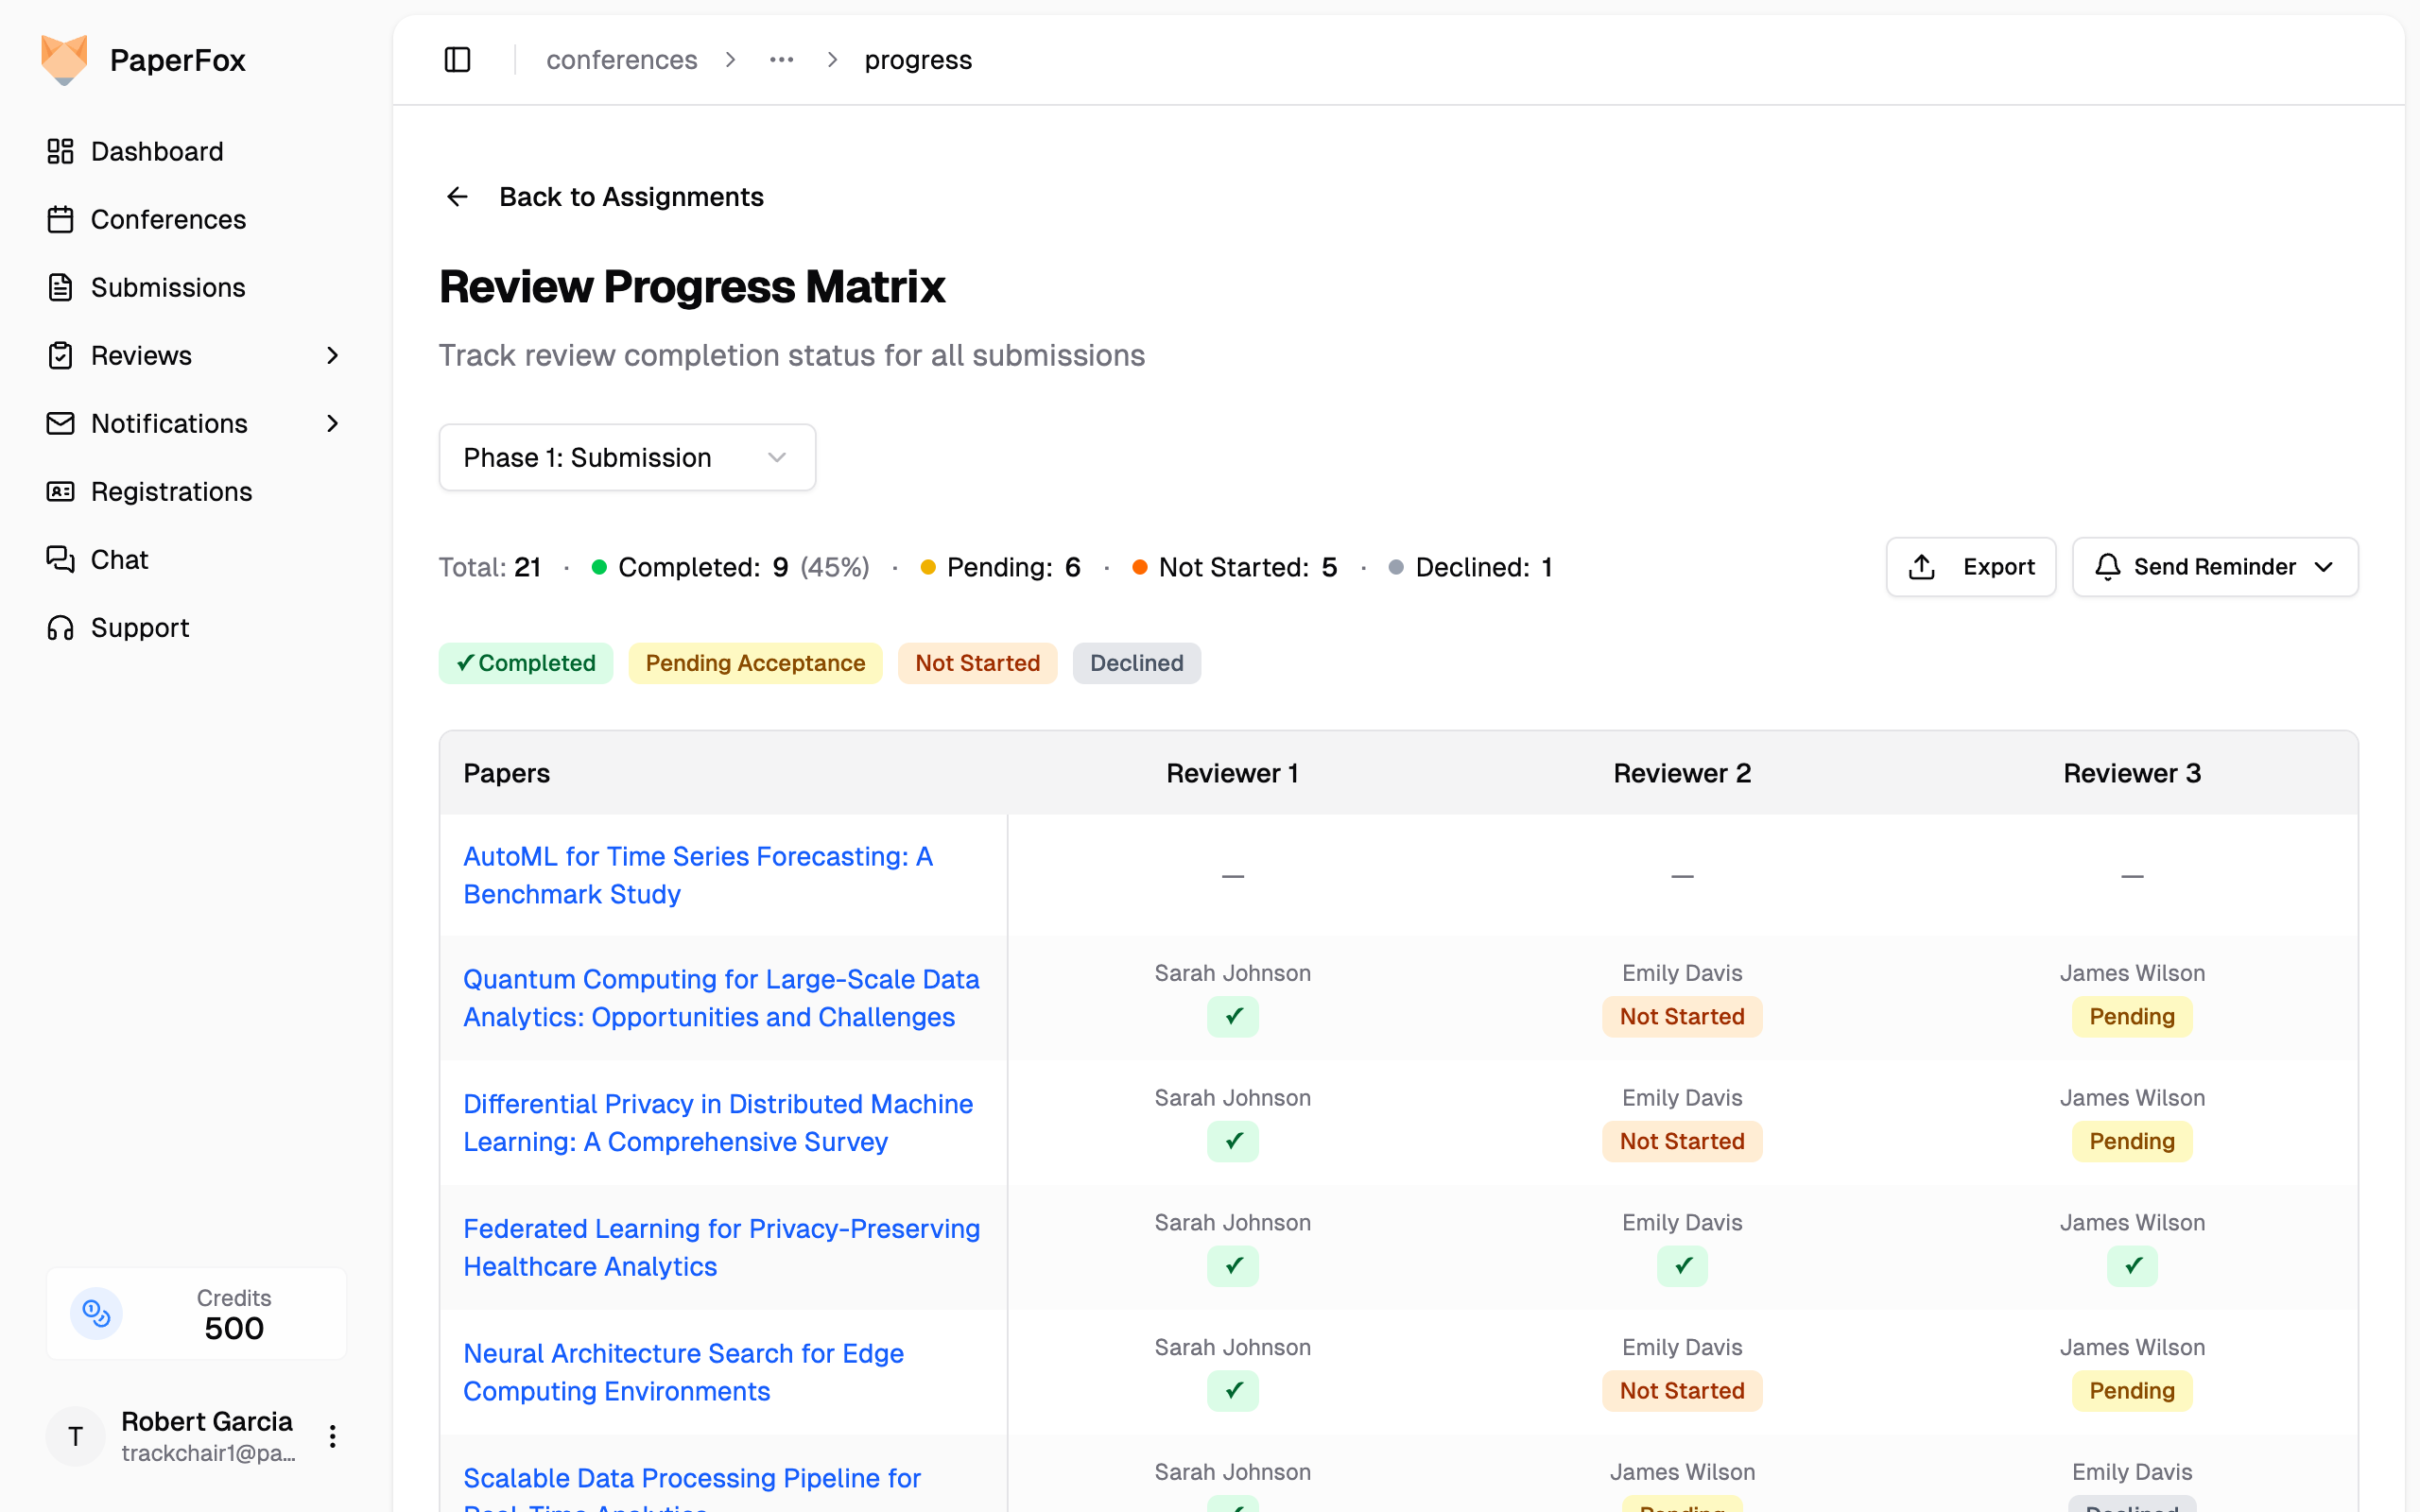 The page opens on the **By Submission** view. You can also reach it from your track page's **Review Management** card via the **"Review Progress"** button, from the **"Progress Matrix"** button on the [Reviews & Decisions](/docs/track-chairs/make-decisions) page, or from the Review Status card on your [Track Dashboard](/docs/track-chairs/track-dashboard).
## Two Views: By Submission and By Reviewer
Use the **By Submission / By Reviewer** toggle on the right of the filter bar to switch views. Both share the same stat cards, search, export, and reminders — and, on multi-phase tracks, the same phase selector.
- **By Submission** — a matrix where each row is a submission and each column is a reviewer slot, color-coded by status. Best for spotting submissions that are short on reviews.
- **By Reviewer** — the same assignments grouped into **Invited**, **Accepted**, **Completed**, and **Declined** tabs, one card per assignment. Best for tracking who has responded and acting on individual invitations.
The page opens on the **By Submission** view. You can also reach it from your track page's **Review Management** card via the **"Review Progress"** button, from the **"Progress Matrix"** button on the [Reviews & Decisions](/docs/track-chairs/make-decisions) page, or from the Review Status card on your [Track Dashboard](/docs/track-chairs/track-dashboard).
## Two Views: By Submission and By Reviewer
Use the **By Submission / By Reviewer** toggle on the right of the filter bar to switch views. Both share the same stat cards, search, export, and reminders — and, on multi-phase tracks, the same phase selector.
- **By Submission** — a matrix where each row is a submission and each column is a reviewer slot, color-coded by status. Best for spotting submissions that are short on reviews.
- **By Reviewer** — the same assignments grouped into **Invited**, **Accepted**, **Completed**, and **Declined** tabs, one card per assignment. Best for tracking who has responded and acting on individual invitations.
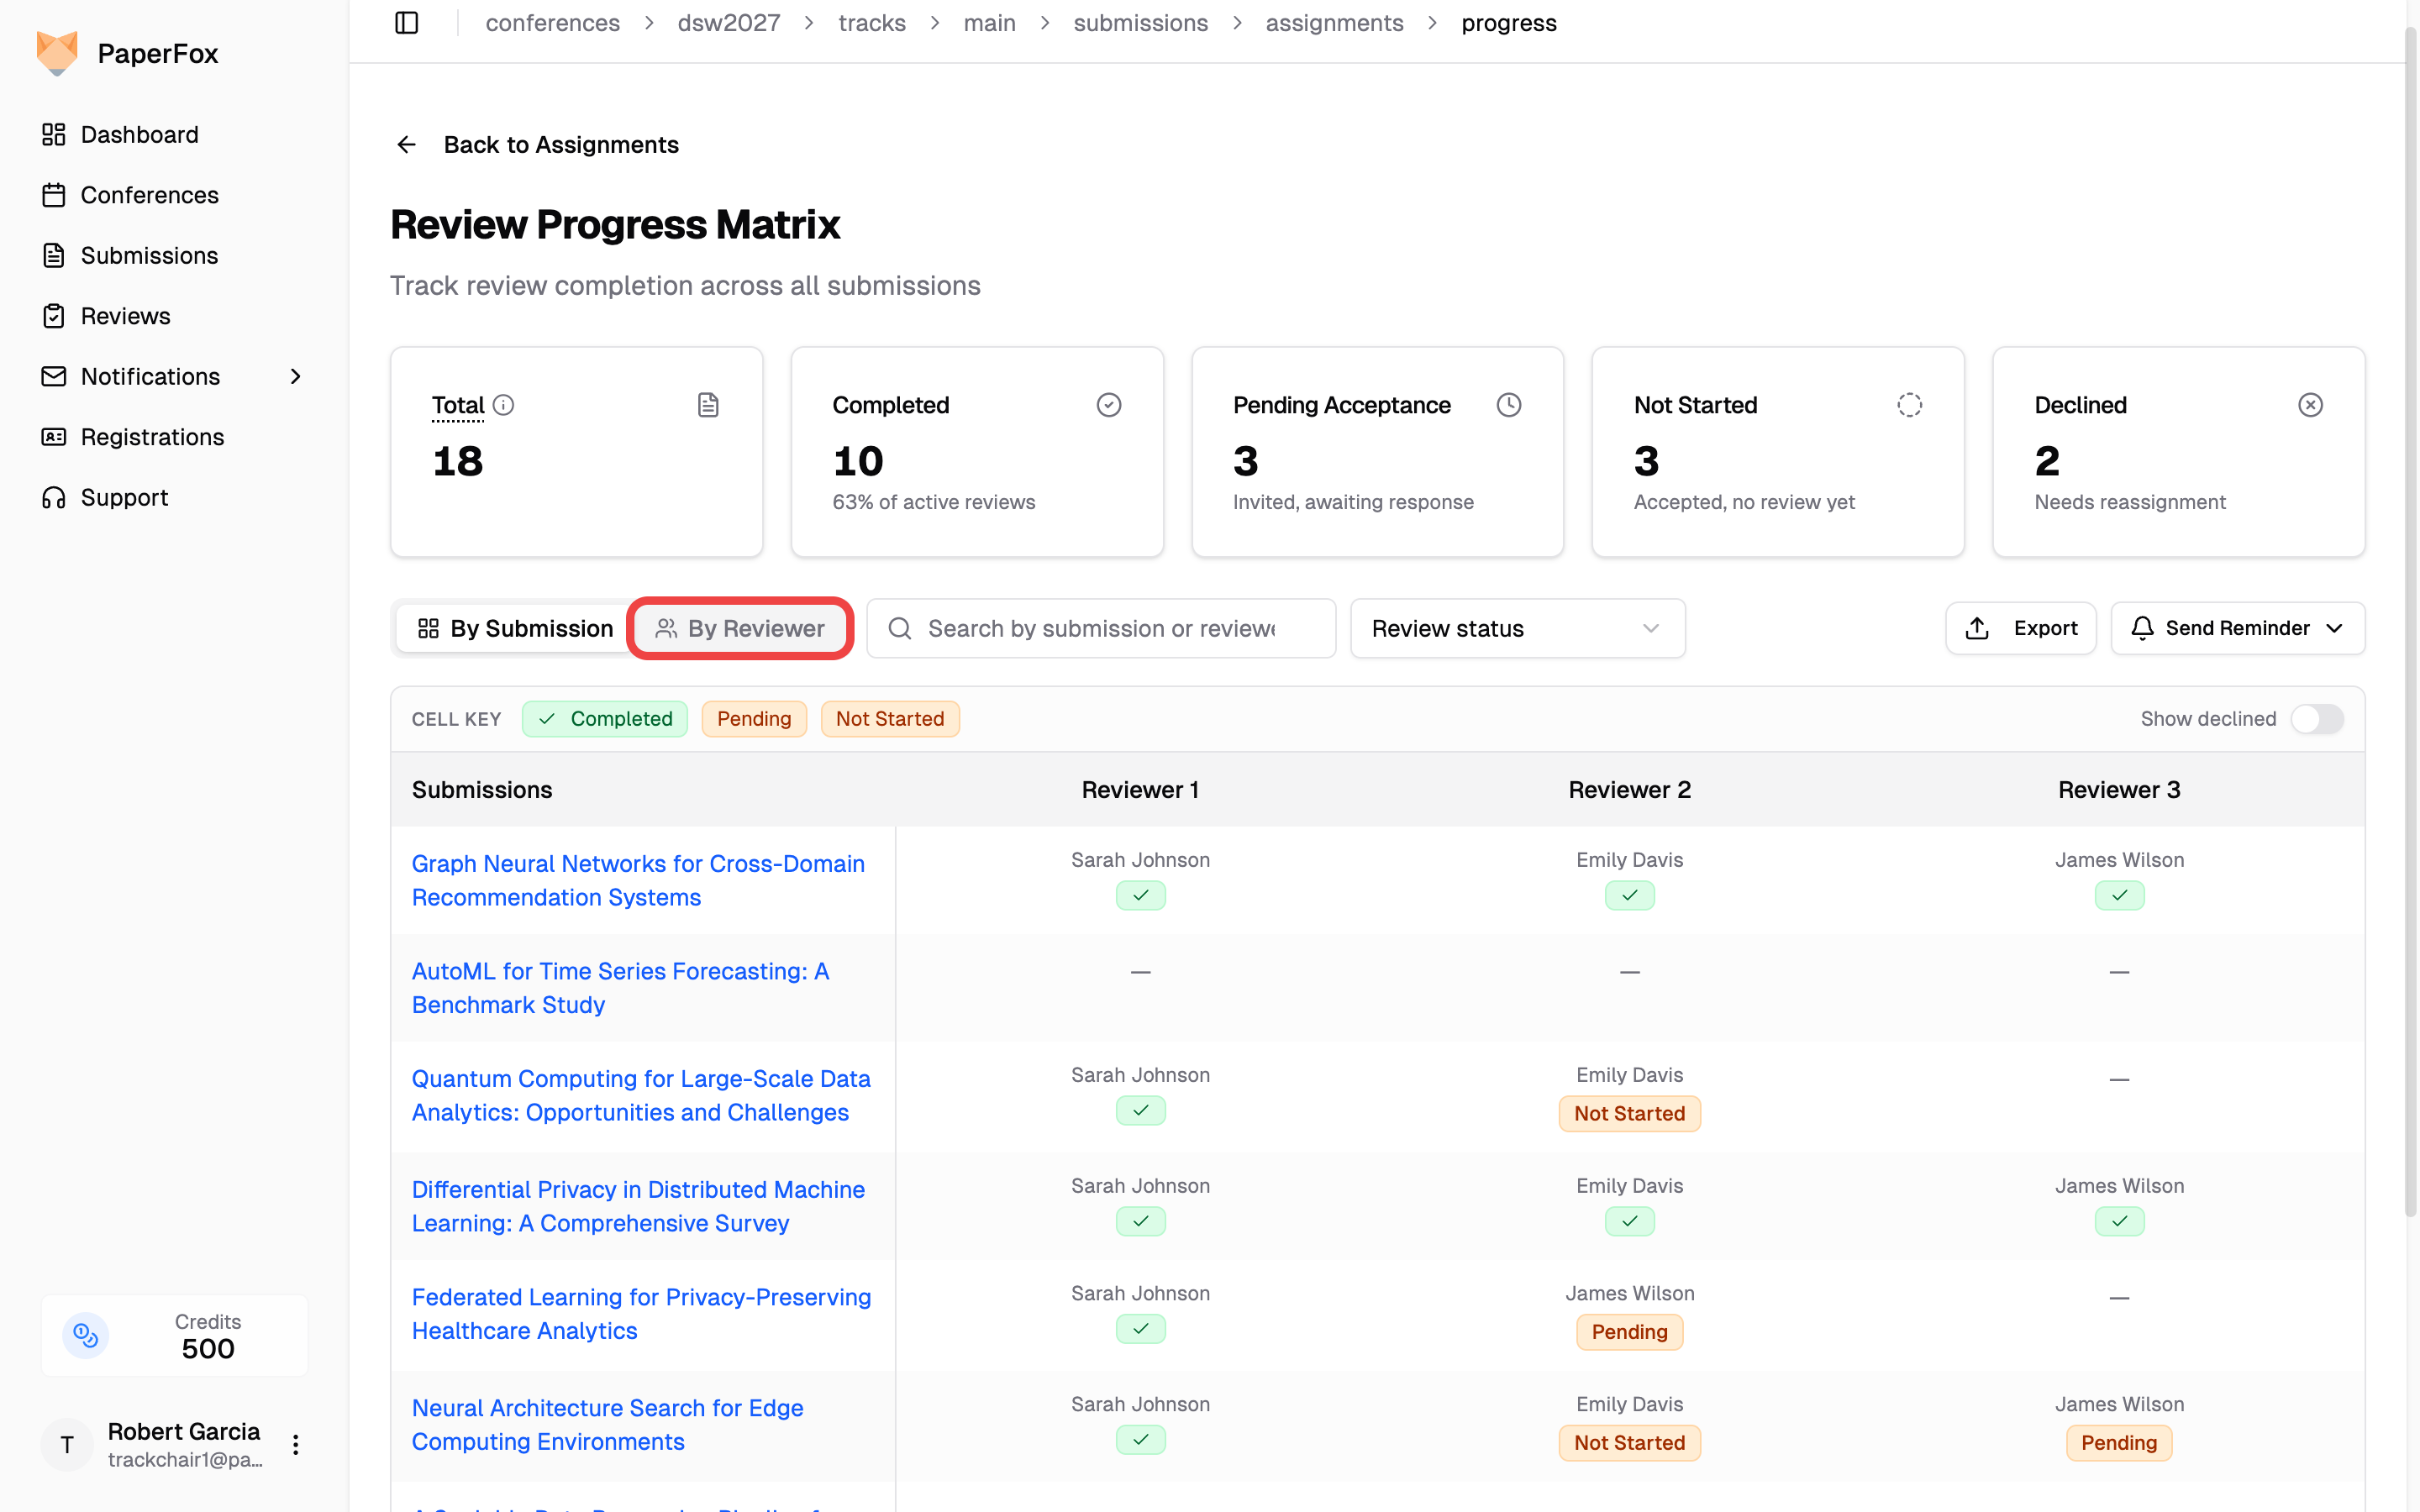 ## Searching
The **Search by submission or reviewer** box filters either view. Type a few letters of a submission title or a reviewer's name and the list narrows to matching assignments — useful for jumping straight to one submission or checking a single reviewer's workload.
## Understanding the Matrix (By Submission)
### Status Badges
Each cell shows the assigned reviewer's name and a color-coded status badge. A compact **Cell key** legend sits inside the matrix, spelling out what each badge means so you can glance at it without scrolling. Clicking a cell also shows that reviewer's contact details and the meaning of its own badge.
| Badge | Color | Meaning | What to do |
|-------|-------|---------|------------|
| **✓ Completed** | Green | Review submitted | Nothing |
| **Invited** | Orange | Invited, hasn't accepted yet — they haven't answered the invitation at all | Re-invite, or replace them if the invitation is old |
| **Not Started** | Orange | Accepted, no review yet — they took the assignment but haven't written it | Nudge with **Remind Not Started Reviewers** |
| **Declined** | Red | Needs reassignment | Assign someone else |
| **—** | — | No reviewer assigned to this slot | Assign a reviewer |
**Invited** and **Not Started** are the pair worth reading carefully: both are orange and sit in the same reviewer columns, but an *Invited* reviewer may never have agreed to review at all, while a *Not Started* one has committed and is simply late. Sending a "please submit your review" reminder to an Invited reviewer is asking for work they never accepted.
The badge deliberately avoids acceptance wording. These cells sit on rows headed by a submission title, so a status reading "Pending Acceptance" or "Not Accepted" would be read as a verdict on the *paper* rather than the state of a reviewer's invitation.
Declined slots are hidden by default. Turn on **Show declined** (top-right of the matrix) to reveal them.
### Stats Cards
Four cards above the table summarize overall progress (a fifth **Declined** card appears only when declined assignments exist):
- **Total** — Every review expected in this phase (one per submission × required reviewers). Declined slots still count here.
- **Completed** — Reviews submitted, shown as both a number and a percentage of active reviews.
- **Invited** — Invited, hasn't accepted yet.
- **Not Started** — Accepted, no review yet.
- **Declined** — Needs reassignment.
### Phase Selector and Filter
On tracks with more than one review phase, a **Phase selector** appears in the top-right of the page header and switches between phases (e.g., Phase 1: Submission, Phase 2: Revision). The matrix, tabs, and stat cards all update to reflect the selected phase. The page opens to the track's current phase — the furthest phase holding submissions — so once reviews move to a later phase the progress view follows automatically. Single-phase tracks don't show the selector; the whole page is already scoped to their one phase.
In the By Submission view, an **All Review Statuses** dropdown beside the search filters the matrix:
- **No Reviews Yet** — submissions where no reviews have been completed
- **Reviews In Progress** — some completed, some still outstanding
- **Reviews Complete** — every active slot has a completed review
- **Has Declined** — at least one reviewer declined (needs reassignment)
While a filter is on, a line beneath the bar shows the matching count, the applied filter as a chip, and **"Clear all"**. The headline stat cards stay scoped to the full phase even when a filter or search is applied, so the big numbers don't shift as you narrow the list below.
## Reactivating a Declined Assignment
When a reviewer declines by mistake, reset their invitation back to **Invited** so they can accept or decline again — no need to re-invite from scratch. You can do this from either view.
**By Reviewer** — open the **Declined** tab and click **"Reset to Invited"** on the reviewer's card.
## Searching
The **Search by submission or reviewer** box filters either view. Type a few letters of a submission title or a reviewer's name and the list narrows to matching assignments — useful for jumping straight to one submission or checking a single reviewer's workload.
## Understanding the Matrix (By Submission)
### Status Badges
Each cell shows the assigned reviewer's name and a color-coded status badge. A compact **Cell key** legend sits inside the matrix, spelling out what each badge means so you can glance at it without scrolling. Clicking a cell also shows that reviewer's contact details and the meaning of its own badge.
| Badge | Color | Meaning | What to do |
|-------|-------|---------|------------|
| **✓ Completed** | Green | Review submitted | Nothing |
| **Invited** | Orange | Invited, hasn't accepted yet — they haven't answered the invitation at all | Re-invite, or replace them if the invitation is old |
| **Not Started** | Orange | Accepted, no review yet — they took the assignment but haven't written it | Nudge with **Remind Not Started Reviewers** |
| **Declined** | Red | Needs reassignment | Assign someone else |
| **—** | — | No reviewer assigned to this slot | Assign a reviewer |
**Invited** and **Not Started** are the pair worth reading carefully: both are orange and sit in the same reviewer columns, but an *Invited* reviewer may never have agreed to review at all, while a *Not Started* one has committed and is simply late. Sending a "please submit your review" reminder to an Invited reviewer is asking for work they never accepted.
The badge deliberately avoids acceptance wording. These cells sit on rows headed by a submission title, so a status reading "Pending Acceptance" or "Not Accepted" would be read as a verdict on the *paper* rather than the state of a reviewer's invitation.
Declined slots are hidden by default. Turn on **Show declined** (top-right of the matrix) to reveal them.
### Stats Cards
Four cards above the table summarize overall progress (a fifth **Declined** card appears only when declined assignments exist):
- **Total** — Every review expected in this phase (one per submission × required reviewers). Declined slots still count here.
- **Completed** — Reviews submitted, shown as both a number and a percentage of active reviews.
- **Invited** — Invited, hasn't accepted yet.
- **Not Started** — Accepted, no review yet.
- **Declined** — Needs reassignment.
### Phase Selector and Filter
On tracks with more than one review phase, a **Phase selector** appears in the top-right of the page header and switches between phases (e.g., Phase 1: Submission, Phase 2: Revision). The matrix, tabs, and stat cards all update to reflect the selected phase. The page opens to the track's current phase — the furthest phase holding submissions — so once reviews move to a later phase the progress view follows automatically. Single-phase tracks don't show the selector; the whole page is already scoped to their one phase.
In the By Submission view, an **All Review Statuses** dropdown beside the search filters the matrix:
- **No Reviews Yet** — submissions where no reviews have been completed
- **Reviews In Progress** — some completed, some still outstanding
- **Reviews Complete** — every active slot has a completed review
- **Has Declined** — at least one reviewer declined (needs reassignment)
While a filter is on, a line beneath the bar shows the matching count, the applied filter as a chip, and **"Clear all"**. The headline stat cards stay scoped to the full phase even when a filter or search is applied, so the big numbers don't shift as you narrow the list below.
## Reactivating a Declined Assignment
When a reviewer declines by mistake, reset their invitation back to **Invited** so they can accept or decline again — no need to re-invite from scratch. You can do this from either view.
**By Reviewer** — open the **Declined** tab and click **"Reset to Invited"** on the reviewer's card.
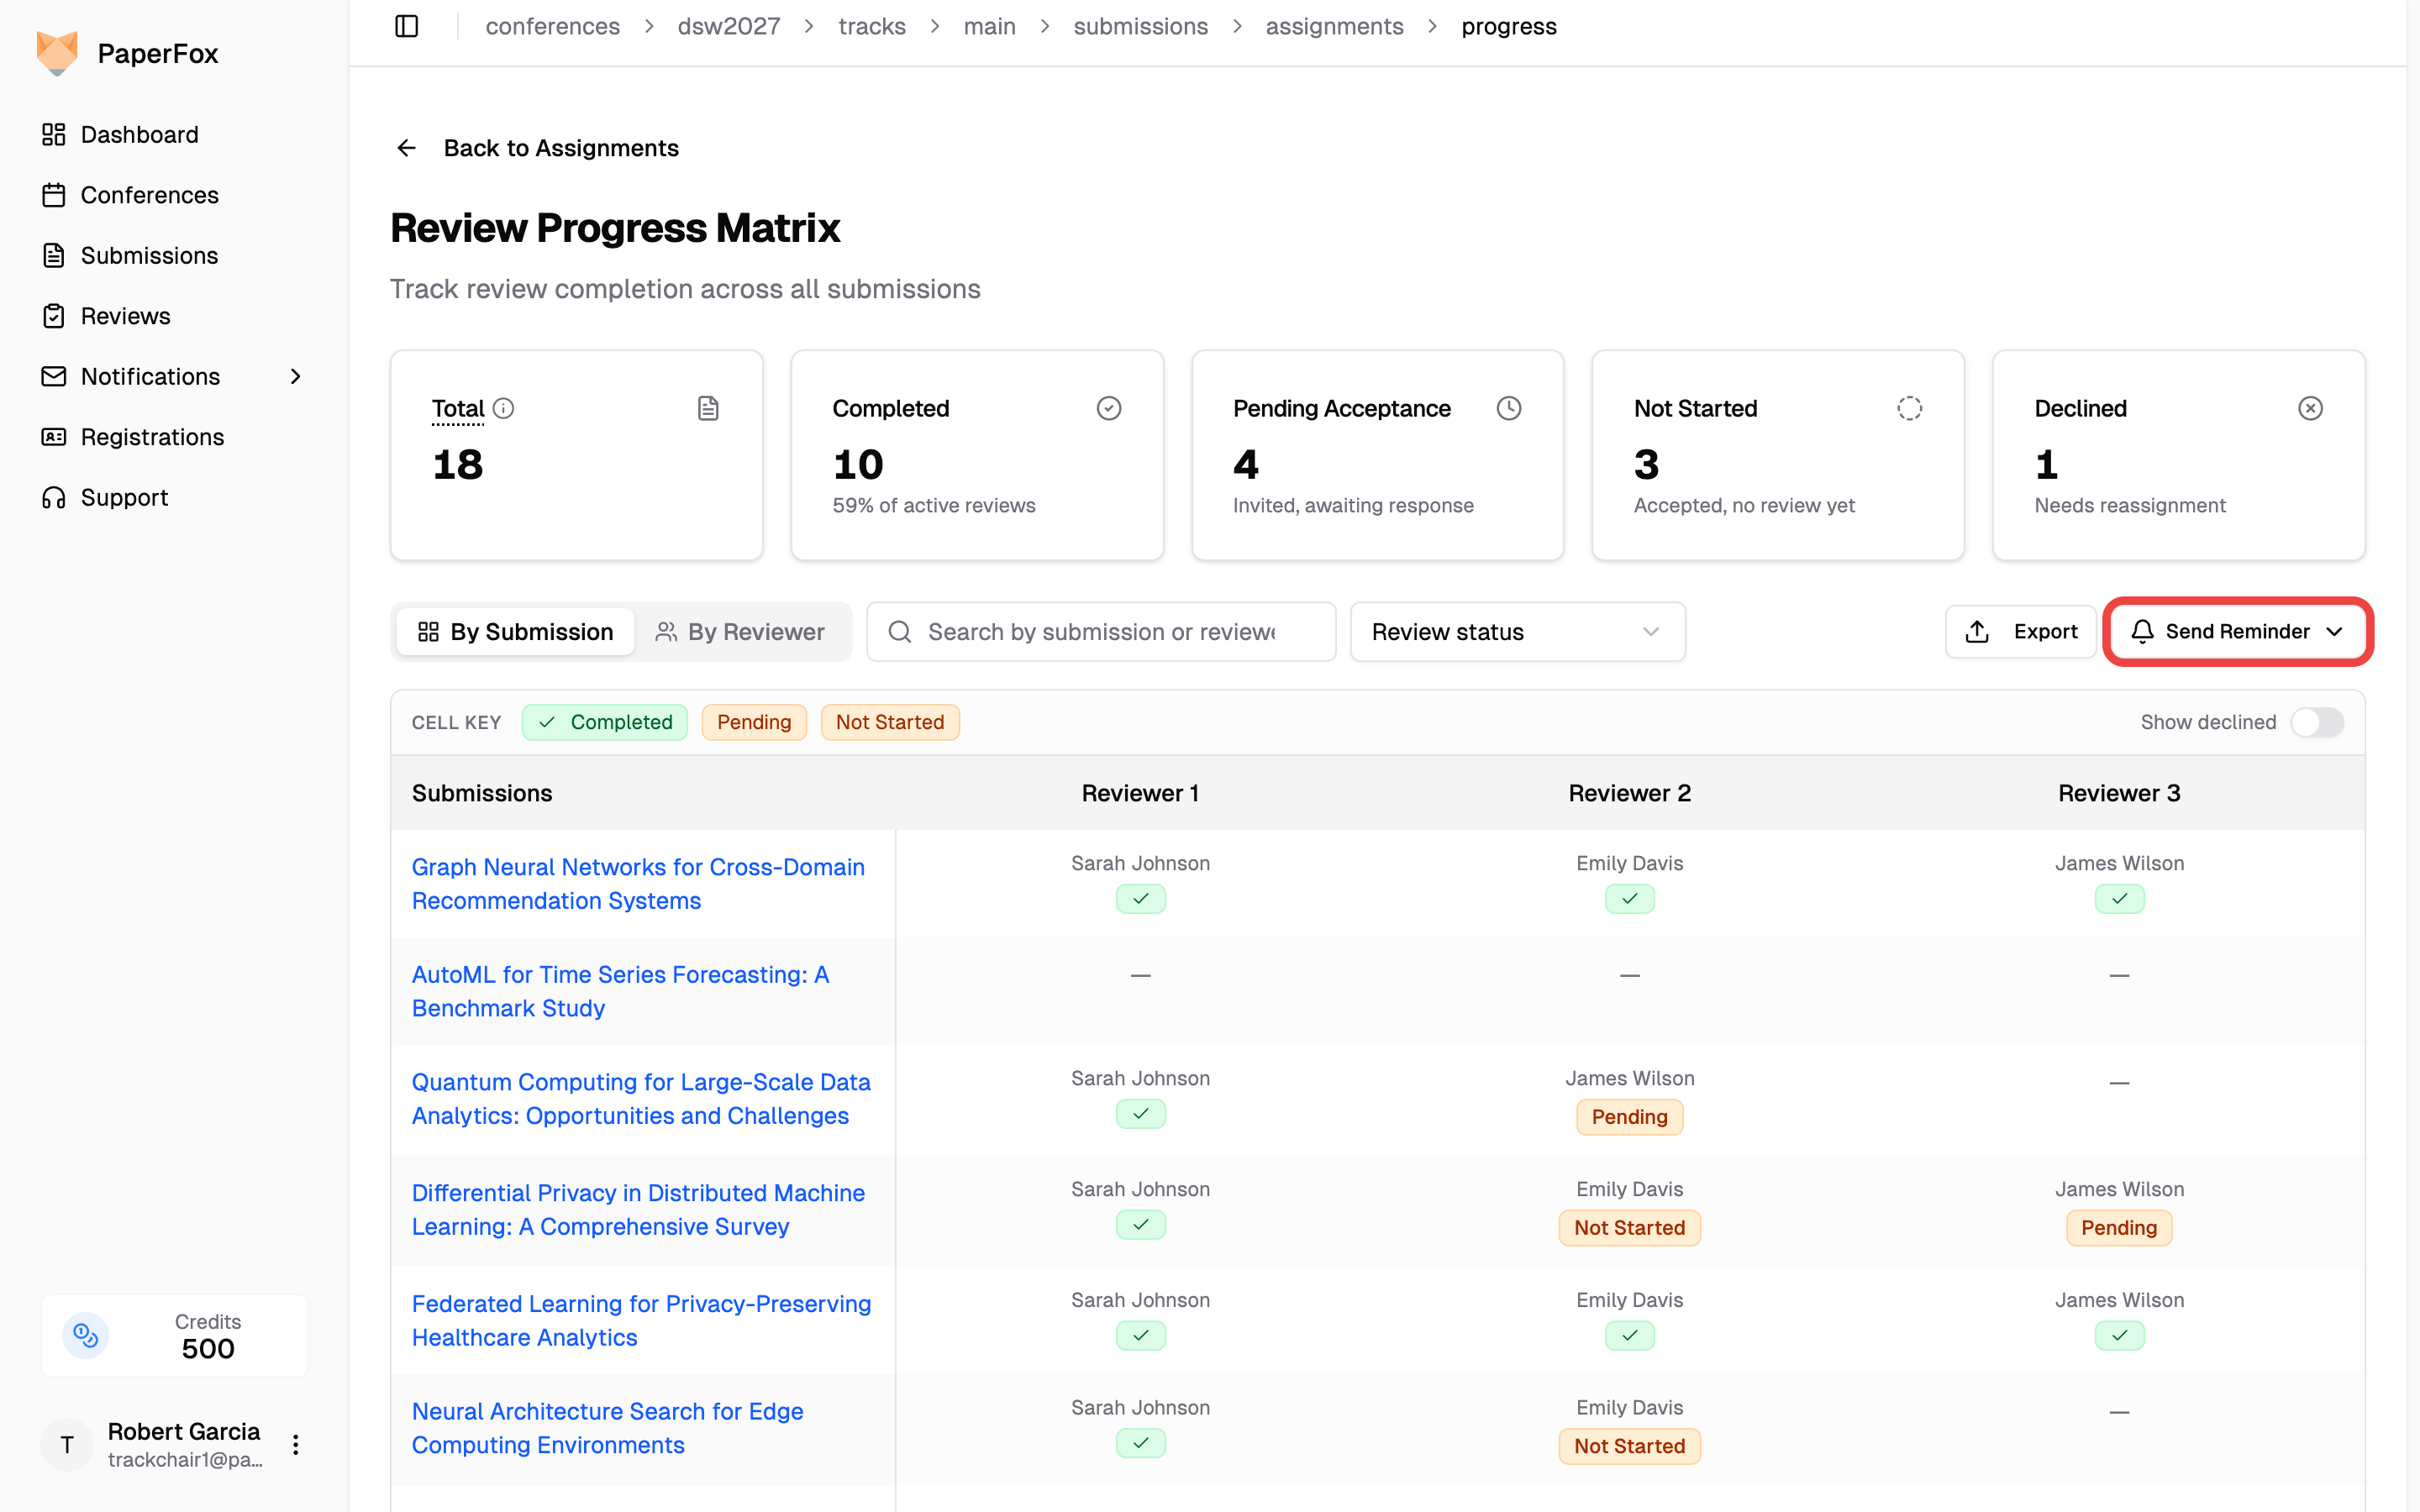 **By Submission** — turn on **Show declined** (top-right of the matrix), then click the reset (↻) icon on the declined cell.
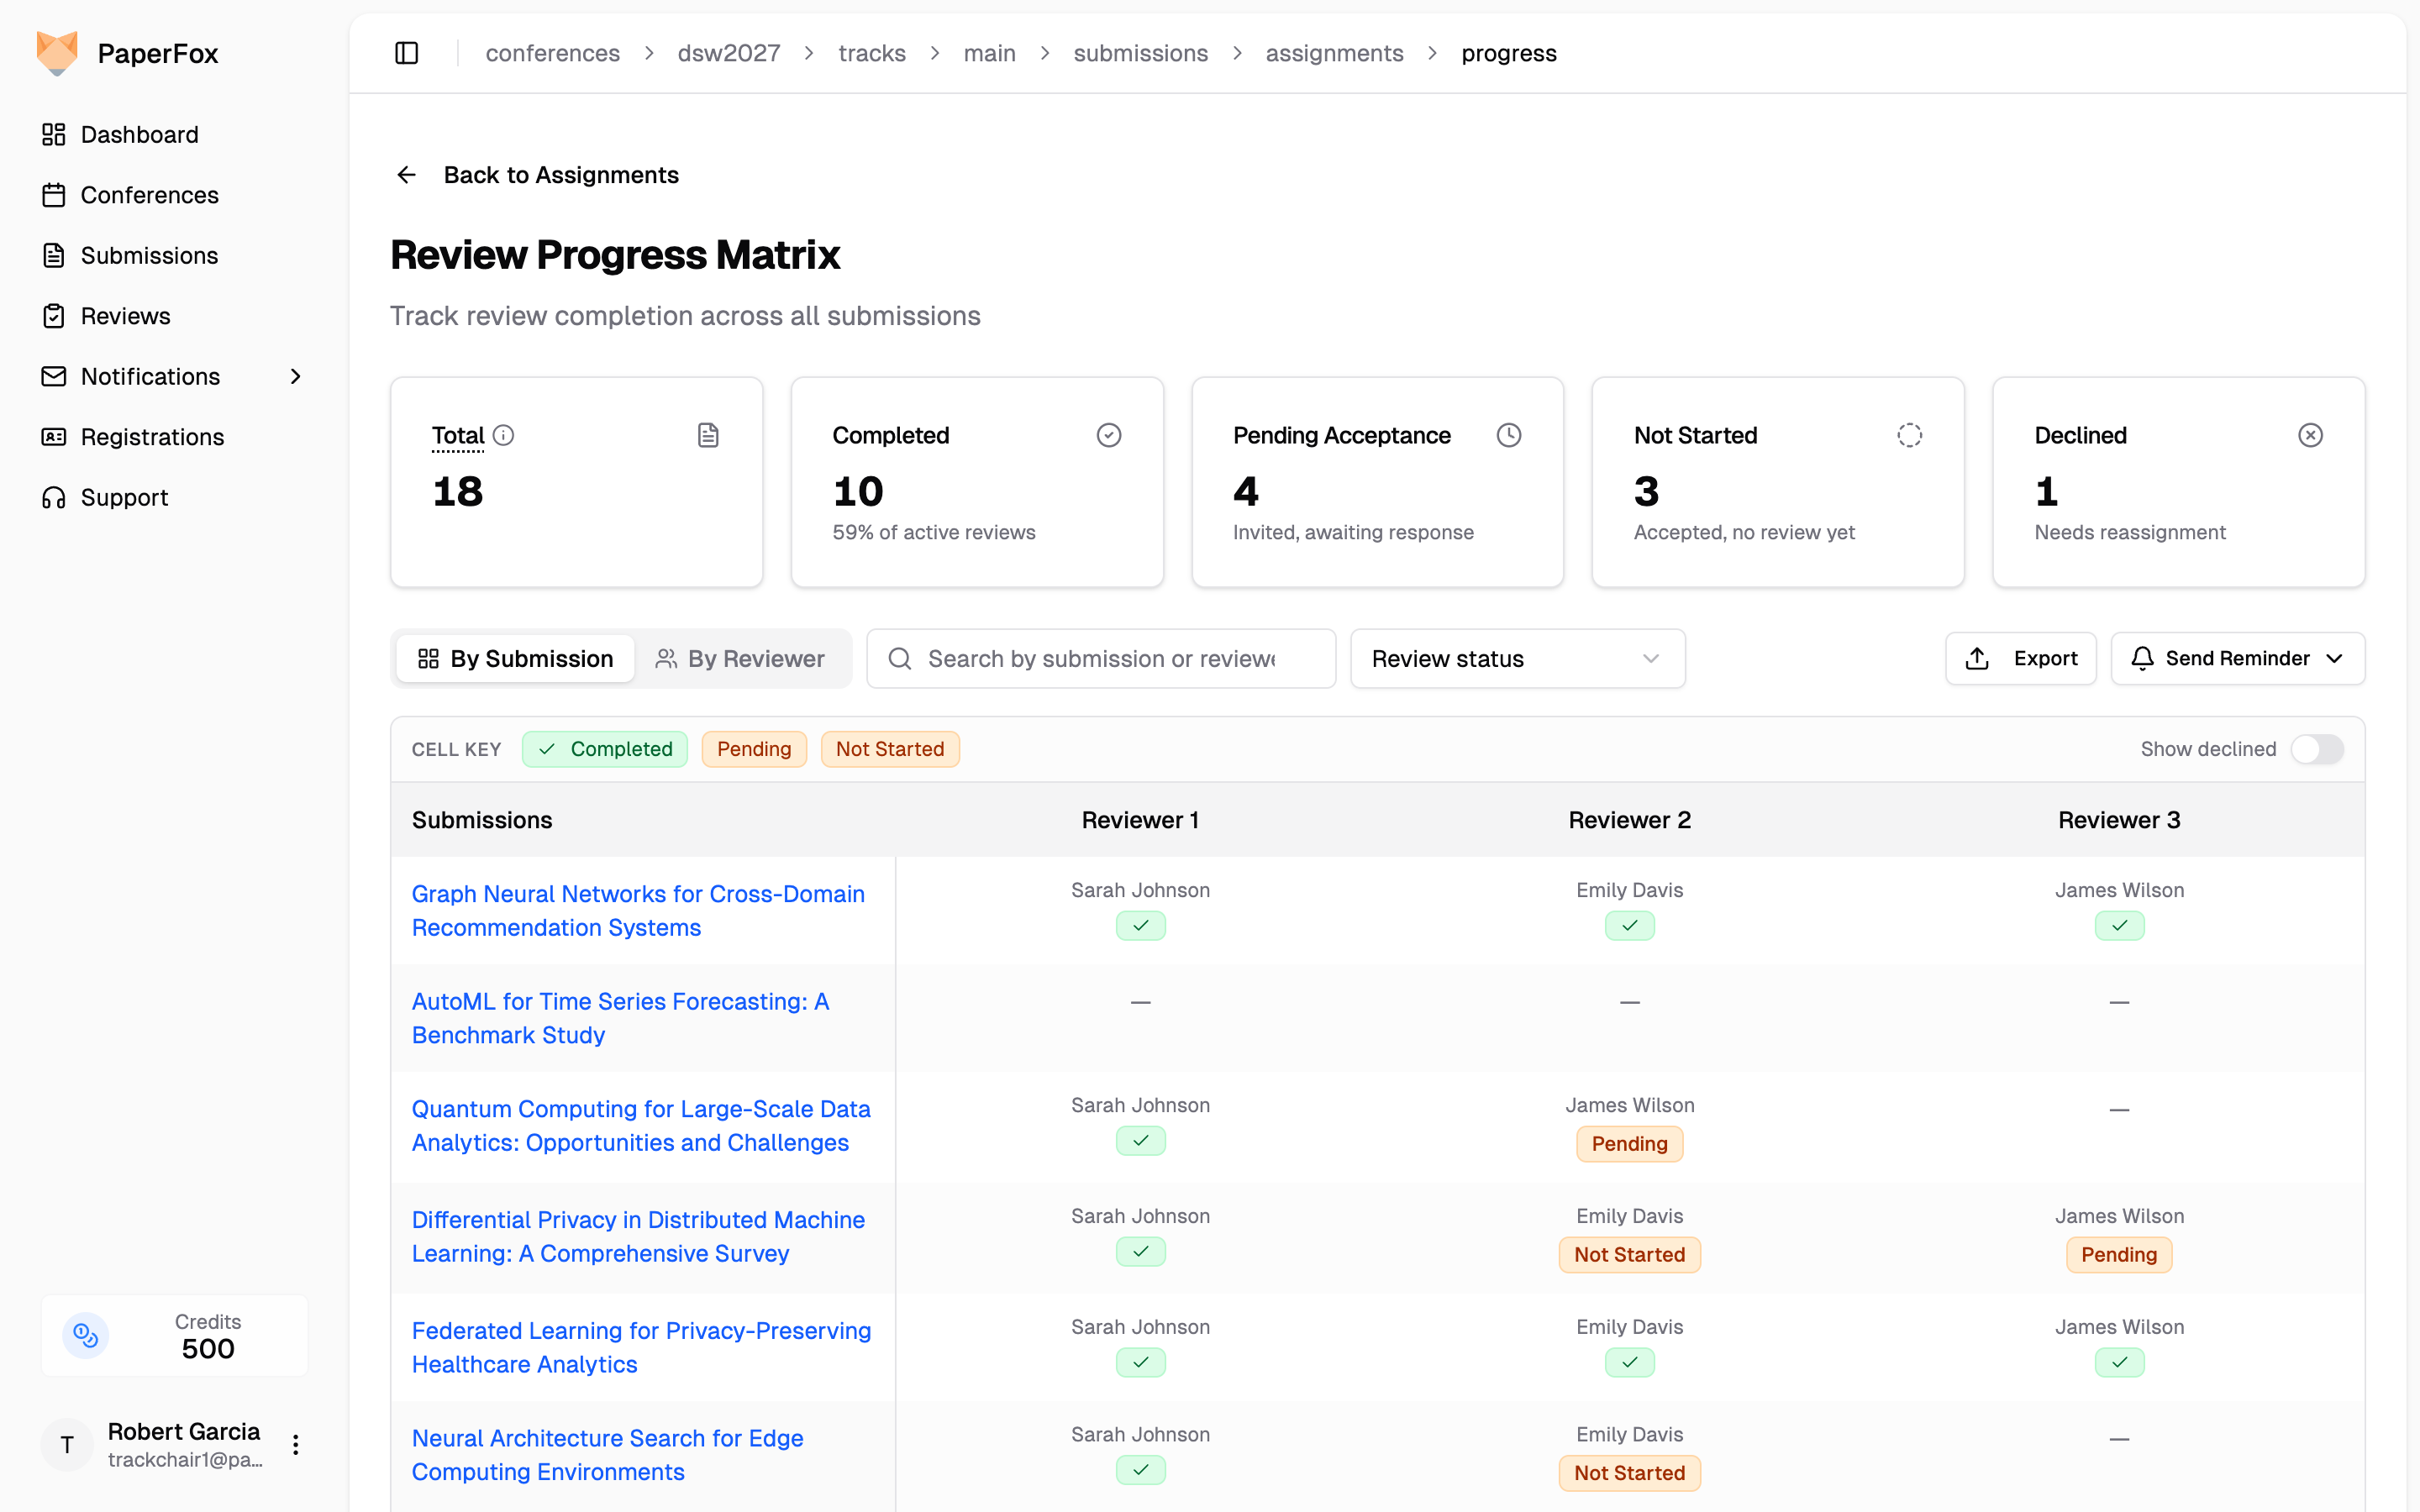 Confirm the reset and the invitation returns to that reviewer immediately. To hand the slot to a different reviewer instead, use [Manually Assign Reviewers](/docs/track-chairs/assign-reviewers).
## Exporting Progress Data
Click **"Export"** to download the data as CSV or JSON for offline analysis. The export matches the view you're in:
Confirm the reset and the invitation returns to that reviewer immediately. To hand the slot to a different reviewer instead, use [Manually Assign Reviewers](/docs/track-chairs/assign-reviewers).
## Exporting Progress Data
Click **"Export"** to download the data as CSV or JSON for offline analysis. The export matches the view you're in:
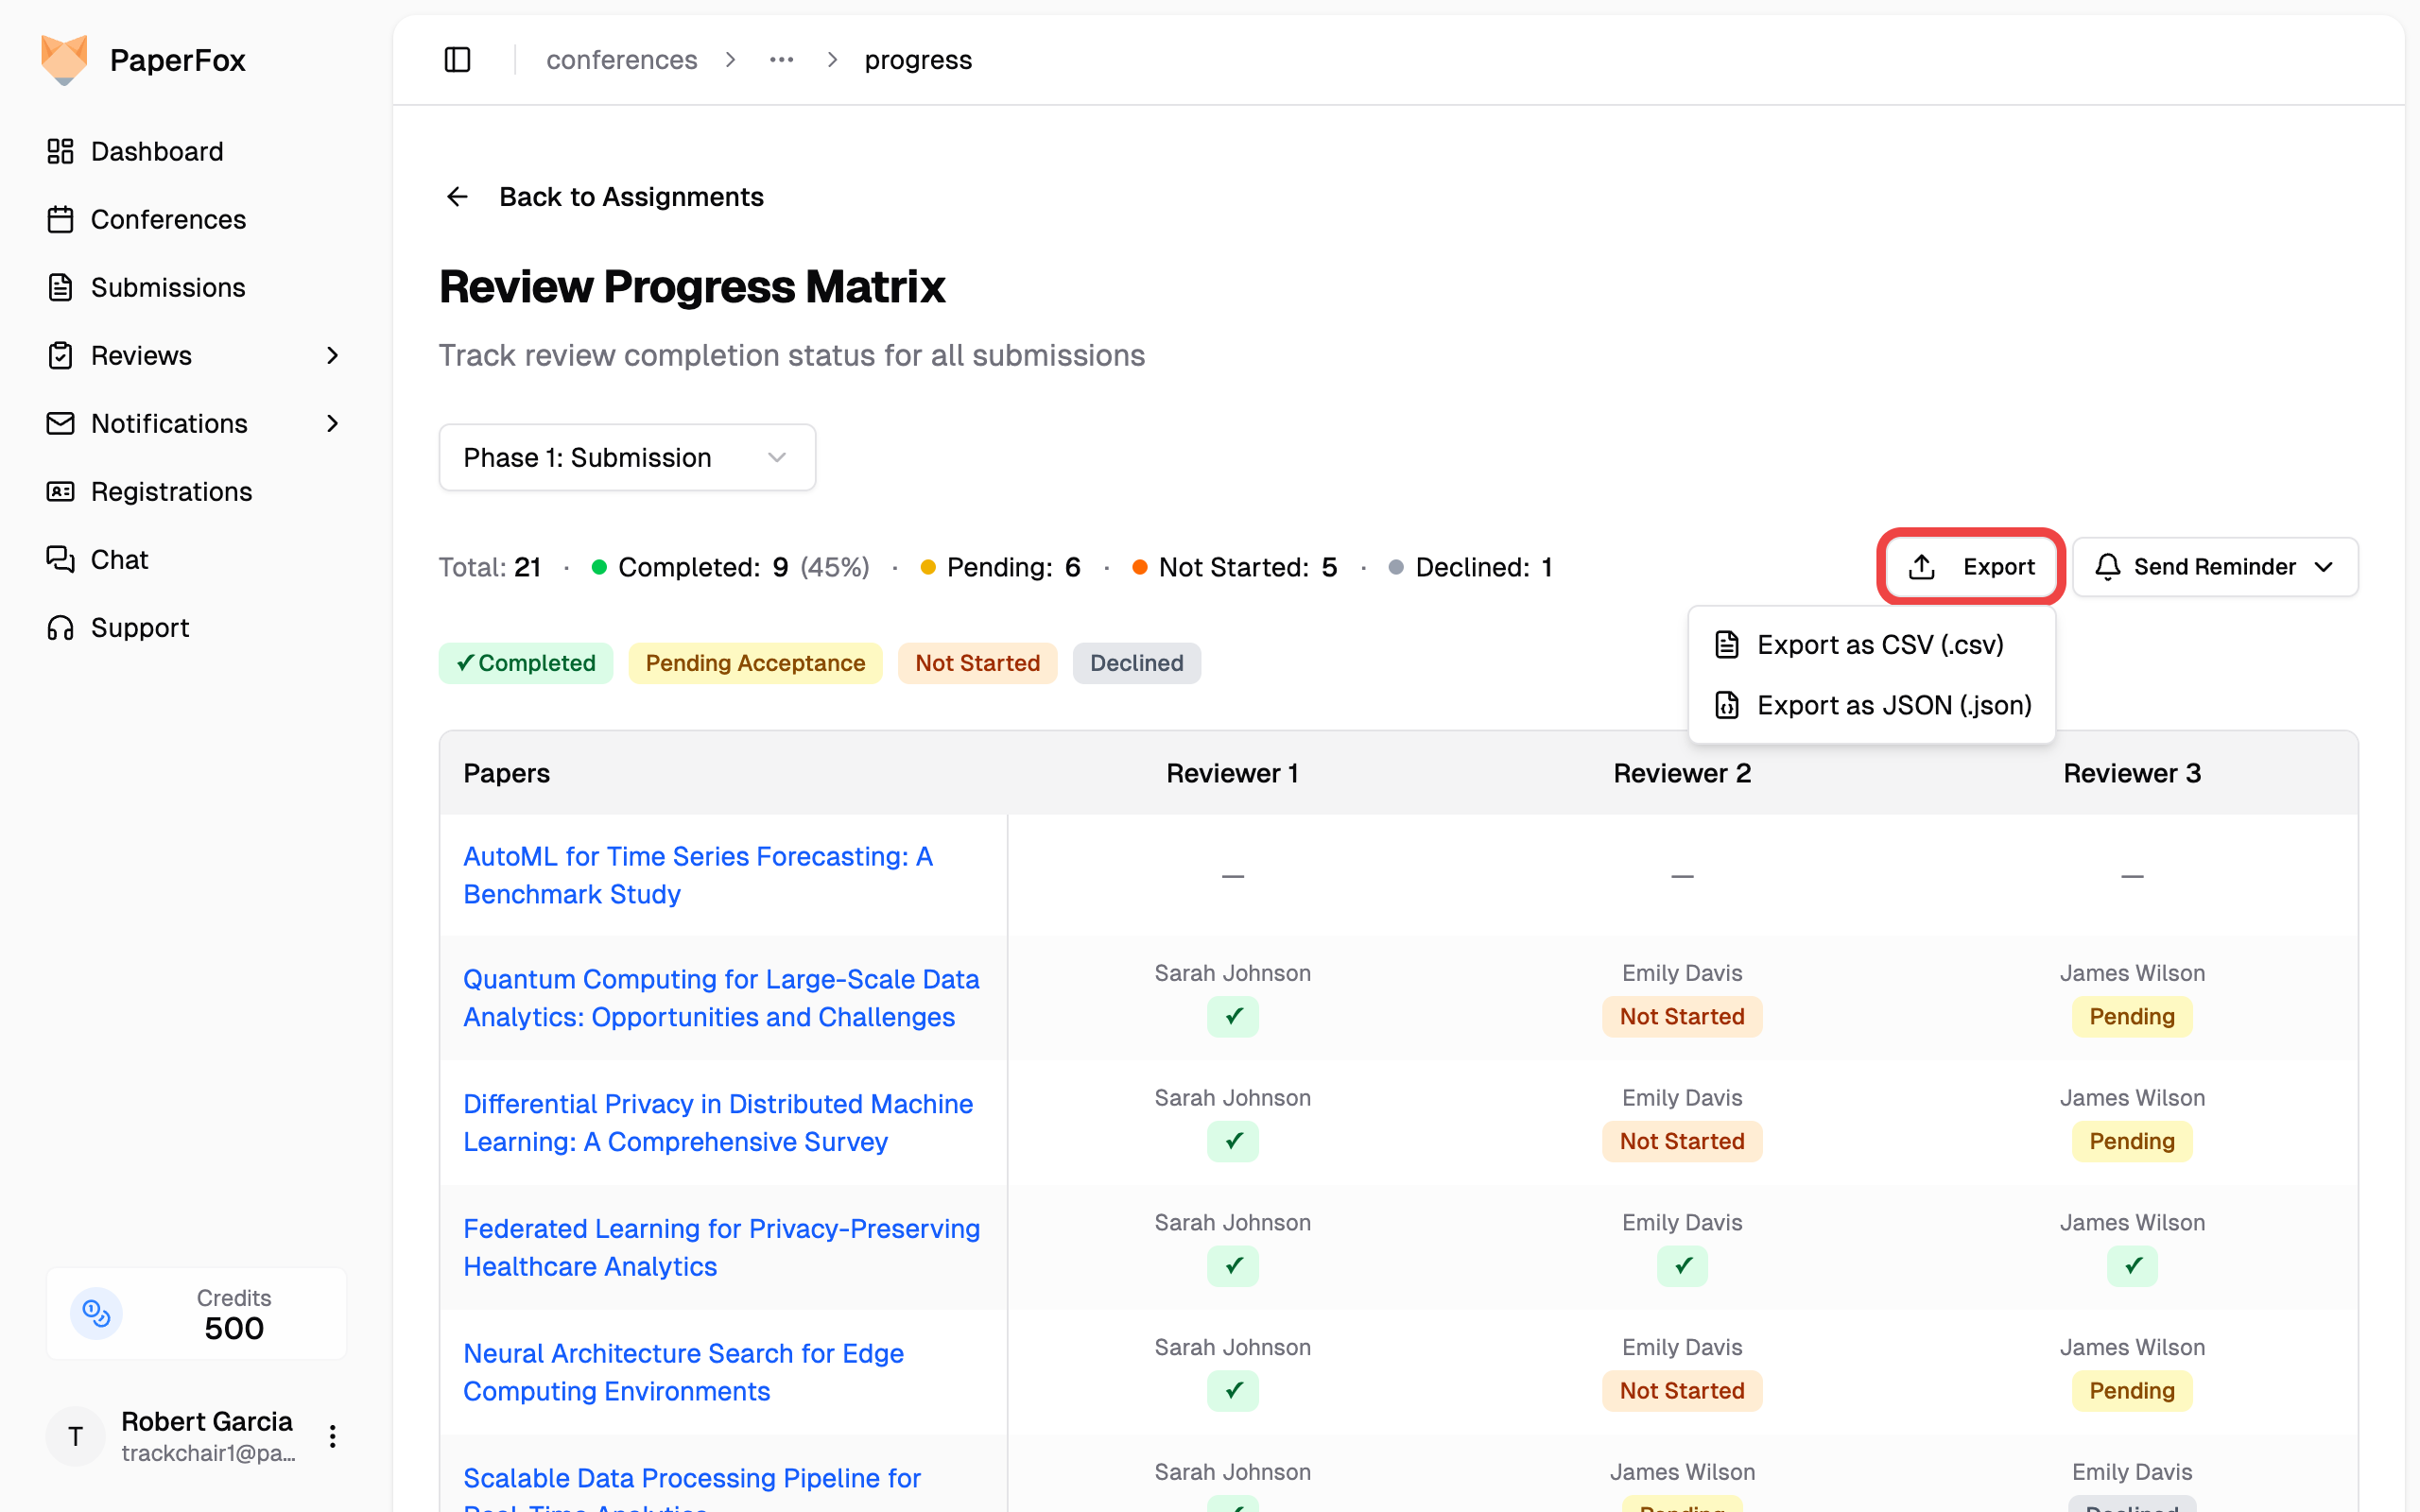 - **By Submission** — one row per assignment slot: submission slug and title, reviewer name/email/affiliation, progress status (matching the matrix badges), per-submission reviews completed/required, and a submission-complete flag. Unassigned slots are included, making under-assigned submissions easy to filter for.
- **By Reviewer** — one row per assignment with reviewer and review-status detail.
## Sending Reminders
Click **"Send Reminder"** to email reviewers who need a nudge:
- **By Submission** — one row per assignment slot: submission slug and title, reviewer name/email/affiliation, progress status (matching the matrix badges), per-submission reviews completed/required, and a submission-complete flag. Unassigned slots are included, making under-assigned submissions easy to filter for.
- **By Reviewer** — one row per assignment with reviewer and review-status detail.
## Sending Reminders
Click **"Send Reminder"** to email reviewers who need a nudge:
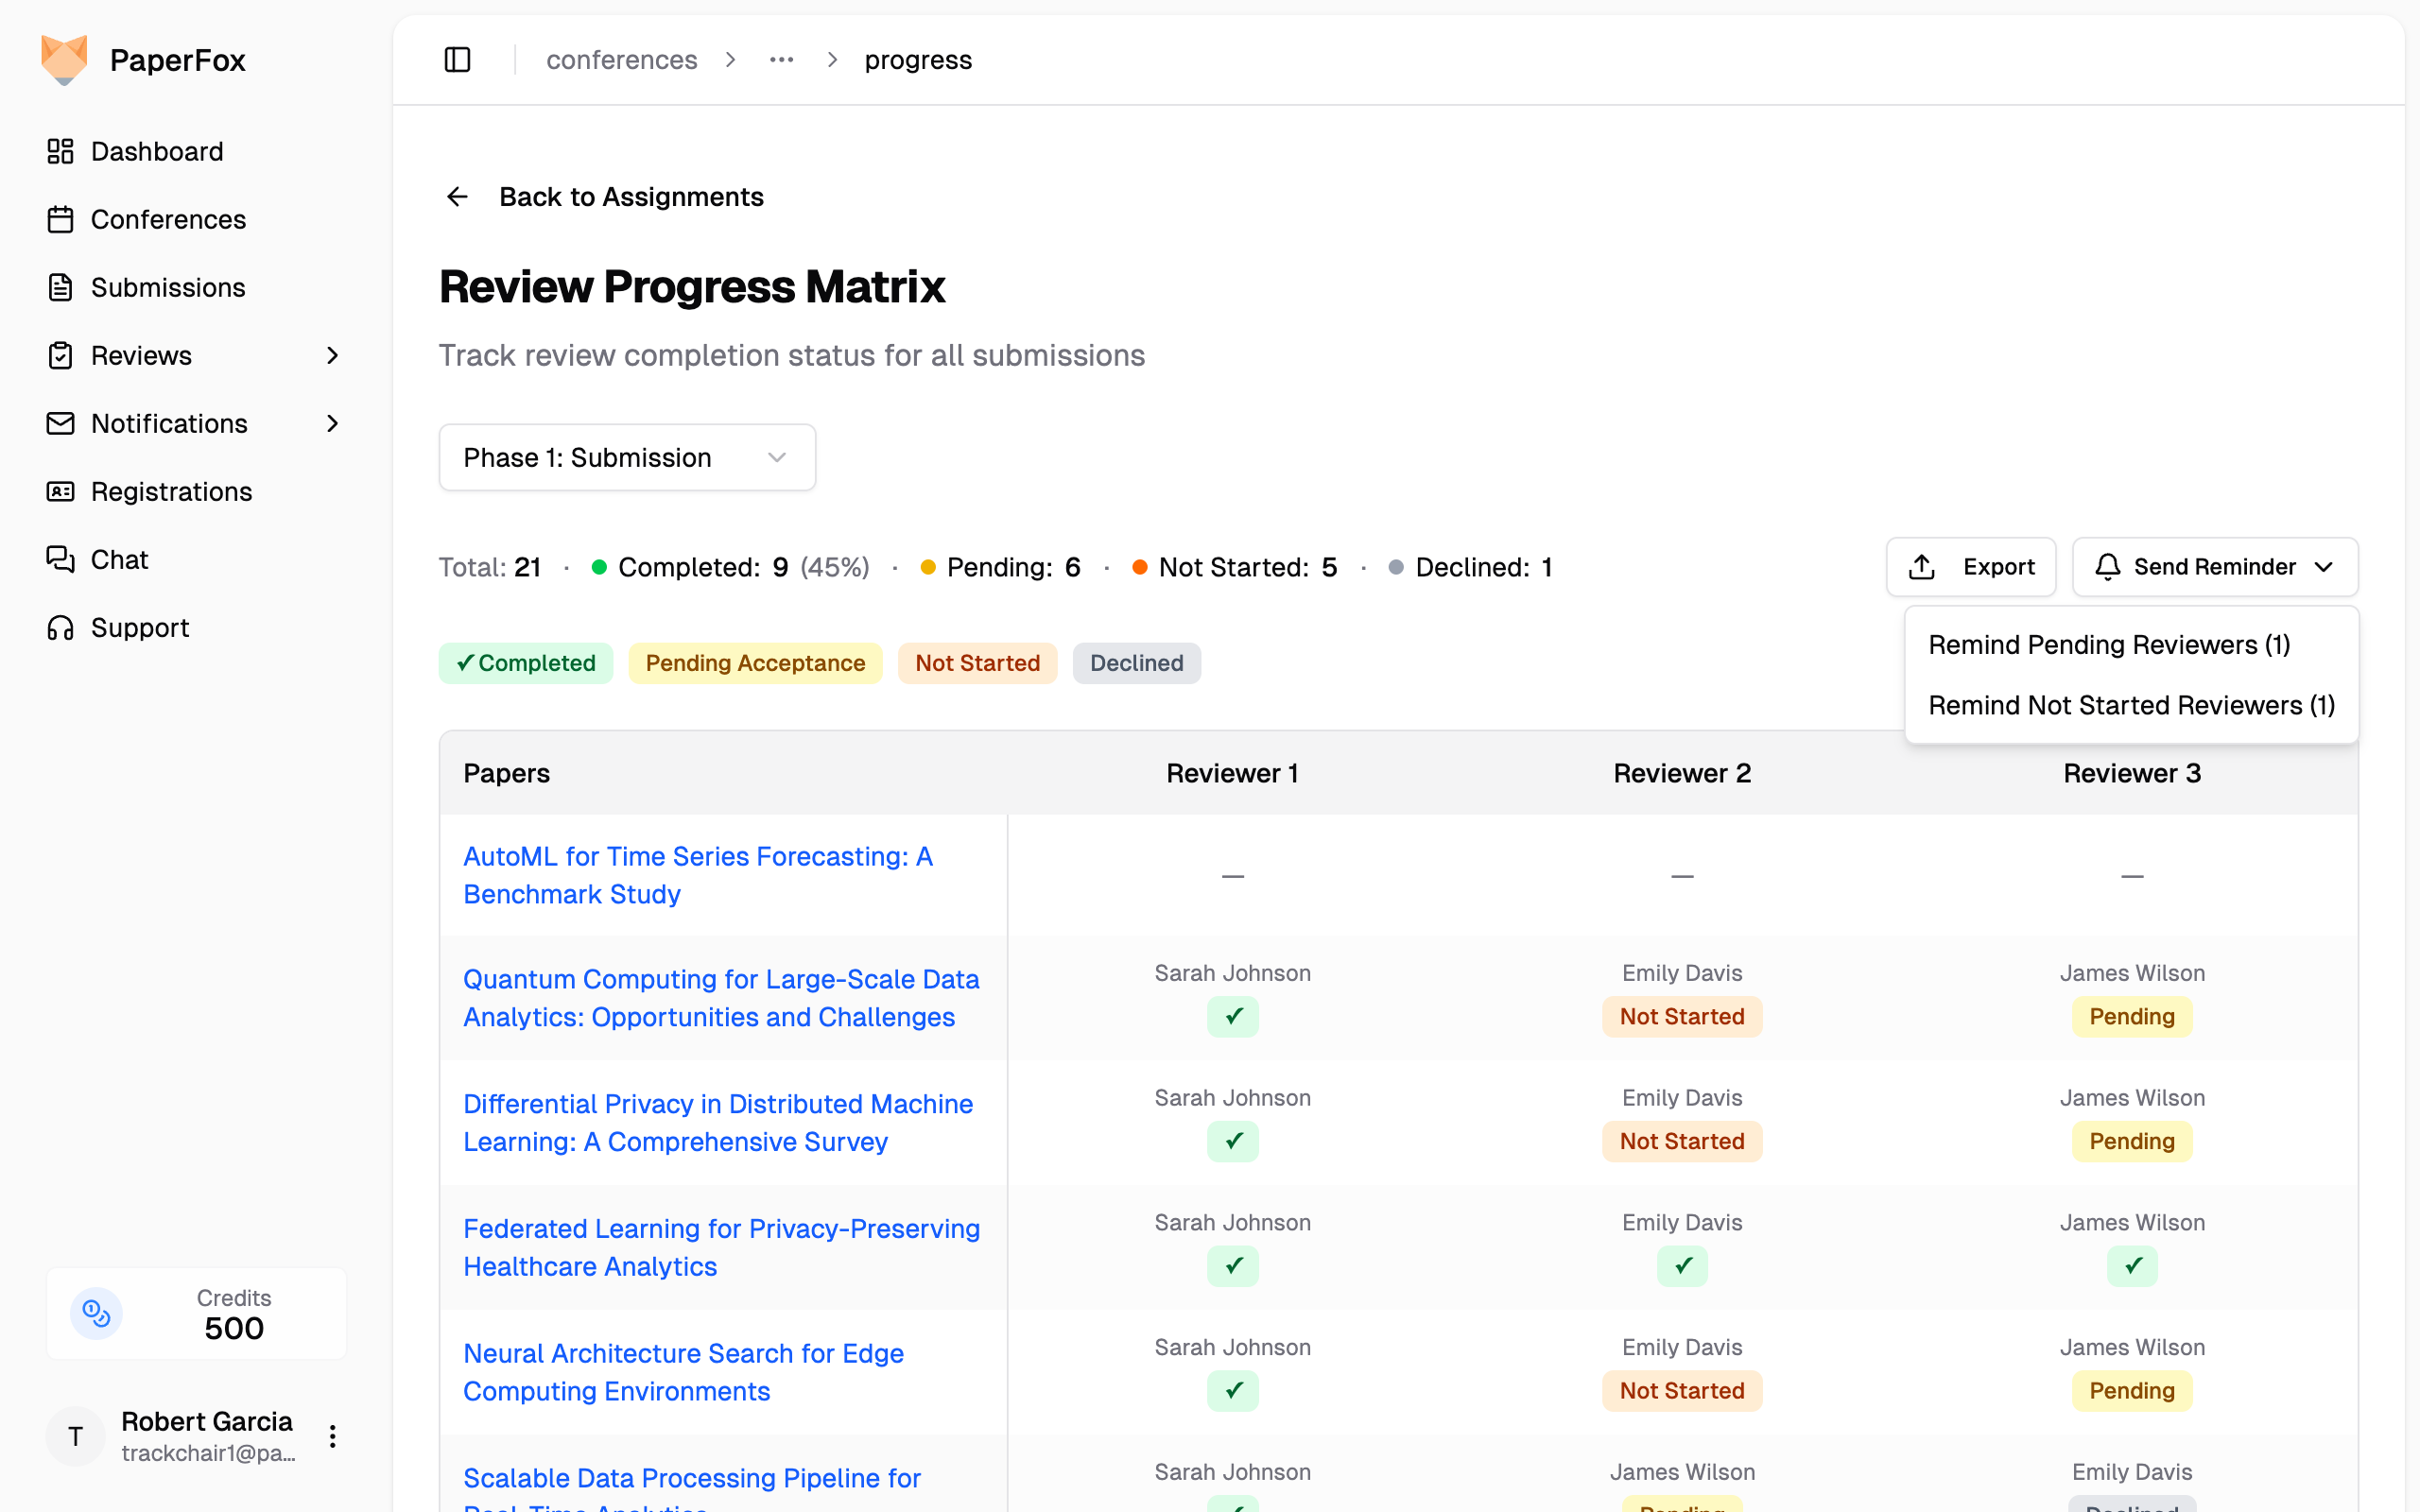 - **Remind Invited Reviewers** — Notifies reviewers who haven't accepted their assignment yet
- **Remind Not Started Reviewers** — Notifies reviewers who accepted but haven't submitted their review
Each option shows the count of unique reviewers who will receive the notification. Clicking an option opens the Notification Composer with the appropriate template pre-filled.
---
See also: [Manually Assign Reviewers](/docs/track-chairs/assign-reviewers) for managing individual reviewer assignments.
---
# Set the Review Type
URL: https://paperfox.ai/docs/track-chairs/set-review-type
Description: Choose whether authors and reviewers can see each other — Double-Blind, Single-Blind, or Open Review.
Each track has a **review type** that controls whether authors and reviewers can see each other's identities. It defaults to **Double-Blind**. You can change it per track at any time — for example, switch to **Open Review** when you want authors and reviewers to collaborate openly throughout the process.
## Change the Review Type
1. Go to **Conferences** in the sidebar and open your conference.
2. Click **"Manage Track"** on the track you want to change.
3. In the **Review Management** section, click **"Review Settings"** to expand the settings.
4. Open the **Review Type** dropdown and choose an option.
- **Remind Invited Reviewers** — Notifies reviewers who haven't accepted their assignment yet
- **Remind Not Started Reviewers** — Notifies reviewers who accepted but haven't submitted their review
Each option shows the count of unique reviewers who will receive the notification. Clicking an option opens the Notification Composer with the appropriate template pre-filled.
---
See also: [Manually Assign Reviewers](/docs/track-chairs/assign-reviewers) for managing individual reviewer assignments.
---
# Set the Review Type
URL: https://paperfox.ai/docs/track-chairs/set-review-type
Description: Choose whether authors and reviewers can see each other — Double-Blind, Single-Blind, or Open Review.
Each track has a **review type** that controls whether authors and reviewers can see each other's identities. It defaults to **Double-Blind**. You can change it per track at any time — for example, switch to **Open Review** when you want authors and reviewers to collaborate openly throughout the process.
## Change the Review Type
1. Go to **Conferences** in the sidebar and open your conference.
2. Click **"Manage Track"** on the track you want to change.
3. In the **Review Management** section, click **"Review Settings"** to expand the settings.
4. Open the **Review Type** dropdown and choose an option.
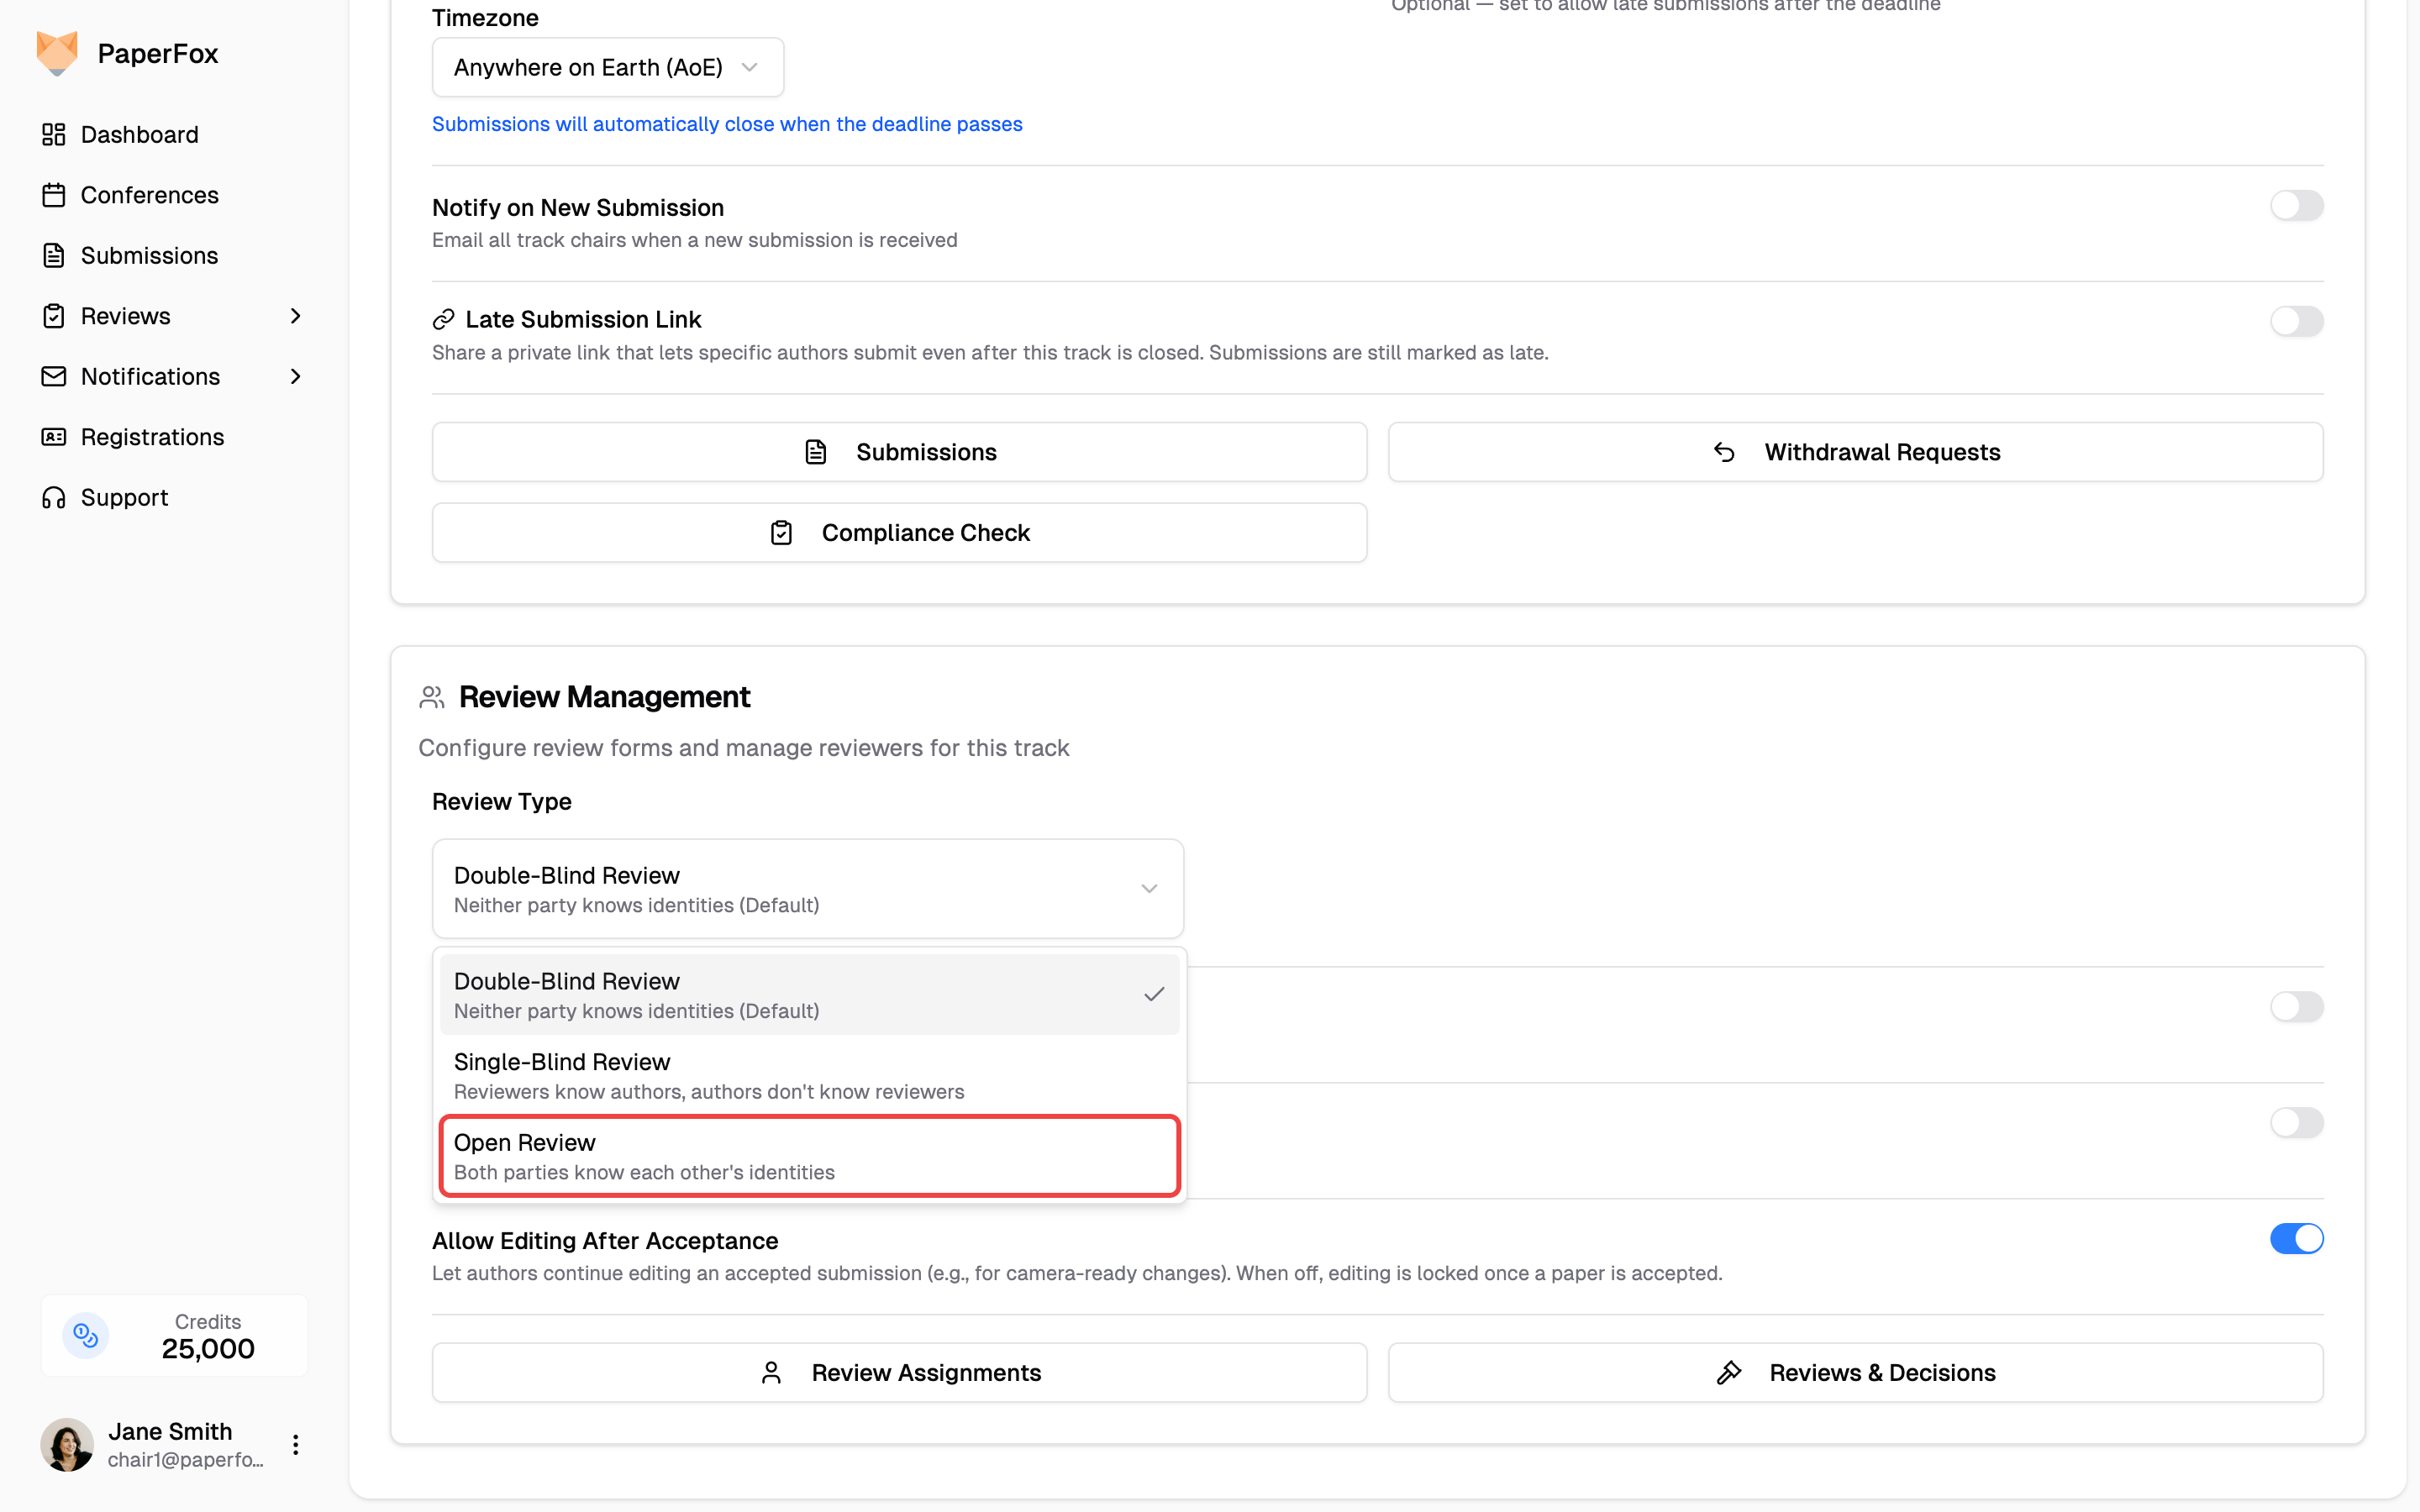 The change saves automatically — there's no separate Save button.
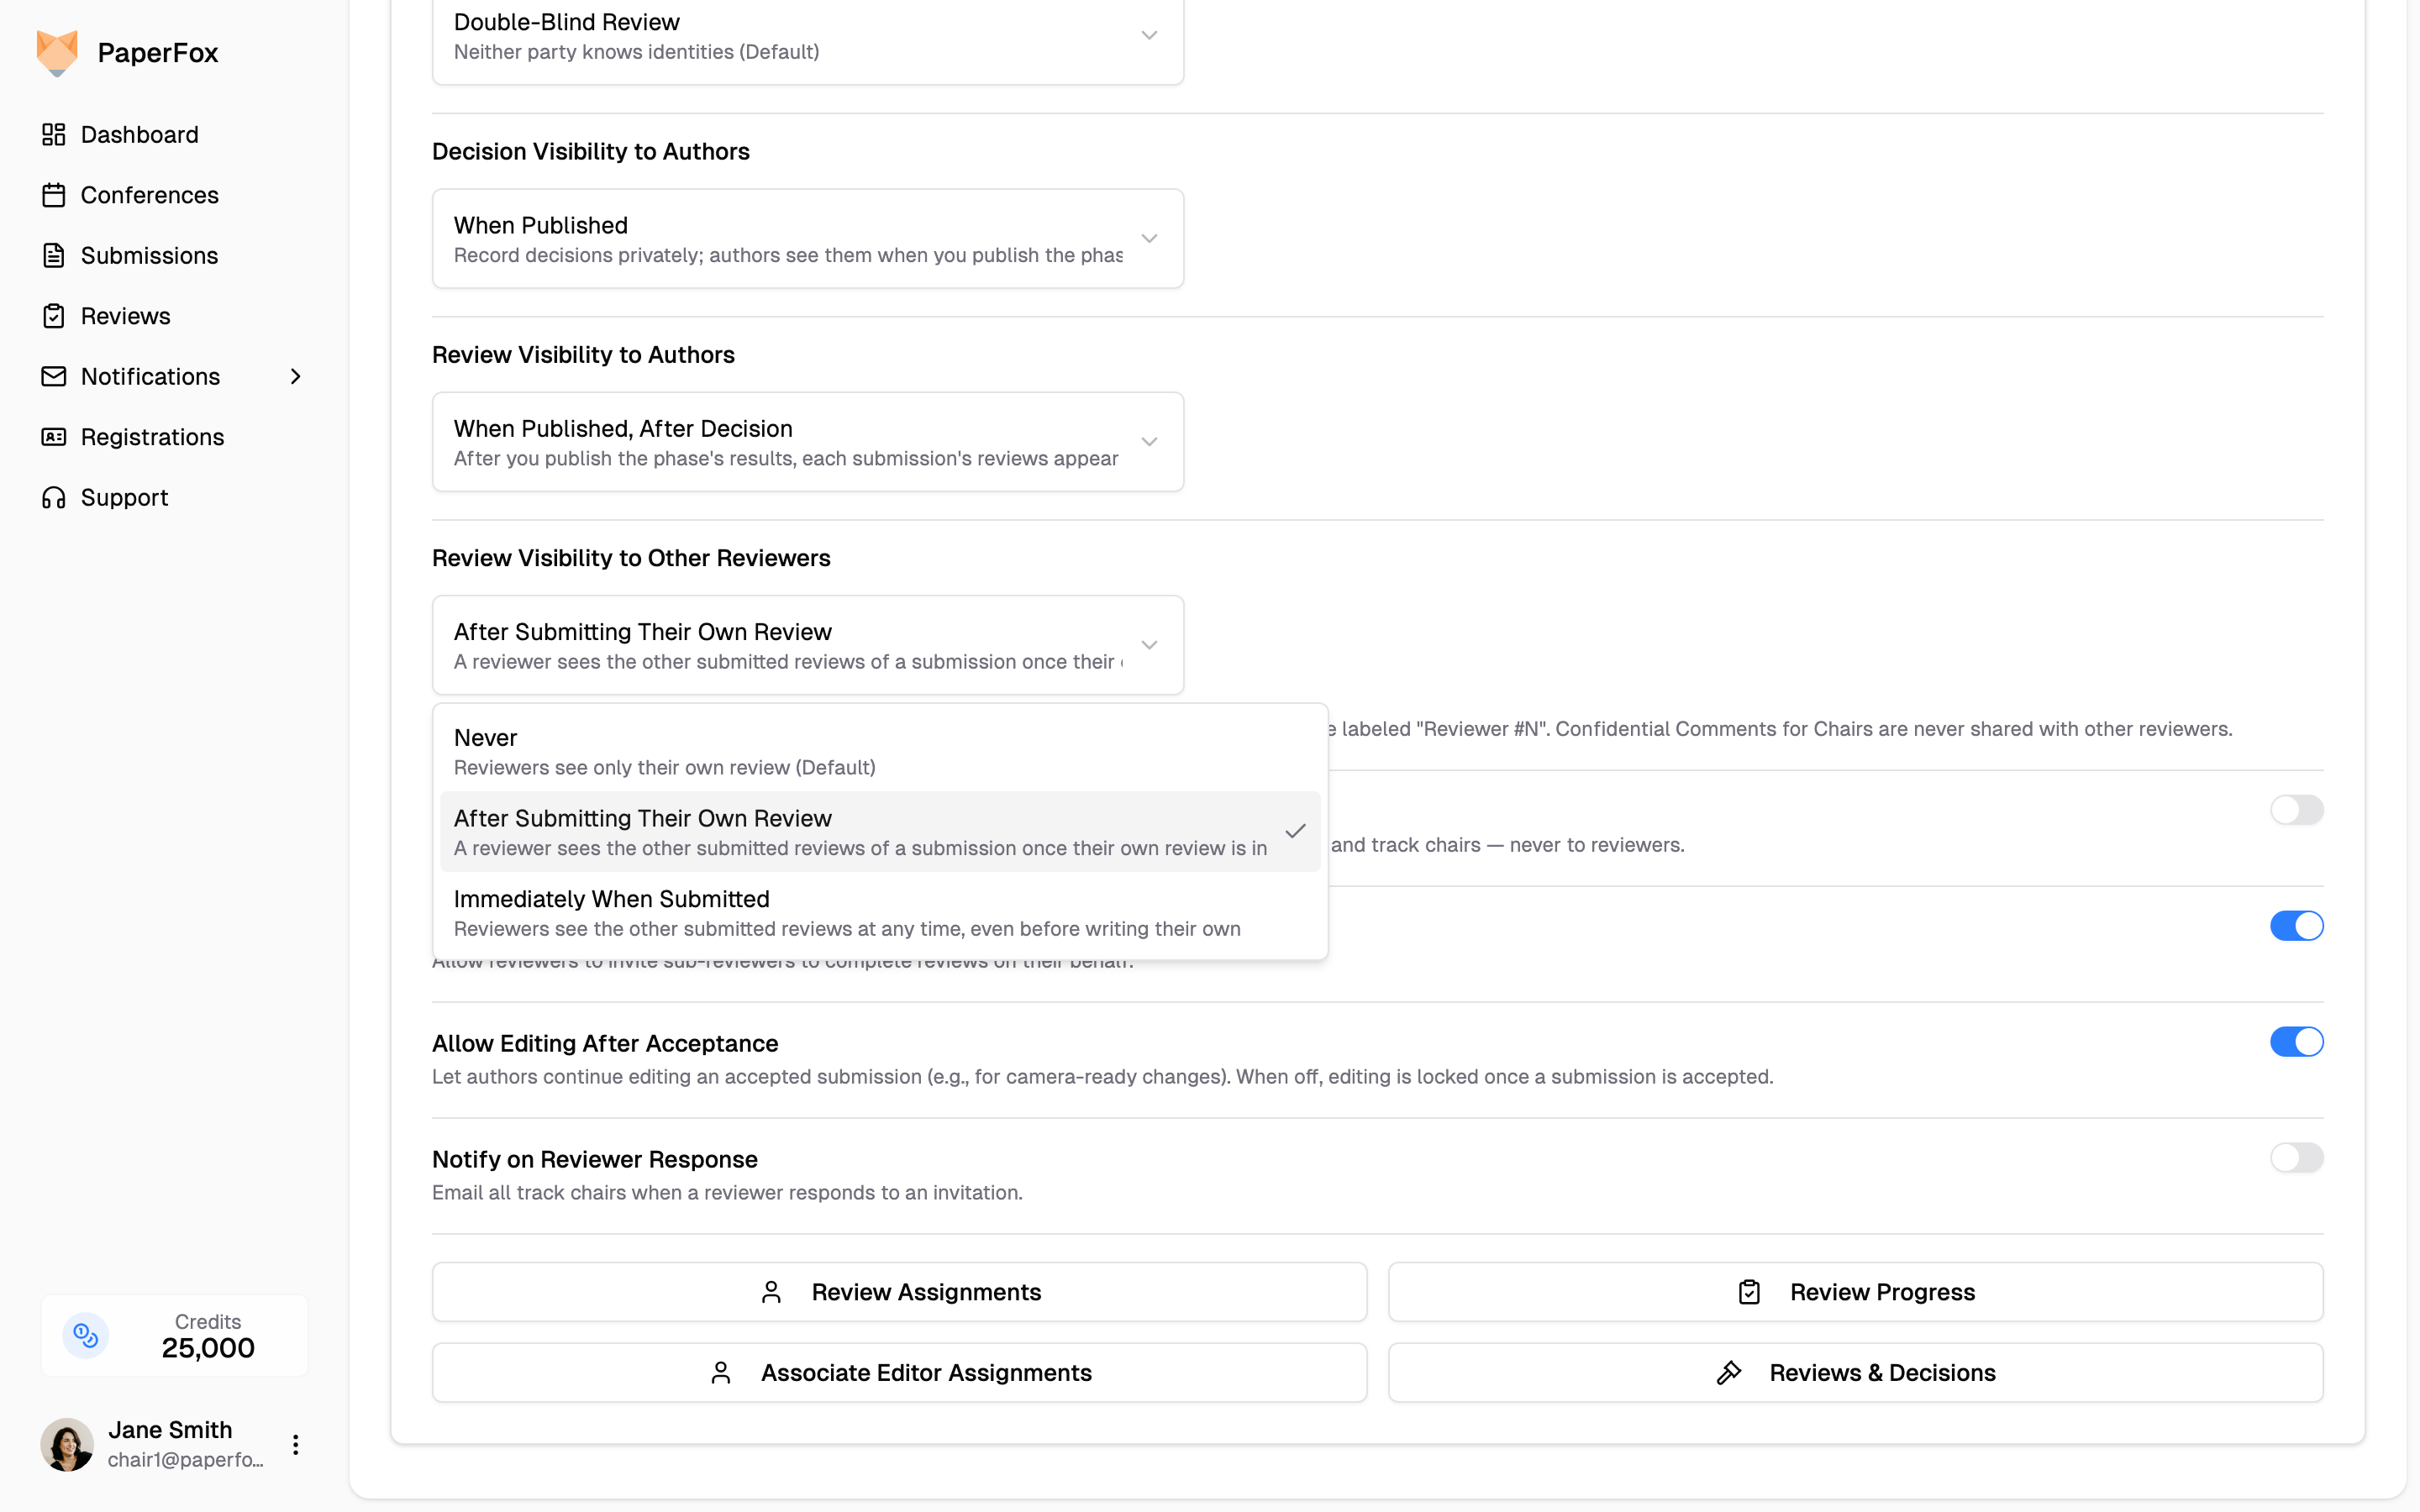 The change saves automatically — there's no separate Save button.
## What Each Option Means
| Option | When a reviewer sees the other reviews |
|--------|----------------------------------------|
| **Never** (default) | They don't — each reviewer sees only their own review |
| **After Submitting Their Own Review** | Once their own review for that submission is submitted |
| **Immediately When Submitted** | As soon as any co-reviewer submits, even before writing their own |
**After Submitting Their Own Review** is the standard choice for committees that discuss submissions: it prevents a reviewer from being influenced by colleagues' opinions before forming their own.
When enabled, the other reviewers' submitted reviews appear in an **Other Reviews** card on each reviewer's review page:
The change saves automatically — there's no separate Save button.
## What Each Option Means
| Option | When a reviewer sees the other reviews |
|--------|----------------------------------------|
| **Never** (default) | They don't — each reviewer sees only their own review |
| **After Submitting Their Own Review** | Once their own review for that submission is submitted |
| **Immediately When Submitted** | As soon as any co-reviewer submits, even before writing their own |
**After Submitting Their Own Review** is the standard choice for committees that discuss submissions: it prevents a reviewer from being influenced by colleagues' opinions before forming their own.
When enabled, the other reviewers' submitted reviews appear in an **Other Reviews** card on each reviewer's review page:
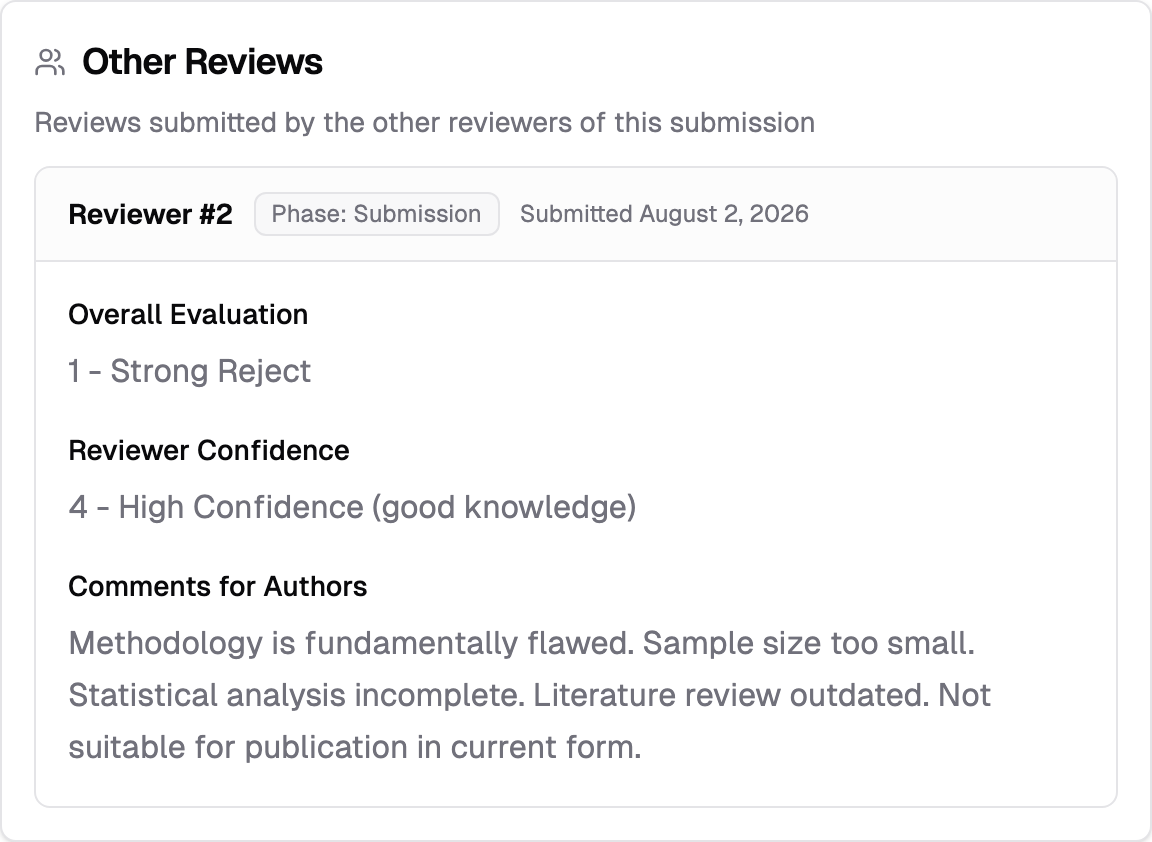 Before a reviewer unlocks the card (under **After Submitting Their Own Review**), it shows a locked notice explaining that other reviews become visible after they submit their own — so reviewers always know the feature exists.
## What Stays Hidden
- **Reviewer names.** On Double-Blind and Single-Blind tracks, co-reviews are labeled **"Reviewer #1"**, **"Reviewer #2"**, and so on — reviewers never learn each other's identities. Names appear only when the track's [review type](/docs/track-chairs/set-review-type) is **Open Review**.
- **Confidential Comments for Chairs.** The confidential-comments field is never shared with other reviewers, regardless of this setting.
- **Later phases.** On multi-phase tracks, a reviewer only sees co-reviews up to their own assigned phase, and the "after own review" unlock applies per phase — submitting a Phase 1 review doesn't reveal Phase 2 reviews.
Before a reviewer unlocks the card (under **After Submitting Their Own Review**), it shows a locked notice explaining that other reviews become visible after they submit their own — so reviewers always know the feature exists.
## What Stays Hidden
- **Reviewer names.** On Double-Blind and Single-Blind tracks, co-reviews are labeled **"Reviewer #1"**, **"Reviewer #2"**, and so on — reviewers never learn each other's identities. Names appear only when the track's [review type](/docs/track-chairs/set-review-type) is **Open Review**.
- **Confidential Comments for Chairs.** The confidential-comments field is never shared with other reviewers, regardless of this setting.
- **Later phases.** On multi-phase tracks, a reviewer only sees co-reviews up to their own assigned phase, and the "after own review" unlock applies per phase — submitting a Phase 1 review doesn't reveal Phase 2 reviews.
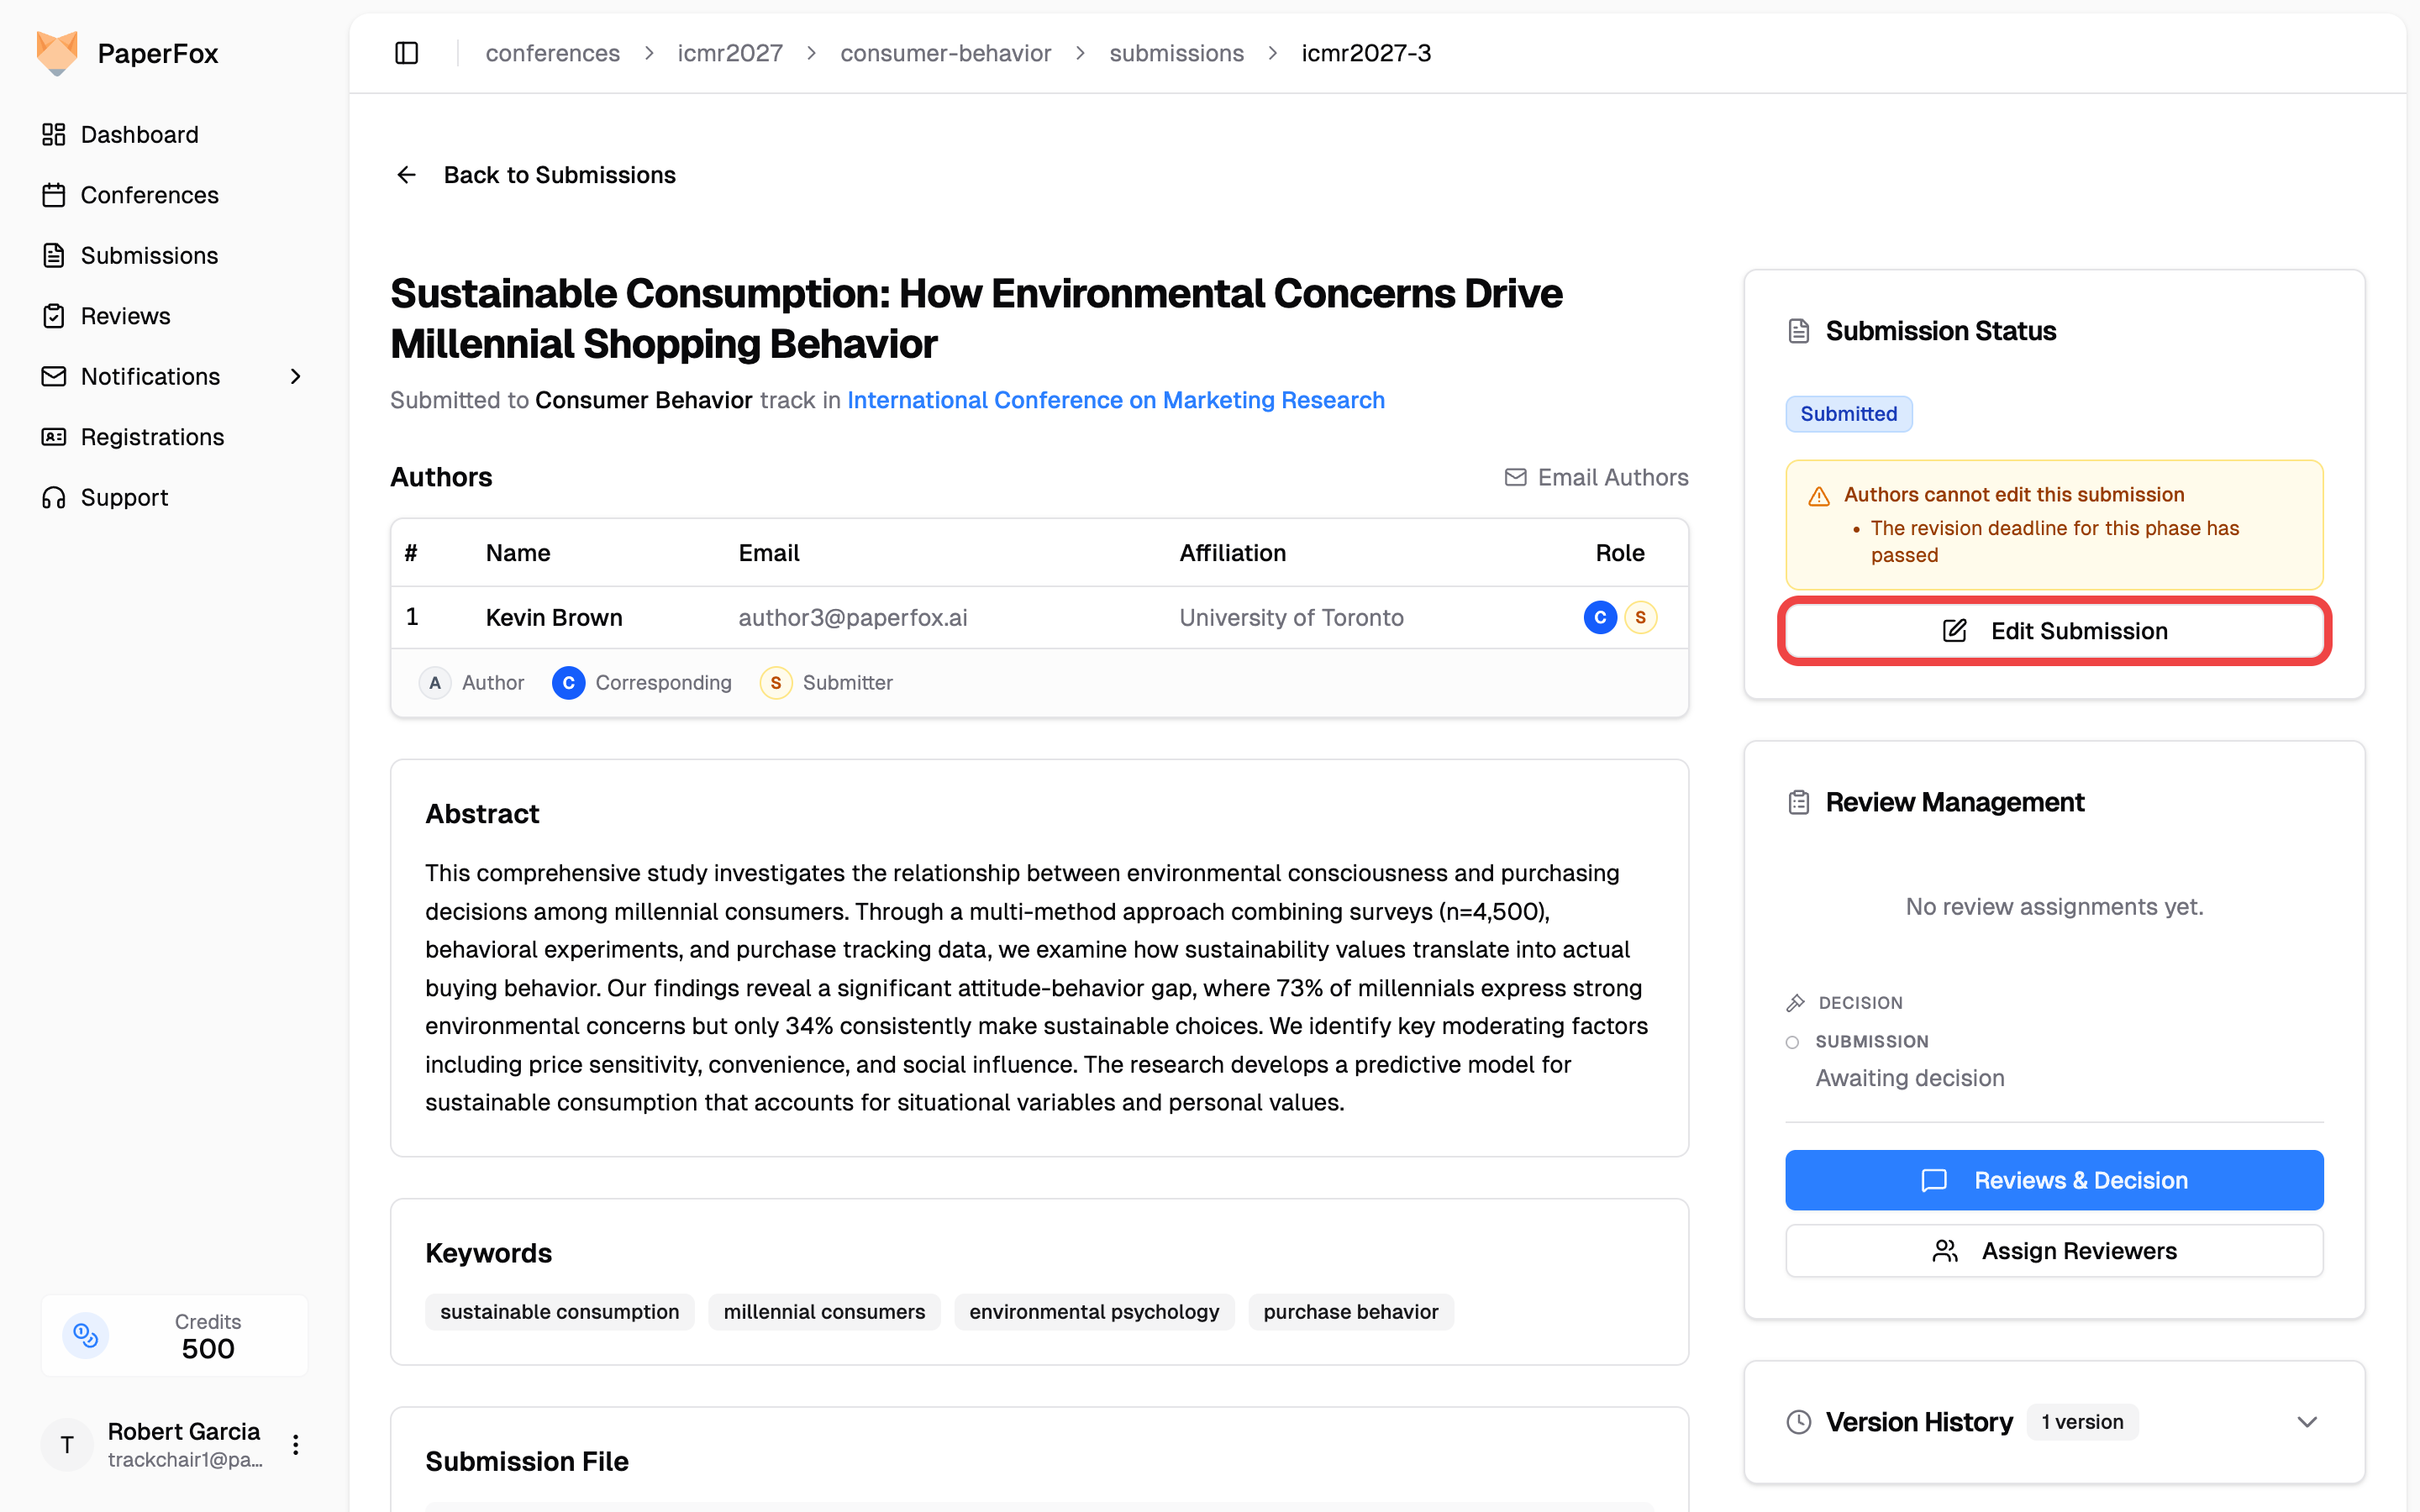 The edit form opens in **Chair view**: a blue banner at the top reminds you that locked answers, revision deadlines, and the phase's author-editing setting don't apply to you. When authors are blocked right now, an amber warning below it names your role and every rule your edit is stepping over.
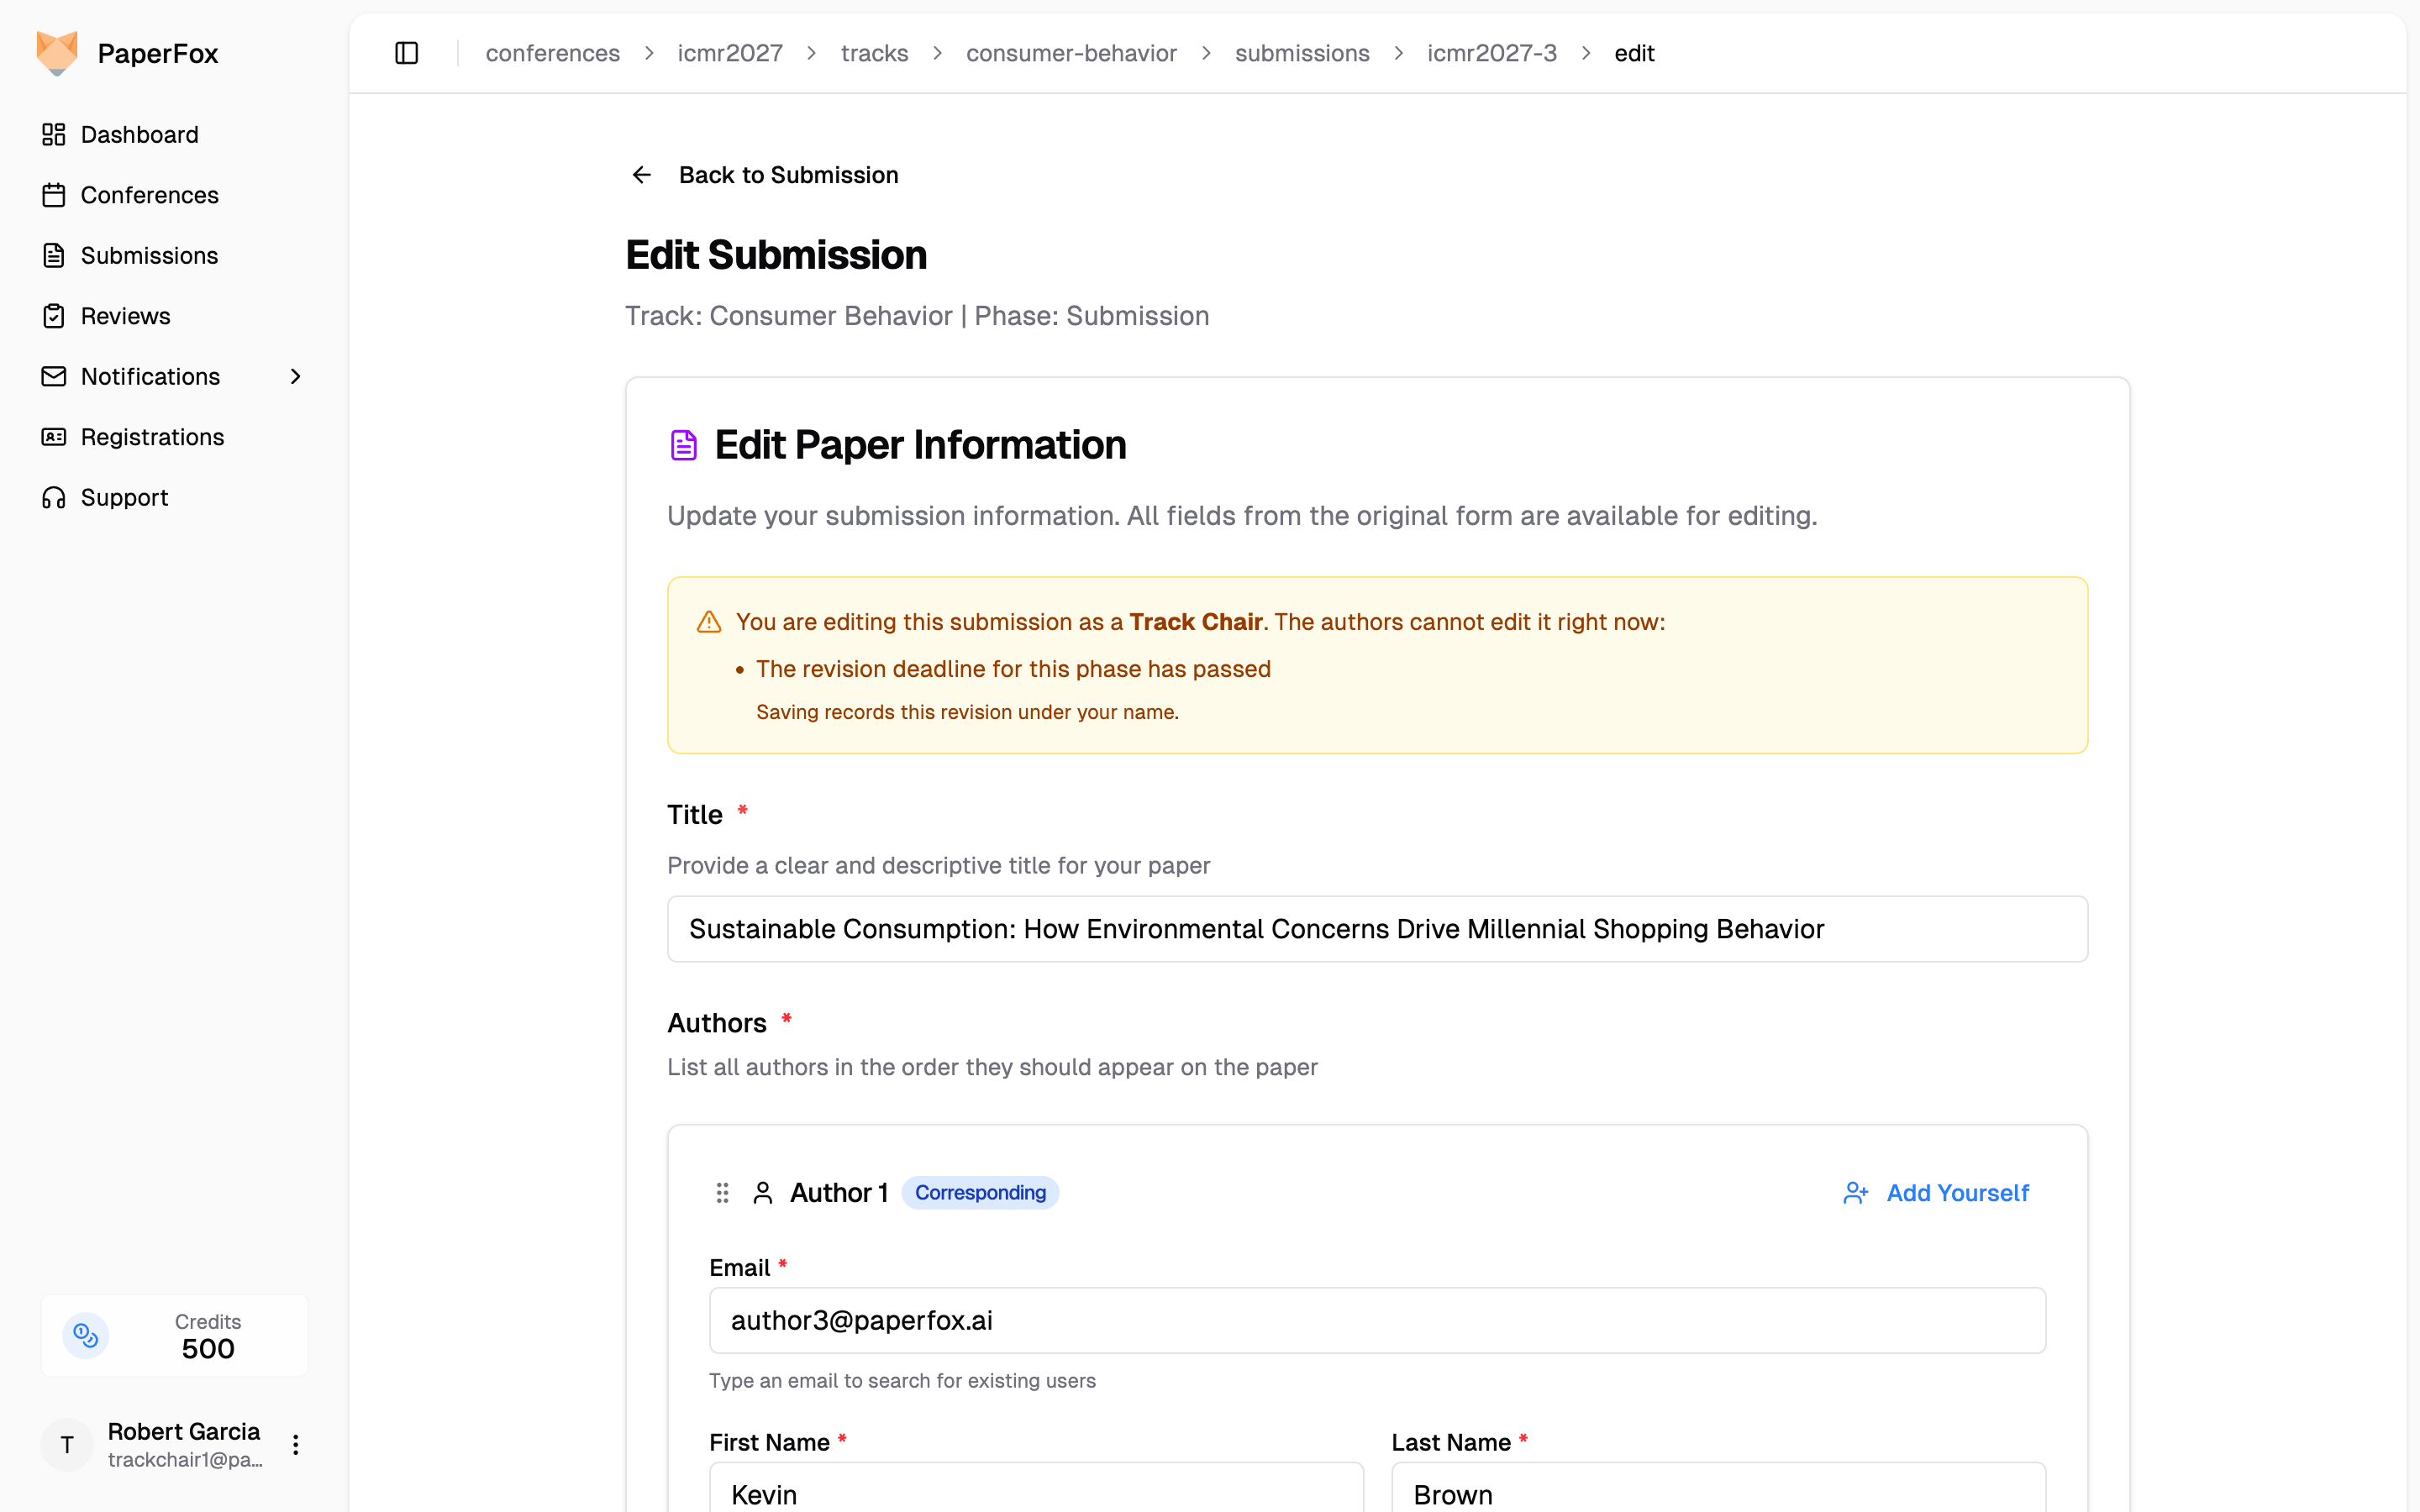 Make your changes and click **"Save Revision"**. Three things happen automatically:
- The revision is recorded under **your** name in the submission's **Version History** and in the activity log, alongside the specific rules you overrode.
- **"Notify all authors about this revision"** is checked by default, so the authors receive an email describing what changed. Uncheck it if you'd rather tell them yourself.
- On multi-phase tracks, the phase status badge (on the submission detail card, the submissions list, and the decisions page) shows **"Edited by chair"** — so your edit is never mistaken for the author's revision or for silence. If the author later submits their own revision, the badge switches to **"Revised by author"**.
Make your changes and click **"Save Revision"**. Three things happen automatically:
- The revision is recorded under **your** name in the submission's **Version History** and in the activity log, alongside the specific rules you overrode.
- **"Notify all authors about this revision"** is checked by default, so the authors receive an email describing what changed. Uncheck it if you'd rather tell them yourself.
- On multi-phase tracks, the phase status badge (on the submission detail card, the submissions list, and the decisions page) shows **"Edited by chair"** — so your edit is never mistaken for the author's revision or for silence. If the author later submits their own revision, the badge switches to **"Revised by author"**.
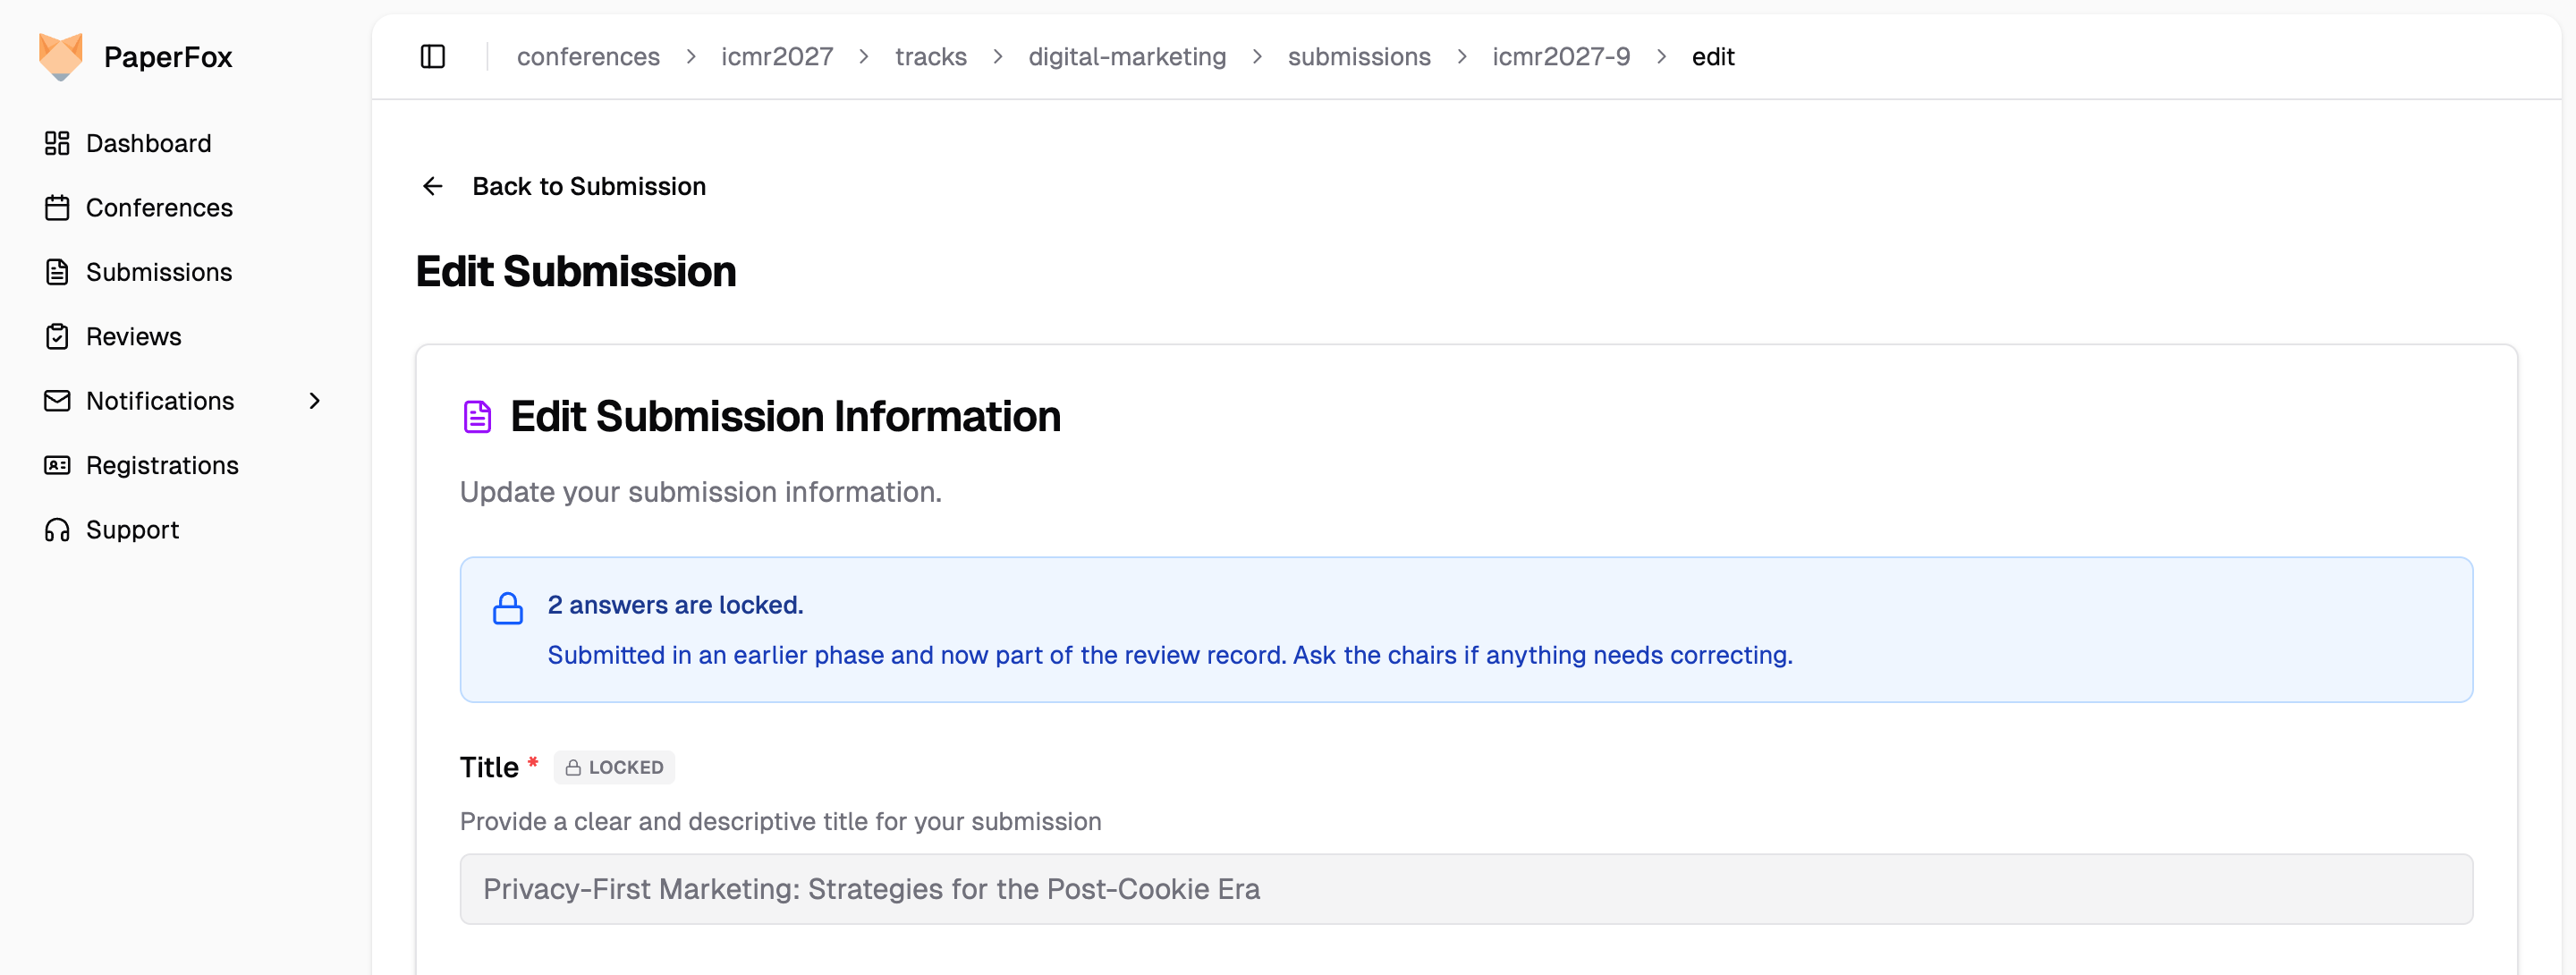 The note tells authors to ask the chairs if something locked needs correcting — and chairs can, exactly as with every other rule on this page.
### Check What Authors See
Because locks never apply to chairs, your own edit form shows every field open — even on a submission you also authored. To see the form exactly as its submitting author gets it:
1. Open the submission and click **"Edit Submission"**
2. In the blue **Chair view** banner, click **"Author view"**
The form switches to **Author preview mode**: locked answers carry their **LOCKED** badge, the author's deadlines and editing settings apply, and if authors can't edit right now you see the same message they do. The preview is read-only — click **"Management view"** to go back and make changes.
The note tells authors to ask the chairs if something locked needs correcting — and chairs can, exactly as with every other rule on this page.
### Check What Authors See
Because locks never apply to chairs, your own edit form shows every field open — even on a submission you also authored. To see the form exactly as its submitting author gets it:
1. Open the submission and click **"Edit Submission"**
2. In the blue **Chair view** banner, click **"Author view"**
The form switches to **Author preview mode**: locked answers carry their **LOCKED** badge, the author's deadlines and editing settings apply, and if authors can't edit right now you see the same message they do. The preview is read-only — click **"Management view"** to go back and make changes.
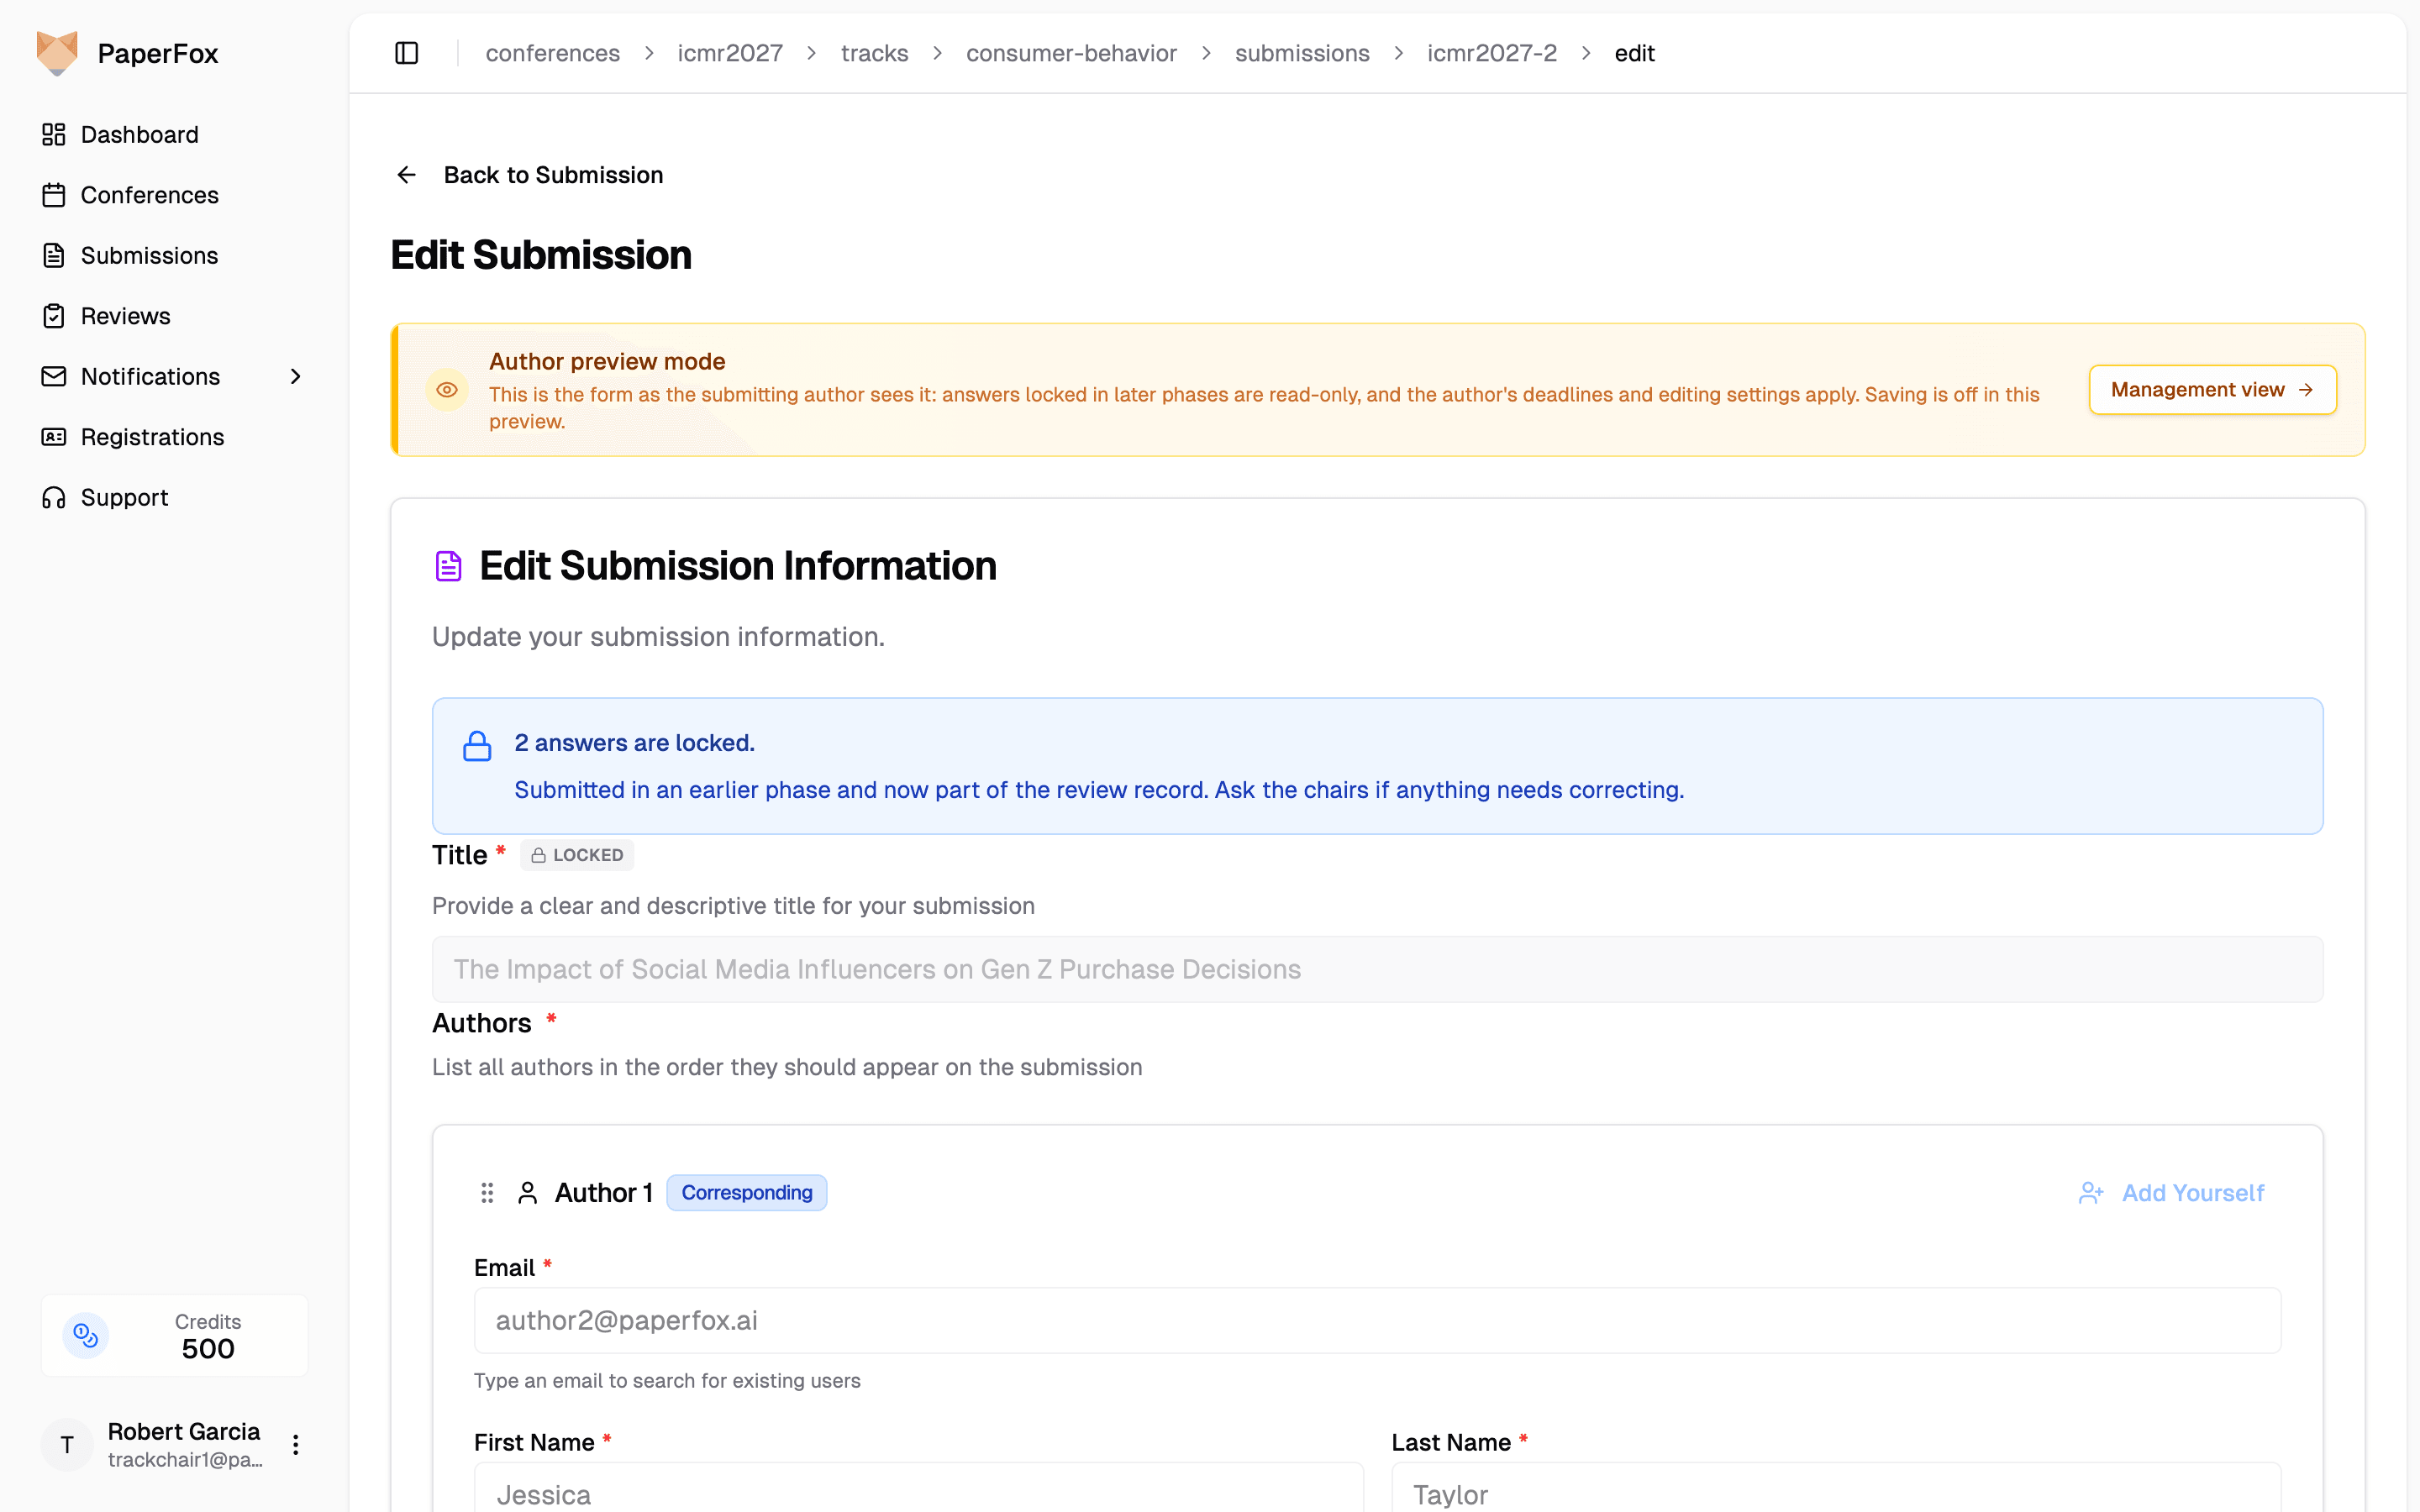 ### Two Cases the Lock Skips
| Case | Locked? | Why |
|------|---------|-----|
| The field's **own** phase | No | The question has to be answerable in the round that asks it |
| The answer is **empty** | No | A required field nobody answered would otherwise be both mandatory and un-fillable, with no way for the author to submit |
| The **author list** | Never lockable | Author changes are governed by the track's own rules, not the form builder |
### Two Cases the Lock Skips
| Case | Locked? | Why |
|------|---------|-----|
| The field's **own** phase | No | The question has to be answerable in the round that asks it |
| The answer is **empty** | No | A required field nobody answered would otherwise be both mandatory and un-fillable, with no way for the author to submit |
| The **author list** | Never lockable | Author changes are governed by the track's own rules, not the form builder |
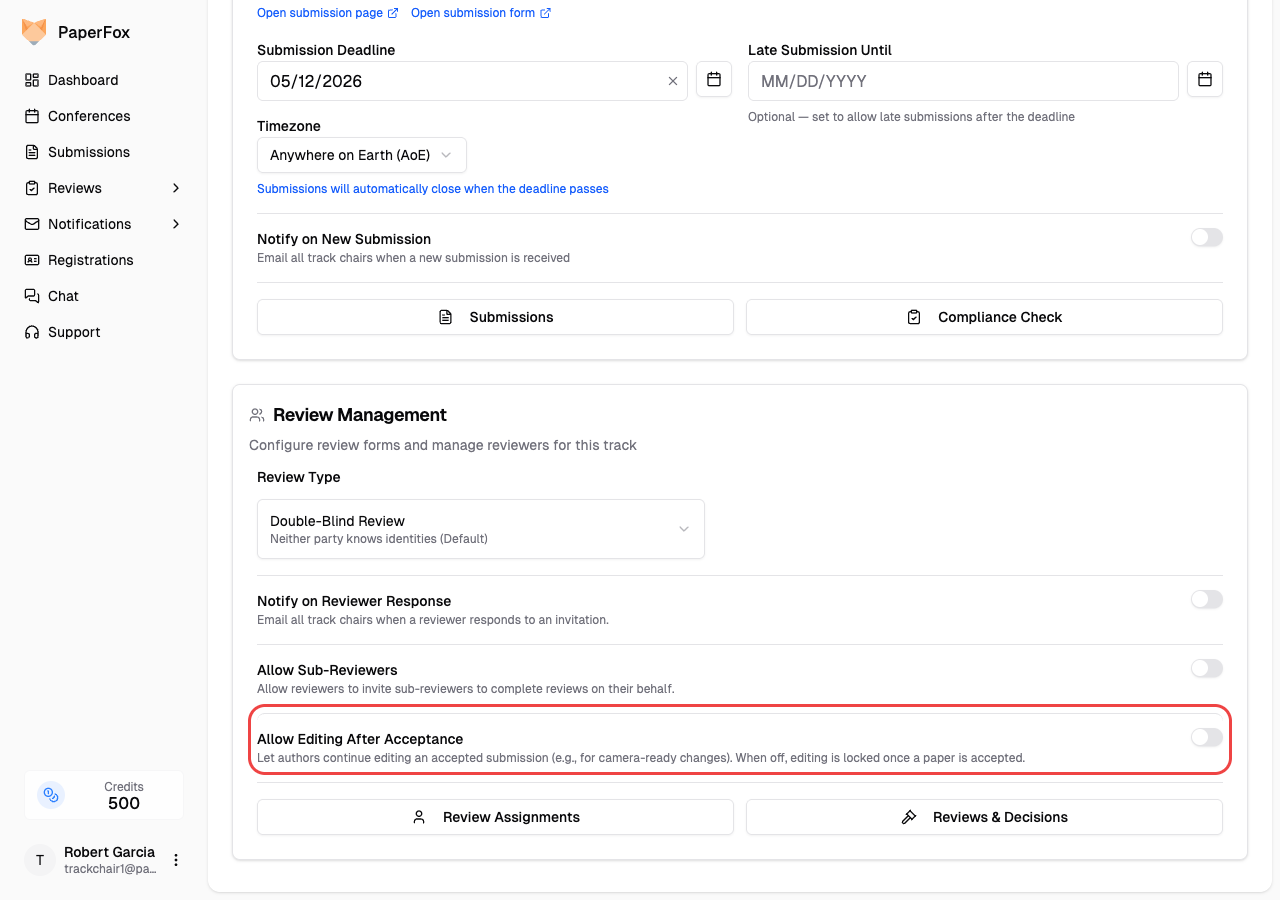 The setting takes effect immediately for every submission on this track. Rejections and revision decisions are unaffected — rejections stay locked, revisions stay editable. Only the **Accept** case is controlled by this toggle.
### When to Enable It
Turn this on if your venue has any of these workflows:
- **Camera-ready submissions** — authors upload the final version after acceptance
- **Post-acceptance corrections** — authors need to fix typos, update affiliations, or adjust metadata before publication
- **Shepherding** — a chair or shepherd asks authors to make specific changes after acceptance
If your venue treats acceptance as final, leave it **off**.
The setting takes effect immediately for every submission on this track. Rejections and revision decisions are unaffected — rejections stay locked, revisions stay editable. Only the **Accept** case is controlled by this toggle.
### When to Enable It
Turn this on if your venue has any of these workflows:
- **Camera-ready submissions** — authors upload the final version after acceptance
- **Post-acceptance corrections** — authors need to fix typos, update affiliations, or adjust metadata before publication
- **Shepherding** — a chair or shepherd asks authors to make specific changes after acceptance
If your venue treats acceptance as final, leave it **off**.
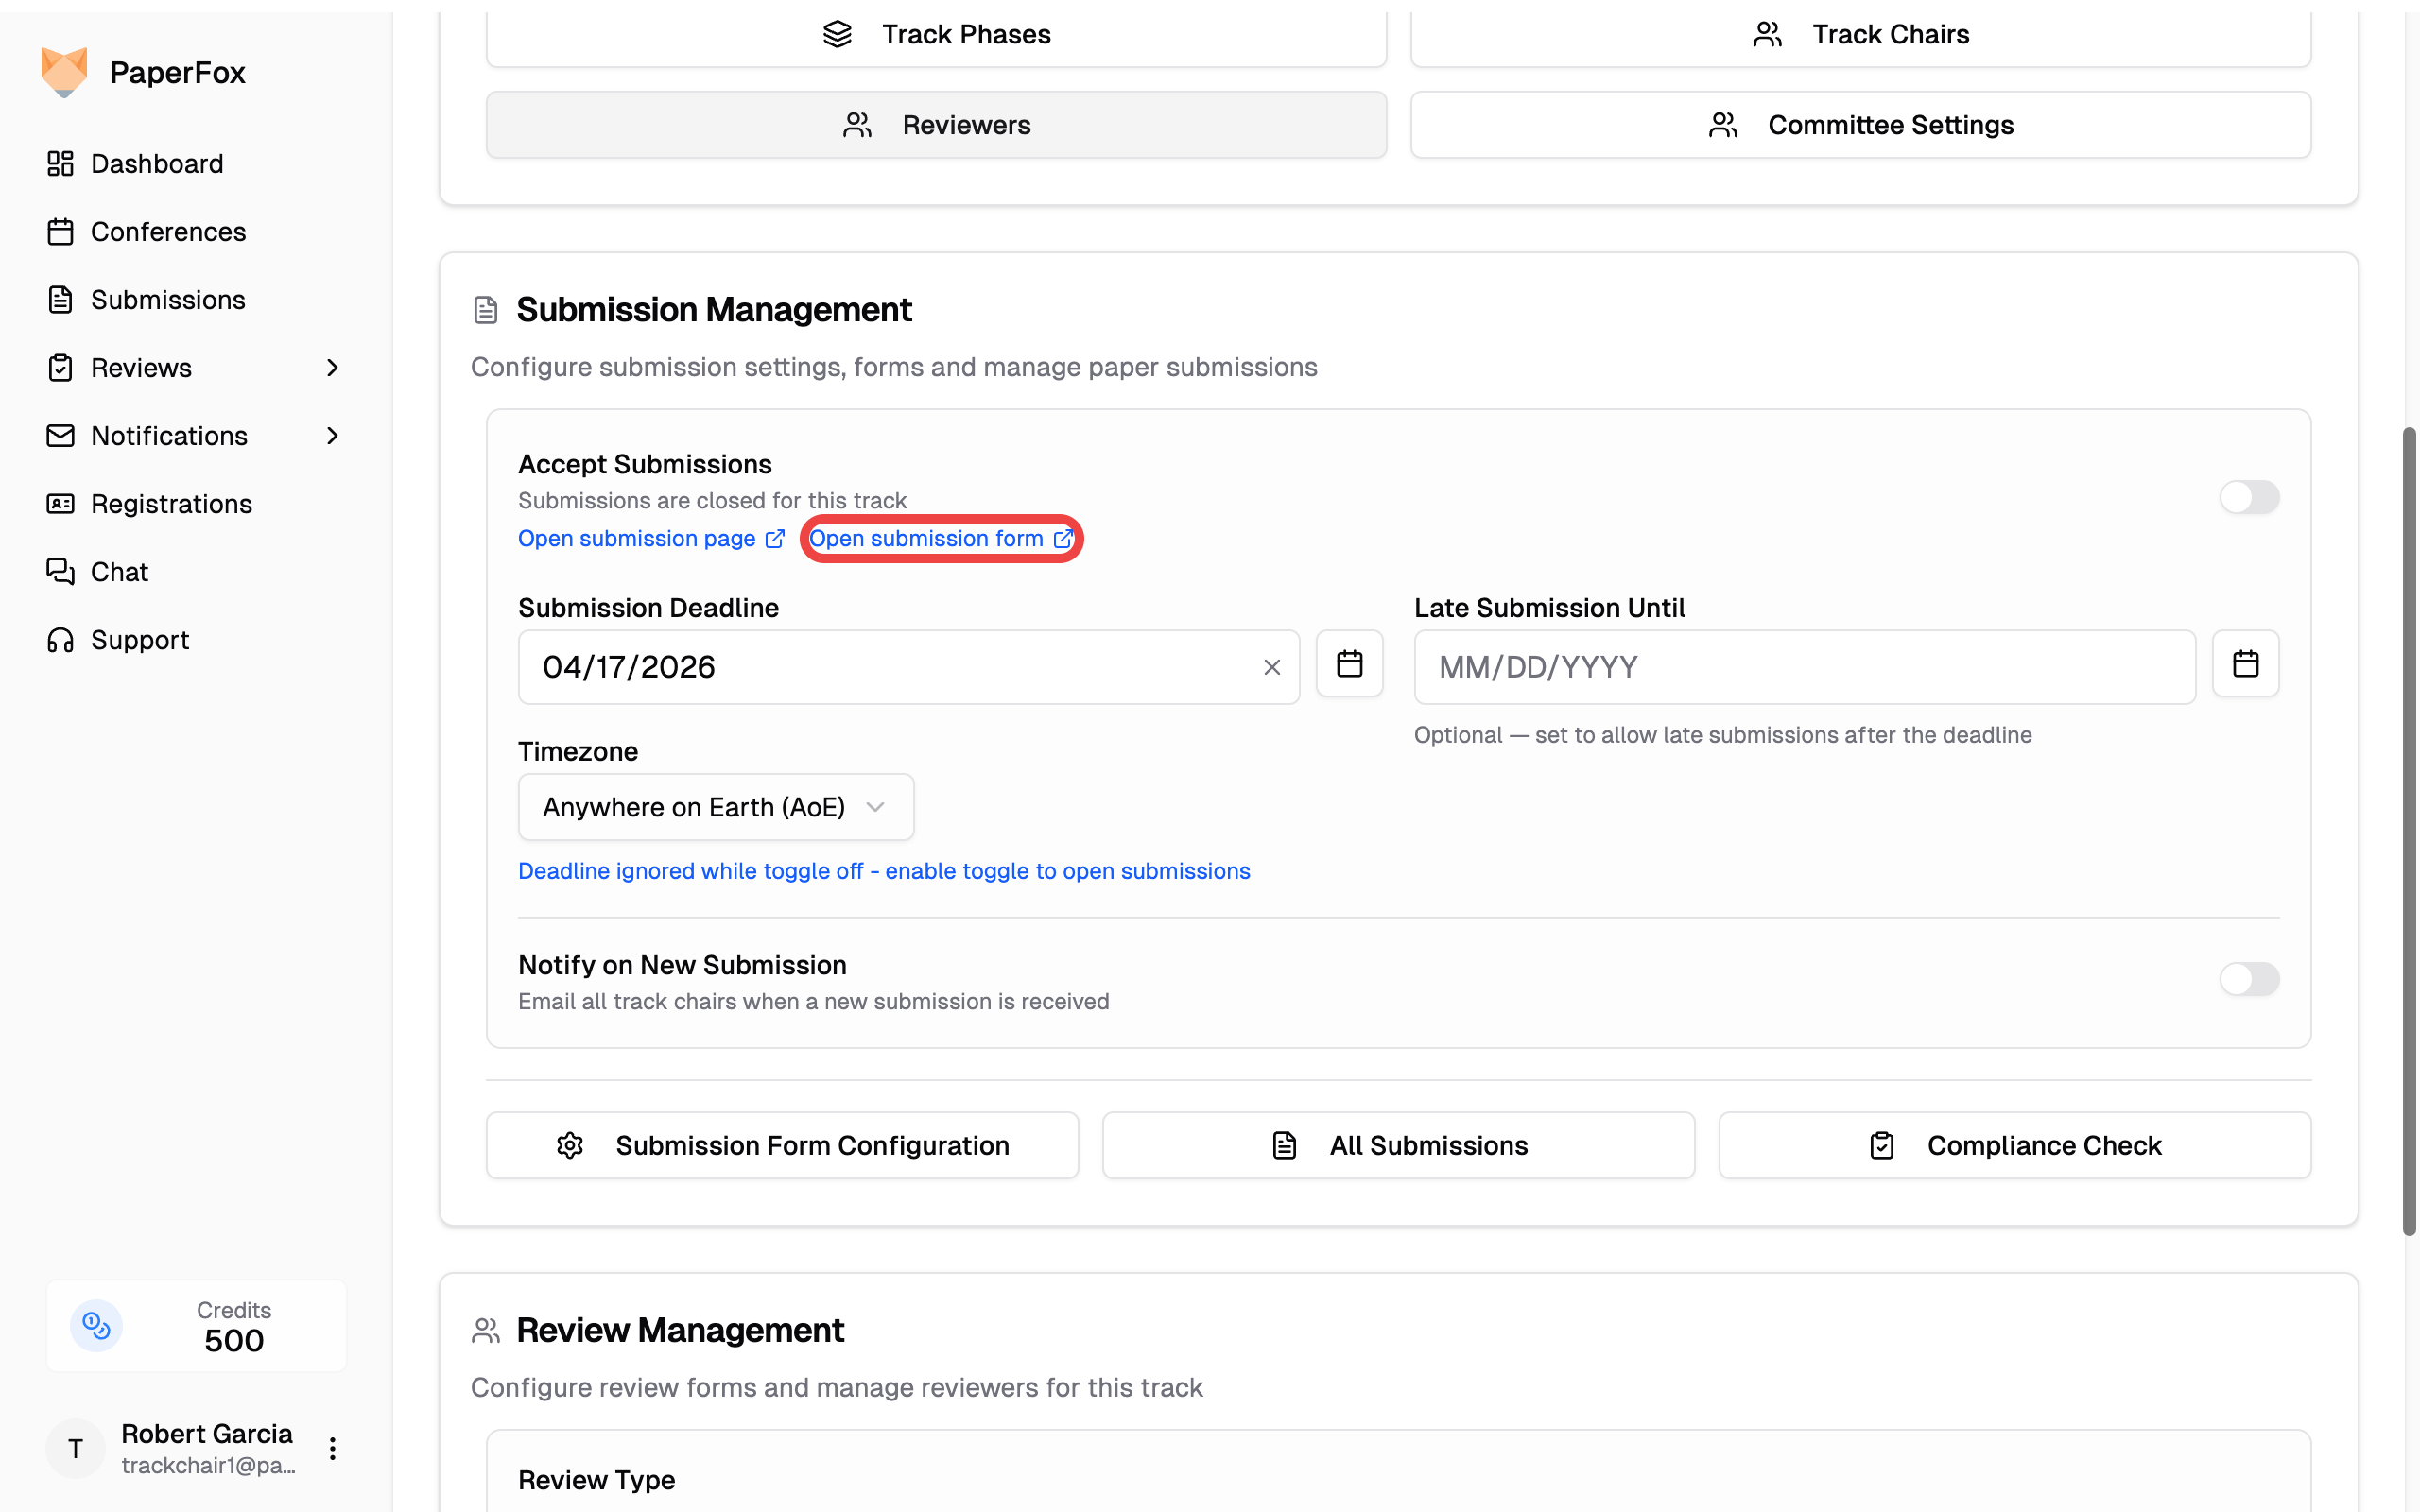 ## Two Submission Modes
When you visit the submission page for a track you manage, a blue info box appears at the top of the form with two options:
## Two Submission Modes
When you visit the submission page for a track you manage, a blue info box appears at the top of the form with two options:
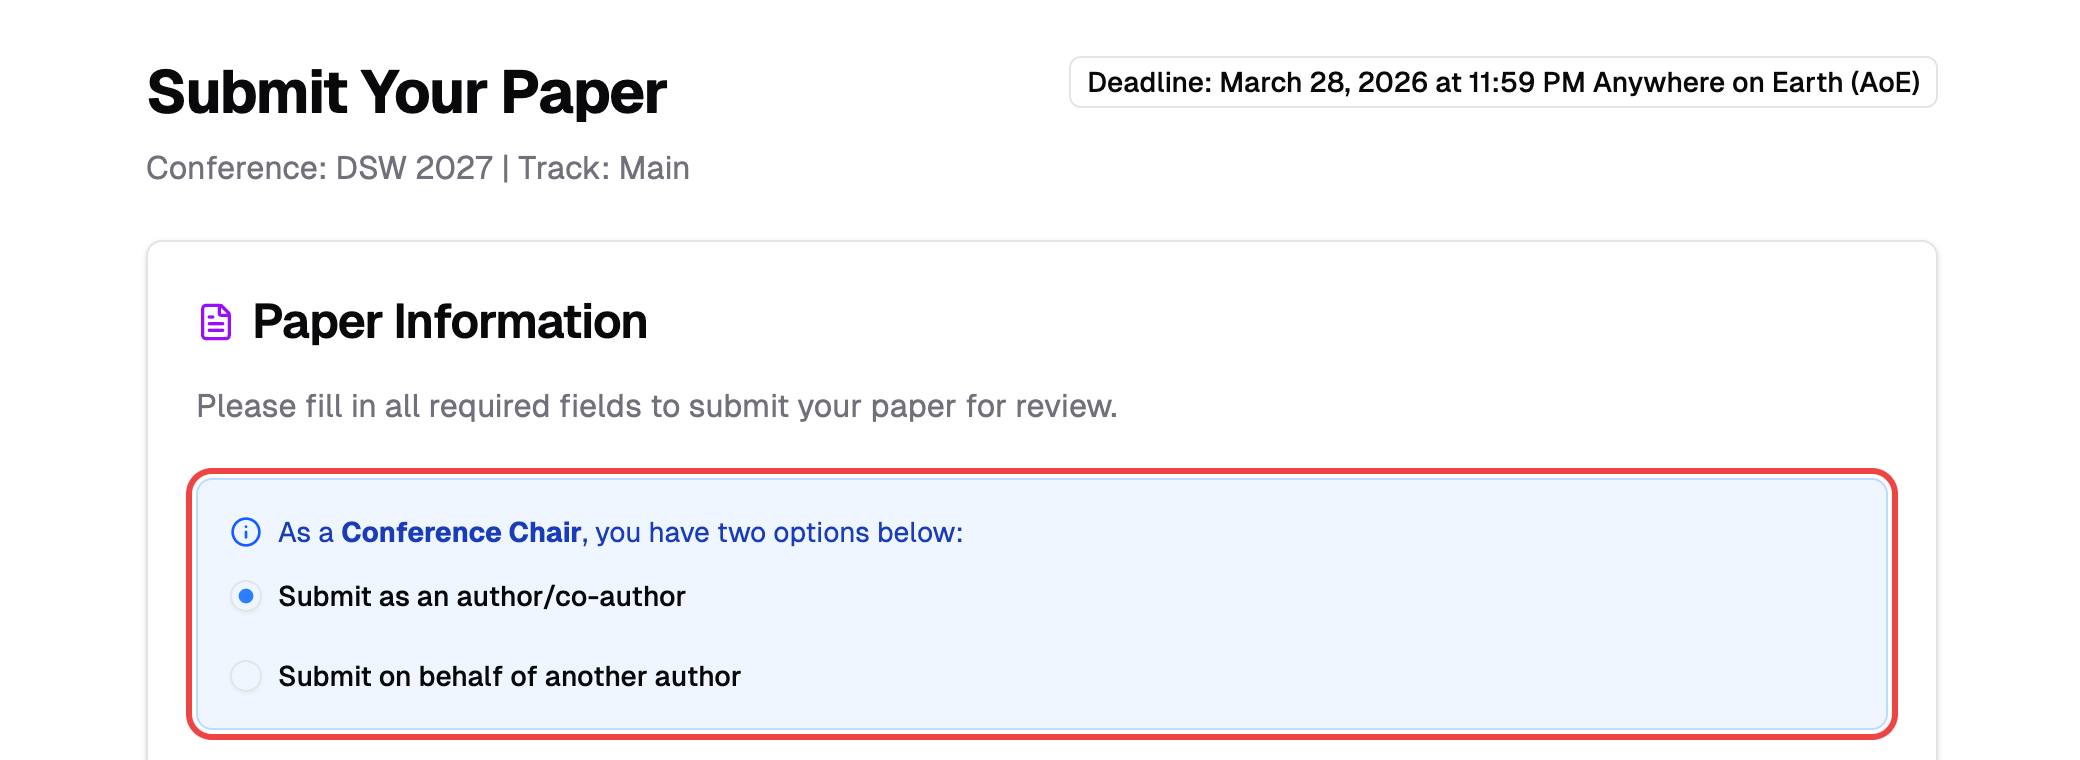 | Mode | When to Use | You in Author List? | Submission Owner |
|------|------------|---------------------|-------------|
| **Submit as an author/co-author** | You are one of the submission's authors | Yes (required) | You |
| **Submit on behalf of another author** | You are helping someone else submit | No (not allowed) | Designated author |
---
## Submit as an Author/Co-author (Default)
This is the default mode. Use it when you are one of the submission's authors.
1. Navigate to the track's submission page
2. The **"Submit as an author/co-author"** option is selected by default
3. Fill in the form as usual — you **must** add yourself to the author list
4. Click **"Make a Submission"**
The submission is created with you as the owner and appears in your **My Submissions** page.
---
## Submit on Behalf of Another Author
Use this mode when submitting a submission for someone else. You will **not** be listed as an author.
1. Navigate to the track's submission page
2. Select **"Submit on behalf of another author"**
3. Fill in the submission details (title, abstract, keywords, file)
4. Add the actual authors — do **not** add yourself
5. Designate the **Submission Owner** by checking the **"Submission owner"** checkbox on the appropriate author
| Mode | When to Use | You in Author List? | Submission Owner |
|------|------------|---------------------|-------------|
| **Submit as an author/co-author** | You are one of the submission's authors | Yes (required) | You |
| **Submit on behalf of another author** | You are helping someone else submit | No (not allowed) | Designated author |
---
## Submit as an Author/Co-author (Default)
This is the default mode. Use it when you are one of the submission's authors.
1. Navigate to the track's submission page
2. The **"Submit as an author/co-author"** option is selected by default
3. Fill in the form as usual — you **must** add yourself to the author list
4. Click **"Make a Submission"**
The submission is created with you as the owner and appears in your **My Submissions** page.
---
## Submit on Behalf of Another Author
Use this mode when submitting a submission for someone else. You will **not** be listed as an author.
1. Navigate to the track's submission page
2. Select **"Submit on behalf of another author"**
3. Fill in the submission details (title, abstract, keywords, file)
4. Add the actual authors — do **not** add yourself
5. Designate the **Submission Owner** by checking the **"Submission owner"** checkbox on the appropriate author
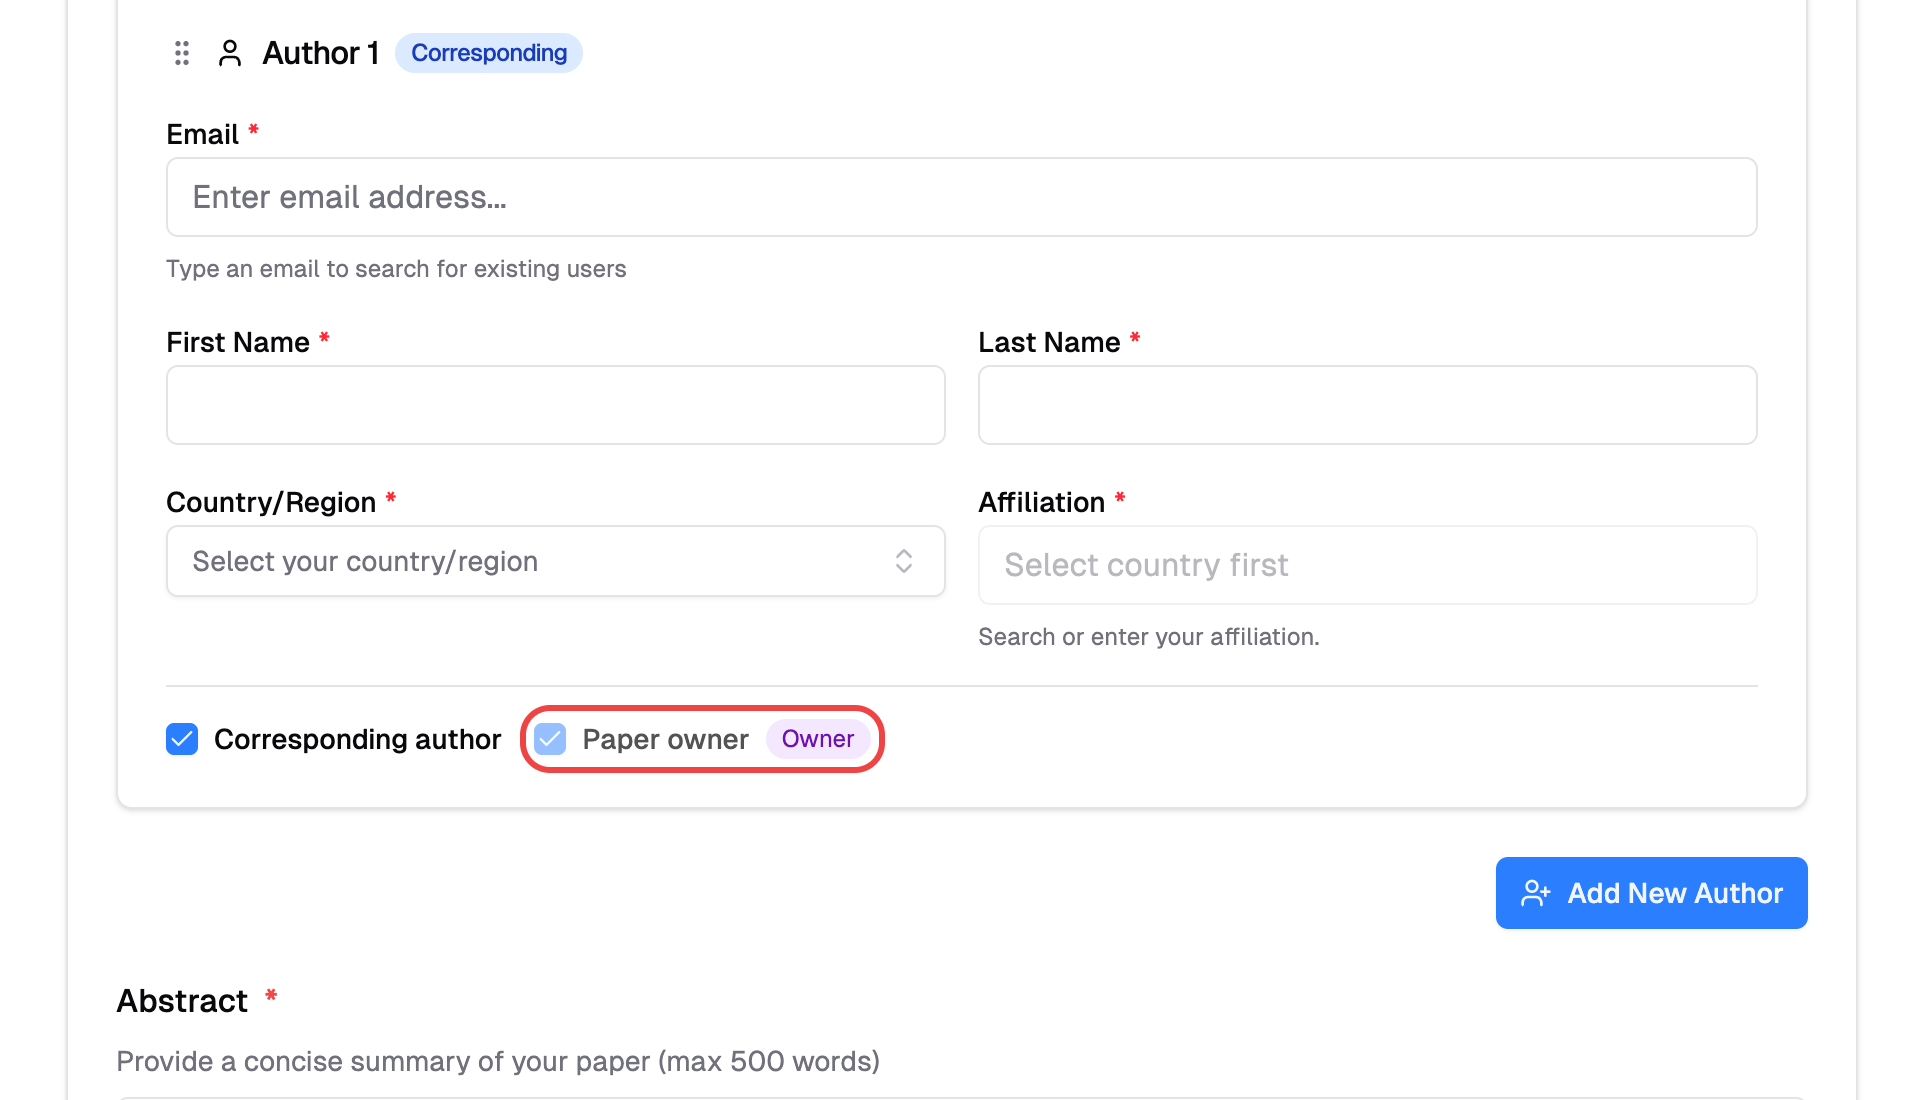 6. Click **"Make a Submission"**
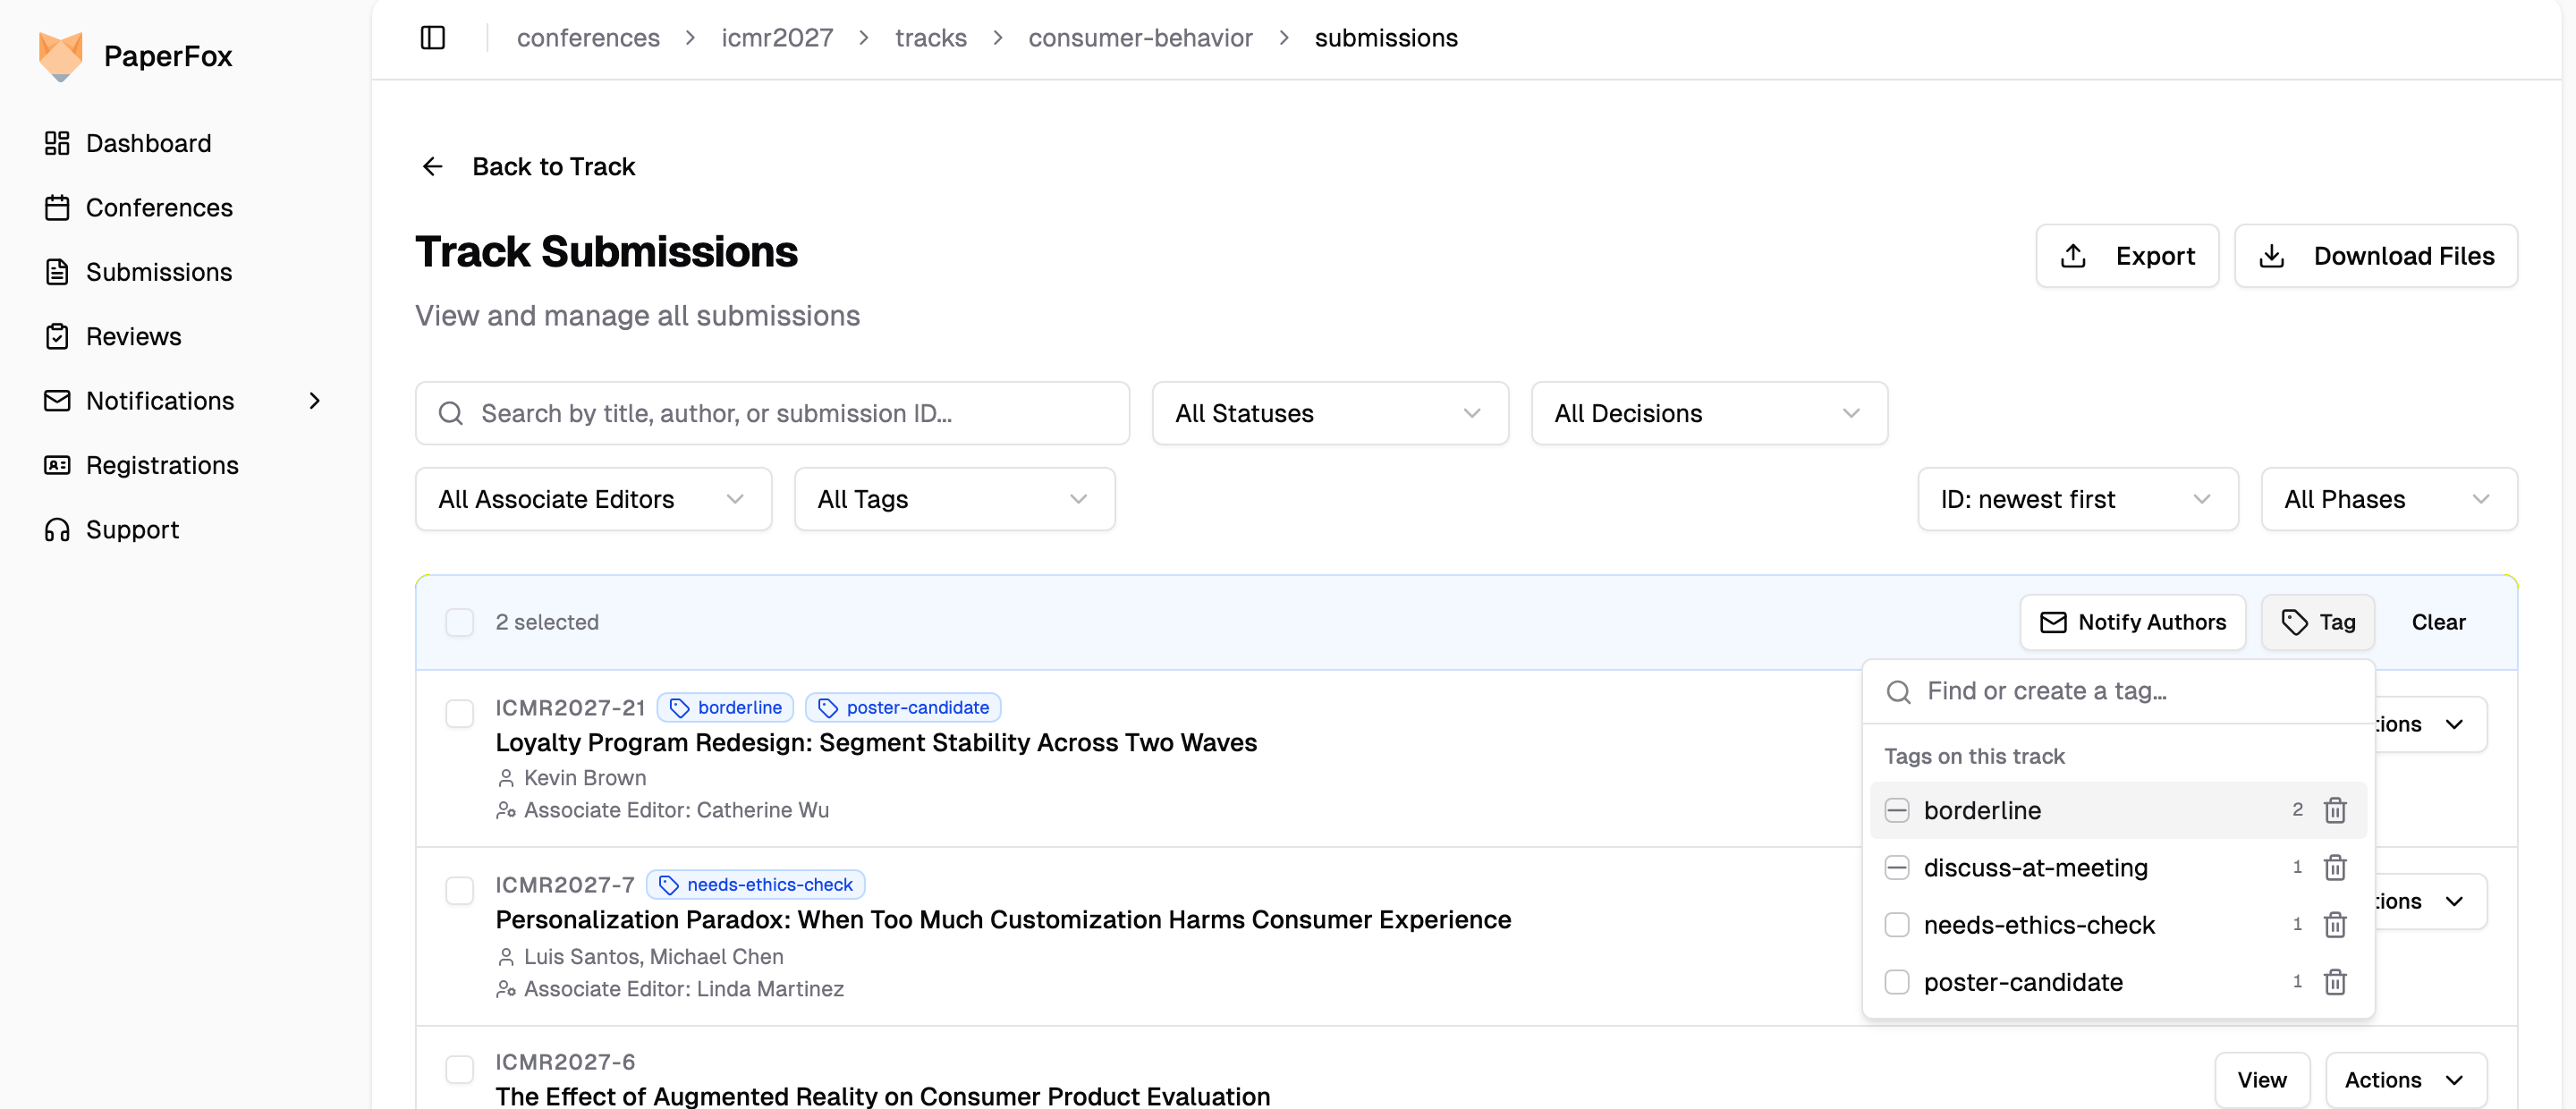 The list shows every tag already used on this track. The box beside each tag tells you where it stands for the submissions you selected:
| Box | Meaning | Clicking it |
|-----|---------|-------------|
| Empty | On none of the selected submissions | Adds the tag to all of them |
| Dash | On some of them | Adds it to the rest |
| Tick | On all of them | Removes it from all of them |
Tags are normalized as you type: `Needs Second Opinion` is stored as `needs-second-opinion`, so the same tag spelled two ways never becomes two tags. Tags appear beside the submission ID on every row, and on the **Assign Reviewers** page.
The list shows every tag already used on this track. The box beside each tag tells you where it stands for the submissions you selected:
| Box | Meaning | Clicking it |
|-----|---------|-------------|
| Empty | On none of the selected submissions | Adds the tag to all of them |
| Dash | On some of them | Adds it to the rest |
| Tick | On all of them | Removes it from all of them |
Tags are normalized as you type: `Needs Second Opinion` is stored as `needs-second-opinion`, so the same tag spelled two ways never becomes two tags. Tags appear beside the submission ID on every row, and on the **Assign Reviewers** page.
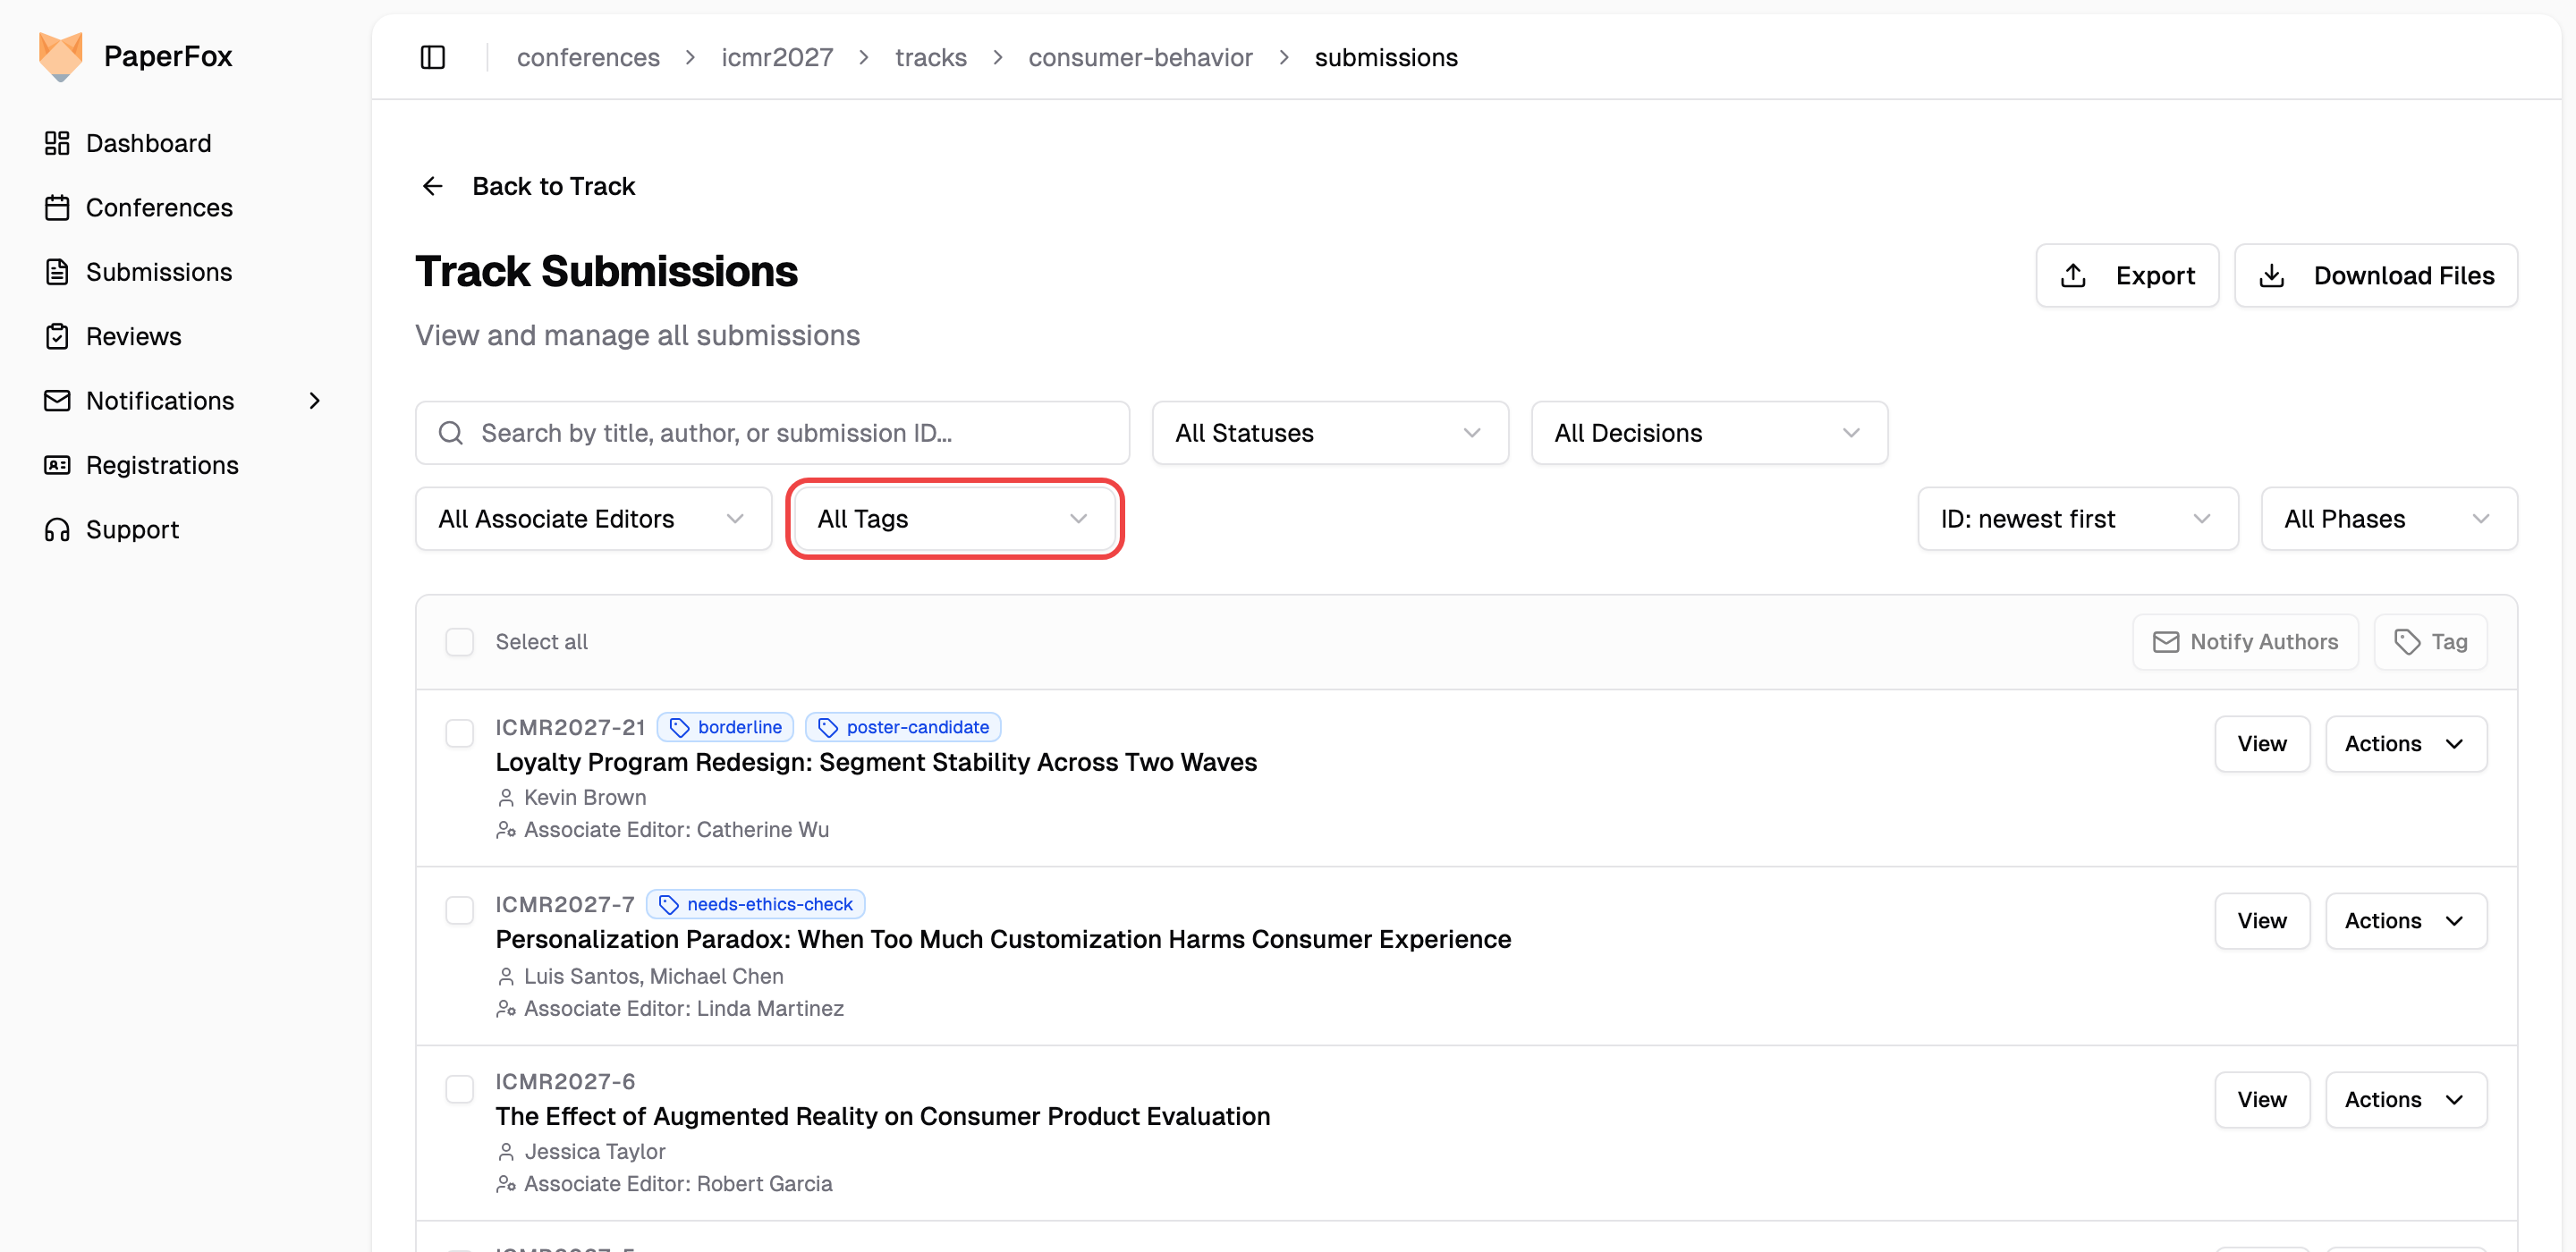 ## Filter by Tag
Once a track has at least one tag, an **All Tags** dropdown appears inside the **"Filters"** panel. Pick a tag to see only the submissions carrying it — the count beside each tag is for the whole track. The applied tag shows as a chip beneath the bar, combines with the other filters, and the URL keeps it, so you can share a filtered view with a co-chair.
On the **Assign Reviewers** page, the submission search matches tags too: typing `ethics` finds `needs-ethics-check`.
## Delete a Tag
A tag exists as long as at least one submission carries it. To retire one from the whole track:
1. Select any submission and click **"Tag"**
2. Click the trash icon beside the tag
3. Confirm with **"Delete Tag"**
## Filter by Tag
Once a track has at least one tag, an **All Tags** dropdown appears inside the **"Filters"** panel. Pick a tag to see only the submissions carrying it — the count beside each tag is for the whole track. The applied tag shows as a chip beneath the bar, combines with the other filters, and the URL keeps it, so you can share a filtered view with a co-chair.
On the **Assign Reviewers** page, the submission search matches tags too: typing `ethics` finds `needs-ethics-check`.
## Delete a Tag
A tag exists as long as at least one submission carries it. To retire one from the whole track:
1. Select any submission and click **"Tag"**
2. Click the trash icon beside the tag
3. Confirm with **"Delete Tag"**
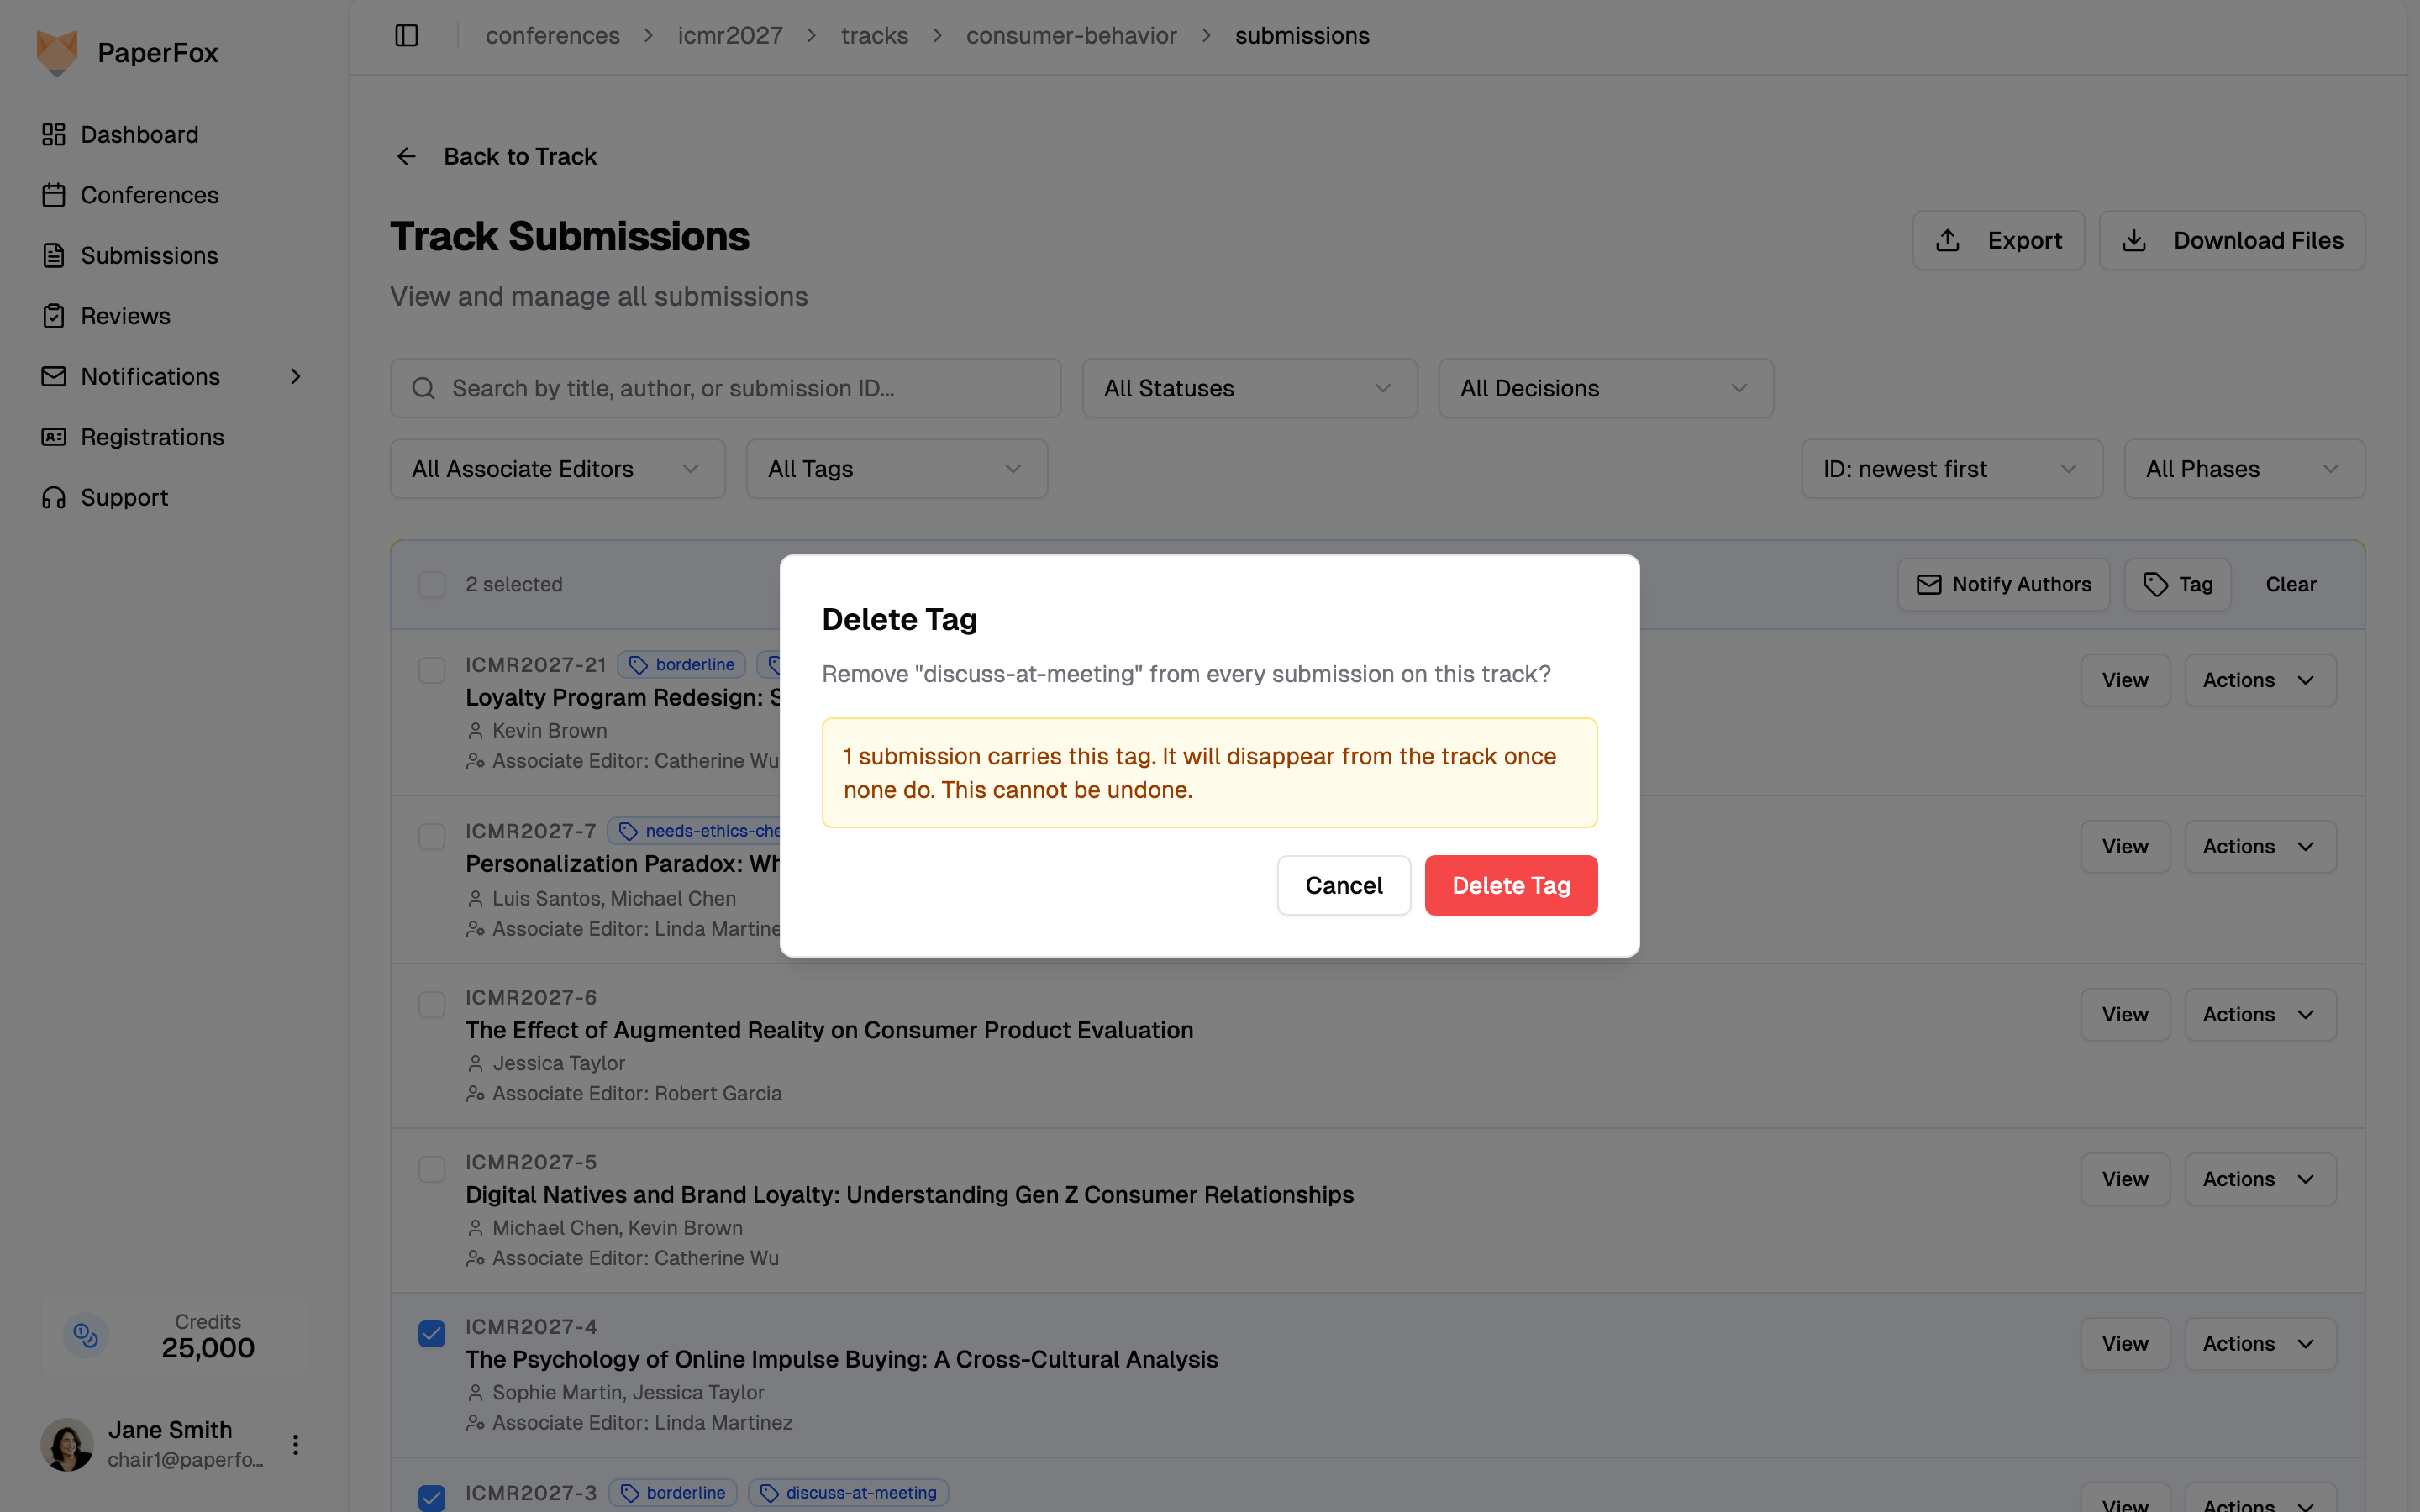 The tag is removed from every submission on the track and disappears from the list. This cannot be undone. To take a tag off just a few submissions instead, select those and click the tag's tick.
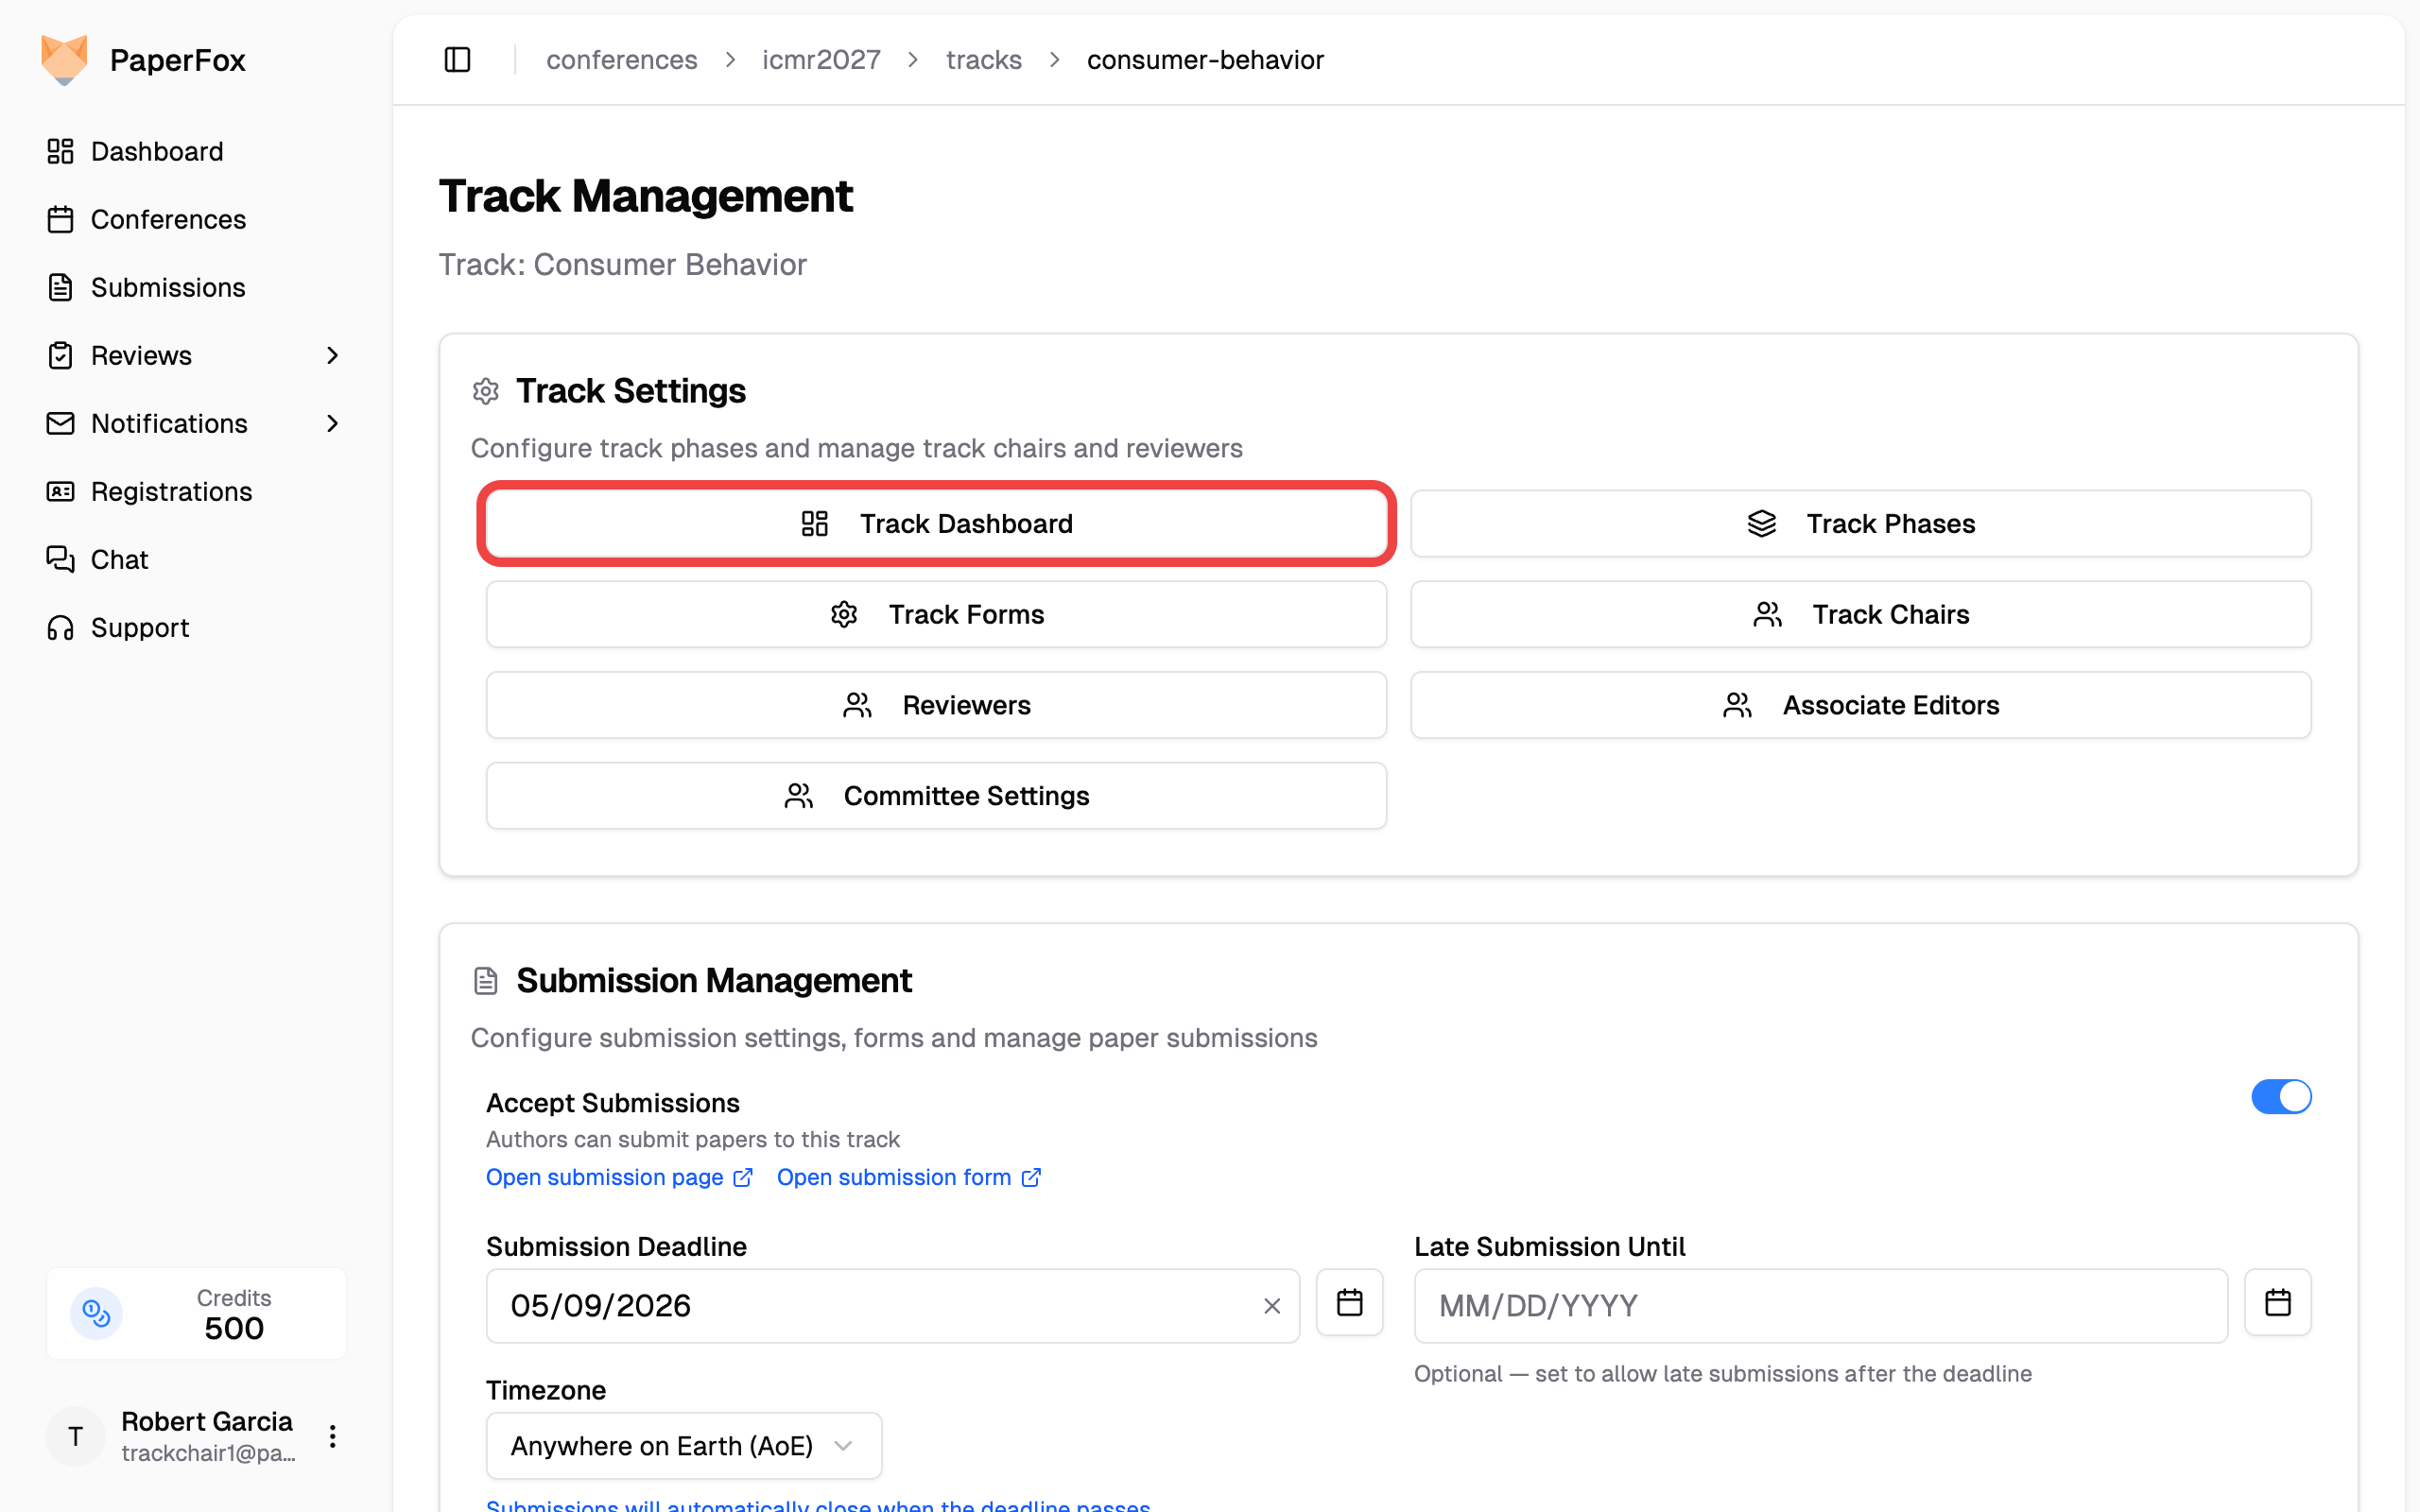 ## Two Bands: the Track, and One Phase of It
The dashboard answers two different questions, so it's split into two bands.
The **track band** at the top — Track Chairs, Submissions, Review Assignments, Reviewers, and Associate Editors — describes the track as a whole. These numbers don't change as work moves through phases. Each card links to its management page.
**Review Assignments** counts reviewer *assignments*, not reviews that have arrived: every phase, including invitations a reviewer declined. Each review slot counts once — a sub-reviewer counts under the reviewer who delegated to them, and a cancelled delegation not at all, since the original reviewer takes the submission back. When some assignments sit on withdrawn submissions, the card notes how many.
**Reviewers** counts your whole reviewer committee. If some of them accepted the invitation but never finished setting up their account, the card notes how many — they can't sign in or be assigned submissions until they do, and they appear greyed out on the assignments page with the same note. This is account setup, not the separate [Research Profile](/docs/users/research-profile).
Everything below the divider describes **one phase**. Submissions sit in exactly one phase at a time, and assignments, reviews, and decisions all belong to a phase — so these numbers only mean something once you say which phase you mean.
## Two Bands: the Track, and One Phase of It
The dashboard answers two different questions, so it's split into two bands.
The **track band** at the top — Track Chairs, Submissions, Review Assignments, Reviewers, and Associate Editors — describes the track as a whole. These numbers don't change as work moves through phases. Each card links to its management page.
**Review Assignments** counts reviewer *assignments*, not reviews that have arrived: every phase, including invitations a reviewer declined. Each review slot counts once — a sub-reviewer counts under the reviewer who delegated to them, and a cancelled delegation not at all, since the original reviewer takes the submission back. When some assignments sit on withdrawn submissions, the card notes how many.
**Reviewers** counts your whole reviewer committee. If some of them accepted the invitation but never finished setting up their account, the card notes how many — they can't sign in or be assigned submissions until they do, and they appear greyed out on the assignments page with the same note. This is account setup, not the separate [Research Profile](/docs/users/research-profile).
Everything below the divider describes **one phase**. Submissions sit in exactly one phase at a time, and assignments, reviews, and decisions all belong to a phase — so these numbers only mean something once you say which phase you mean.
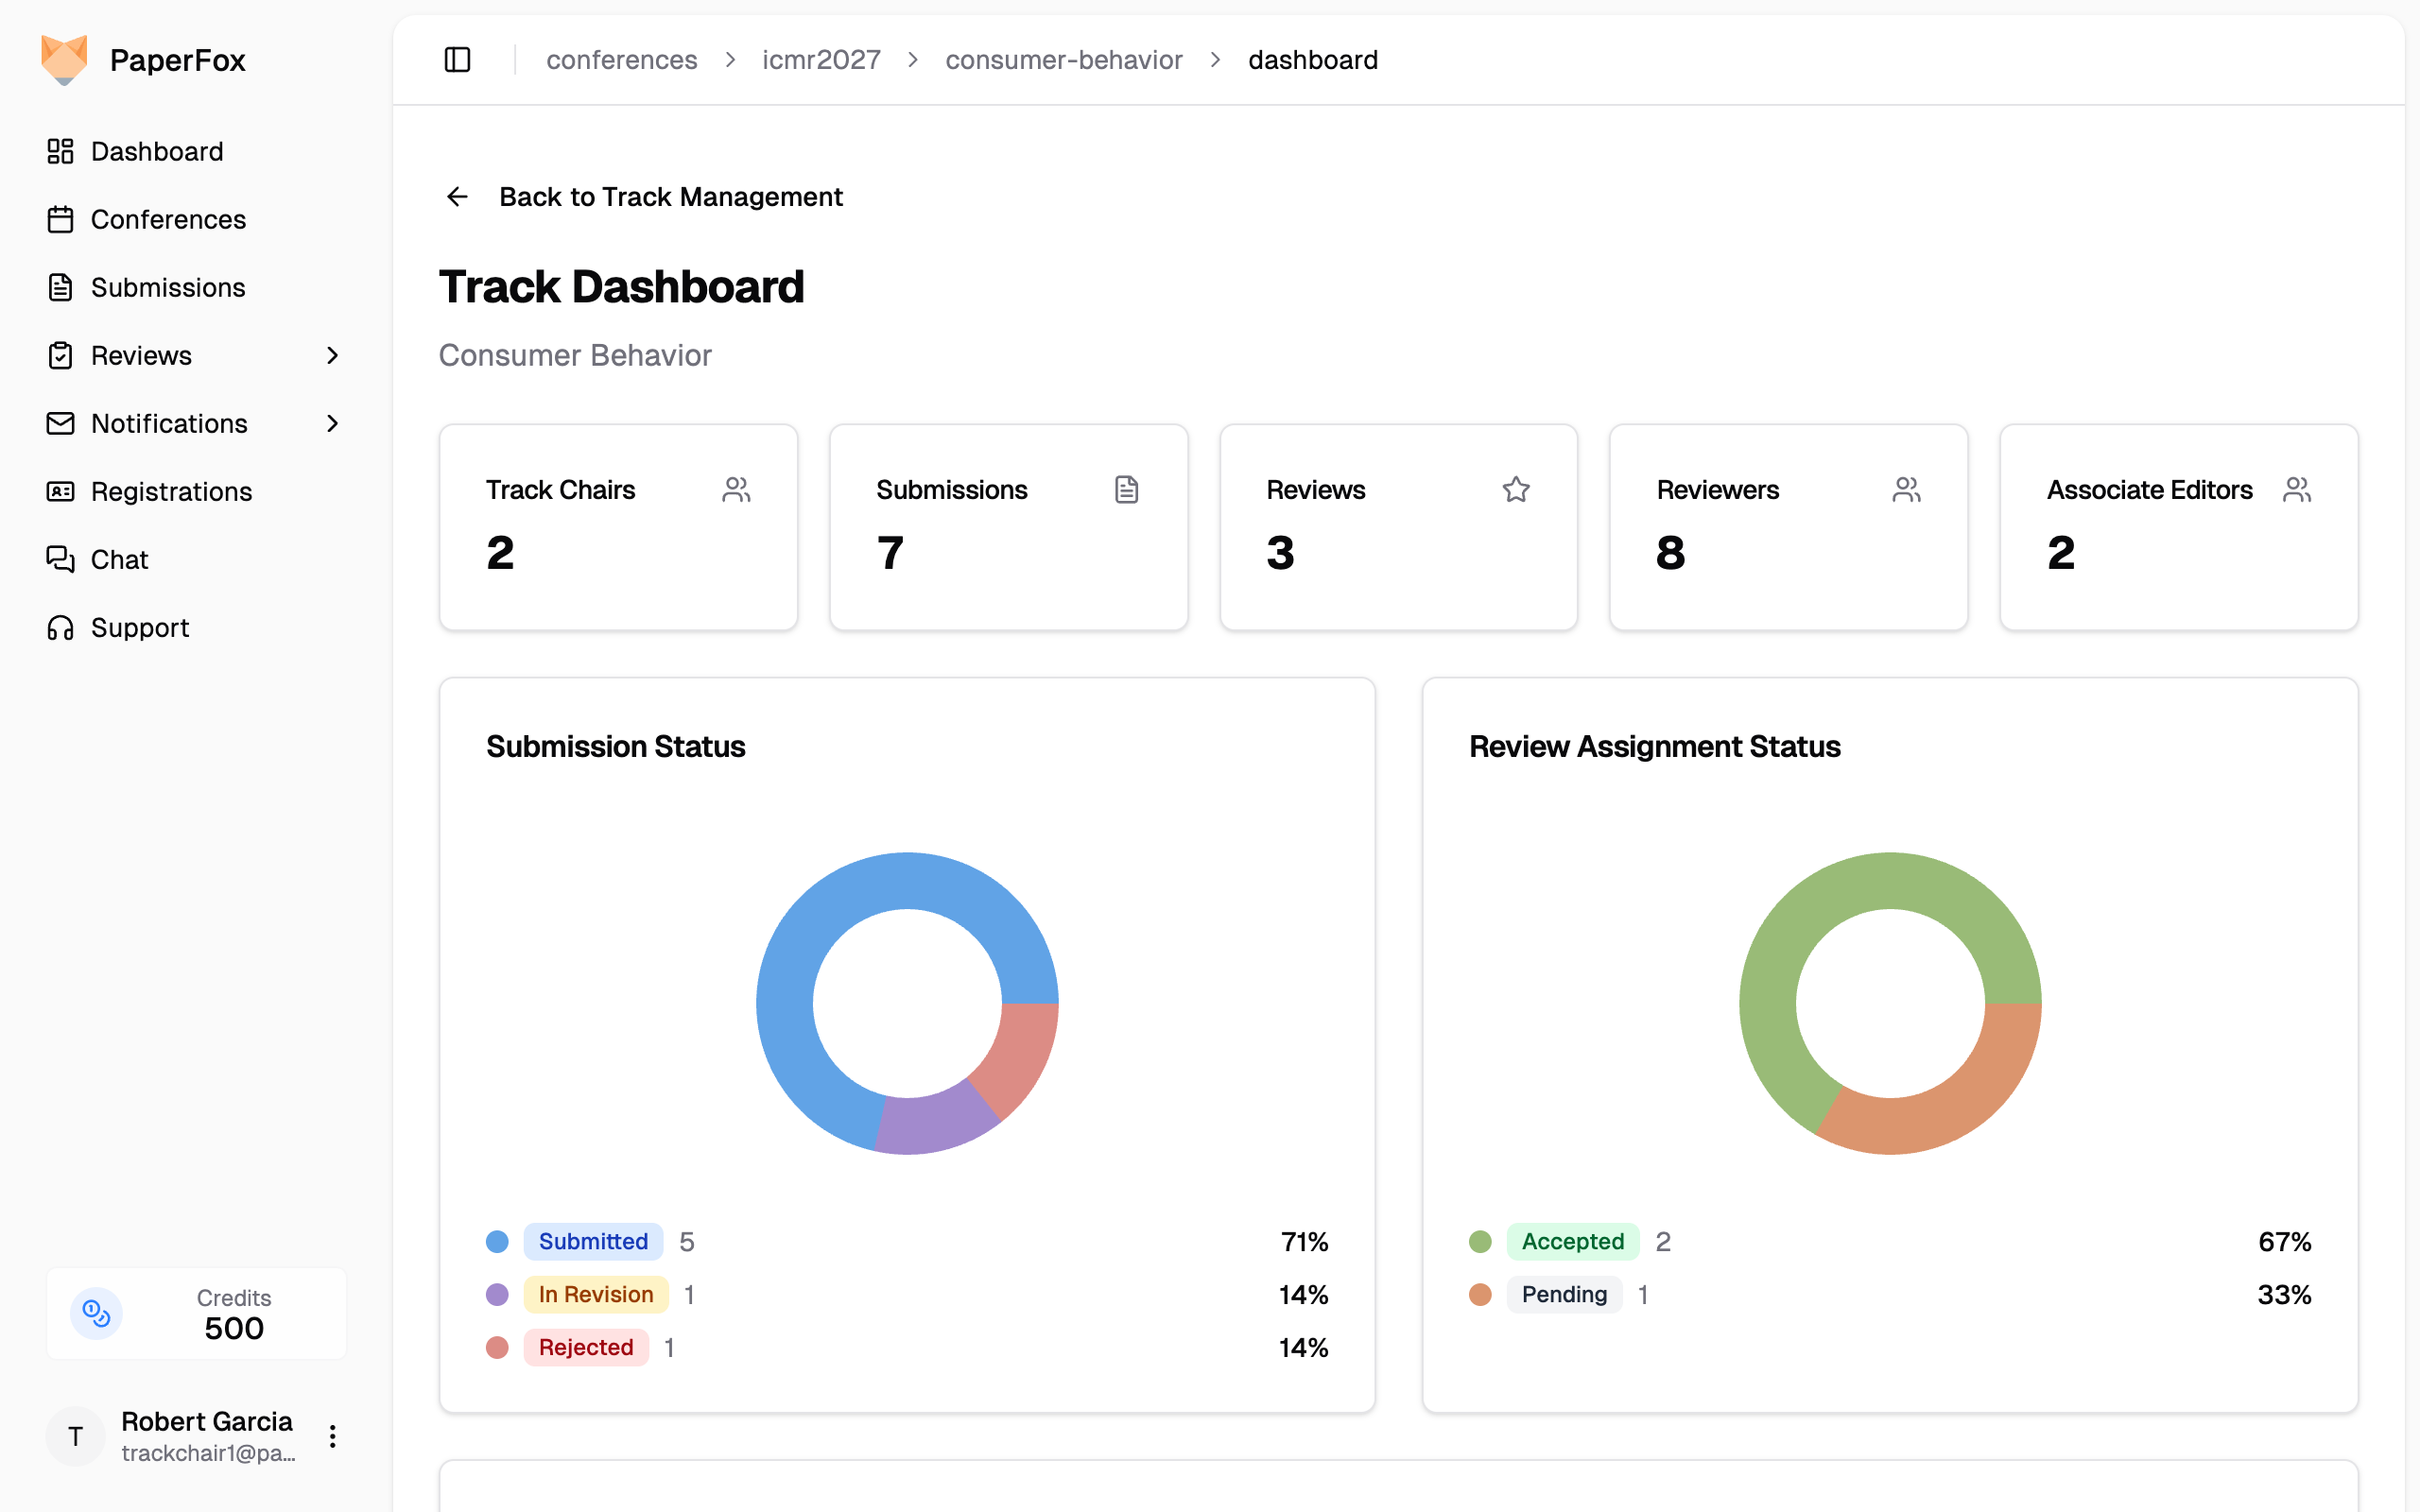 On multi-phase tracks a **phase selector** sits to the right of the phase heading. The dashboard opens on your track's current phase — the furthest one holding submissions — so use the selector to look back at an earlier phase. **Single-phase tracks show no phase heading and no selector**; the cards simply describe the one phase.
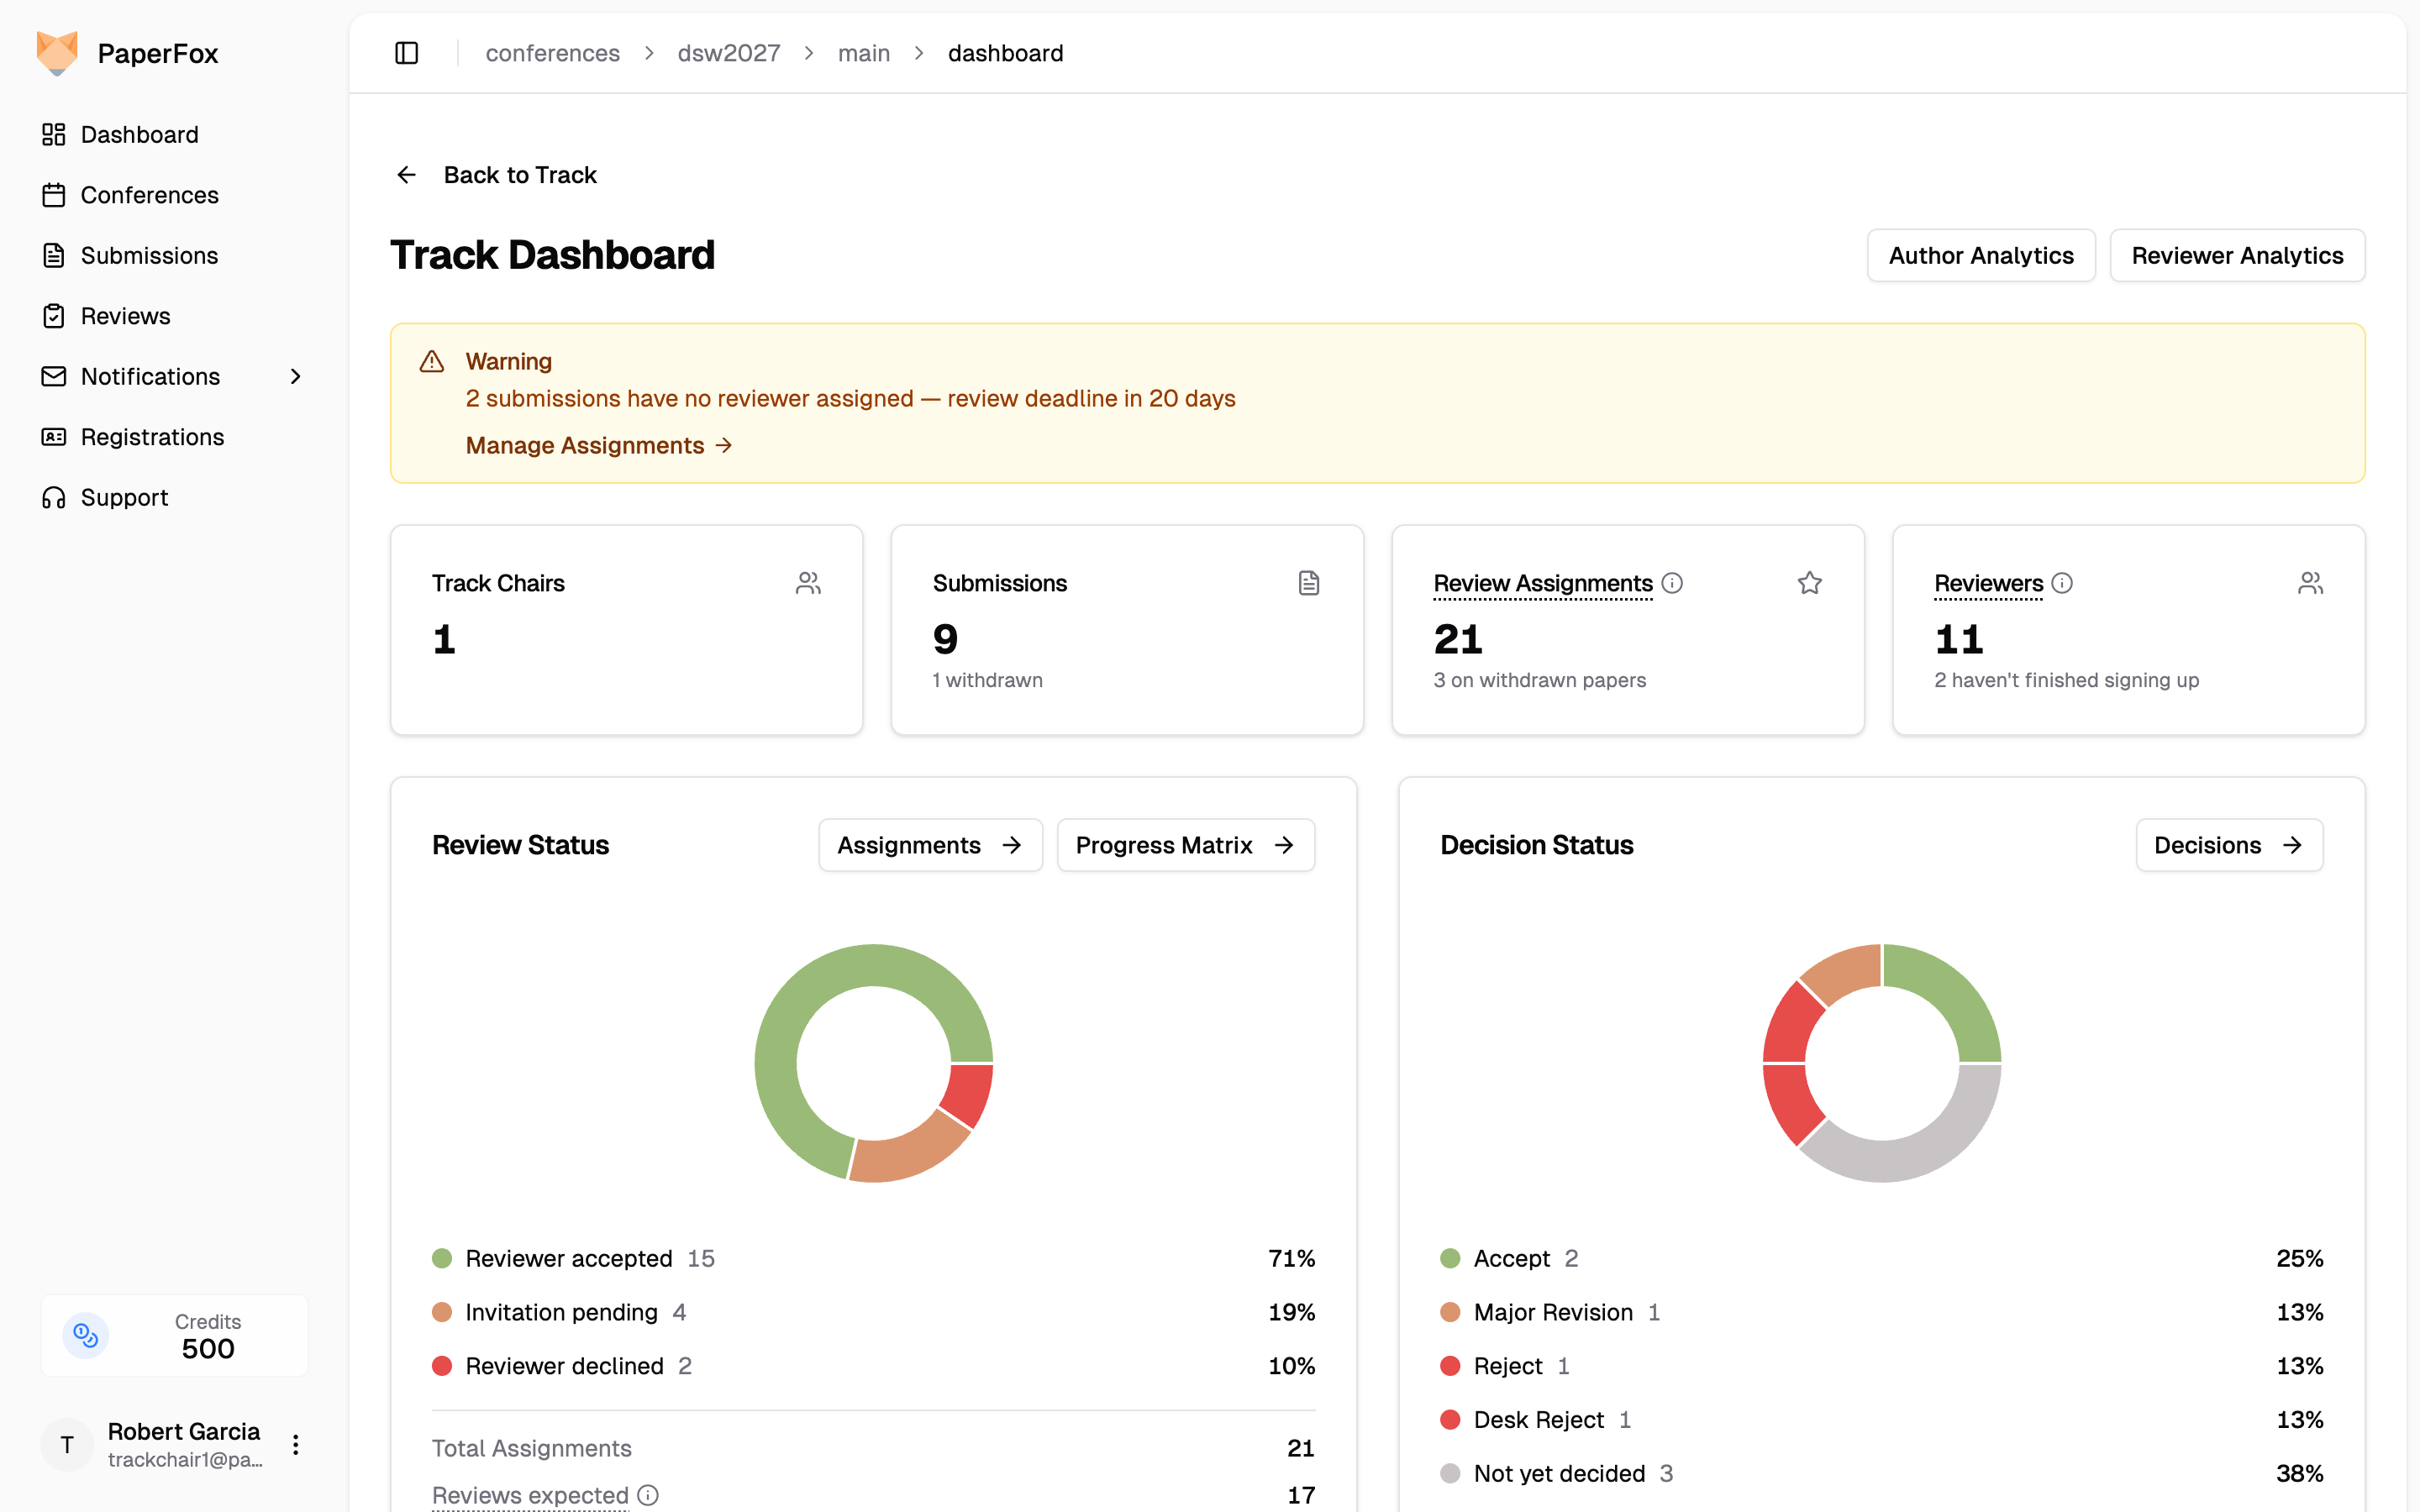 ### Review Status
How the reviewing is going in this phase. The chart breaks invitations down by what the **reviewer** did with them — **Reviewer accepted**, **Invitation pending**, **Reviewer declined** — so nothing here reads as a decision on the submission. A handover in progress shows as **Delegated to sub-reviewer**, counted once. If the reviewer later cancels that handover, the submission goes back to them and they show as accepted again — a cancelled delegation is never a slice of its own, or the same review slot would count twice.
Beneath the chart, three numbers read as a funnel — each one is the line above it, minus something the chart already shows:
### Review Status
How the reviewing is going in this phase. The chart breaks invitations down by what the **reviewer** did with them — **Reviewer accepted**, **Invitation pending**, **Reviewer declined** — so nothing here reads as a decision on the submission. A handover in progress shows as **Delegated to sub-reviewer**, counted once. If the reviewer later cancels that handover, the submission goes back to them and they show as accepted again — a cancelled delegation is never a slice of its own, or the same review slot would count twice.
Beneath the chart, three numbers read as a funnel — each one is the line above it, minus something the chart already shows:
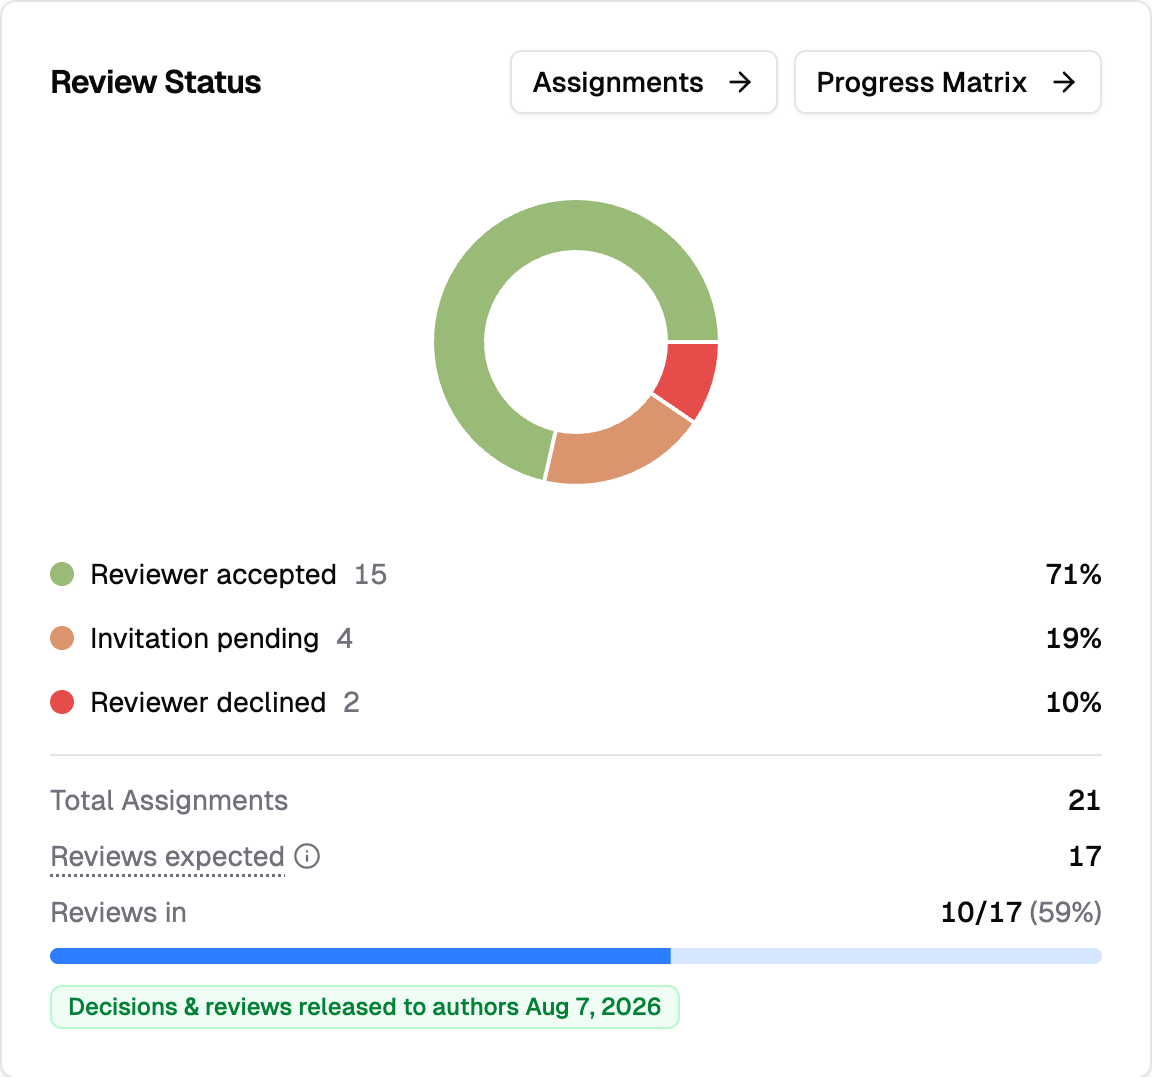 - **Total Assignments** — every assignment in this phase; the chart's own total
- **Reviews expected** — the ones a review can still arrive from: pending, accepted, and delegated, on a submission that's still live. Declined assignments and any sitting on withdrawn submissions drop out, which is why this number is lower
- **Reviews in** — how many of those have actually been submitted
Click the ℹ️ beside **Reviews expected** for the breakdown on your own numbers. When your track's visibility settings gate results behind release, the release status appears here too — whether decisions and reviews have reached authors yet.
Use **"Assignments"** to manage reviewer assignments, or **"Progress Matrix"** for the per-submission review matrix.
### Decision Status
What happened to this phase's submissions. The chart covers every submission, not just the decided ones: one slice per decision type your conference uses, plus **Not yet decided** for the rest. Click any row to open the decisions page filtered to exactly those submissions.
Conferences with many custom decision types see the largest four, with a **"Show N more"** toggle for the rest. Withdrawn submissions are noted beneath the chart rather than counted in it.
Use **"Decisions"** to open the Reviews & Decisions page.
### Recent Submissions and Upcoming Deadlines
At the bottom, you'll find the five most recent submissions with their status badges, and upcoming review, revision, and author-response deadlines with urgency indicators.
## Switching Tracks
If you manage more than one track, a **track switcher** dropdown appears in the page header. Use it to jump between your tracks without going back to the conference dashboard. The switcher only lists tracks where you hold a track chair, associate editor, or senior editor role — never tracks you don't manage.
The switcher is hidden when you only manage a single track.
## Track-Level Author and Reviewer Analytics
Each track has its own analytics views, scoped to submissions in that track only. Open them with the **"Author Analytics"** and **"Reviewer Analytics"** buttons in the dashboard header:
- **Author Analytics** — country, affiliation, and co-authorship breakdown for your track
- **Reviewer Analytics** — review length distribution and reviewer rankings for your track
Conference chairs see all tracks; track chairs see only the data for tracks they manage.
---
See also: [Review Progress Matrix](/docs/track-chairs/review-progress) for a detailed per-submission view of review completion, and [Make Decisions on Submissions](/docs/track-chairs/make-decisions) for the decision workflow.
---
# Submission + Camera-Ready Workflow
URL: https://paperfox.ai/docs/track-chairs/two-phase-workflow
Description: Complete guide for track chairs to set up and manage a two-phase submission workflow with initial review and camera-ready collection
This guide walks you through setting up a typical two-phase workflow: **Initial Submission** followed by **Camera Ready** collection for accepted submissions.
## Understanding the Mental Model
Before diving into the setup, it's important to understand how PaperFox handles multi-phase workflows:
### Key Concept: Submissions Are Versioned with Phases
**You don't need new submissions for revisions or camera-ready uploads.** Each submission in PaperFox maintains a complete version history with phase-specific fields:
- **Version 0**: Initial submission (Phase 1 fields)
- **Version 1**: First revision, e.g., camera-ready (Phase 2 fields become available)
- **Version 2, 3, ...**: Additional revisions if needed
When authors update their submission for camera-ready, they simply edit their existing submission. The system automatically creates a new version while preserving the complete audit trail. Each phase can have additional fields (like Camera-Ready PDF, Response to Reviews) that only appear when the submission moves to that phase.
### What This Means for Track Chairs
1. **Close submissions after the deadline** - This prevents new submissions from being submitted, but existing submissions can still be updated
2. **Authors update, not resubmit** - Accepted authors edit their existing submission to upload camera-ready files
3. **Full audit trail** - You can view any previous version of a submission at any time
4. **No duplicate submission IDs** - The same submission ID (e.g., `icai2027-42`) is used throughout the entire workflow
### Phases Control What Authors See
Phases control which form fields are visible to authors at each stage:
- **Phase 1 (Submission & Review)**: Shows fields like Title, Abstract, Authors, Submission PDF
- **Phase 2 (Camera Ready)**: Shows additional fields like Camera-Ready PDF, Response to Reviews, Copyright Form
See [Configure Track Phases](configure-track-phases) and [Configure Track-level Submission Forms](configure-track-submission-forms) for details.
---
## Step-by-Step Setup
### Step 1: Create the Camera Ready Phase
By default, there is one phase called "Submission". Add a second phase for camera-ready collection:
1. On a **single-track conference**, go to your track's **Settings** → **Phases**. On a **multi-track conference**, go to **Conference Management** → **"Conference Phases"** — the phase is added to every track at once
2. Click **"Add Phase"**
3. Name it `Camera Ready` and save
You should now see two phases: Submission (Phase 1) and Camera Ready (Phase 2). See [Configure Track Phases](configure-track-phases) for details.
### Step 2: Add Camera Ready Form Fields
Add fields that will appear only in Phase 2. Common camera-ready fields include:
- **Camera-Ready PDF** (File Upload) - Final submission incorporating reviewer feedback
- **Response to Reviews** (Textarea) - How author addressed reviewer comments
- **Copyright Agreement** (Checkbox) - Copyright transfer confirmation
Add them where they should apply:
- **Every track collects them** (the usual case): add them once on **Conference Forms** — switch the phase selector to **Camera Ready** first, so each field is scoped to that phase. Every track inherits them, including tracks created later. See [Configure Conference Forms](/docs/chairs/configure-conference-forms#phase-scoped-fields).
- **Only your track collects them**: add them on your track's **Track Forms** page with **"Camera Ready"** selected as the Phase. See [Configure Track-level Submission Forms](configure-track-submission-forms).
- **Total Assignments** — every assignment in this phase; the chart's own total
- **Reviews expected** — the ones a review can still arrive from: pending, accepted, and delegated, on a submission that's still live. Declined assignments and any sitting on withdrawn submissions drop out, which is why this number is lower
- **Reviews in** — how many of those have actually been submitted
Click the ℹ️ beside **Reviews expected** for the breakdown on your own numbers. When your track's visibility settings gate results behind release, the release status appears here too — whether decisions and reviews have reached authors yet.
Use **"Assignments"** to manage reviewer assignments, or **"Progress Matrix"** for the per-submission review matrix.
### Decision Status
What happened to this phase's submissions. The chart covers every submission, not just the decided ones: one slice per decision type your conference uses, plus **Not yet decided** for the rest. Click any row to open the decisions page filtered to exactly those submissions.
Conferences with many custom decision types see the largest four, with a **"Show N more"** toggle for the rest. Withdrawn submissions are noted beneath the chart rather than counted in it.
Use **"Decisions"** to open the Reviews & Decisions page.
### Recent Submissions and Upcoming Deadlines
At the bottom, you'll find the five most recent submissions with their status badges, and upcoming review, revision, and author-response deadlines with urgency indicators.
## Switching Tracks
If you manage more than one track, a **track switcher** dropdown appears in the page header. Use it to jump between your tracks without going back to the conference dashboard. The switcher only lists tracks where you hold a track chair, associate editor, or senior editor role — never tracks you don't manage.
The switcher is hidden when you only manage a single track.
## Track-Level Author and Reviewer Analytics
Each track has its own analytics views, scoped to submissions in that track only. Open them with the **"Author Analytics"** and **"Reviewer Analytics"** buttons in the dashboard header:
- **Author Analytics** — country, affiliation, and co-authorship breakdown for your track
- **Reviewer Analytics** — review length distribution and reviewer rankings for your track
Conference chairs see all tracks; track chairs see only the data for tracks they manage.
---
See also: [Review Progress Matrix](/docs/track-chairs/review-progress) for a detailed per-submission view of review completion, and [Make Decisions on Submissions](/docs/track-chairs/make-decisions) for the decision workflow.
---
# Submission + Camera-Ready Workflow
URL: https://paperfox.ai/docs/track-chairs/two-phase-workflow
Description: Complete guide for track chairs to set up and manage a two-phase submission workflow with initial review and camera-ready collection
This guide walks you through setting up a typical two-phase workflow: **Initial Submission** followed by **Camera Ready** collection for accepted submissions.
## Understanding the Mental Model
Before diving into the setup, it's important to understand how PaperFox handles multi-phase workflows:
### Key Concept: Submissions Are Versioned with Phases
**You don't need new submissions for revisions or camera-ready uploads.** Each submission in PaperFox maintains a complete version history with phase-specific fields:
- **Version 0**: Initial submission (Phase 1 fields)
- **Version 1**: First revision, e.g., camera-ready (Phase 2 fields become available)
- **Version 2, 3, ...**: Additional revisions if needed
When authors update their submission for camera-ready, they simply edit their existing submission. The system automatically creates a new version while preserving the complete audit trail. Each phase can have additional fields (like Camera-Ready PDF, Response to Reviews) that only appear when the submission moves to that phase.
### What This Means for Track Chairs
1. **Close submissions after the deadline** - This prevents new submissions from being submitted, but existing submissions can still be updated
2. **Authors update, not resubmit** - Accepted authors edit their existing submission to upload camera-ready files
3. **Full audit trail** - You can view any previous version of a submission at any time
4. **No duplicate submission IDs** - The same submission ID (e.g., `icai2027-42`) is used throughout the entire workflow
### Phases Control What Authors See
Phases control which form fields are visible to authors at each stage:
- **Phase 1 (Submission & Review)**: Shows fields like Title, Abstract, Authors, Submission PDF
- **Phase 2 (Camera Ready)**: Shows additional fields like Camera-Ready PDF, Response to Reviews, Copyright Form
See [Configure Track Phases](configure-track-phases) and [Configure Track-level Submission Forms](configure-track-submission-forms) for details.
---
## Step-by-Step Setup
### Step 1: Create the Camera Ready Phase
By default, there is one phase called "Submission". Add a second phase for camera-ready collection:
1. On a **single-track conference**, go to your track's **Settings** → **Phases**. On a **multi-track conference**, go to **Conference Management** → **"Conference Phases"** — the phase is added to every track at once
2. Click **"Add Phase"**
3. Name it `Camera Ready` and save
You should now see two phases: Submission (Phase 1) and Camera Ready (Phase 2). See [Configure Track Phases](configure-track-phases) for details.
### Step 2: Add Camera Ready Form Fields
Add fields that will appear only in Phase 2. Common camera-ready fields include:
- **Camera-Ready PDF** (File Upload) - Final submission incorporating reviewer feedback
- **Response to Reviews** (Textarea) - How author addressed reviewer comments
- **Copyright Agreement** (Checkbox) - Copyright transfer confirmation
Add them where they should apply:
- **Every track collects them** (the usual case): add them once on **Conference Forms** — switch the phase selector to **Camera Ready** first, so each field is scoped to that phase. Every track inherits them, including tracks created later. See [Configure Conference Forms](/docs/chairs/configure-conference-forms#phase-scoped-fields).
- **Only your track collects them**: add them on your track's **Track Forms** page with **"Camera Ready"** selected as the Phase. See [Configure Track-level Submission Forms](configure-track-submission-forms).
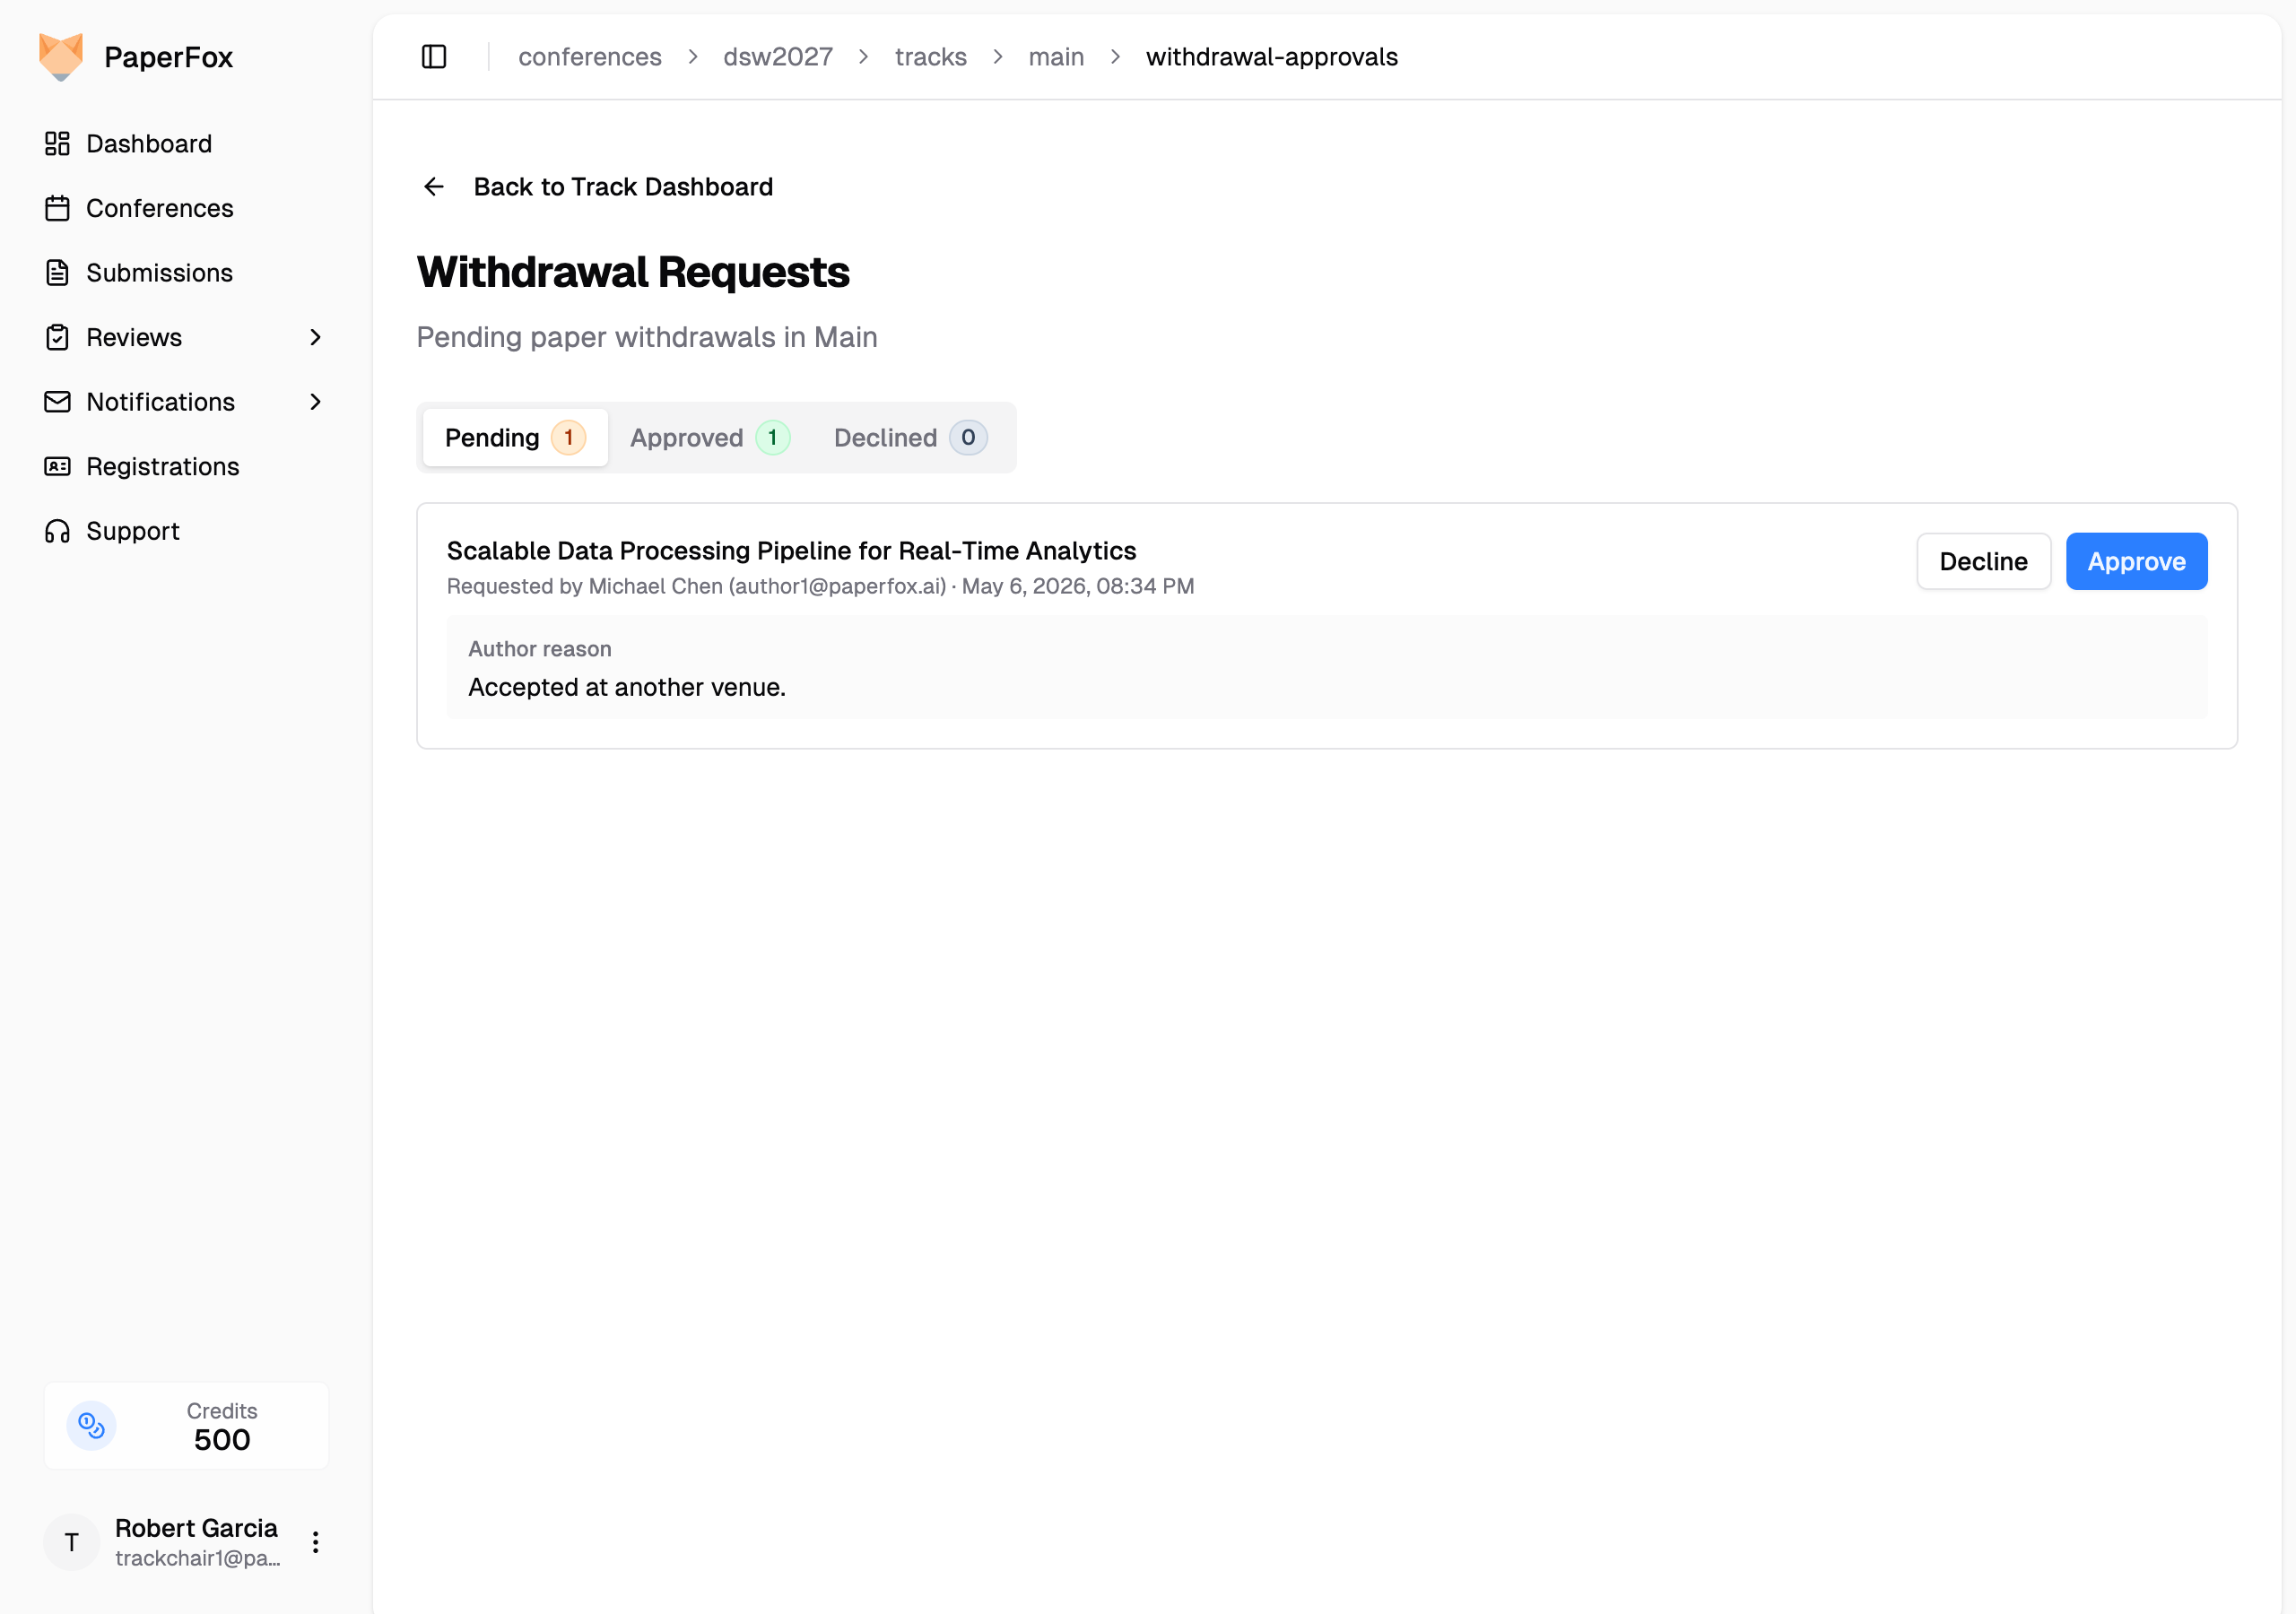 3. Click **"Approve"** or **"Decline"** on the row
4. Optionally add a note — the author sees this on their submission page and in the email
5. Click **"Approve"** (or **"Decline"**) in the confirmation dialog
3. Click **"Approve"** or **"Decline"** on the row
4. Optionally add a note — the author sees this on their submission page and in the email
5. Click **"Approve"** (or **"Decline"**) in the confirmation dialog
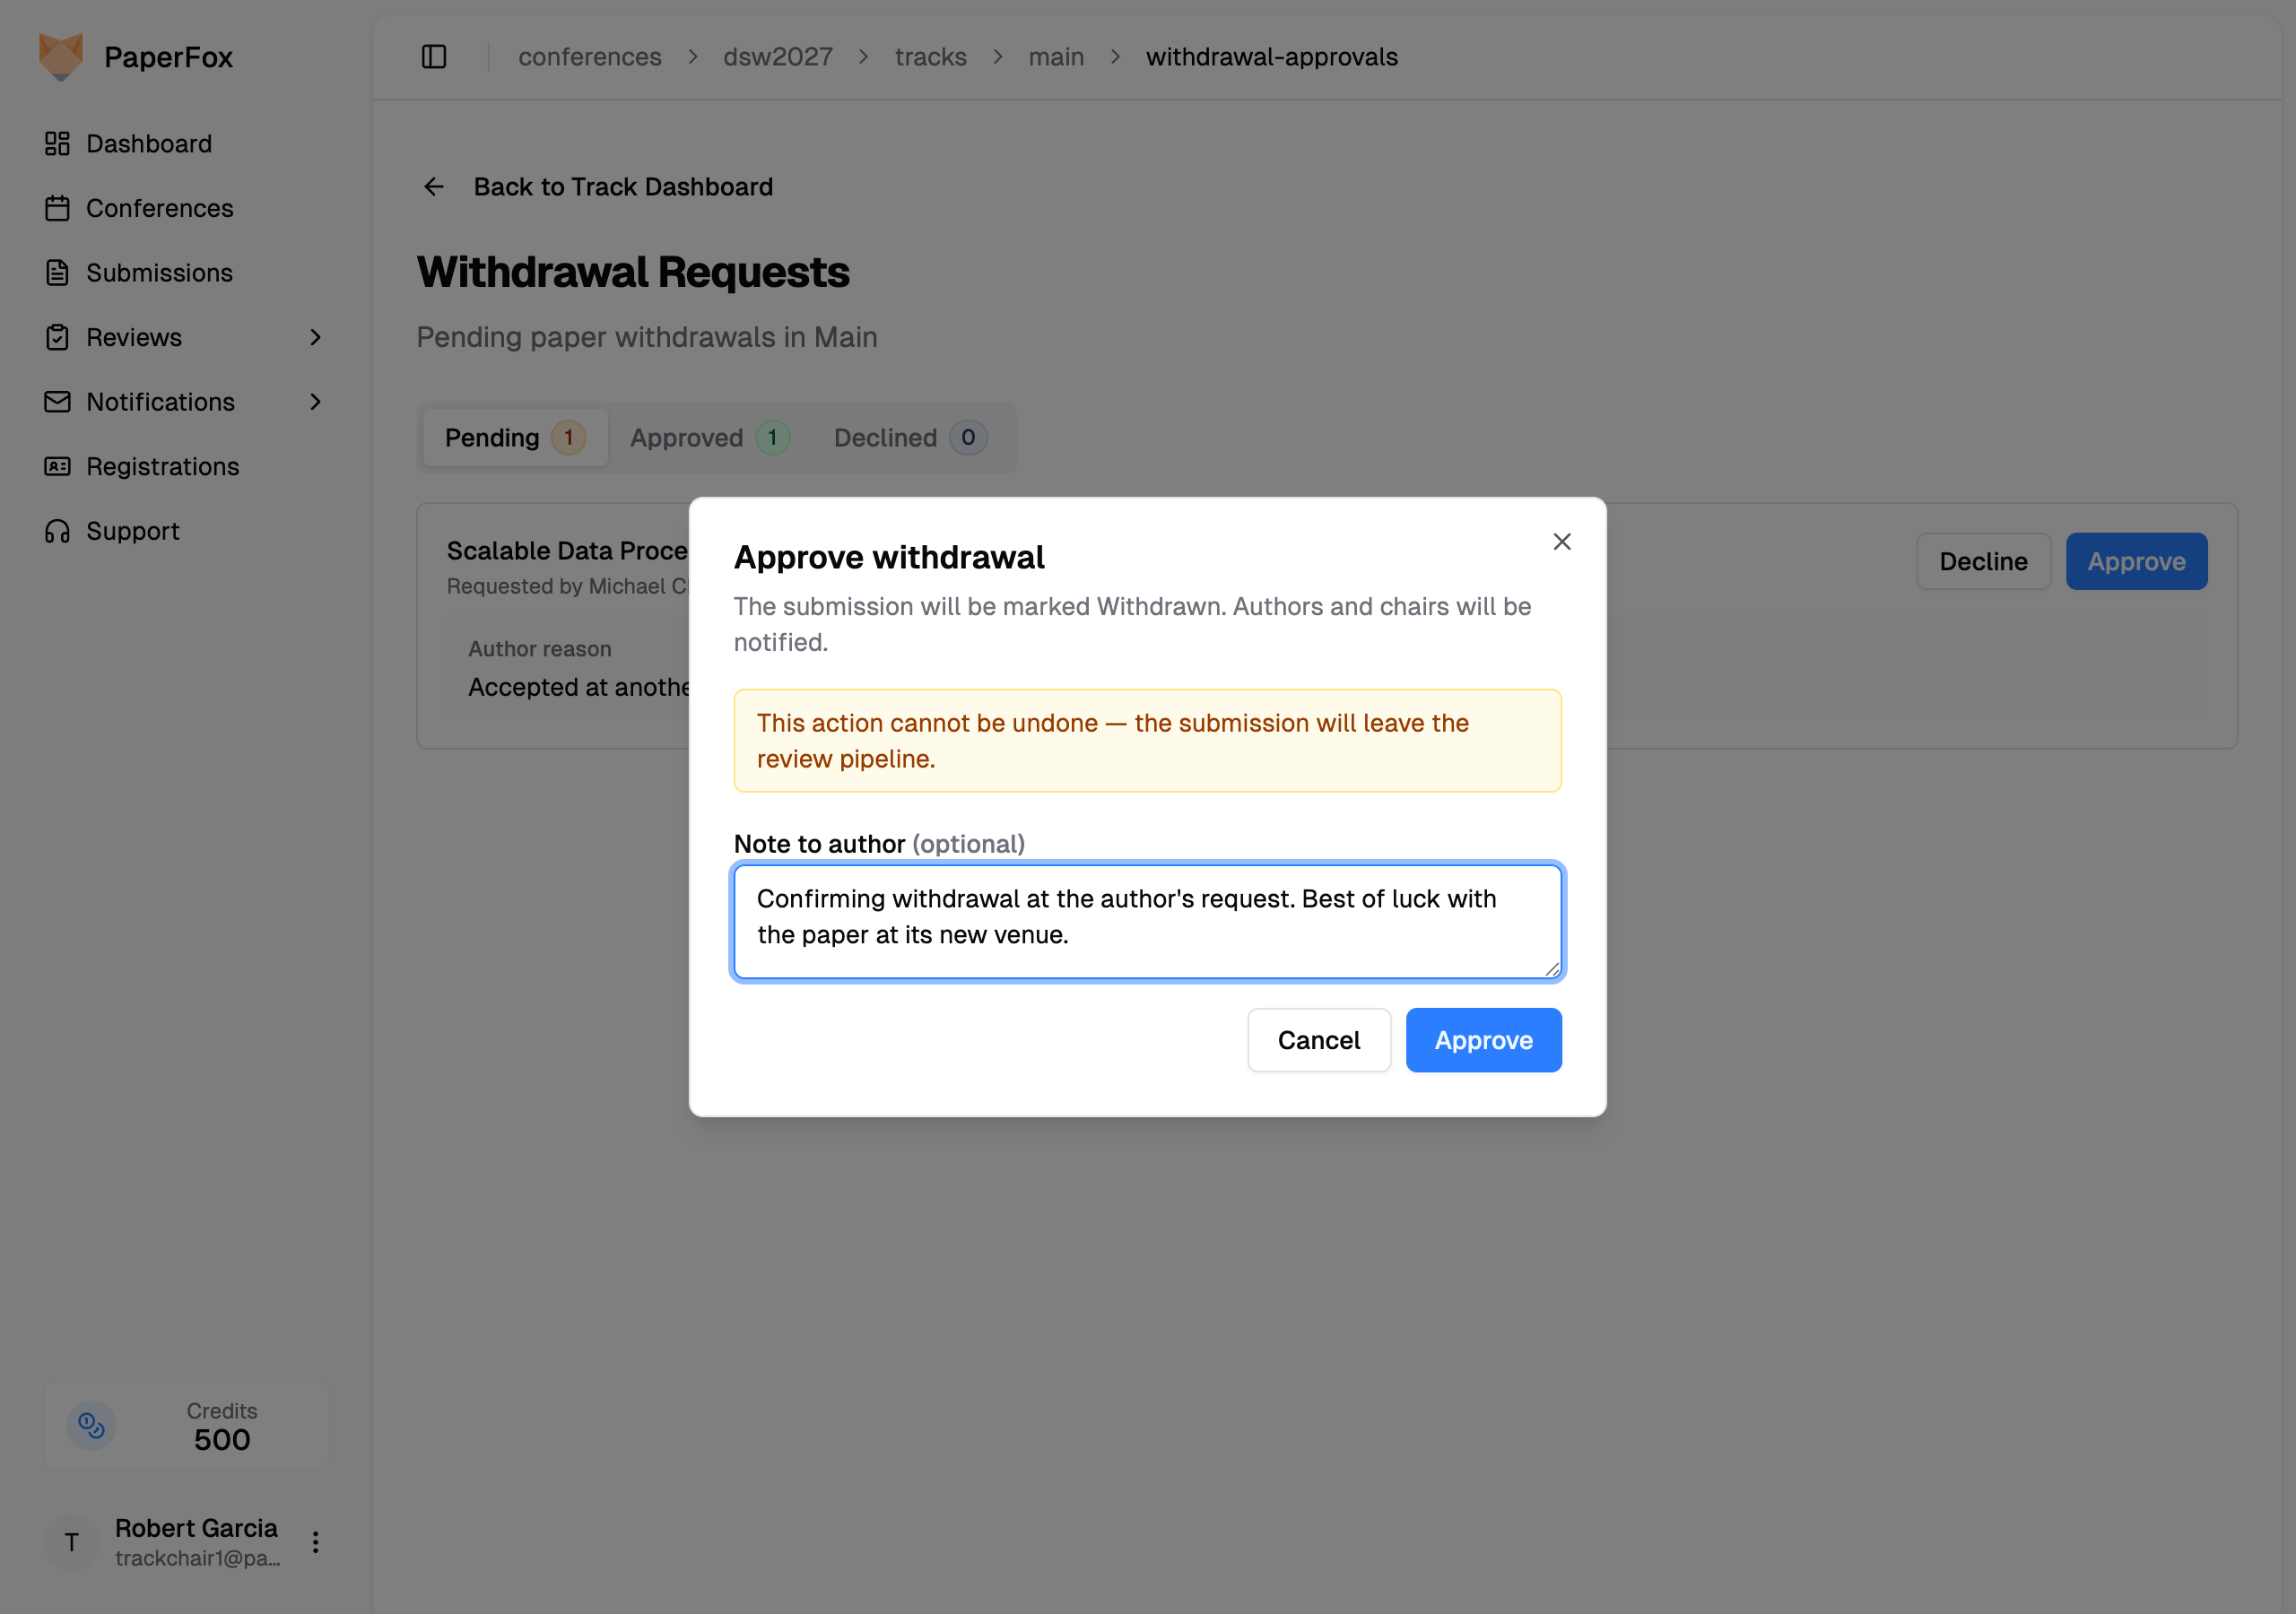 After the decision:
- **Approved** — the submission status changes to **WITHDRAWN**, and authors plus all chairs are notified.
- **Declined** — the submission stays under review. The author sees the decline + your note on their submission page; they cannot re-request through PaperFox.
After the decision:
- **Approved** — the submission status changes to **WITHDRAWN**, and authors plus all chairs are notified.
- **Declined** — the submission stays under review. The author sees the decline + your note on their submission page; they cannot re-request through PaperFox.
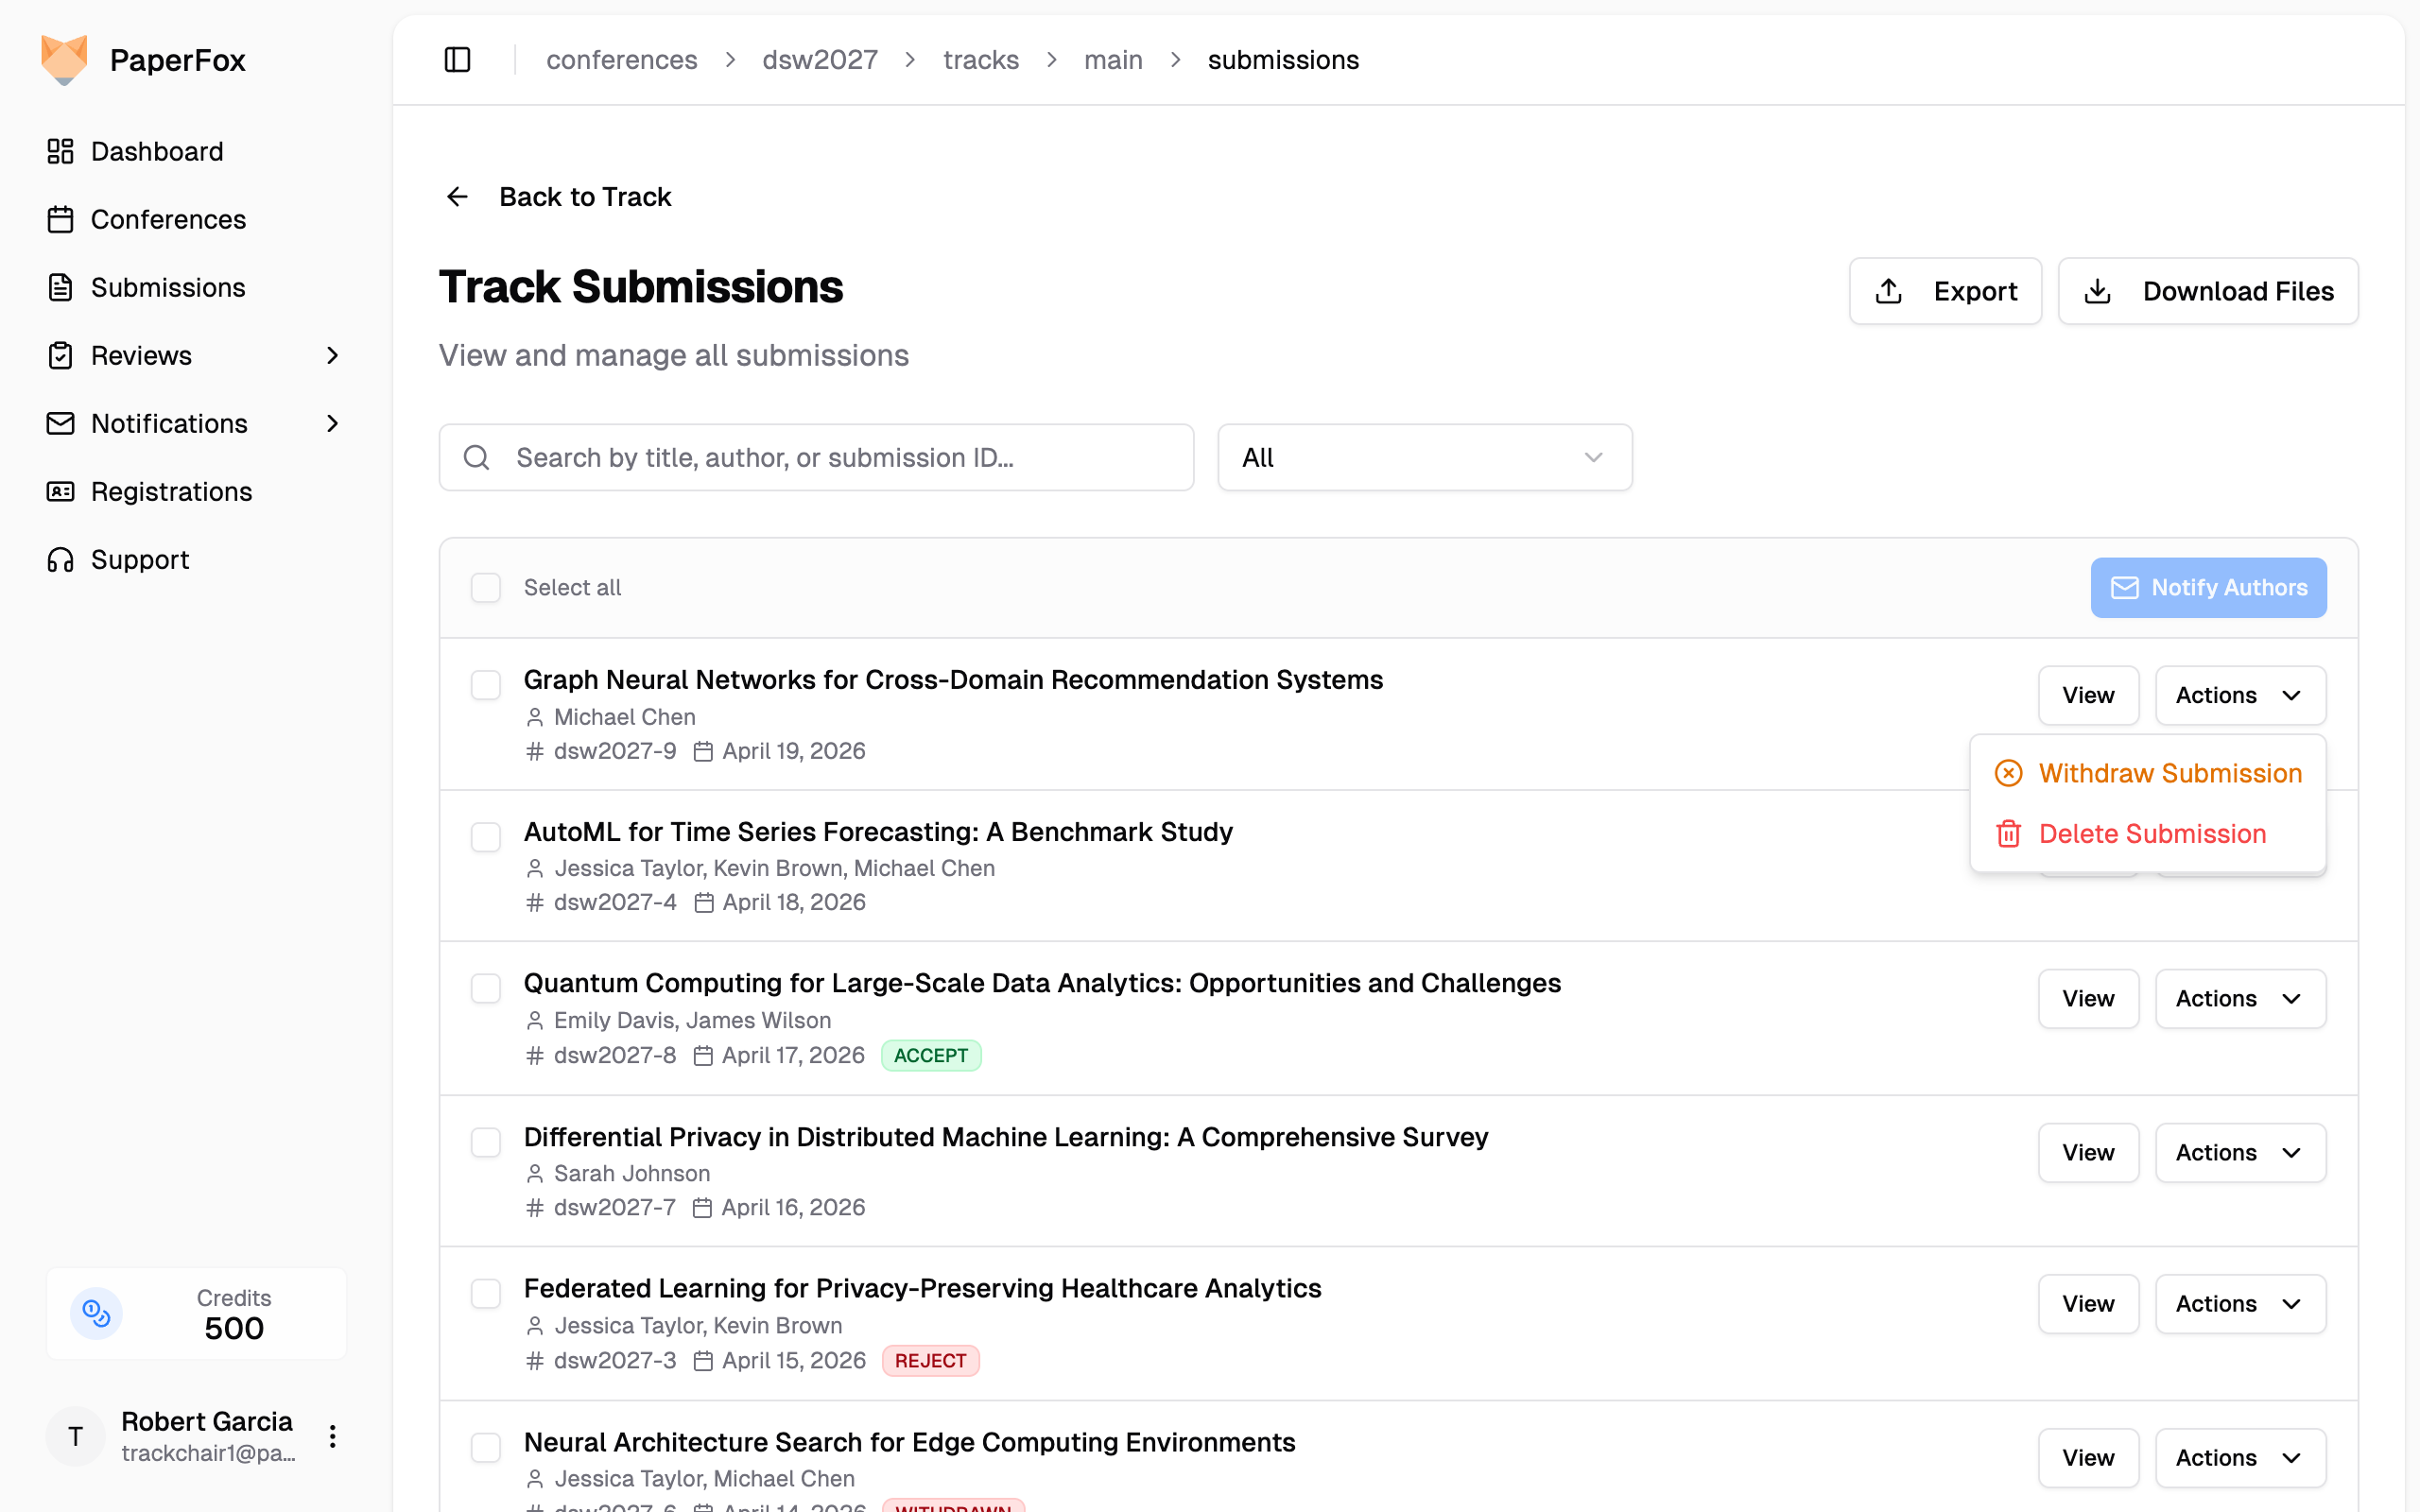 4. Optionally enter a reason for the withdrawal
5. Click **"Withdraw Submission"** to confirm
4. Optionally enter a reason for the withdrawal
5. Click **"Withdraw Submission"** to confirm
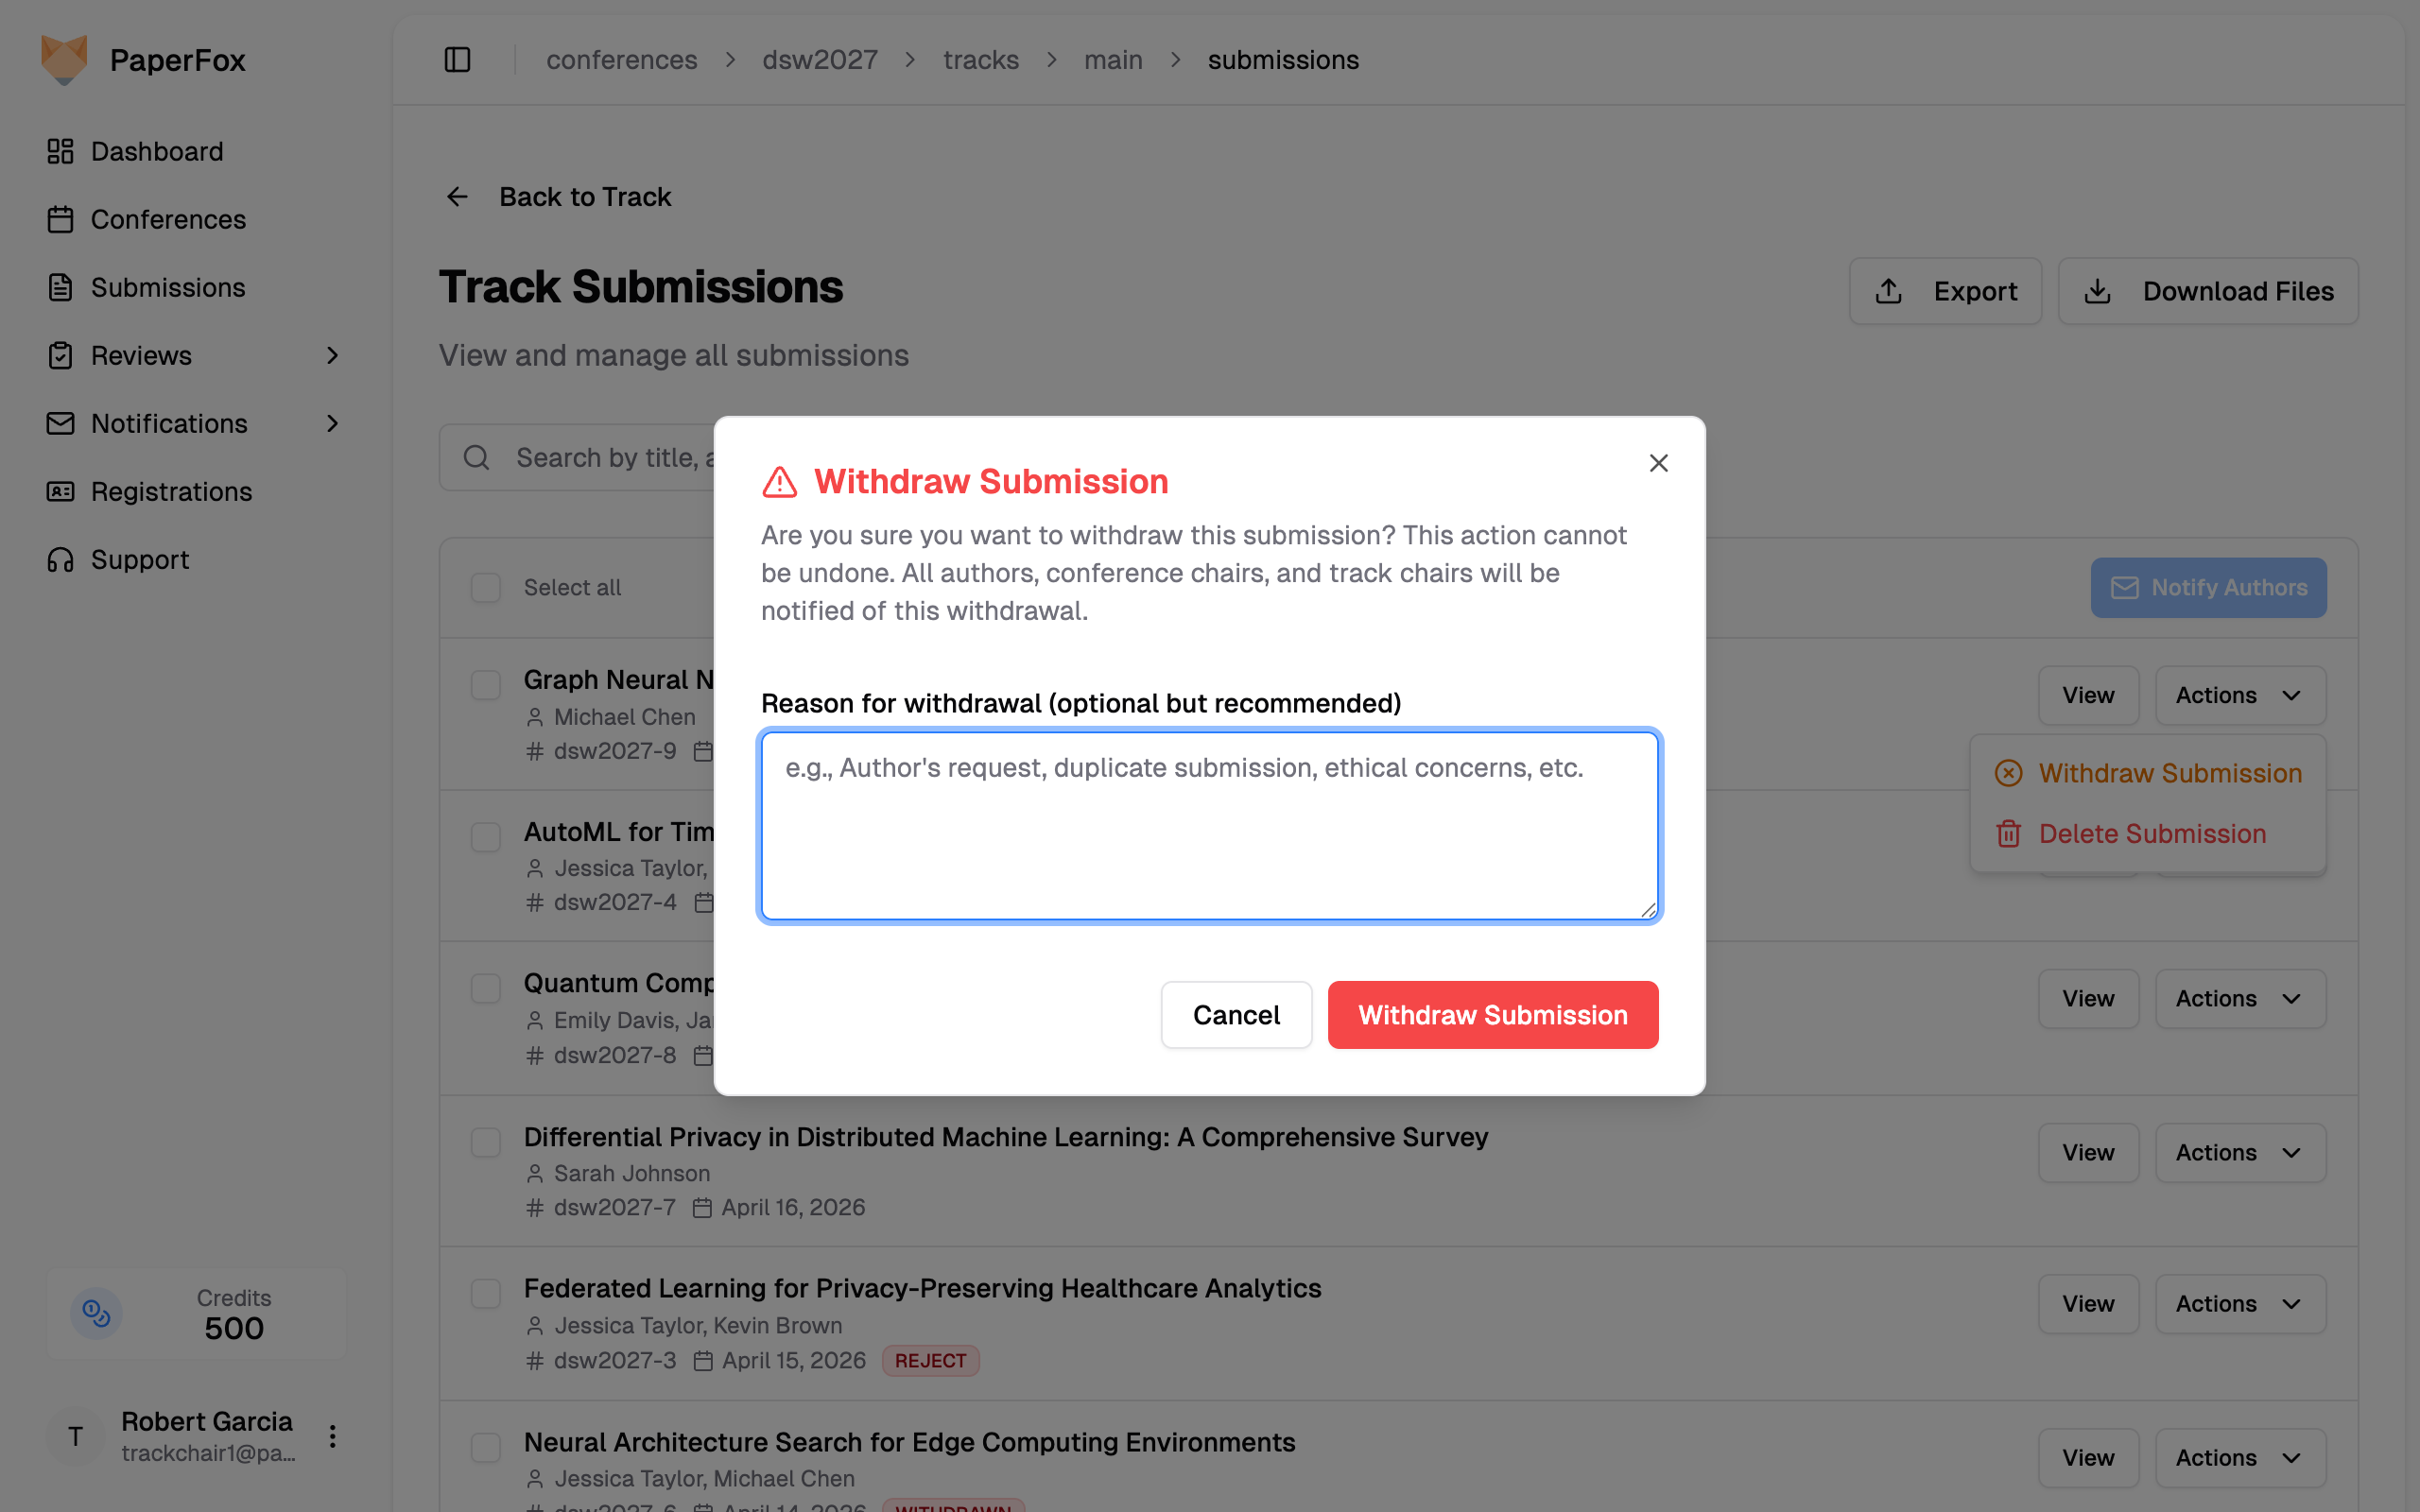
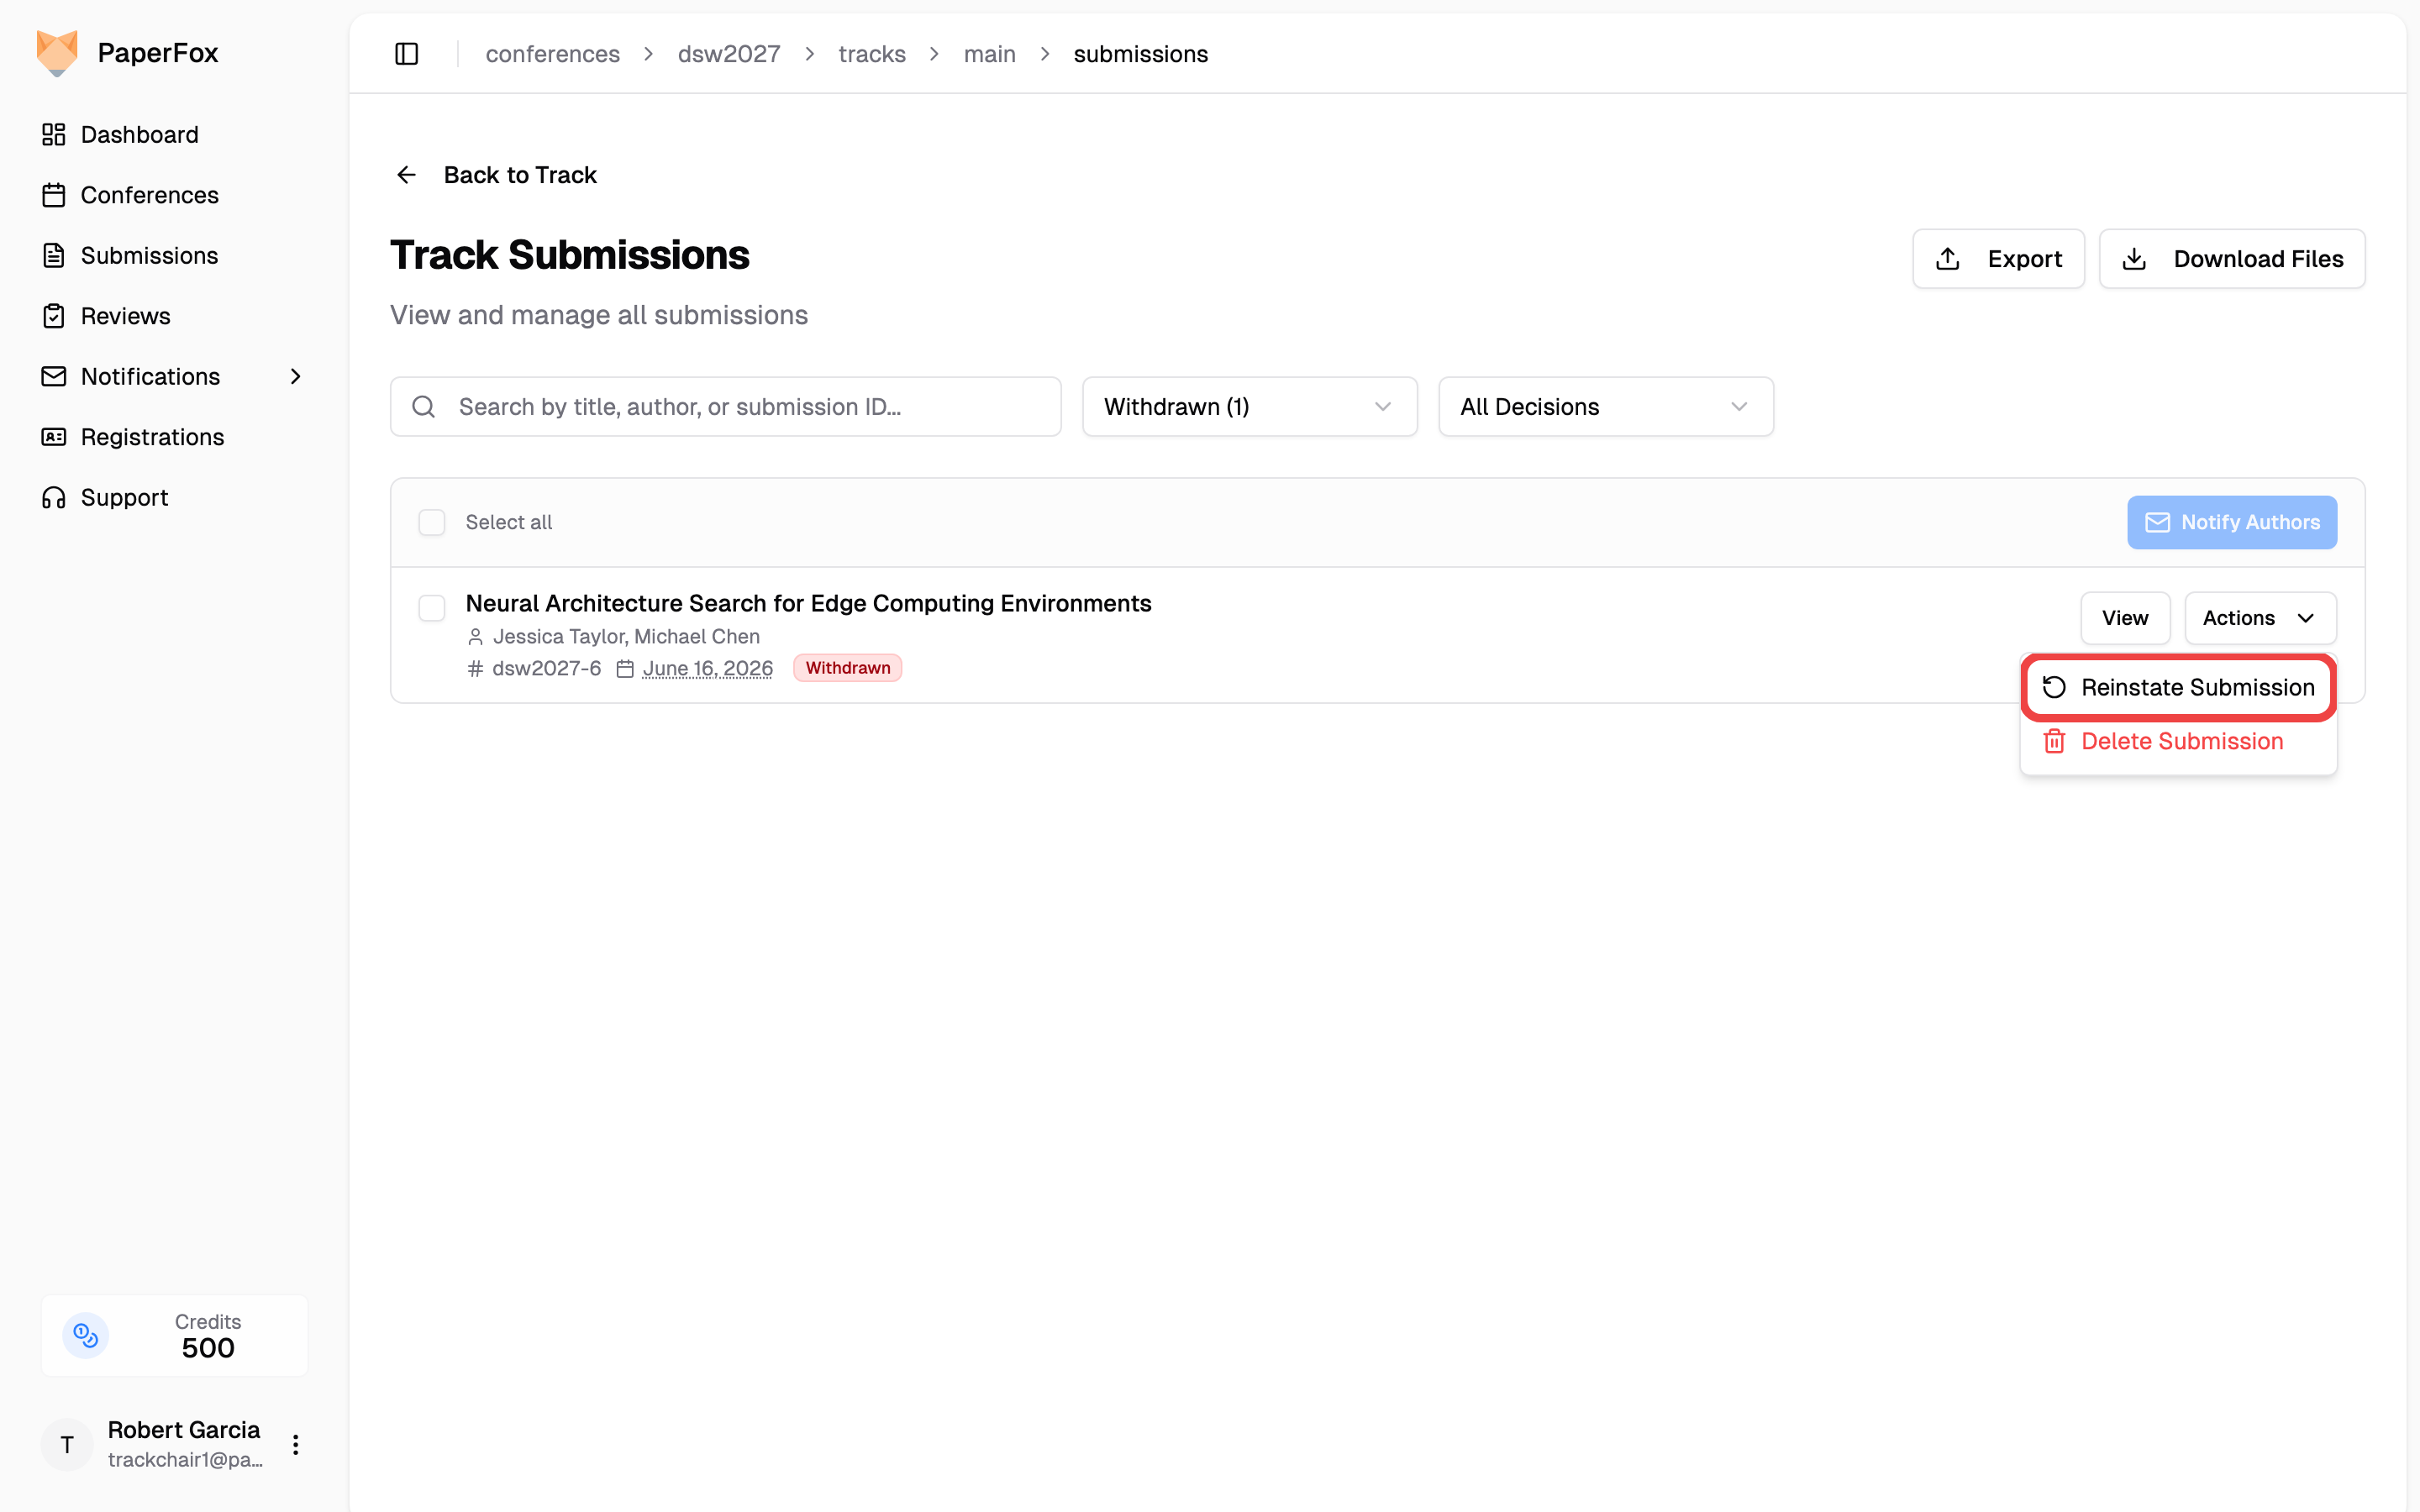 4. Optionally add a note explaining why
5. Click **"Reinstate Submission"** to confirm
4. Optionally add a note explaining why
5. Click **"Reinstate Submission"** to confirm
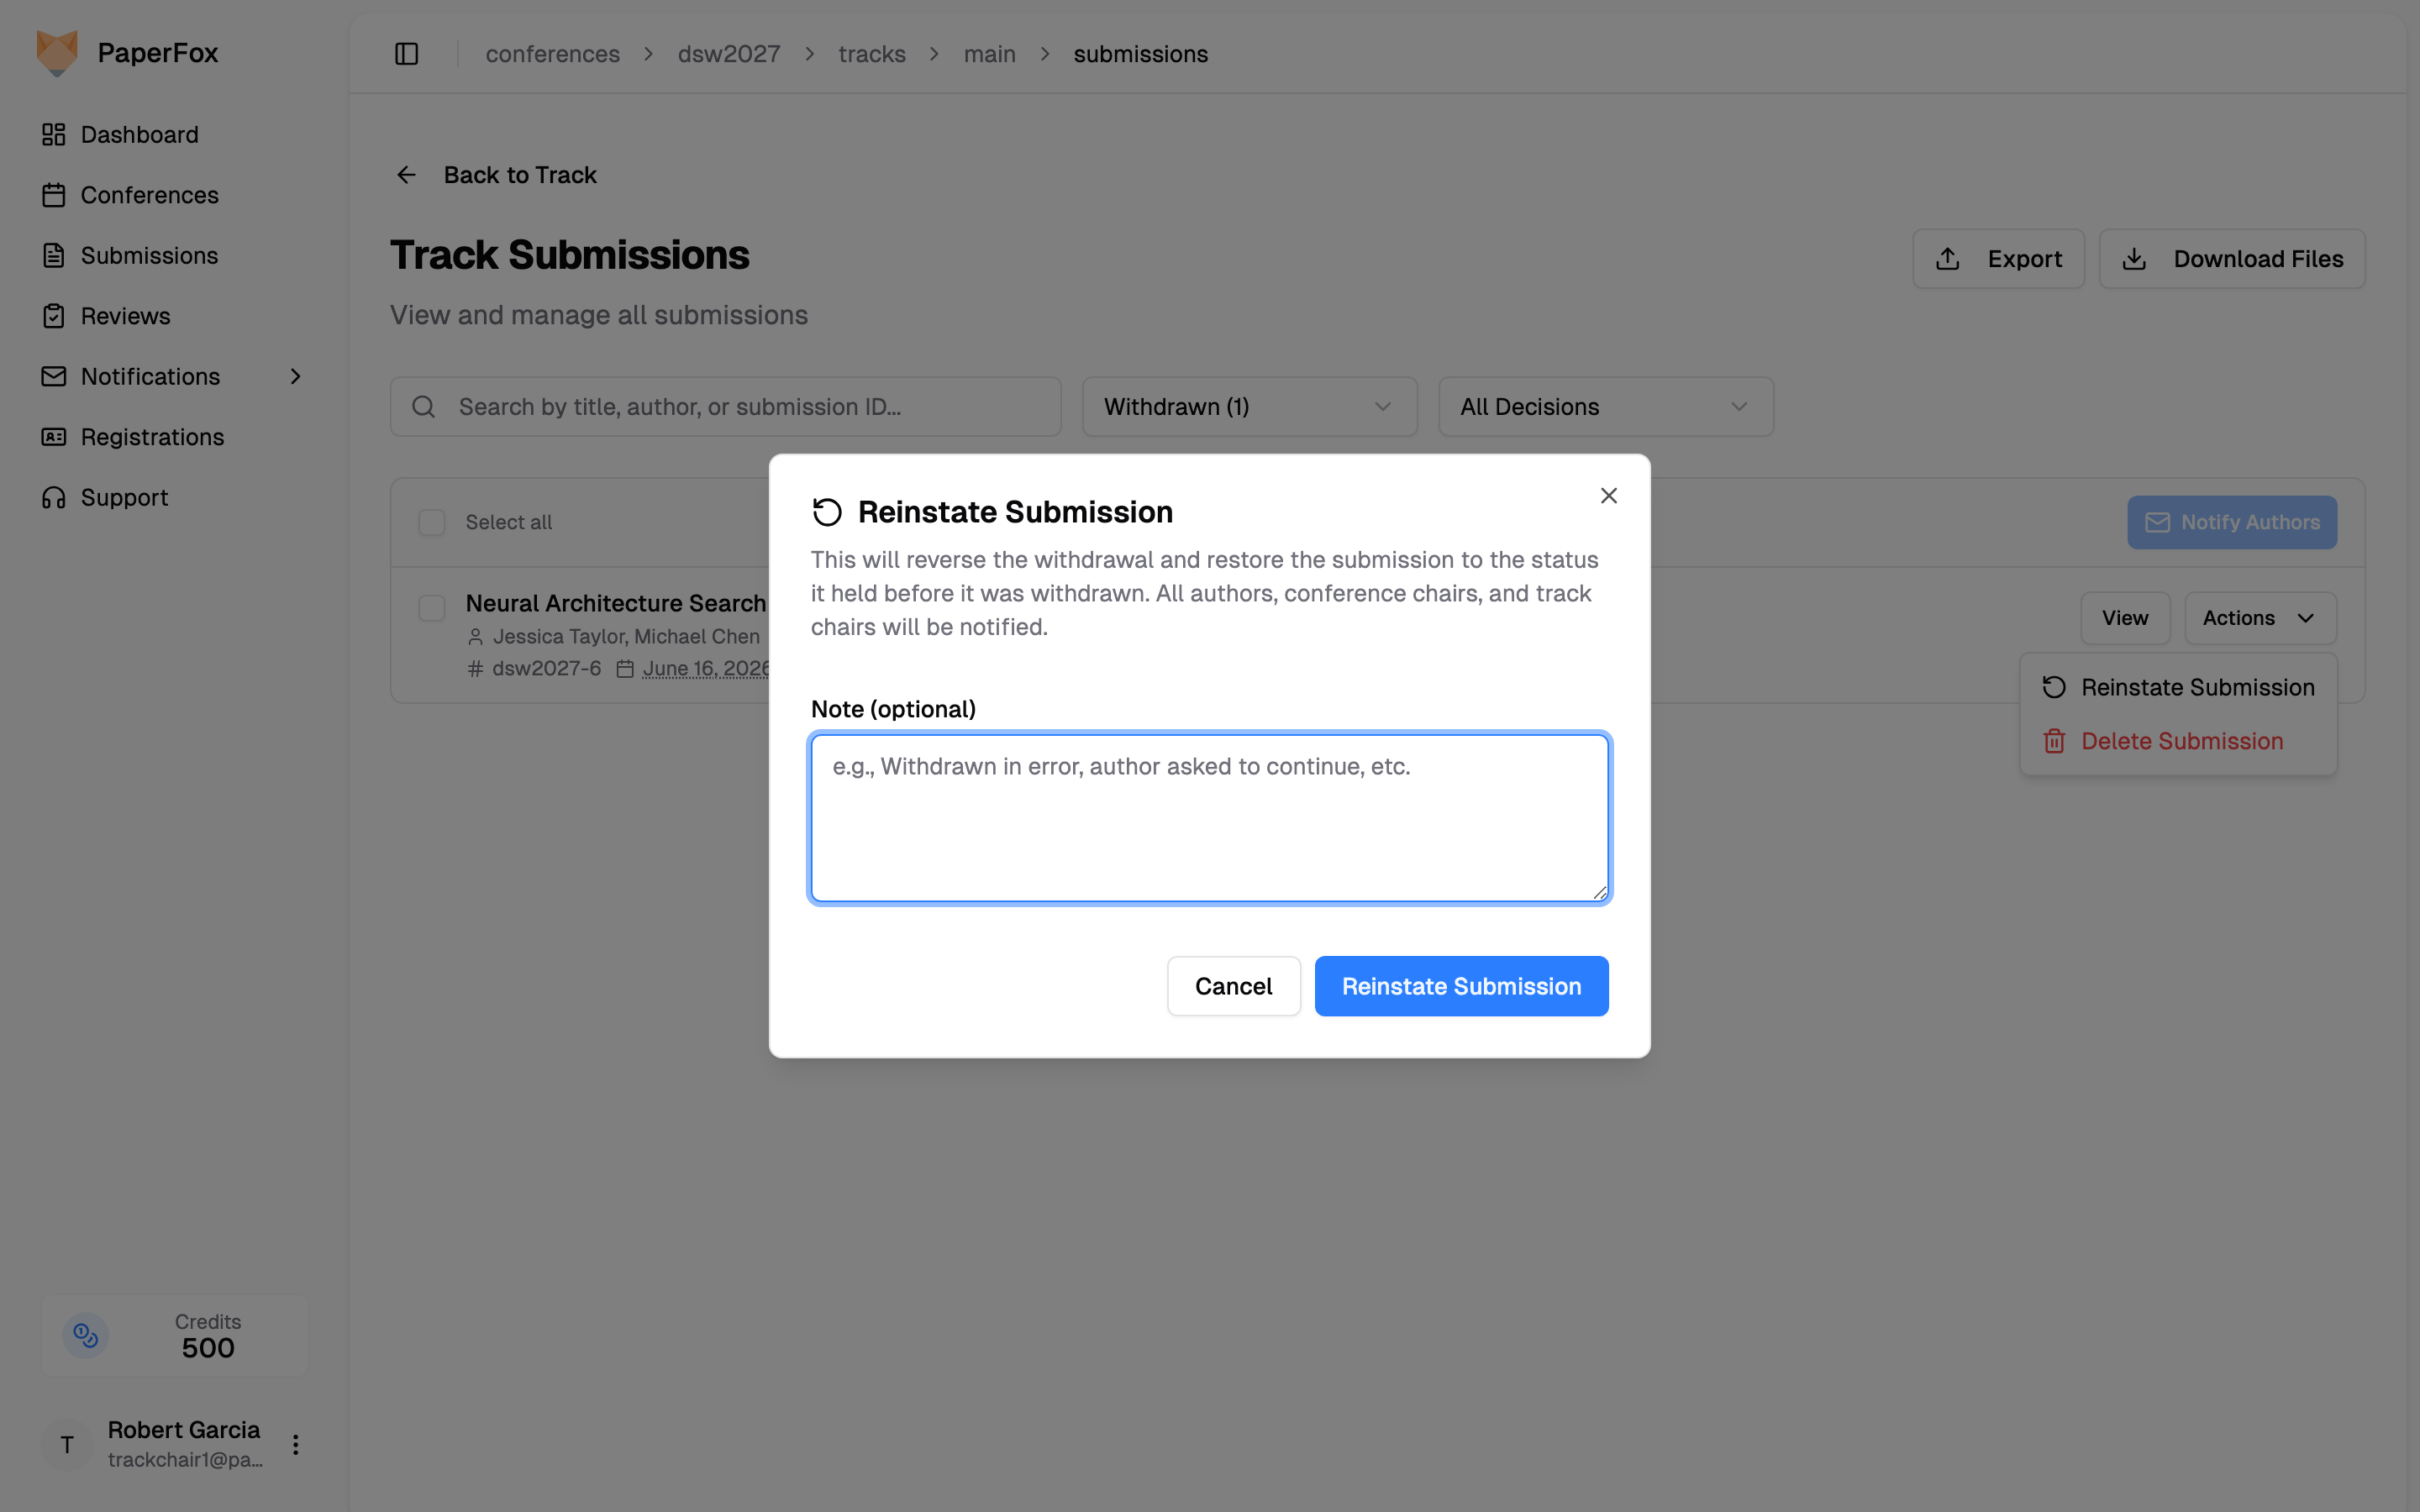 After reinstating:
- The submission returns to its **previous status** and is back in the review pipeline
- All authors, conference chairs, and track chairs are notified
- The earlier withdrawal record is cleared from the **Withdrawal Requests** inbox
After reinstating:
- The submission returns to its **previous status** and is back in the review pipeline
- All authors, conference chairs, and track chairs are notified
- The earlier withdrawal record is cleared from the **Withdrawal Requests** inbox
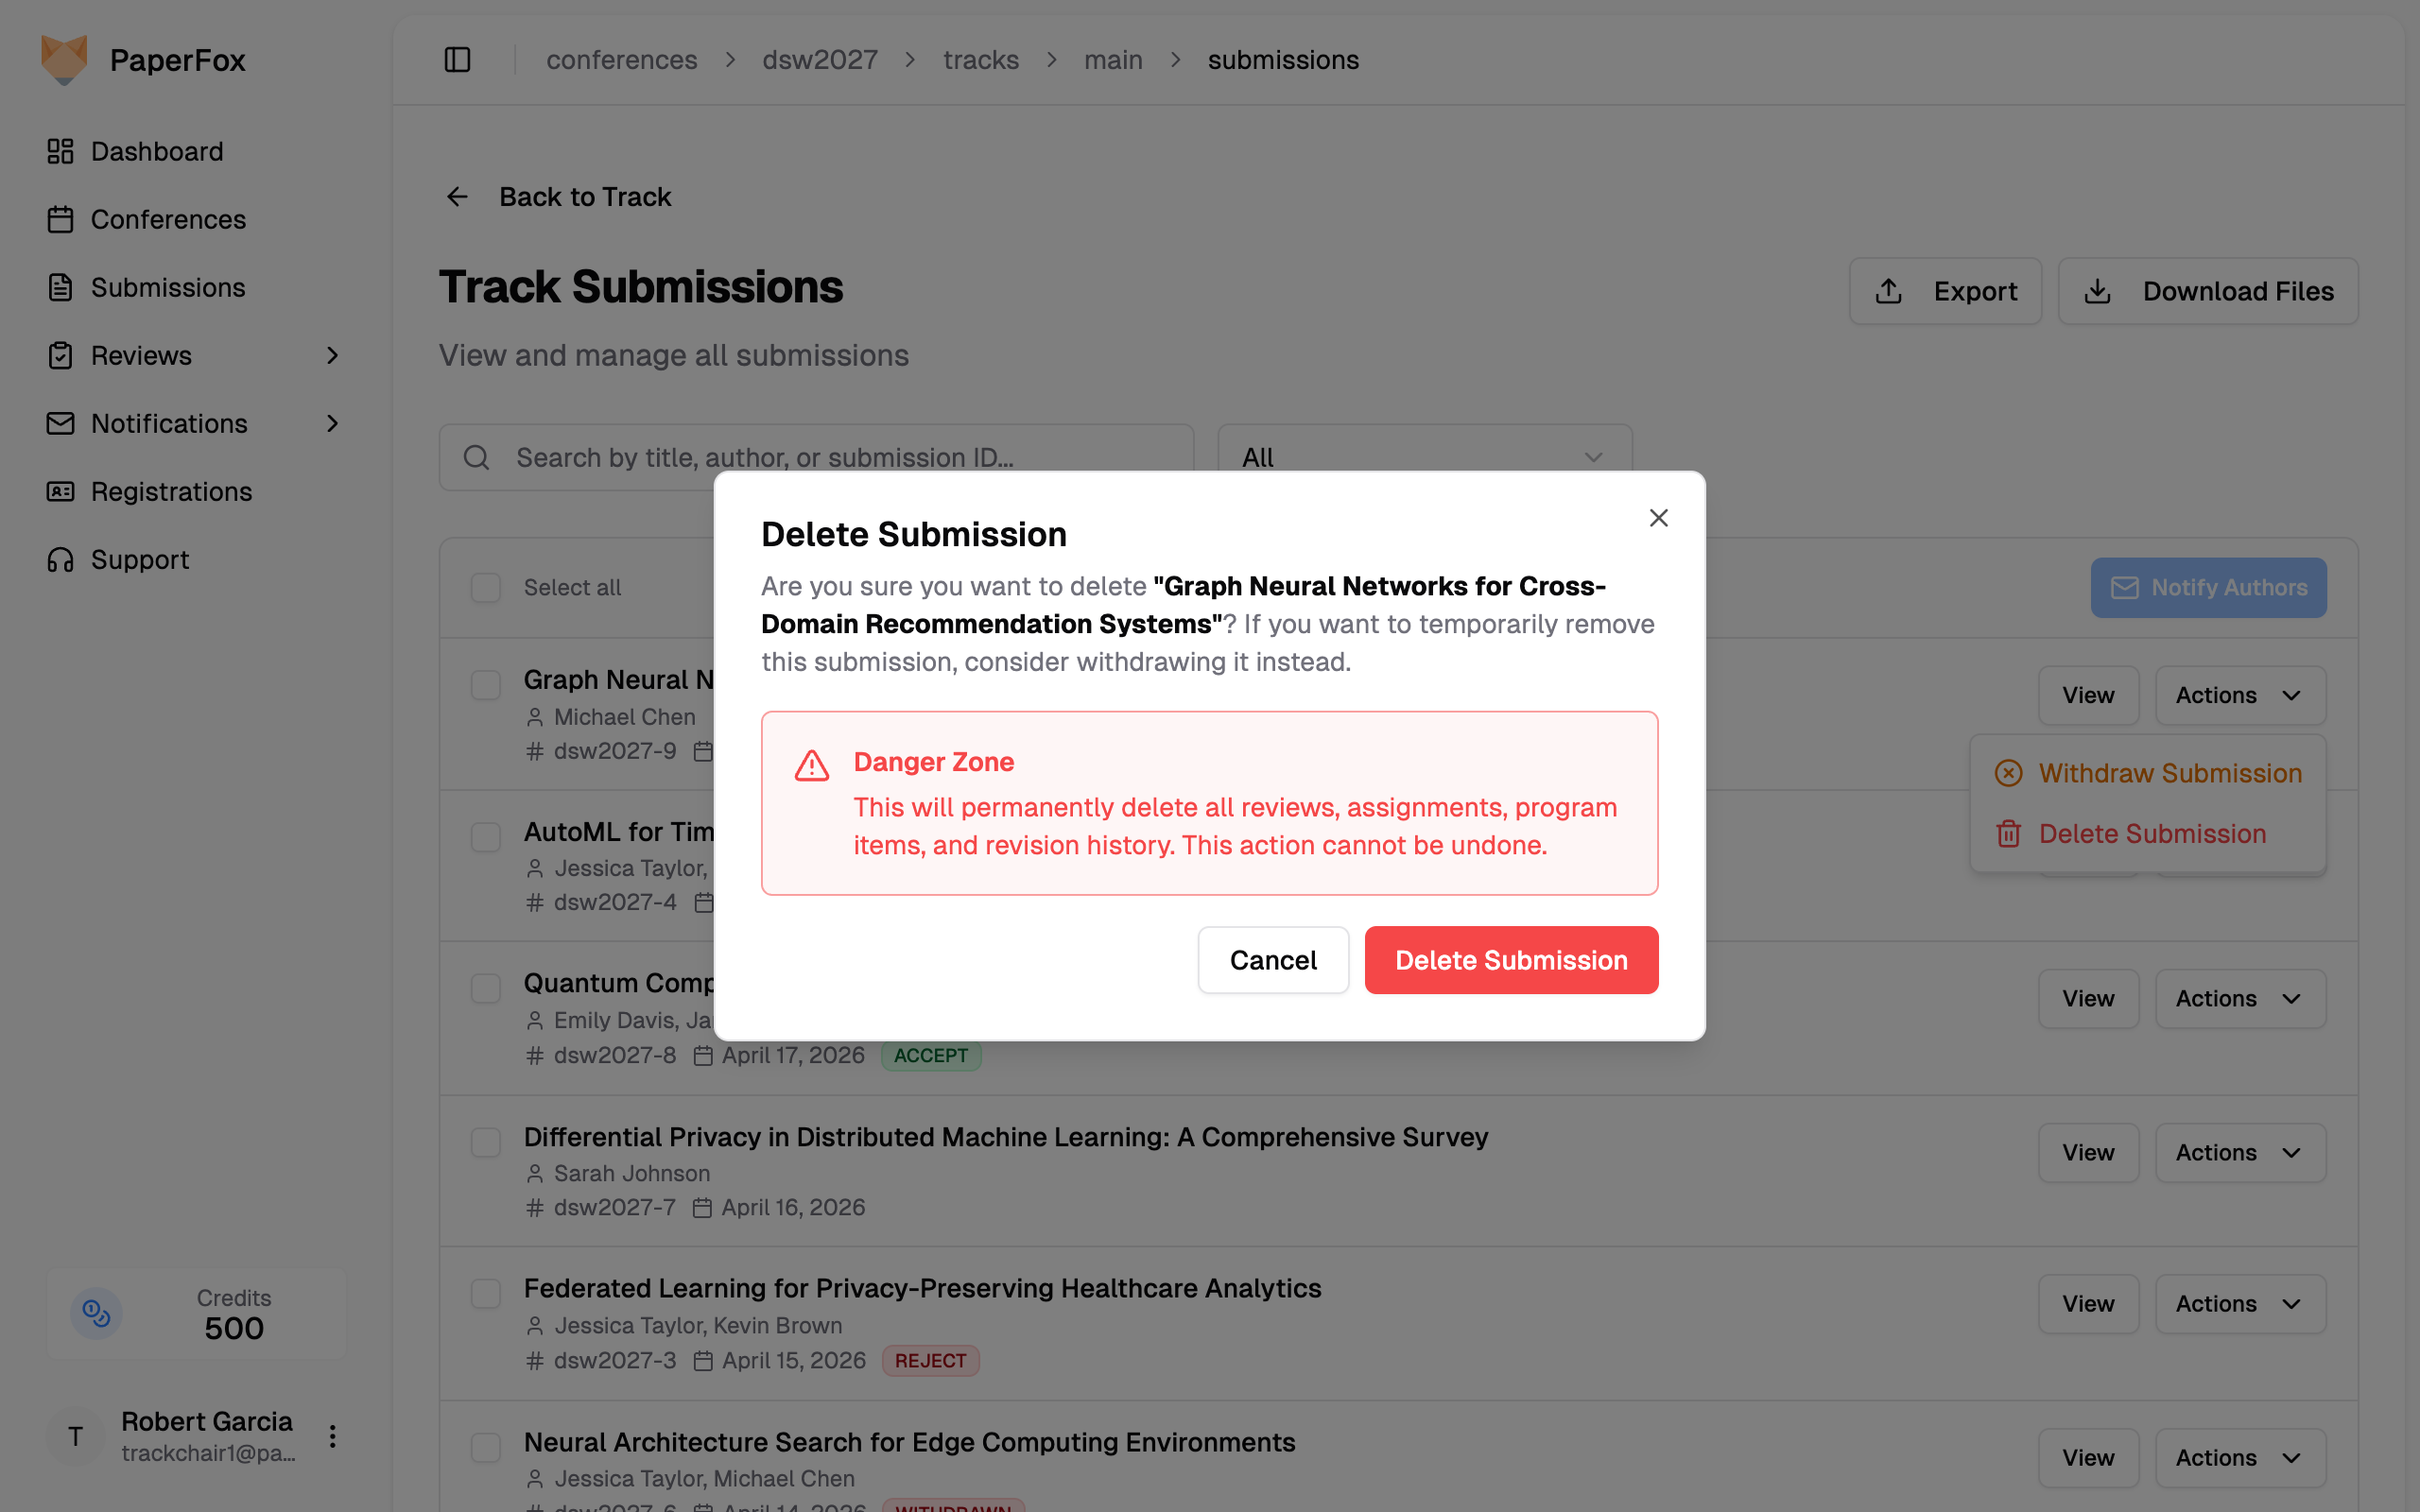
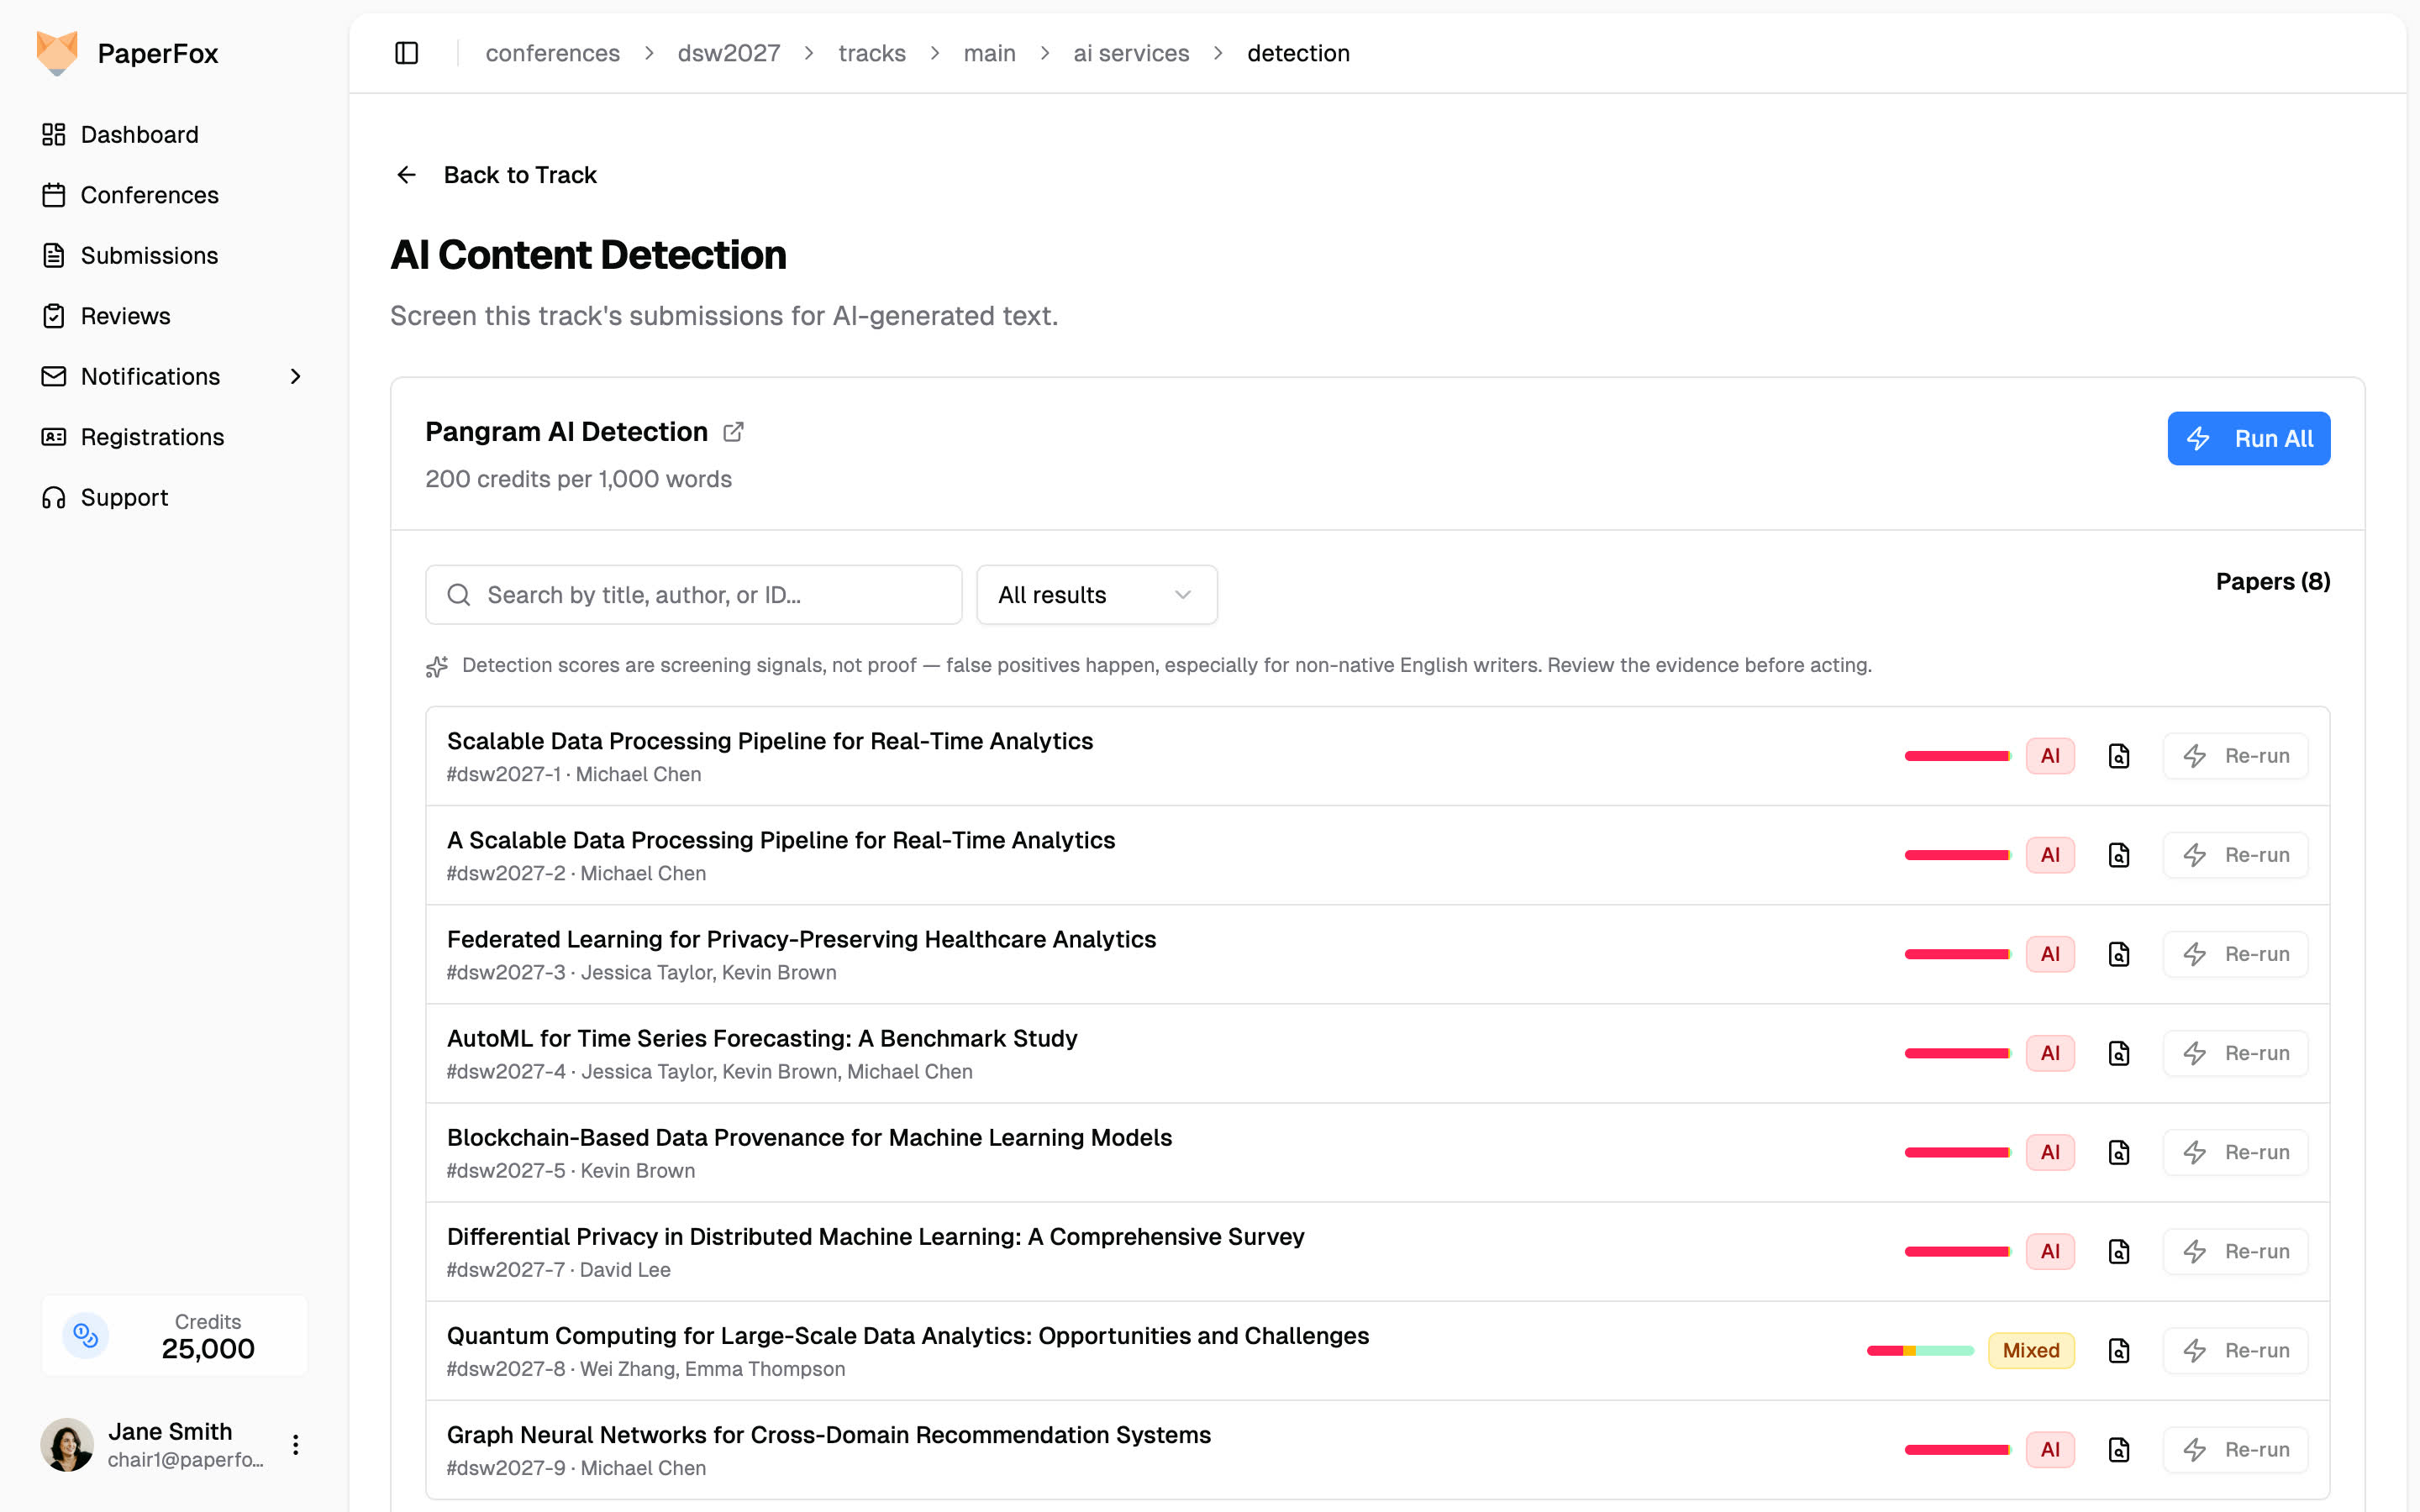
The service card shows the rate; every row shows its verdict and composition
The run happens in the background with a progress bar, so you can keep working. Each submission's row updates with: - **A verdict**: **AI** (red), **Mixed** (amber), or **Human** (green) - **A composition bar** showing what share of the text looks AI-generated, AI-assisted, and human-written, with exact percentages on hover - **A magnifier icon** that opens the full evidence panel On large tracks, a search box and a verdict filter (All, AI, Mixed, Human, Skipped, Not analyzed, each with live counts) narrow the list to the submissions worth your attention. ## See the Evidence, Not Just the Number Click the magnifier on any analyzed submission and PaperFox shows the flagged passages themselves, each with its label, score, and confidence level. Passages that look like humanized model output carry an extra **Humanizer detected** badge.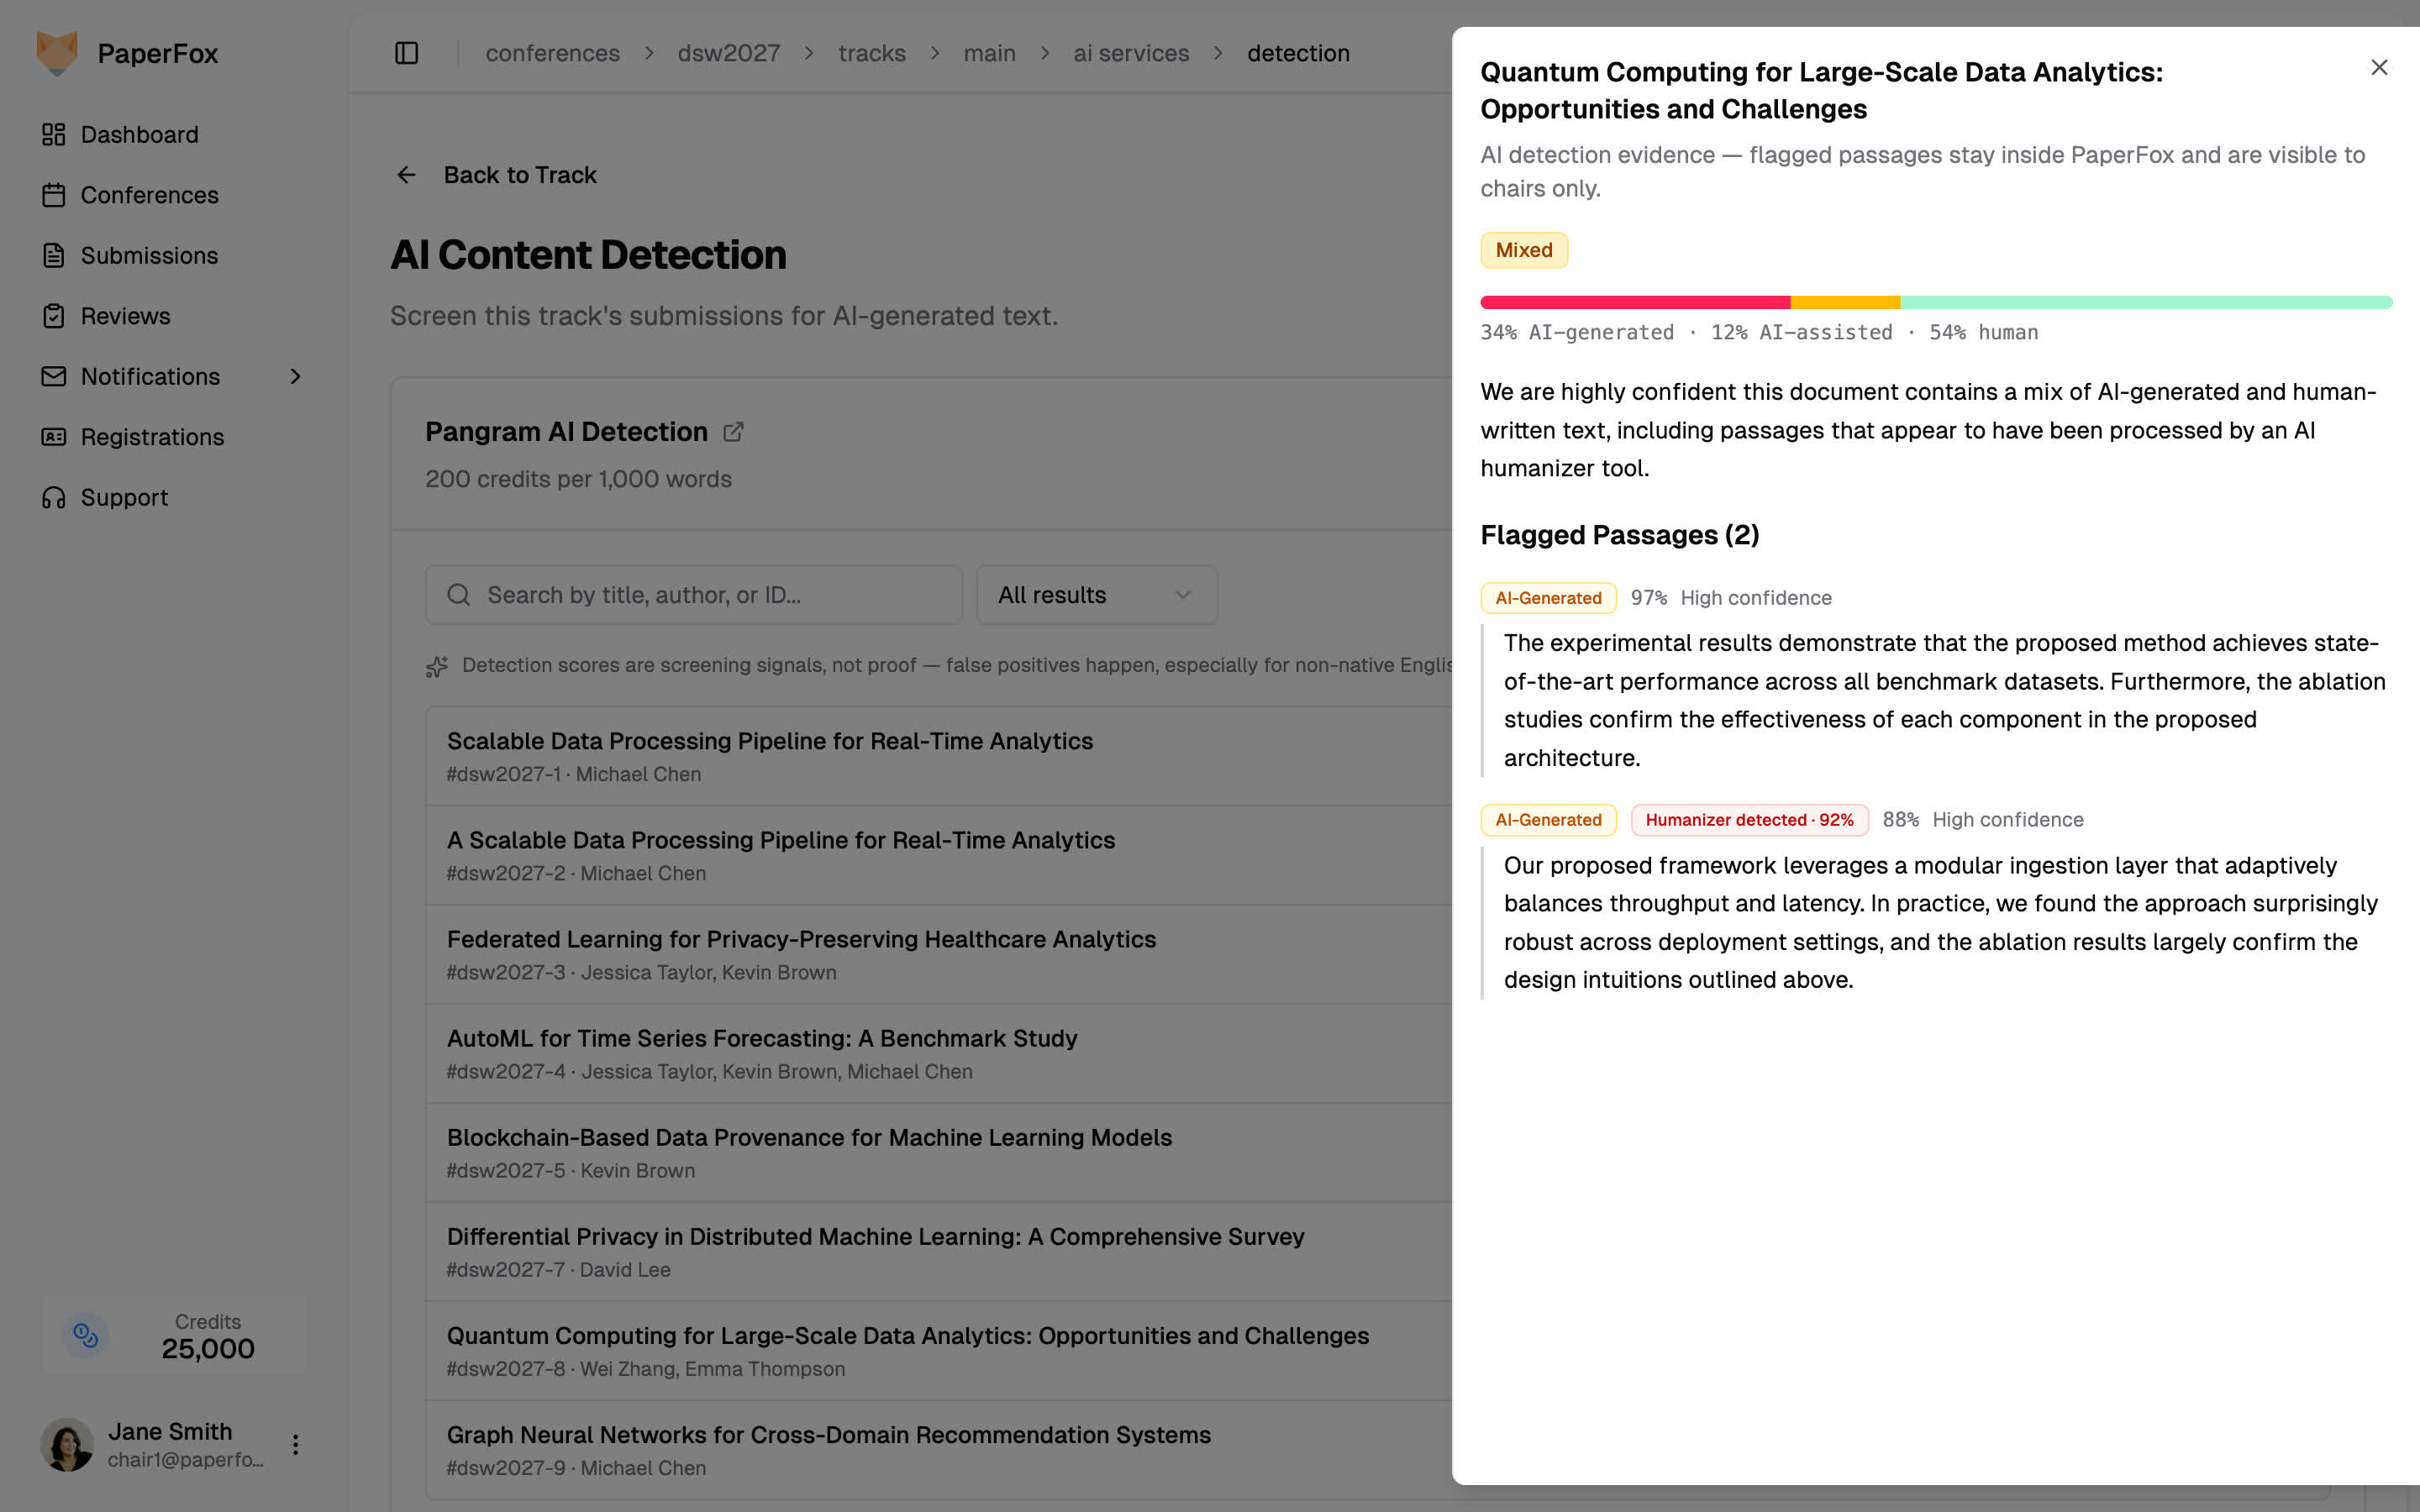
Flagged passages with their label, score, confidence, and humanizer status
A submission with a Human verdict simply has no flagged passages. The panel confirms nothing was flagged and you move on. ## Privacy and Cost Running detection is a chair's decision, and so is author consent: tell authors in your call for papers or submission terms that submissions may be screened for AI-generated text before you run it. On Pangram's side, submitted content is not used to train its models and the service is SOC 2 Type II certified; see [Pangram's data privacy page](https://www.pangram.com/data-privacy) for the details. Detection costs **250 credits per 1,000 words**, about $7.50 for a typical 9,000-word submission. For comparison, Pangram's own API price is $0.50 per 1,000 words and PaperFox charges $0.83; the difference covers text extraction, the evidence panel, batch runs, and automatic refunds when the vendor fails. Unchanged submissions are never charged twice. The confirmation dialog shows the exact cost and the data disclosure before anything runs.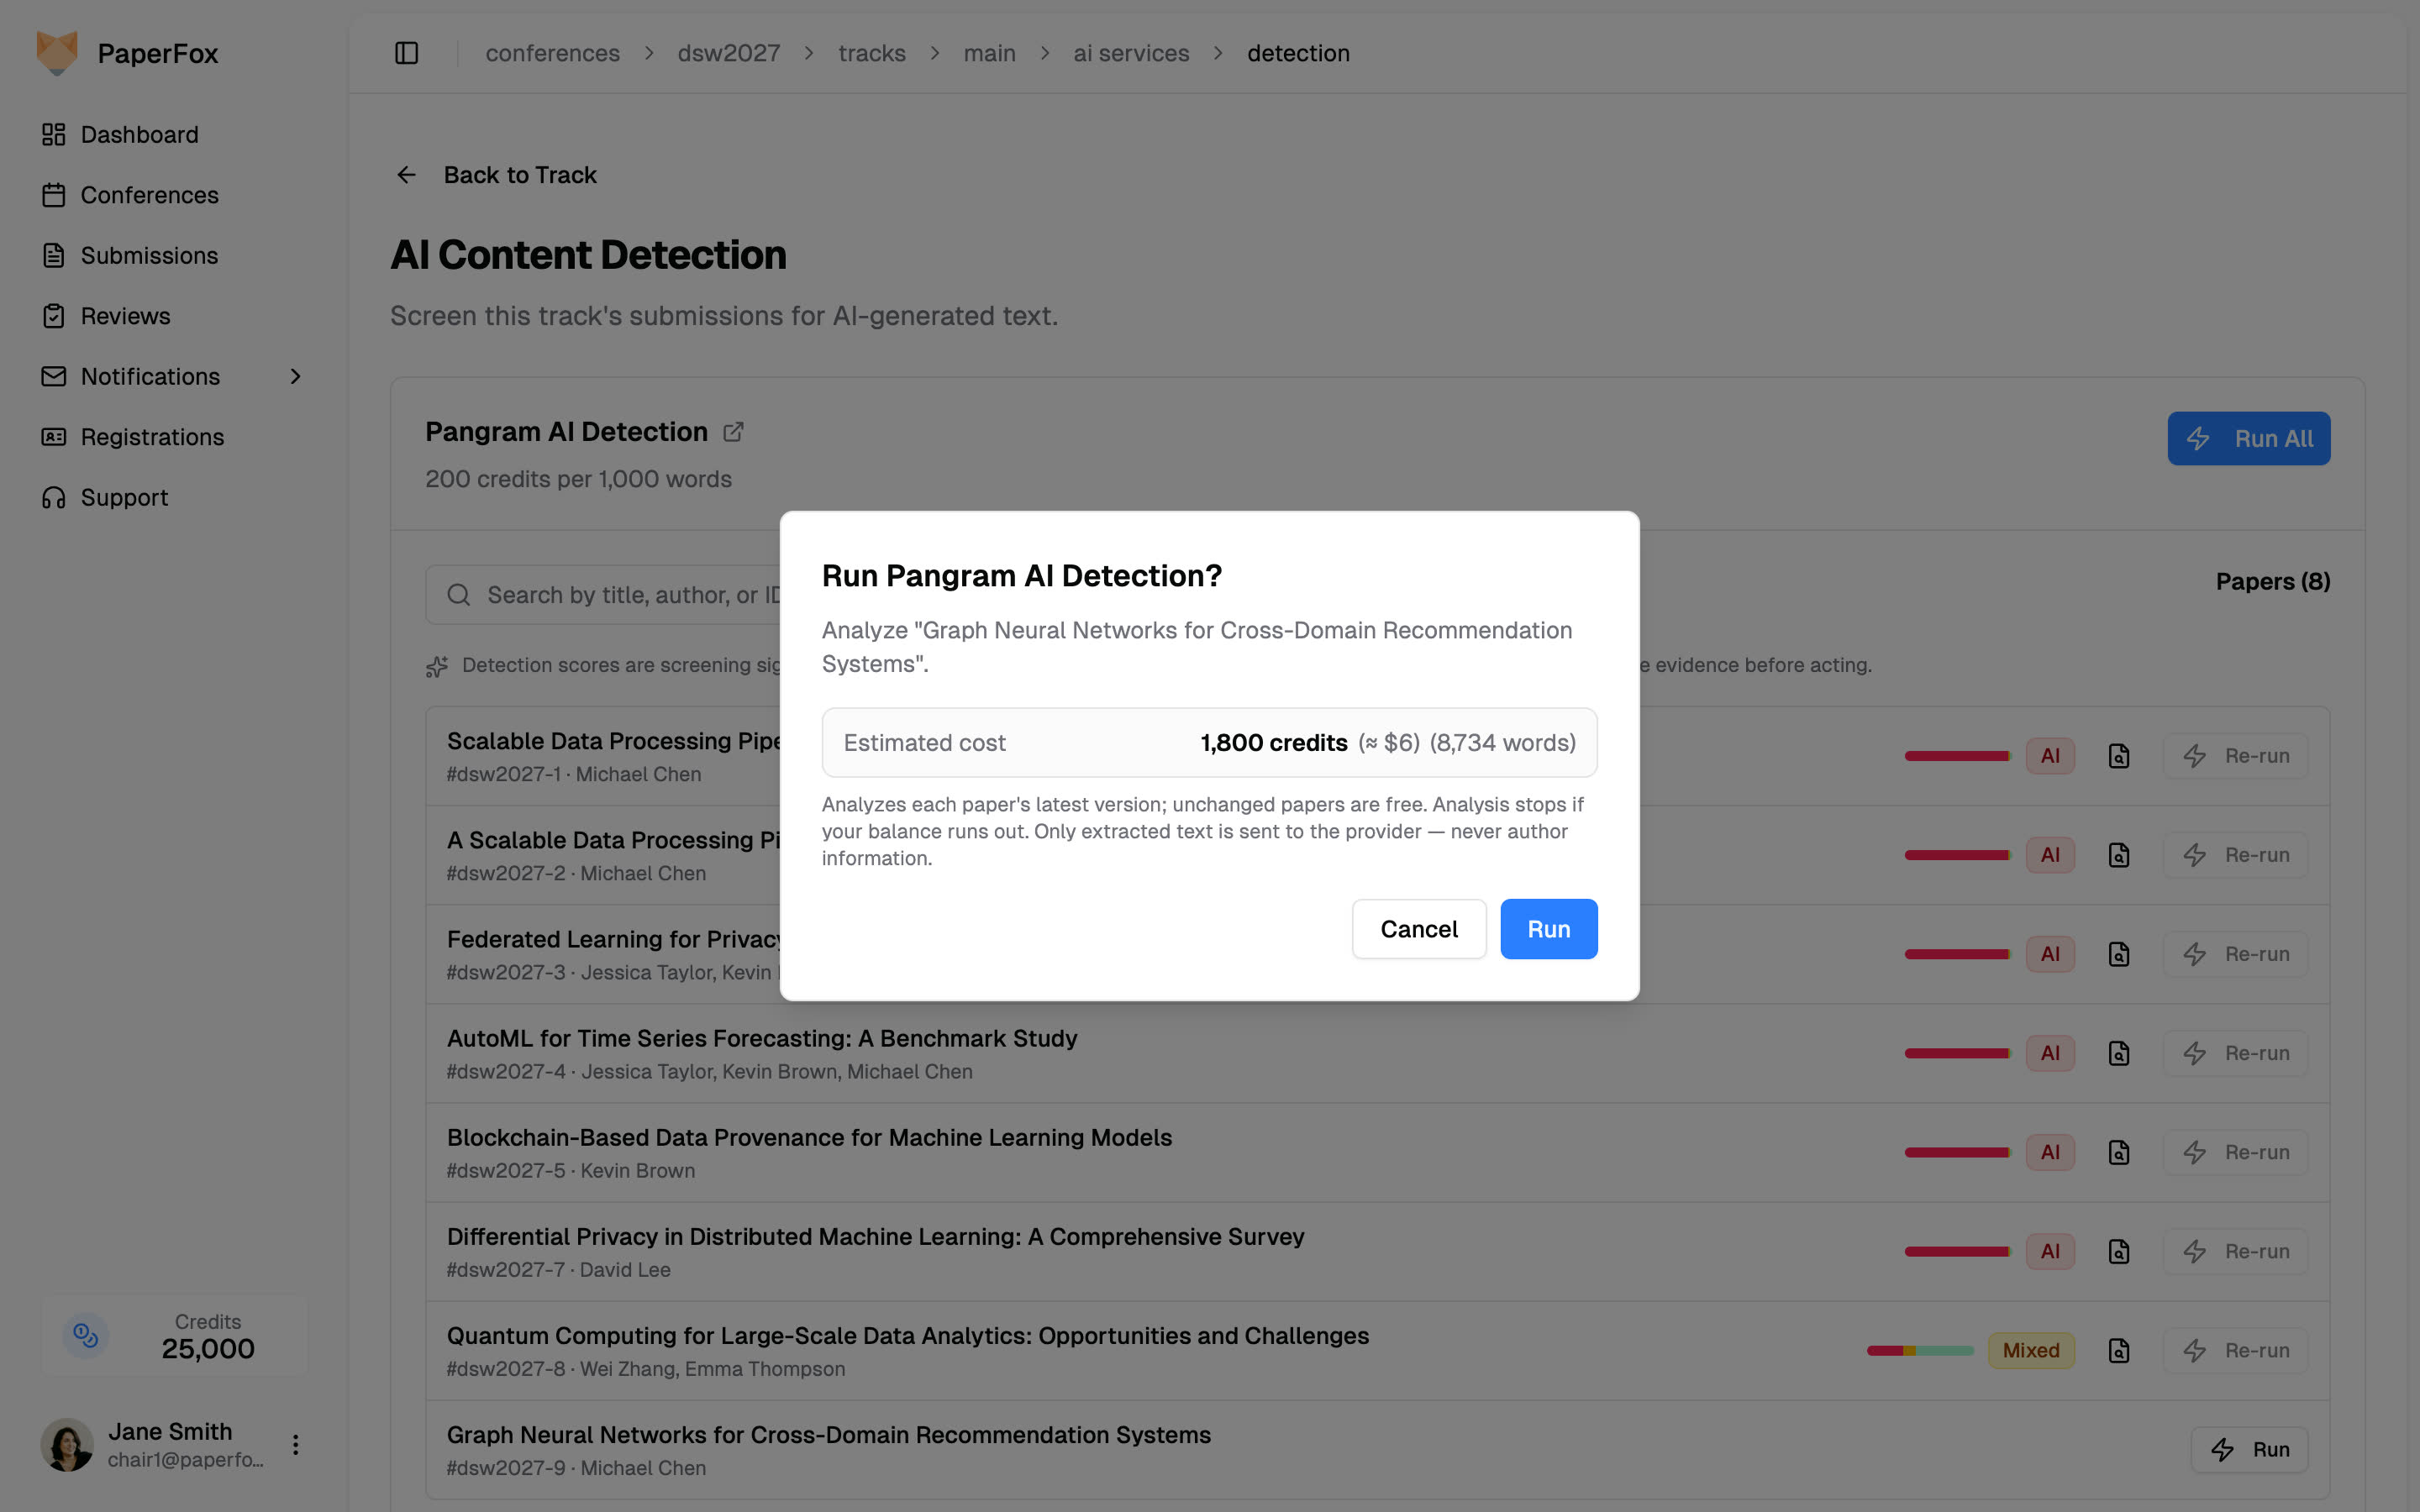
Exact cost from the submission's measured word count, plus the disclosure, before you confirm
## A Signal, Not a Verdict We want to be direct about the limits. AI detectors have documented false-positive risks, and non-native English writers are affected more than others. The NeurIPS chairs made the same point in their write-up: a Pangram score of 100% "should not be interpreted as '100% of the text is AI-generated'", only that AI was used substantively in many parts of it. A red row on the results page is a reason to read a submission more carefully. It is not a reason to reject it. Pair the score with the flagged passages, with the reviewers' own reading, and, when warranted, with a conversation with the authors. ## Getting Started AI Content Detection is available now on every track. Open your track, click **AI Content Detection** under **Submission Management**, and run it on a single submission first to see the results format. The [documentation](/docs/track-chairs/ai-content-detection) covers multi-file submission forms, which PDF version gets analyzed, and the full billing rules. --- # The Answer Is in the Docs. Somewhere. URL: https://paperfox.ai/blog/ask-ai-docs Date: 2026-07-16 Category: Product Tags: AI, Documentation, RAG, Agentic AI Nobody reads documentation for fun. You open the docs because you're trying to get something done — extend the deadline for just one track, let a reviewer hand a paper to their postdoc, email every author who hasn't registered yet — or because you're wondering whether PaperFox can even do the thing. Either way, you want the answer *now*. Our docs have those answers. The problem was finding them. ## The Problem: You Have a Question, Search Wants Keywords Our docs aren't small — nearly a hundred pages, neatly organized by role and feature. That structure is great if you already know your way around. Most people don't. They arrive with one question, shaped like their situation: *"how do I let a reviewer hand a paper to their postdoc?"* A search box matches words, not meaning — and the page you need is called **Delegating Reviews to Sub-Reviewers**. You need the page to learn what PaperFox calls the thing, but you need the name to find the page. Every docs site has this trap. ## The Fix: Ask in Your Words, Get an Answer with Receipts Every page of the [PaperFox docs](https://paperfox.ai/docs) now has an **Ask AI** button in the corner. Click it, ask your question the way you'd ask a colleague, and Foxy — PaperFox's AI assistant — answers in seconds: concrete steps, in order, with links to the exact doc pages the answer came from.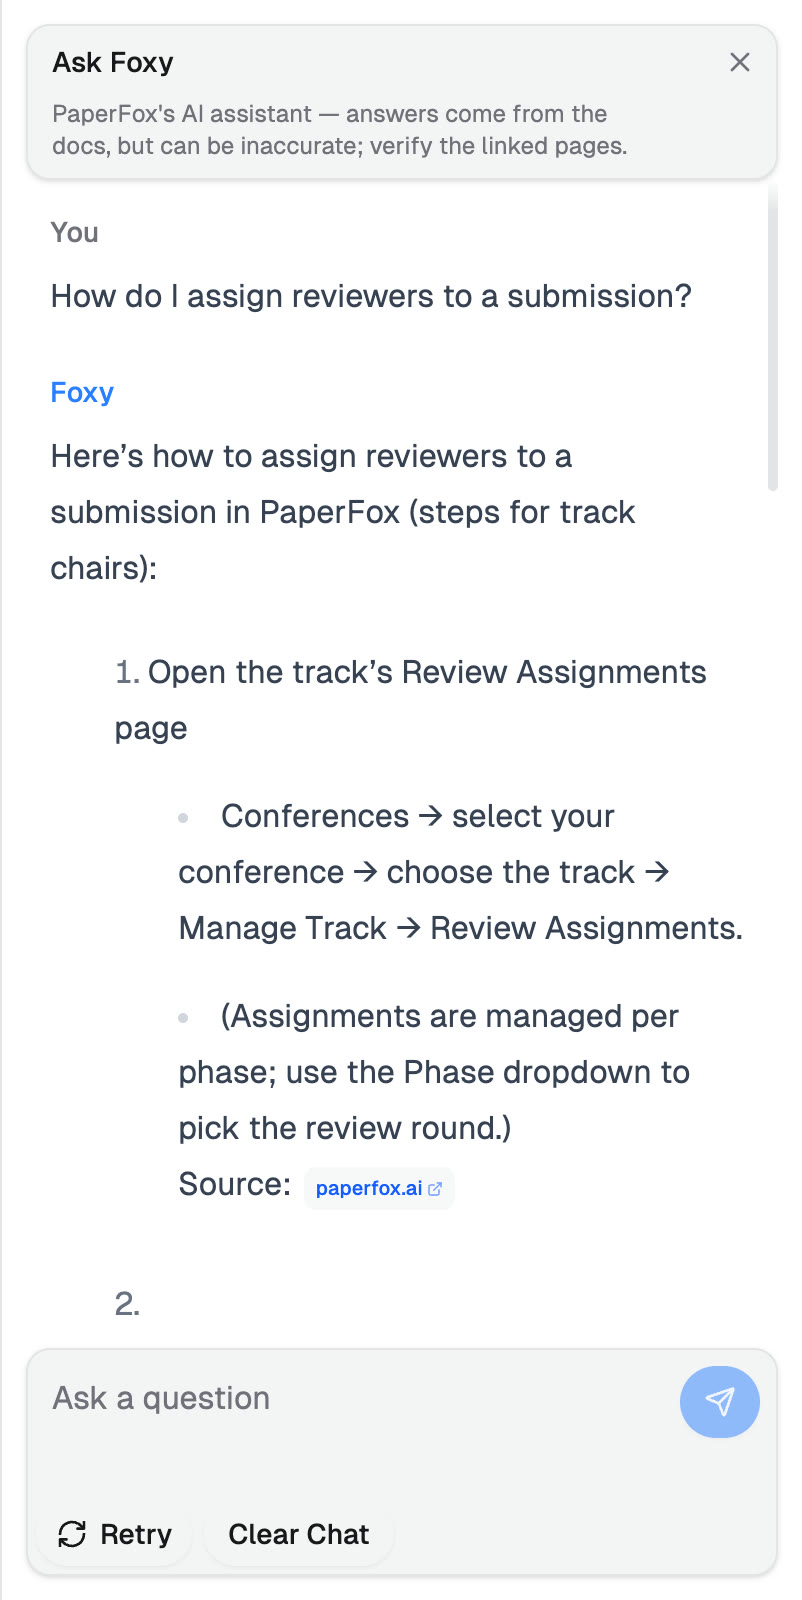
Ask in plain language — Foxy answers with steps and cites the pages it used
Those links are the point. AI assistants can be confidently wrong, so Foxy is built to show its receipts: every answer cites the pages it relied on, one click away. A few practical notes: - **Sign in to use it.** The button is on every docs page; asking requires a free PaperFox account. - **It's free.** There are generous fair-use limits to keep things fast for everyone, but no charge — helping you find answers is what the docs are for. - **Verify the important stuff.** Foxy is grounded in the docs, but it's still an AI. For anything consequential, click the cited page. ## For the Curious: How It Works *This part is for the technically inclined — feel free to stop here and go ask Foxy something.* The standard recipe for "chat with your documents" is called **RAG** — retrieval-augmented generation: fetch the relevant documents first, then let the AI answer from them, so the answer is grounded in your content instead of its memory. Classic RAG pre-processes everything: documents are split into chunks, each chunk becomes an **embedding** (a list of numbers capturing its meaning) stored in a vector database, and each question retrieves the closest chunks before the model ever sees it. Retrieval happens once, up front, by fixed rules. Ask Foxy uses **agentic RAG** instead: *the model does its own searching*. We give it one tool — a plain keyword search over the doc pages — and it uses it the way a person would: write a query, read the results, rewrite and retry if they come back thin. That retry loop is what makes a simple keyword search feel smart. Why not classic RAG here? Scale. At under a hundred pages, a keyword index rebuilt on every deploy is enough — no vector database, no embedding costs, no sync pipeline to go stale. ## Try It Head to [paperfox.ai/docs](https://paperfox.ai/docs), sign in, and click **Ask AI** in the corner. Ask the question you'd normally email us — and check Foxy's receipts.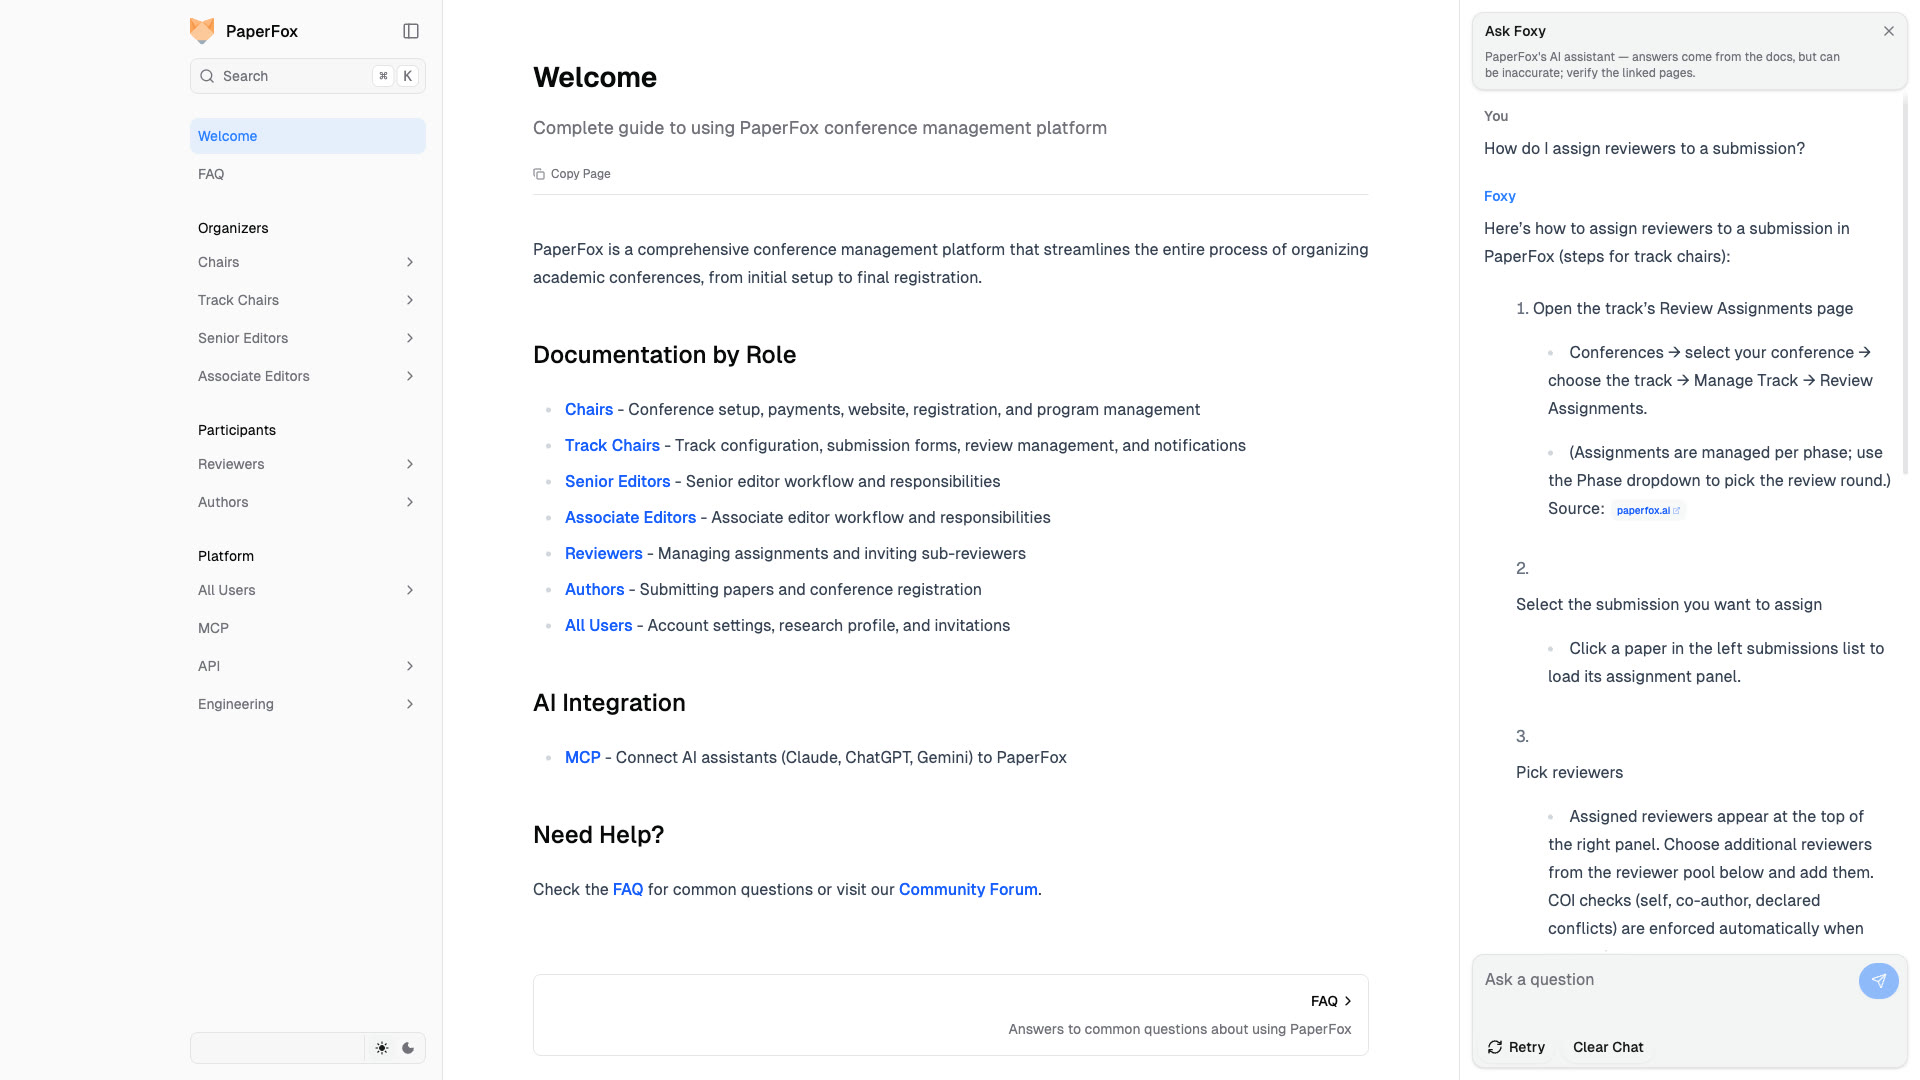
Foxy answers alongside the docs — sources one click away
--- # Fixing (and Preventing) the Affiliation Data Mess URL: https://paperfox.ai/blog/fixing-affiliation-mess Date: 2026-01-13 Category: Product Tags: AI, Data Quality, ROR "MIT", "MIT Sloan", "Sloan School of Management", "Massachusetts Institute of Technology" — these all refer to the same institution, but free-text affiliation fields create endless variations. This messy data causes real problems for conference management. ## The Hidden Cost of Inconsistent Affiliations When affiliations are entered as free text, the same institution can appear dozens of different ways: - "CMU", "Carnegie Mellon", "Carnegie Mellon University" - "NUS", "National University of Singapore", "NUS Business School" - "LSE", "London School of Economics", "London School of Economics and Political Science" This inconsistency ripples through the system: **Conflict of Interest Detection** — If two authors list "Stanford" and "Stanford University", are they from the same institution? Automated COI checks may miss the connection, potentially assigning reviewers to papers from their own colleagues. **Reviewer Discovery** — When chairs search for reviewers by institution, they may miss qualified candidates simply because the affiliation was entered differently. **Analytics & Reporting** — Conference statistics on institutional representation become unreliable. Is "UC Berkeley" the same as "University of California, Berkeley"? The data can't tell you. **Author Profiles** — The same researcher might appear with different affiliations across submissions, making it harder to track contributions and build accurate author profiles. ## Our Solution: AI-Assisted Affiliation Matching We built a system that links user-entered affiliations to the [Research Organization Registry (ROR)](https://ror.org) — a community-led, open registry of research organizations worldwide. ROR provides unique, persistent identifiers for institutions, solving the consistency problem at its root. Here's how it works: ### 1. Smart Matching with Country Context When a user enters their affiliation, we now ask for their country first. This simple UX change dramatically improves matching accuracy. Consider "CMU" — searching globally returns matches from multiple countries. But when we know the user selected "United States", Carnegie Mellon University rises to the top immediately. Same information from the user, just collected in a smarter order. ### 2. AI Verification with Human Oversight For unmatched affiliations, we use AI-assisted matching: 1. **ROR API Search** — We query the ROR registry with the user's affiliation text, filtered by their country when available 2. **AI Verification** — GPT-5 with web search verifies the match and identifies the correct institution level (e.g., "MIT Sloan School of Management" should map to "Massachusetts Institute of Technology") 3. **Human Review** — An admin reviews each match before approval, ensuring additional accuracy ### 3. Privacy by Design We're careful about what data we use when using OpenAI API: - **Only public information** — Name, affiliation text, country - **Email domain hints** — Just the part after @ (e.g., "stanford.edu" helps confirm Stanford University) - **No private data** — No private data in the system is used When a match is approved, users receive a friendly email explaining what changed and why, with a link to their ROR record. They can update their affiliation anytime if something doesn't look right.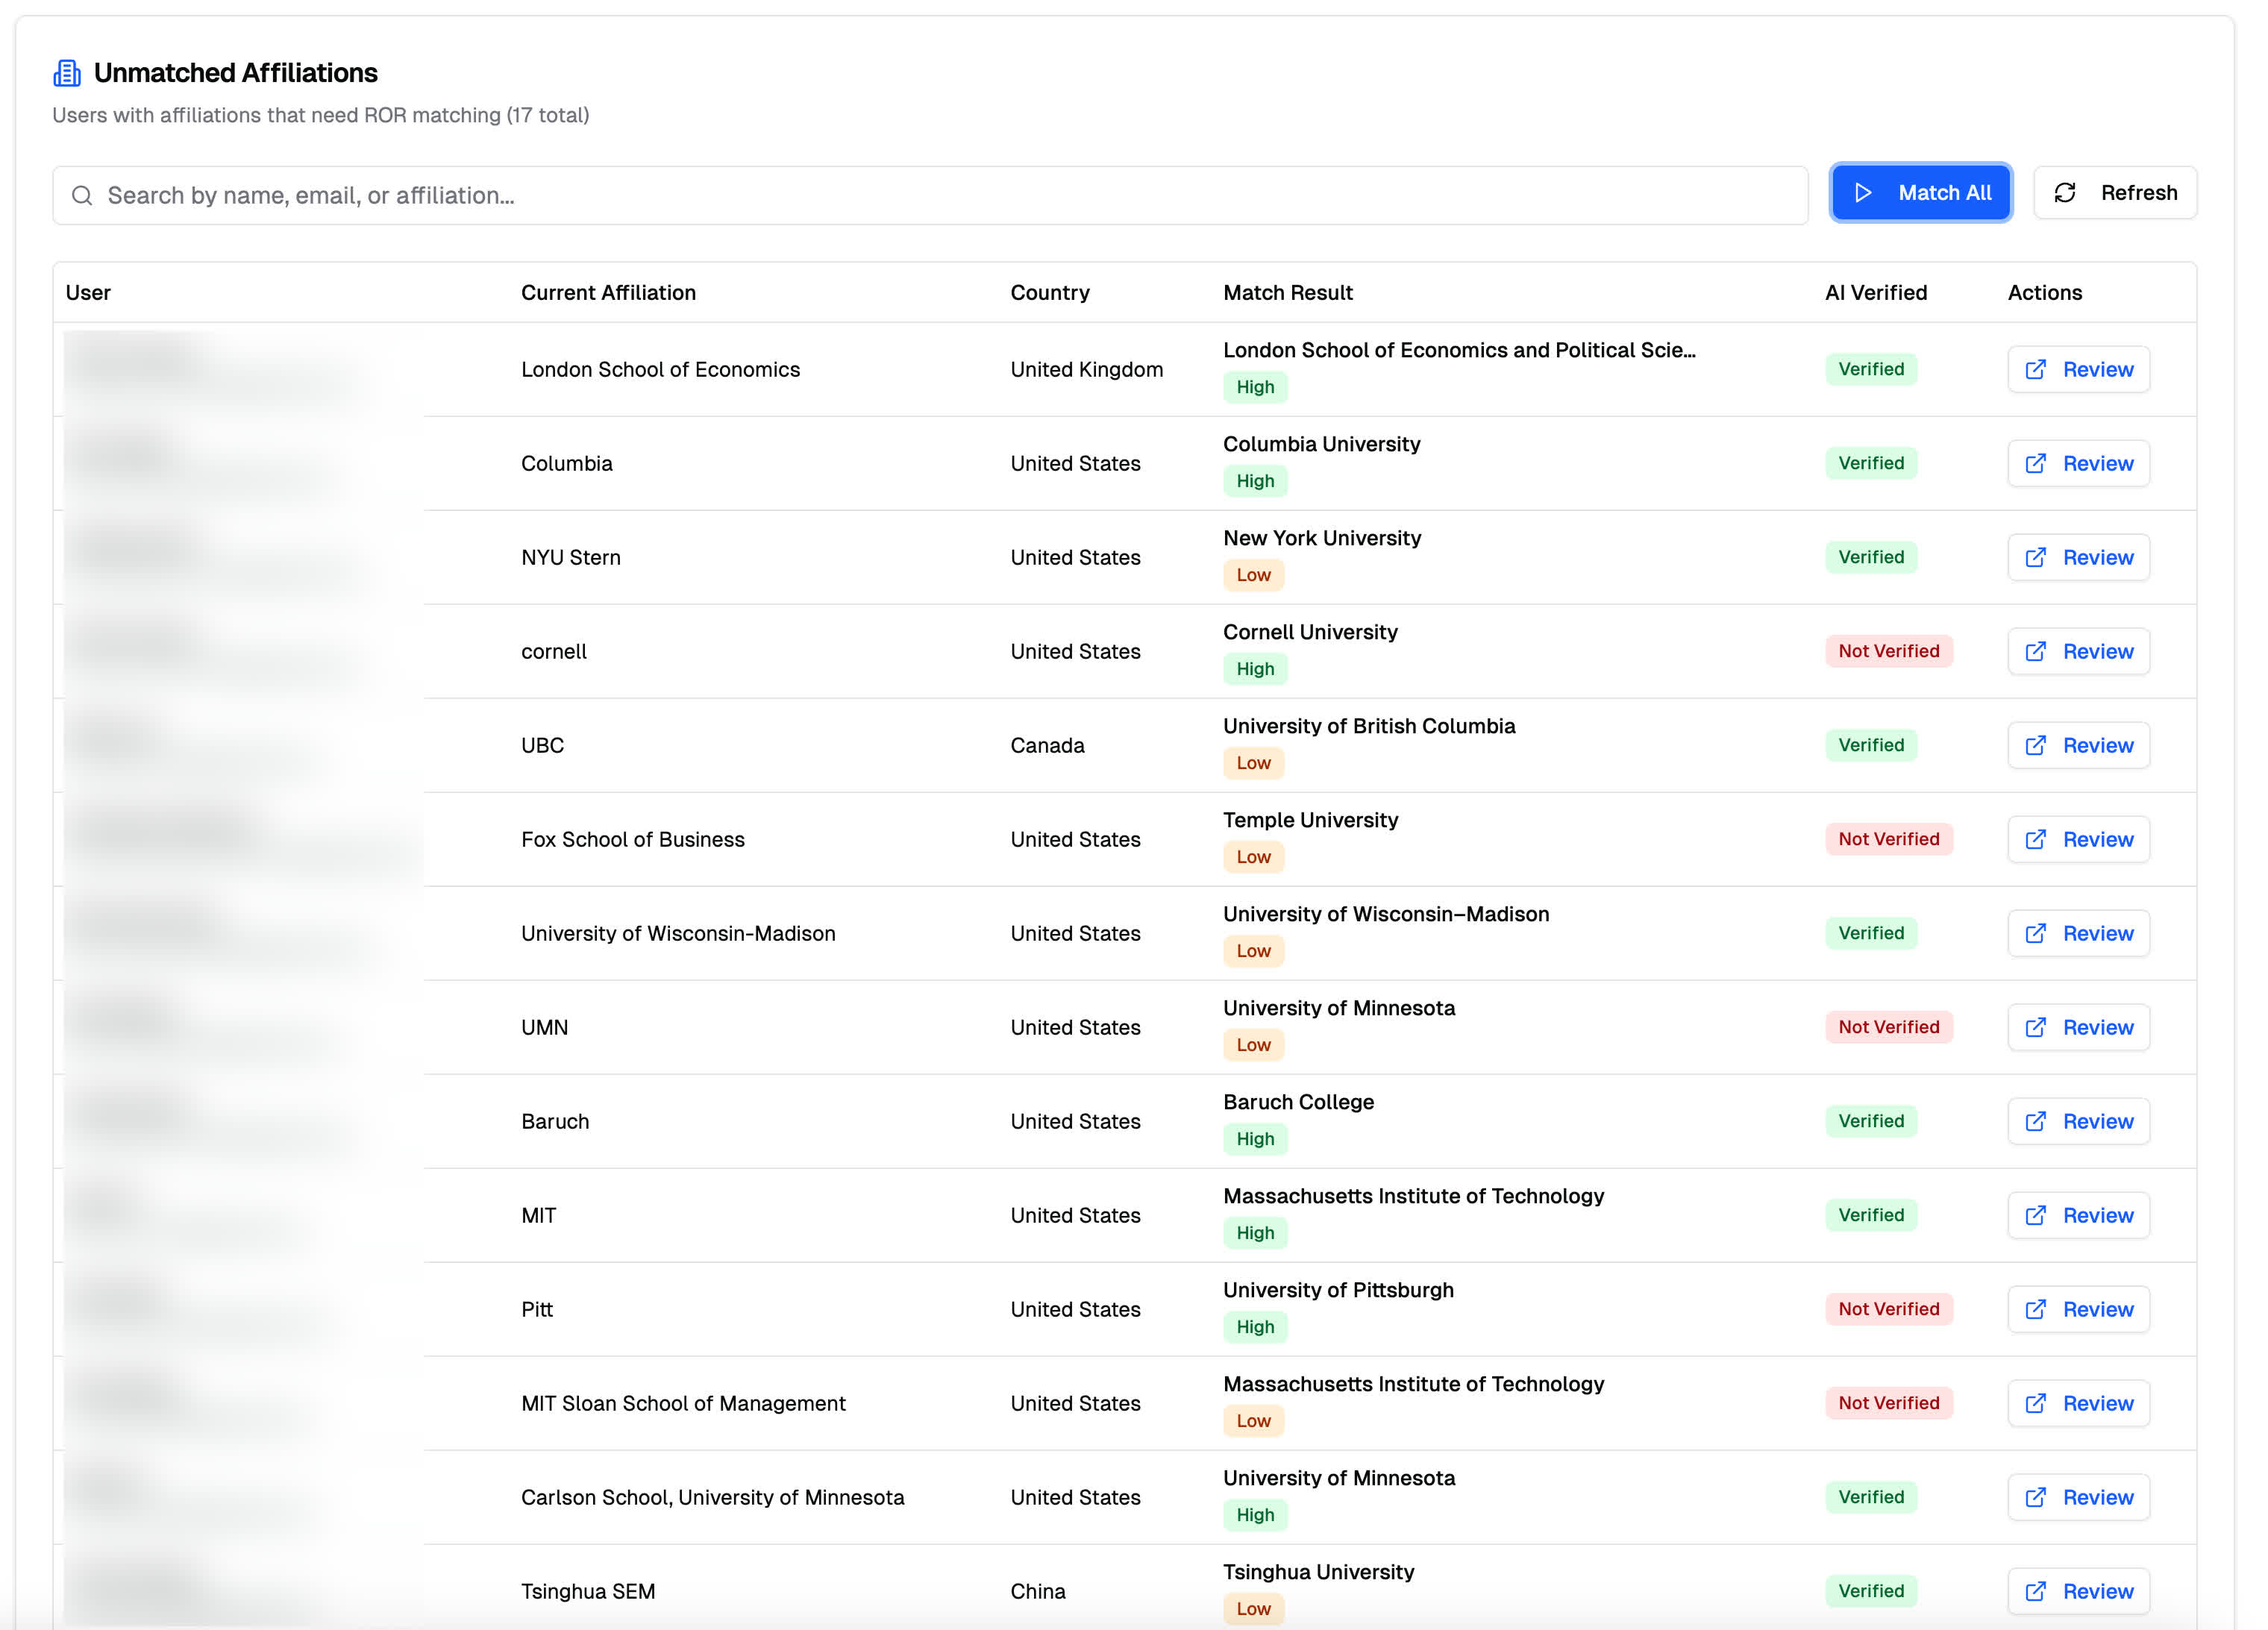
Internal admin interface with testing data
--- ## Related Docs - [Account Settings](/docs/users/account-settings) — Update your affiliation and other profile settings - [COI Check](/docs/track-chairs/coi-check) — How PaperFox detects and manages COI --- # Talk to Your Conferences from Claude, ChatGPT, and More URL: https://paperfox.ai/blog/mcp-server Date: 2026-03-13 Category: Product Tags: MCP, AI, Claude, ChatGPT The chat window is becoming the new OS. The next big shift in UI/UX is conversational — describe what you need and the AI handles the rest. [MCP (Model Context Protocol)](https://modelcontextprotocol.io/) is the open standard making this possible, and PaperFox now supports it.PaperFox MCP in one minute: ask, edit, build your program from last year's PDF, and connect
## Ask Instead of Click PaperFox's web app is still the best place for complex workflows. But many day-to-day tasks are simple lookups — and for those, a conversation is faster: - *"How many papers for DSW 2027?"* — Submission counts, status breakdown, and acceptance rates. - *"How are reviews going for ICMR 2027?"* — Completion rates, pending assignments, overdue reviewers. - *"Show me dsw2027-1"* — Full submission record: title, abstract, authors, review status. - *"What's the ICAI 2027 program?"* — Published schedule with sessions, speakers, and papers. Same data, same permissions — just a different way to get to it.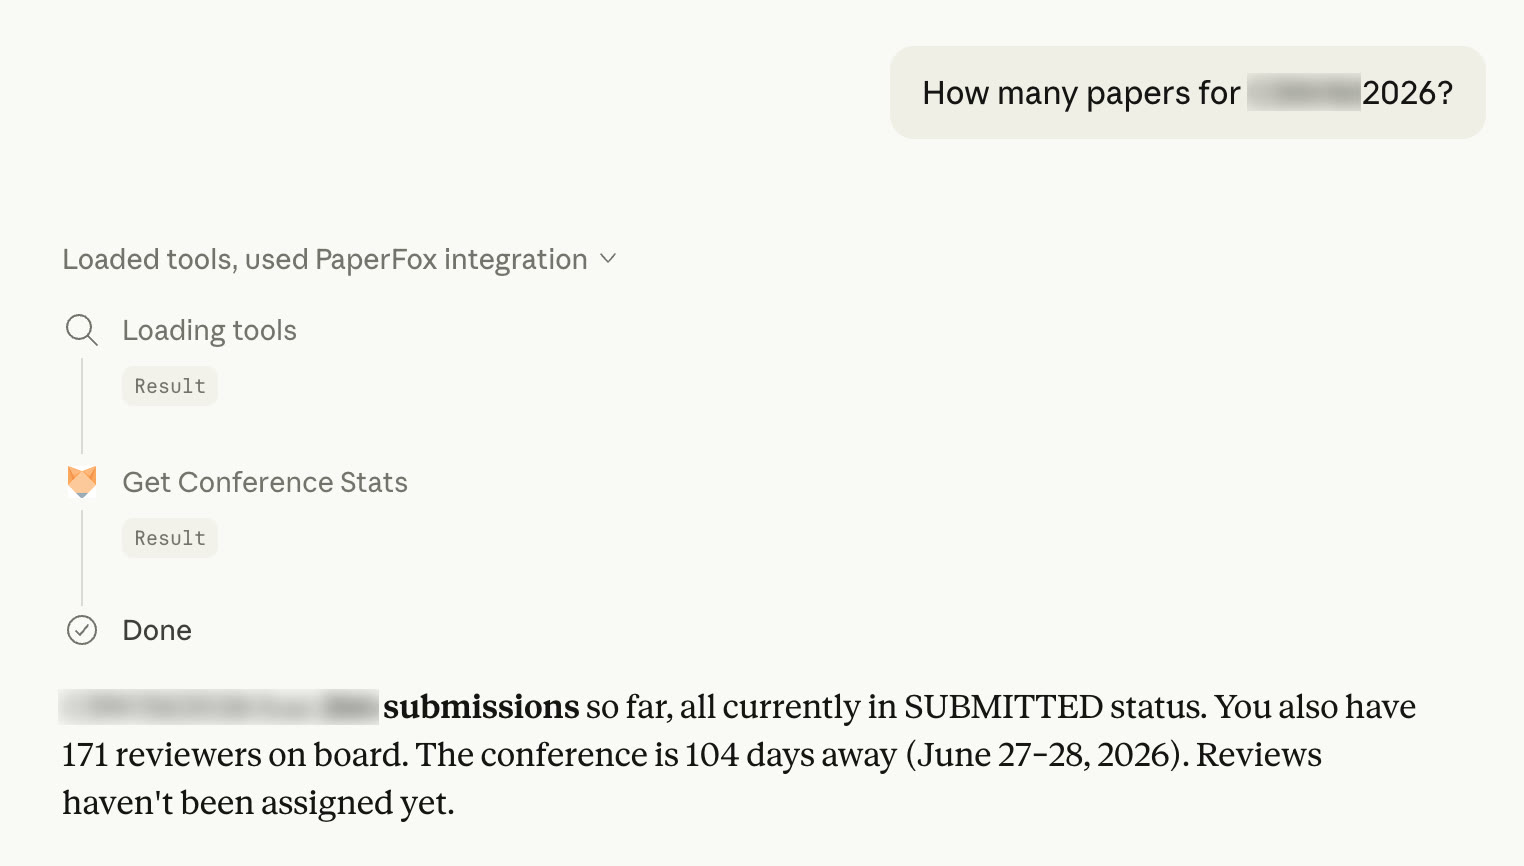
Checking submission stats from ChatGPT — one question, instant answer
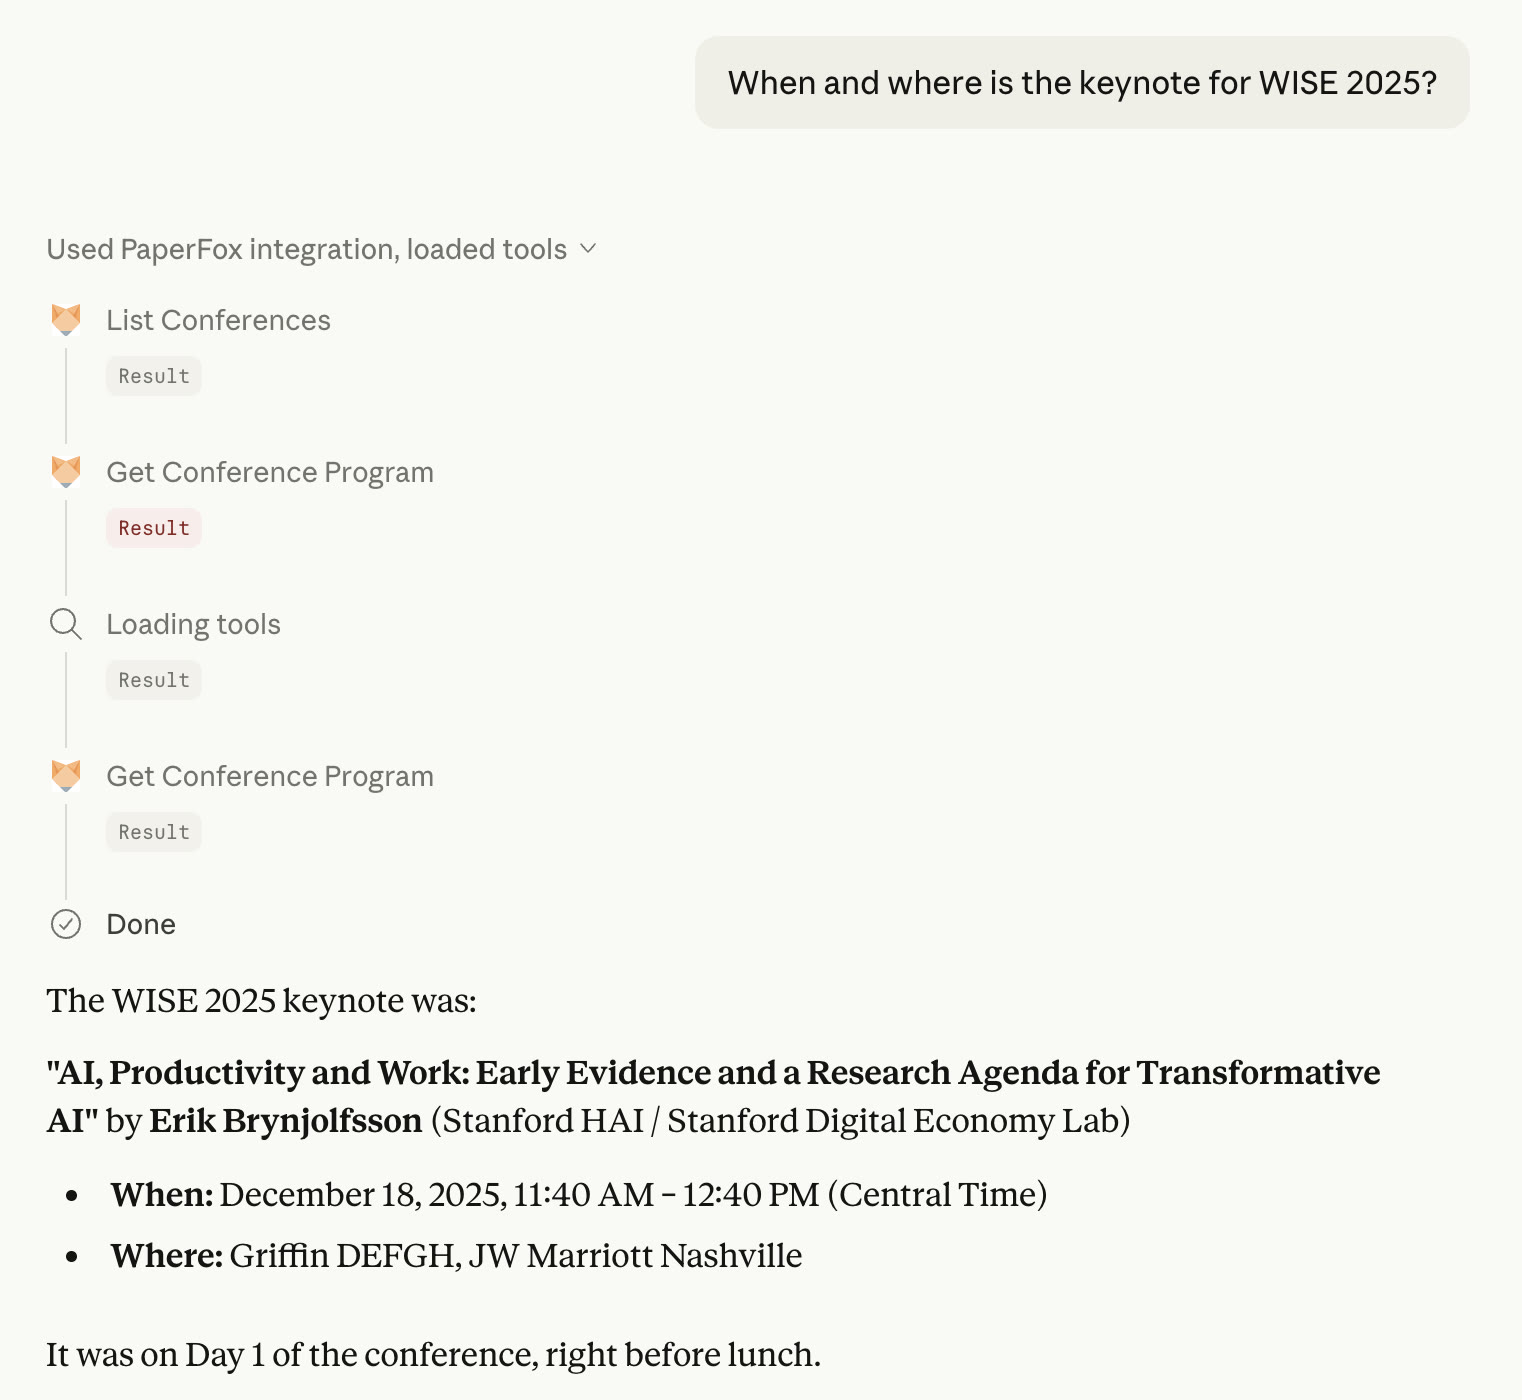
Looking up keynote details — the AI calls the right tools automatically
## What's Available Today PaperFox MCP supports a growing set of tools for reading and managing conference data: **For chairs**: Conference statistics, track-level stats, review progress monitoring, and submission lookups — the queries chairs ask most often, now available in a single sentence. Chairs can also shortlist submissions from reviewer scores and comments, create and edit tracks, edit review forms, and [build the whole program by chatting](/docs/chairs/build-program-with-mcp) — even from last year's program PDF. Nothing is written until you say yes. **For authors**: List your submissions and check their status. **For everyone**: Browse conference programs, discover sessions and speakers, and explore conference information. All actions respect your existing PaperFox permissions. A reviewer can't access chair-only stats, even if the AI tries. Authentication uses OAuth 2.1 — no API keys to manage, and your password is never shared with the AI. ## Early Access — Try It and Tell Us What You Think MCP support in PaperFox is **experimental**. We're actively developing new tools and improving the experience. Planned additions include: - **Review tools**: Submit reviews, update scores - **Decision tools**: Record accept/reject decisions - **Notification tools**: Send emails to authors and reviewers The goal is simple: if you can do it on PaperFox, you should be able to do it from your AI assistant. We'd love your feedback. Try connecting your AI assistant, run a few prompts, and let us know what works, what doesn't, and what tools you'd like to see next. Drop us a note on our [Community Forum](/community/forum) or email us at [support@paperfox.ai](mailto:support@paperfox.ai). --- ## Get Started See our [MCP documentation](/docs/mcp) for setup instructions for Claude, ChatGPT, and other MCP-compatible clients. --- # One Researcher, Many Inboxes URL: https://paperfox.ai/blog/multi-email Date: 2026-05-26 Category: Product Tags: Identity, Accounts, Invitations, Conference Operations Most academics have more than one email address — an official institutional one and a personal one. And people move institutions, picking up a new official address while the old one still works. After a few years, the same person has several live addresses and no single canonical one. That's fine for a human — you know they're all you. It's a problem for software that decides "is this the same person?" by comparing email strings. ## The Problem: Many Emails, Many Accounts Conference chairs invite by email, using whichever address they happen to have — often not the one you actually check. That causes two problems: **The invitation goes to an inbox you don't read.** A review assignment lands in an old address, you never see it, and the chair reassigns the paper. You've been dropped silently — no error, no bounce. **A second account gets created.** You signed up under `jdoe@oldschool.edu`. A chair invites `j.doe@newschool.edu`. PaperFox can't tell they're the same person, so a second, separate account spins up — a ghost of you, with no submissions or profile. The knock-on effects are worse: conflict-of-interest checks miss your papers, registration reports flag your own paper as unregistered, and reviewer-load counters split your work across two profiles. Every "is this the same person?" check votes *no*. ## The Fix: Many Emails, One Account PaperFox lets one account hold any number of verified addresses. Any of them can sign you in, and any invitation sent to any of them lands on the same account.
Adding an address takes one form field and one click:
1. Go to **Settings → Emails**, type the new address, click **Add Email**.
2. Open the verification link from that inbox.
3. The badge flips to **Verified** — the address can now sign you in and catch invitations.
Sign in with the same password and any of your verified emails. The sidebar always shows your **primary** address, no matter which one you used.
That primary is where notifications go — review reminders, decision letters, password resets. Secondary addresses sign you in and route invitations, but PaperFox never double-emails you. Stop checking an inbox? Switch primary; the old address stays linked so anything in flight still finds you.
## How to Merge Two Accounts Into One
If a chair once invited an address you hadn't linked yet, there may already be two of you. The fix is on the same settings page.
Add the other account's address like any new email. PaperFox sees it belongs to a separate account and offers **Claim from your other account**:
A verification email goes to that address. Clicking it proves you control both inboxes and opens a preview of exactly what will move — submissions, reviews, memberships, registrations, invitations, and history:
Confirm, and the other account is absorbed. You keep the surviving account's password and profile; the other's address becomes a verified secondary; everything historical follows you over.
## Your History Stays Intact
Merging links the accounts — it doesn't rewrite the past. Your old submissions and reviews keep the exact affiliation and email you used at the time, because those are snapshots, captured when you submitted or reviewed and never edited afterward. A 2019 paper still shows your old-school address on the byline; merging just means that paper now lives under your single account. Changing your primary email works the same way: it routes future mail, but it never touches the record of what you sent from where.
## Try It
If you've ever missed an invitation because a chair used the wrong email, or spotted two PaperFox accounts with your name on them, open **Settings → Emails**, add every address you use professionally, and verify each one.
---
## Related
- [Managing Your Email Addresses](/docs/users/email-addresses) — Step-by-step docs for adding, verifying, and merging
---
# Official Launch of PaperFox.ai
URL: https://paperfox.ai/blog/official-launch
Date: 2025-12-01
Category: Announcement
Tags: Launch, Product News
After months of working closely with several conferences during our beta, we're excited to officially launch PaperFox.ai.
Managing submissions, reviews, programs, registration, and websites across multiple systems has long been a challenge for conference organizers. As an academic who has organized conferences of many different sizes, I've experienced these pain points firsthand. Many existing systems have supported the community for years, but we often hear from organizers that they are looking for a more unified, easier-to-use solution with better UI/UX and improved workflows.
With the rapid advancement of AI, this is the perfect moment to build the next generation of academic conference management systems to address these challenges. This vision led us to create PaperFox.ai — an all-in-one, AI-powered platform that brings every part of the conference workflows together in one place. Our goal is simple: reduce administrative burden and provide a smoother, more intuitive experience for chairs, authors, reviewers, and participants.
This official launch is only the beginning. We remain committed to improving and refining PaperFox in close collaboration with the academic community.
Warm regards,
**Harry Wang**
*Founder & CEO, PaperFox.ai*
[LinkedIn](https://www.linkedin.com/in/harryjwang/) · [Website](https://harrywang.me) · [Email](mailto:harry@paperfox.ai)
---
# PaperFox at ICIS 2025: Powering AIS Workshop Programs
URL: https://paperfox.ai/blog/paperfox-goes-global-icis
Date: 2025-12-25
Category: News
Tags: AIS, ICIS, Conference Programs
The International Conference on Information Systems (ICIS) is the flagship annual conference of the Association for Information Systems (AIS), the leading global professional association for information systems scholars. ICIS 2025 takes place in Nashville, bringing together thousands of researchers, educators, and practitioners from around the world.
Several AIS-affiliated workshops at ICIS 2025 used PaperFox.ai to build and publish their conference programs:
- [**Workshop on Information Systems and Economics (WISE)**](https://www.paperfox.ai/conference/wise2025/program) – a premier forum for research on information systems through the lens of economics.
- [**Workshop on Information Technologies and Systems (WITS)**](https://www.paperfox.ai/conference/wits2025/program) – a quantitatively oriented conference traditionally held in conjunction with ICIS.
- [**Workshop on E-Business (WeB)**](https://www.paperfox.ai/conference/web2025/program) – a long-running workshop focused on e-business and digital commerce.
- [**SIGBIT Workshop on Blockchain Ecosystems and Artificial Intelligence**](https://www.paperfox.ai/conference/sigbit2025/program) – organized by AIS SIGBIT, focusing on blockchain ecosystems and AI.
Attendees can explore these programs on the go using the PaperFox mobile app or browse them directly through our mobile-friendly web version.
We thank the workshop chairs for trusting PaperFox.ai and giving us the opportunity to serve their communities.
---
# Introducing the Program Builder & Mobile App
URL: https://paperfox.ai/blog/program-builder
Date: 2025-12-10
Category: Product
Tags: Program Builder, Mobile App
We've been working hard on making conference programs easier—for both organizers and attendees. Traditional programs built in Word or Excel are hard to update, difficult to search, and frustrating to use on mobile.
We think there's a better way and here's how PaperFox helps:
Build your program in one minute: days, sessions, and items, or draft it by chatting with your AI assistant
## For Organizers - Drag-and-drop program builder for conferences of any size, with flexible session types and parallel tracks - Link accepted papers directly from submissions - Modern editor with support for Markdown and media files - Export to professionally designed Word documents
Intuitive drag-and-drop interface for building conference programs
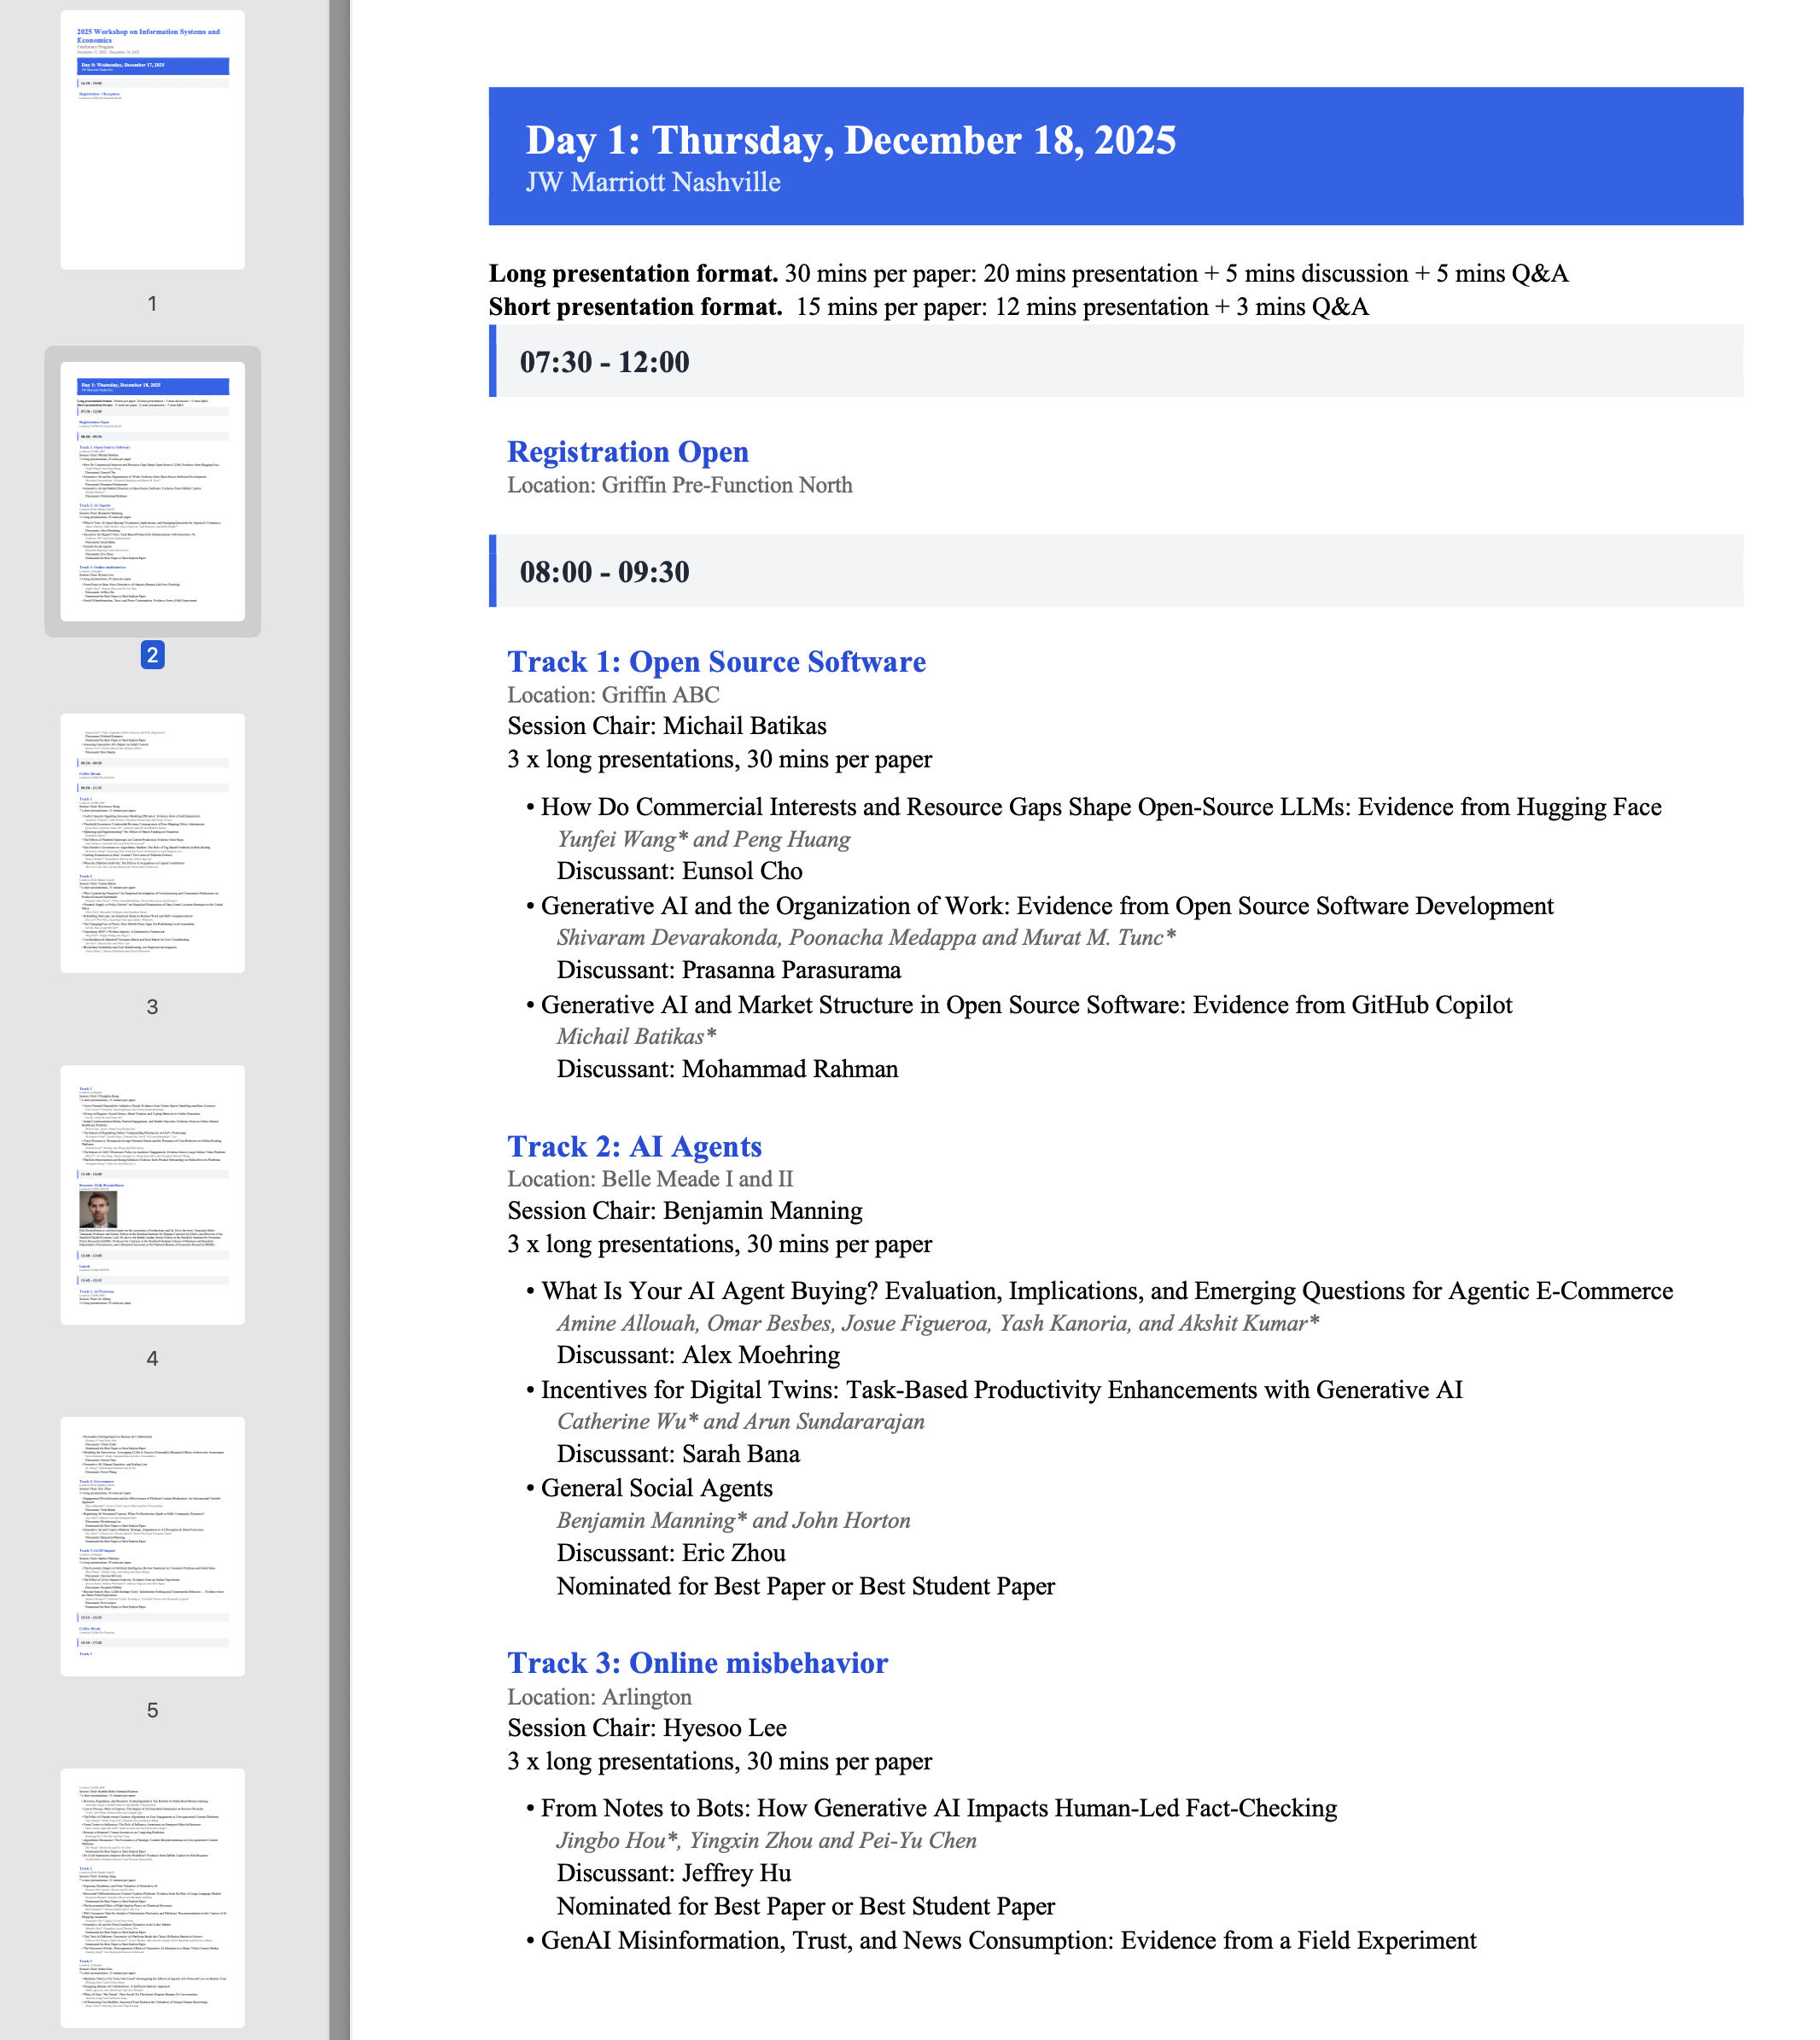
Export your program to professionally designed Word documents
## For Attendees - Clean, modern, mobile-friendly online program - Bookmark sessions and papers - Native iOS and Android apps to browse the full program ## Now Available: Build Your Program with AI - Connect Claude or ChatGPT to PaperFox, and the AI drafts the full program from your accepted submissions - Chairs refine the schedule by chatting with AI, then fine-tune and publish in the Program Builder — see [Build Program with MCP](/docs/chairs/build-program-with-mcp) What features would help your next conference? [Let us know!](/community/forum) --- ## Related Docs - [Program Management](/docs/chairs/program-management) — Build and publish your conference schedule - [Build Program with MCP](/docs/chairs/build-program-with-mcp) — Draft and refine your program by chatting with AI - [Using the Mobile App](/docs/users/using-mobile-app) — Browse programs on iOS and Android --- # AI Review with Refine.ink URL: https://paperfox.ai/blog/refine-ink-ai-review Date: 2026-10-23 Category: Product Tags: AI, AI Review, Refine.ink AI review is entering mainstream peer review. At AAAI-26, every main-track submission received a clearly labeled [AI review](https://arxiv.org/abs/2604.13940) alongside its human reviews, and ICLR 2025 used an [LLM agent](https://blog.iclr.cc/2025/04/15/leveraging-llm-feedback-to-enhance-review-quality/) to give feedback on more than 20,000 reviewer reports. For conferences that choose to use an AI review service, PaperFox now integrates with them directly, starting with [Refine.ink](https://www.refine.ink). Run it on every submission in one click, steer what it focuses on, and read and share its reports right next to your human reviews. ## Connect Refine.ink The integration is bring-your-own-key (BYOK): reviews run on your conference's own Refine.ink account, and PaperFox charges no additional fee. A chair adds the API key once in **Conference Settings**, and PaperFox stores it encrypted.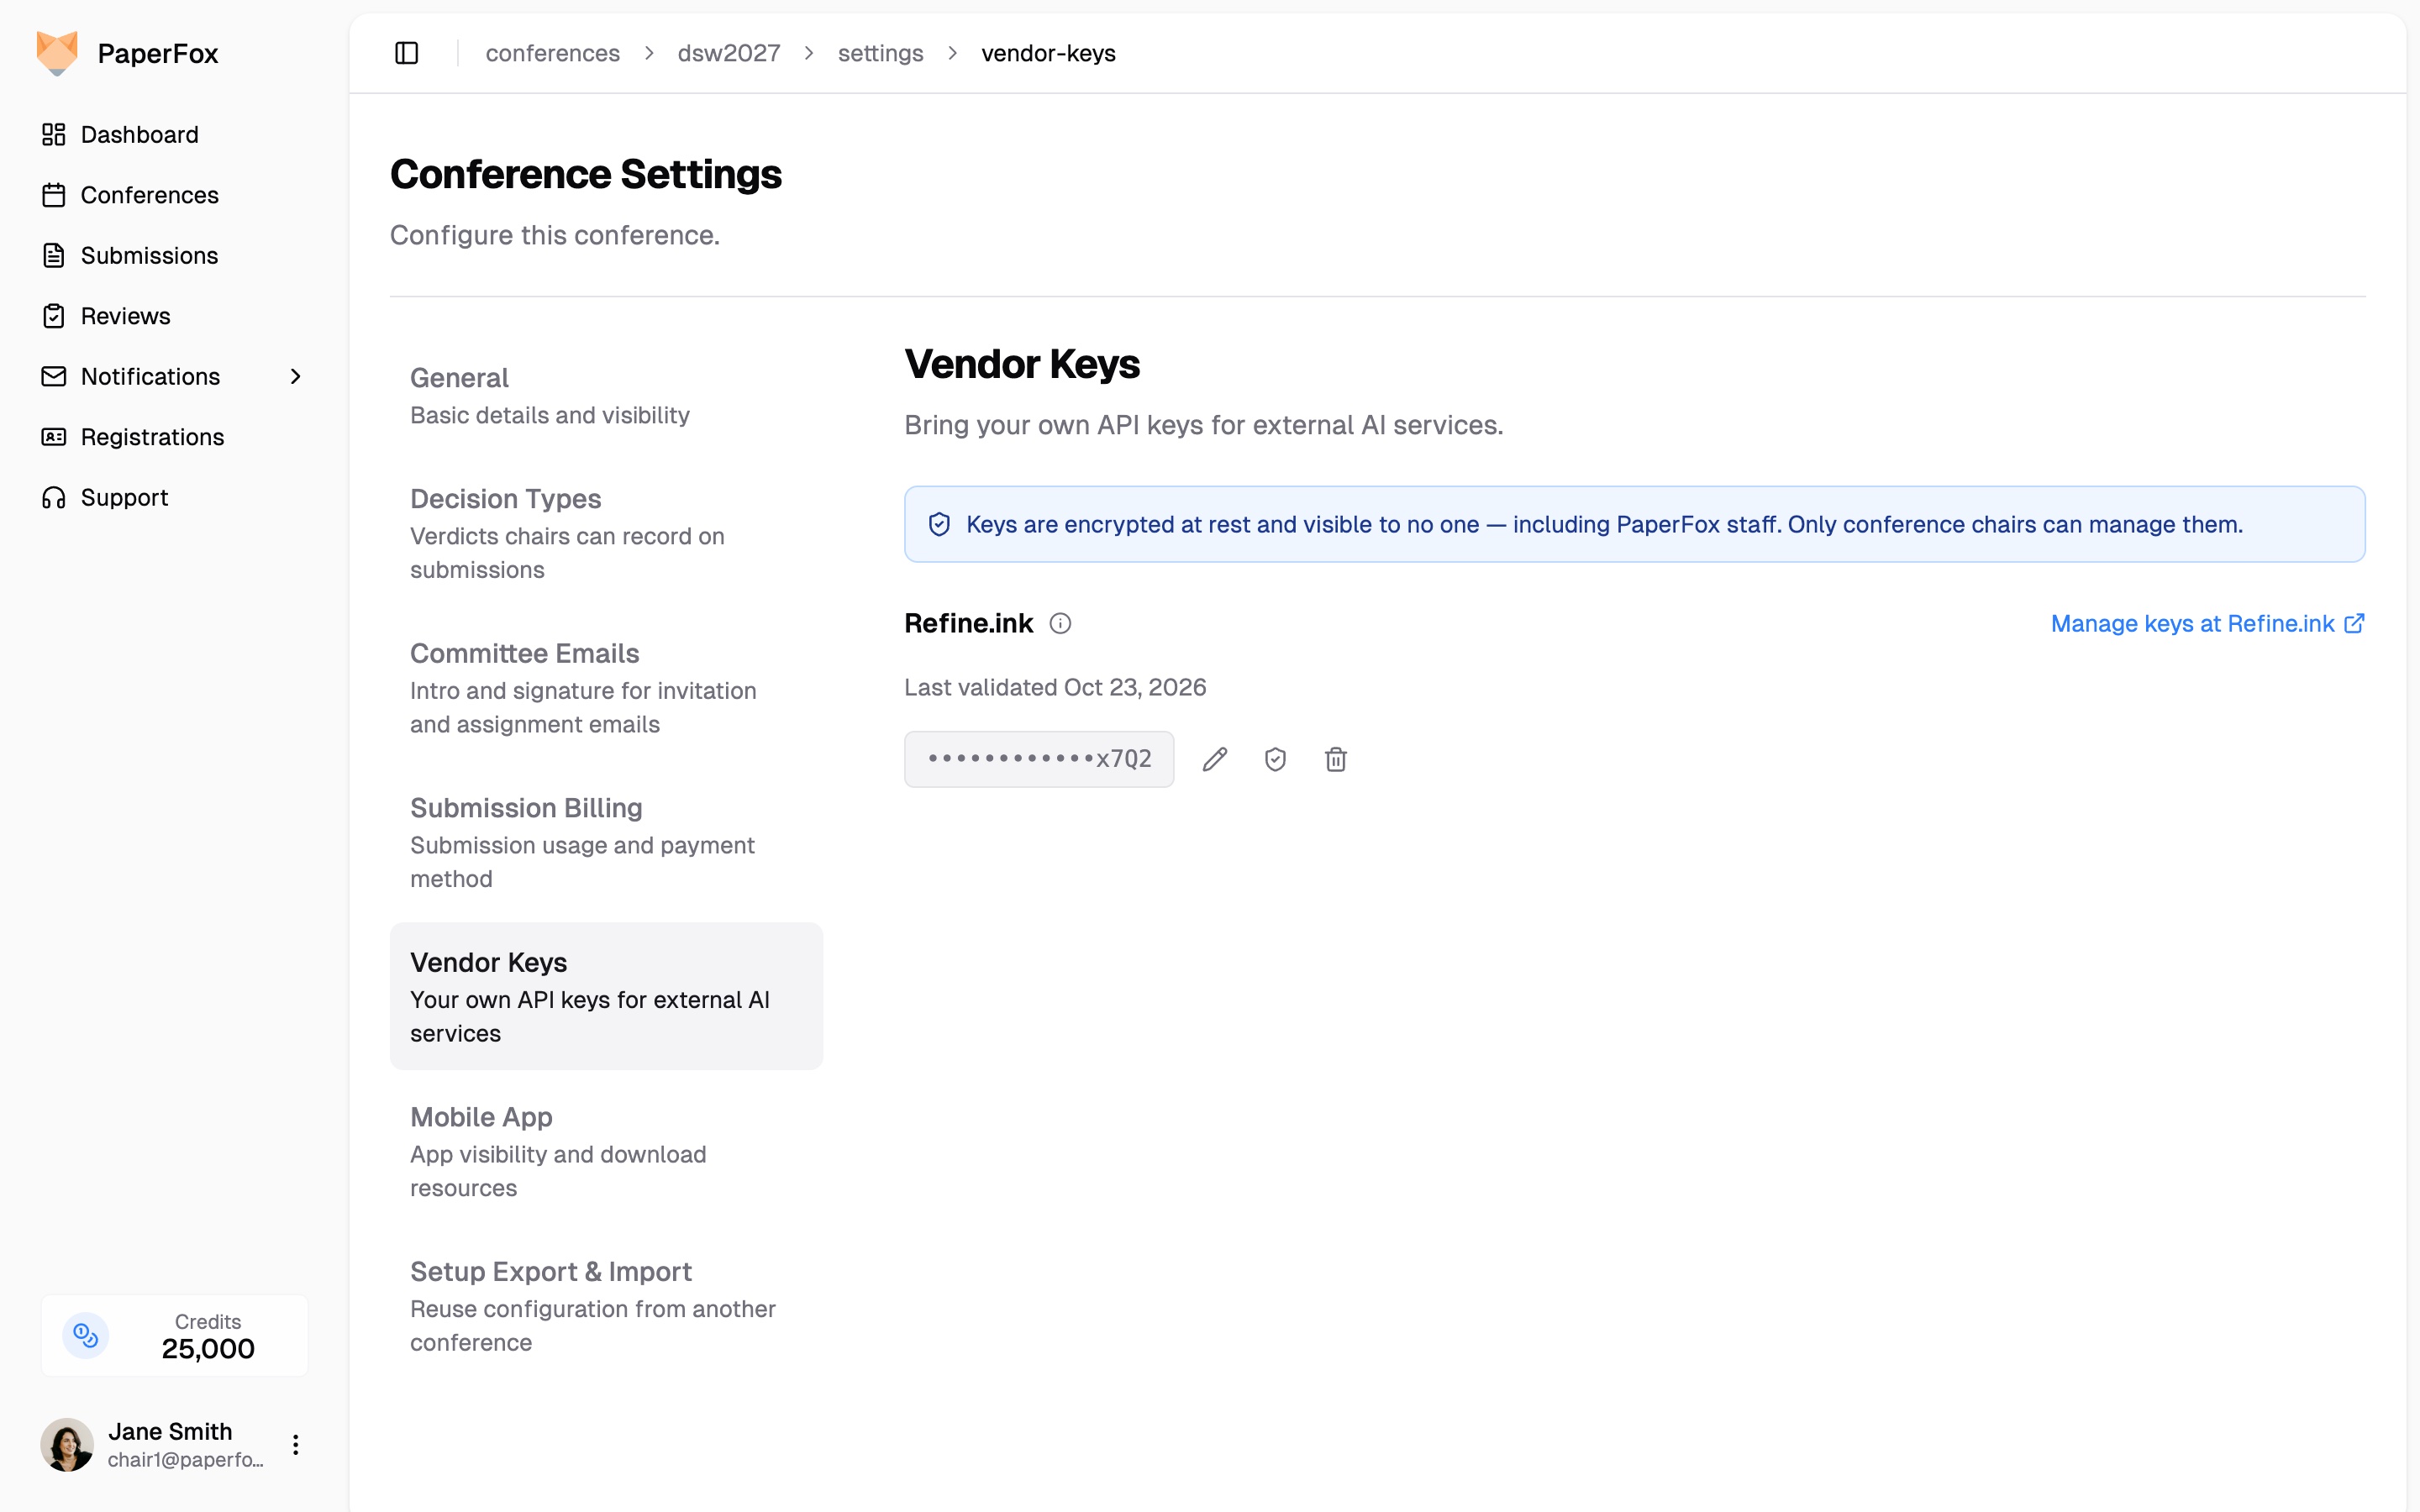
One key per conference, encrypted and never shown again in full
## Every Submission in One Click Pick **Refine AI Review** on a track's **AI Review** page and click **Run All**, or run it on a single submission. PaperFox sends each PDF to Refine.ink, waits in the background, and emails you when the run finishes. Each result appears on the submission's row with its comment count.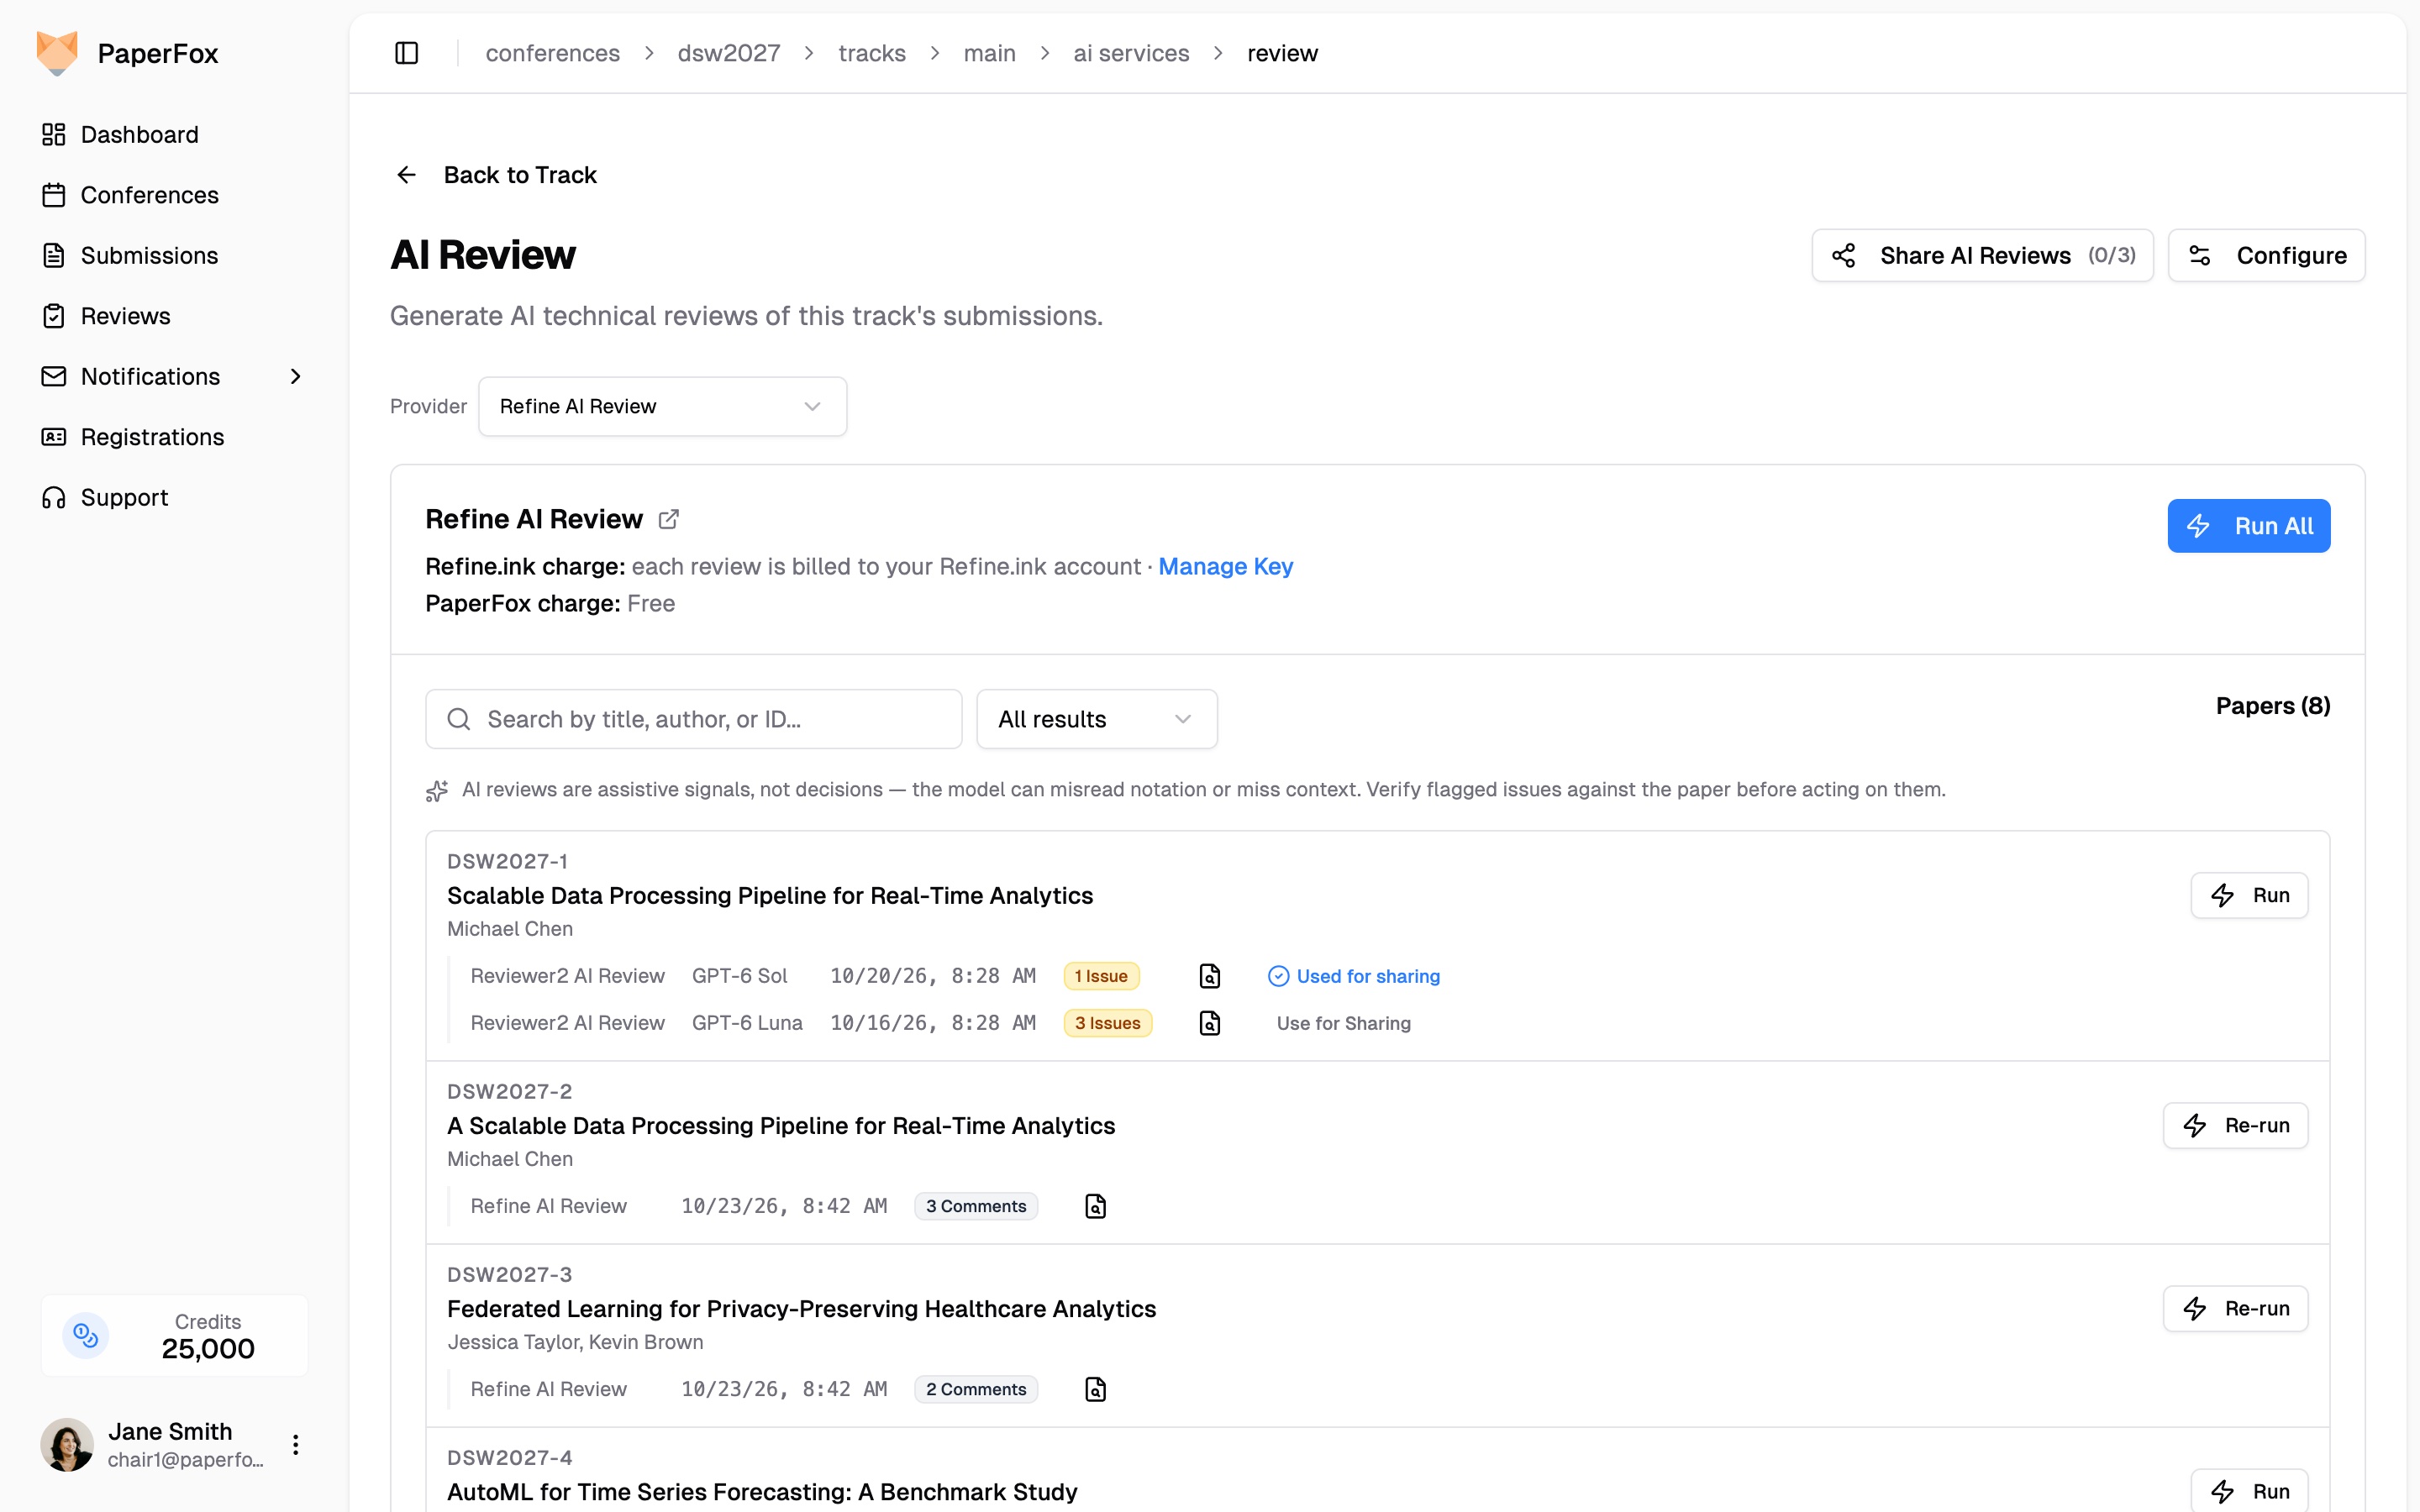
Refine.ink runs sit next to Reviewer2 runs, each in its provider's own words
## Steer What Refine.ink Looks At Each track can give Refine.ink a short **steering prompt** on what matters most, such as "focus on whether the evaluation supports the headline claims." Refine.ink uses it as guidance, not as a replacement for its own rubric. Every report keeps the prompt it ran with, so you can always see what guided it.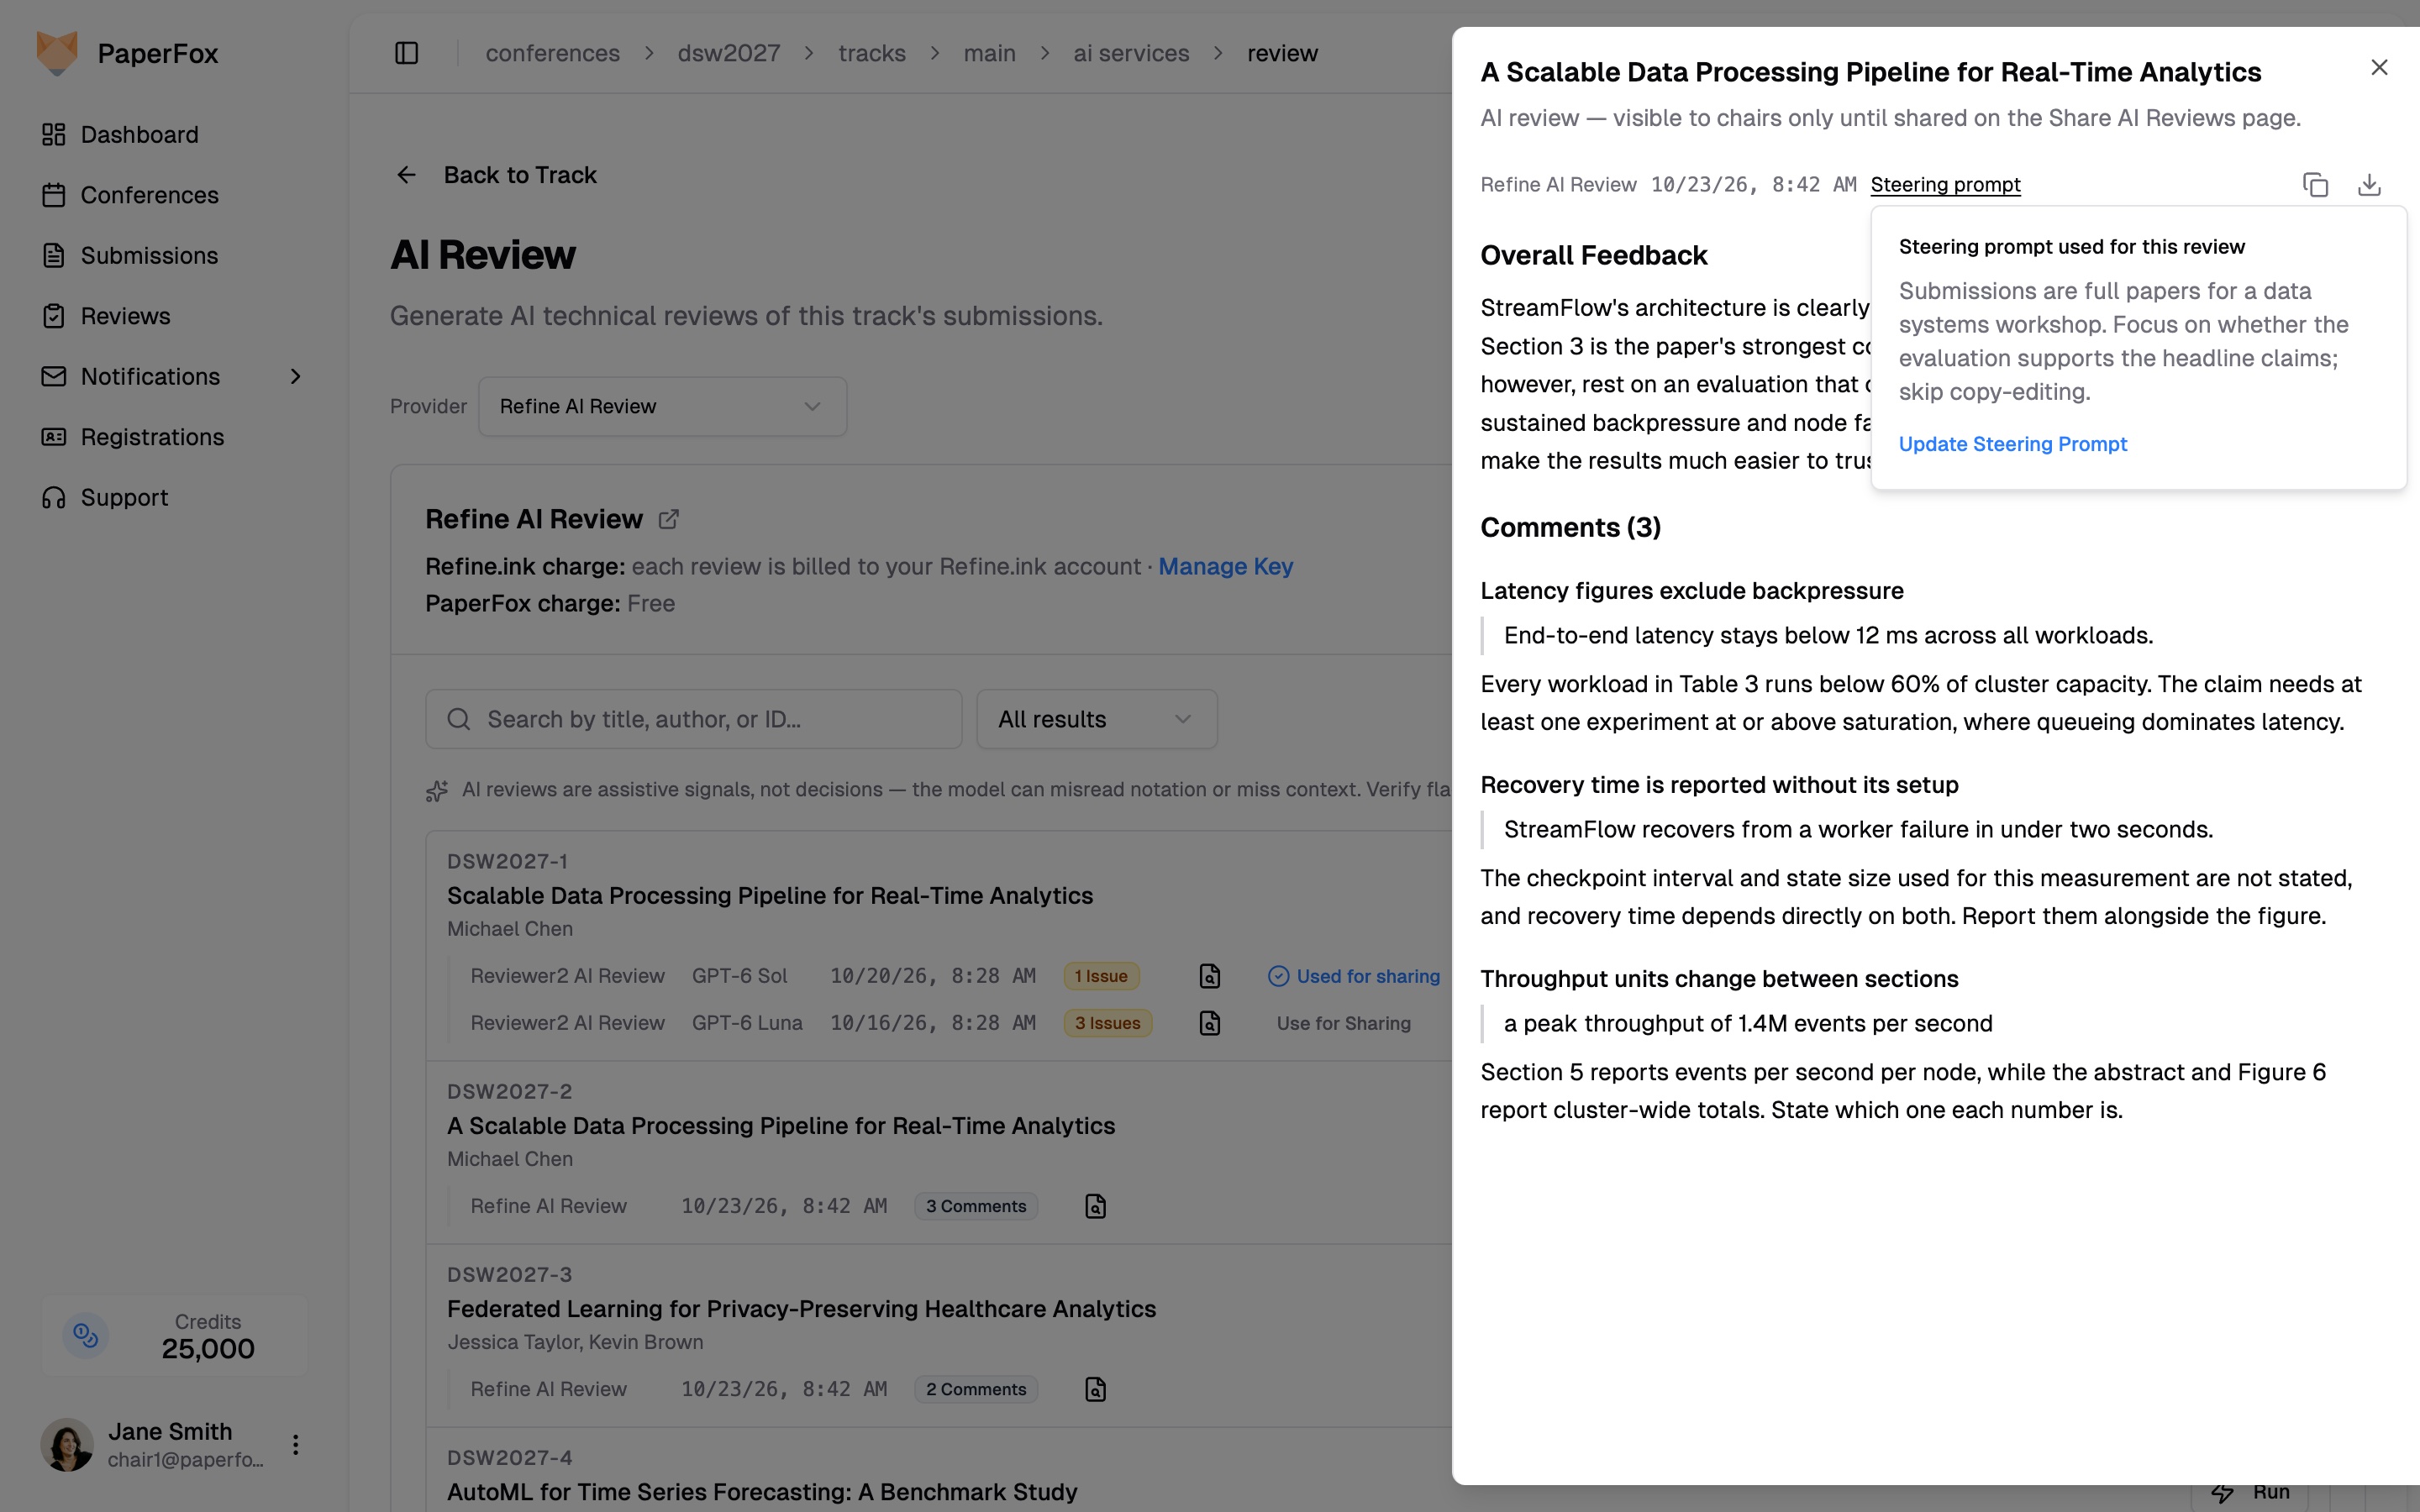
The report, its comments in relevance order, and the prompt that steered it
## Share It Like a Human Review A Refine.ink report starts out visible to chairs only. From the **Share AI Reviews** page you can share it with a submission's authors, under the same release rules as human reviews, or with the reviewers assigned to it. The steering prompt is never shared: authors and reviewers see the report, and the instructions you gave Refine.ink stay with the chairs. ## Privacy and Cost Refine.ink receives the submission's PDF file, and the confirmation dialog says so before every run. Tell authors in your call for papers or submission terms that submissions may be reviewed by an AI service. What Refine.ink charges is between you and Refine.ink; PaperFox adds nothing on top, and Refine.ink runs never draw on your PaperFox credits. ## A Second Reader, Not a Referee Like any AI review, a Refine.ink report is a signal for the people making the decision. It can misread notation or miss context the authors explain elsewhere. Use it to direct attention, to check a reviewer's concerns, or to give authors one more careful reading, and verify each comment against the submission before acting on it. ## Getting Started Refine.ink AI Review is available now on every conference. Add your key under **Conference Settings → Vendor Keys**, then run a single submission first to see the report format. The [documentation](/docs/track-chairs/ai-review) covers providers, steering prompts, and sharing in detail. --- # Which Papers Have No Registered Author? URL: https://paperfox.ai/blog/registration-coverage Date: 2026-05-10 Category: Product Tags: Registration, Fuzzy Matching, AI, Conference Operations Every conference has the same rule: at least one author of each accepted paper must register, or the paper drops from the program. Answering the simple question — *which papers don't have a registered author yet?* — may take hours of manual cross-referencing, and the answer is still wrong. ## Problem 1: Authors and Registrants Often Live in Different Systems The **author list** comes out of the submission system. The **registrant list** comes out of the payment platform. They're filled out months apart, by the same people in different moods, and they don't auto-sync. ## Problem 2: Cross-Referencing by Hand is Tedious and Error-Prone Take a 300-paper conference with 800 registrants. That's roughly 900 author rows to scan against an 800-row registrant list — hours of focused work. And even when a chair is paying attention, the same person shows up looking like a different person: | On the paper | In the registrant list | Same person? | |---|---|---| | Diana Park · `dp4521@nyu.edu` · *New York University* | Diana Park · `diana.park@stern.nyu.edu` · *NYU Stern* | Yes | | Daniel Costa · `dcosta@gmail.com` · *NOVA School of Business and Economics* | Daniel A. Costa · `daniel.costa@novasbe.pt` · *Nova SBE* | Yes | | James Carter · `jcarter@purdue.edu` · *Purdue University West Lafayette* | Jim Carter · `jcarter01@gmail.com` · *Purdue University* | Yes | | Tony Lin · `tony@utdallas.edu` · *UT Dallas* | Jianhui (Tony) Lin · `jlin@utdallas.edu` · *University of Texas at Dallas* | Yes | The failure modes are bad either way: chase someone who already paid (trust erodes), or skip someone who didn't (paper drops from the program). PaperFox solves both problems.Run registration with Stripe, or import it from another system, then remind the authors of submissions with no registered author
## Solution 1: One System Two ways to bring registration data into PaperFox alongside your submissions. **(a) Run registration on PaperFox.** Configure registration types, point attendees at the registration page, and PaperFox handles Stripe payments, badges, and confirmations end-to-end. The registrant list and the author list share a database — no second system, no reconciliation. Simple workflow, simple [transparent and competitive pricing](/pricing). **(b) Import data from your existing registration platform.** If registration runs through another system — Eventbrite, your university's registration system, a custom form, anything that can export a CSV — bulk-import it into PaperFox. The smart importer dedupes by email, so you can keep re-uploading as new registrations come in. Those rows land as **External Registrants** alongside native ones.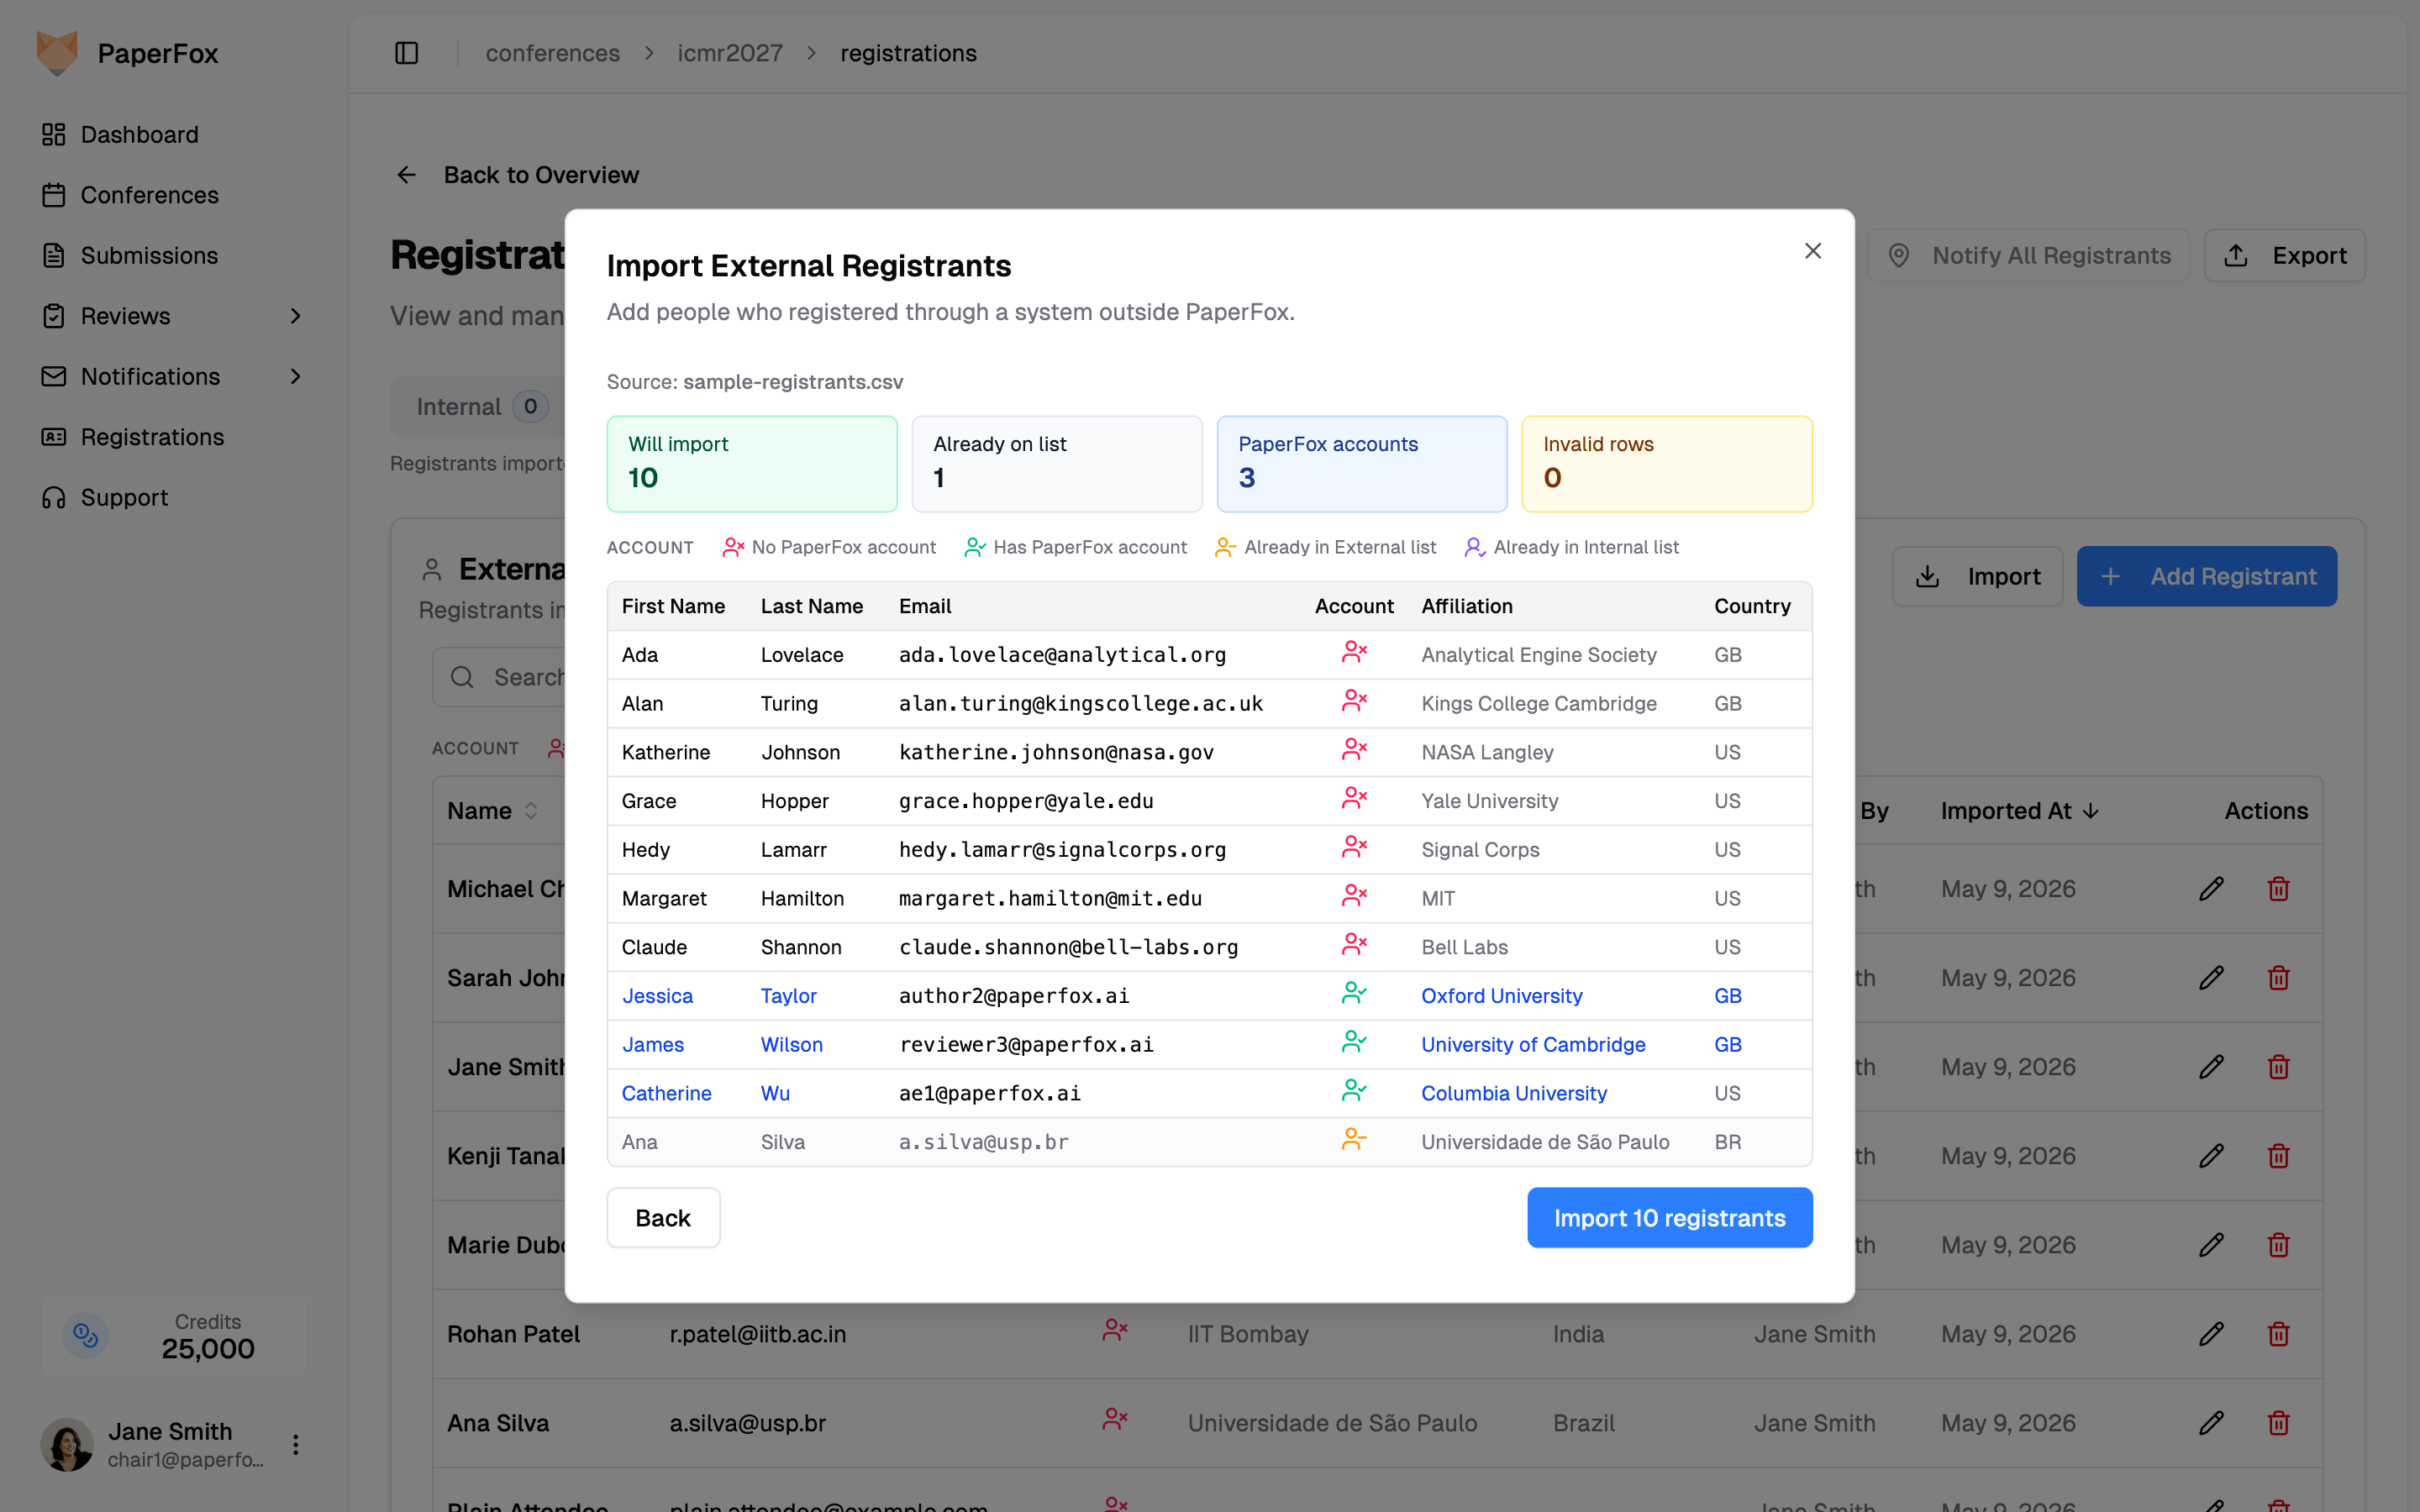 ## Solution 2: Auto-Match
Three layers, in order:
1. **Exact email match.** Author's email matches a registrant email → paper is covered. Handles the easy 70–80% with no chair input.
2. **Find potential matches.** For everyone else, the chair runs a matcher against the registrant list. Two engines, pick one per run.
3. **Chair confirms.** Every suggestion appears inline on the **Author Registration Coverage** report with two buttons — **Confirm match** or **Not a match**. Every decision is reversible from a dedicated **Matching Decisions** page.
## Solution 2: Auto-Match
Three layers, in order:
1. **Exact email match.** Author's email matches a registrant email → paper is covered. Handles the easy 70–80% with no chair input.
2. **Find potential matches.** For everyone else, the chair runs a matcher against the registrant list. Two engines, pick one per run.
3. **Chair confirms.** Every suggestion appears inline on the **Author Registration Coverage** report with two buttons — **Confirm match** or **Not a match**. Every decision is reversible from a dedicated **Matching Decisions** page.
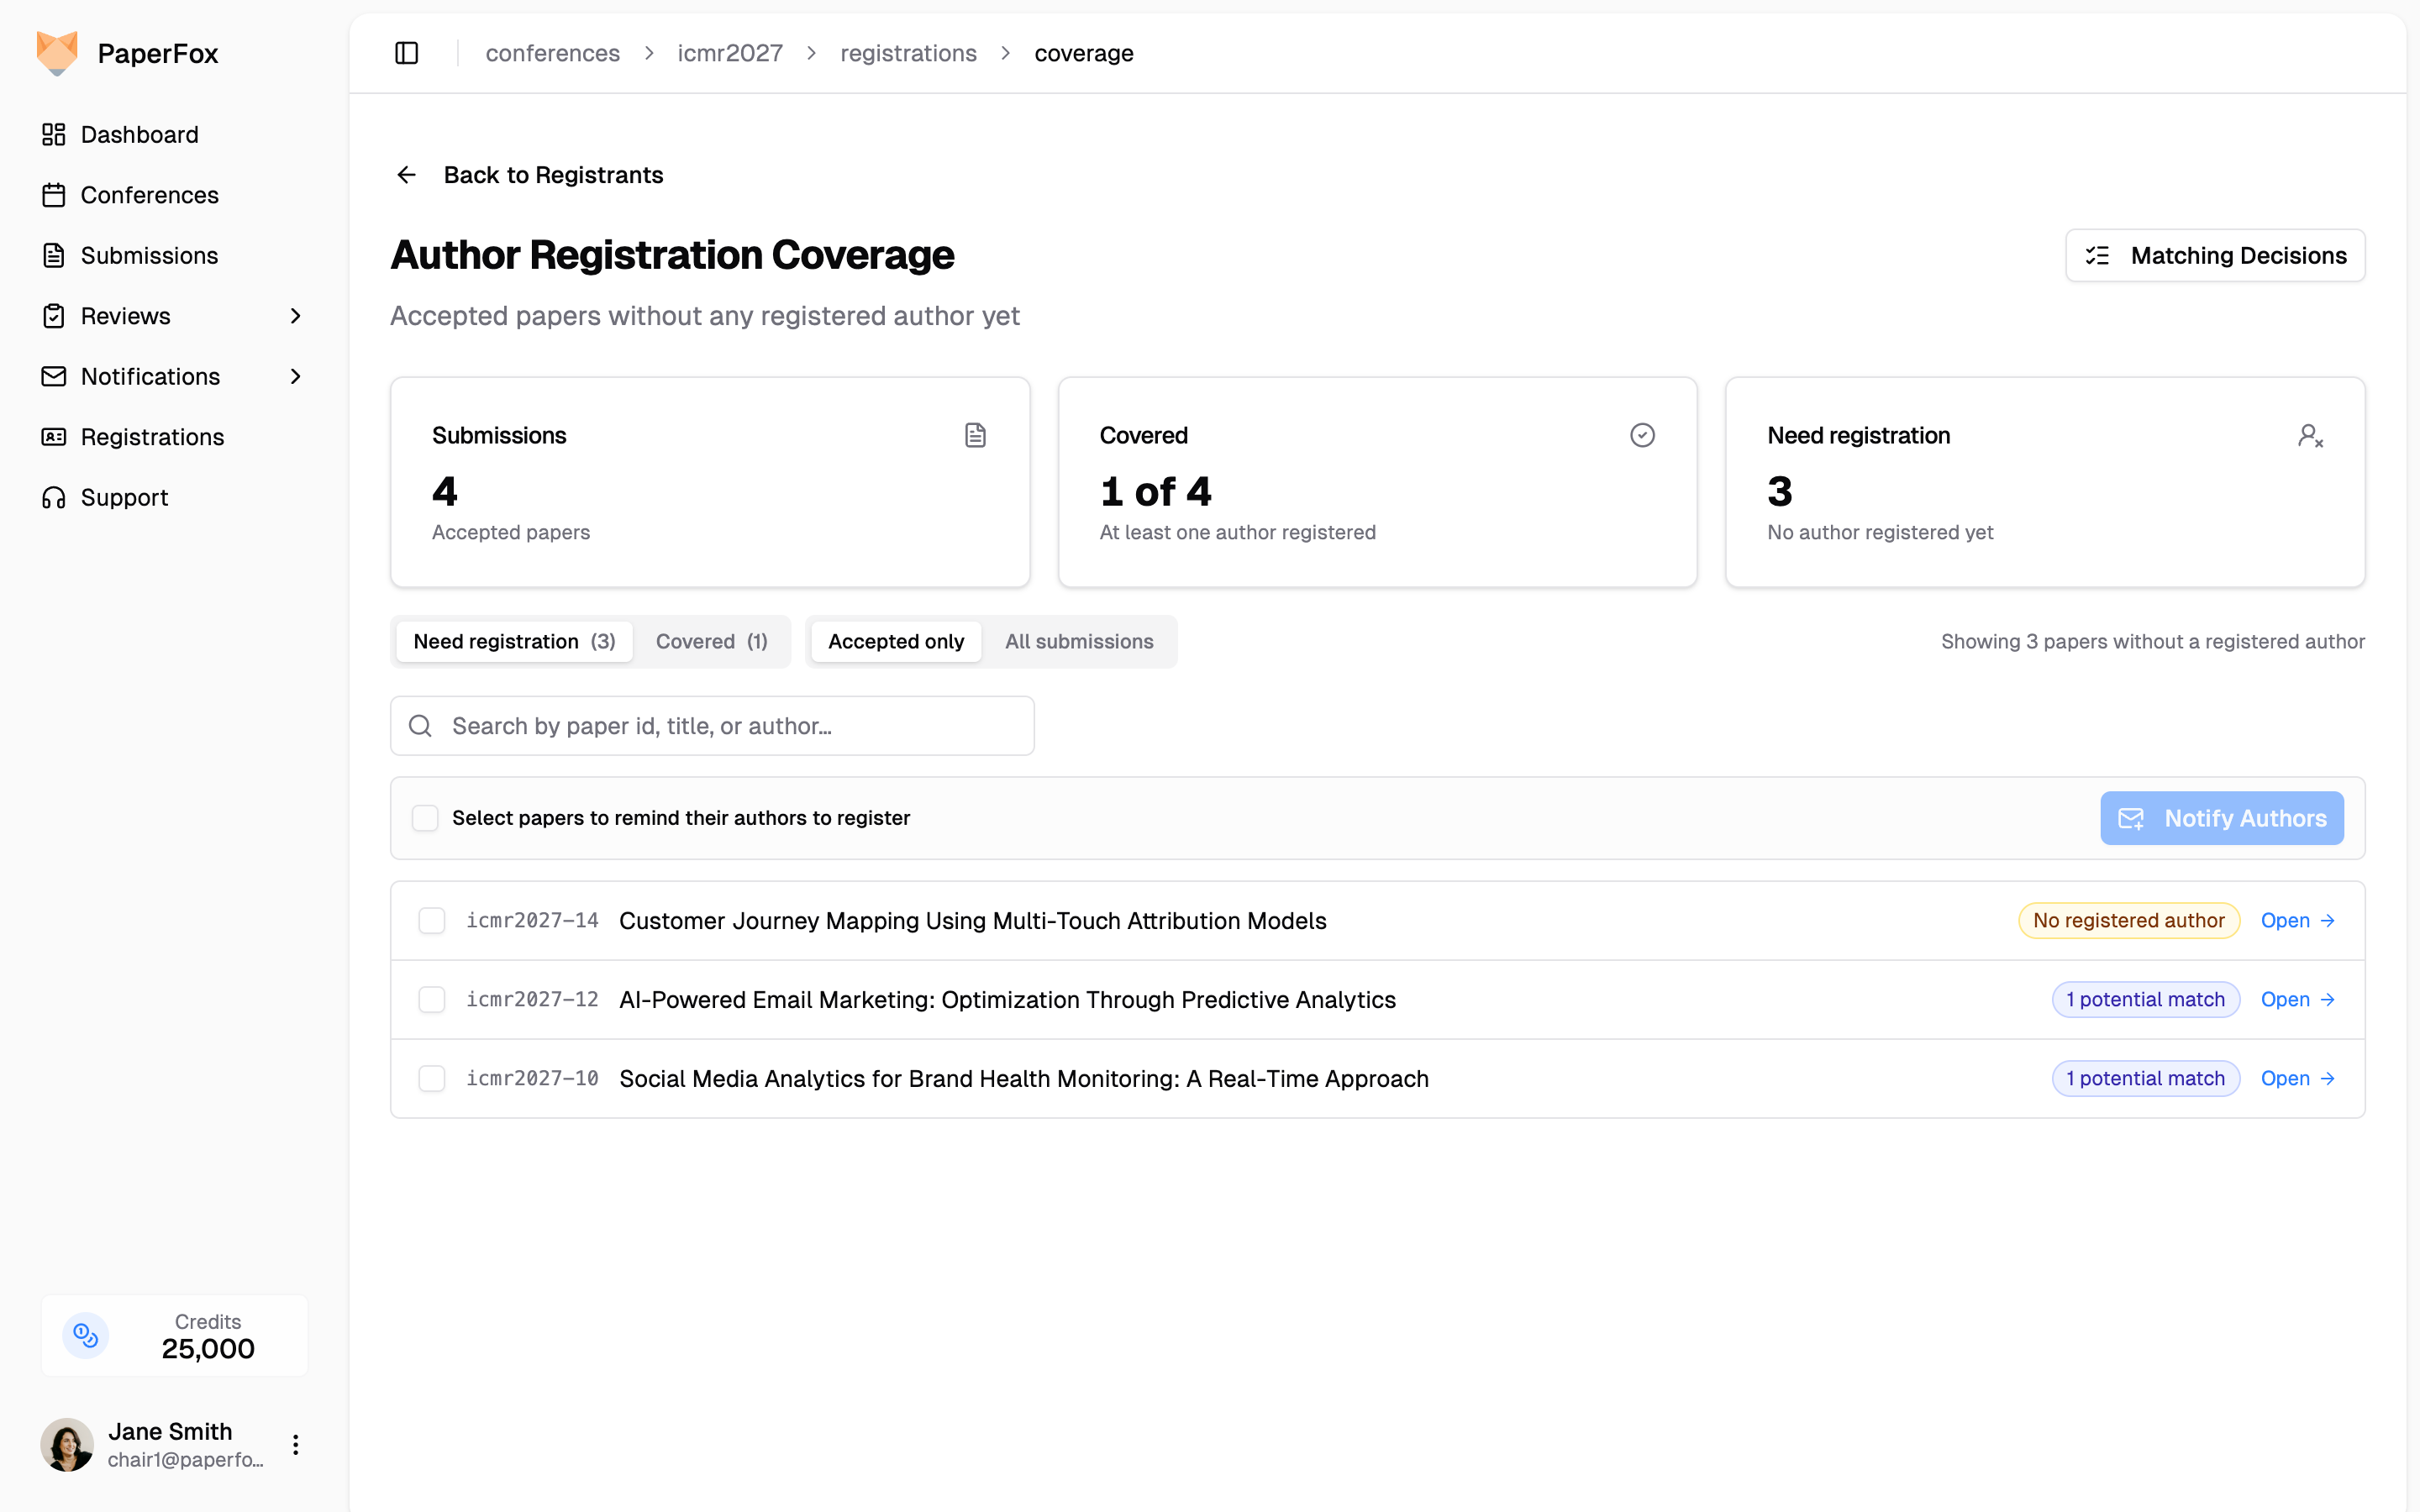 ### Algorithm Match (the default)
Free, runs entirely inside PaperFox. Name similarity is Jaro-Winkler on tokenized names (so "Tony Lin" matches "Jianhui (Tony) Lin"); identity hints are institutional email domain (`nyu.edu` ↔ `stern.nyu.edu` counts as a partial match because they share the `nyu` base), ROR id, or distinctive affiliation tokens after stripping stopwords ("Nova" matches between "NOVA School of Business" and "Nova SBE"). Consumer domains like gmail and outlook are denylisted — sharing those means nothing. The matcher tunes toward false positives because dismissing a wrong suggestion is one click; missing a real registration sends a needless reminder.
Under this system, the four cases above resolve as:
| Case | Score |
|---|---|
| Diana Park @ `nyu.edu` ↔ `stern.nyu.edu` | **96%** (subdomain hierarchy) |
| Daniel Costa ↔ Daniel A. Costa | **83%** (middle initial + "nova" token) |
| James Carter ↔ Jim Carter | **78%** (nickname + "purdue" token) |
| Tony Lin ↔ Jianhui (Tony) Lin | **~95%** (parenthetical preferred name) |
All four surface as **"potential match"** for one-click chair confirmation.
### AI Match (for the hard cases)
The algorithm is fast and free but it only knows about the signals it was taught. Some cases need judgment: transliterated names from different scripts, affiliations spelled in another language, a Western nickname paired with a different given name on the registrant side, departmental rebranding the affiliation tokens don't catch. Those cases either score too low to surface, or the algorithm picks the wrong candidate among several near-misses.
AI Match runs the same shortlist past OpenAI for each undecided author and asks: same person, or different? Suggestions come back with a one-line **explanation** — *"First and last names match, affiliation identical, and emails share the same domain with a middle initial on registrant"* — so chairs see *why* before clicking Confirm.
### Algorithm Match (the default)
Free, runs entirely inside PaperFox. Name similarity is Jaro-Winkler on tokenized names (so "Tony Lin" matches "Jianhui (Tony) Lin"); identity hints are institutional email domain (`nyu.edu` ↔ `stern.nyu.edu` counts as a partial match because they share the `nyu` base), ROR id, or distinctive affiliation tokens after stripping stopwords ("Nova" matches between "NOVA School of Business" and "Nova SBE"). Consumer domains like gmail and outlook are denylisted — sharing those means nothing. The matcher tunes toward false positives because dismissing a wrong suggestion is one click; missing a real registration sends a needless reminder.
Under this system, the four cases above resolve as:
| Case | Score |
|---|---|
| Diana Park @ `nyu.edu` ↔ `stern.nyu.edu` | **96%** (subdomain hierarchy) |
| Daniel Costa ↔ Daniel A. Costa | **83%** (middle initial + "nova" token) |
| James Carter ↔ Jim Carter | **78%** (nickname + "purdue" token) |
| Tony Lin ↔ Jianhui (Tony) Lin | **~95%** (parenthetical preferred name) |
All four surface as **"potential match"** for one-click chair confirmation.
### AI Match (for the hard cases)
The algorithm is fast and free but it only knows about the signals it was taught. Some cases need judgment: transliterated names from different scripts, affiliations spelled in another language, a Western nickname paired with a different given name on the registrant side, departmental rebranding the affiliation tokens don't catch. Those cases either score too low to surface, or the algorithm picks the wrong candidate among several near-misses.
AI Match runs the same shortlist past OpenAI for each undecided author and asks: same person, or different? Suggestions come back with a one-line **explanation** — *"First and last names match, affiliation identical, and emails share the same domain with a middle initial on registrant"* — so chairs see *why* before clicking Confirm.
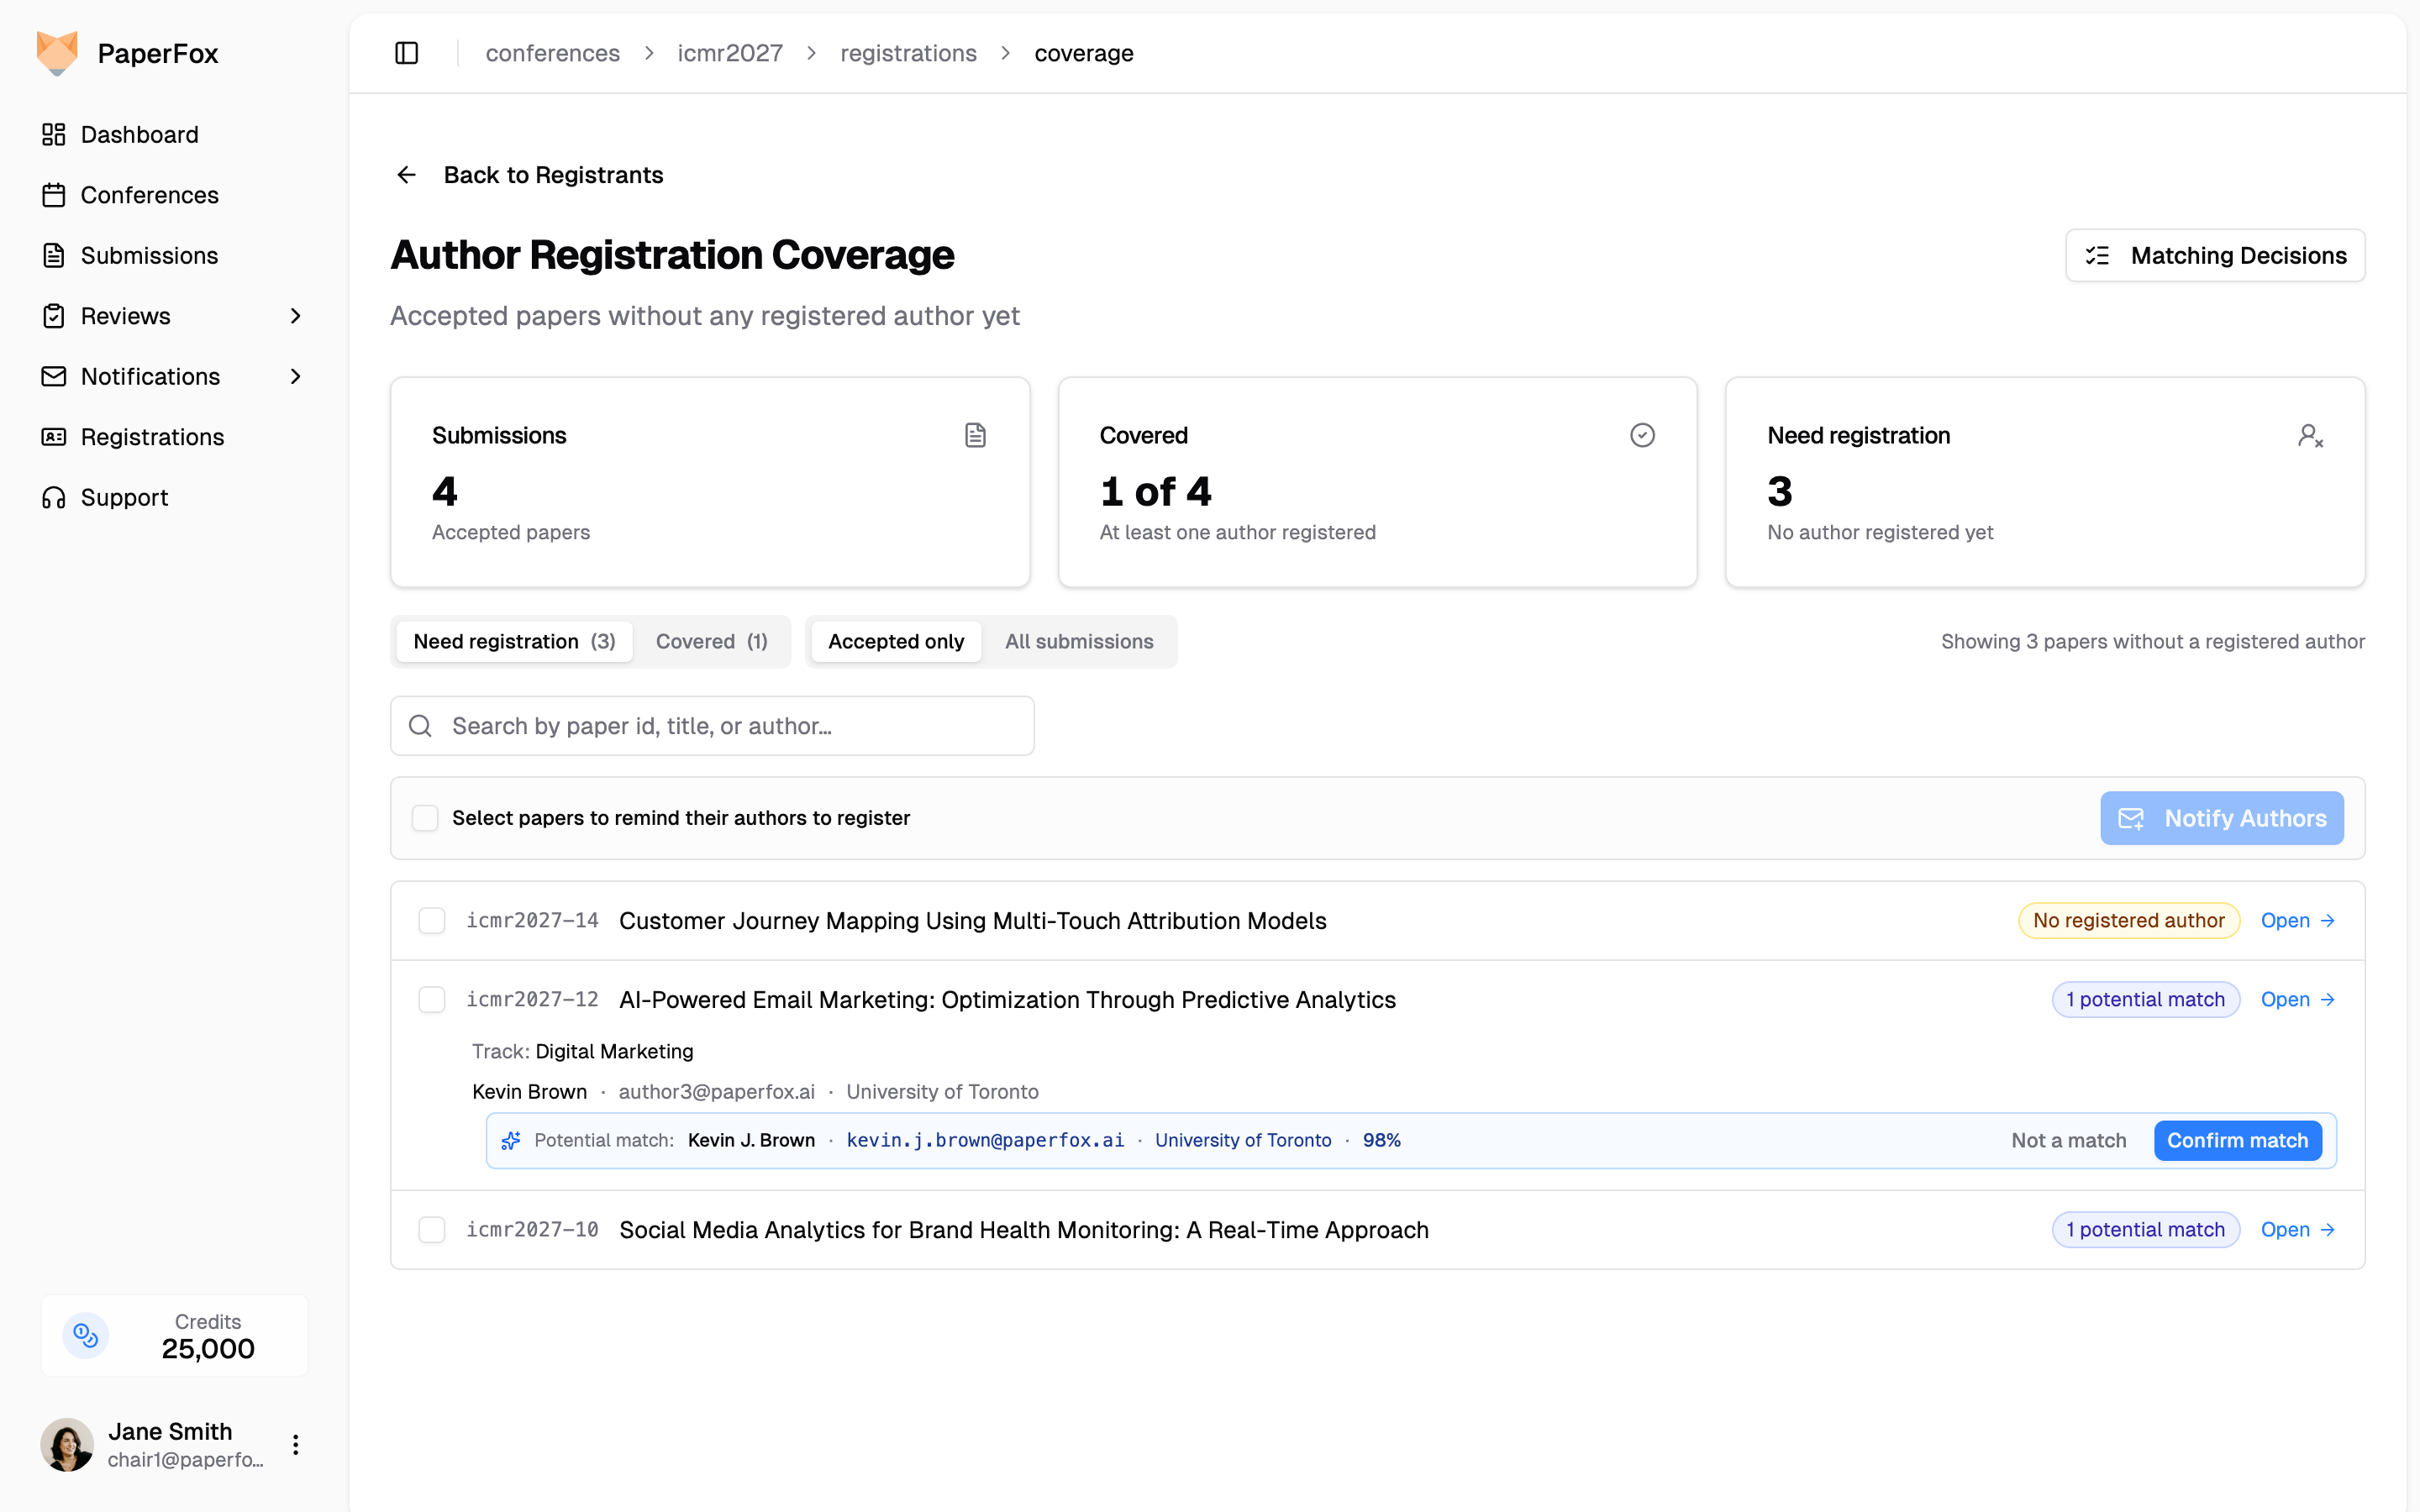 ### Privacy: explicit opt-in
AI Match sends author and registrant names, emails, and affiliations to OpenAI. For conferences where that's a no-go, **Algorithm Match never leaves PaperFox** — and it's the default. AI Match prompts for confirmation before the first run, so nothing is sent until a chair clicks through.
### Privacy: explicit opt-in
AI Match sends author and registrant names, emails, and affiliations to OpenAI. For conferences where that's a no-go, **Algorithm Match never leaves PaperFox** — and it's the default. AI Match prompts for confirmation before the first run, so nothing is sent until a chair clicks through.
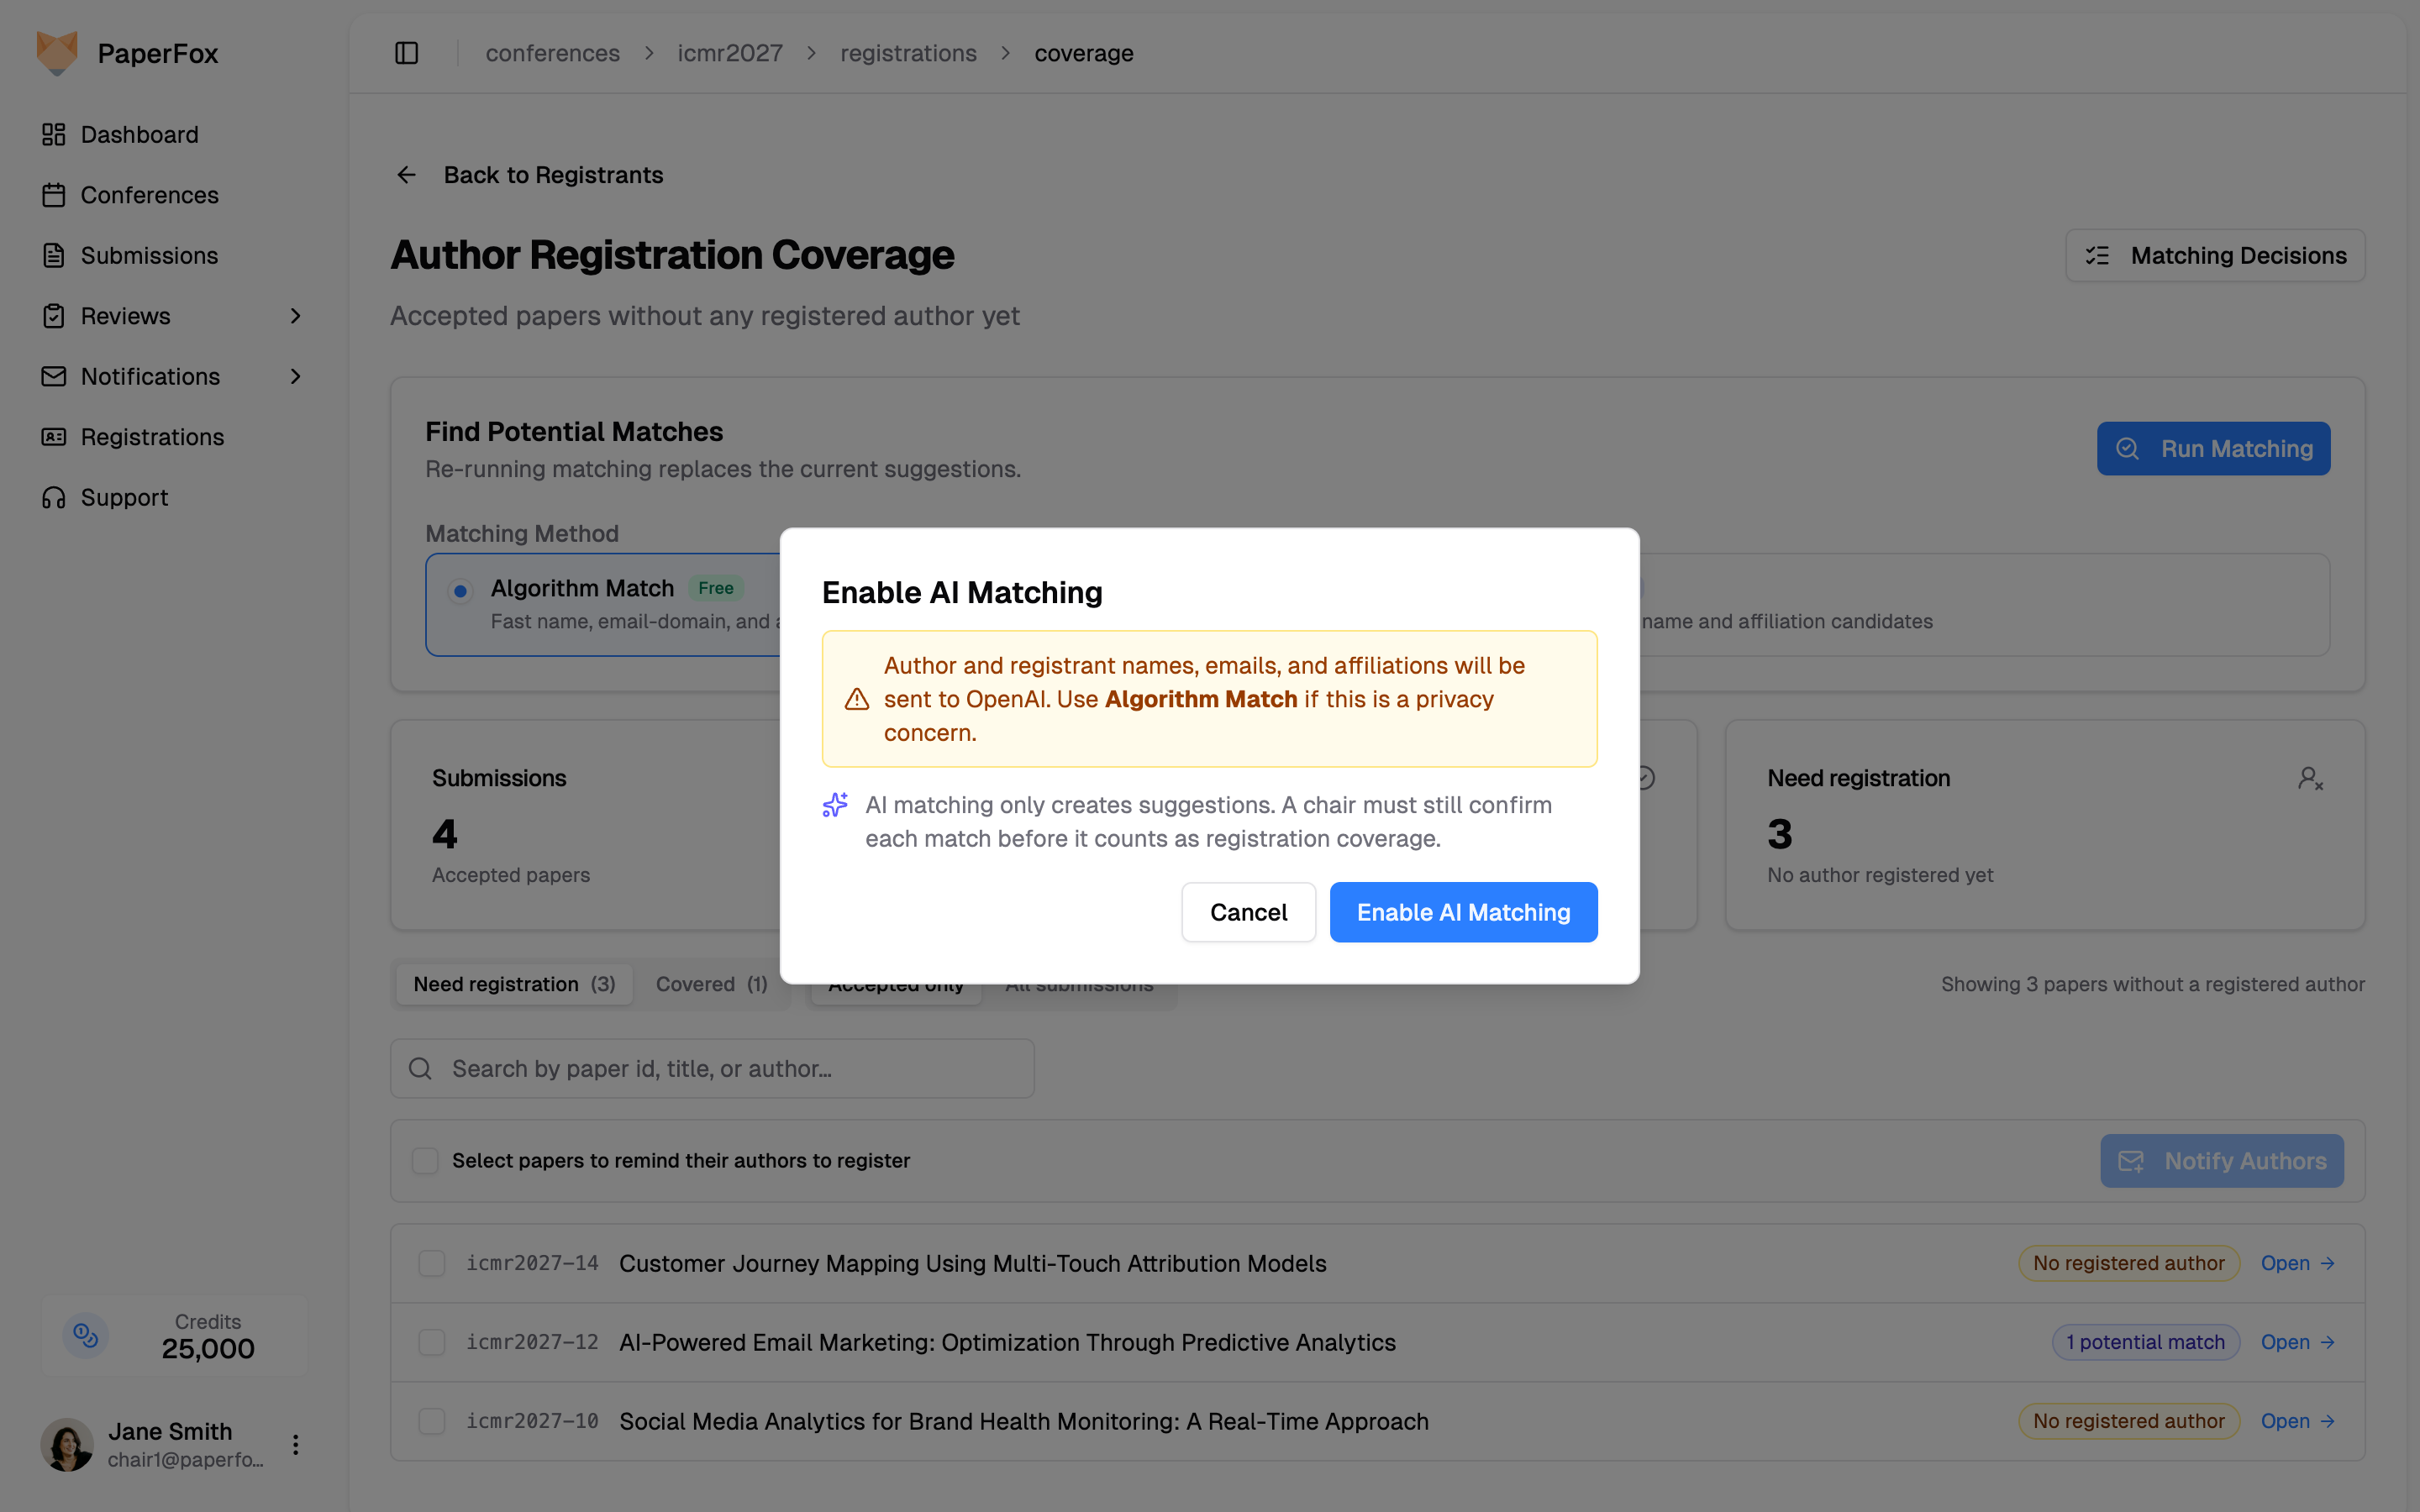 ## Before and After
| | Manual | PaperFox |
|---|---|---|
| Two disconnected systems | Export both, open in Excel | Native + bulk-import in one DB |
| Hard-to-spot matches (different email, different spelling) | Often missed | Ranked suggestions with confidence |
| Audit & reversal | "Wait, did I already check this one?" | Every confirm/dismiss reversible |
## Before and After
| | Manual | PaperFox |
|---|---|---|
| Two disconnected systems | Export both, open in Excel | Native + bulk-import in one DB |
| Hard-to-spot matches (different email, different spelling) | Often missed | Ranked suggestions with confidence |
| Audit & reversal | "Wait, did I already check this one?" | Every confirm/dismiss reversible |
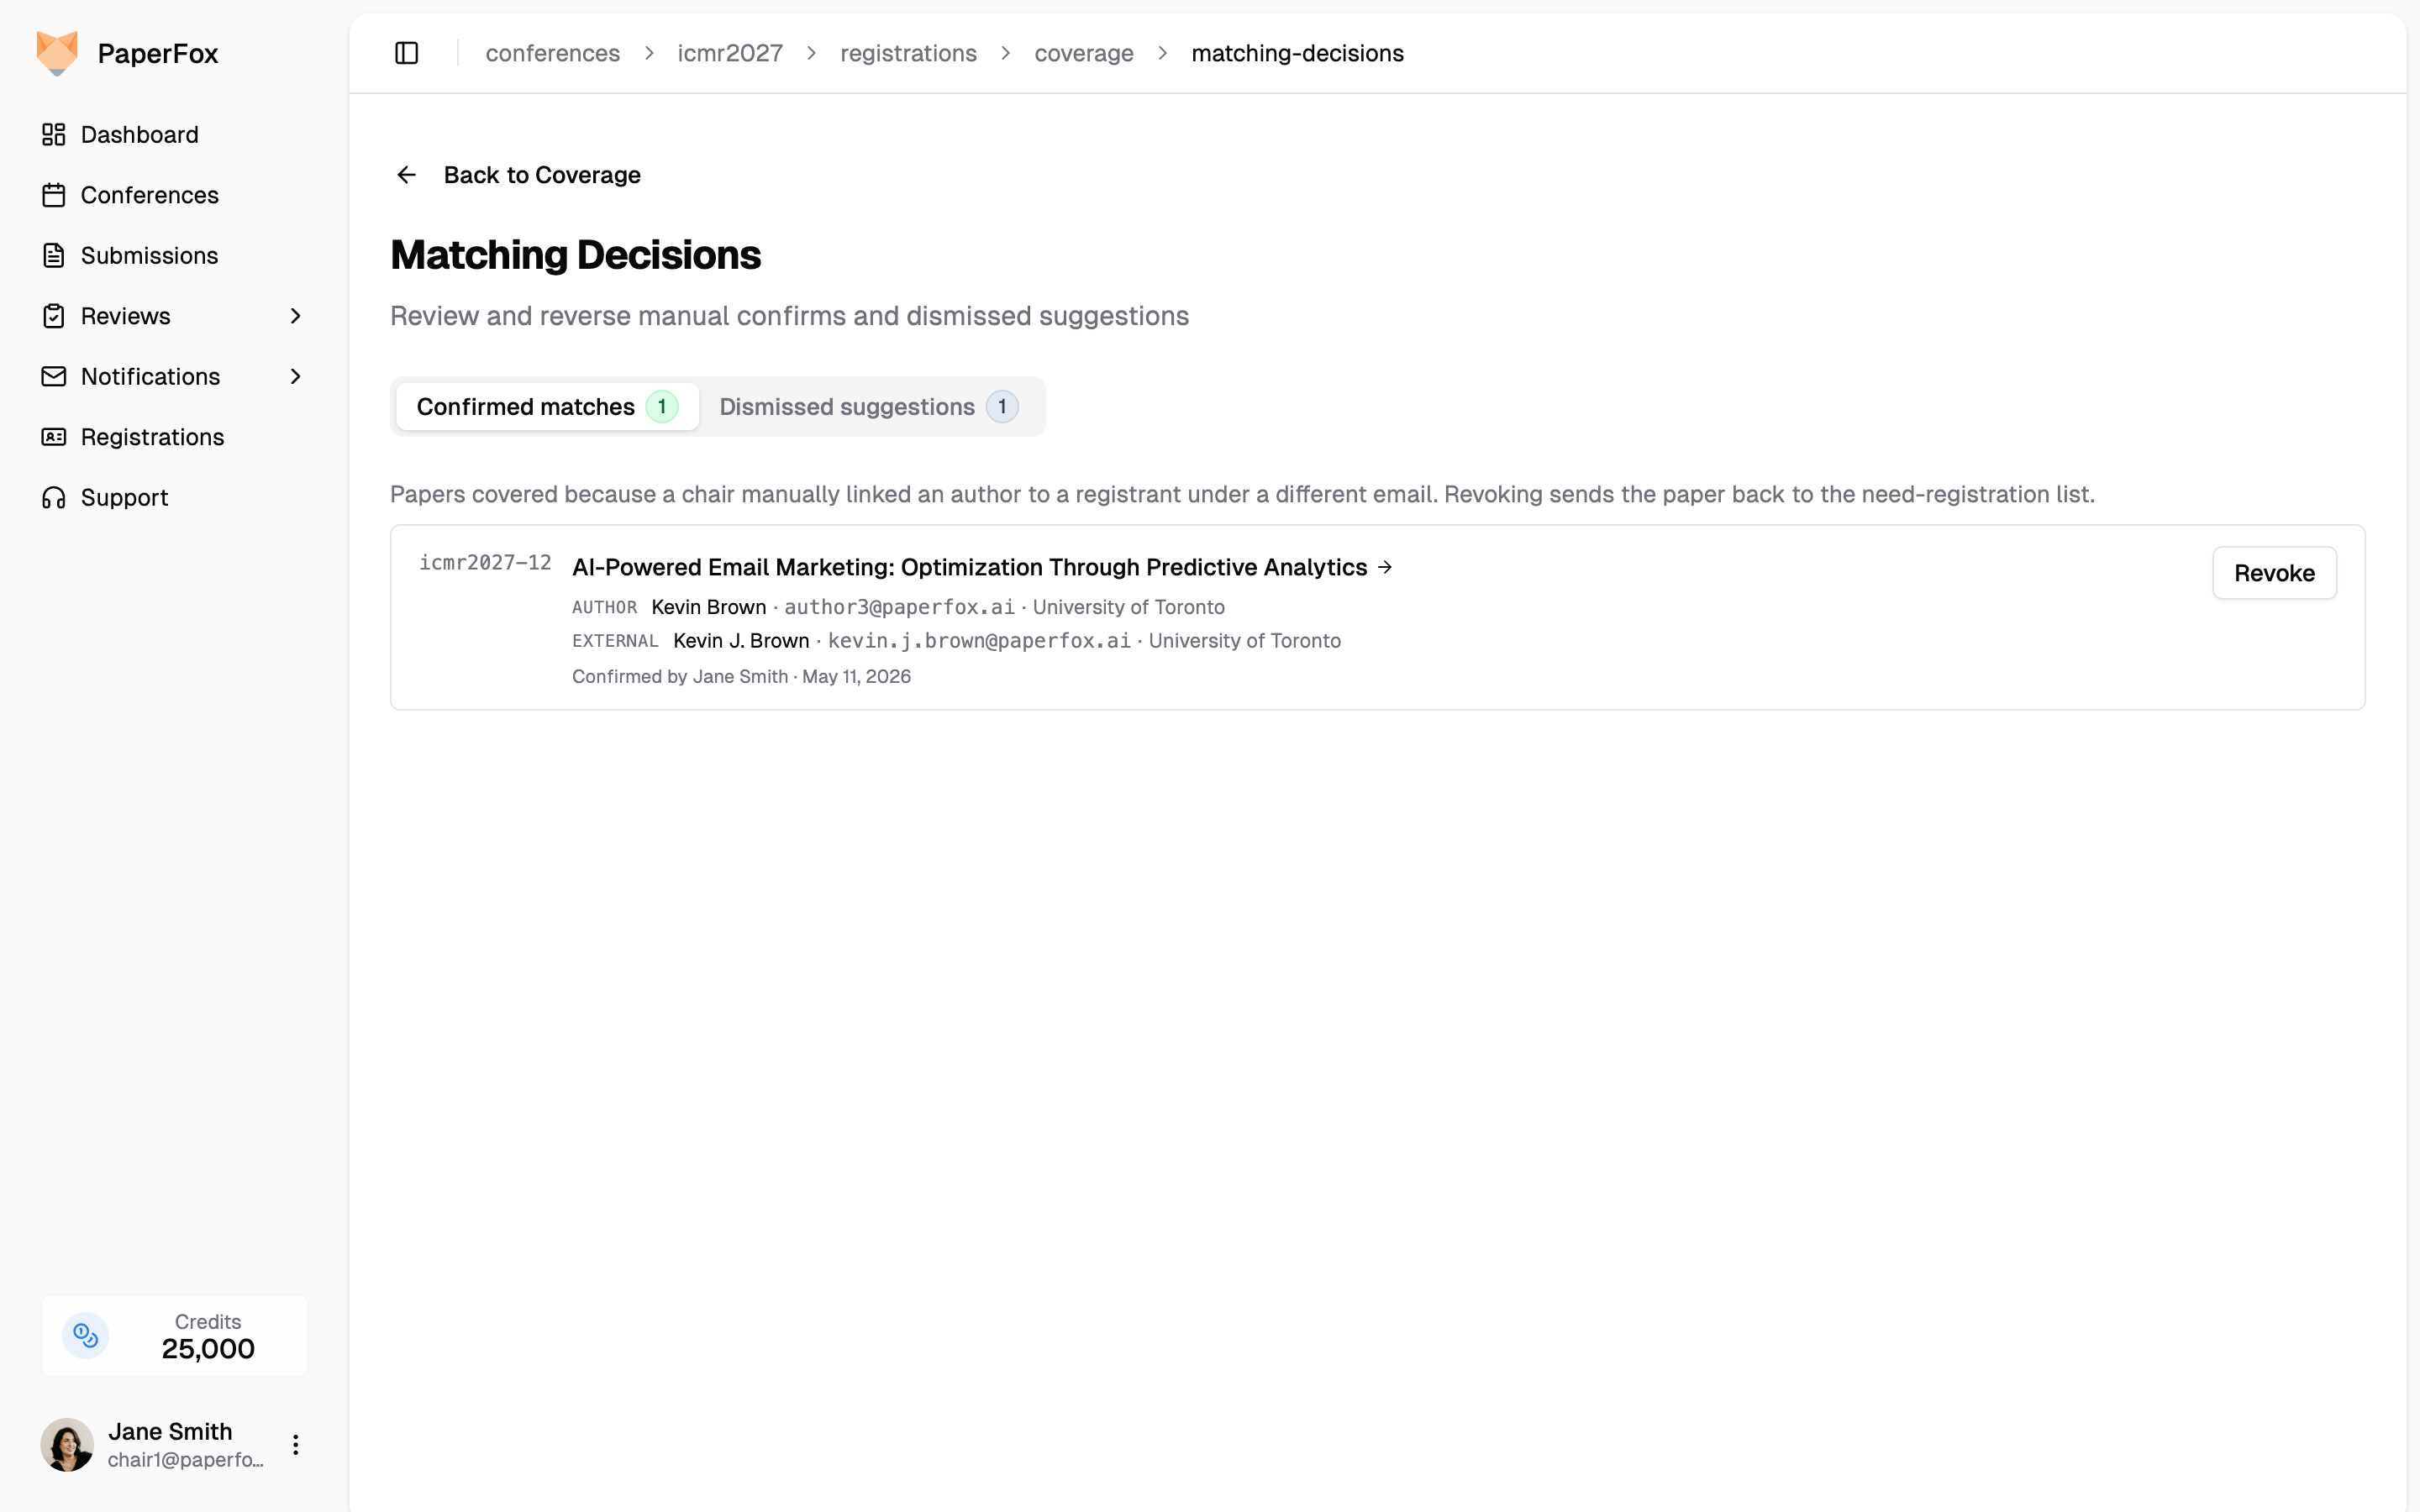 ---
## Related Docs
- [Author Registration Coverage](/docs/chairs/registration-coverage) — How to use the report end-to-end
- [Import External Registrants](/docs/chairs/import-external-registrants) — Pulling in registrants from outside PaperFox
- [Fixing the Affiliation Data Mess](/blog/fixing-affiliation-mess) — Companion piece on cleaning up the source data
---
# AI Research Profile Discovery: Building Reviewer Expertise Profiles Automatically
URL: https://paperfox.ai/blog/research-profiles
Date: 2026-02-15
Category: Product
Tags: AI, Research Profiles, Peer Review
A reviewer's expertise is scattered everywhere — Google Scholar pages, ORCID profiles, personal websites, CVs buried in email threads, and the chair's memory of who mentioned "deep learning" at last year's dinner. No single place brings it all together.
Conference chairs end up Googling reviewer names one by one, skimming publication lists, and making their best guess. This doesn't scale past 30 reviewers.
## The Problem with Traditional Expertise Profiling
Most conference management systems ask reviewers to select topics from a predefined list — "Machine Learning", "NLP", "Computer Vision", and so on. This approach has three problems:
**Lists go stale.** Research moves fast. A topic list written two years ago doesn't capture emerging areas like "foundation models" or "AI agents."
**Granularity is wrong.** Broad categories like "Machine Learning" tell you nothing useful. A reviewer who works on reinforcement learning for robotics is very different from one who works on federated learning in healthcare. But a list with 500 micro-topics is unusable.
**Self-reporting is incomplete.** Reviewers rush through profile setup. They pick 3-4 topics and move on, even if they're qualified to review papers in 15 different areas. The system only knows what reviewers bother to tell it.
## How AI Profile Discovery Works
When a reviewer is invited to a conference on PaperFox, AI Profile Discovery kicks in automatically. It runs a web search using the reviewer's name, email, affiliation, and country to find their publications across Google Scholar, ORCID, Semantic Scholar, and academic websites. From those papers, it extracts expertise keywords and builds a research profile — no manual data entry required.
The AI extracts both broad research areas ("information systems", "health informatics") and specific topics ("technology adoption", "electronic health records"). This mix captures expertise at every level of granularity — exactly what static topic lists get wrong.
The whole process takes 30-60 seconds. Reviewers get an email asking them to verify the results, and they can re-run discovery anytime to pick up new publications.
## Three Types of Keywords
Each reviewer's profile combines three independent sources of expertise keywords, each color-coded so you can tell where they came from at a glance.
### System Keywords — Automatic from Submissions
When a researcher submits a paper in PaperFox, the submission form includes a keywords field. Those keywords are automatically linked to every co-author's research profile as **system keywords**.
---
## Related Docs
- [Author Registration Coverage](/docs/chairs/registration-coverage) — How to use the report end-to-end
- [Import External Registrants](/docs/chairs/import-external-registrants) — Pulling in registrants from outside PaperFox
- [Fixing the Affiliation Data Mess](/blog/fixing-affiliation-mess) — Companion piece on cleaning up the source data
---
# AI Research Profile Discovery: Building Reviewer Expertise Profiles Automatically
URL: https://paperfox.ai/blog/research-profiles
Date: 2026-02-15
Category: Product
Tags: AI, Research Profiles, Peer Review
A reviewer's expertise is scattered everywhere — Google Scholar pages, ORCID profiles, personal websites, CVs buried in email threads, and the chair's memory of who mentioned "deep learning" at last year's dinner. No single place brings it all together.
Conference chairs end up Googling reviewer names one by one, skimming publication lists, and making their best guess. This doesn't scale past 30 reviewers.
## The Problem with Traditional Expertise Profiling
Most conference management systems ask reviewers to select topics from a predefined list — "Machine Learning", "NLP", "Computer Vision", and so on. This approach has three problems:
**Lists go stale.** Research moves fast. A topic list written two years ago doesn't capture emerging areas like "foundation models" or "AI agents."
**Granularity is wrong.** Broad categories like "Machine Learning" tell you nothing useful. A reviewer who works on reinforcement learning for robotics is very different from one who works on federated learning in healthcare. But a list with 500 micro-topics is unusable.
**Self-reporting is incomplete.** Reviewers rush through profile setup. They pick 3-4 topics and move on, even if they're qualified to review papers in 15 different areas. The system only knows what reviewers bother to tell it.
## How AI Profile Discovery Works
When a reviewer is invited to a conference on PaperFox, AI Profile Discovery kicks in automatically. It runs a web search using the reviewer's name, email, affiliation, and country to find their publications across Google Scholar, ORCID, Semantic Scholar, and academic websites. From those papers, it extracts expertise keywords and builds a research profile — no manual data entry required.
The AI extracts both broad research areas ("information systems", "health informatics") and specific topics ("technology adoption", "electronic health records"). This mix captures expertise at every level of granularity — exactly what static topic lists get wrong.
The whole process takes 30-60 seconds. Reviewers get an email asking them to verify the results, and they can re-run discovery anytime to pick up new publications.
## Three Types of Keywords
Each reviewer's profile combines three independent sources of expertise keywords, each color-coded so you can tell where they came from at a glance.
### System Keywords — Automatic from Submissions
When a researcher submits a paper in PaperFox, the submission form includes a keywords field. Those keywords are automatically linked to every co-author's research profile as **system keywords**.
System Keywords (purple) from submitted papers, and User Expertise Tags (green) added manually by the reviewer
These are read-only and always in sync. If a paper is revised and keywords change, the profile updates automatically. No action required from anyone. System keywords are the highest-confidence signal because they come directly from actual research output — not self-assessment, not AI guessing. ### AI-Discovered Tags — From Publication History These are the tags extracted by AI Profile Discovery from the reviewer's published work across the web.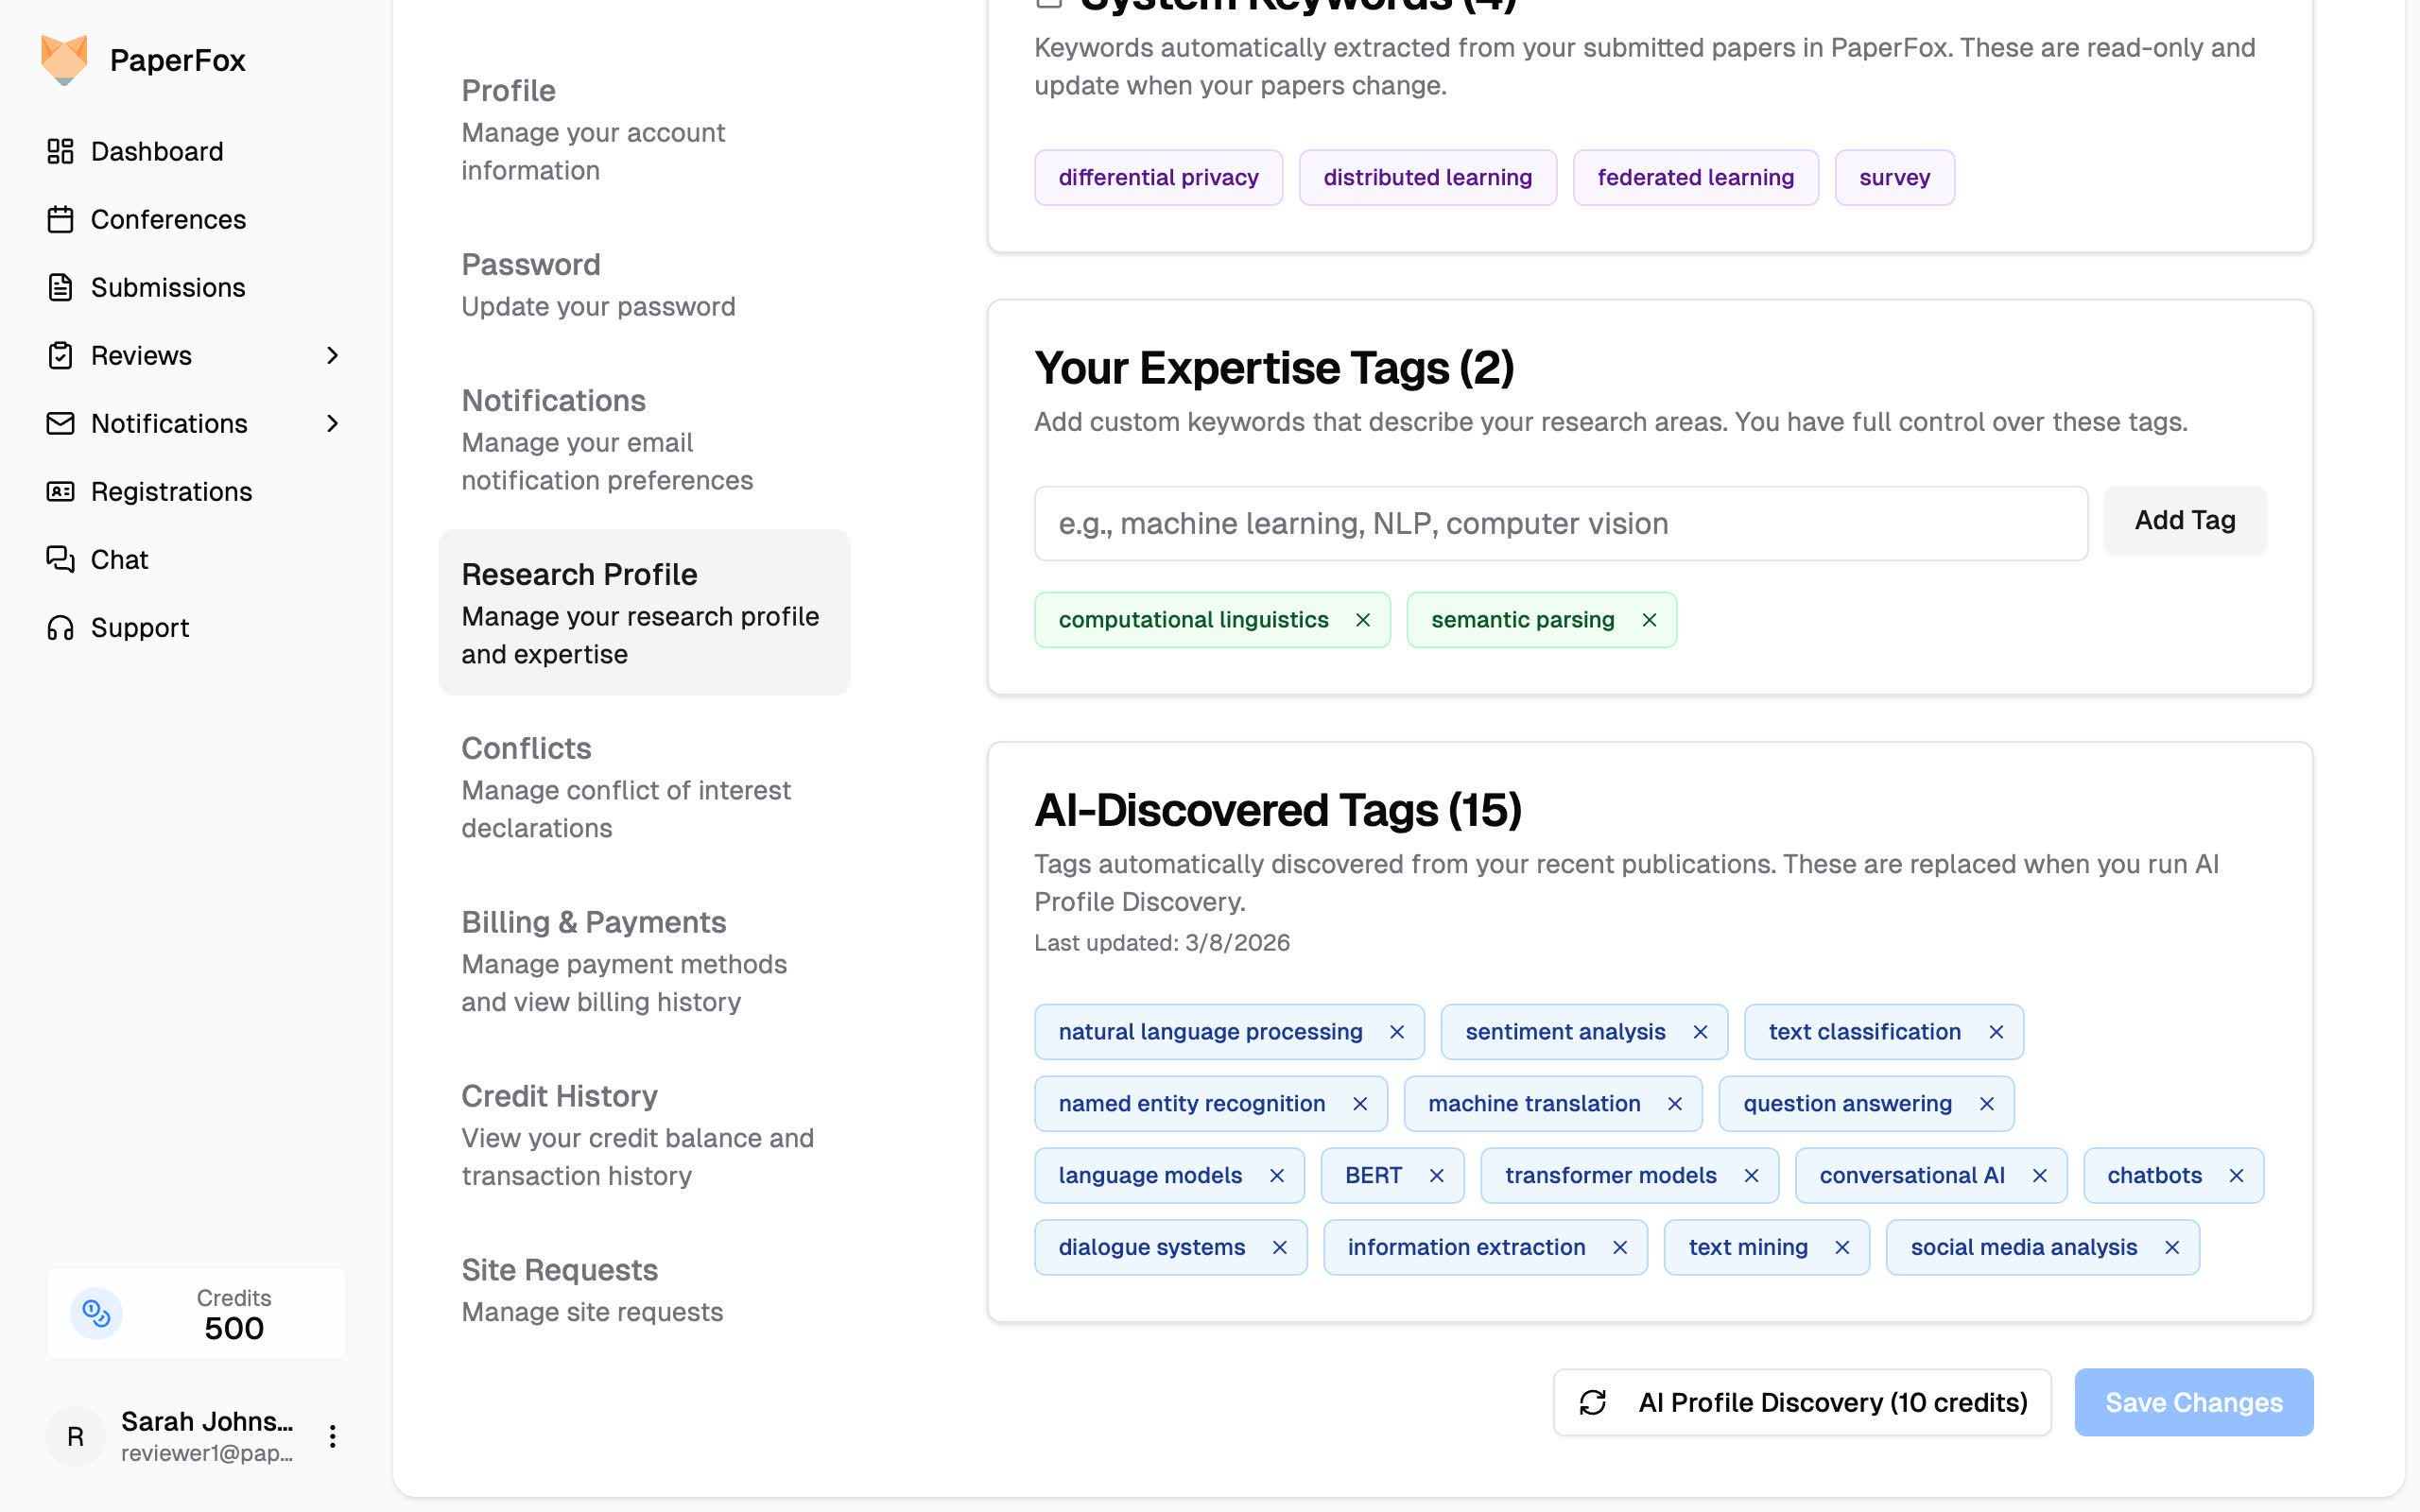
AI-Discovered Tags (blue) extracted from recent publications via web search
They're replaced each time discovery re-runs, so they stay current with the reviewer's latest work. Reviewers can remove irrelevant tags — removed ones won't reappear until the next run. ### User Expertise Tags — Added by Reviewers Reviewers can add their own keywords to fill gaps. Maybe they have deep expertise in a topic they haven't published on yet. Maybe they're moving into a new research area. Maybe the AI missed something. The key difference from traditional topic lists: reviewers type free-text keywords instead of picking from a fixed menu. "Explainable AI for clinical decision support" is a valid tag. So is "XAI." There's no predefined list to go stale. ## Compared to Traditional Systems In most conference management systems, reviewer expertise is a manual process — chairs configure topic lists for reviewers to select from, or simply ask reviewers to enter their own keywords. Either way, the system only knows what reviewers bother to tell it. This works for small conferences where chairs know their reviewers personally. At scale, it breaks down. Reviewers don't fill out profiles carefully. Topic lists don't evolve with the field. Chairs can't personally vet 100+ reviewers. The result is incomplete expertise data and hours of manual work. PaperFox starts from the opposite end: build the expertise profile automatically from real data, then let humans refine it. Less work for reviewers, better data for chairs, and profiles that improve as more papers flow through the system. --- ## Related Docs - [Research Profile](/docs/users/research-profile) — Manage your research profile and expertise keywords - [Invite Reviewers](/docs/track-chairs/invite-reviewers) — Invite reviewers and monitor their profile status - [Auto Assign Reviewers](/docs/track-chairs/auto-assign-reviewers) — Automatically match papers to reviewers --- # Smart Matching: How to Assign Reviewers to Papers Automatically URL: https://paperfox.ai/blog/smart-matching Date: 2026-04-04 Category: Product Tags: AI, Reviewer Assignment, Peer Review Every conference chair knows the pain: 300 submissions, 80 reviewers, 3 reviewers per paper. That's 900 assignments to get right. And it's harder than it looks — reviewers have overlapping expertise, uneven workloads, conflicts of interest, and limited capacity. Assigning the best reviewer to one paper can leave another paper with no qualified options. The real problem isn't finding good matches for individual papers, it's optimizing across all papers and all reviewers simultaneously, subject to all those constraints at once. ## How Smart Matching Works Smart Matching solves this in three stages: score every possible reviewer-paper pair, filter out conflicts of interest, then find the globally optimal assignment. ### Stage 1: Scoring Every eligible reviewer is scored against every paper. The score (0-100) combines two signals: **Text similarity (up to 70 points)** compares the paper's title and abstract against the reviewer's expertise profile. Two methods are available: - **BM25** — a proven text retrieval algorithm used by search engines and systems like OpenReview's TPMS. Free, runs in seconds. - **AI Semantic** — uses OpenAI embeddings to understand that "NLP" and "natural language processing" mean the same thing, or that "deep learning" relates to "neural networks." Catches matches that pure text matching misses. Paper titles, abstracts, and reviewer tags are sent to OpenAI for embedding — use BM25 instead if data privacy is a concern. **Keyword overlap (up to 30 points)** directly compares the paper's keywords against the reviewer's expertise tags — including [system keywords, AI-discovered tags, and user-added tags](/blog/research-profiles). Exact phrase matches score highest, with stemmed word-level fallback for partial overlaps (e.g., "computing" matches "computational"). ### Stage 2: Conflict Filtering Conflicts of interest are enforced before any assignment is made. Reviewers who are co-authors of a paper's authors (checked against the last 3 years of co-authorship data) or who have declared conflicts are excluded — the algorithm cannot override this. ### Stage 3: Global Optimization This is where Smart Matching differs from manual assignment. Instead of assigning one paper at a time, it solves for all assignments simultaneously using Min-Cost Max-Flow — a network optimization algorithm used by major conference systems like OpenReview (NeurIPS, ICML). The algorithm finds the assignment that **maximizes total match quality across the entire conference**, making the right trade-offs automatically when two papers compete for the same reviewer. For typical conference sizes (50-500 papers, 20-200 reviewers), this completes in milliseconds. ## Flexibility for Real Conferences Academic conferences aren't clean optimization problems. Chairs need control over workload limits, whether to fill gaps or start fresh, and how to balance match quality against even workload distribution. Smart Matching supports all of these — see [Auto Assign Reviewers](/docs/track-chairs/auto-assign-reviewers) for the full set of options. ## The Best of Both Worlds Smart Matching isn't meant to replace human judgment — it handles the 90% that's tedious so chairs can focus on the 10% that requires expertise. Let the algorithm generate assignments, review the suggestions, swap out any that don't feel right, then apply. Or make your key assignments by hand first, then run "Fill gaps" to handle the rest. The chair stays in control while the algorithm does the heavy lifting. ## Before and After | | Manual | Smart Matching | |---|---|---| | **300 papers, 80 reviewers** | Days of spreadsheet work | Seconds | | **Optimization scope** | One paper at a time | All papers simultaneously | | **Conflict checking** | Hope you remember | Automatic, every pair | | **Workload balance** | Eyeball it | Algorithmic | | **Iterate and adjust** | Start over | Re-run with different settings | --- ## Related Docs - [Auto Assign Reviewers](/docs/track-chairs/auto-assign-reviewers) — Step-by-step guide to running Smart Matching - [Smart Matching Algorithm](/docs/engineering/smart-matching-algorithm) — Technical deep-dive into scoring and optimization - [AI Research Profile Discovery](/blog/research-profiles) — How reviewer expertise profiles are built - [Conflict of Interest Enforcement](/docs/track-chairs/conflicts) — COI rules and detection --- # Automated Submission Compliance Checking URL: https://paperfox.ai/blog/submission-compliance-check Date: 2026-03-01 Category: Product Tags: Compliance, PDF Analysis, Automation Every academic conference has formatting requirements — page limits, font sizes, margin widths, column layouts, anonymization rules. And every conference chair knows the pain of checking whether hundreds of submissions actually follow them. ## The Problem with Manual Checking Most conferences still check compliance by hand — a volunteer opens each PDF, eyeballs the page count, and hopes the margins look right. With 300 submissions and 10 rules each, that's 3,000 checks and ~25 hours of tedious work. - **Inconsistent** — different volunteers apply different standards - **Error-prone** — subtle violations like 0.9-inch margins (when 1 inch is required) are nearly impossible to spot visually - **Delays reviews** — non-compliant papers discovered mid-review waste reviewer time - **Anonymization is hard** — double-blind conferences require reading every paper for buried author names, emails, and institutional references ## How PaperFox Handles It We built an automated compliance checker that runs entirely programmatic checks — no AI involved, just precise PDF analysis. Track chairs define their formatting requirements once, then check all submissions with a single click. ### Define Requirements The guidelines editor lets chairs configure exactly what to check. Choose from structured requirement types — each with specific parameters: - **Page limit** — set a maximum, optionally excluding references - **Page size** — US Letter or A4 - **Margins** — minimum in inches - **Font size** — required point size - **Column layout** — single or two-column - **Line spacing** — single or double - **File size** — maximum in MB - **Language** — English or other languages - **Anonymization** — checks for author names and emails in the PDF text Each requirement can be marked as MUST (hard fail) or SHOULD (warning), so chairs can distinguish between deal-breakers and soft preferences. ### AI-Powered Rule Extraction Don't want to set up rules manually? Upload your conference's call-for-papers PDF and let AI do it. PaperFox uses AI to read the document, extract formatting requirements, and pre-fill the rules with the correct types and parameters. You review and adjust before saving — AI does the tedious parsing, you keep control.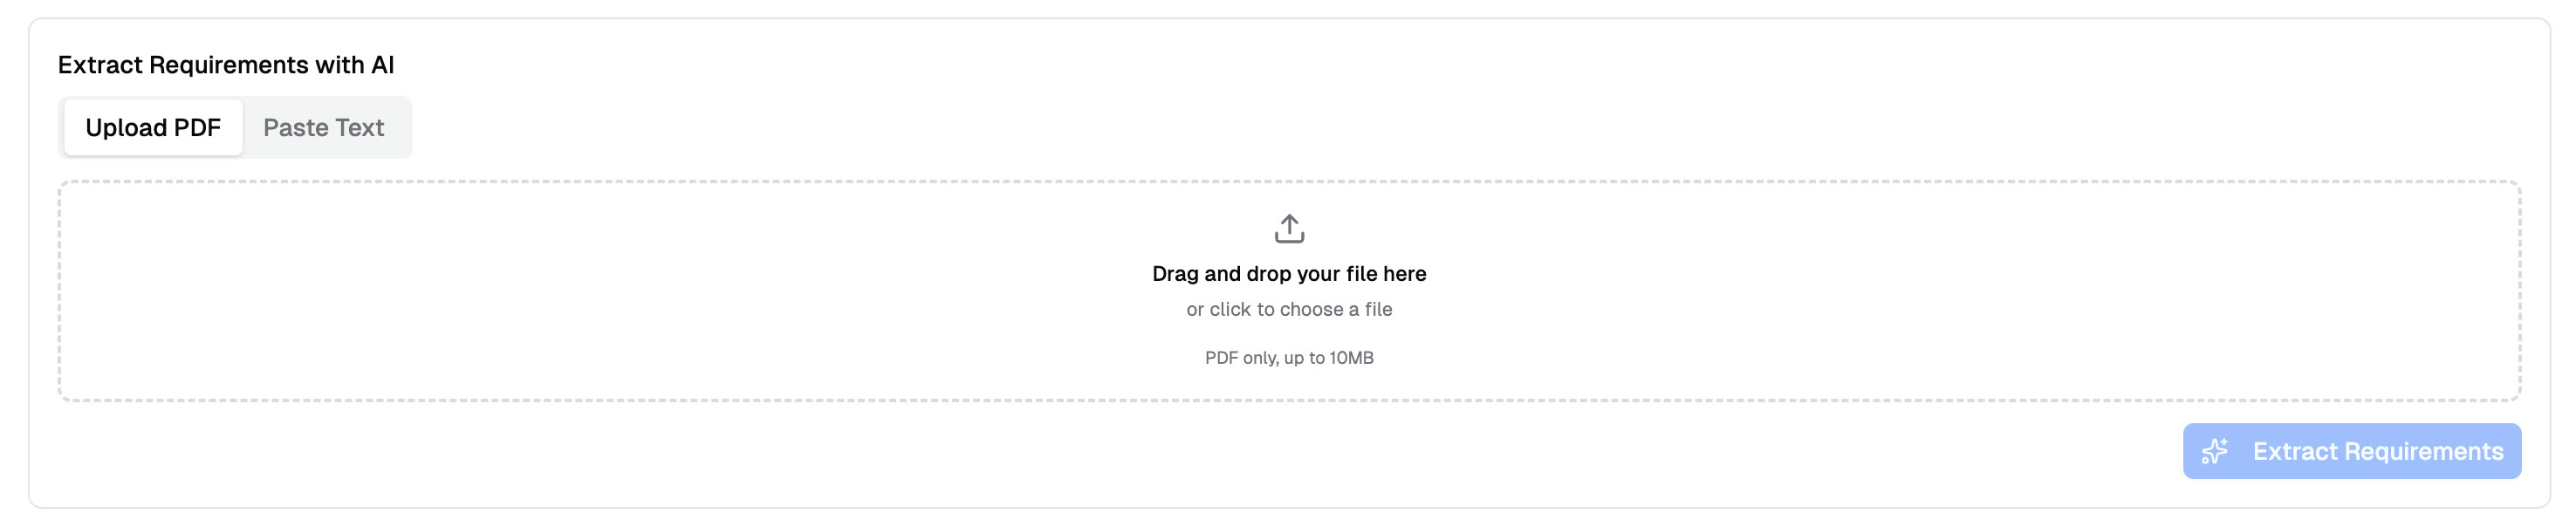
Upload a call-for-papers PDF or paste text to auto-extract formatting rules
### Run the Check and Review Results One click checks all submissions in the track. PaperFox extracts text and layout data from each PDF and checks every requirement against actual document properties. A track with 300 submissions typically completes in under a minute.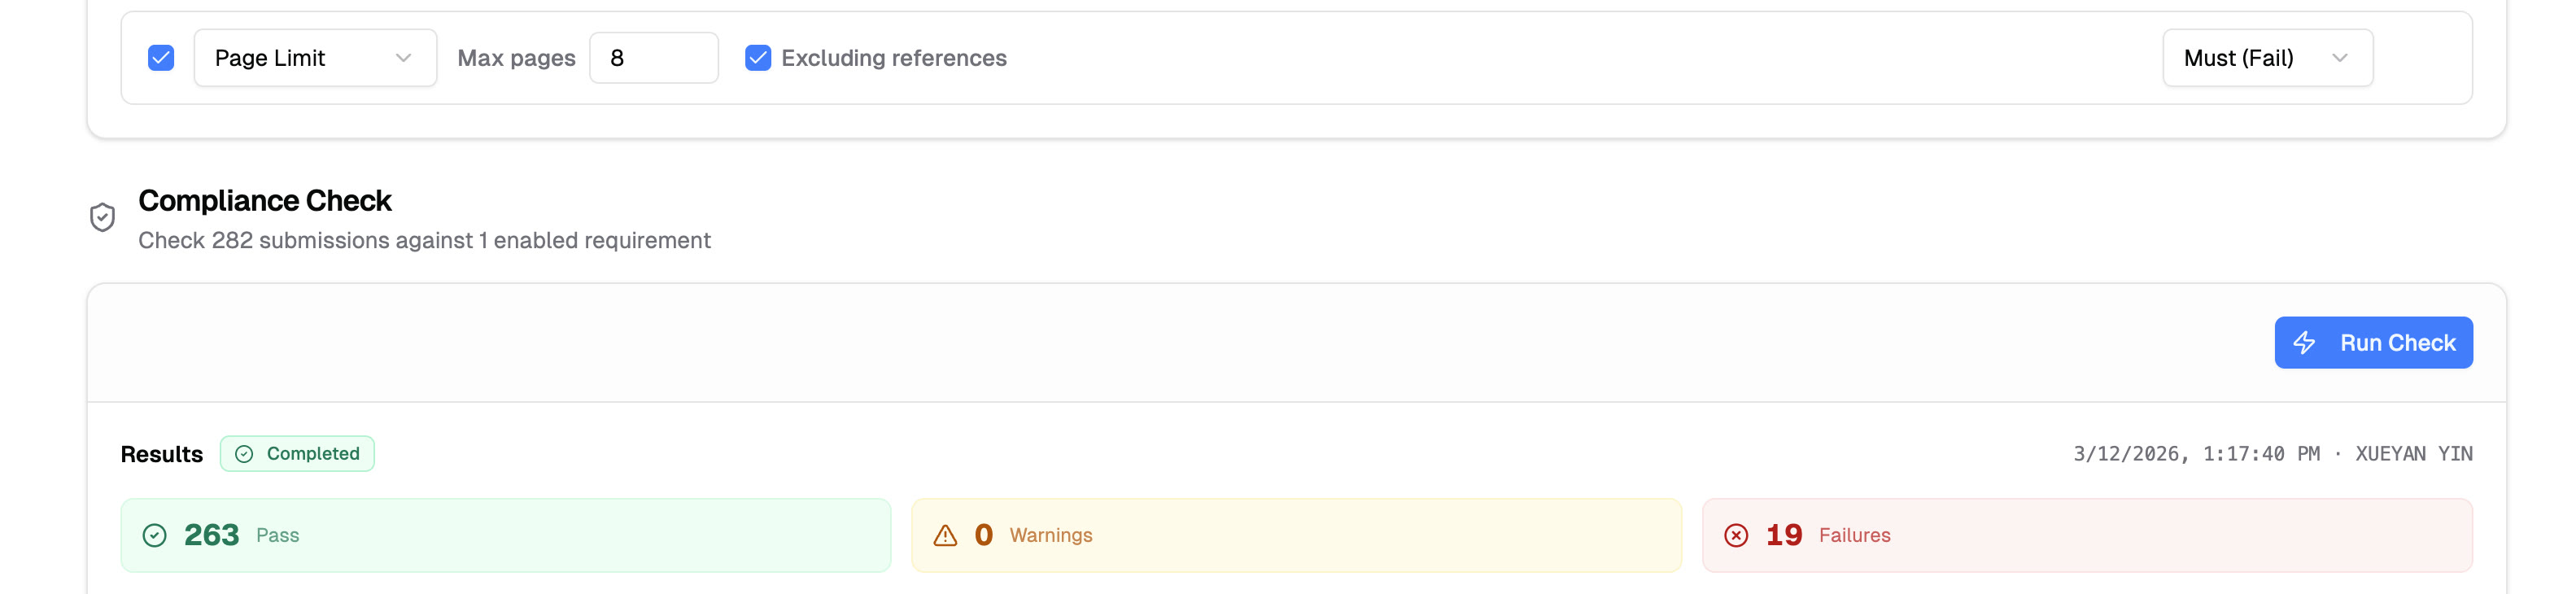
282 submissions checked against a page limit rule — results in seconds
Results show each submission's status — pass, fail, or warning — with evidence like "Page count (9) exceeds limit of 8." Filter by status to find non-compliant submissions, then notify authors directly from the results page with specific findings so they know exactly what to fix.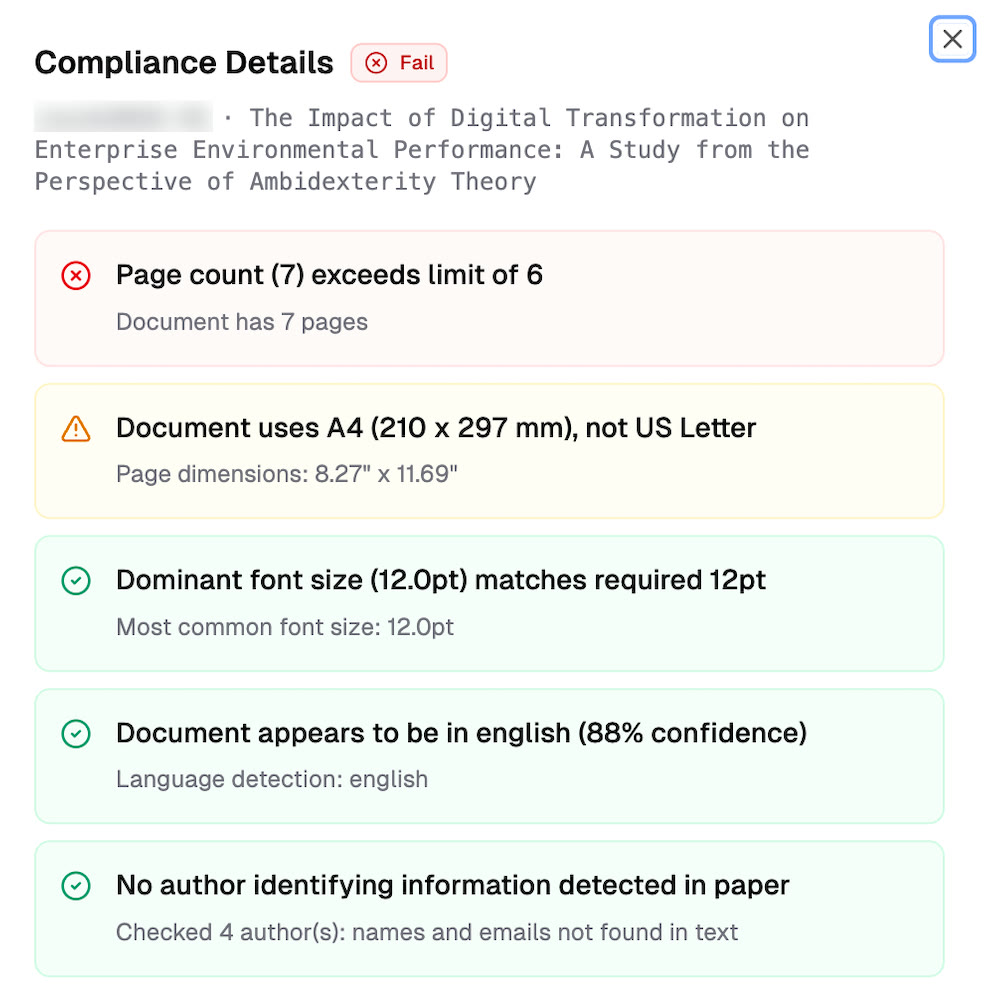
Page count and paper size violations flagged automatically
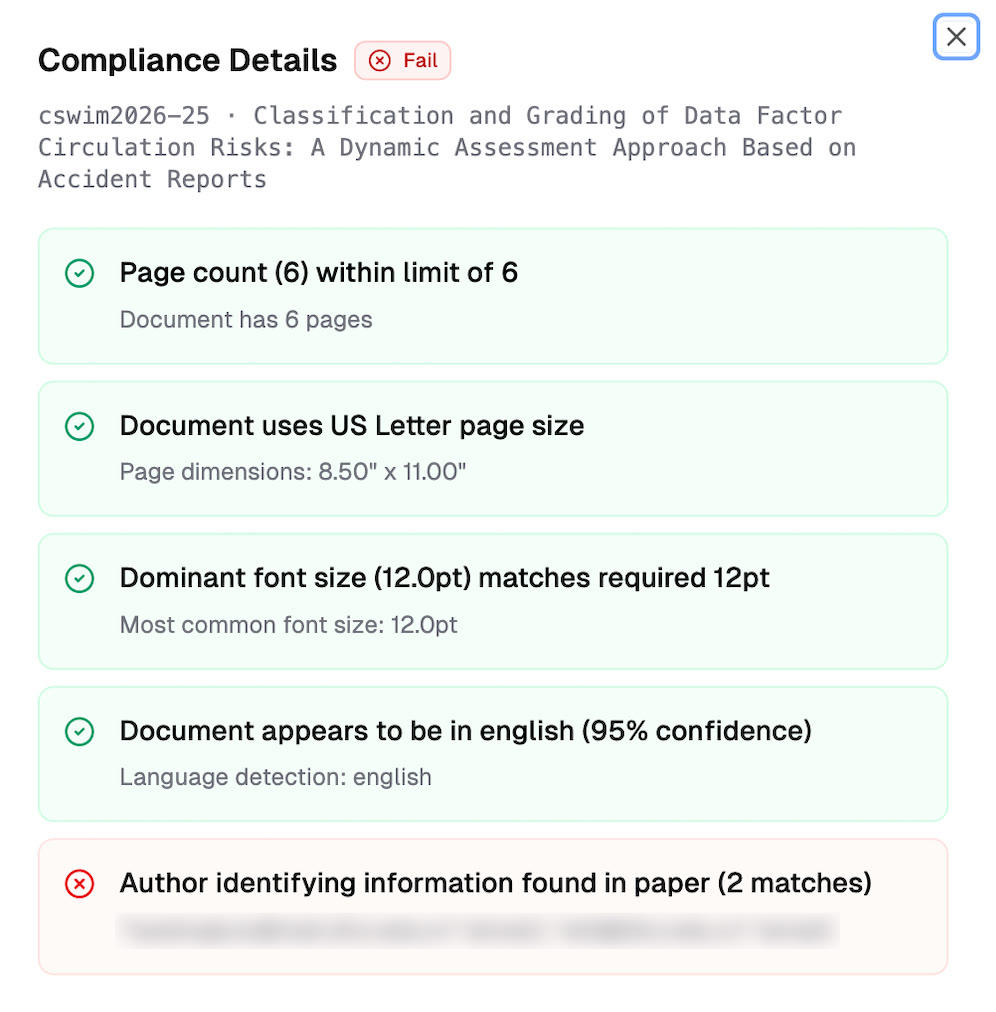
Anonymization check catches author emails in the paper
## Before and After | | Manual | PaperFox | |---|---|---| | **Time for 300 papers** | ~25 hours | ~1 minute | | **Consistency** | Varies by volunteer | Same rules, every time | | **Anonymization check** | Read every paper | Automatic name/email search | | **Author notification** | Draft individual emails | One-click batch notify | | **Re-check after revision** | Start over | Re-run with one click | --- ## Related Docs - [Compliance Check](/docs/track-chairs/compliance-check) — Set up and run submission compliance checks - [Submission Guidelines](/docs/track-chairs/submission-guidelines) — Configure formatting requirements for your track --- # Launch Your Conference Website in Minutes URL: https://paperfox.ai/blog/website-editor Date: 2025-12-22 Category: Product Tags: Website Editor, Conference Management You may not need WordPress or Wix for your conference website. Those tools are powerful, but often overkill for academic conferences—too many features with steep learning curves. What most conferences actually need is a simple, clean website that's easy to update. PaperFox's built-in website editor gives you exactly that. Create pages, customize your design, and connect submissions, program, forum, and registration with a few clicks. Launch your site the same day you [set up your conference](/docs/chairs/request-conference-site). ## Key Capabilities - **Custom pages** — Build pages for calls for papers, committees, venue, sponsors, and more - **Drag-and-drop navigation** — Reorder pages, create submenus, control visibility - **Rich text editor** — Headers, lists, images, links, and file uploads - **Banner customization** — 22 color themes, custom images, flexible sizing, and image-only mode - **Navigation bar** — Upload a logo, choose above or overlaid position, go full-width - **Custom domain** — Use your own conference URL (e.g., icai2025.org) - **Live preview** — See exactly how changes look before publishing
## Banner & Navigation
The Landing Page Customization panel controls everything visitors see above the fold.
### Banner
Choose a **Size** (Compact, Standard, or Full Screen), pick from **22 color themes**, and optionally upload a photo. After uploading, a **Reposition** button lets you drag a focus bar to choose which part of the image stays in frame as the banner resizes across screen sizes.
**New: Use Image As-Is (4:1, No Overlay Text).** When you upload a banner image, a toggle appears that locks the banner to a 4:1 aspect ratio and hides the conference name, date, location, and website link overlay. Use this when your image already includes event branding. Recommended upload size: 1920 × 480.
### Navigation Bar
Control how the nav appears on your site:
- **Position** — "Above banner" or "Overlaid" on top of it (Full Screen forces overlaid)
- **Logo** — Upload your conference logo and choose Small, Medium, or Large size
- **Full width** — Stretch the nav bar edge-to-edge
## Page Editor
Five built-in pages — Home, Submission, Program, Registration, and Forum — come pre-connected to PaperFox. Rename any of them to fit your conference (including Chinese, Japanese, or any script); the URL stays the same.
Add unlimited custom pages for CFP, committee, venue, and more. Each gets a URL slug — type a non-English name and the ✨ button translates it to a clean slug automatically.
Drag pages to reorder or nest into submenus. Use the eye icon to hide a page from the menu without deleting it.
### Rich Text Editor
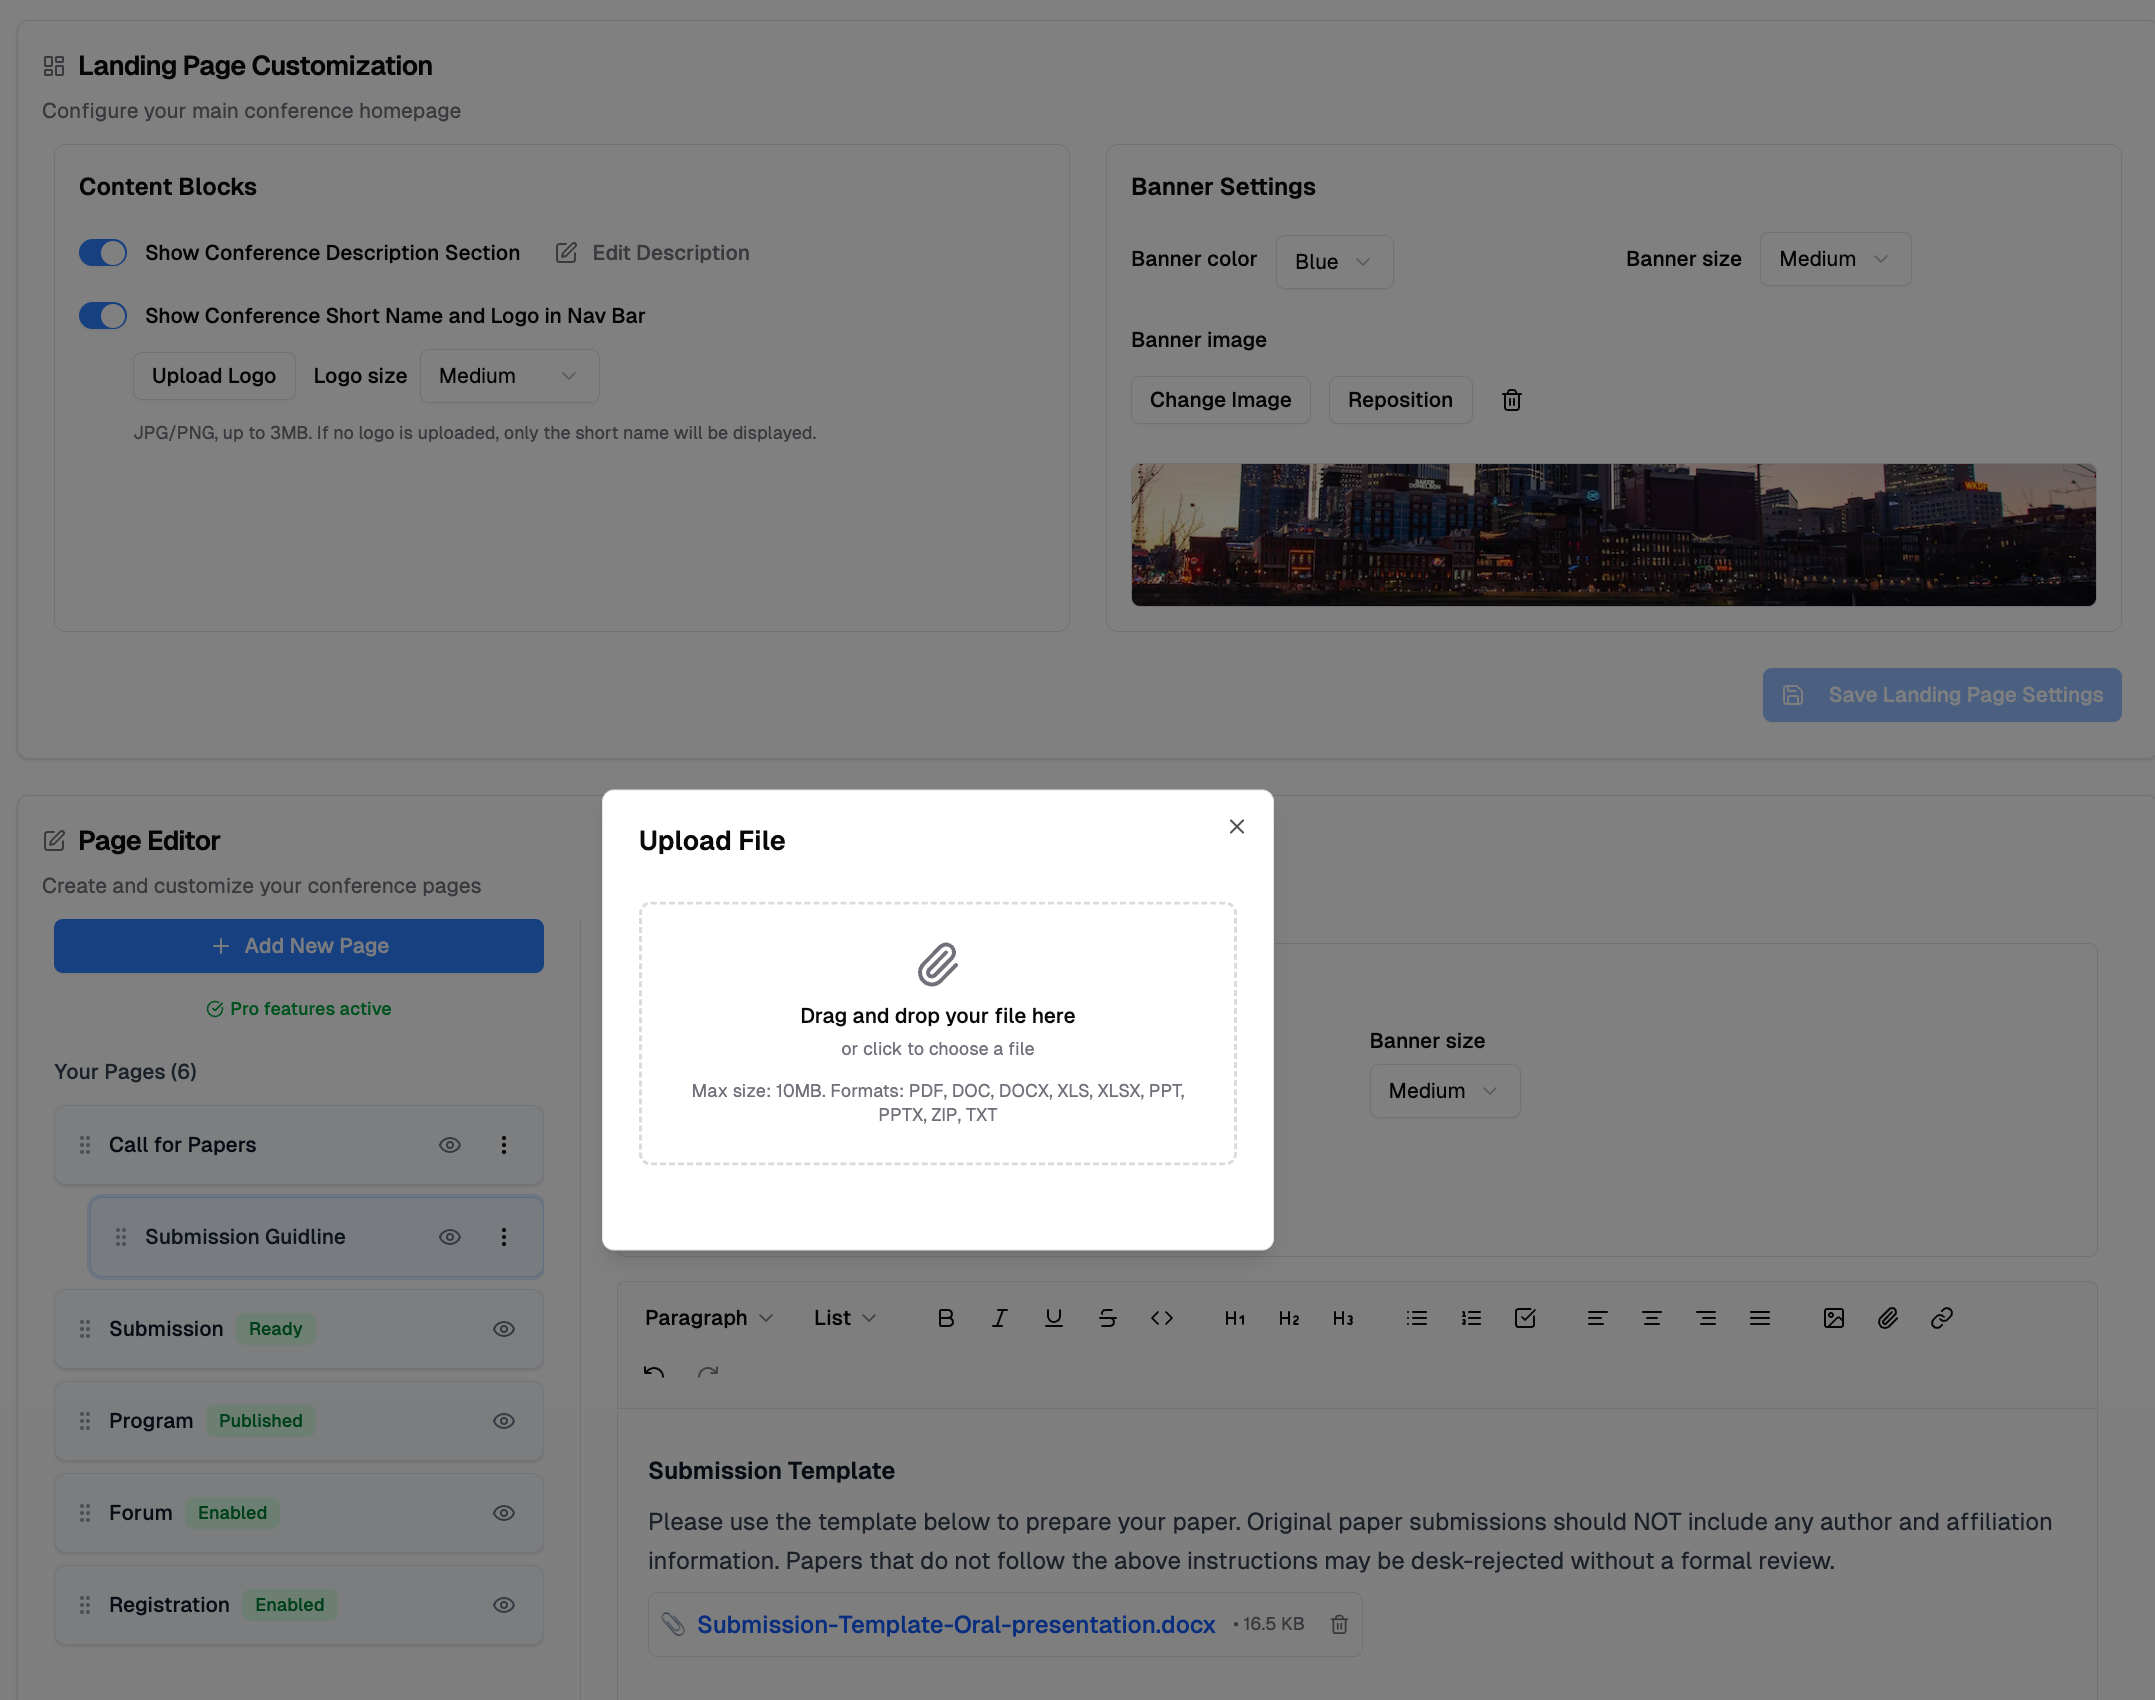 The editor supports headers, bold/italic/underline, bullet and numbered lists, checklists, code blocks, image uploads, file attachments, and external links — no code required.
## Integrated Features
System pages sync with your conference data automatically:
| Page | What It Does |
|------|--------------|
| **Submission** | Authors see tracks with deadlines and submit directly |
| **Program** | Your published schedule with search and mobile support |
| **Registration** | Sign-up forms with registration types and Stripe payments |
| **Forum** | Discussion threads for attendees to connect |
Enable only the pages you need. Each updates in real time as you manage your conference.
## Custom Domain
Give your conference a professional address. Connect your own domain (e.g., icai2025.org) and visitors will find you there.
The editor supports headers, bold/italic/underline, bullet and numbered lists, checklists, code blocks, image uploads, file attachments, and external links — no code required.
## Integrated Features
System pages sync with your conference data automatically:
| Page | What It Does |
|------|--------------|
| **Submission** | Authors see tracks with deadlines and submit directly |
| **Program** | Your published schedule with search and mobile support |
| **Registration** | Sign-up forms with registration types and Stripe payments |
| **Forum** | Discussion threads for attendees to connect |
Enable only the pages you need. Each updates in real time as you manage your conference.
## Custom Domain
Give your conference a professional address. Connect your own domain (e.g., icai2025.org) and visitors will find you there.
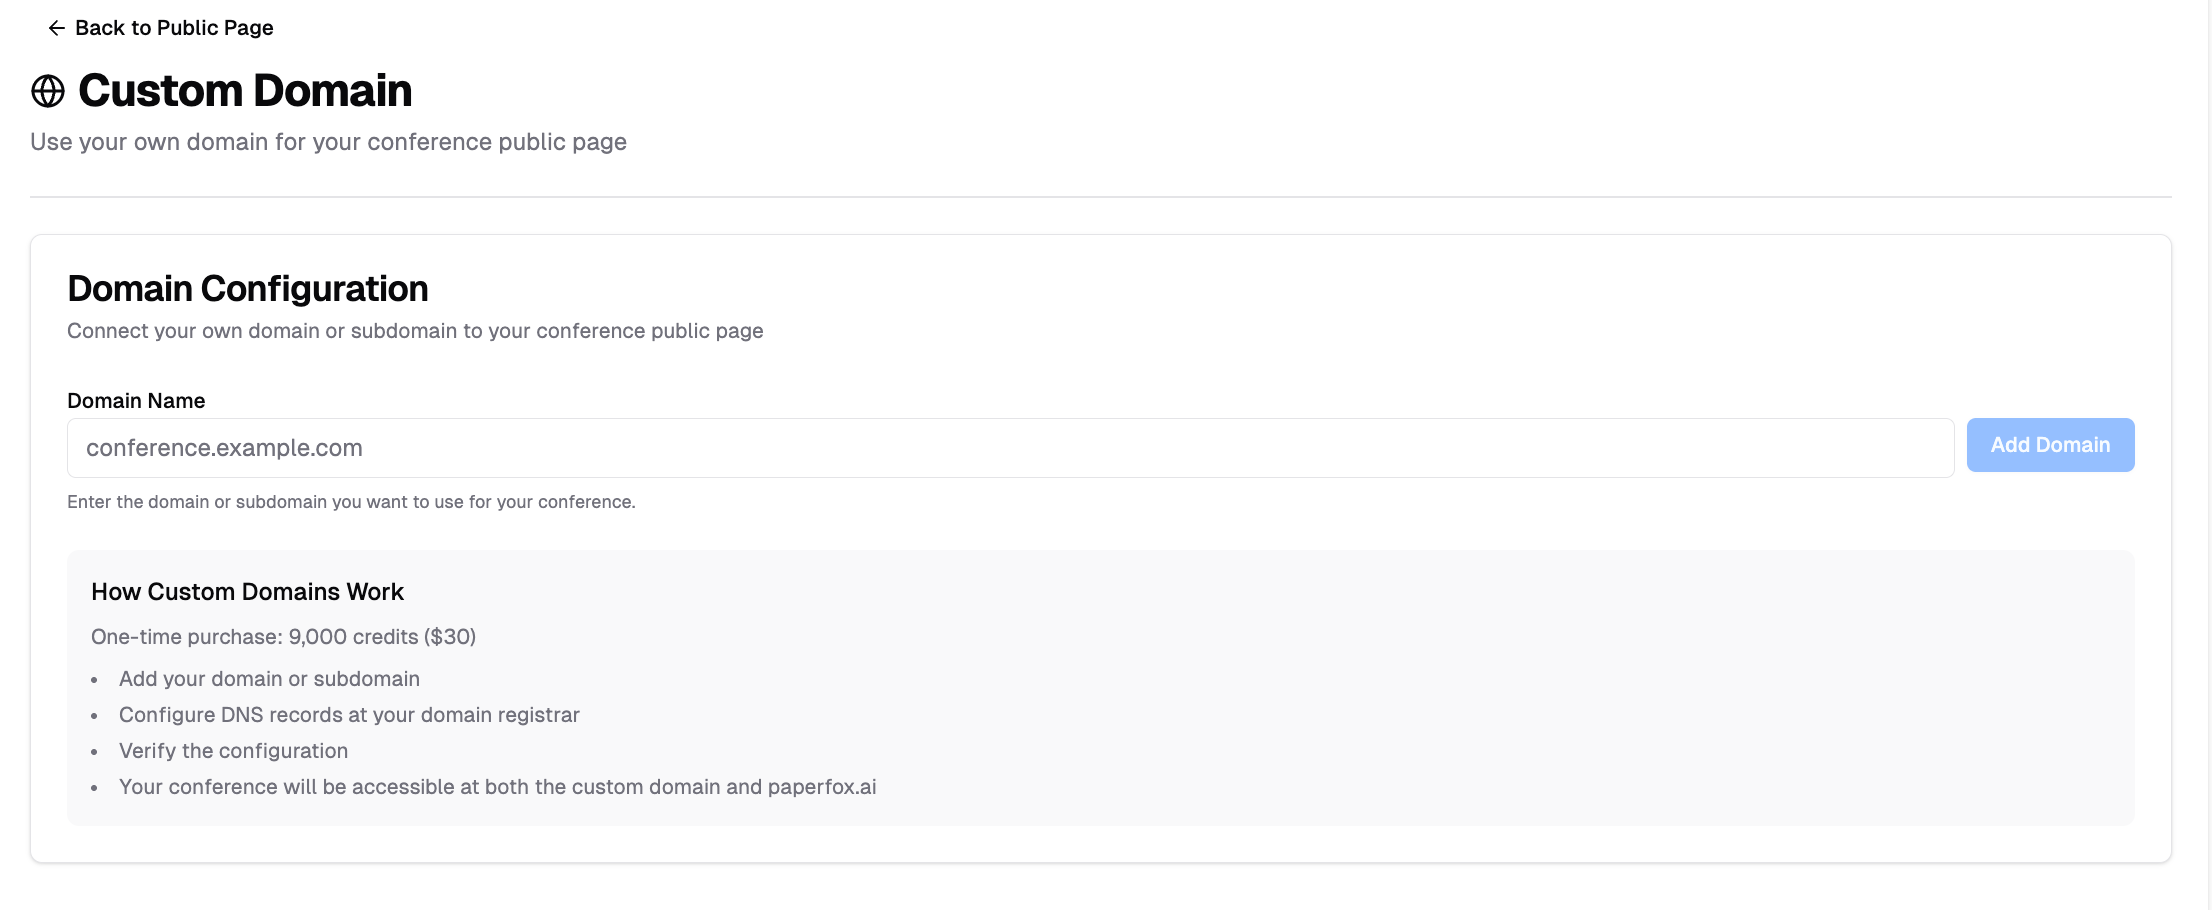 ## Preview & Publish
Click **"View Public Page"** at any time to see exactly how your site looks to visitors. Changes publish instantly — no build step required.
## Preview & Publish
Click **"View Public Page"** at any time to see exactly how your site looks to visitors. Changes publish instantly — no build step required.
 ---
## Related Docs
- [Create Conference Website](/docs/chairs/create-conference-website) — Step-by-step setup guide
- [Create a Site Request](/docs/chairs/request-conference-site) — Request a new conference site
---
## Related Docs
- [Create Conference Website](/docs/chairs/create-conference-website) — Step-by-step setup guide
- [Create a Site Request](/docs/chairs/request-conference-site) — Request a new conference site