Create Conference Website
Complete guide to building and customizing your conference's public website
This guide will help you create a professional conference website using PaperFox. You'll learn how to set up submissions, showcase your event, and provide attendees with all the essential information.
Getting Started
Step 1: Access the Website Builder
From your dashboard:
- Go to your conference dashboard
- Click the conference you want to manage
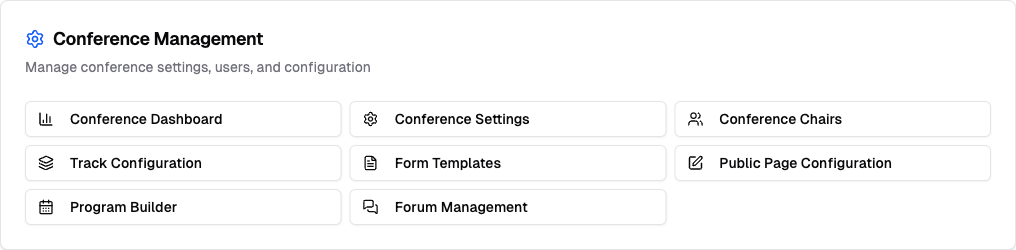
- Click "Public Page Configuration" in the Conference Management section
Step 2: Choose Your Website Approach
PaperFox offers two approaches for your conference website:
Option A: Built-in Page Editor (Recommended)
- Best for: Most conferences
- Features: Drag-and-drop editor, rich content tools, integrated submissions
- Benefits: Easy to maintain, automatically handles submissions, mobile-optimized
Option B: External Website
- Best for: Conferences with existing websites
- Features: Link to your custom website
- Benefits: Complete design control, use existing infrastructure
If you choose Option B, you will not be able to use the built-in page editor.
Landing Page Customization
The Landing Page Customization card lets you configure your main conference homepage appearance.
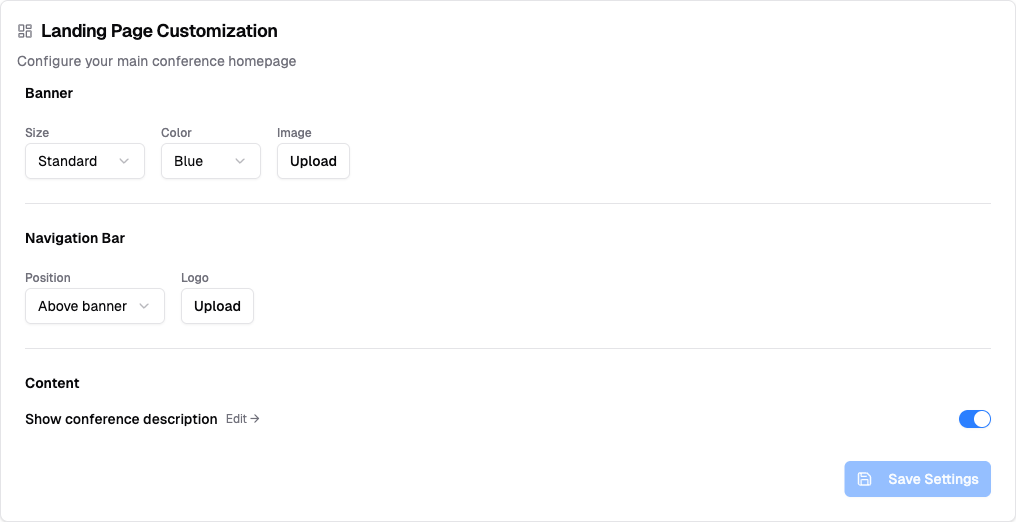
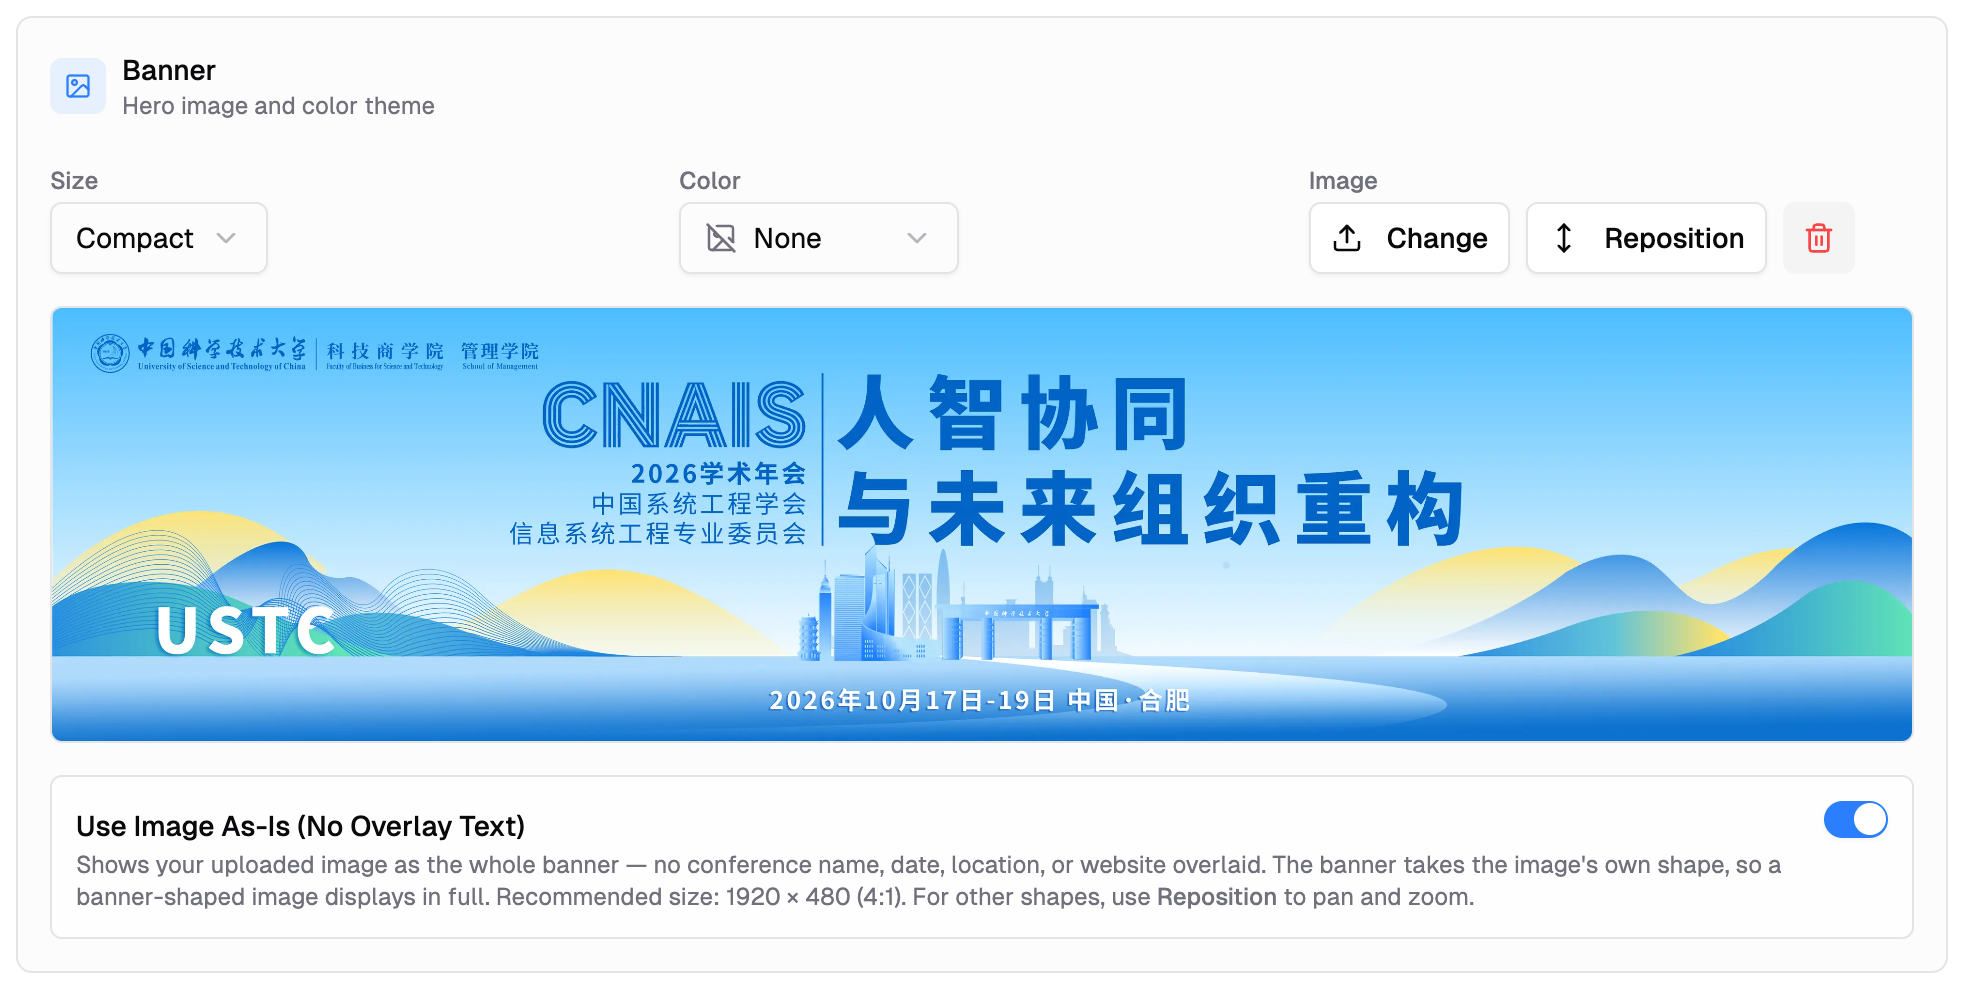
Banner
Configure the visual header of your landing page:
- Size: Choose from Compact, Standard, or Full Screen
- Color: Select from 22 professional color themes with color swatches
- Image: Upload a custom banner image (optional). After uploading, you can reposition the focal point using the cropper dialog to ensure the most important part of your image stays visible at different screen sizes.
- Use Image As-Is (No Overlay Text): Toggle that appears after uploading an image. When enabled, your uploaded image becomes the whole banner — the conference name, date, location, and website link are hidden. The banner takes the image's own shape, so a banner-shaped image displays in full with no crop or stretch. Recommended upload size is 1920 × 480 (4:1). For images that aren't banner-shaped, use Reposition to pan and zoom within the frame.
Navigation Bar
Control how the navigation appears on your site:
- Position: Choose where the navigation bar appears — "Above banner" or "Overlaid" on top of the banner. Full Screen banners require overlaid navigation.
- Logo: Upload your conference logo to display in the navigation bar
- Logo size: Choose Small, Medium, or Large (appears after uploading a logo)
- Full width navigation: Toggle to make the navigation bar span the full width of the page
Content
- Show conference description: Toggle whether to display your conference description on the landing page. Click "Edit →" to update the description in Conference Settings.
Click "Save Settings" to apply your changes.
Using the Page Editor
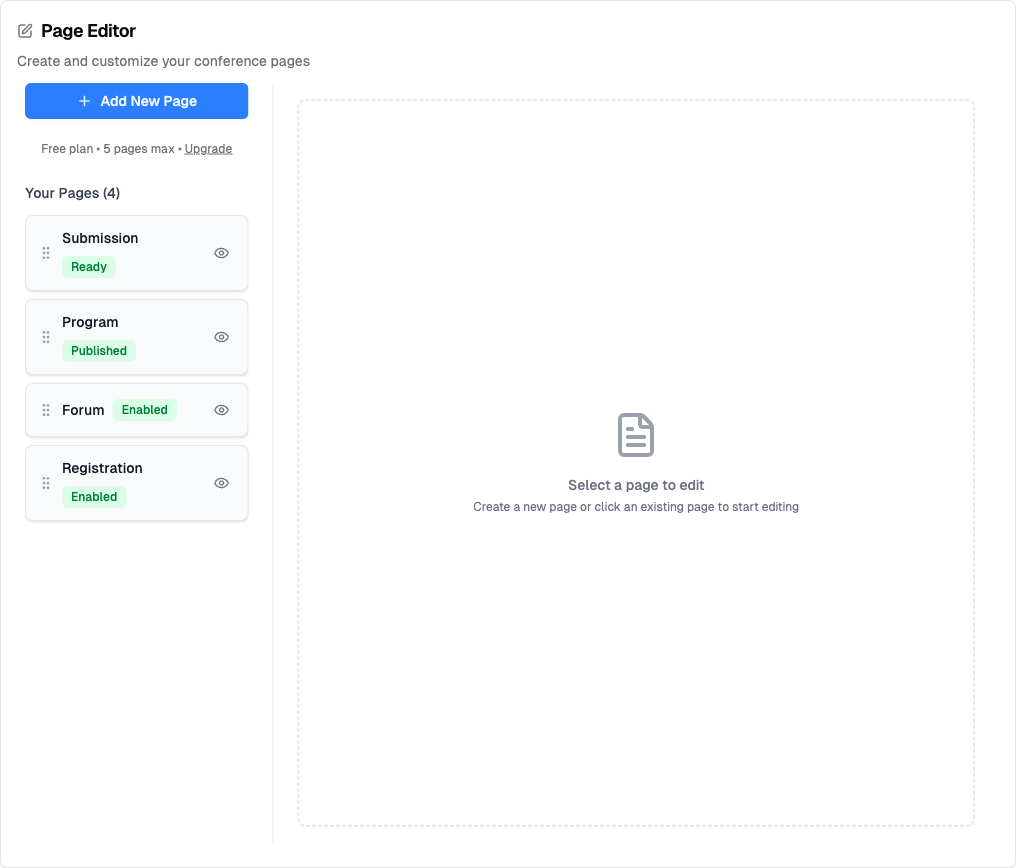
The Page Editor allows you to create and customize your conference pages.
System Pages (Built-in)
Your website includes five system pages that connect to core features:
| Page | Status Badge | Description |
|---|---|---|
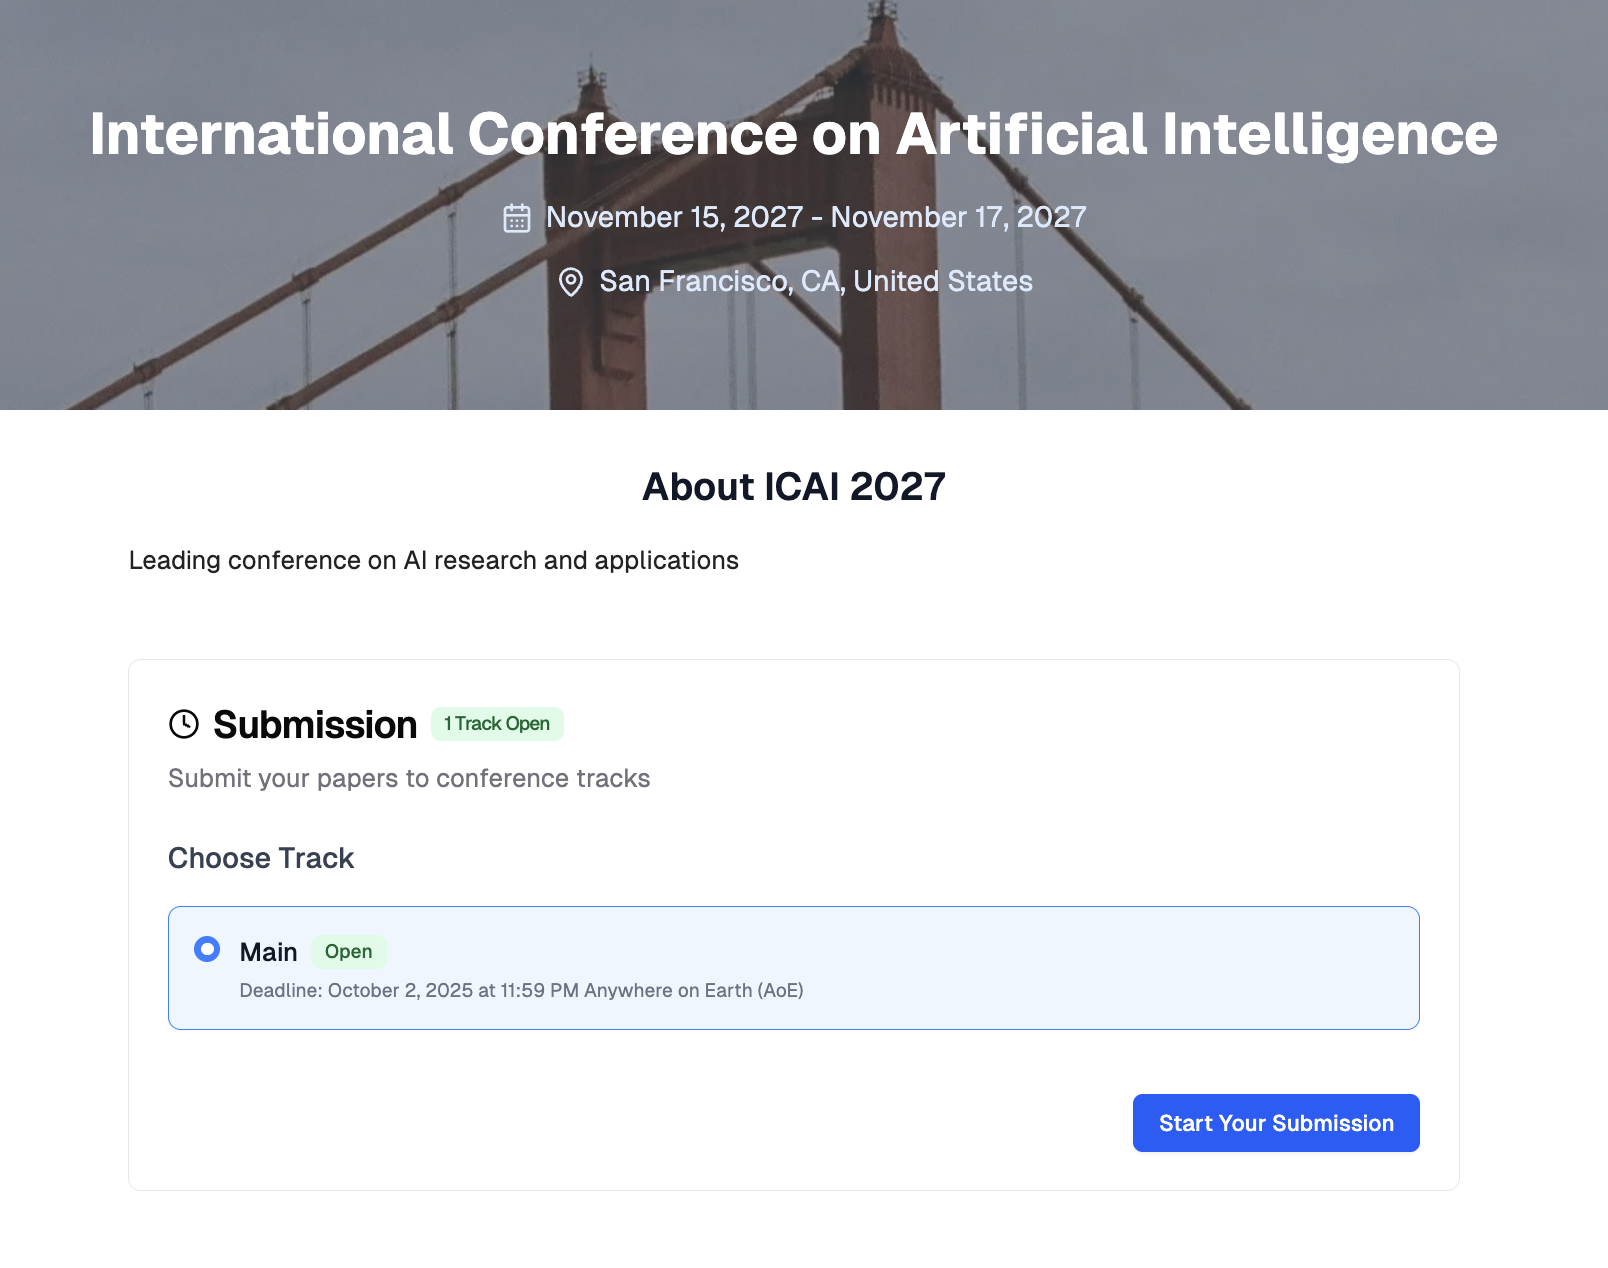
| Home | — | Landing page with banner, conference info, and description. |
| Submission | Ready | Lists tracks with deadlines. Authors submit papers here. |
| Program | Published | Displays sessions by day with search and mobile app support. |
| Registration | Enabled | Sign-up forms with registration types and Stripe payments. |
| Forum | Enabled | Discussion threads for attendees to connect. |
System pages show a status badge indicating whether the feature is ready.
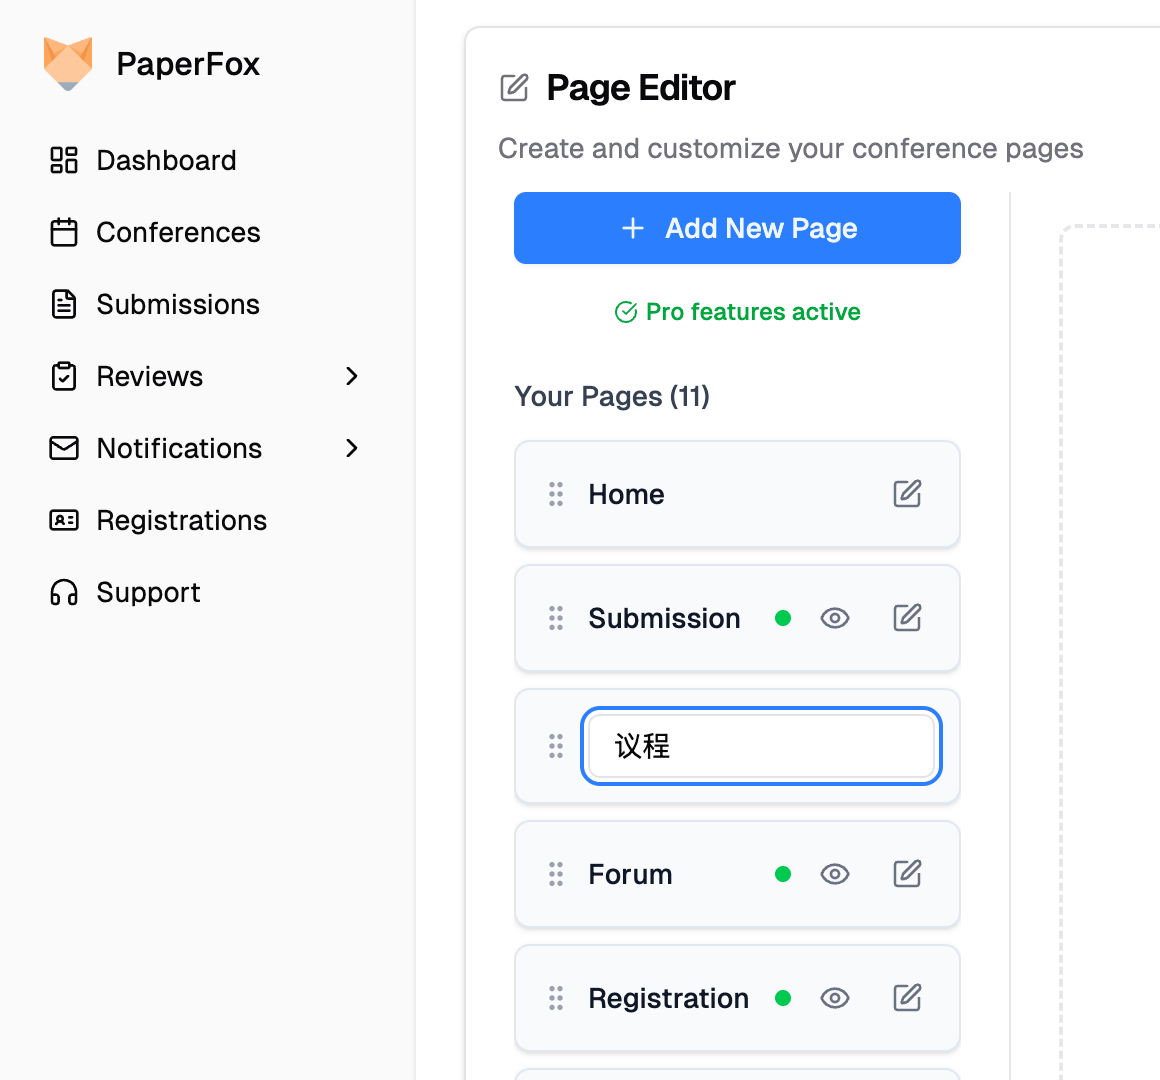
Renaming a system page
Click the pencil ✏ button next to any system page to change the label that appears in your menu. Labels can be any language — Chinese, Japanese, Cyrillic, emoji — they all work:
- "Submission" → "提交"
- "Program" → "プログラム"
- "Registration" → "Регистрация"
The page's URL never changes. Renaming only updates the menu label visitors see.
Creating Custom Pages
- Click "Add New Page" in the Page Editor
- The new page appears in your page list
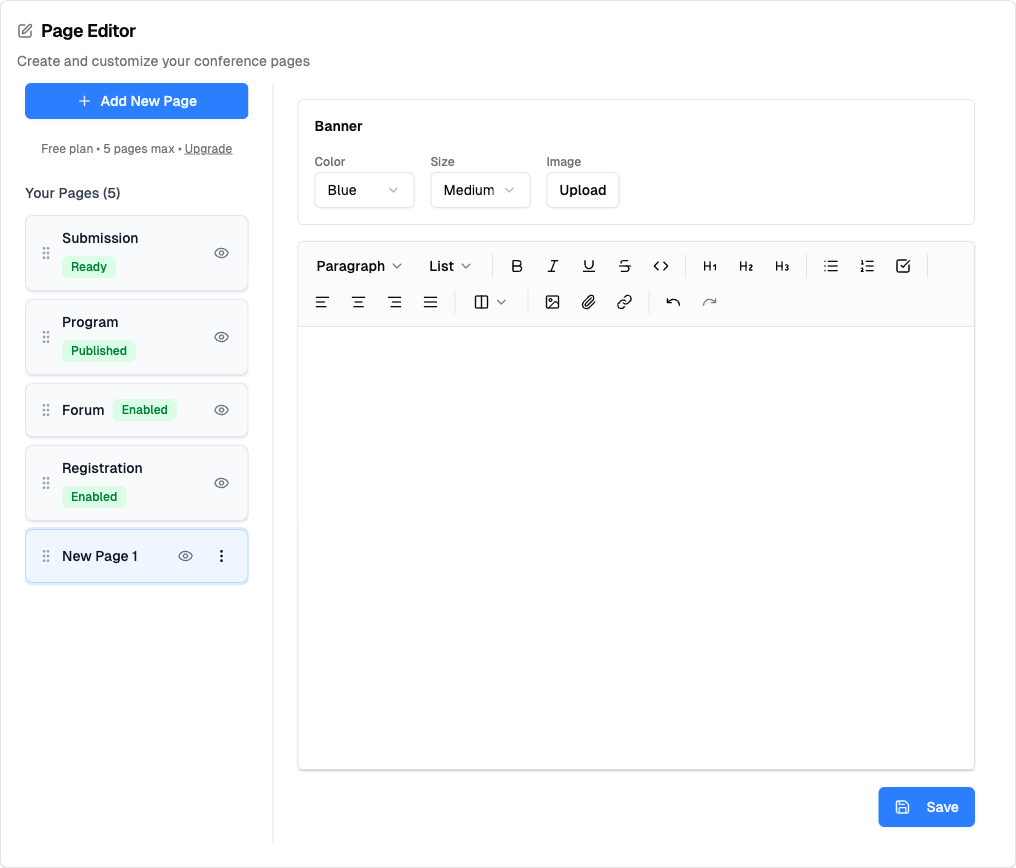
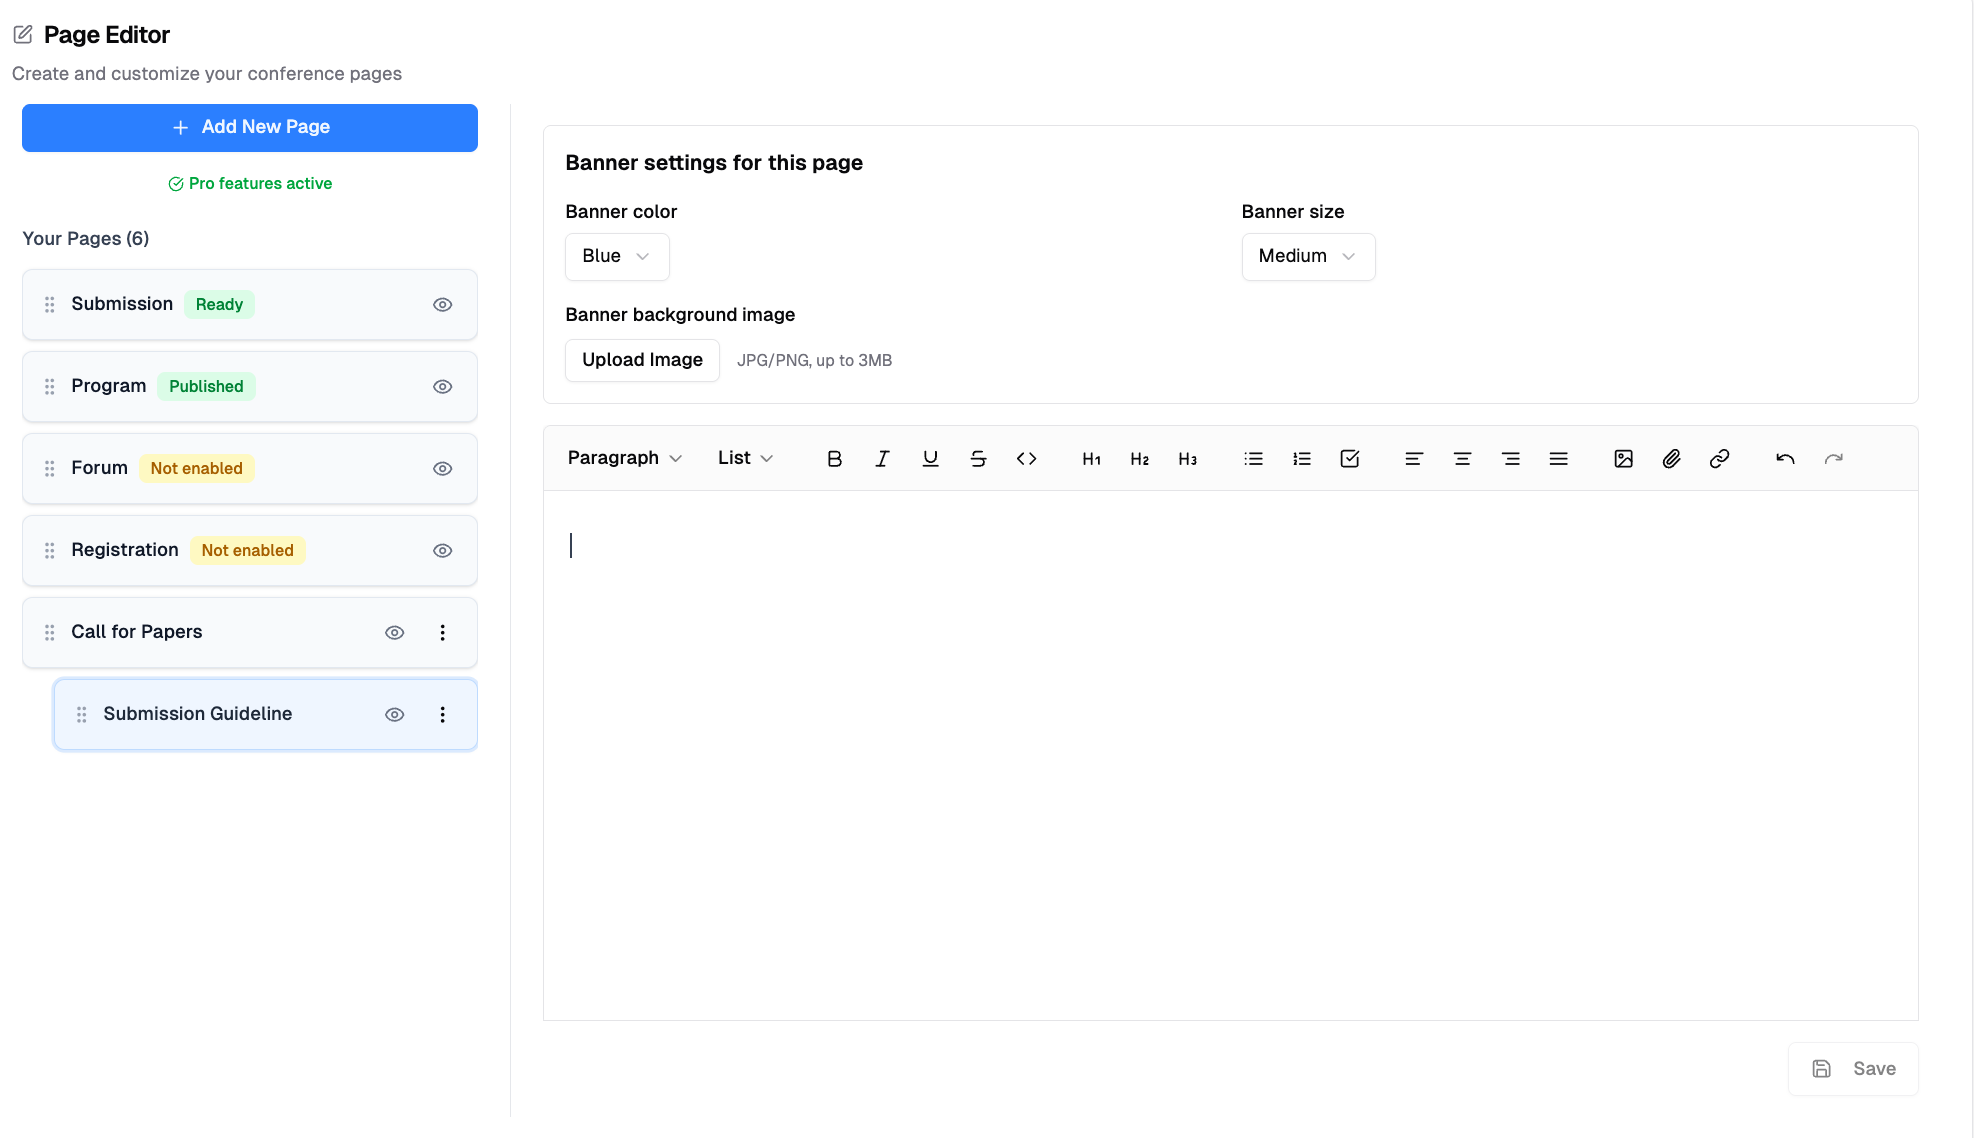
- Configure page-specific banner settings (Color, Size, Image)
- Use the rich text editor to add content
- Click "Save" to save your changes
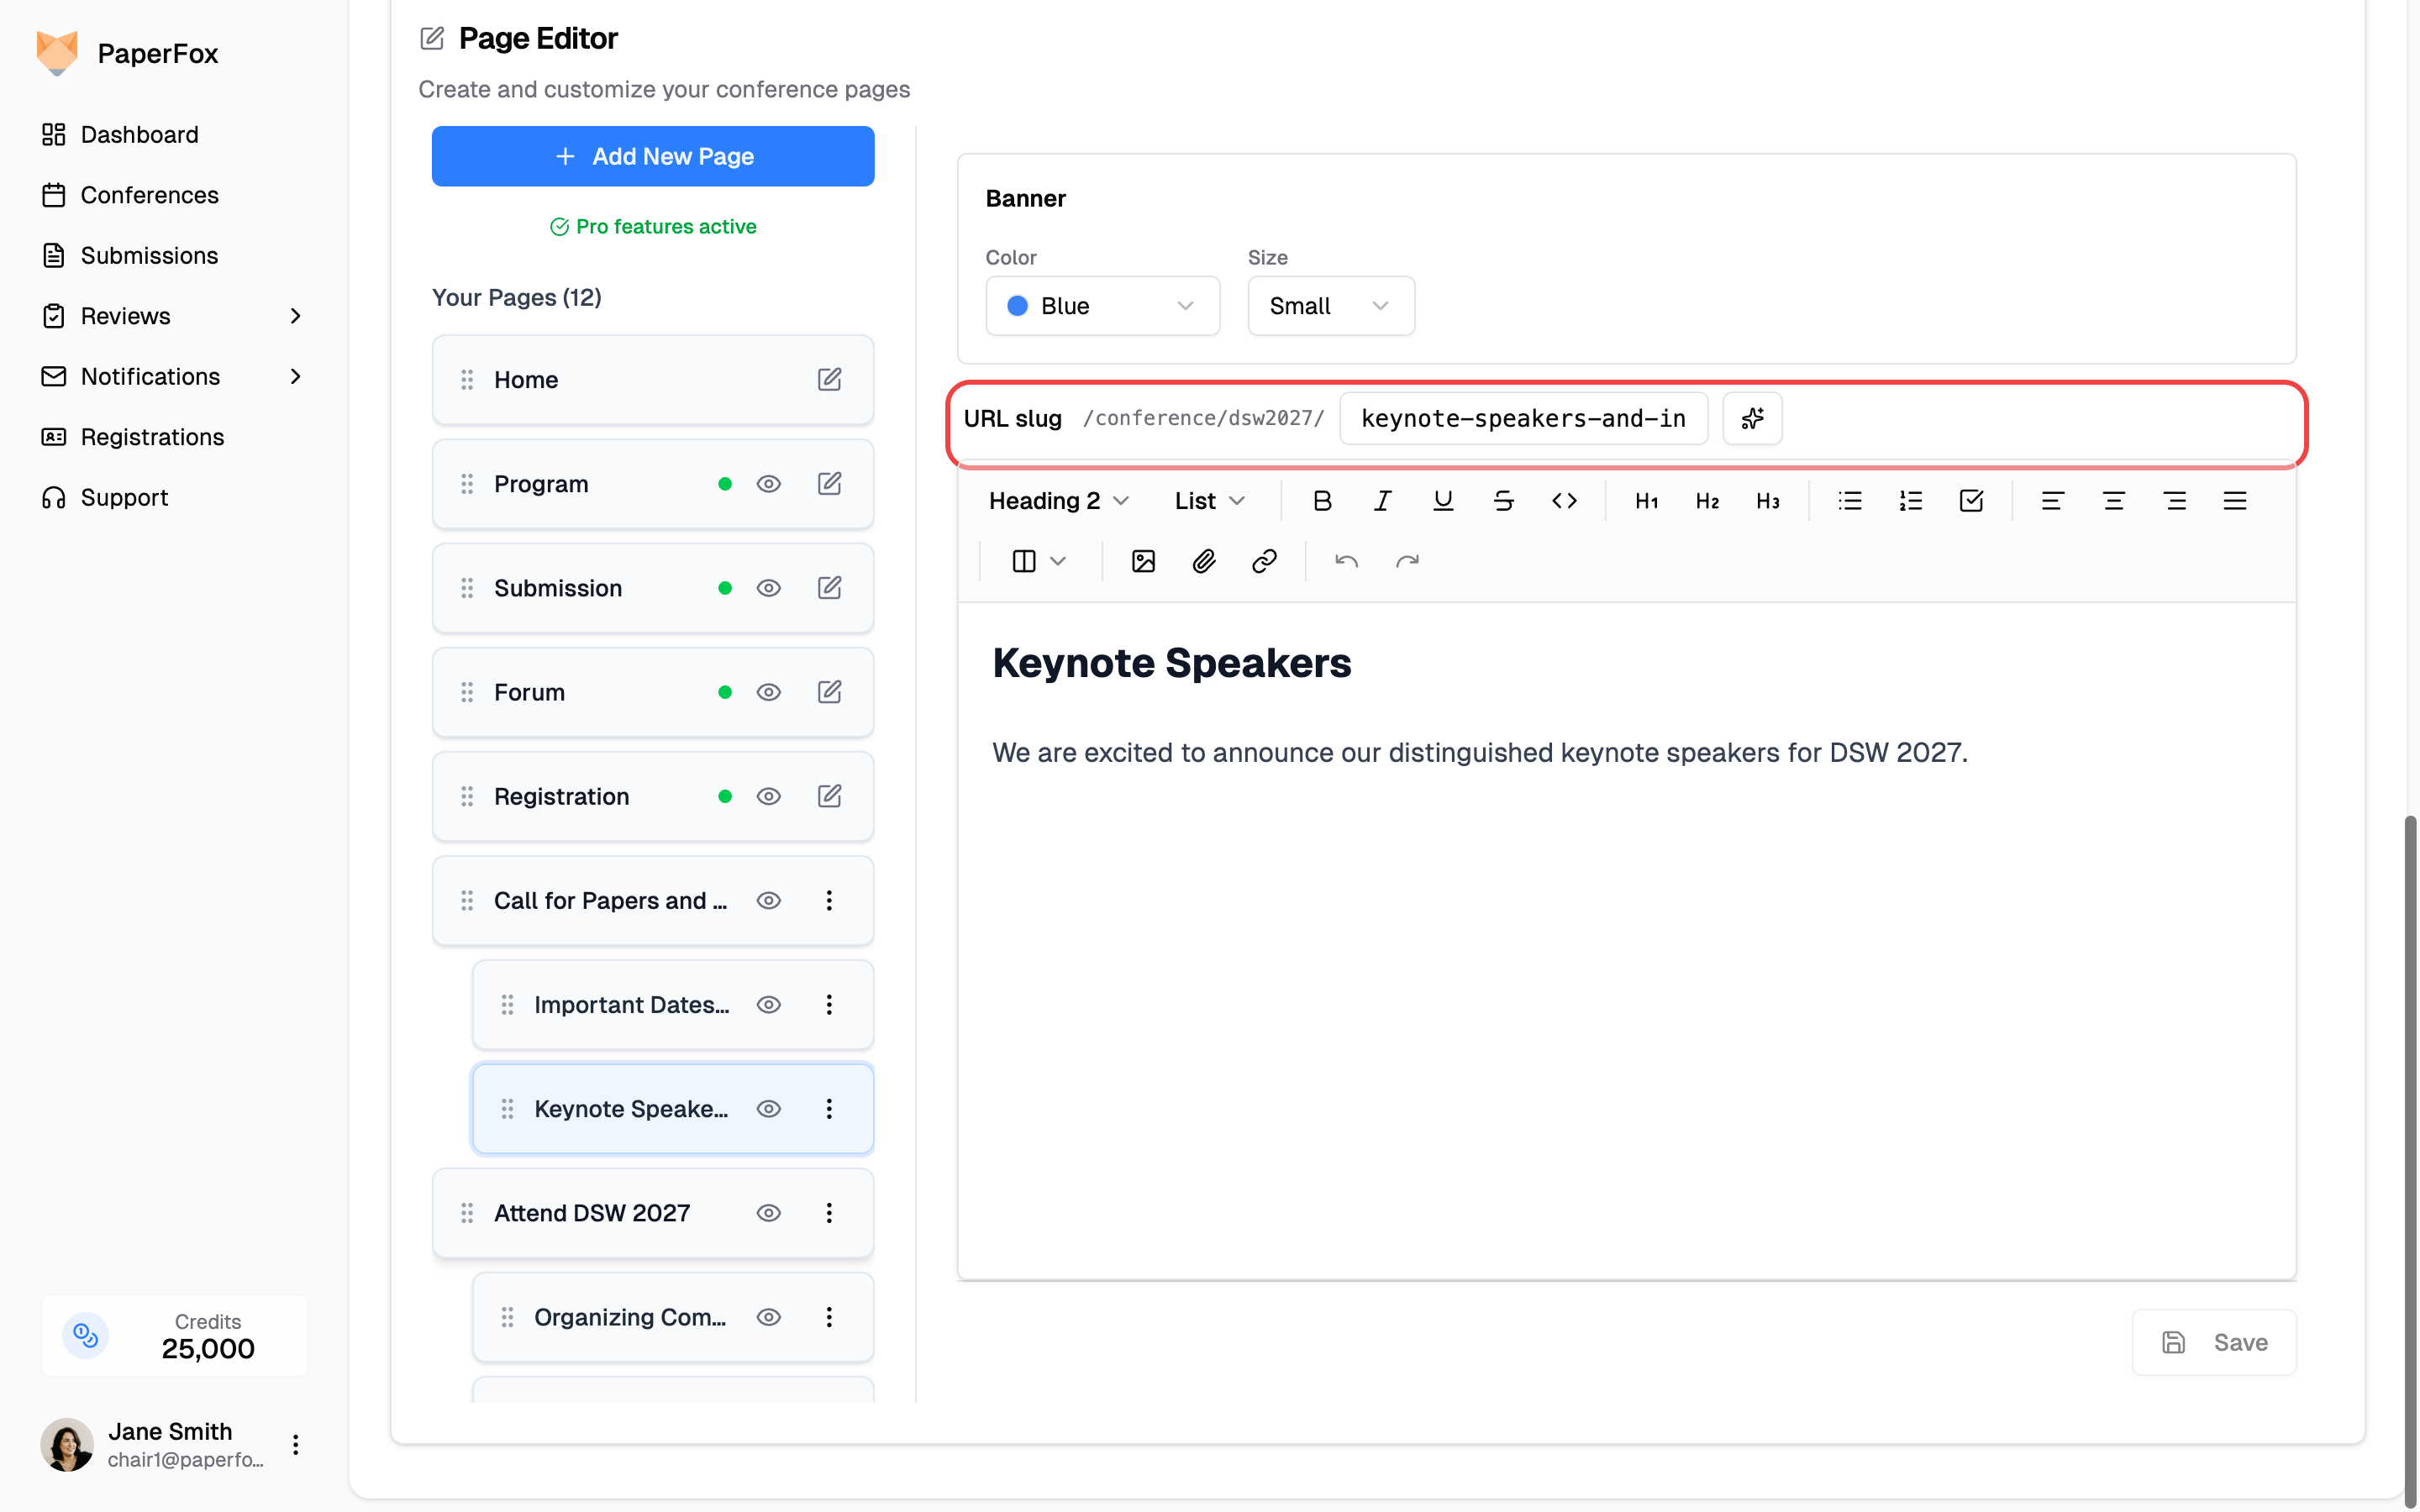
Editing the URL slug
Above the rich text editor, custom pages have a URL slug field that controls the page's web address (e.g. /conference/dsw2027/agenda). Slugs must be lowercase ASCII — letters, numbers, and hyphens only. Edit the field and click outside to save.
If you renamed the page label to a non-English language, click the ✨ button next to the slug field and PaperFox will translate the label into a clean English slug ("议程" → agenda, "プログラム" → program). You can edit the suggestion before it commits.
Rich Content Editor
The built-in editor supports:
Text Formatting:
- Headers (H1–H3)
- Bold, italic, underline, strikethrough
- Bullet points, numbered lists, and checklists
- Text alignment (left, center, right, justify)
- Code blocks
Media Integration:
- Images: Upload and resize images
- Links: Add links to external websites and resources
- File Attachments: Upload PDFs, documents, and other files
Page Organization
- Drag and drop pages to reorder navigation
- Create submenus by dragging pages below other pages
- Maximum 5 main pages and 5 submenu items per section
Page Visibility
Control which pages appear in your navigation by clicking the visibility toggle (eye icon) on any page. Hidden pages are still accessible by direct URL, but won't appear in the menu.
This works for custom pages and most system pages. Home cannot be hidden — it's the conference's landing page and always appears first in navigation.
Preview Your Changes
You can always preview your website by clicking "View Public Page" in the top right to see how your changes will look to visitors.
Export as Static Site
Export your conference website as a zip of static HTML files. The exported site works fully offline and can be uploaded to GitHub Pages, Netlify, or any static hosting as a permanent backup.
What Gets Exported
| Included | Details |
|---|---|
| Home page | Your landing page with banner, conference info, and description |
| Custom pages | All pages you created in the Page Editor |
| CSS | All styles inlined — no external dependencies |
| Images | Banner, logo, and content images downloaded locally |
| Navigation | Static nav bar linking all pages together |
System pages link to the live site
System pages (Submission, Program, Forum, Registration) require server functionality, so they link back to your live PaperFox site instead of being exported as static files.
How to Export
- Go to Conferences in the sidebar, then click on your conference
- Click "Public Page Configuration" in the Conference Management section
- Click the "Export Site" button in the top-right actions bar

- A zip file will download automatically (e.g.,
dsw2027-static-site.zip) - Unzip and open
index.htmlin your browser to view the site
Hosting Your Exported Site
GitHub Pages
- Create a new GitHub repository
- Upload all the exported files (HTML files +
assets/folder) - Go to Settings → Pages and set the source to the main branch
- Your site will be live at
https://username.github.io/repo-name
Netlify / Other Static Hosts
Simply drag and drop the unzipped folder into Netlify's deploy interface, or upload to any static file hosting service.
Export reflects current state
The export captures your public pages as they are right now. If you update your conference website later, you'll need to export again to get the latest version.